Meadowlark Main Floor Renovation
There’s a part of me that doesn’t even know where to begin this post.
This project, in Edmonton’s Meadowlark neighbourhood, started in 2018 and finished in June 2021. I had to go back in my files to even remember how this project started and, fun fact, my logo was even different back then! Turns out I was originally brought in to help my client update her kitchen. It started with just doing the design plan. Then it expanded into me handling the sourcing and working with her contractor to oversee the project. Then we added on updates to the living room and dining room, which then turned into the main bathroom being renovated, and since we were there, we may as well do the three bedrooms and the ensuite too!
But let’s back that up a bit…
It all began with the kitchen
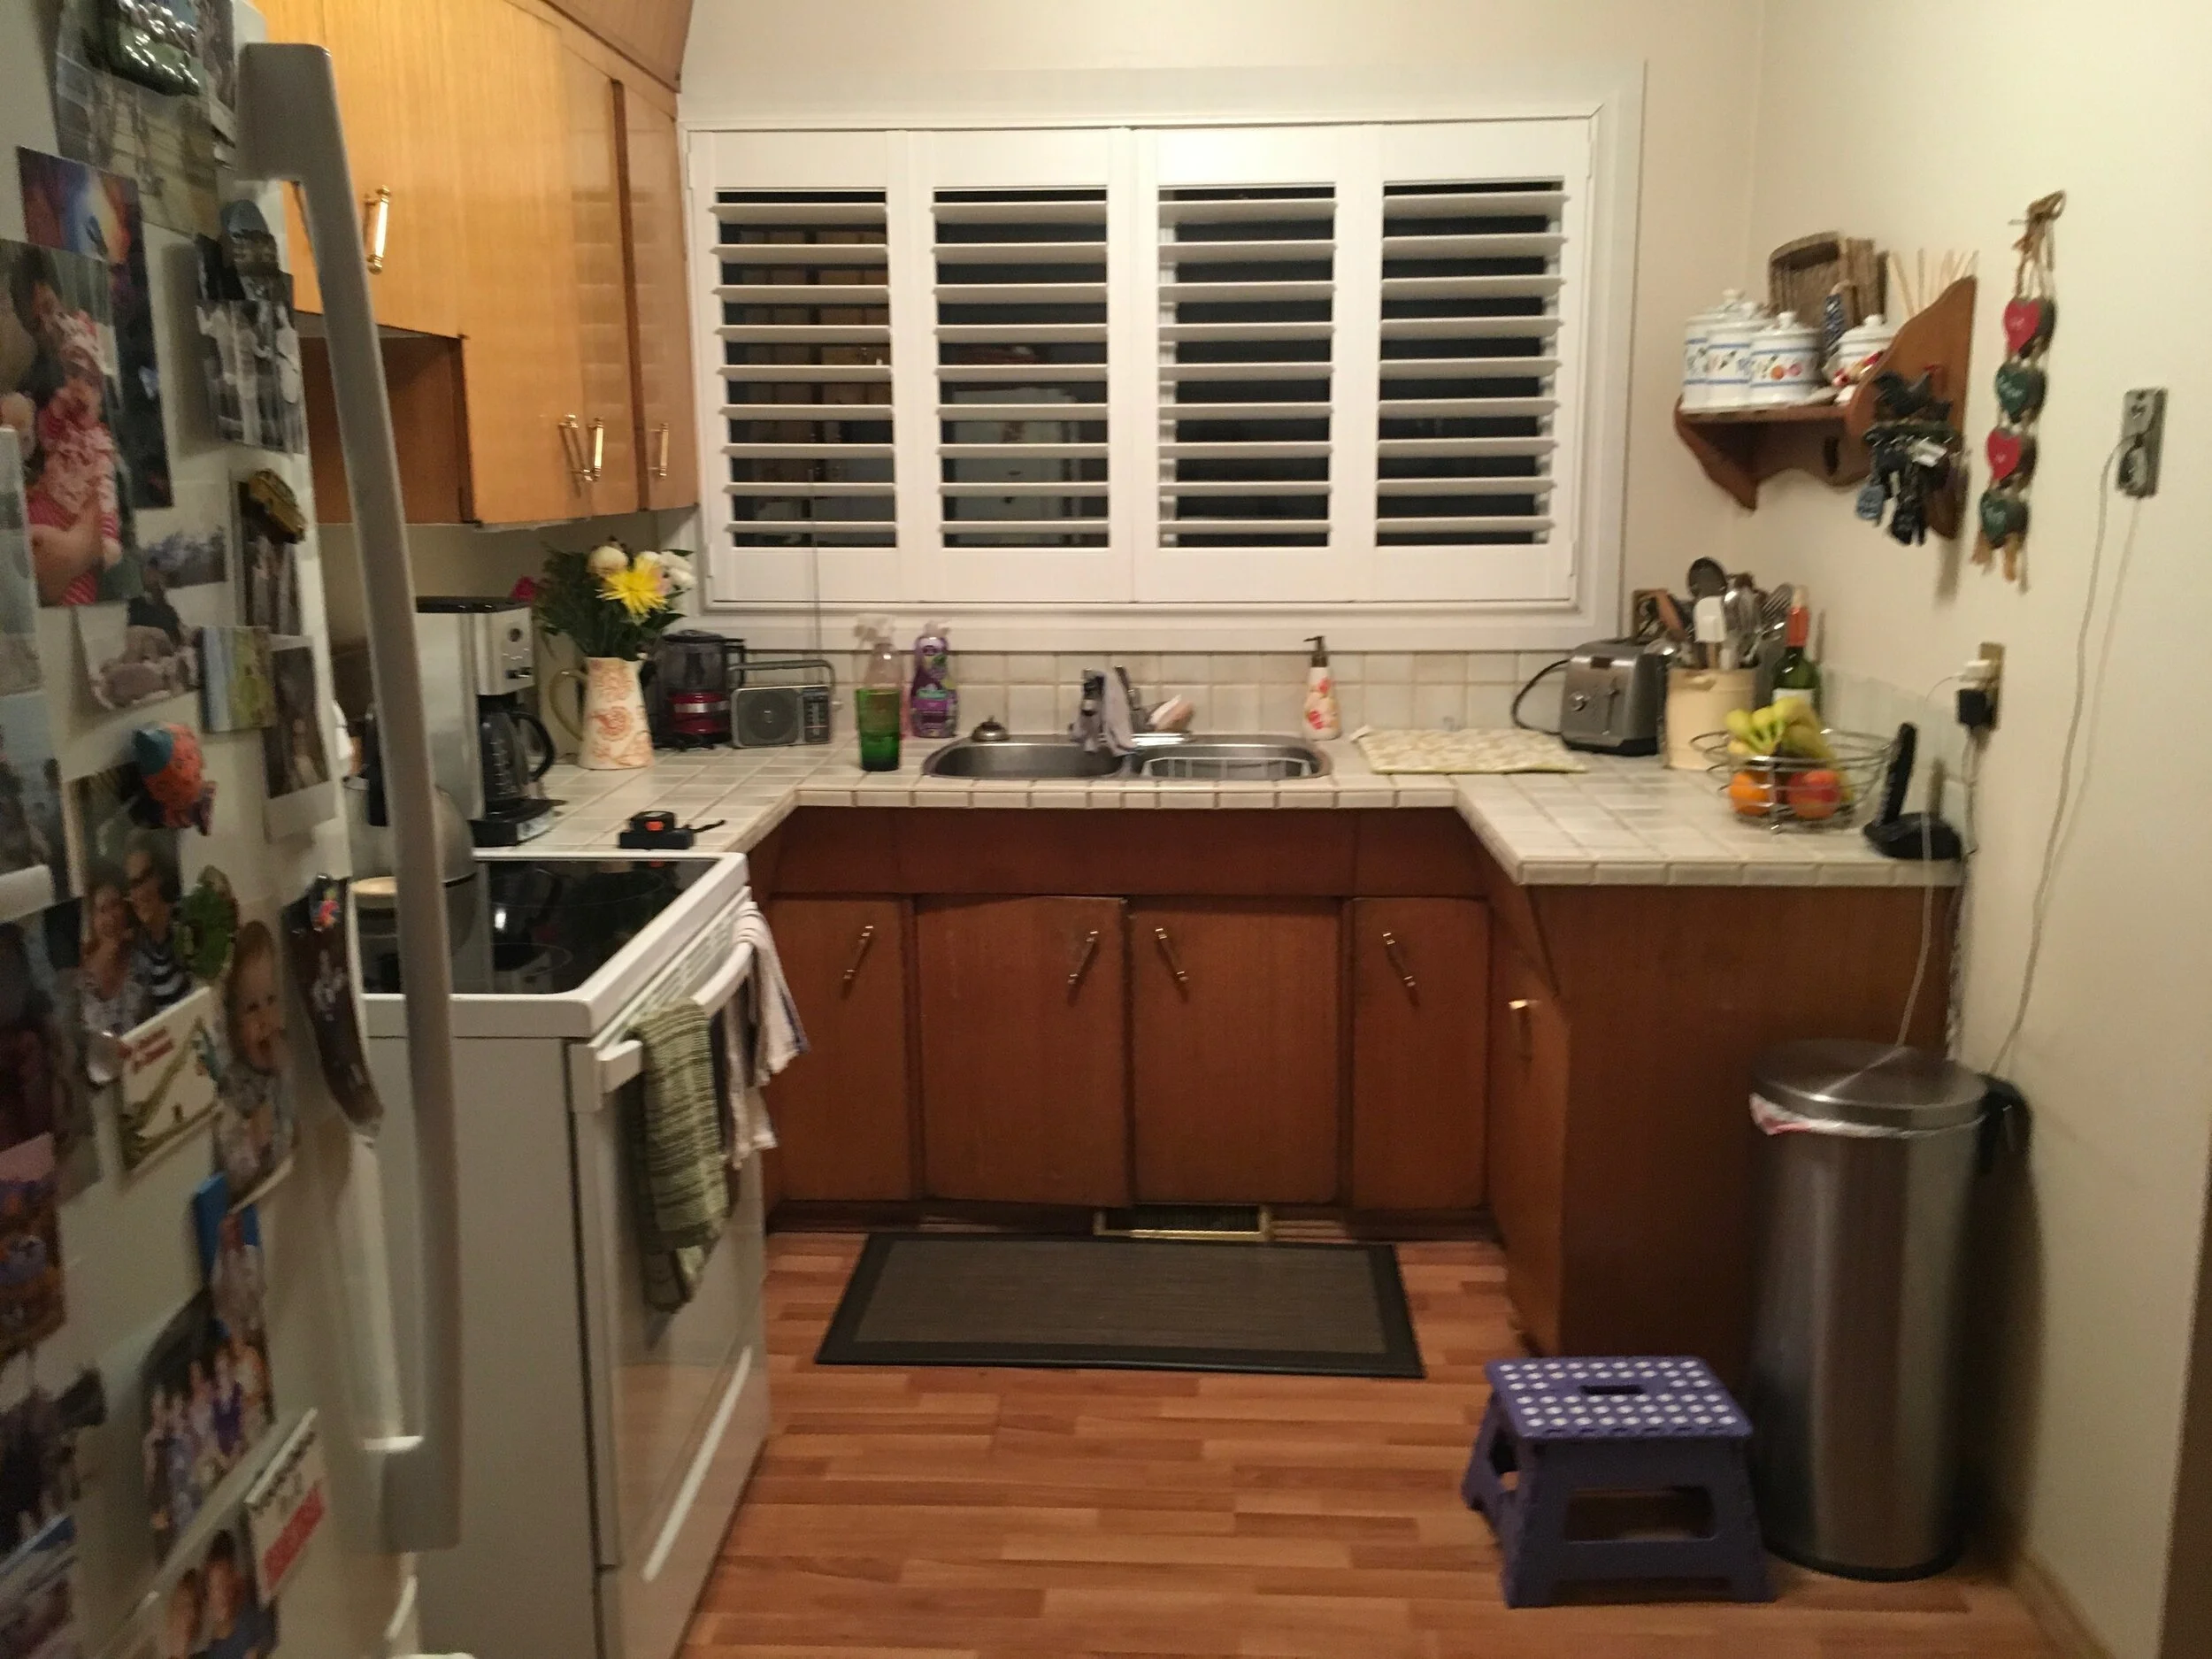
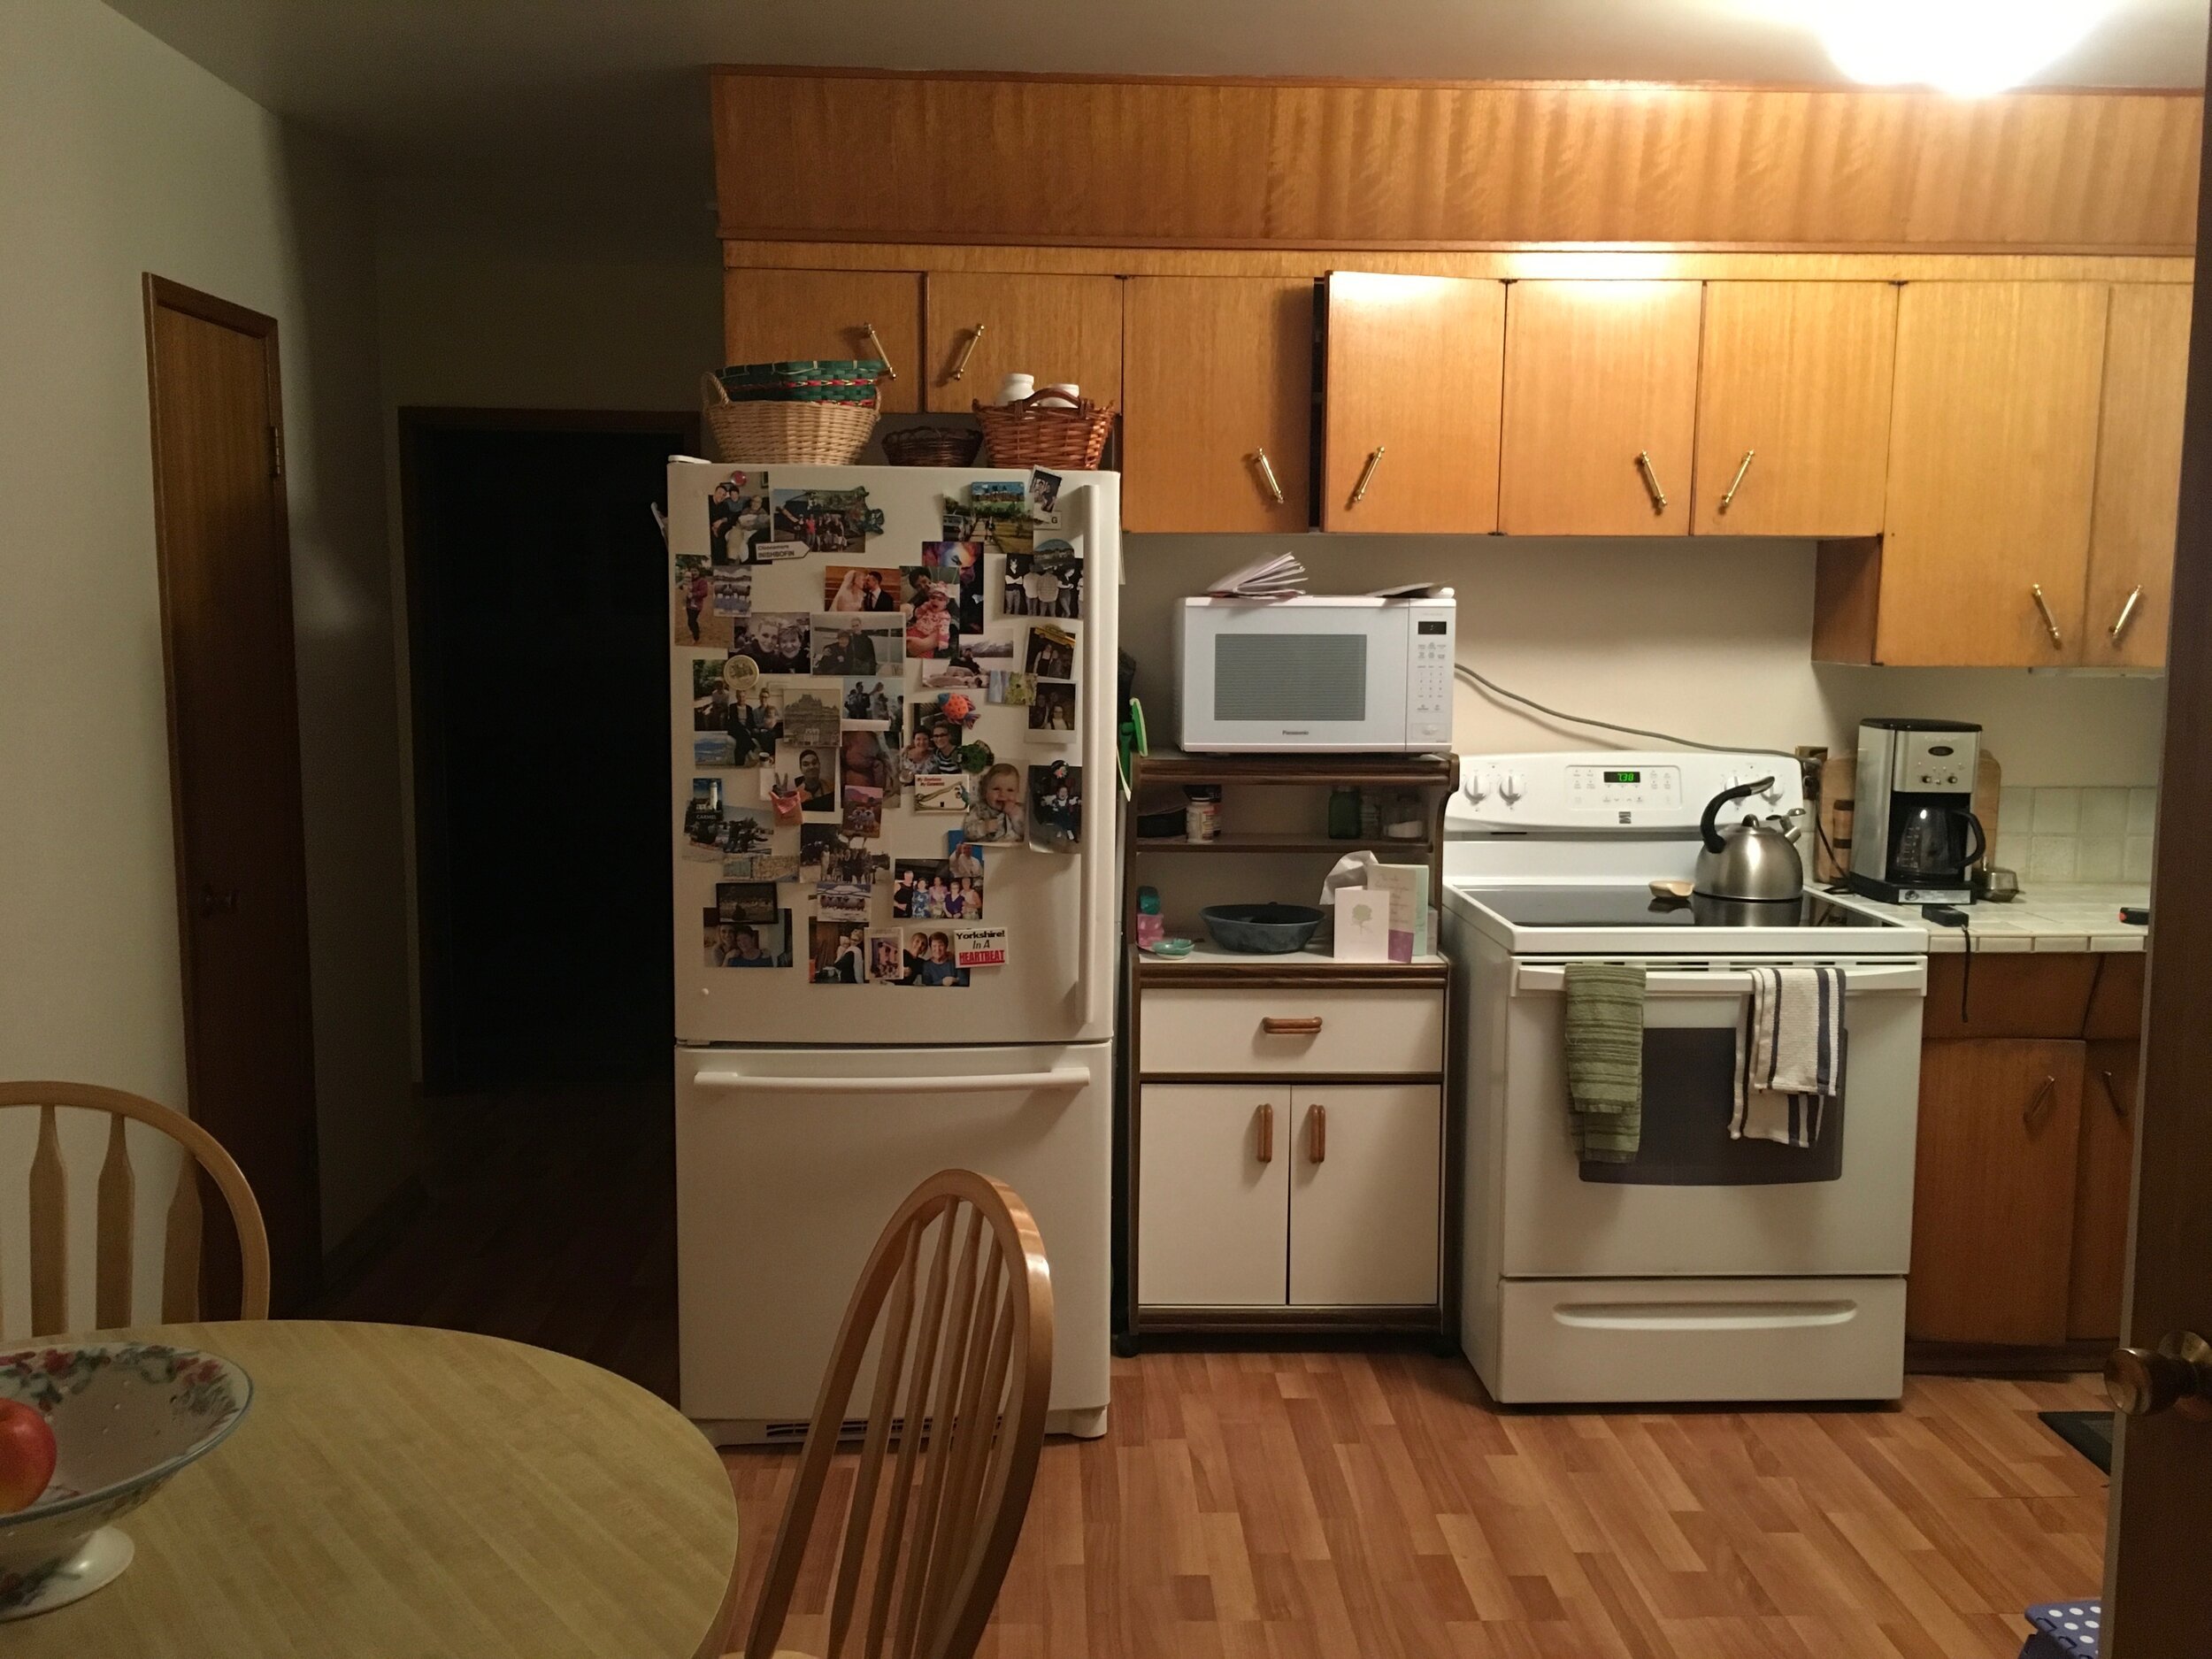
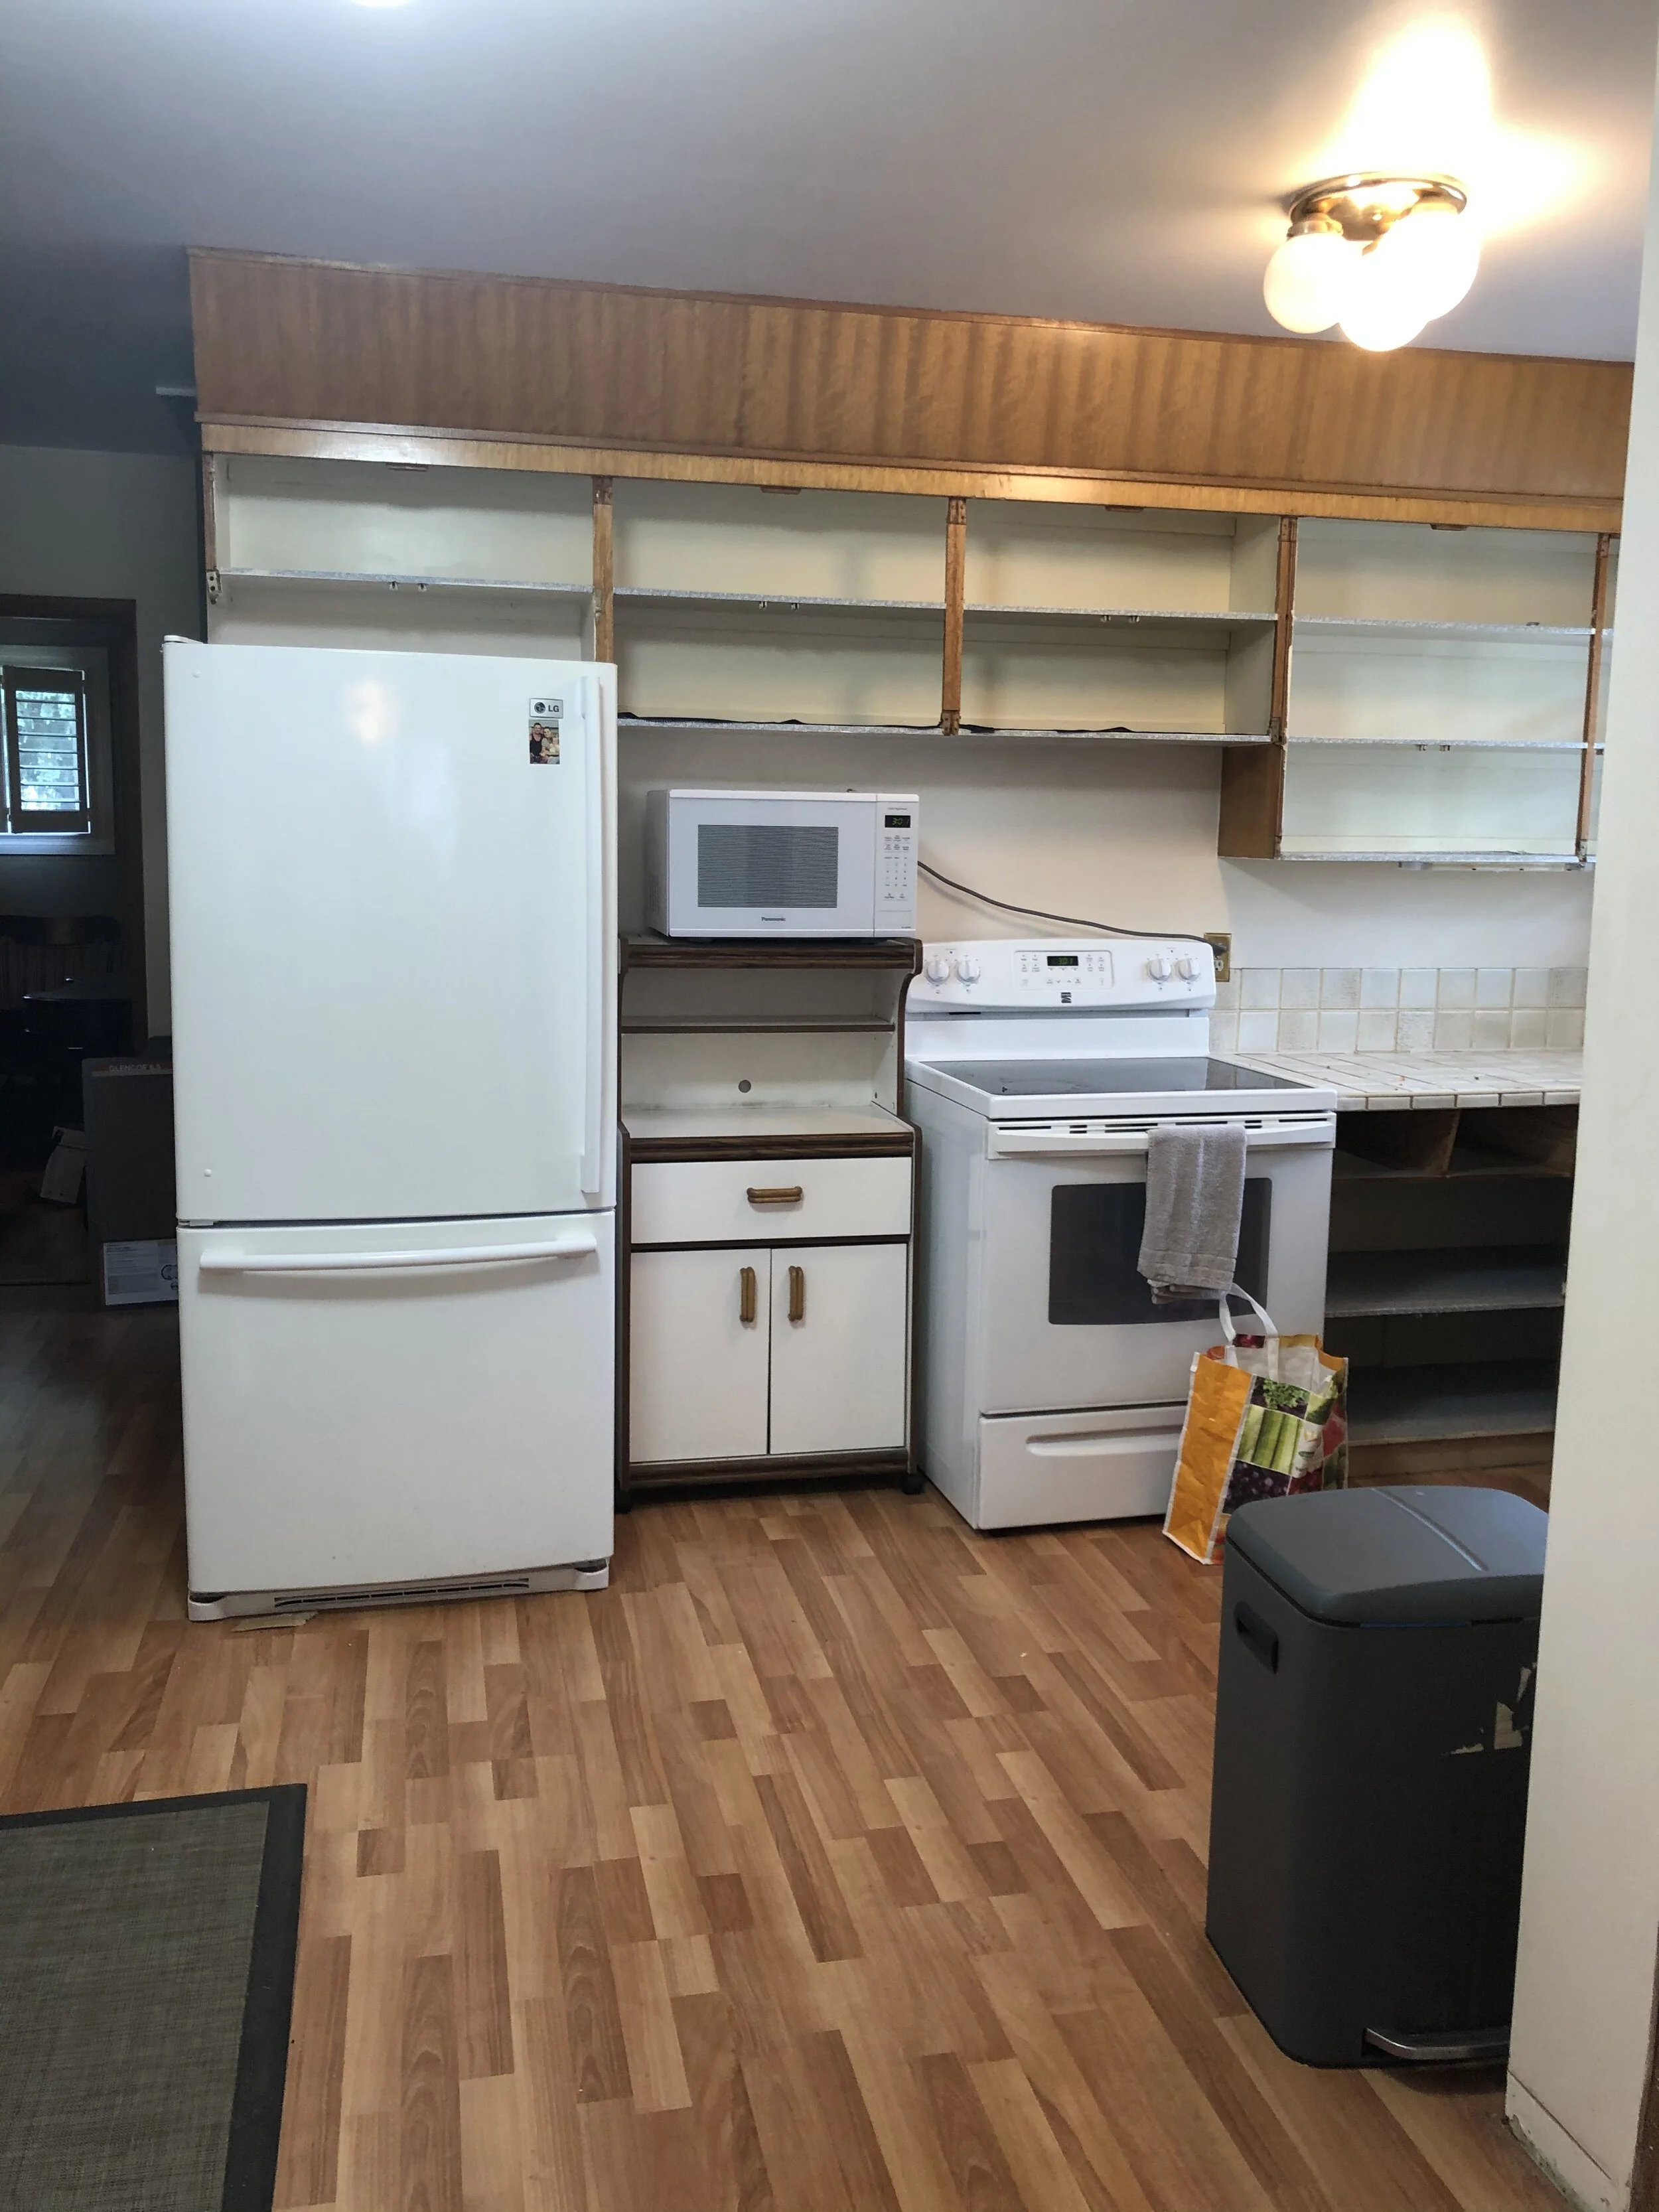
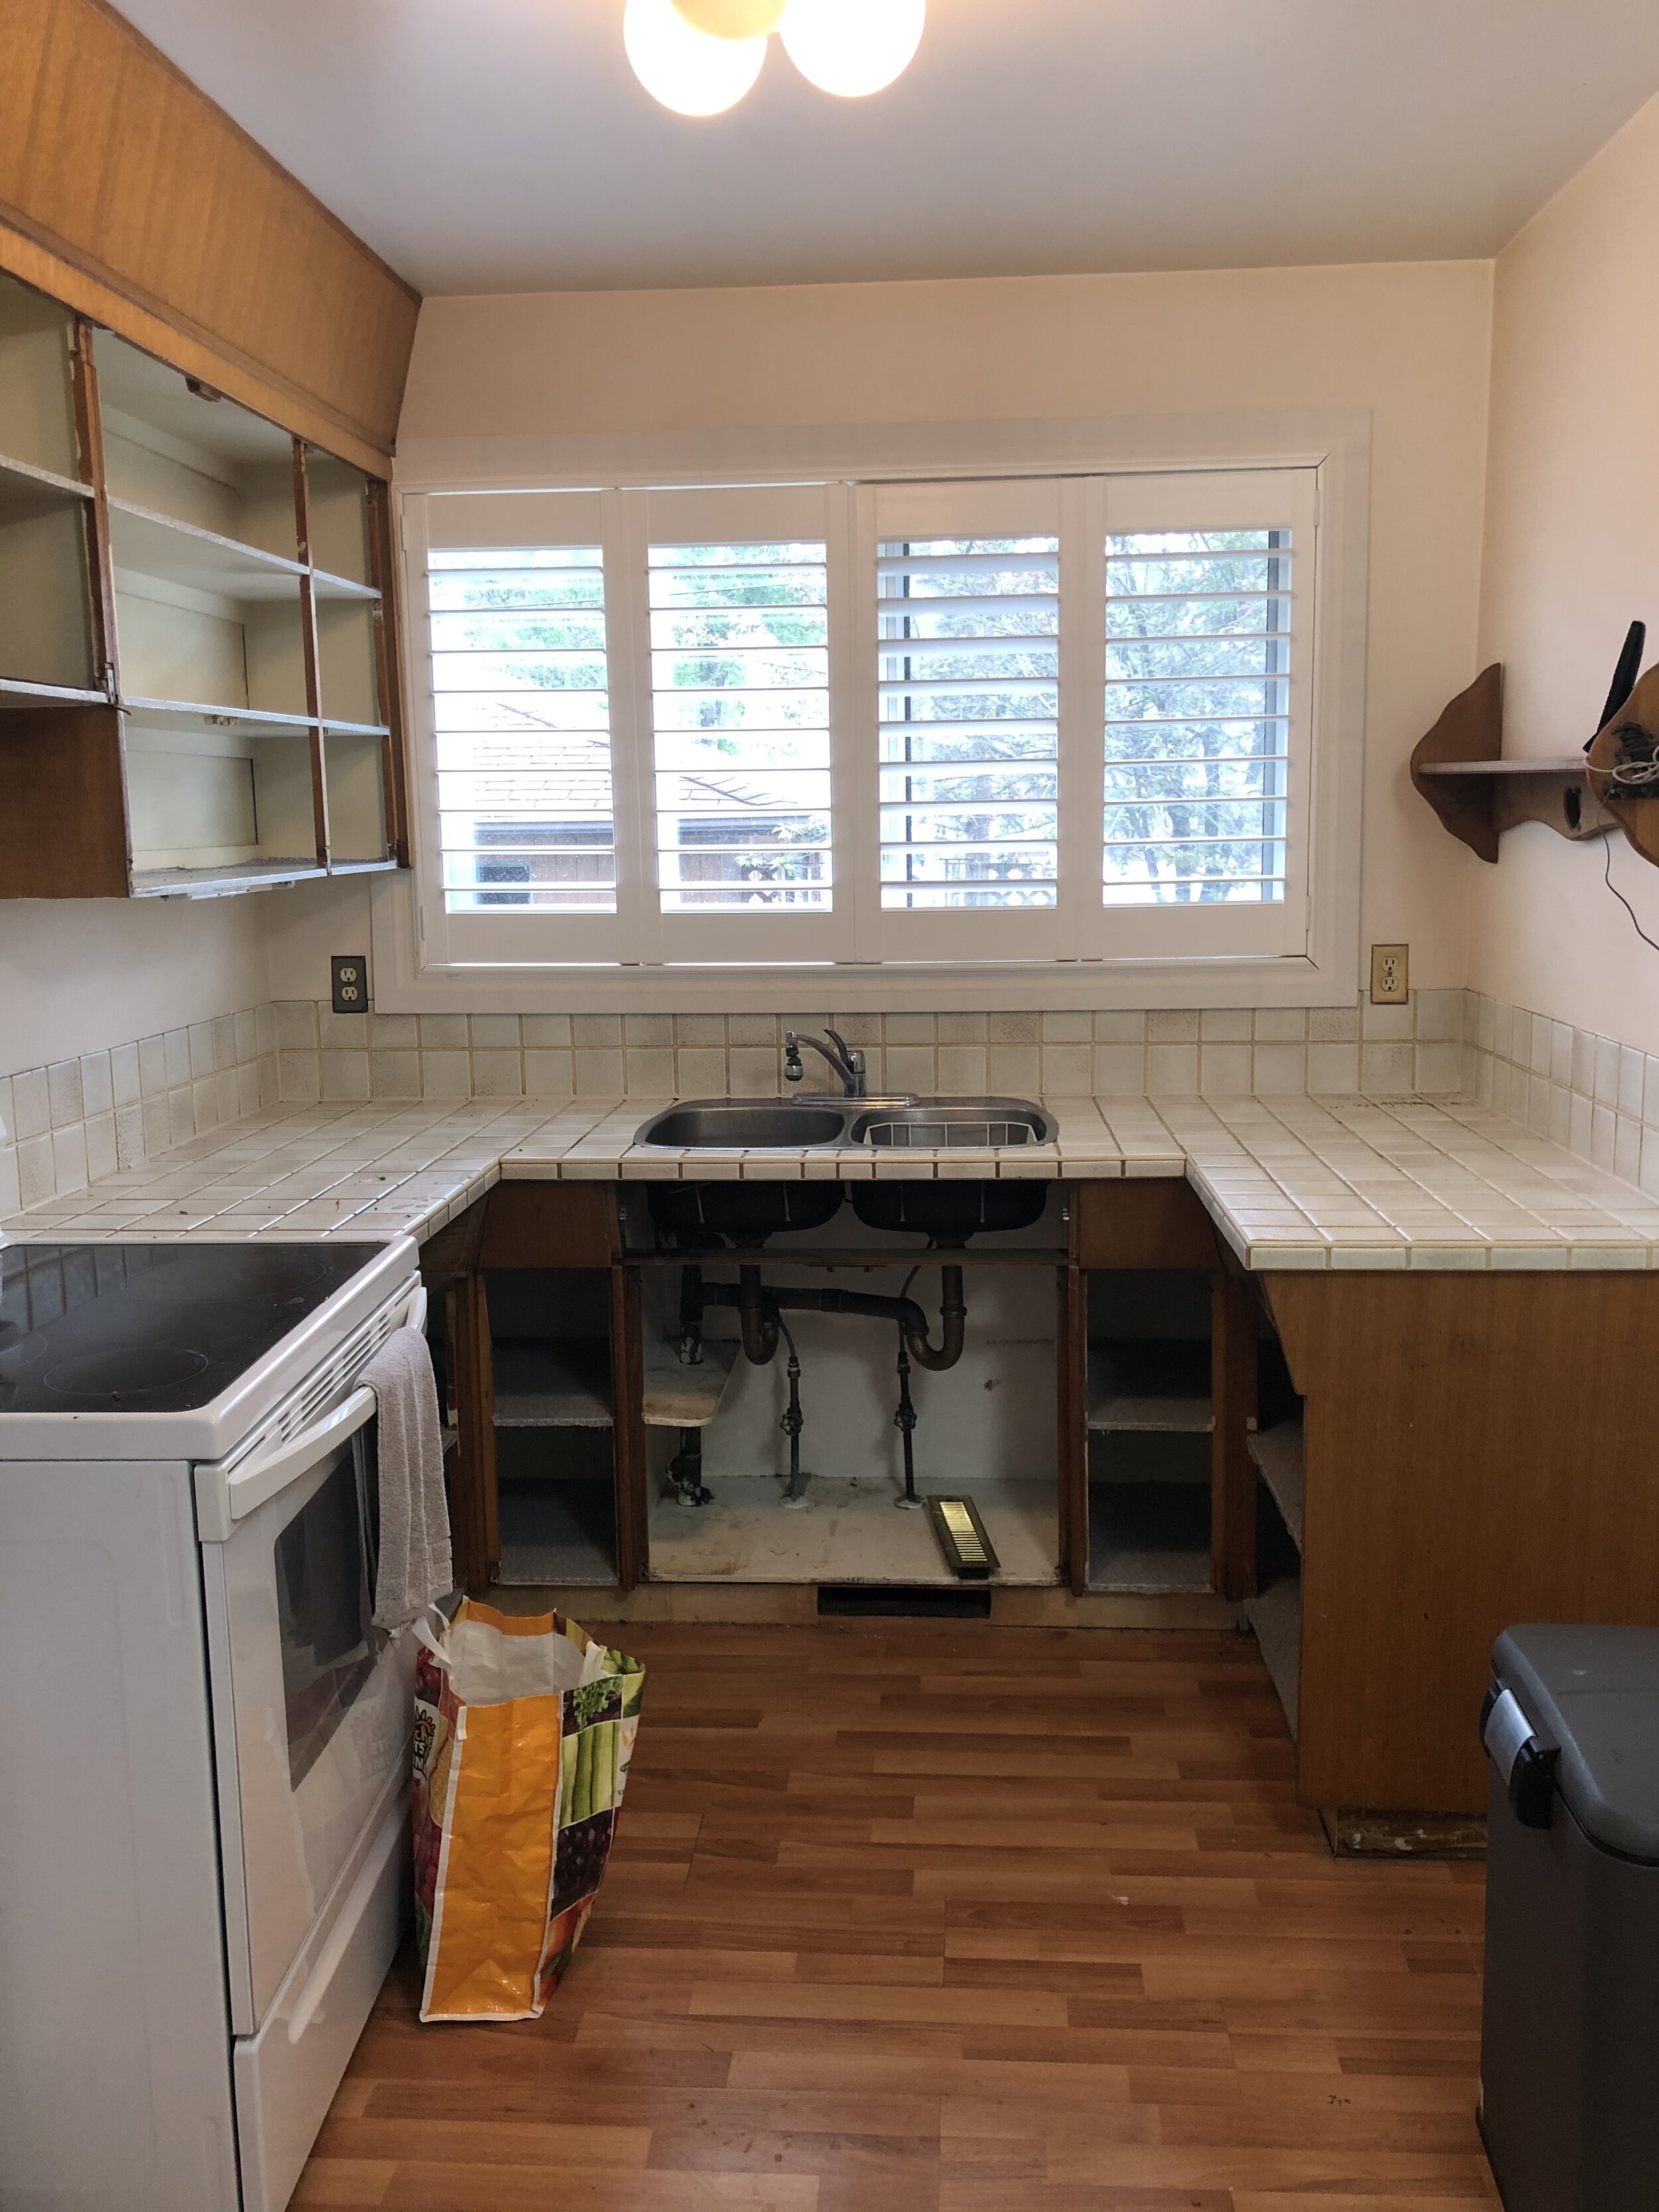
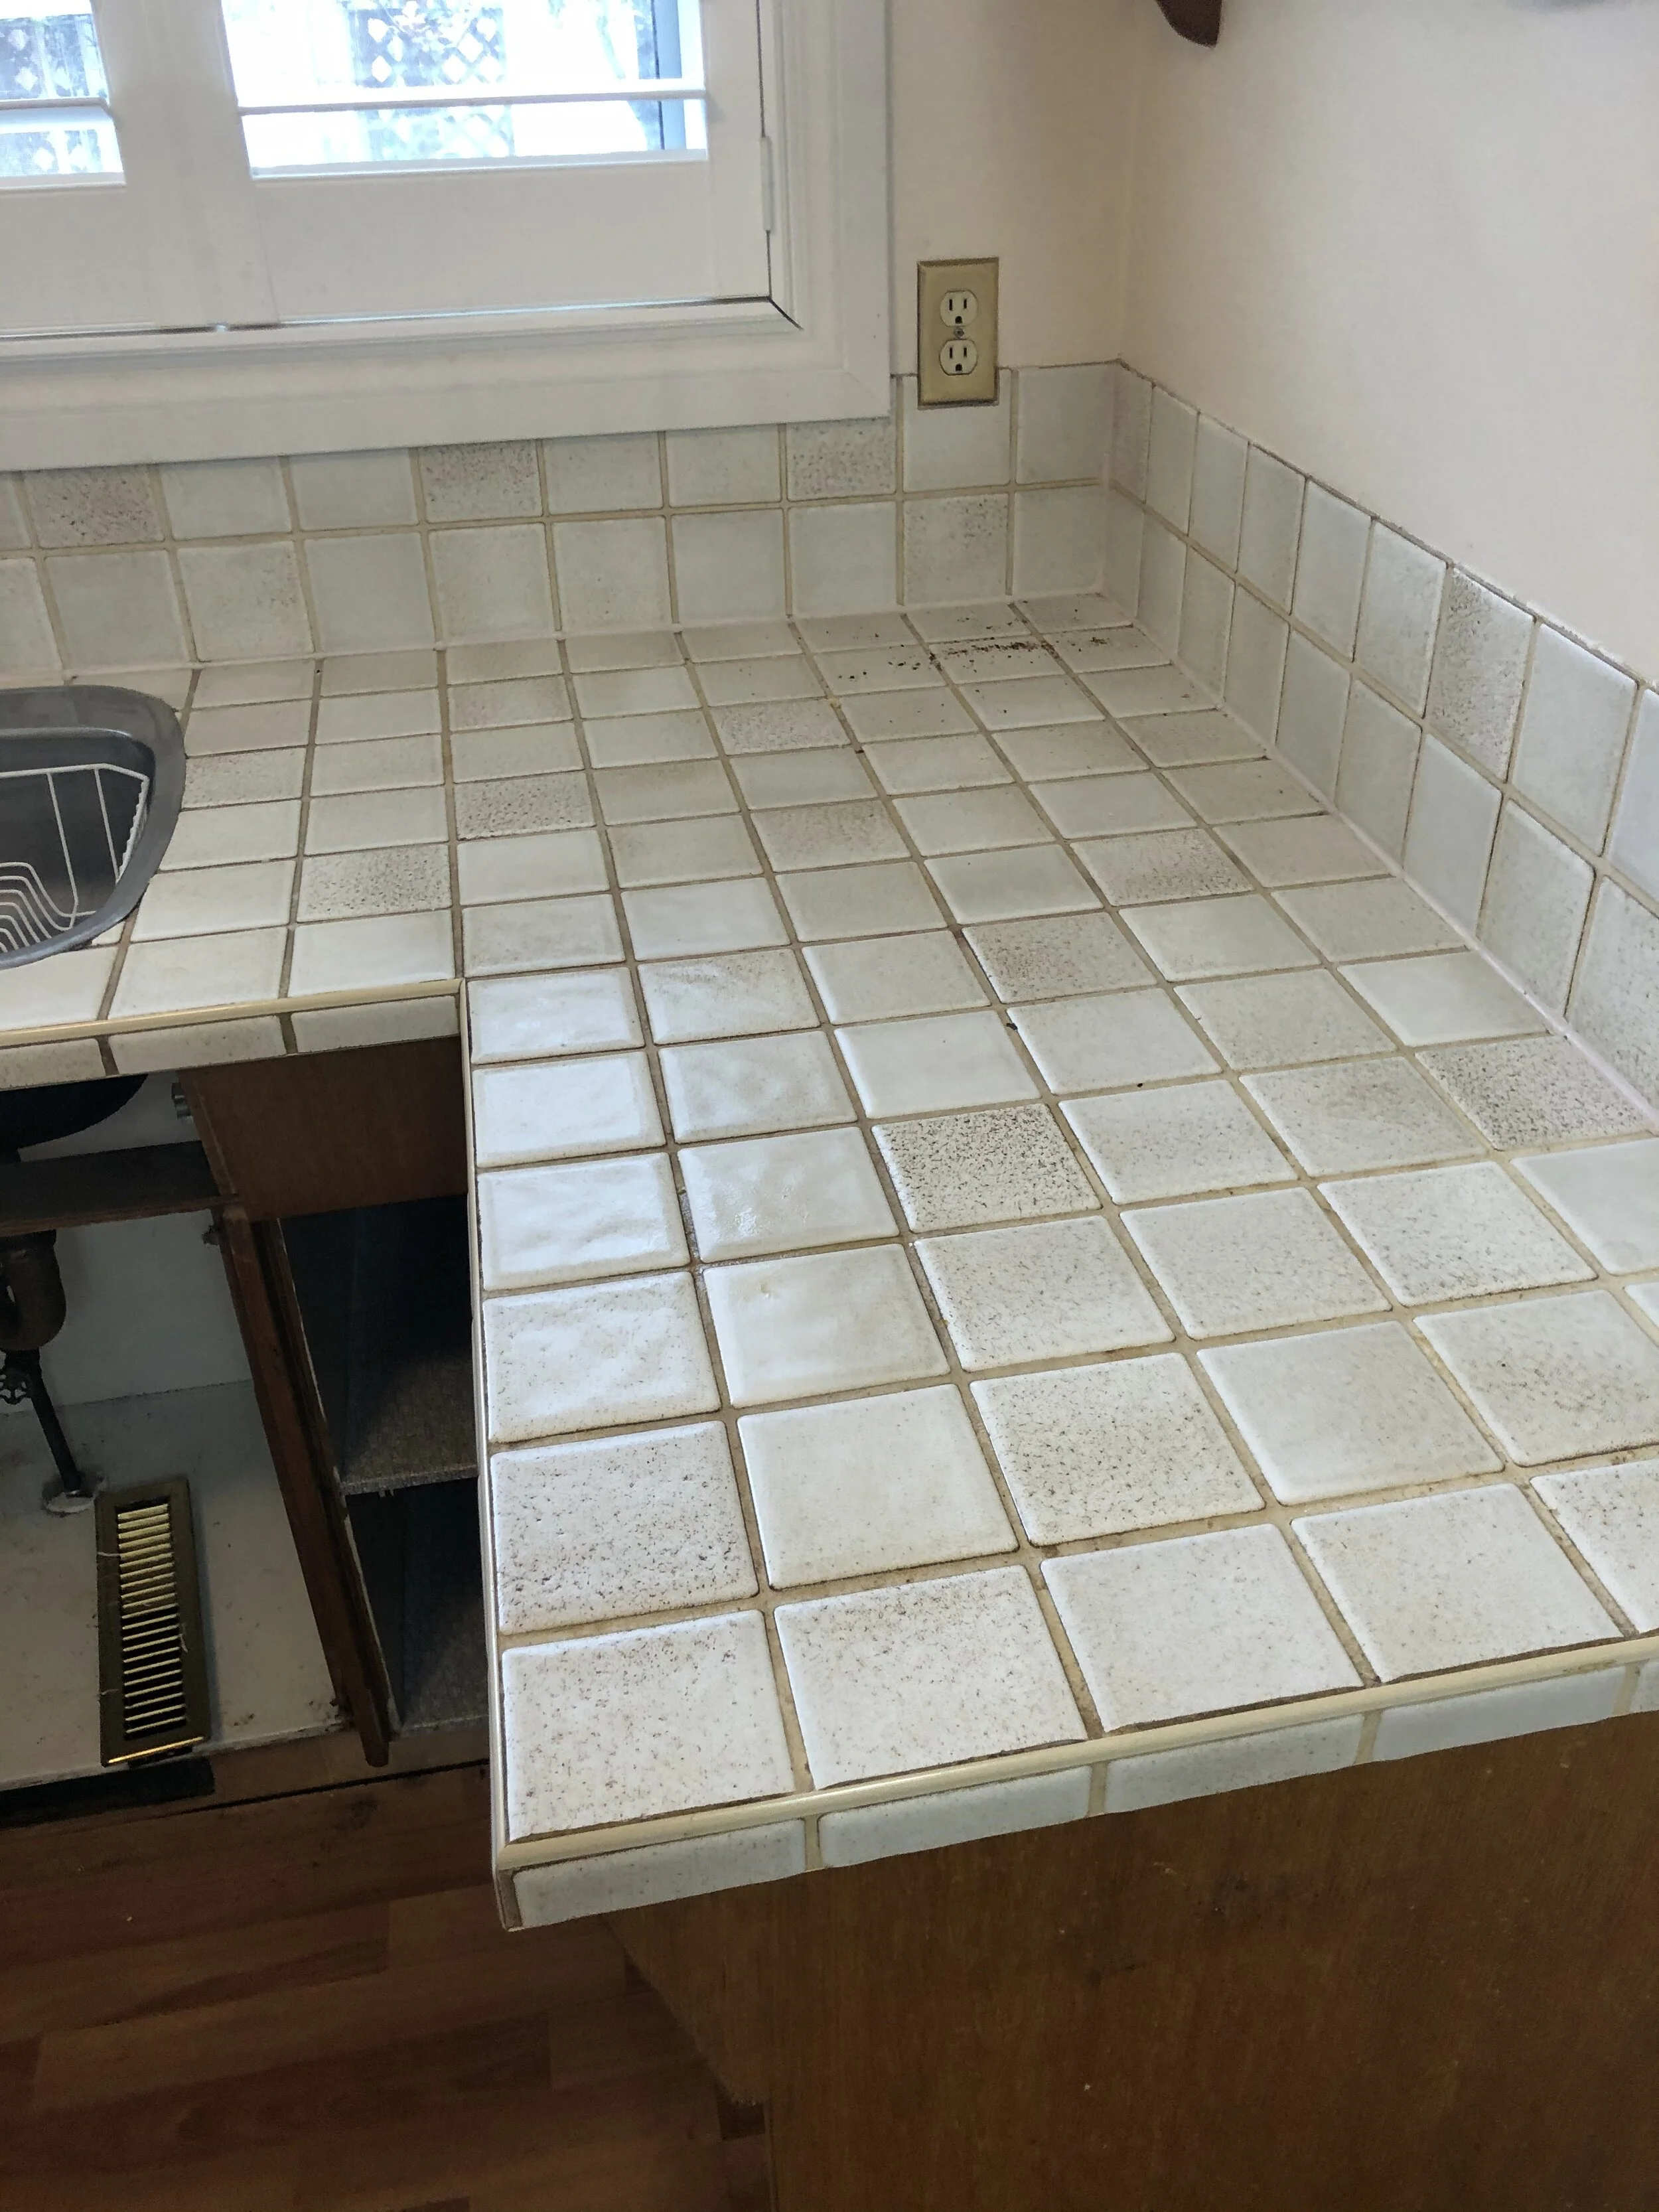
When I first met my client, she was about to retire and had decided it was finally time to treat herself to a new kitchen. During our first site visit she told me about all the meals and family gatherings that had happened in that kitchen. All the memories associated with the furniture and decor. But she also told me that she struggled to find and take out items from the lower cabinets. That she was tired of washing all the dishes by hand. That the tiled countertop was a pain to keep clean and made it difficult for baking when she needed a smooth surface.
And I stood there thinking, I am going to give this woman the kitchen she deserves and I will find a way to make sure it has a dishwasher!
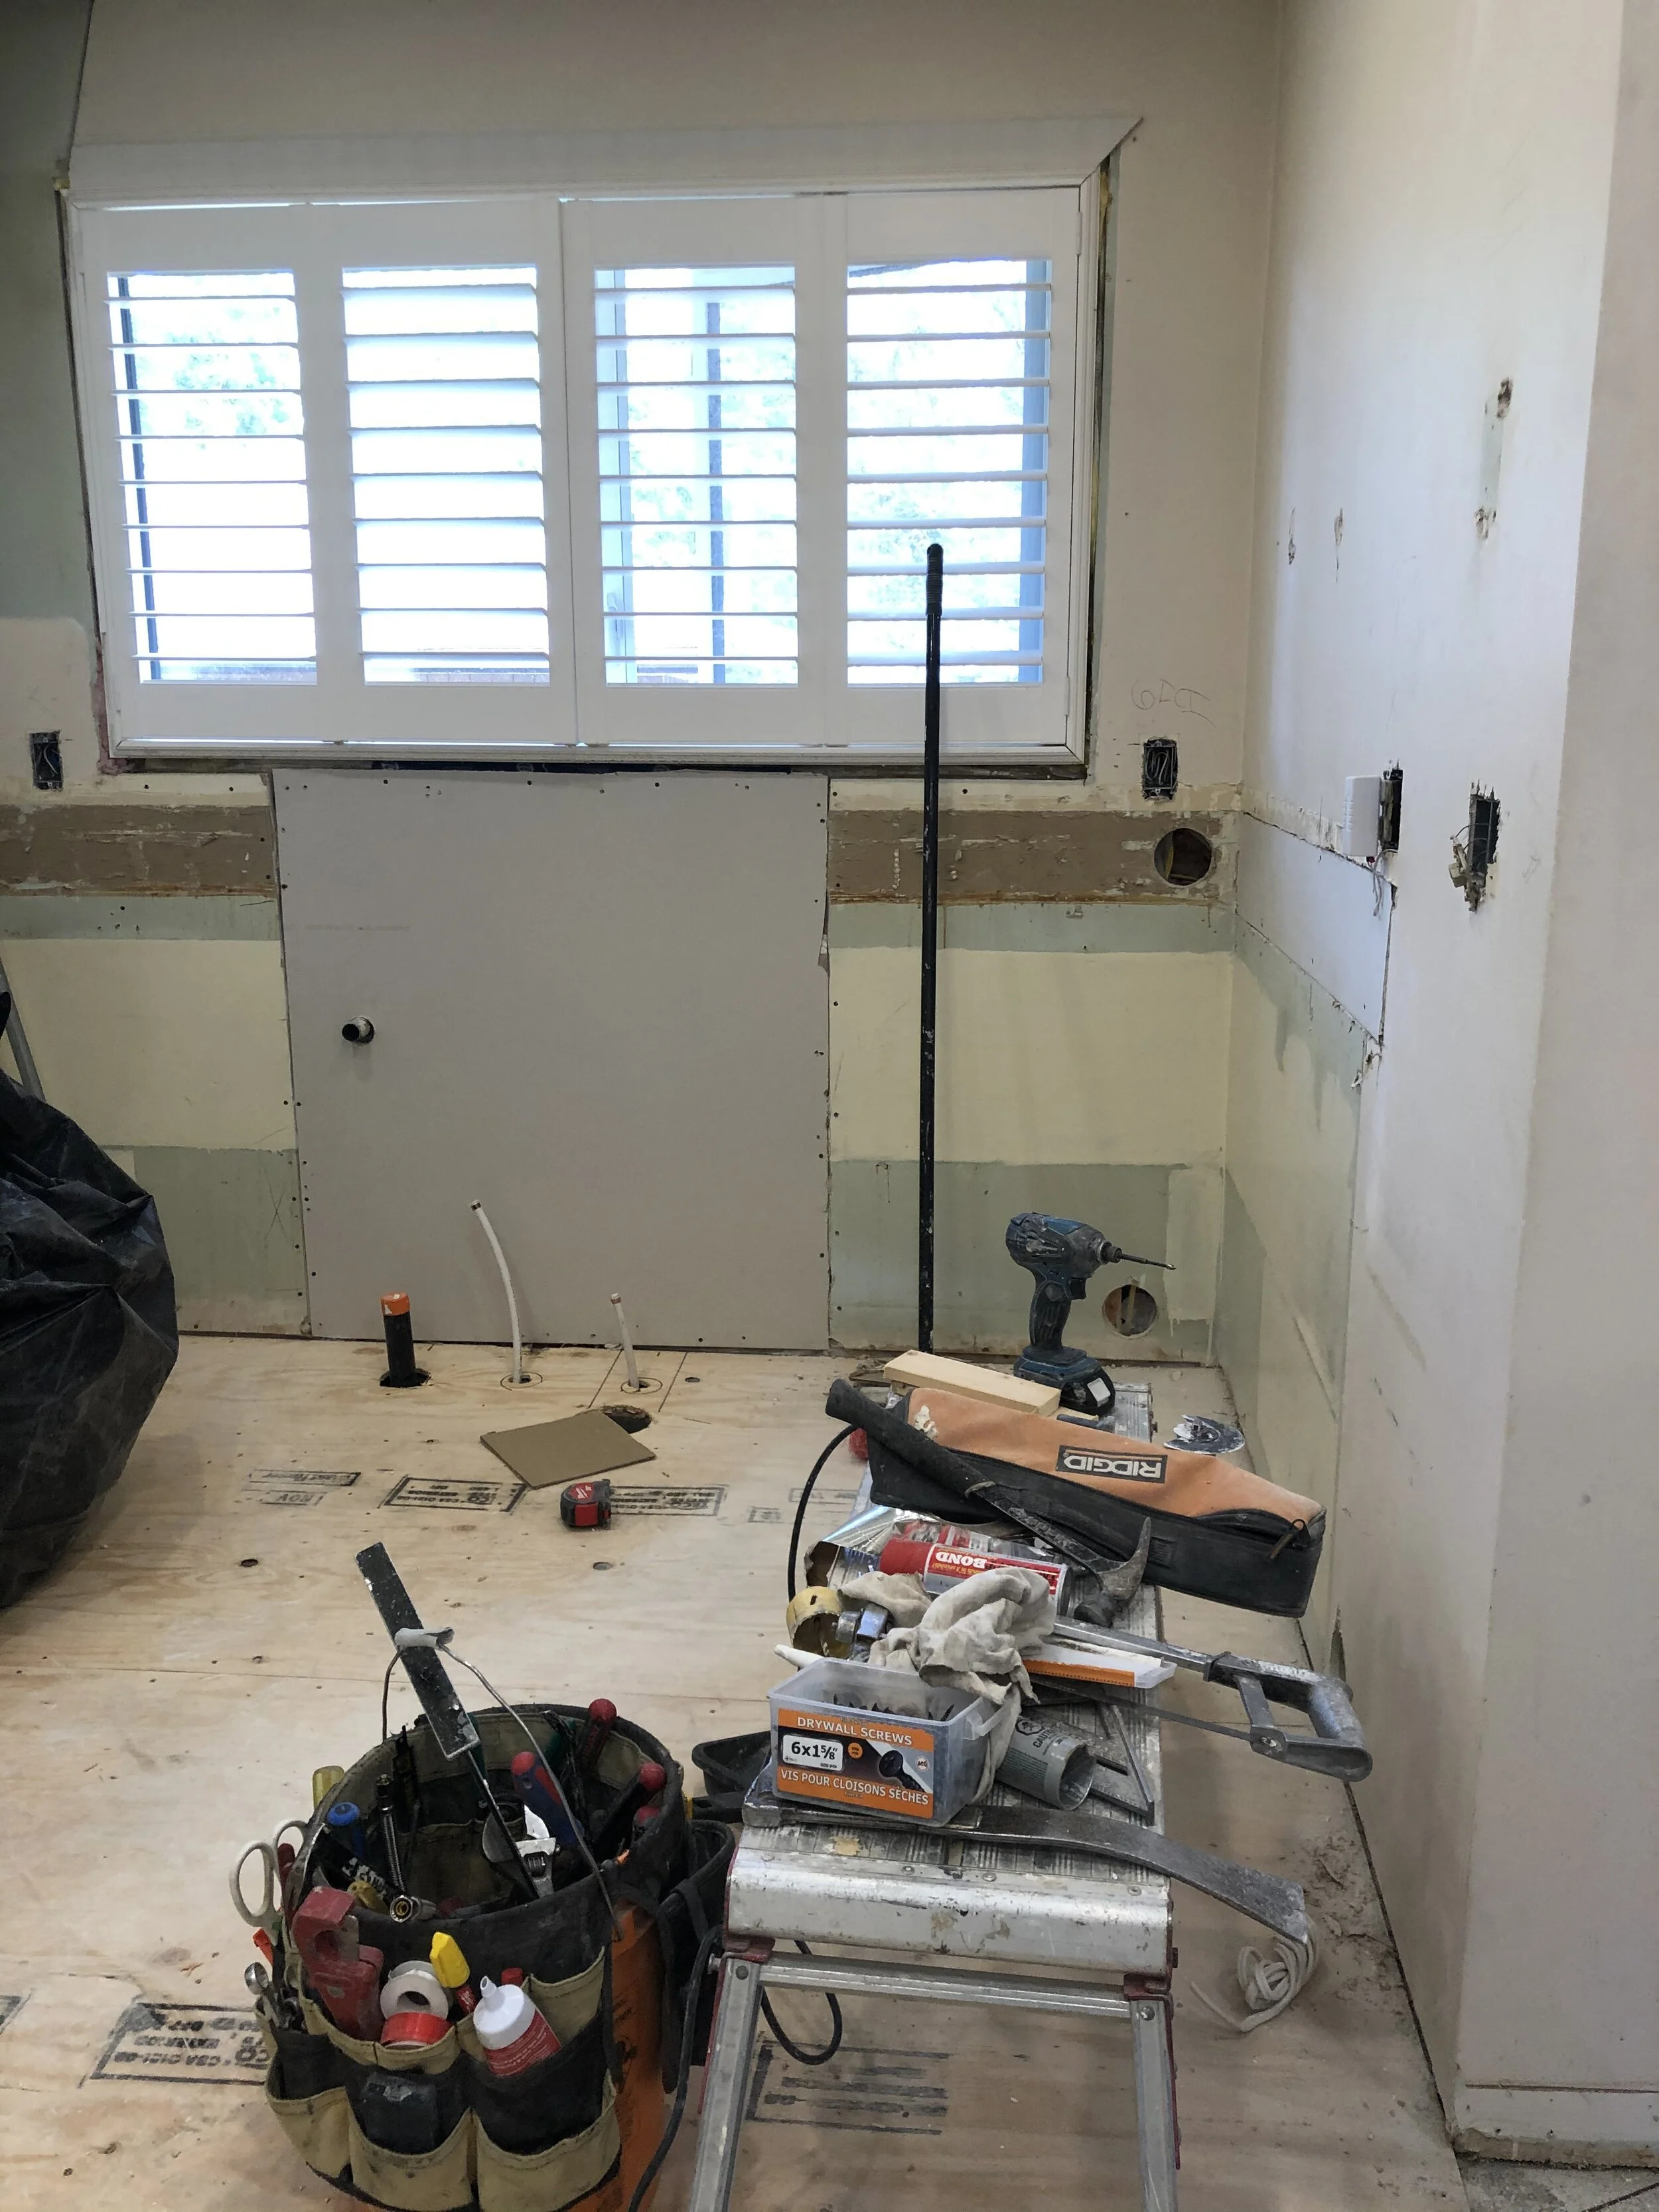
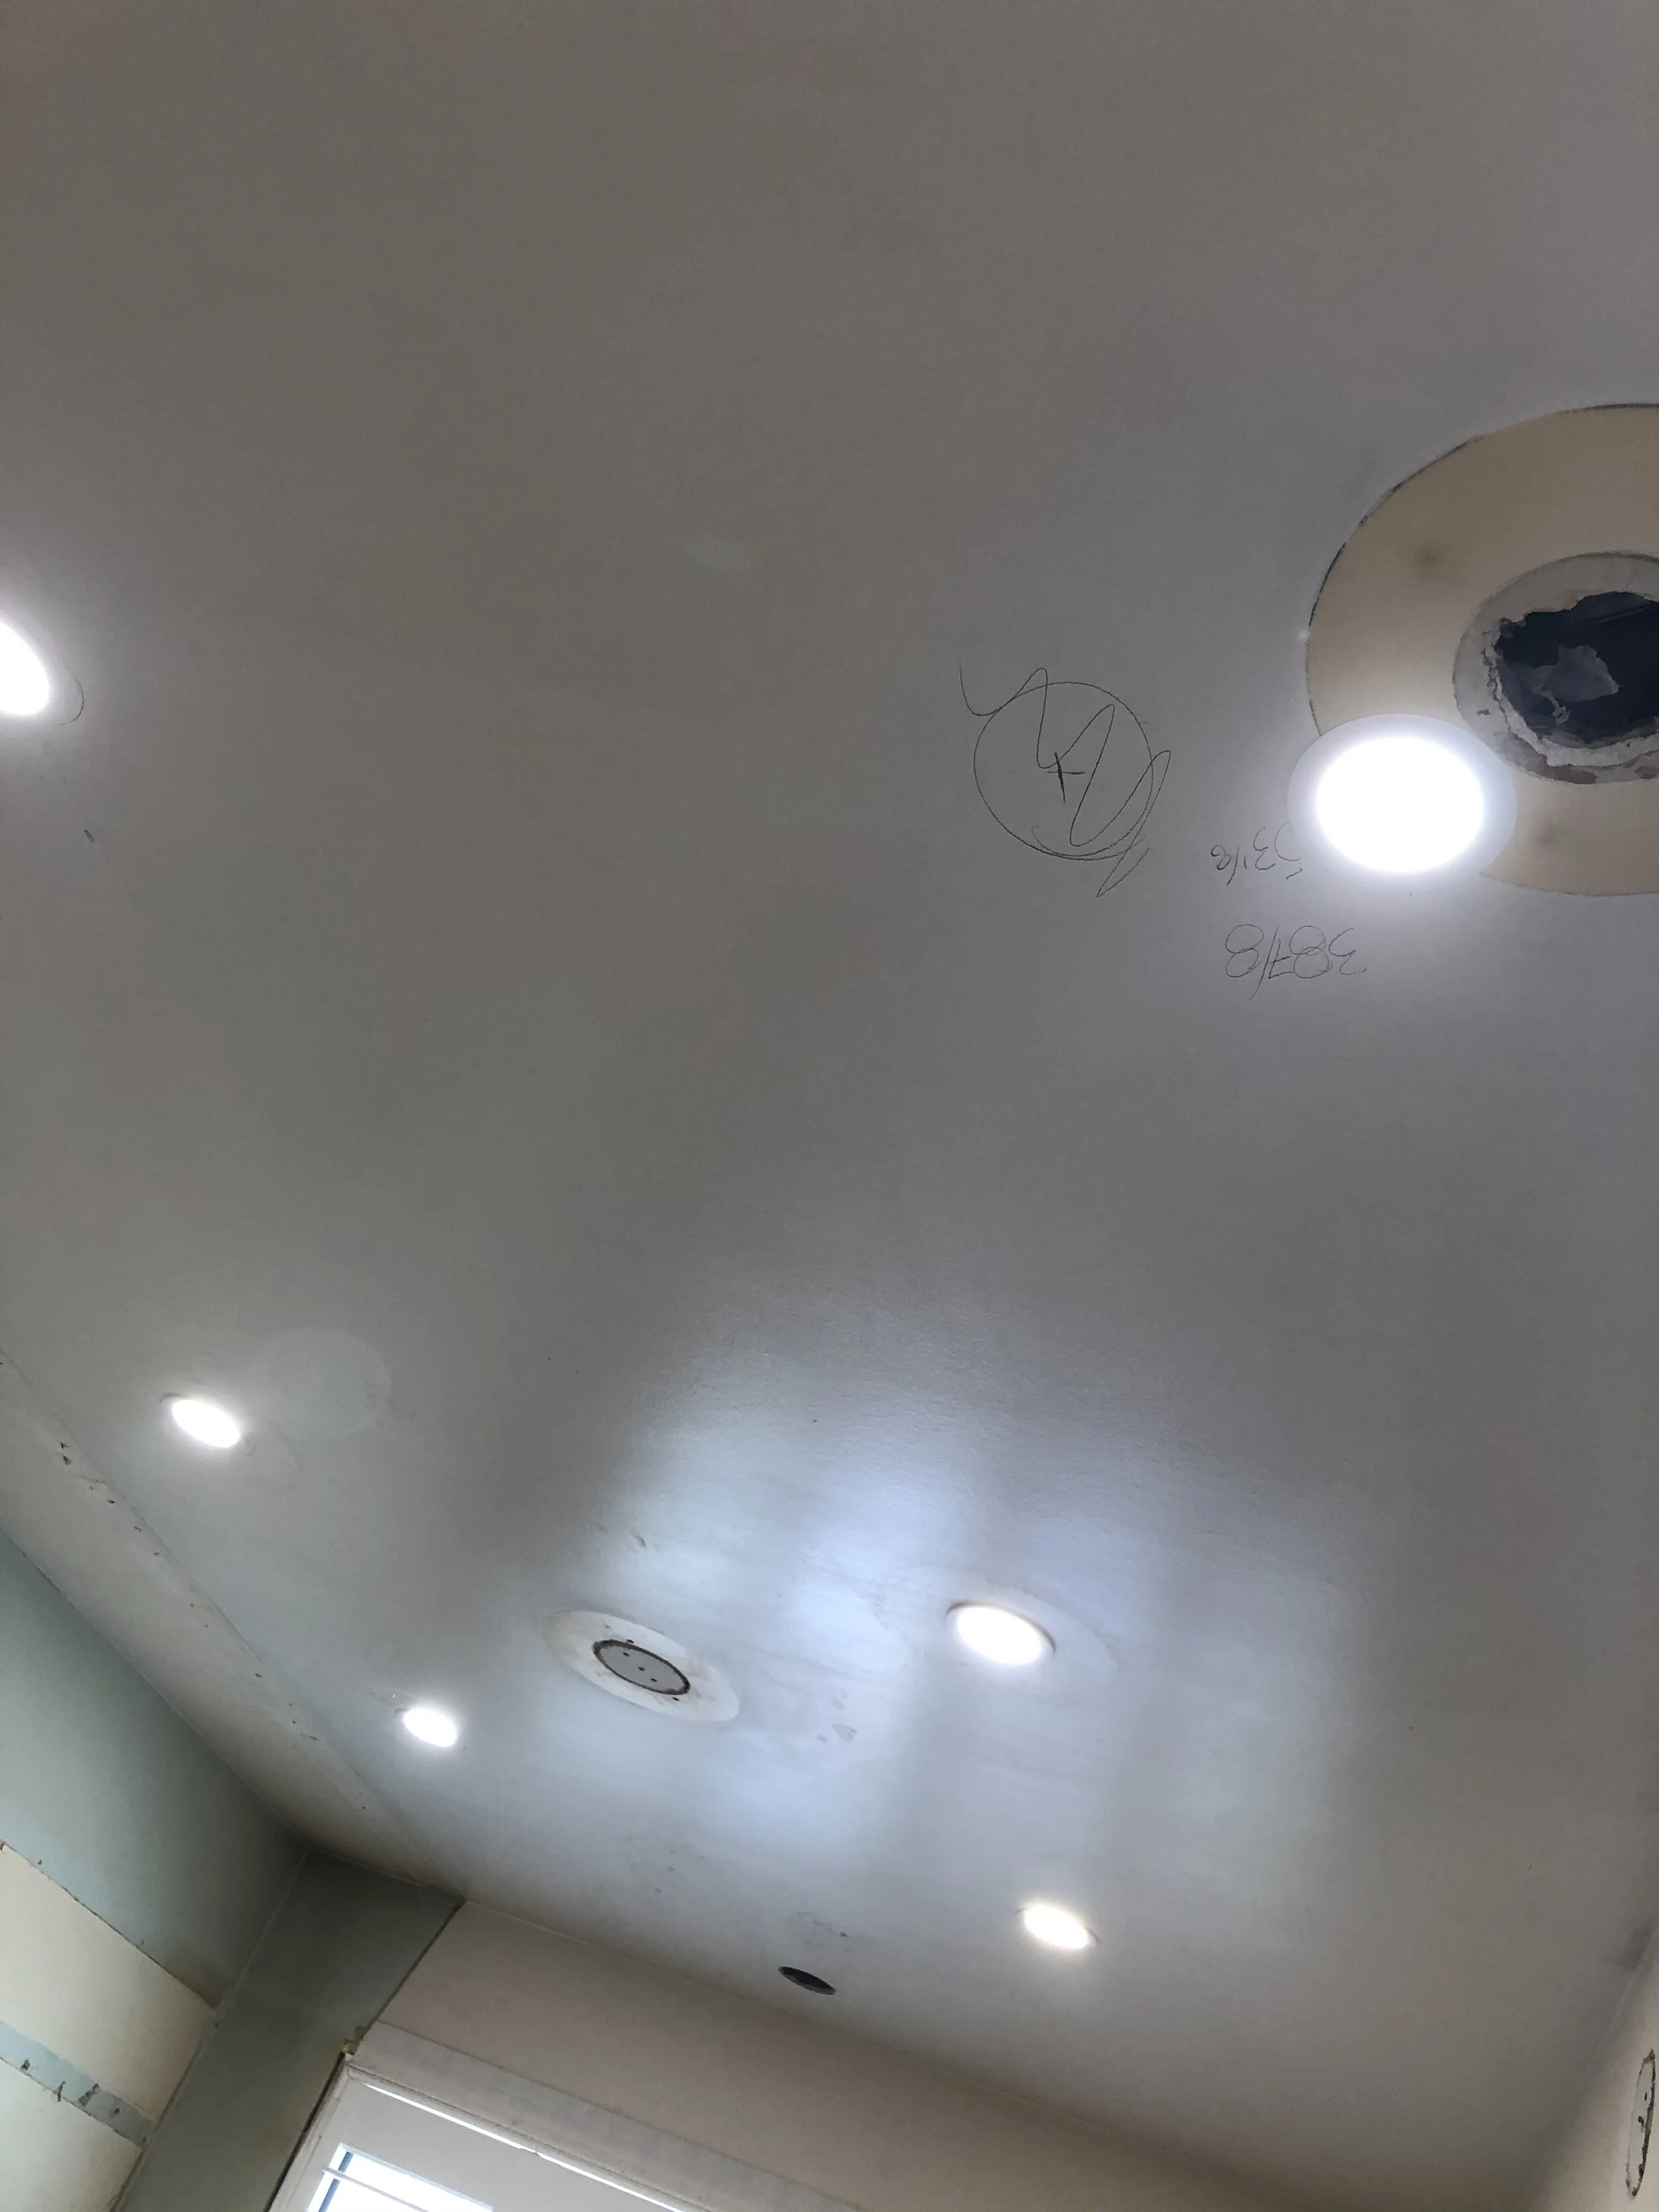
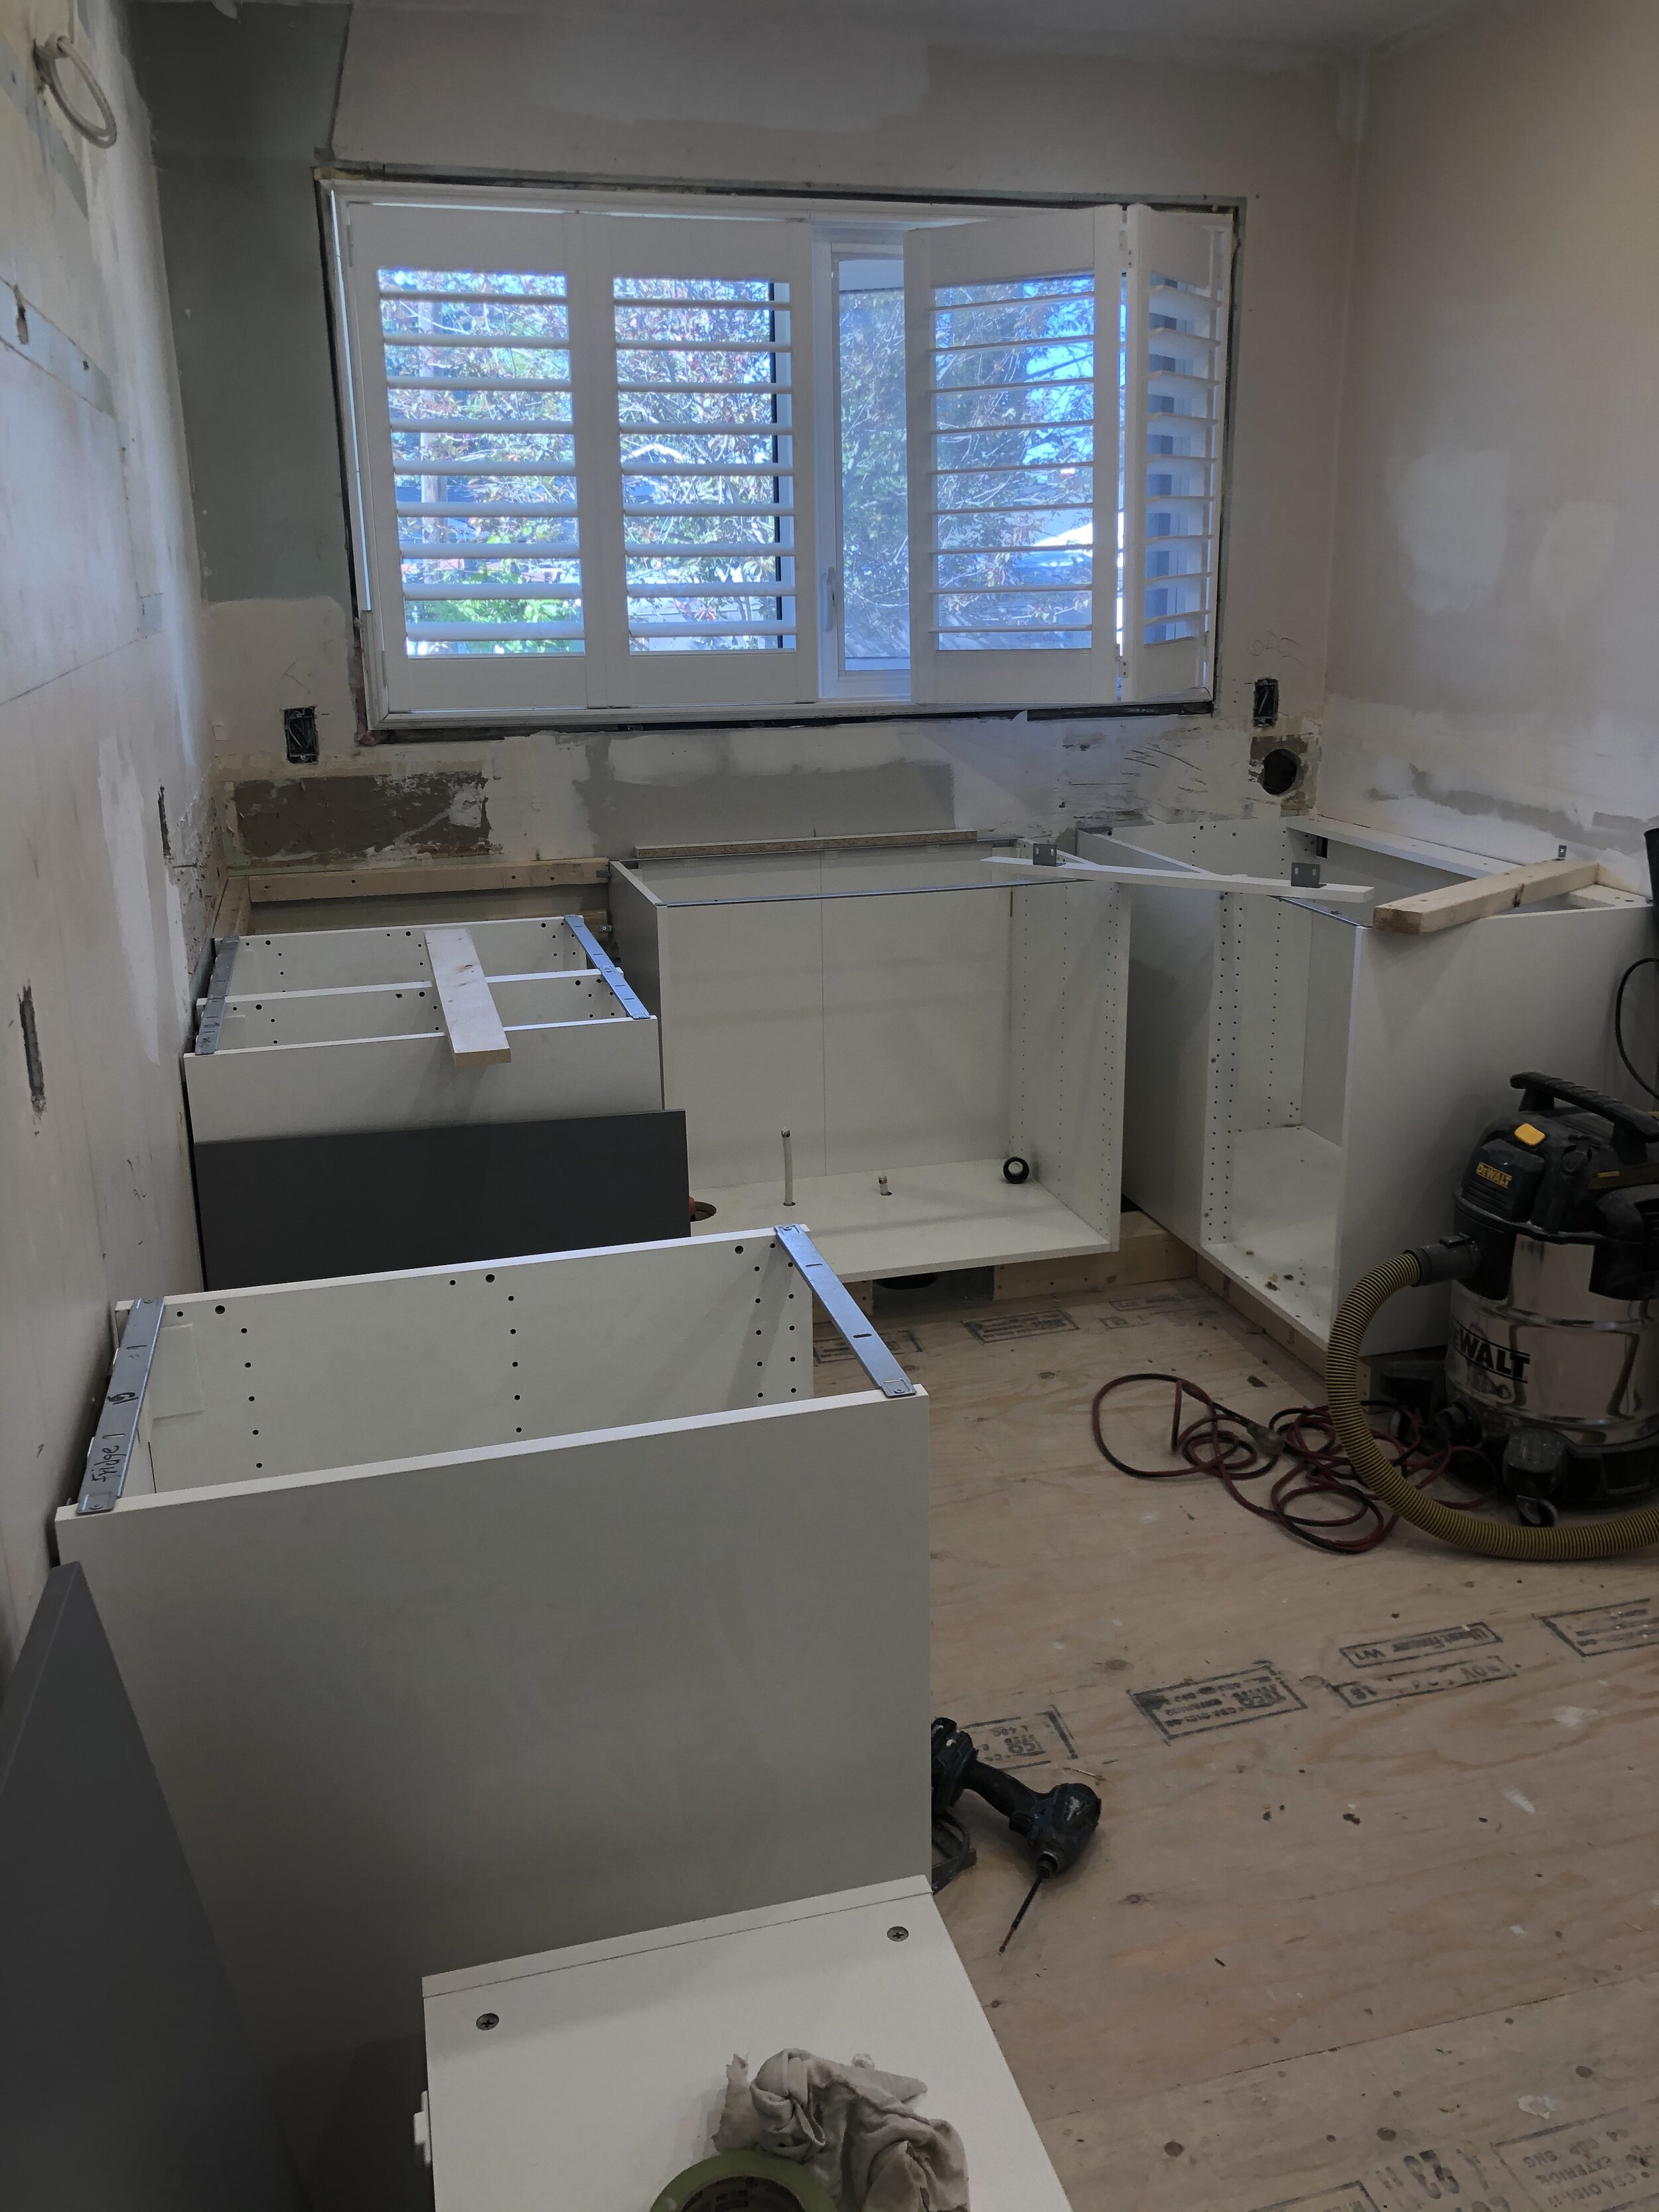
So here’s what we started with:
The Design Plan
At this point we didn’t know about all the other fun design projects we were going to take on together, so the design plan for the kitchen involved limited changes to the actual space and layout. The important elements were:
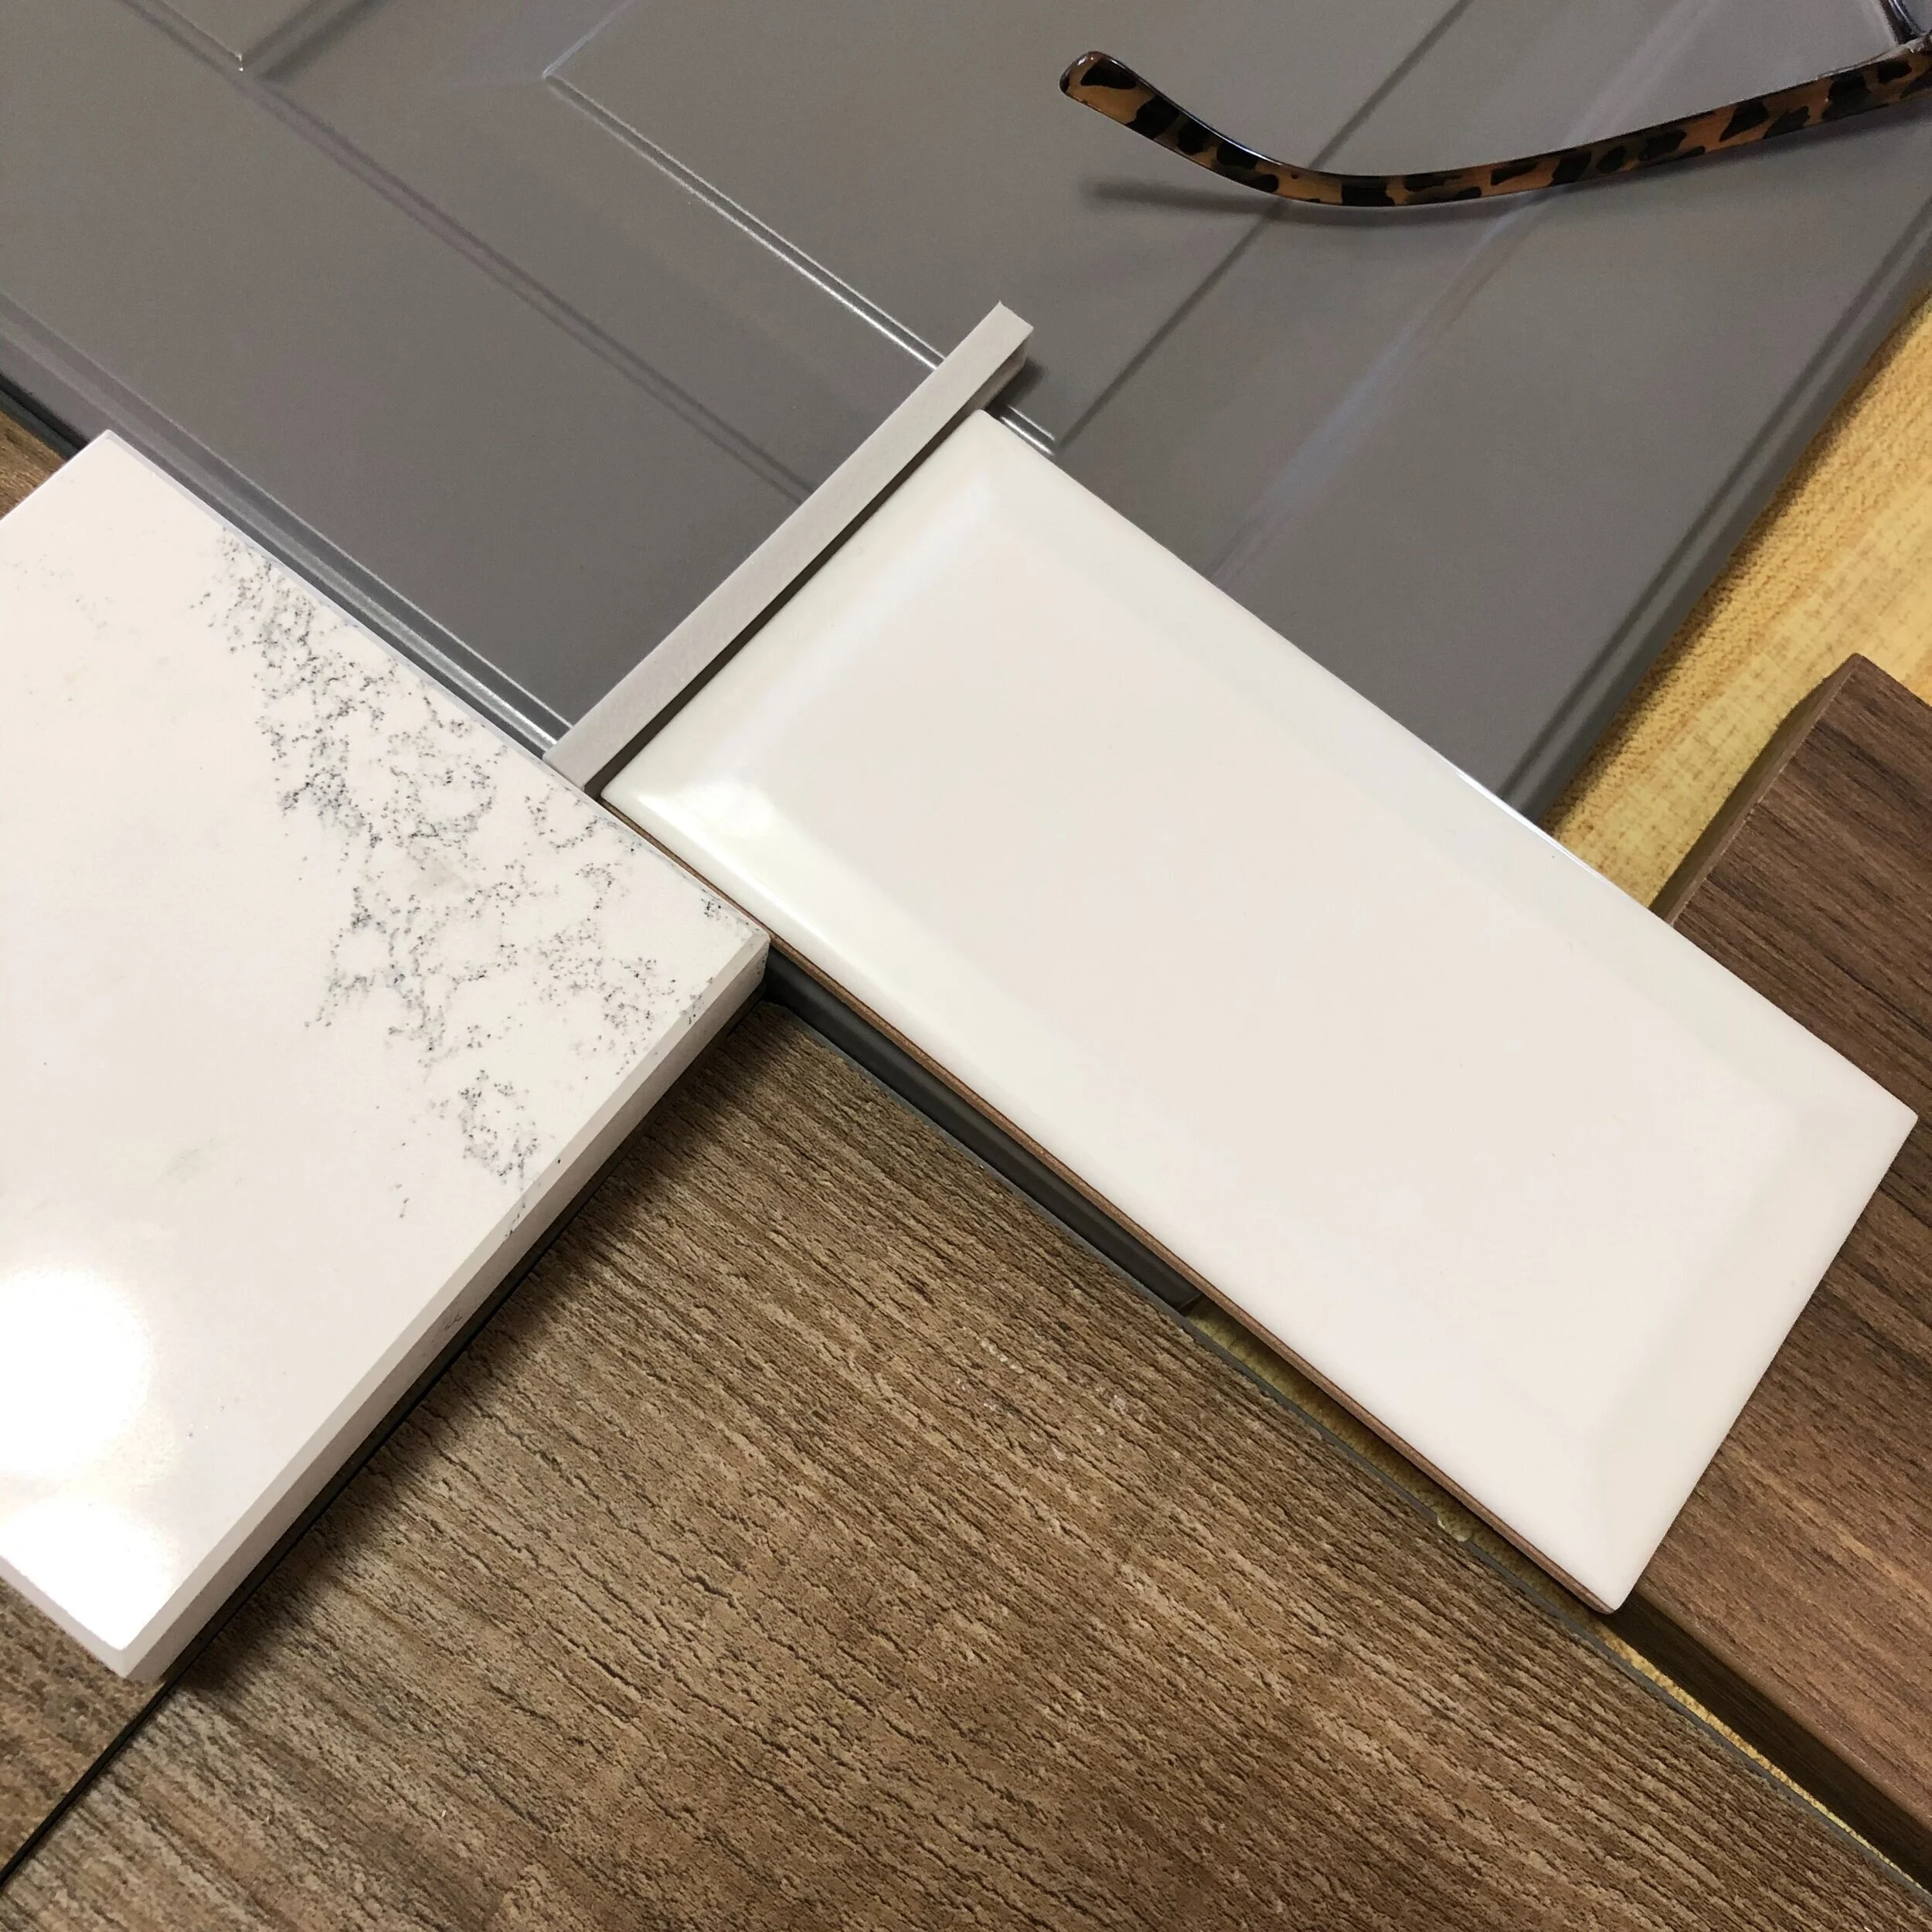
the grey BODBYN cabinets from IKEA that my client loved
as many drawers as possible
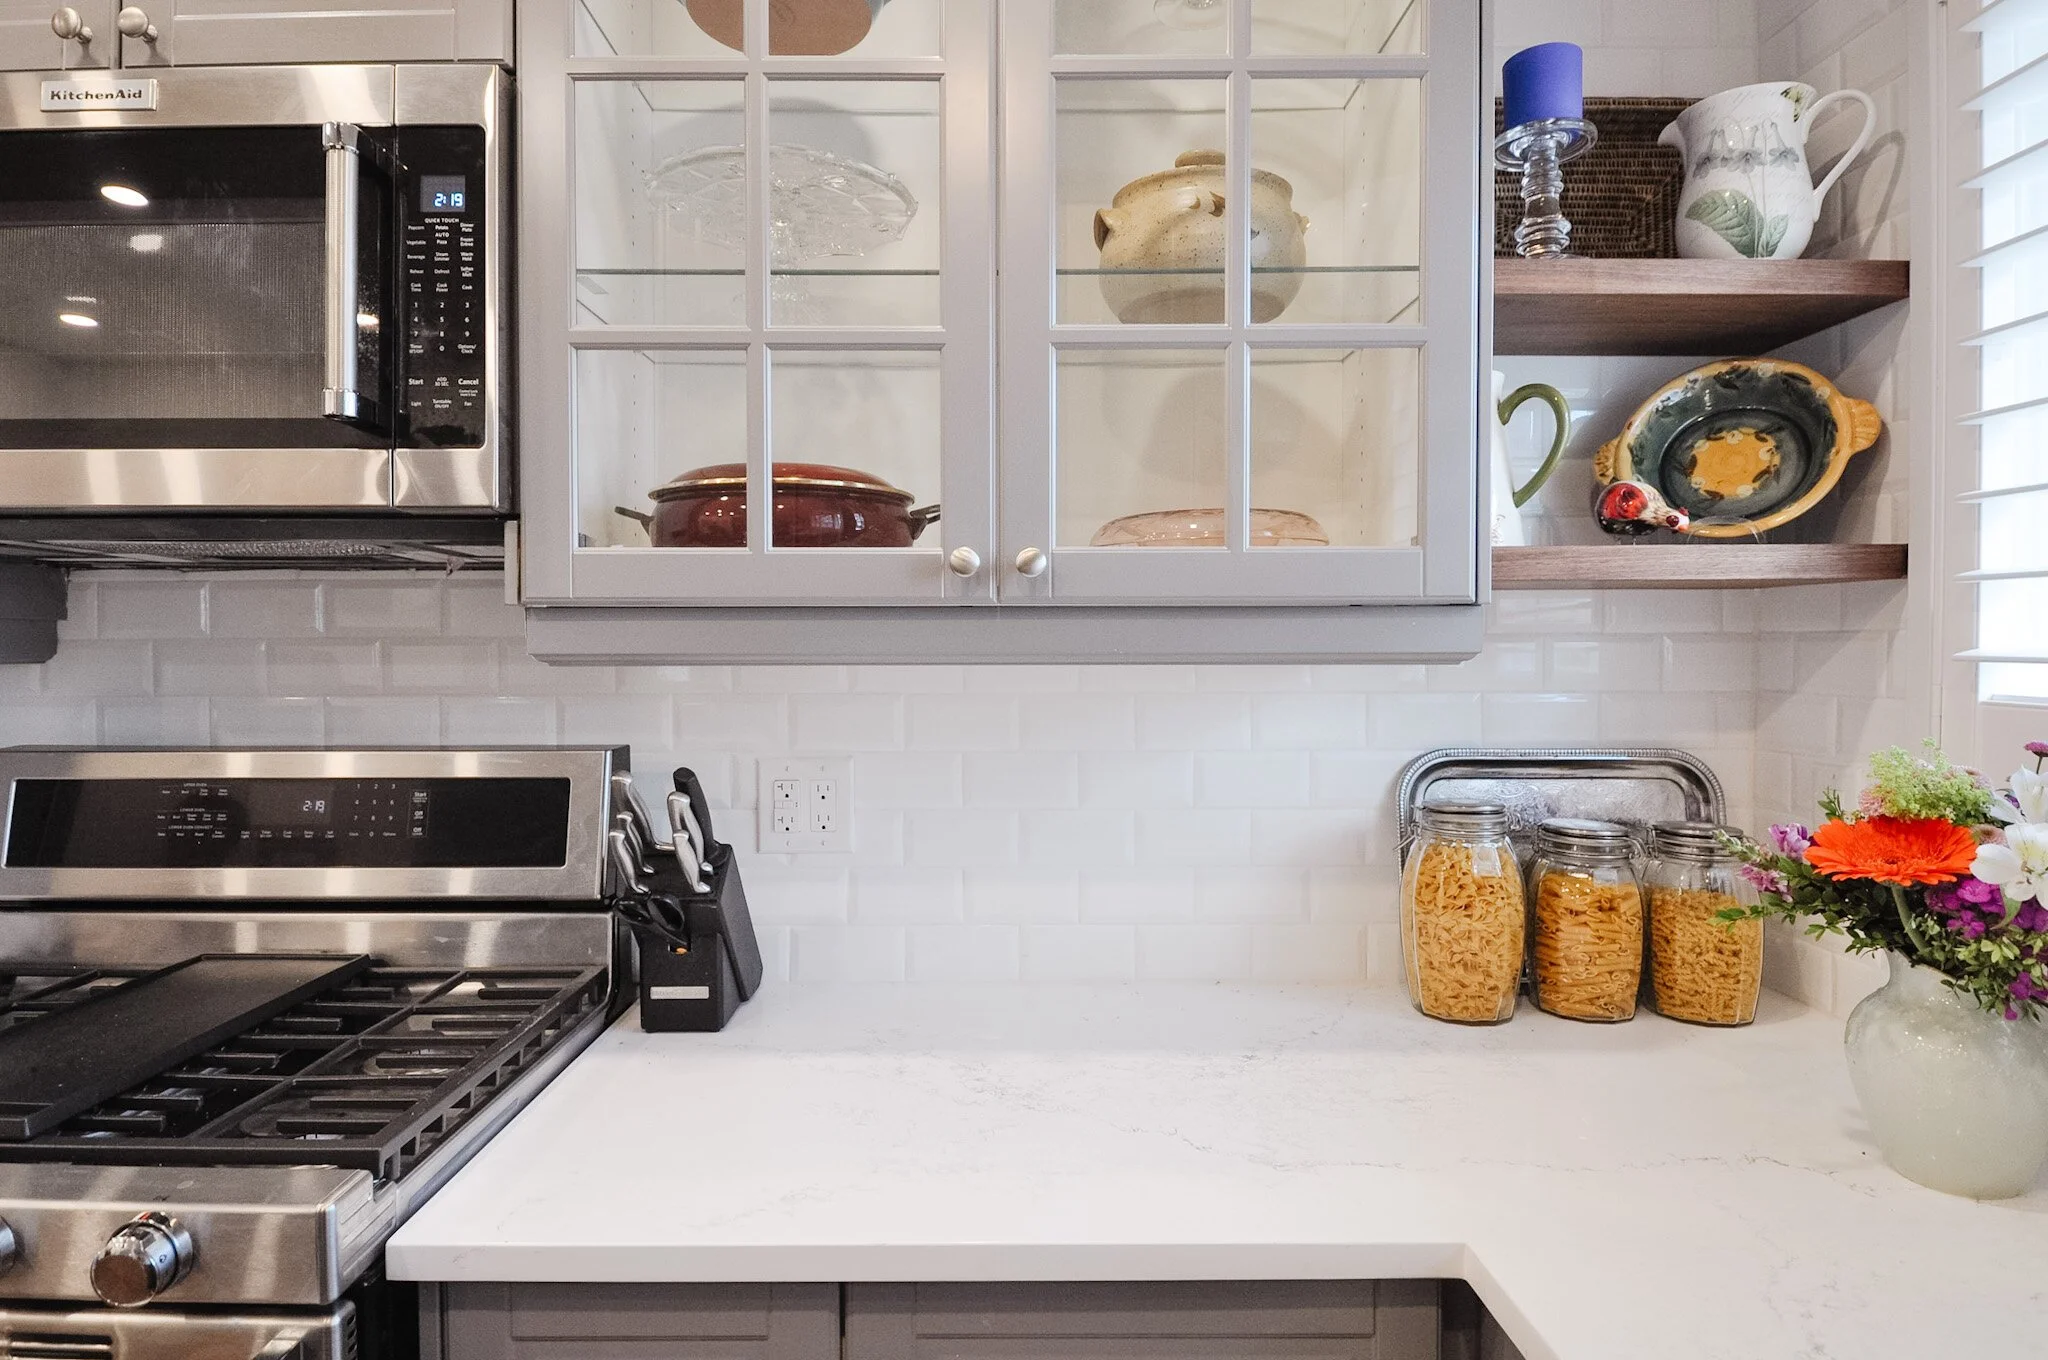
a gas range and dishwasher if possible
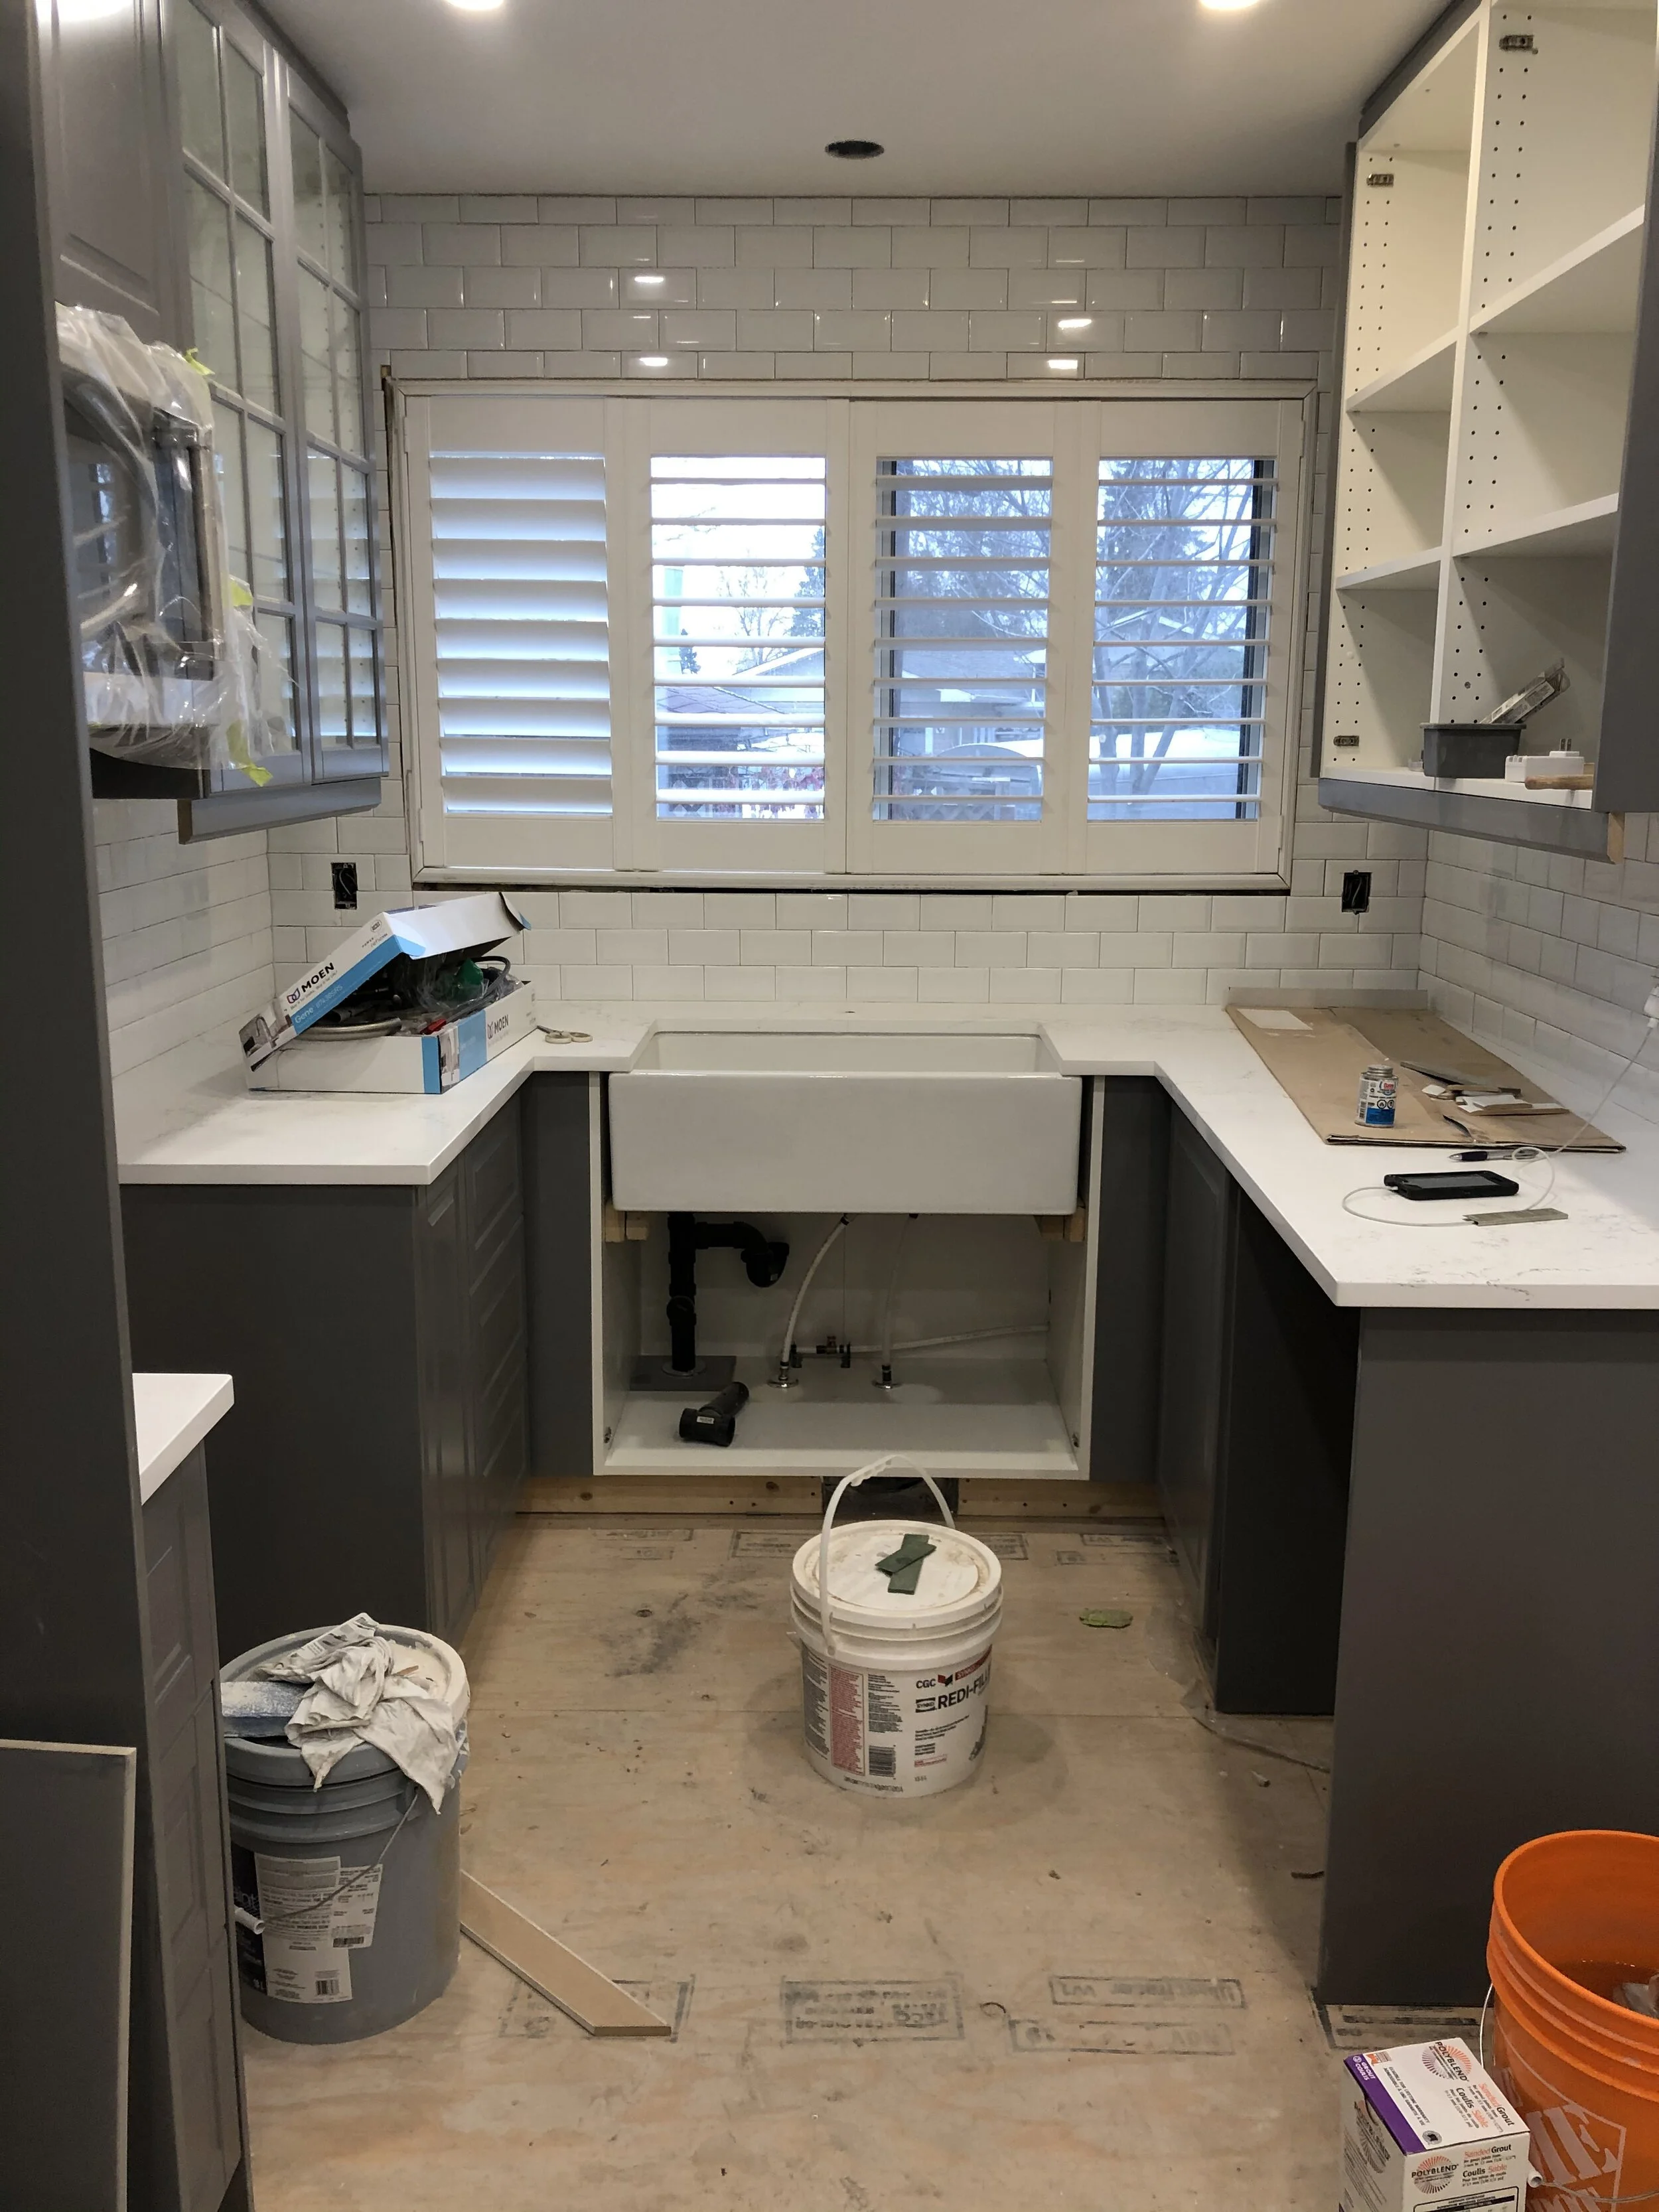
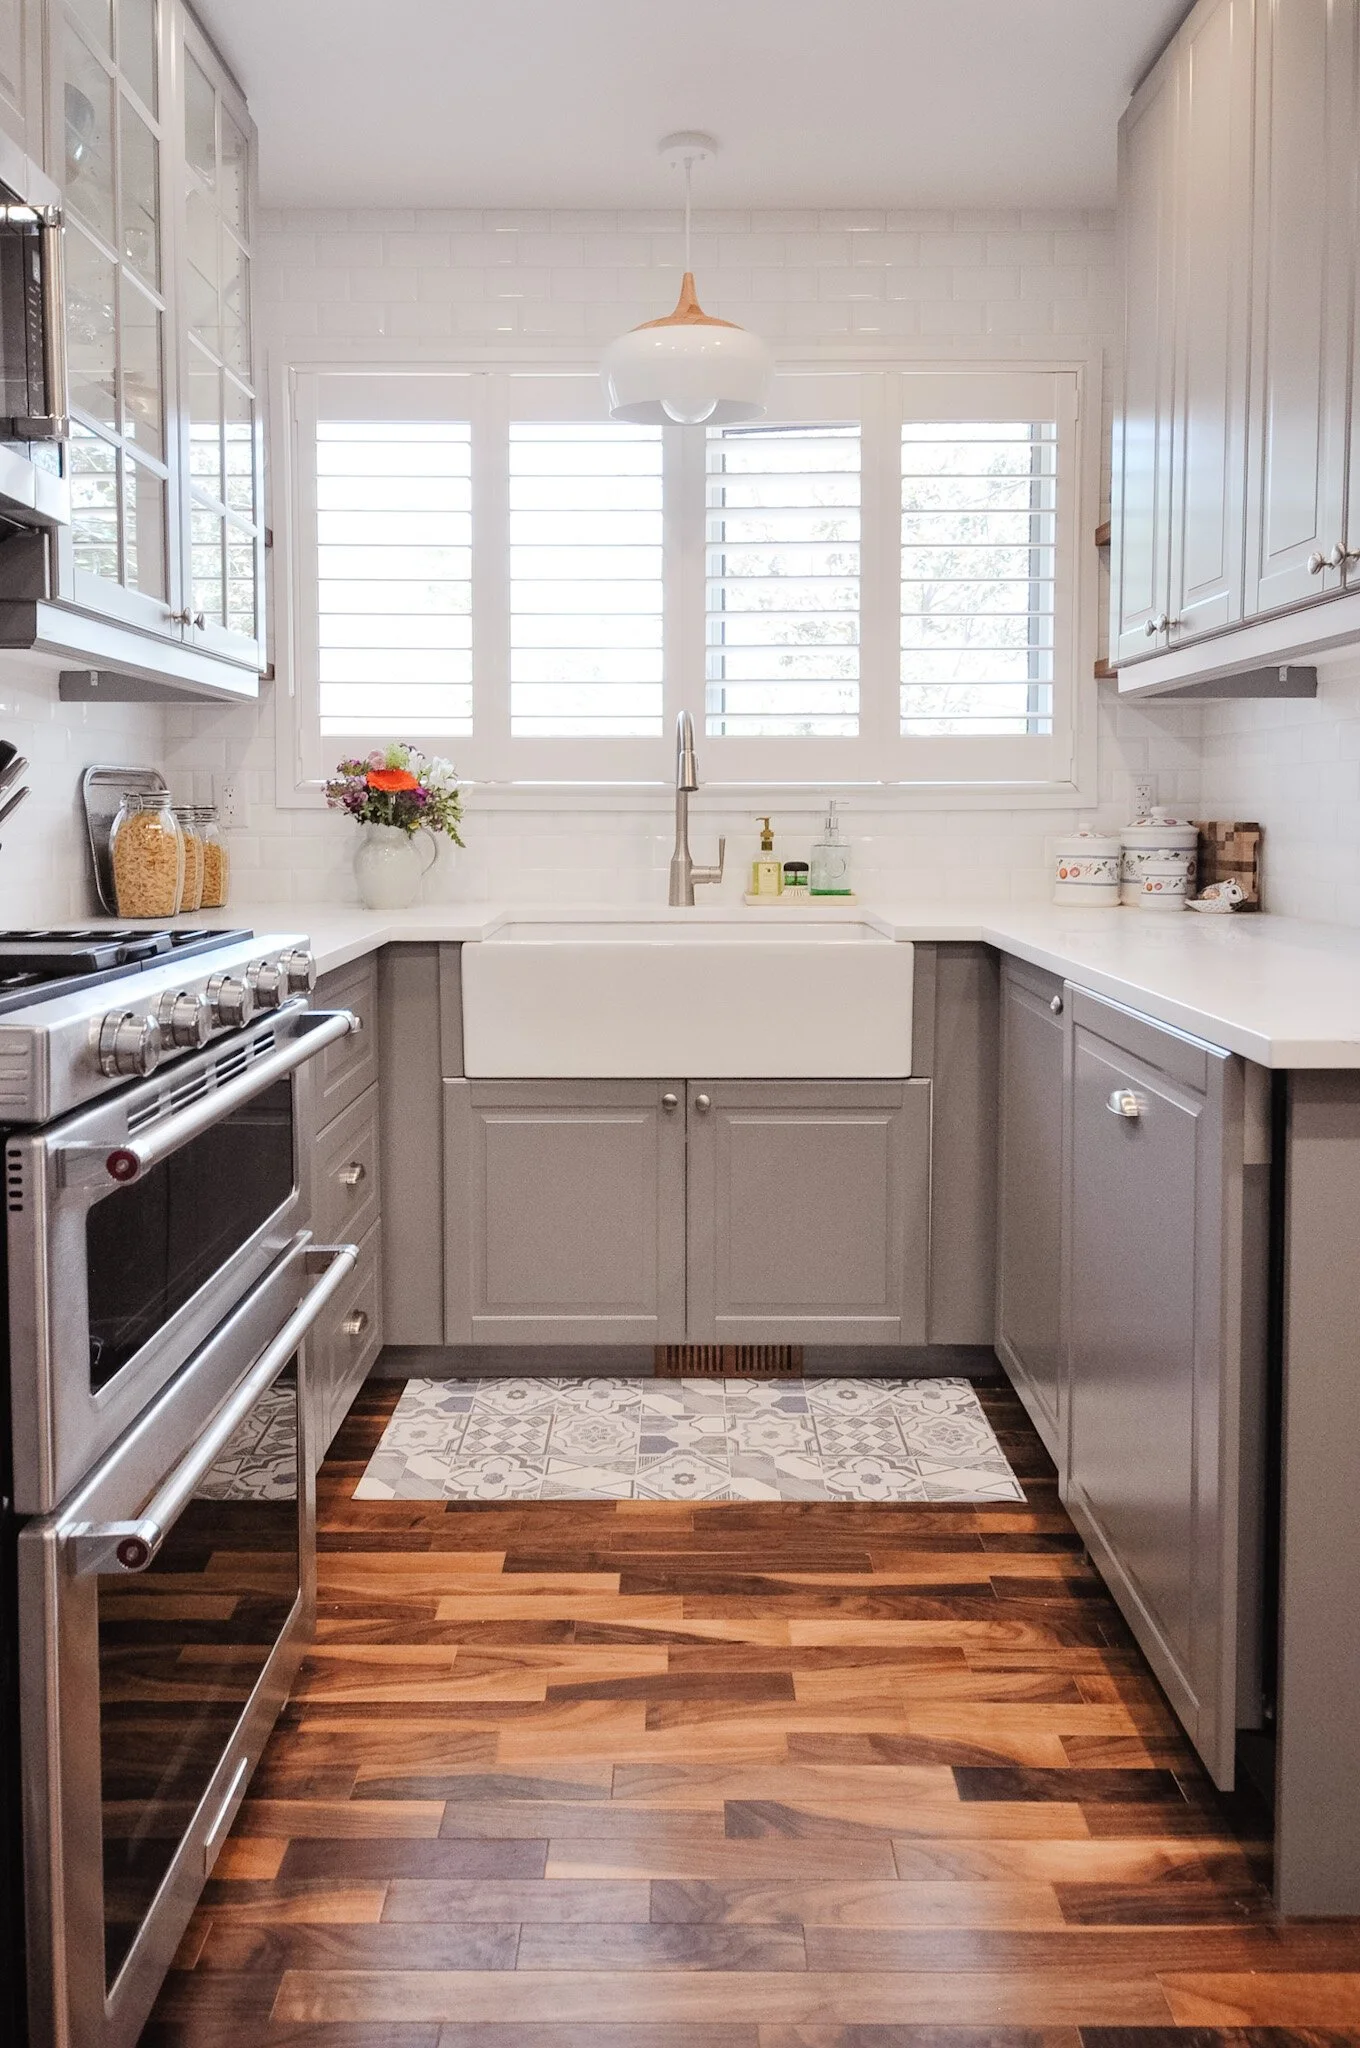
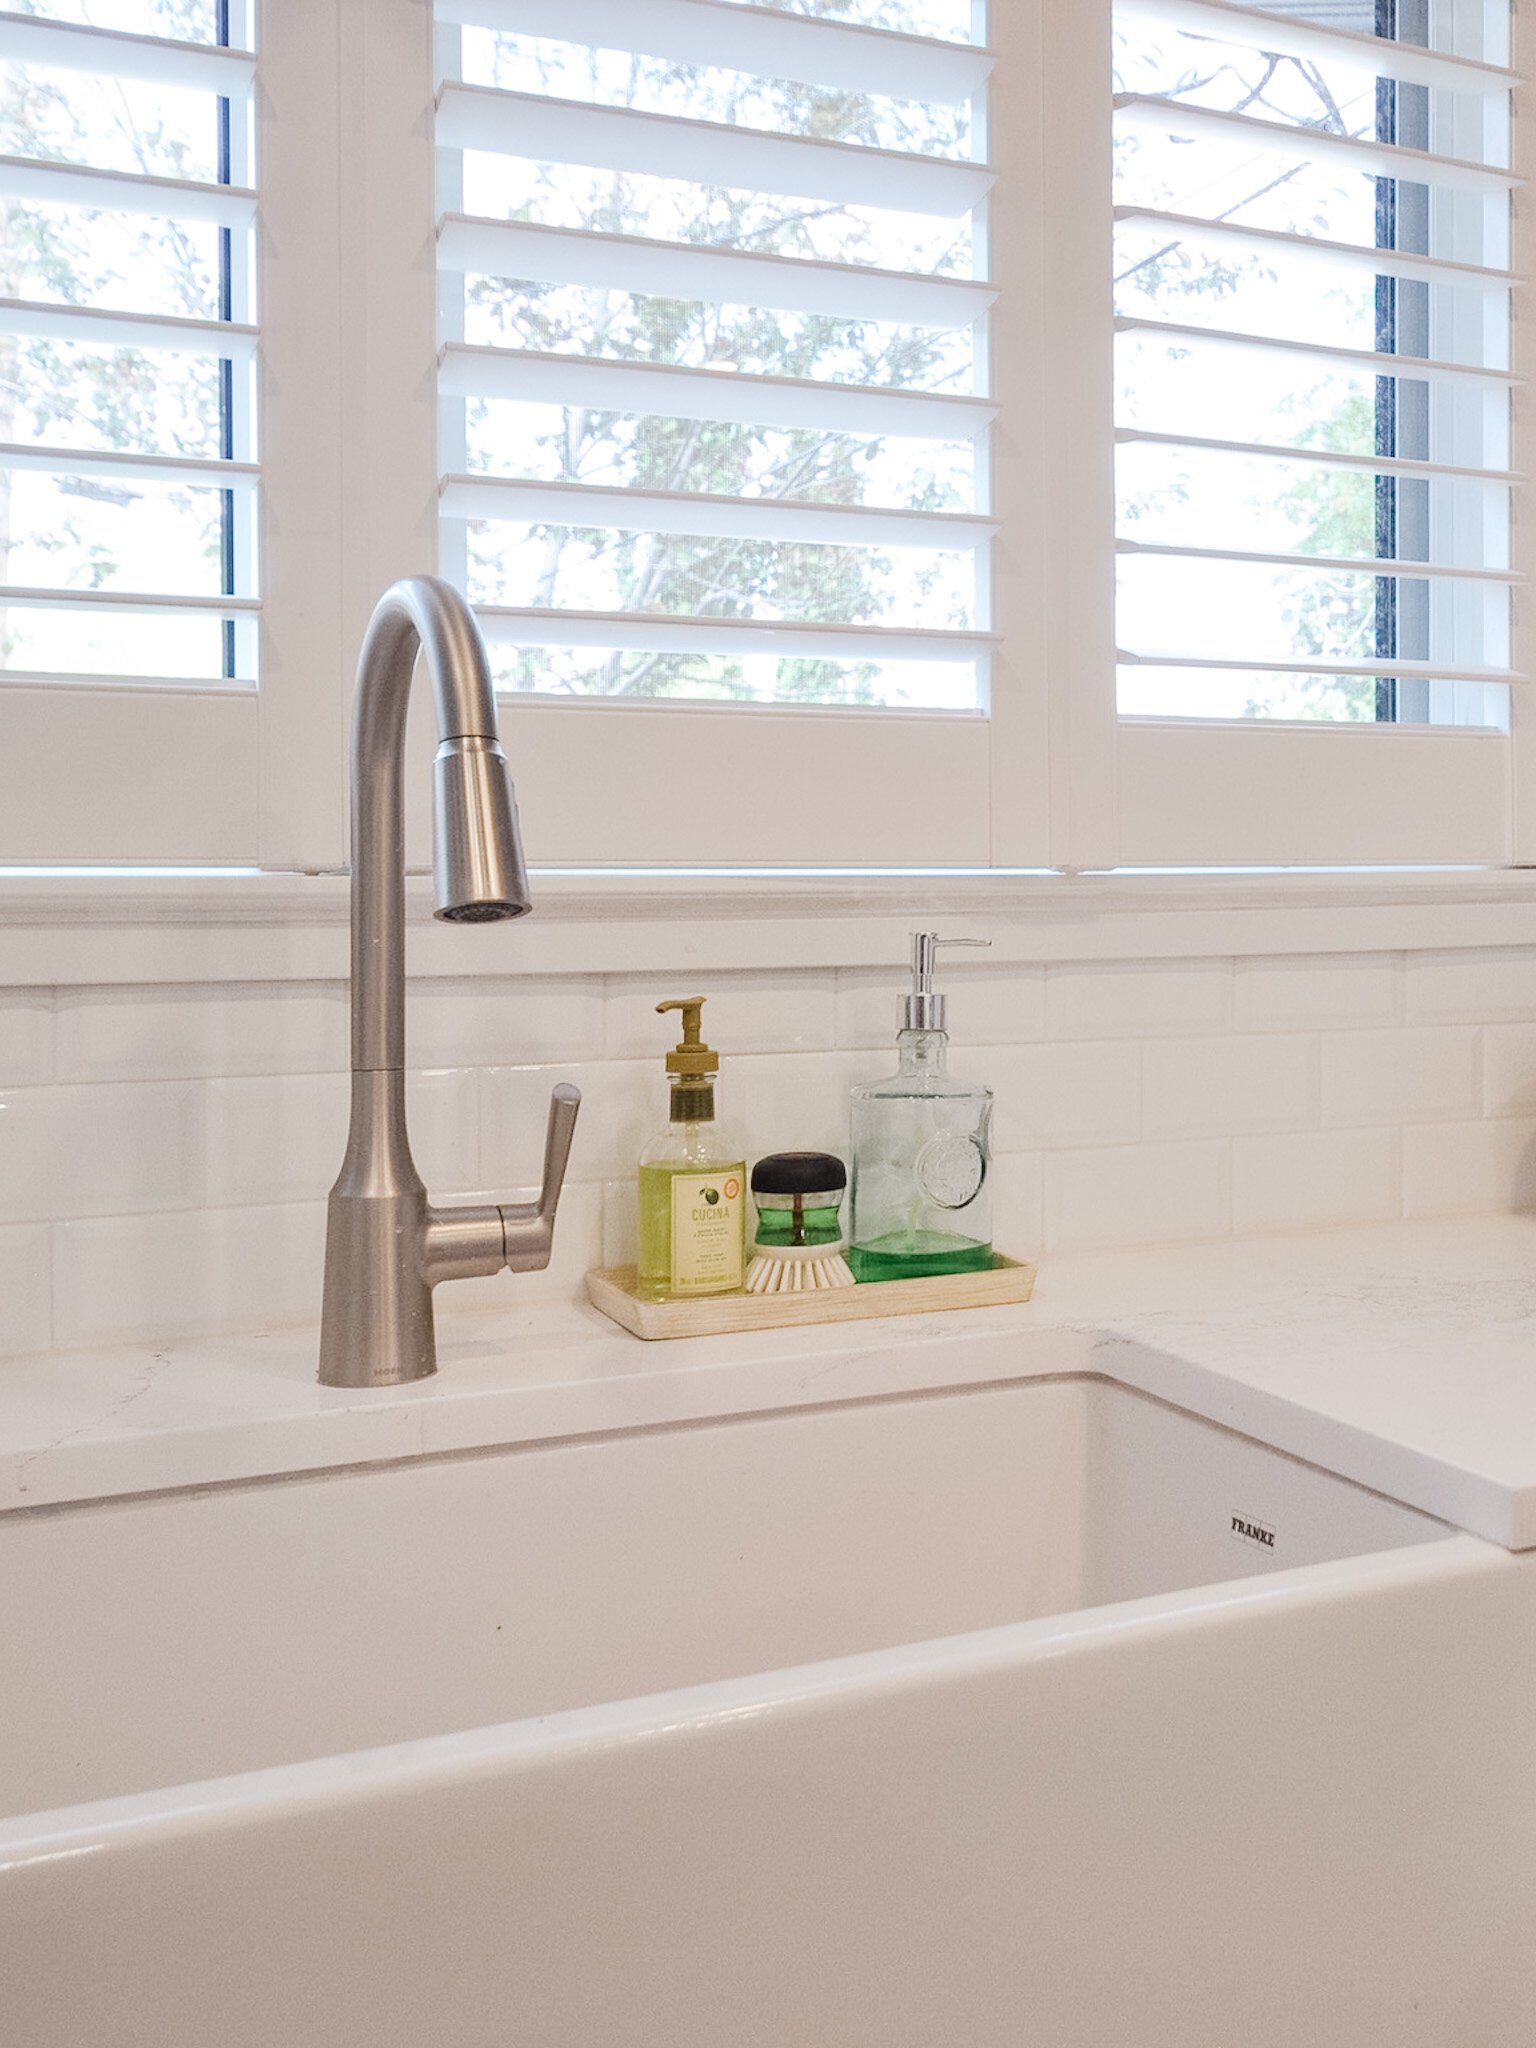
a big farmhouse sink
The layout was going to remain essentially the same, but we wanted to have more drawers and more counter space. We debated creating a bit of a peninsula, but ended up deciding to just have the cabinetry end with the wall by the back door. We also debated the eat-in area of the kitchen, considering a built-in banquette as well as more cabinetry. The hardest part of the layout was having two tight corners. In the end I decided to leave some unused space on the left side of the sink so that we could fit another set of full drawers into the space. If you know me, you know that I hate wasted space, but in this situation, it meant the kitchen was more functional.
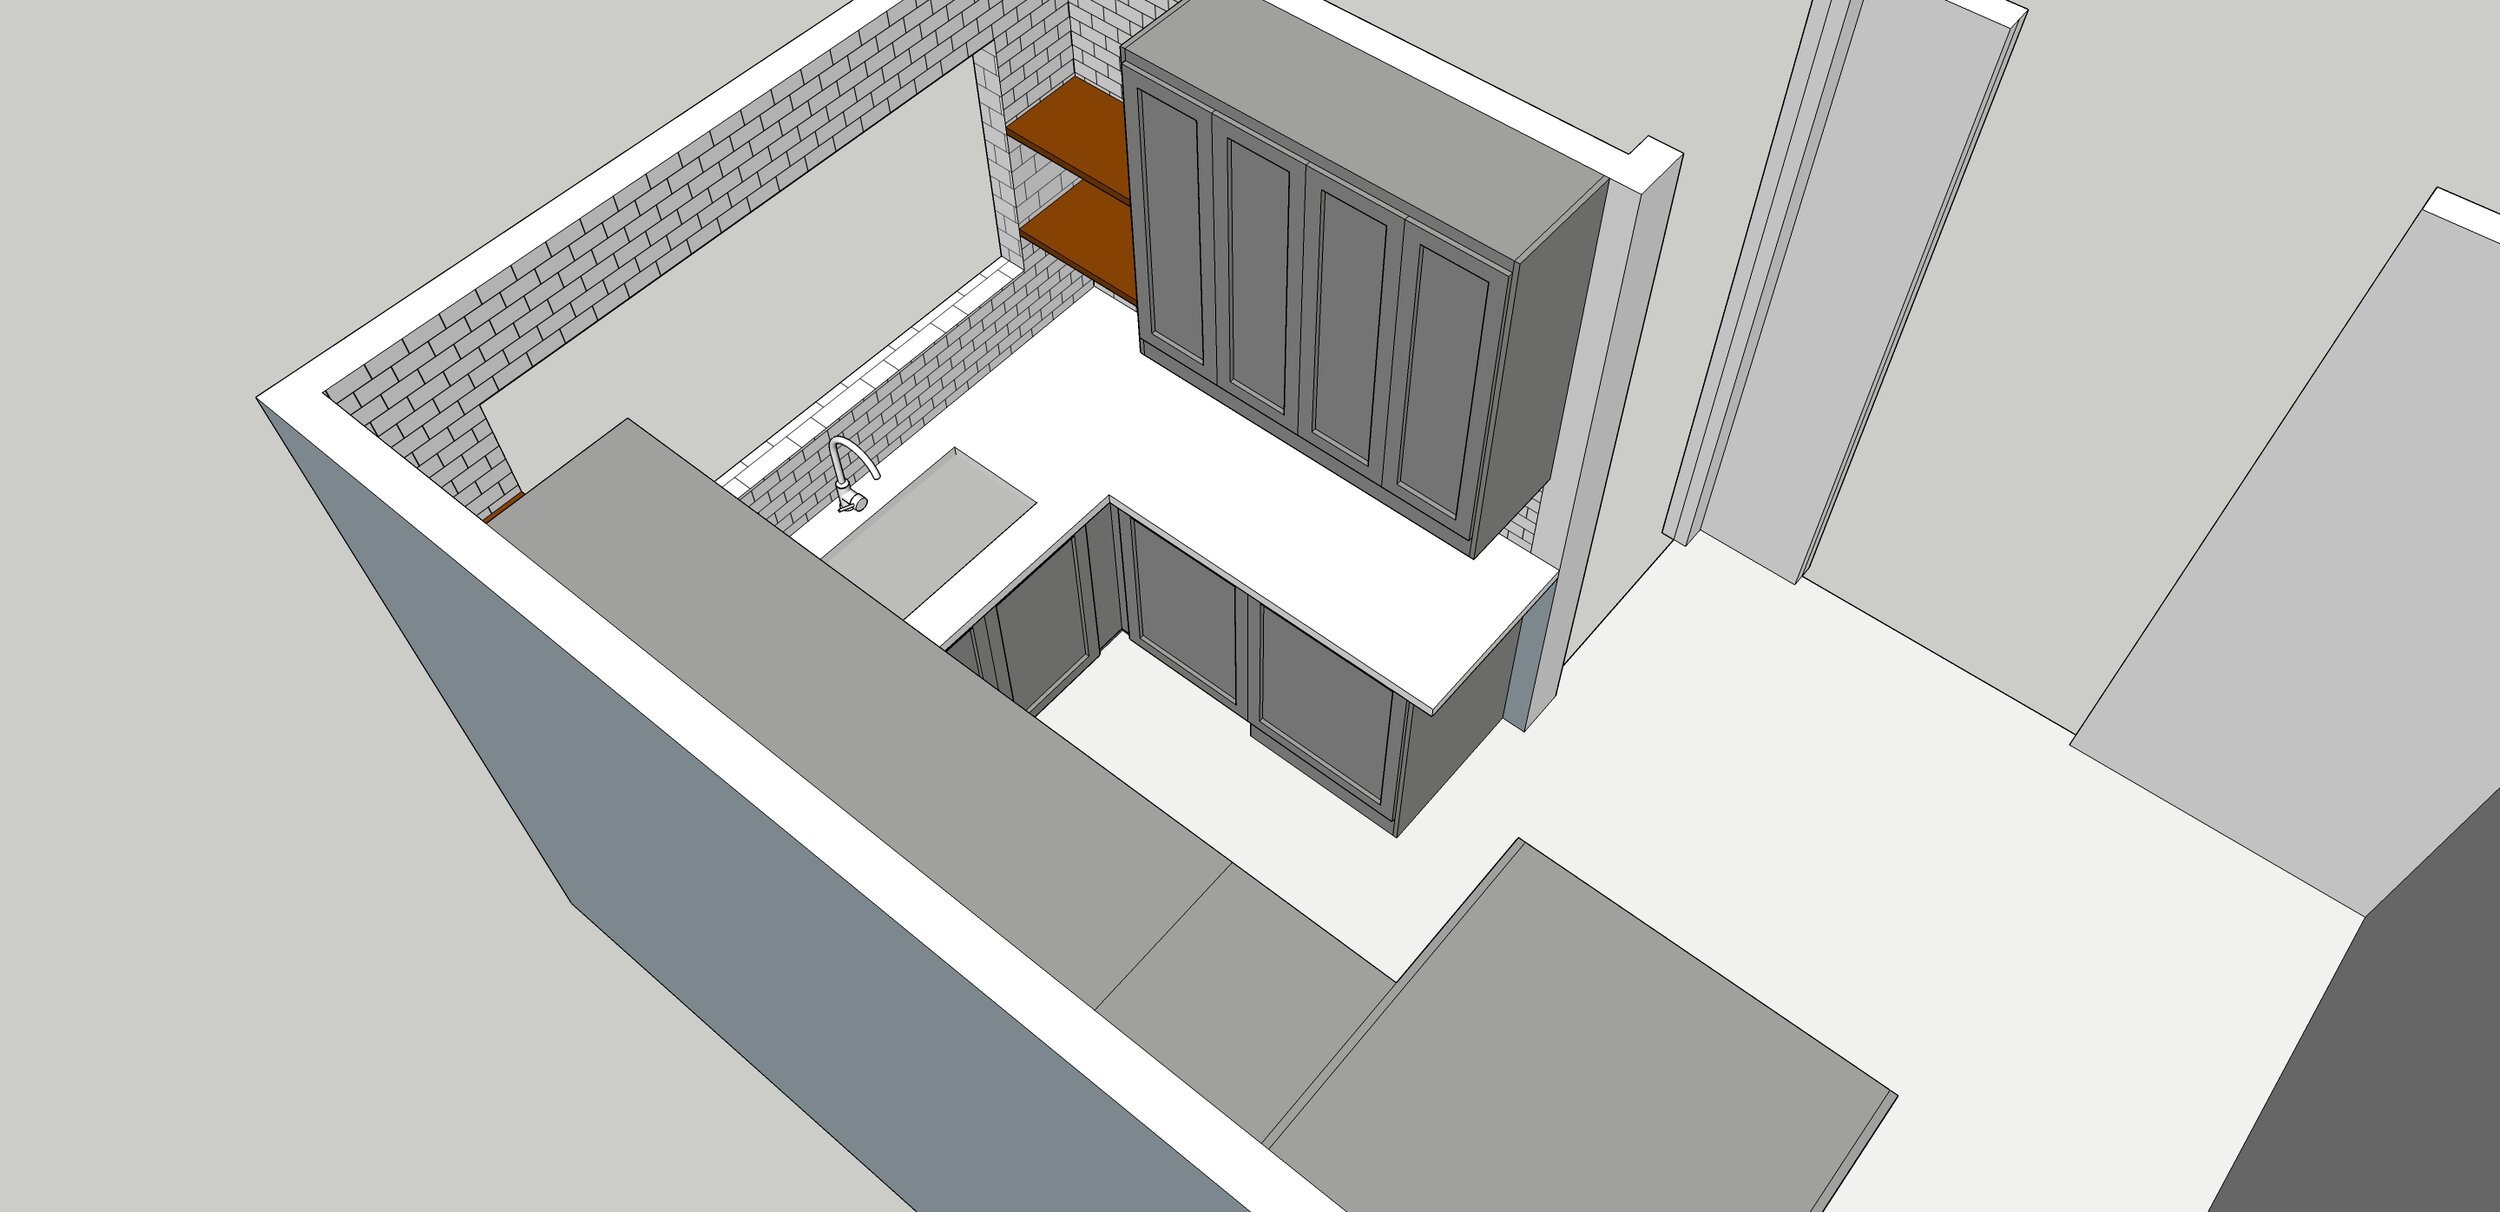
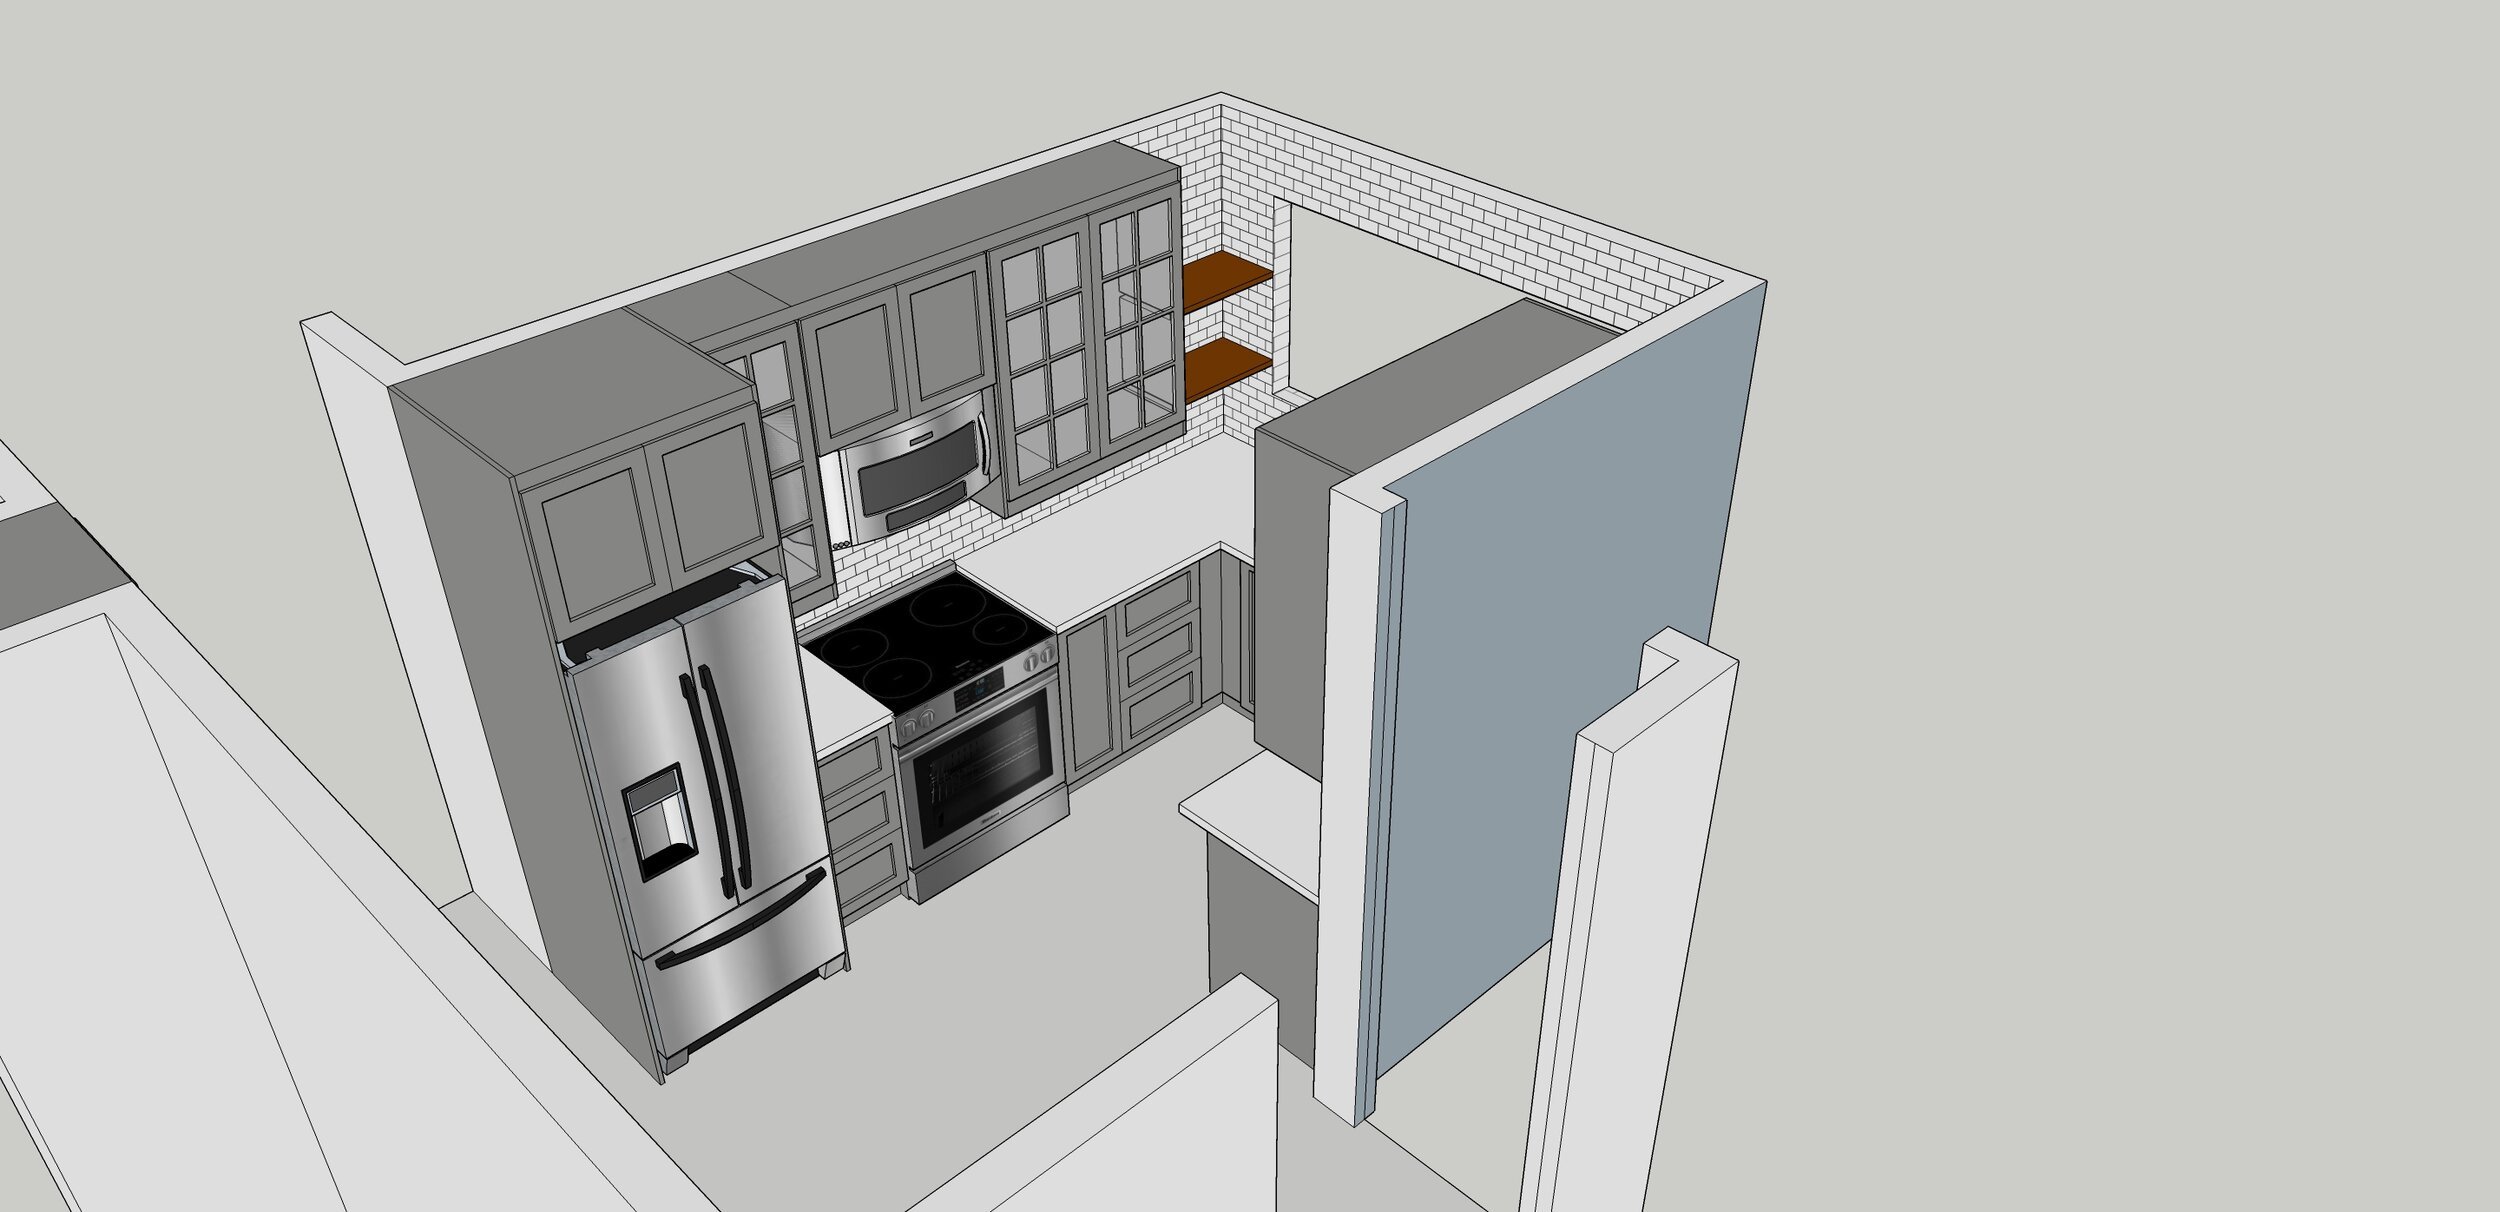
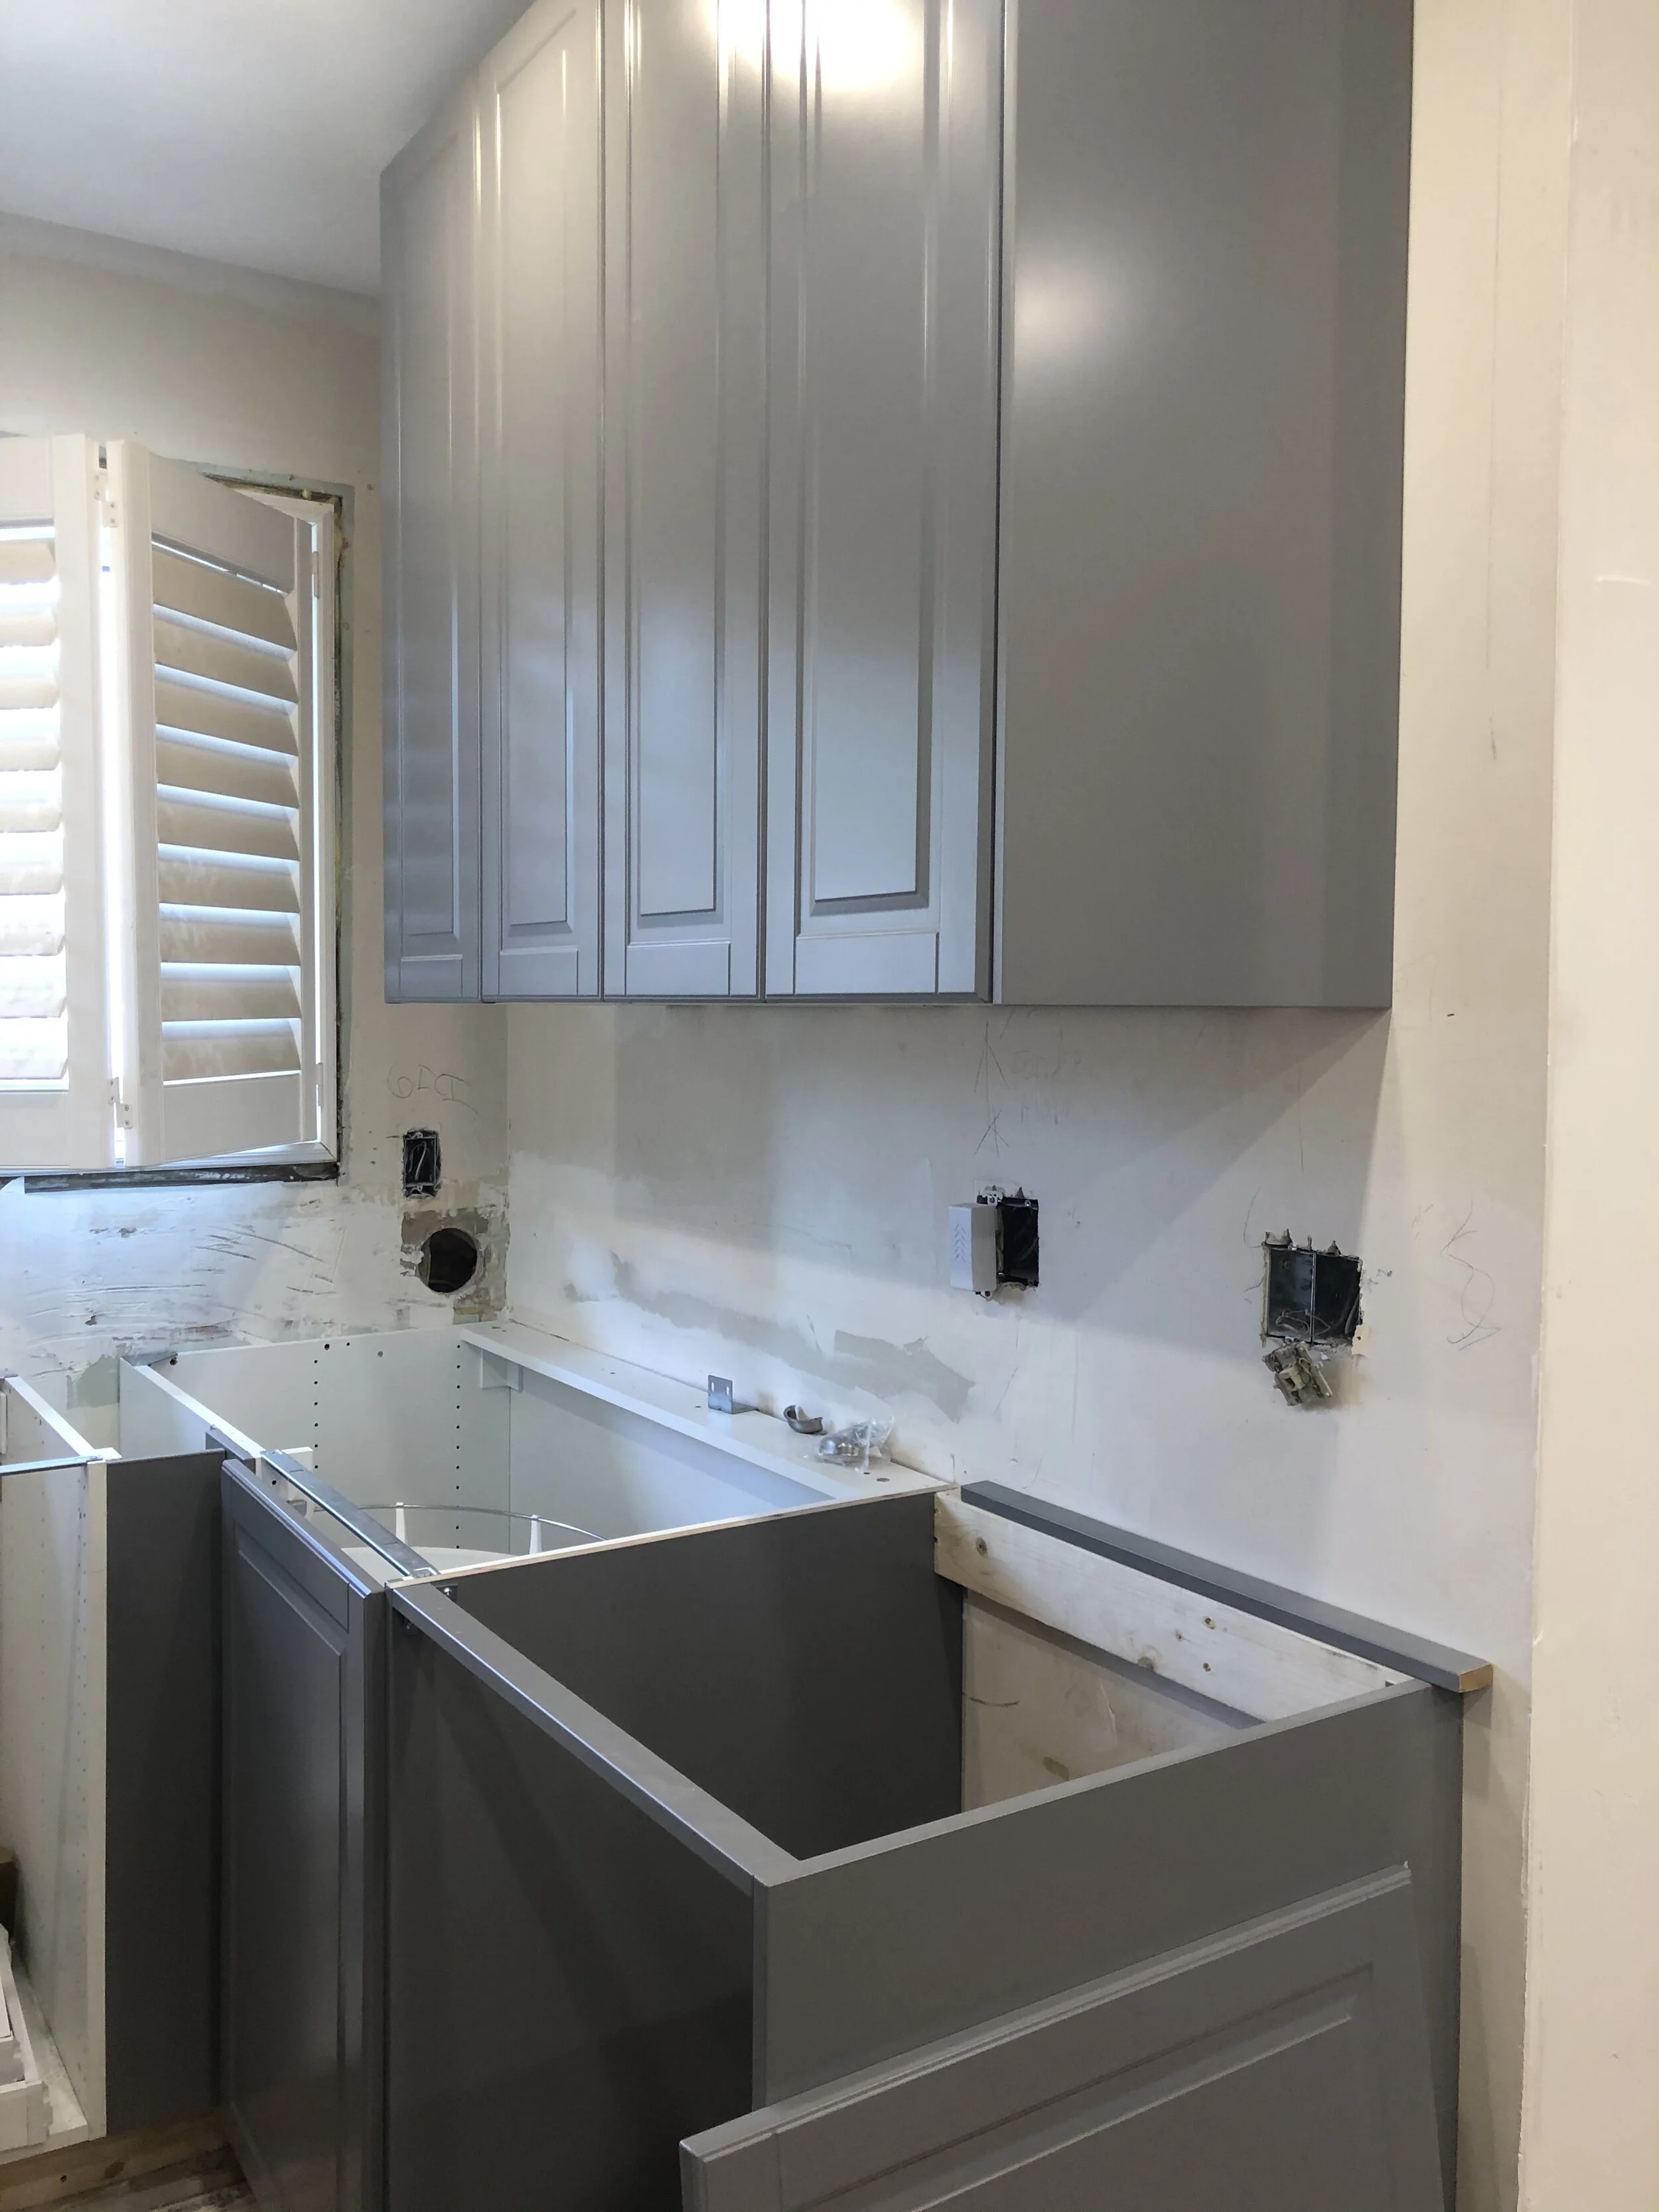
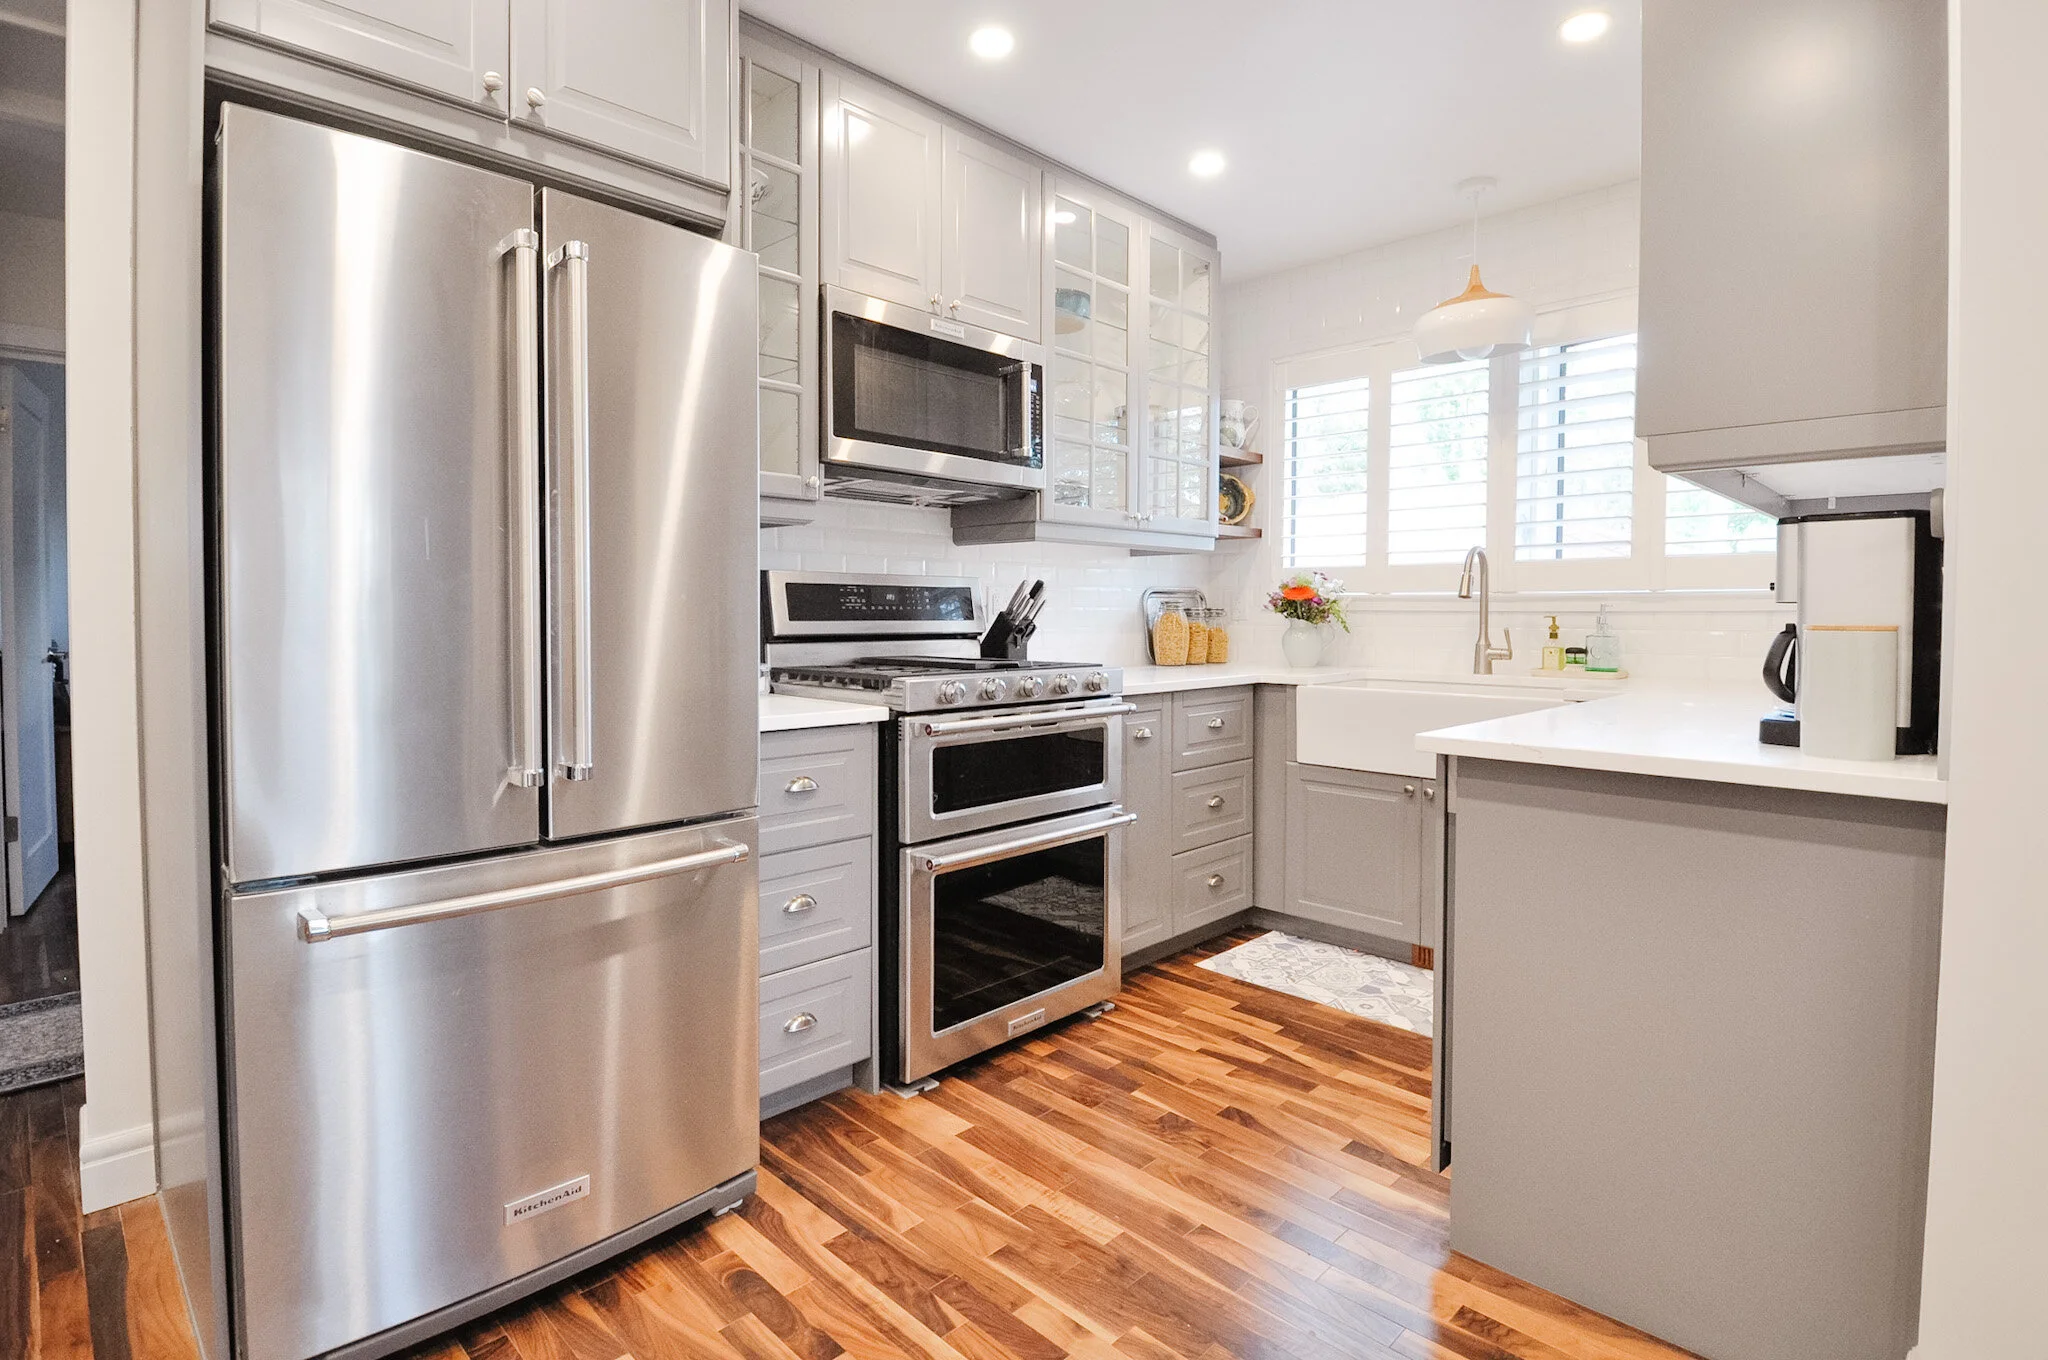
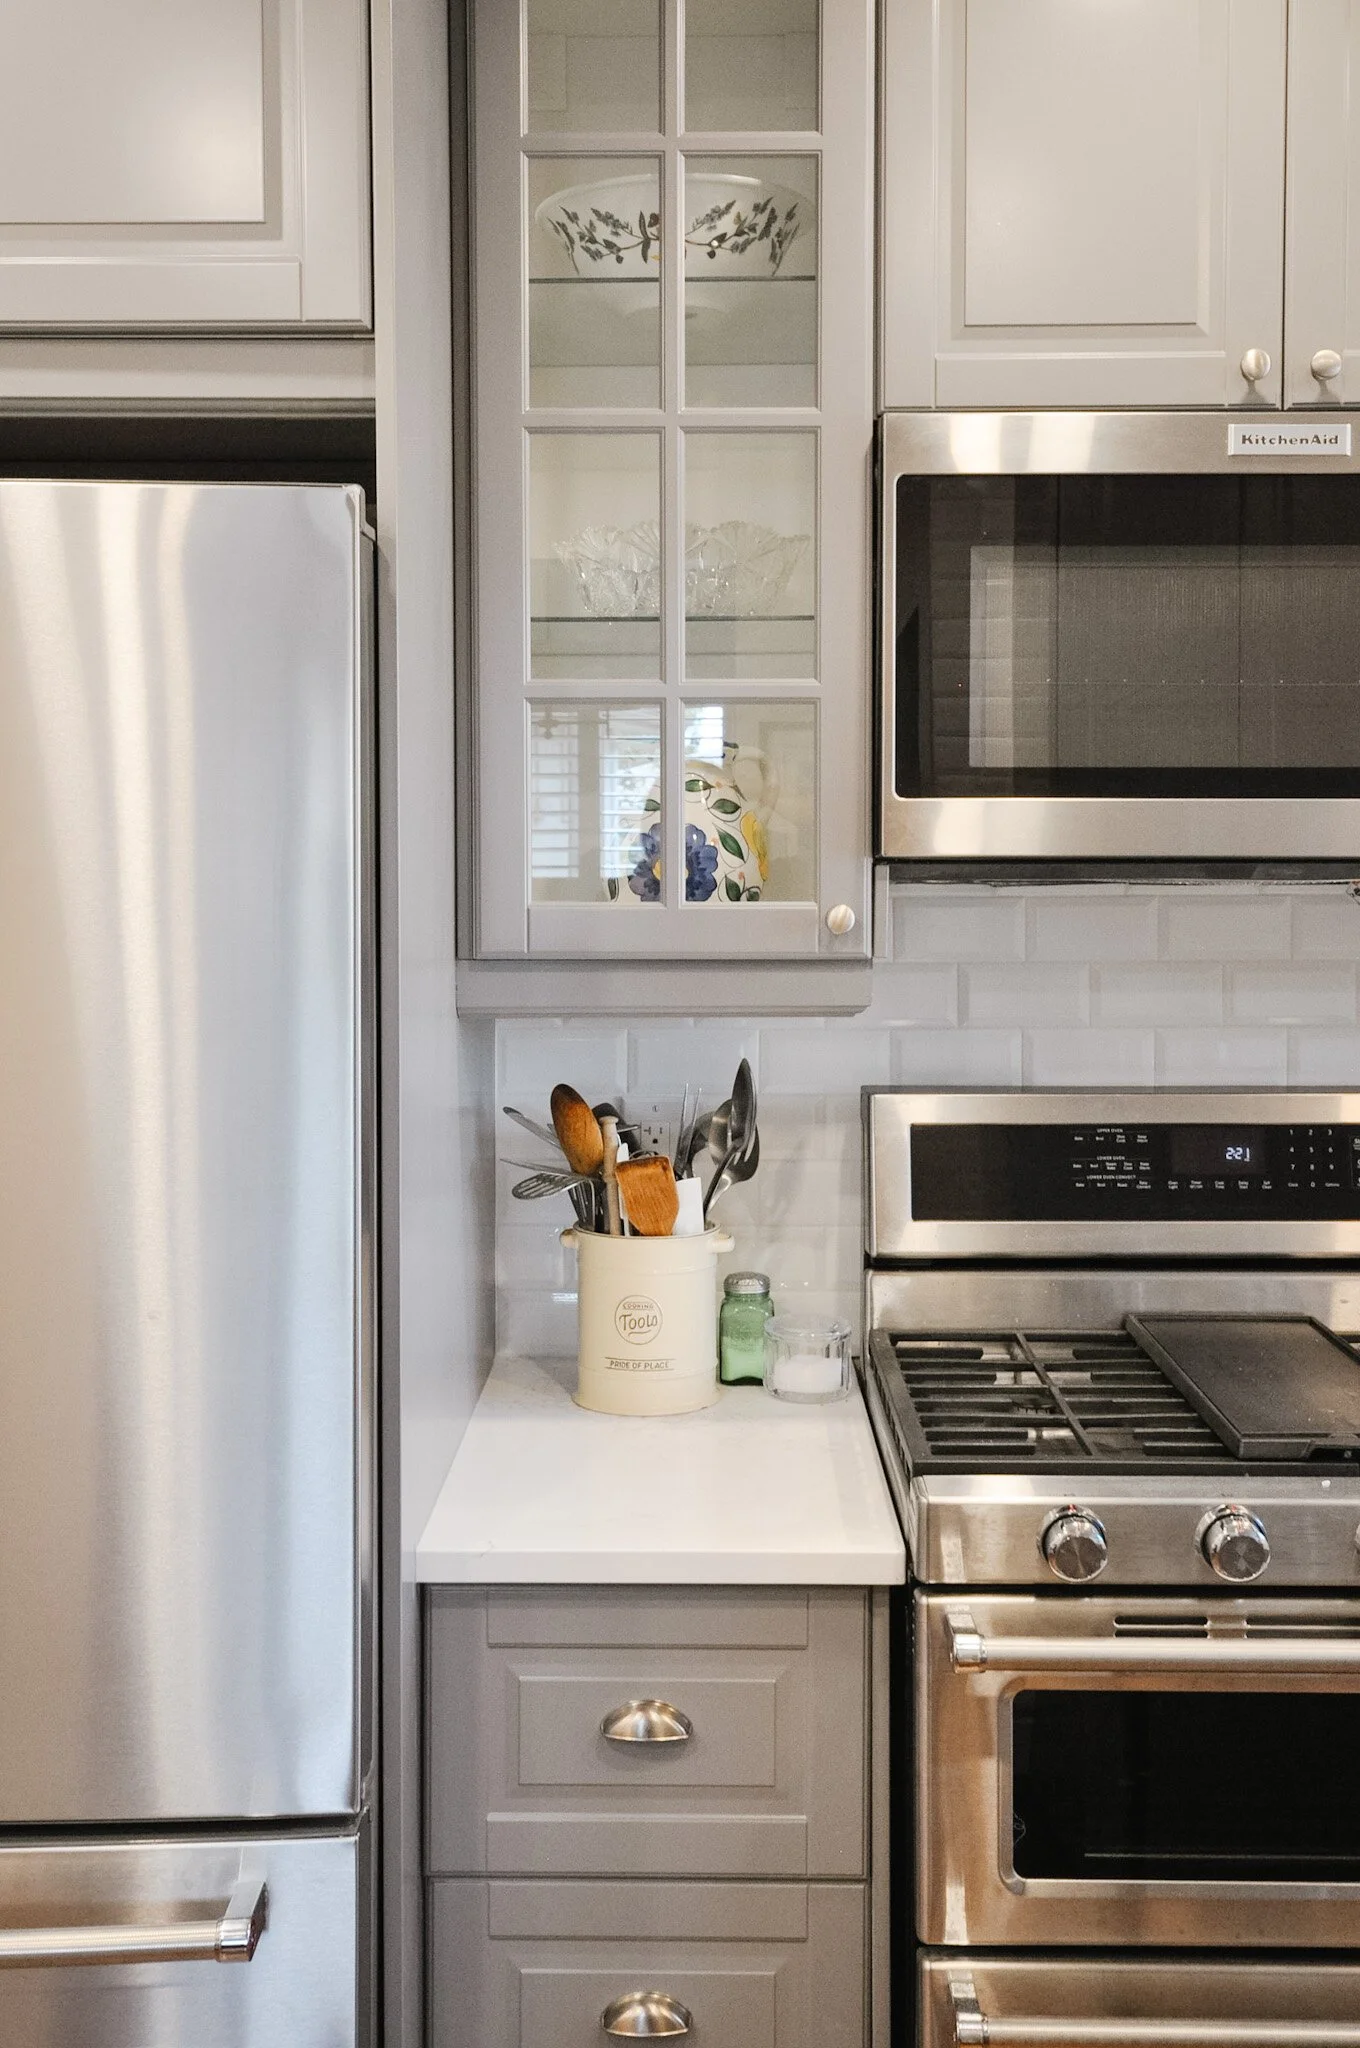
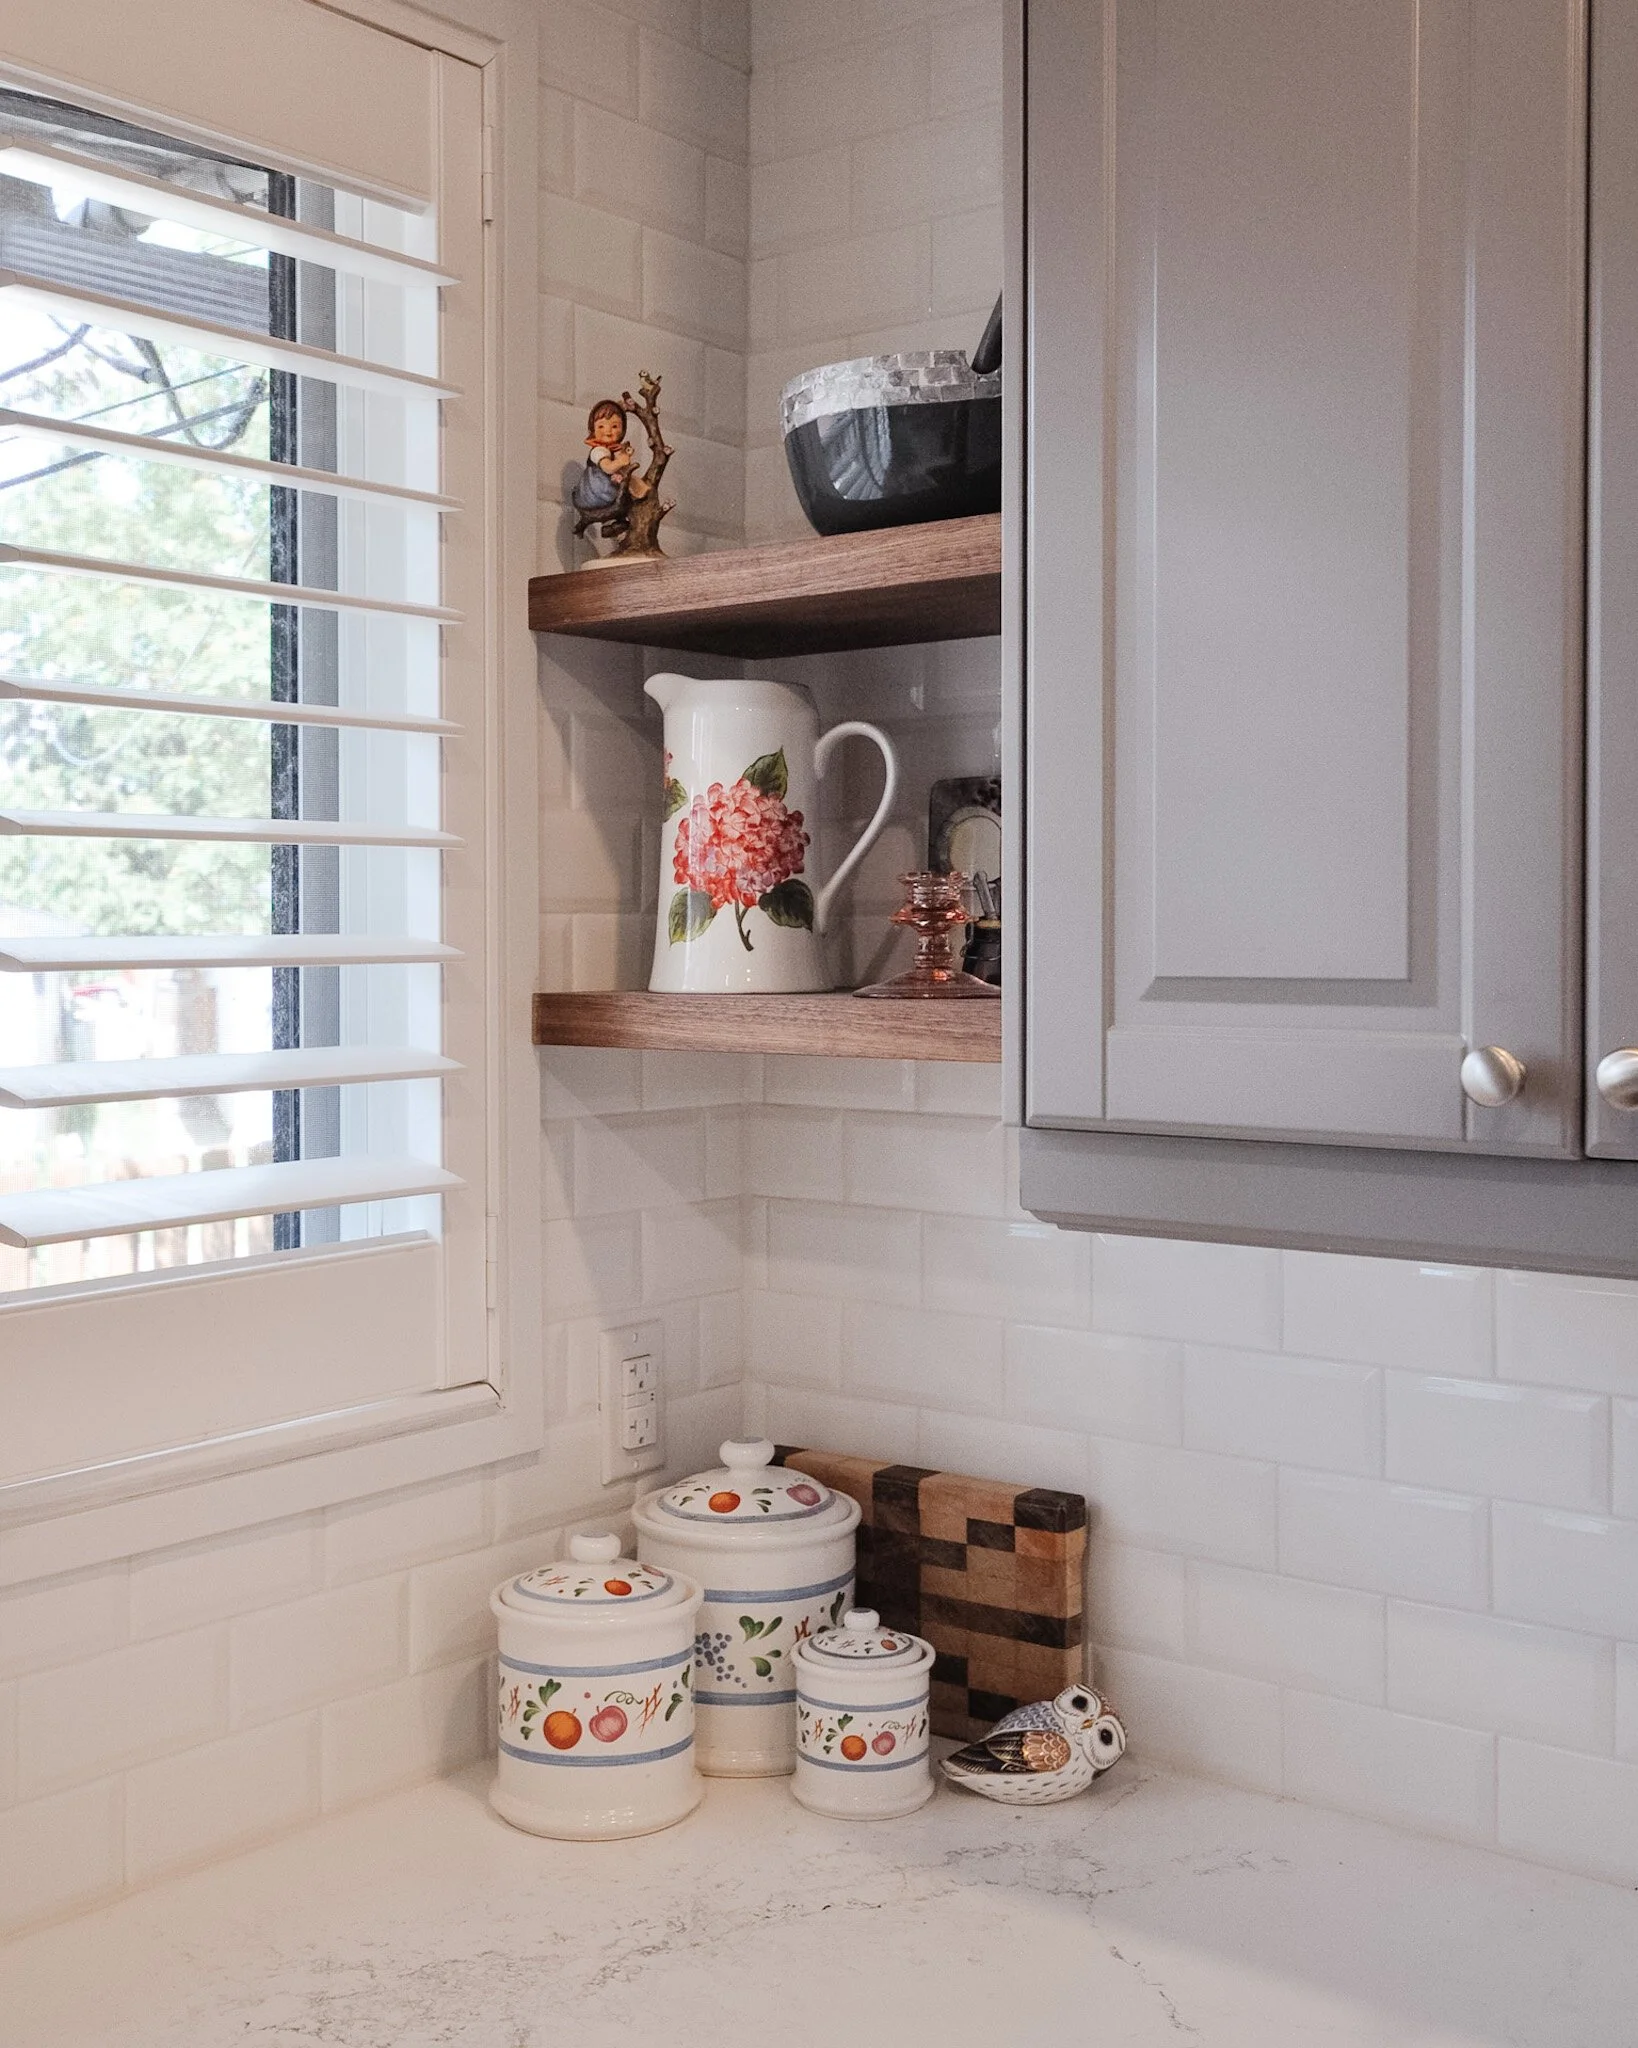
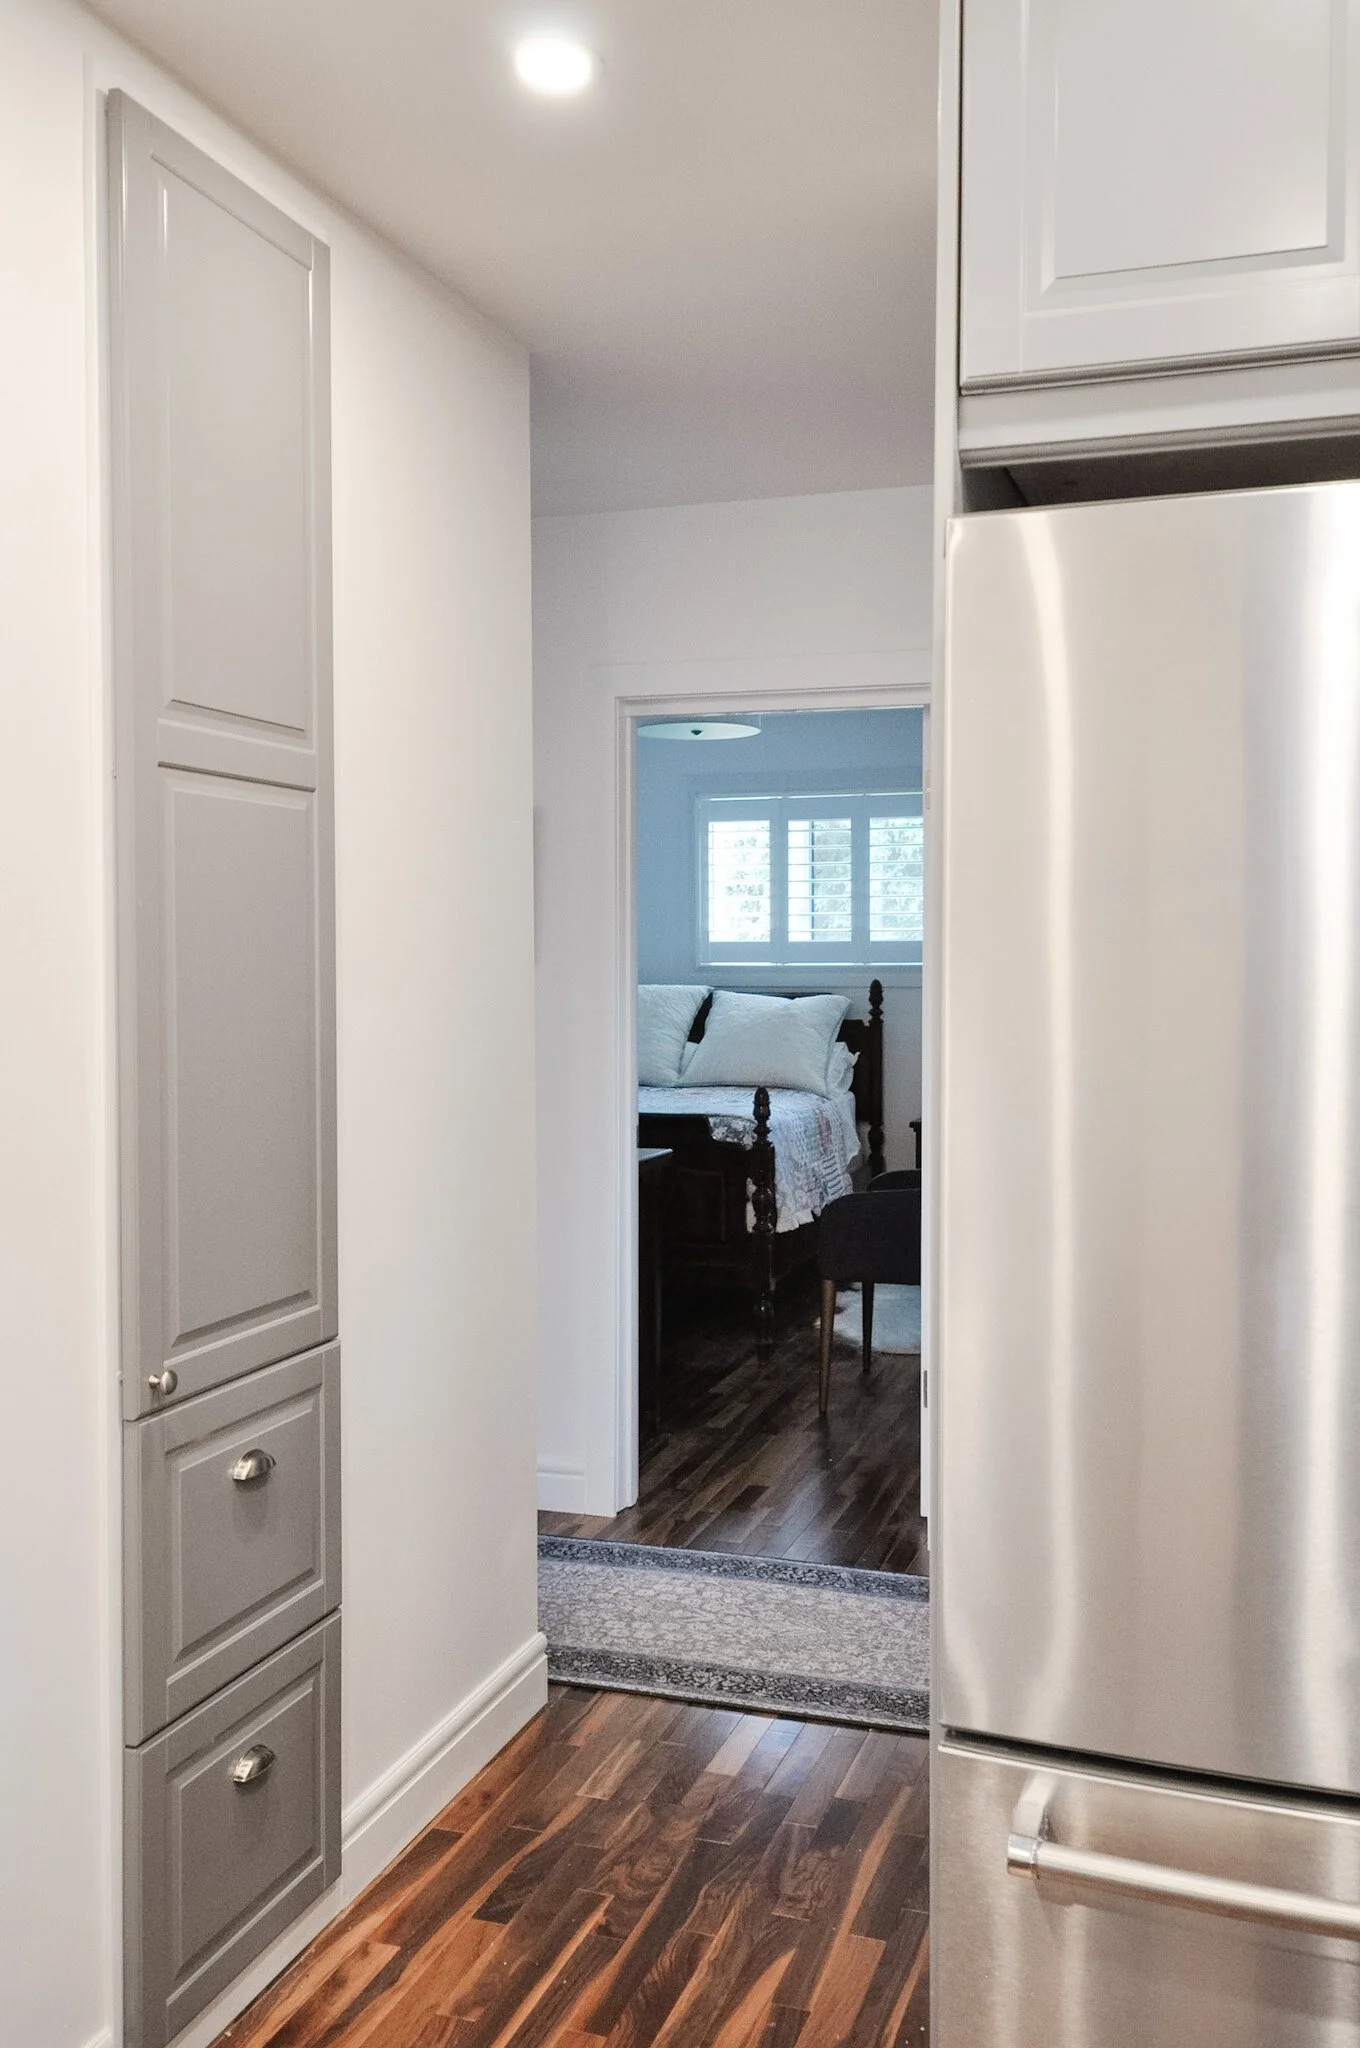
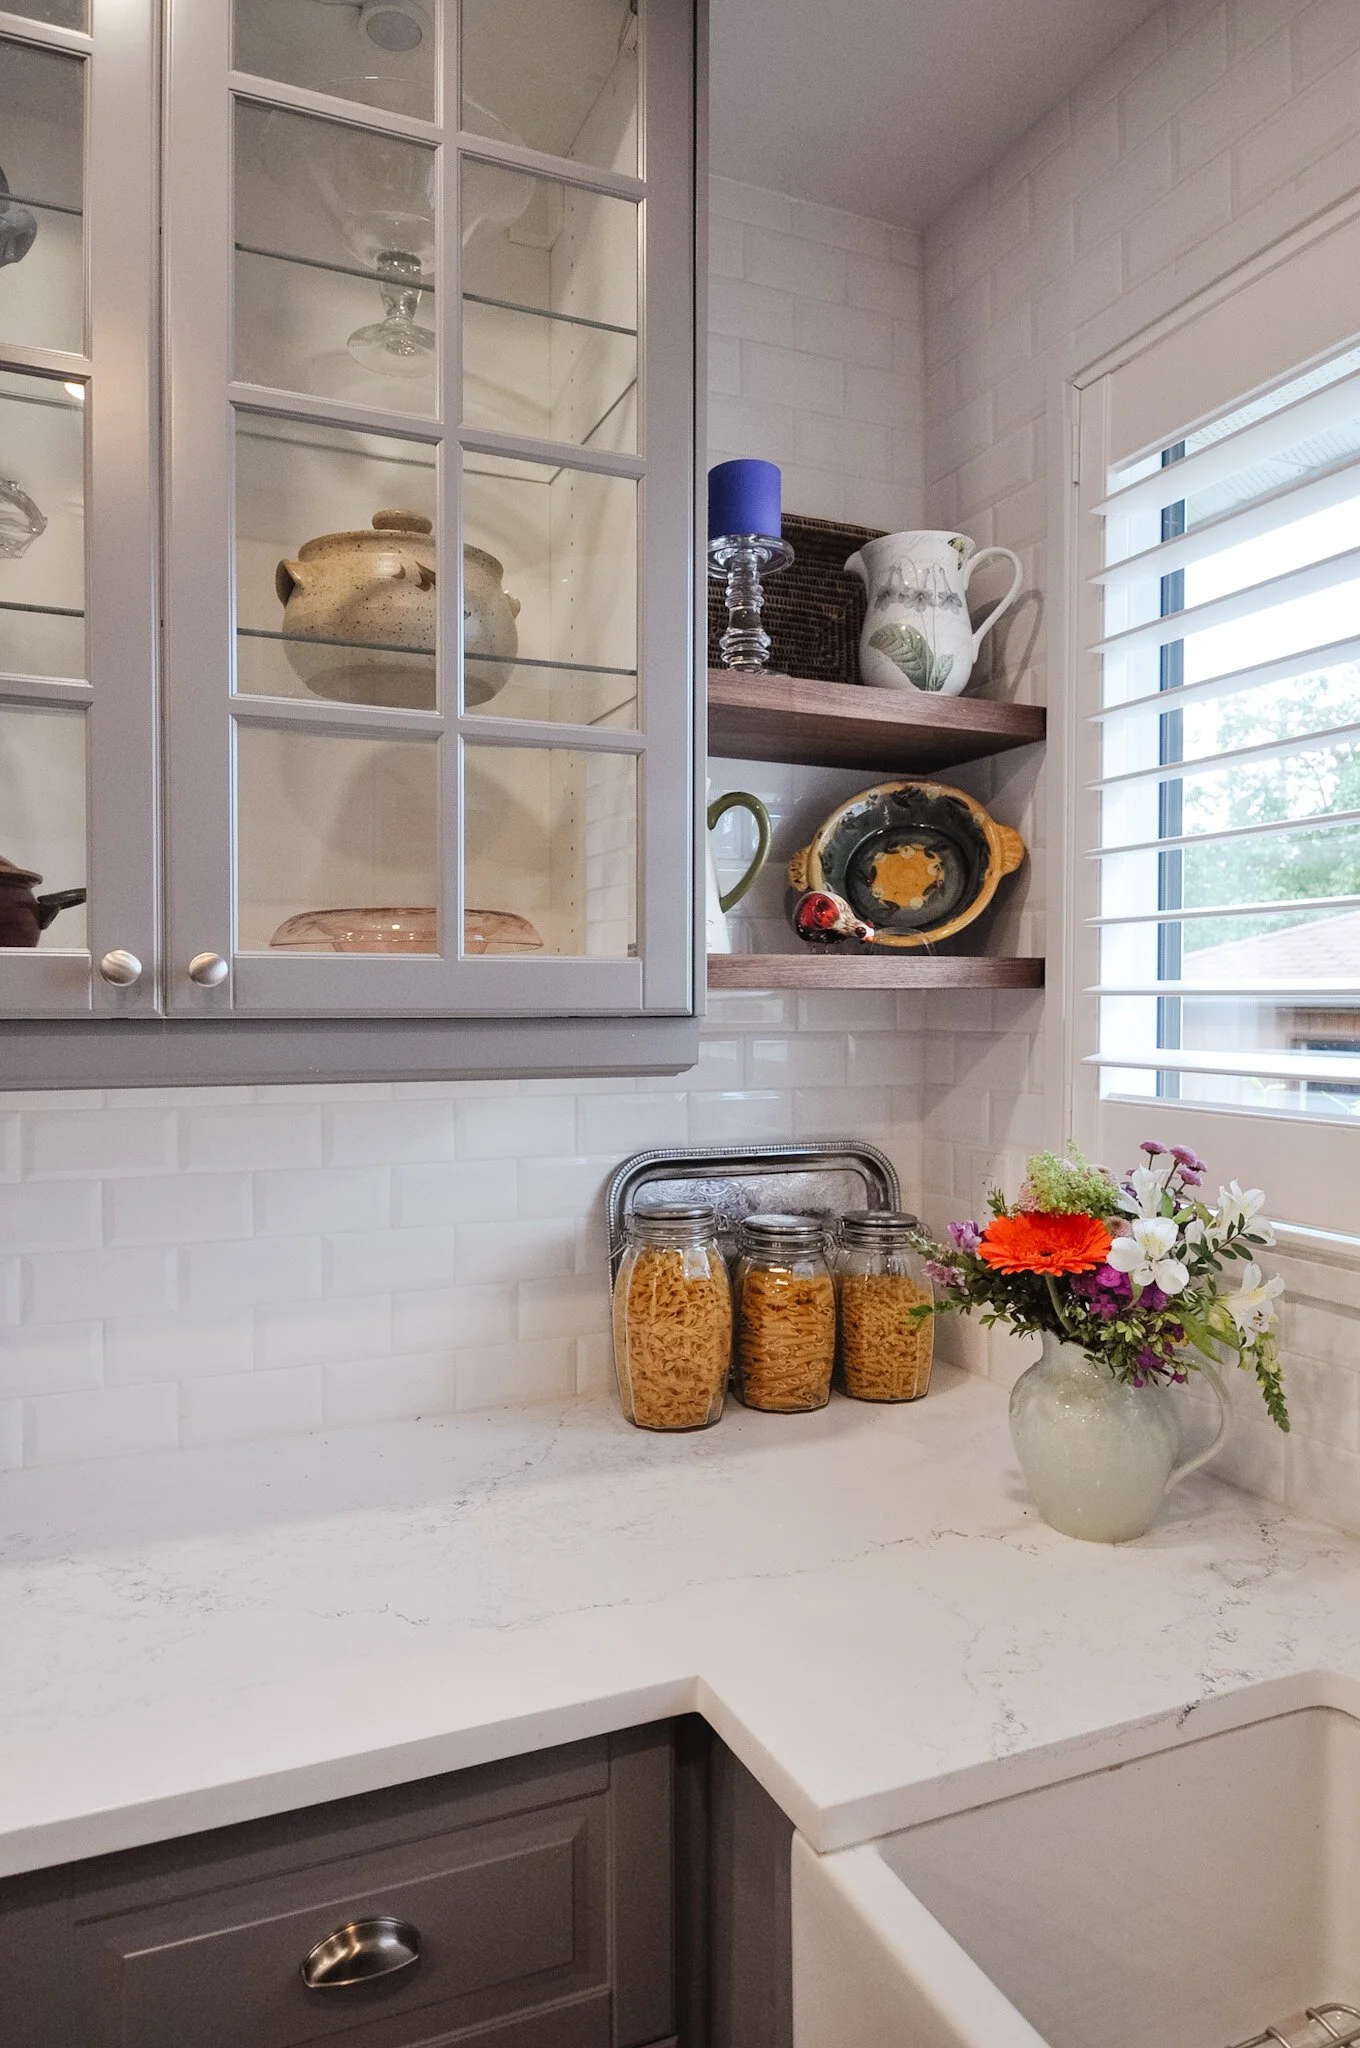
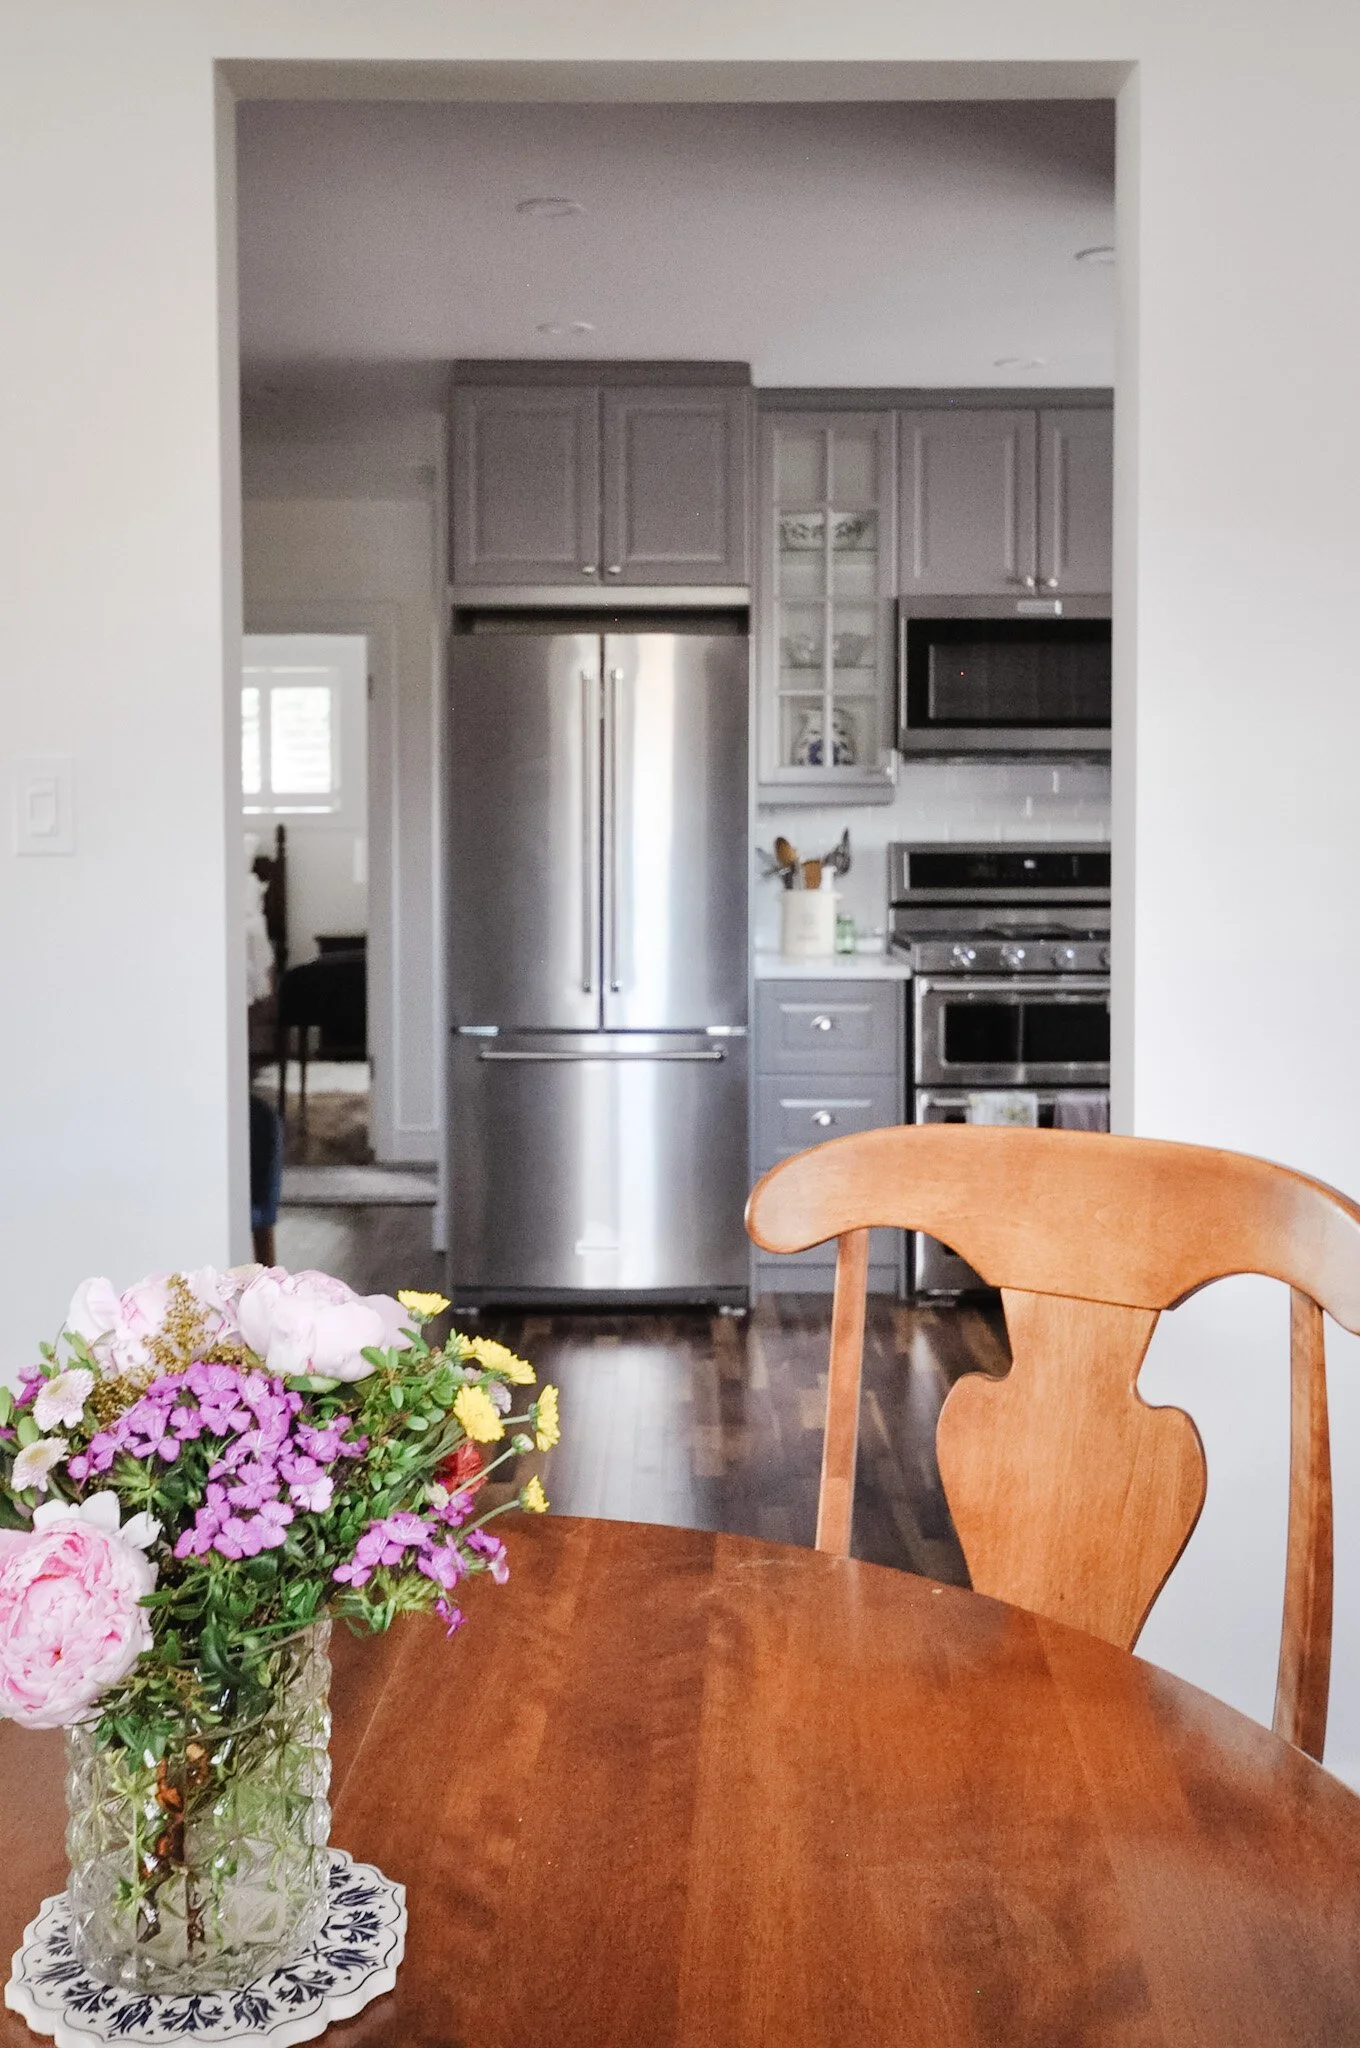
Because the new upper cabinets were deeper than the old, we added floating shelves between the last cabinet and the window. This opened up the space around the window and made it even more of a focal point. Plus it was a great space for showing off some of her treasures (this is also why we included some glass cabinet fronts). I also specified a panel-front dishwasher. I love doing this, especially in small kitchens, as it’s one less break in the look which helps to make it feel larger. And yes, we were able to get a gas range in there!
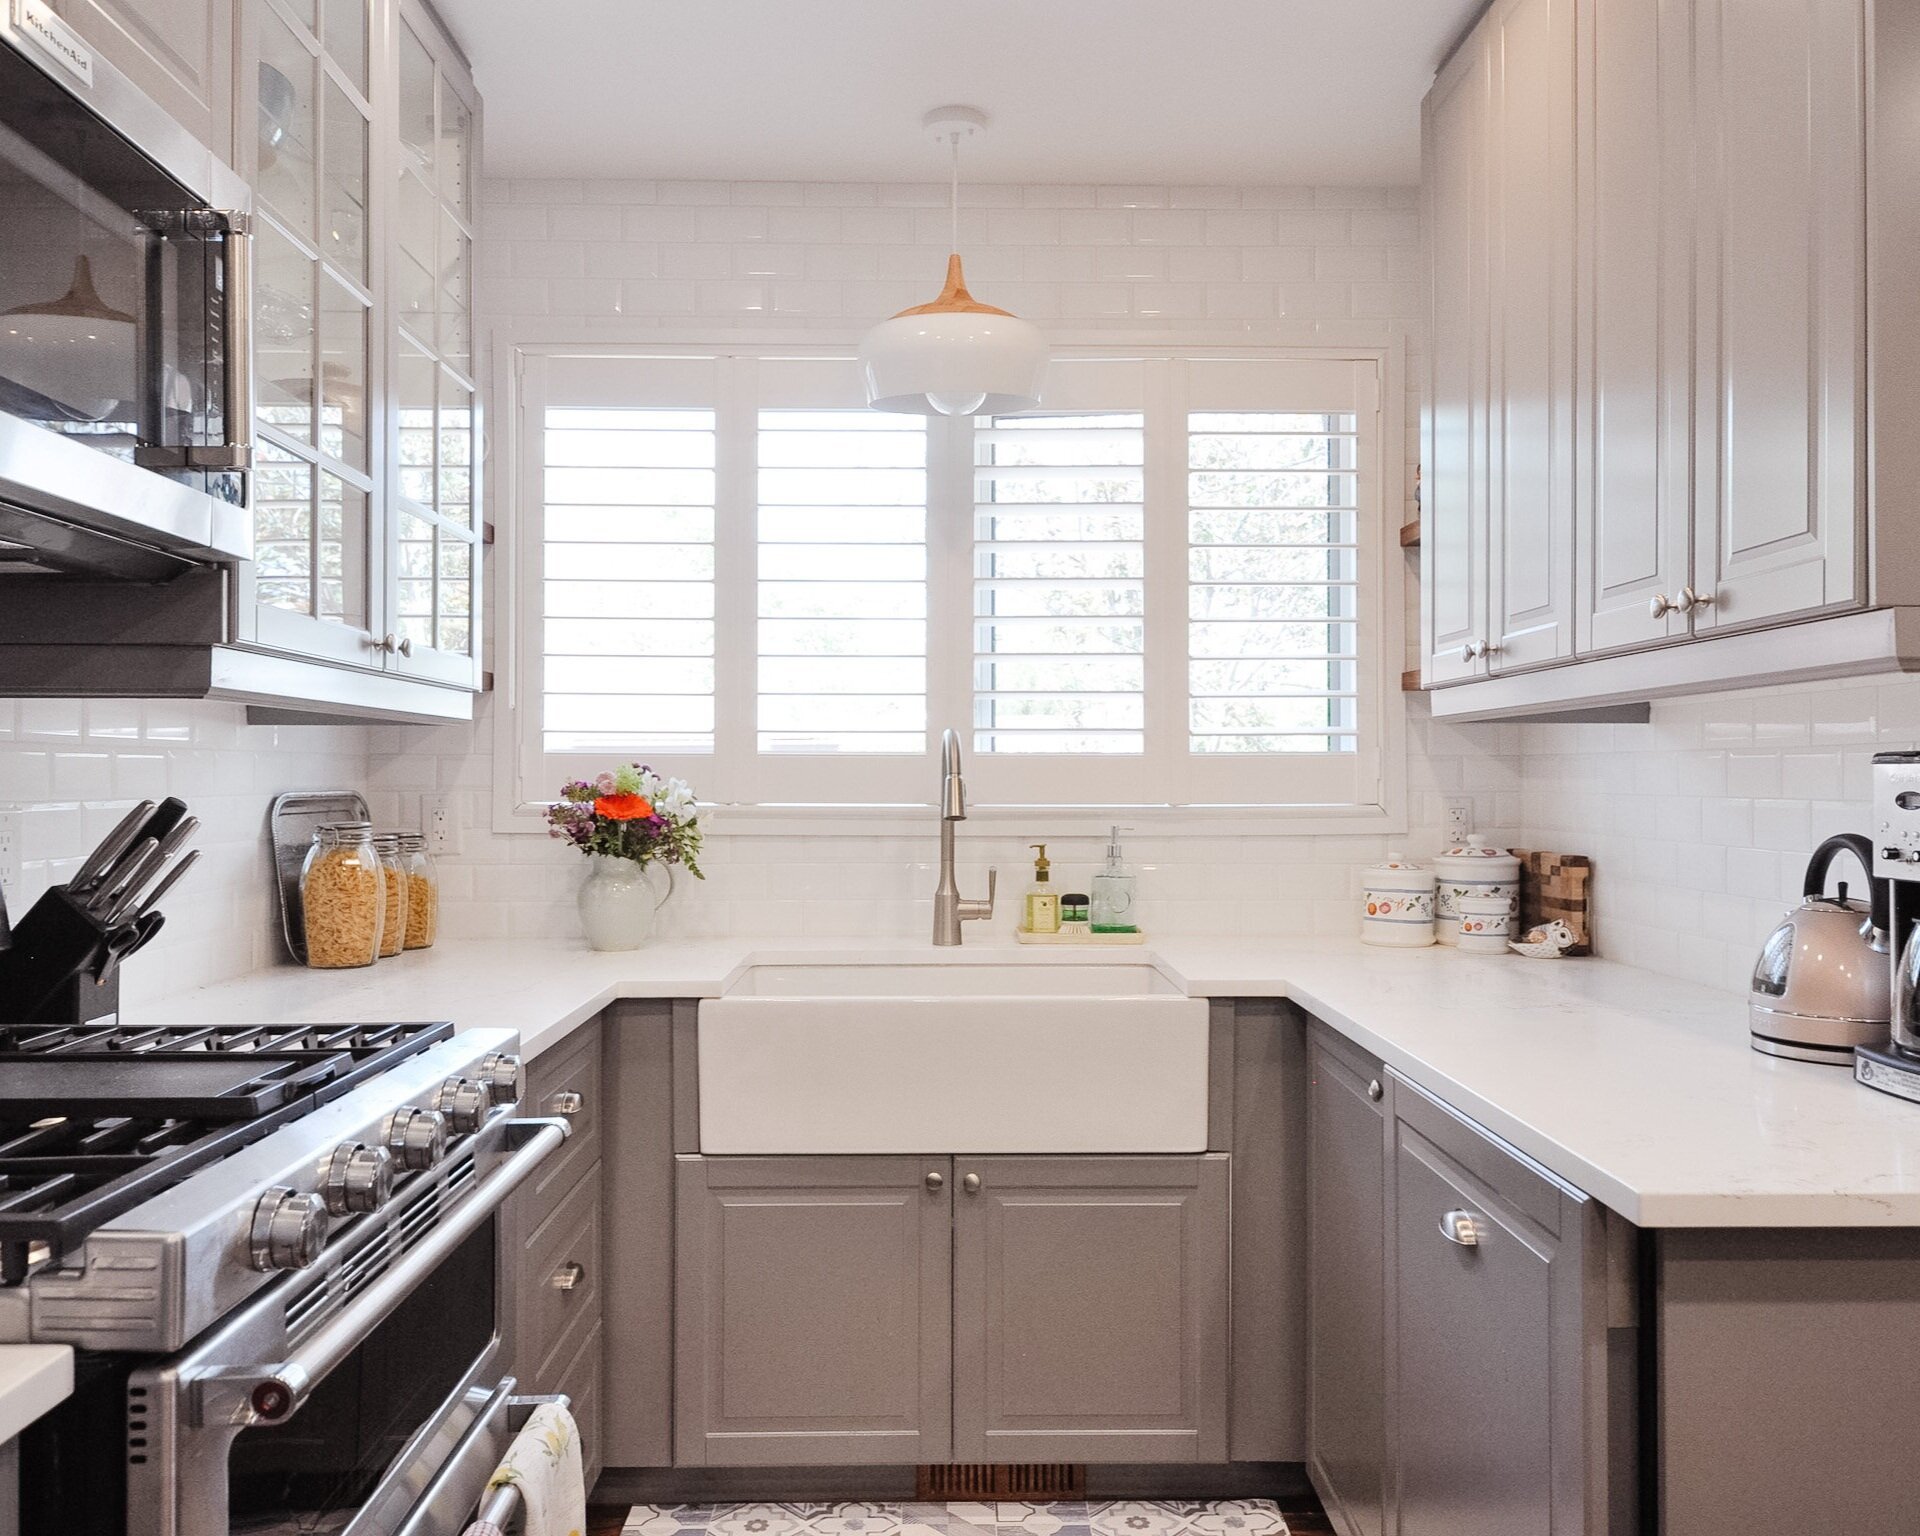
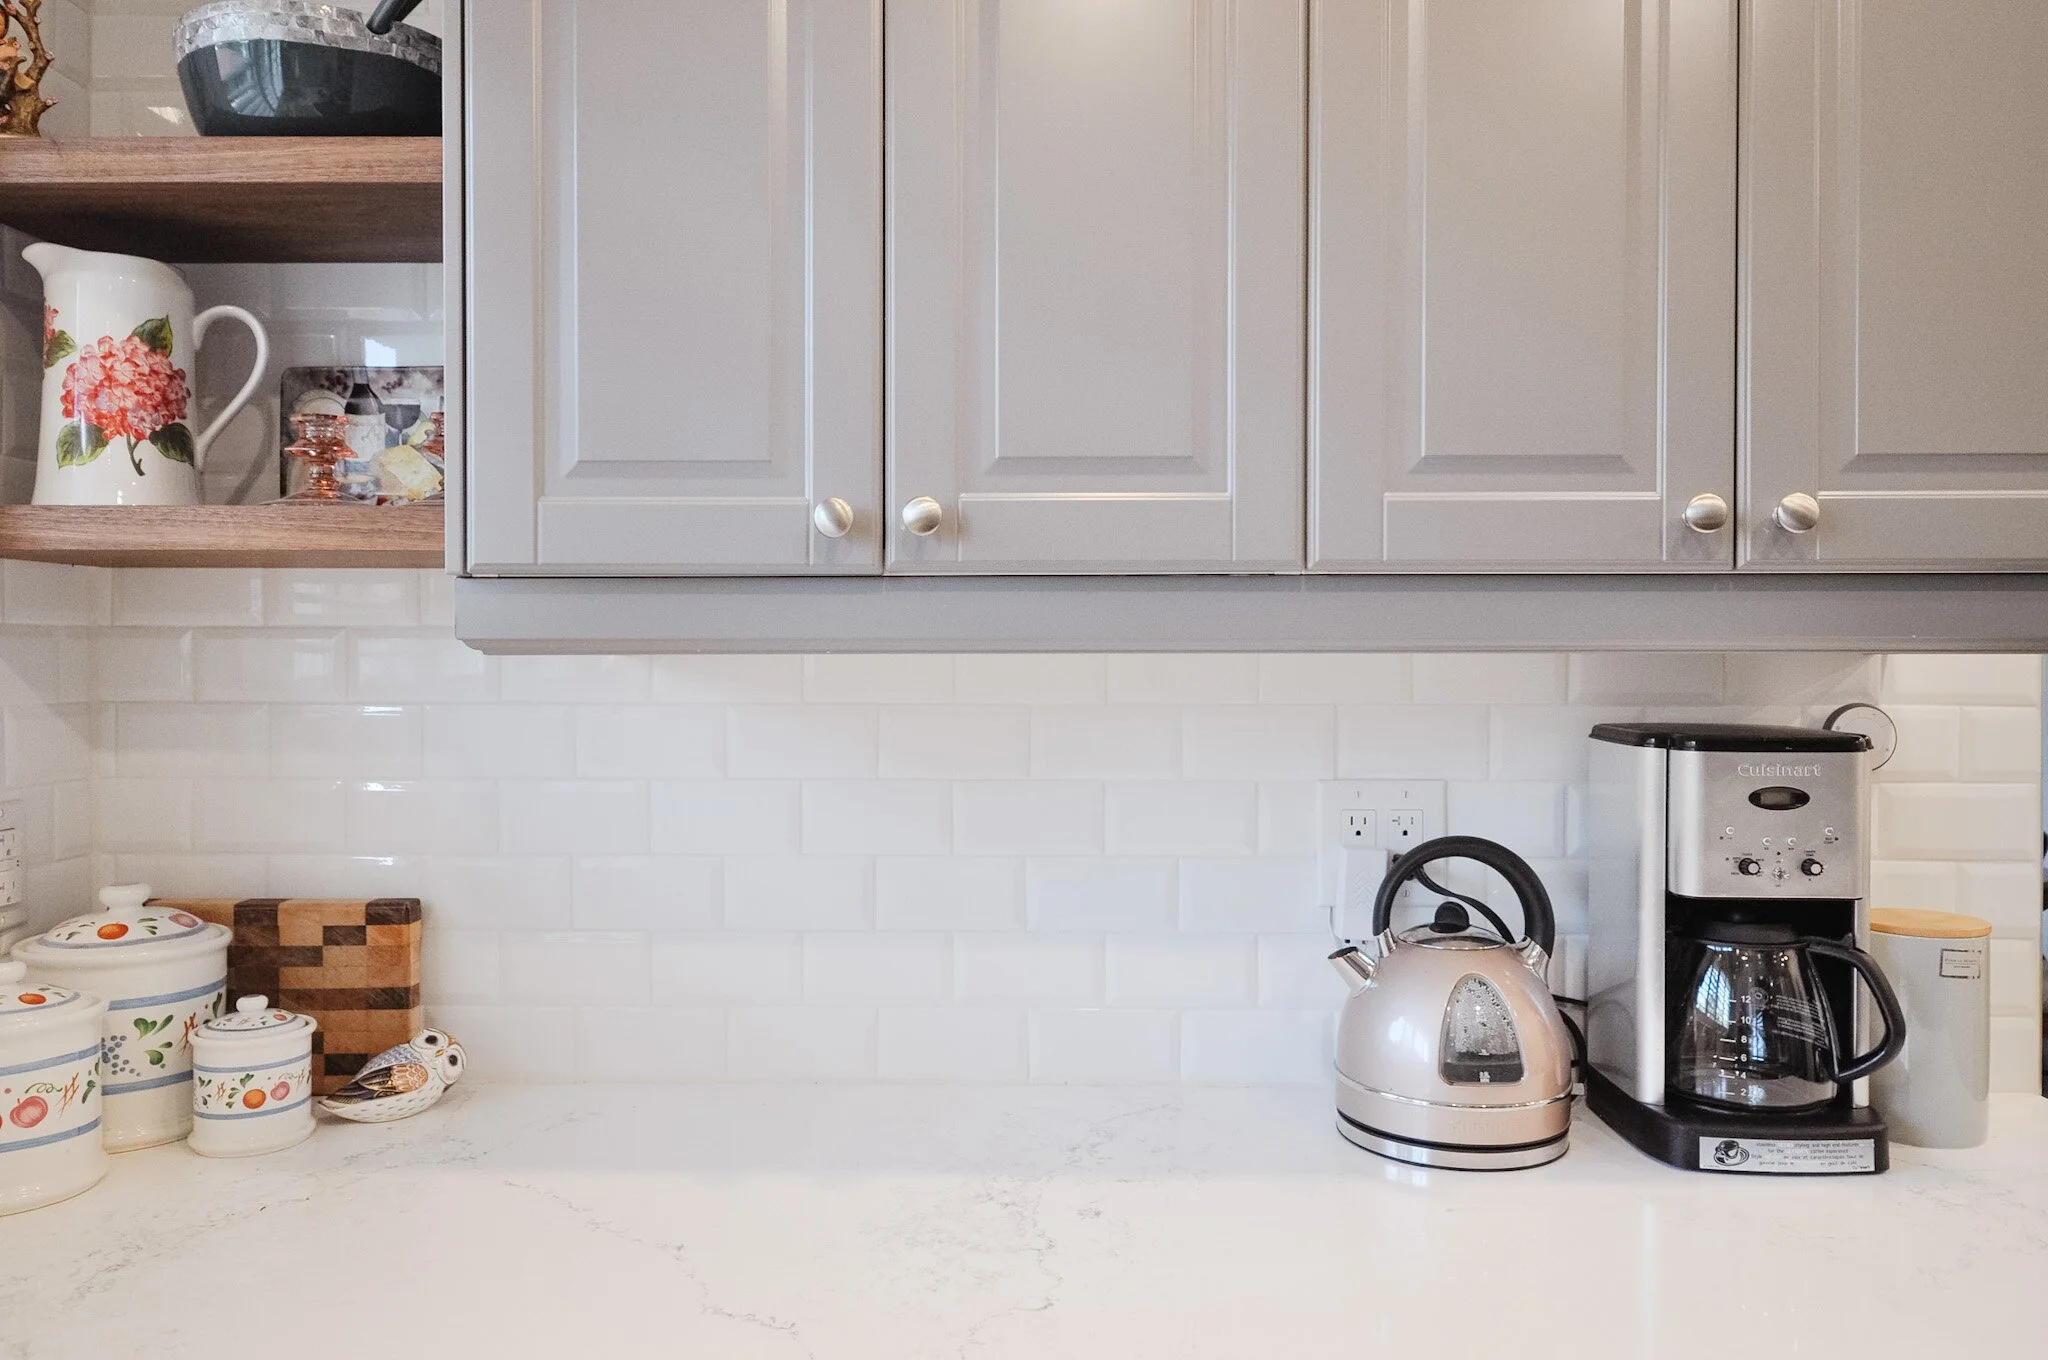
We added more functional light with several recessed fixtures and then accented the sink and window area with a pendant. With the grey cabinets, I wanted to ensure that the space still felt bright and classic. We chose bright white countertops with veining, as well as beveled subway tile right up to the ceiling to help reflect light. To add warmth, we chose solid walnut hardwood floors and coordinating floating shelves.
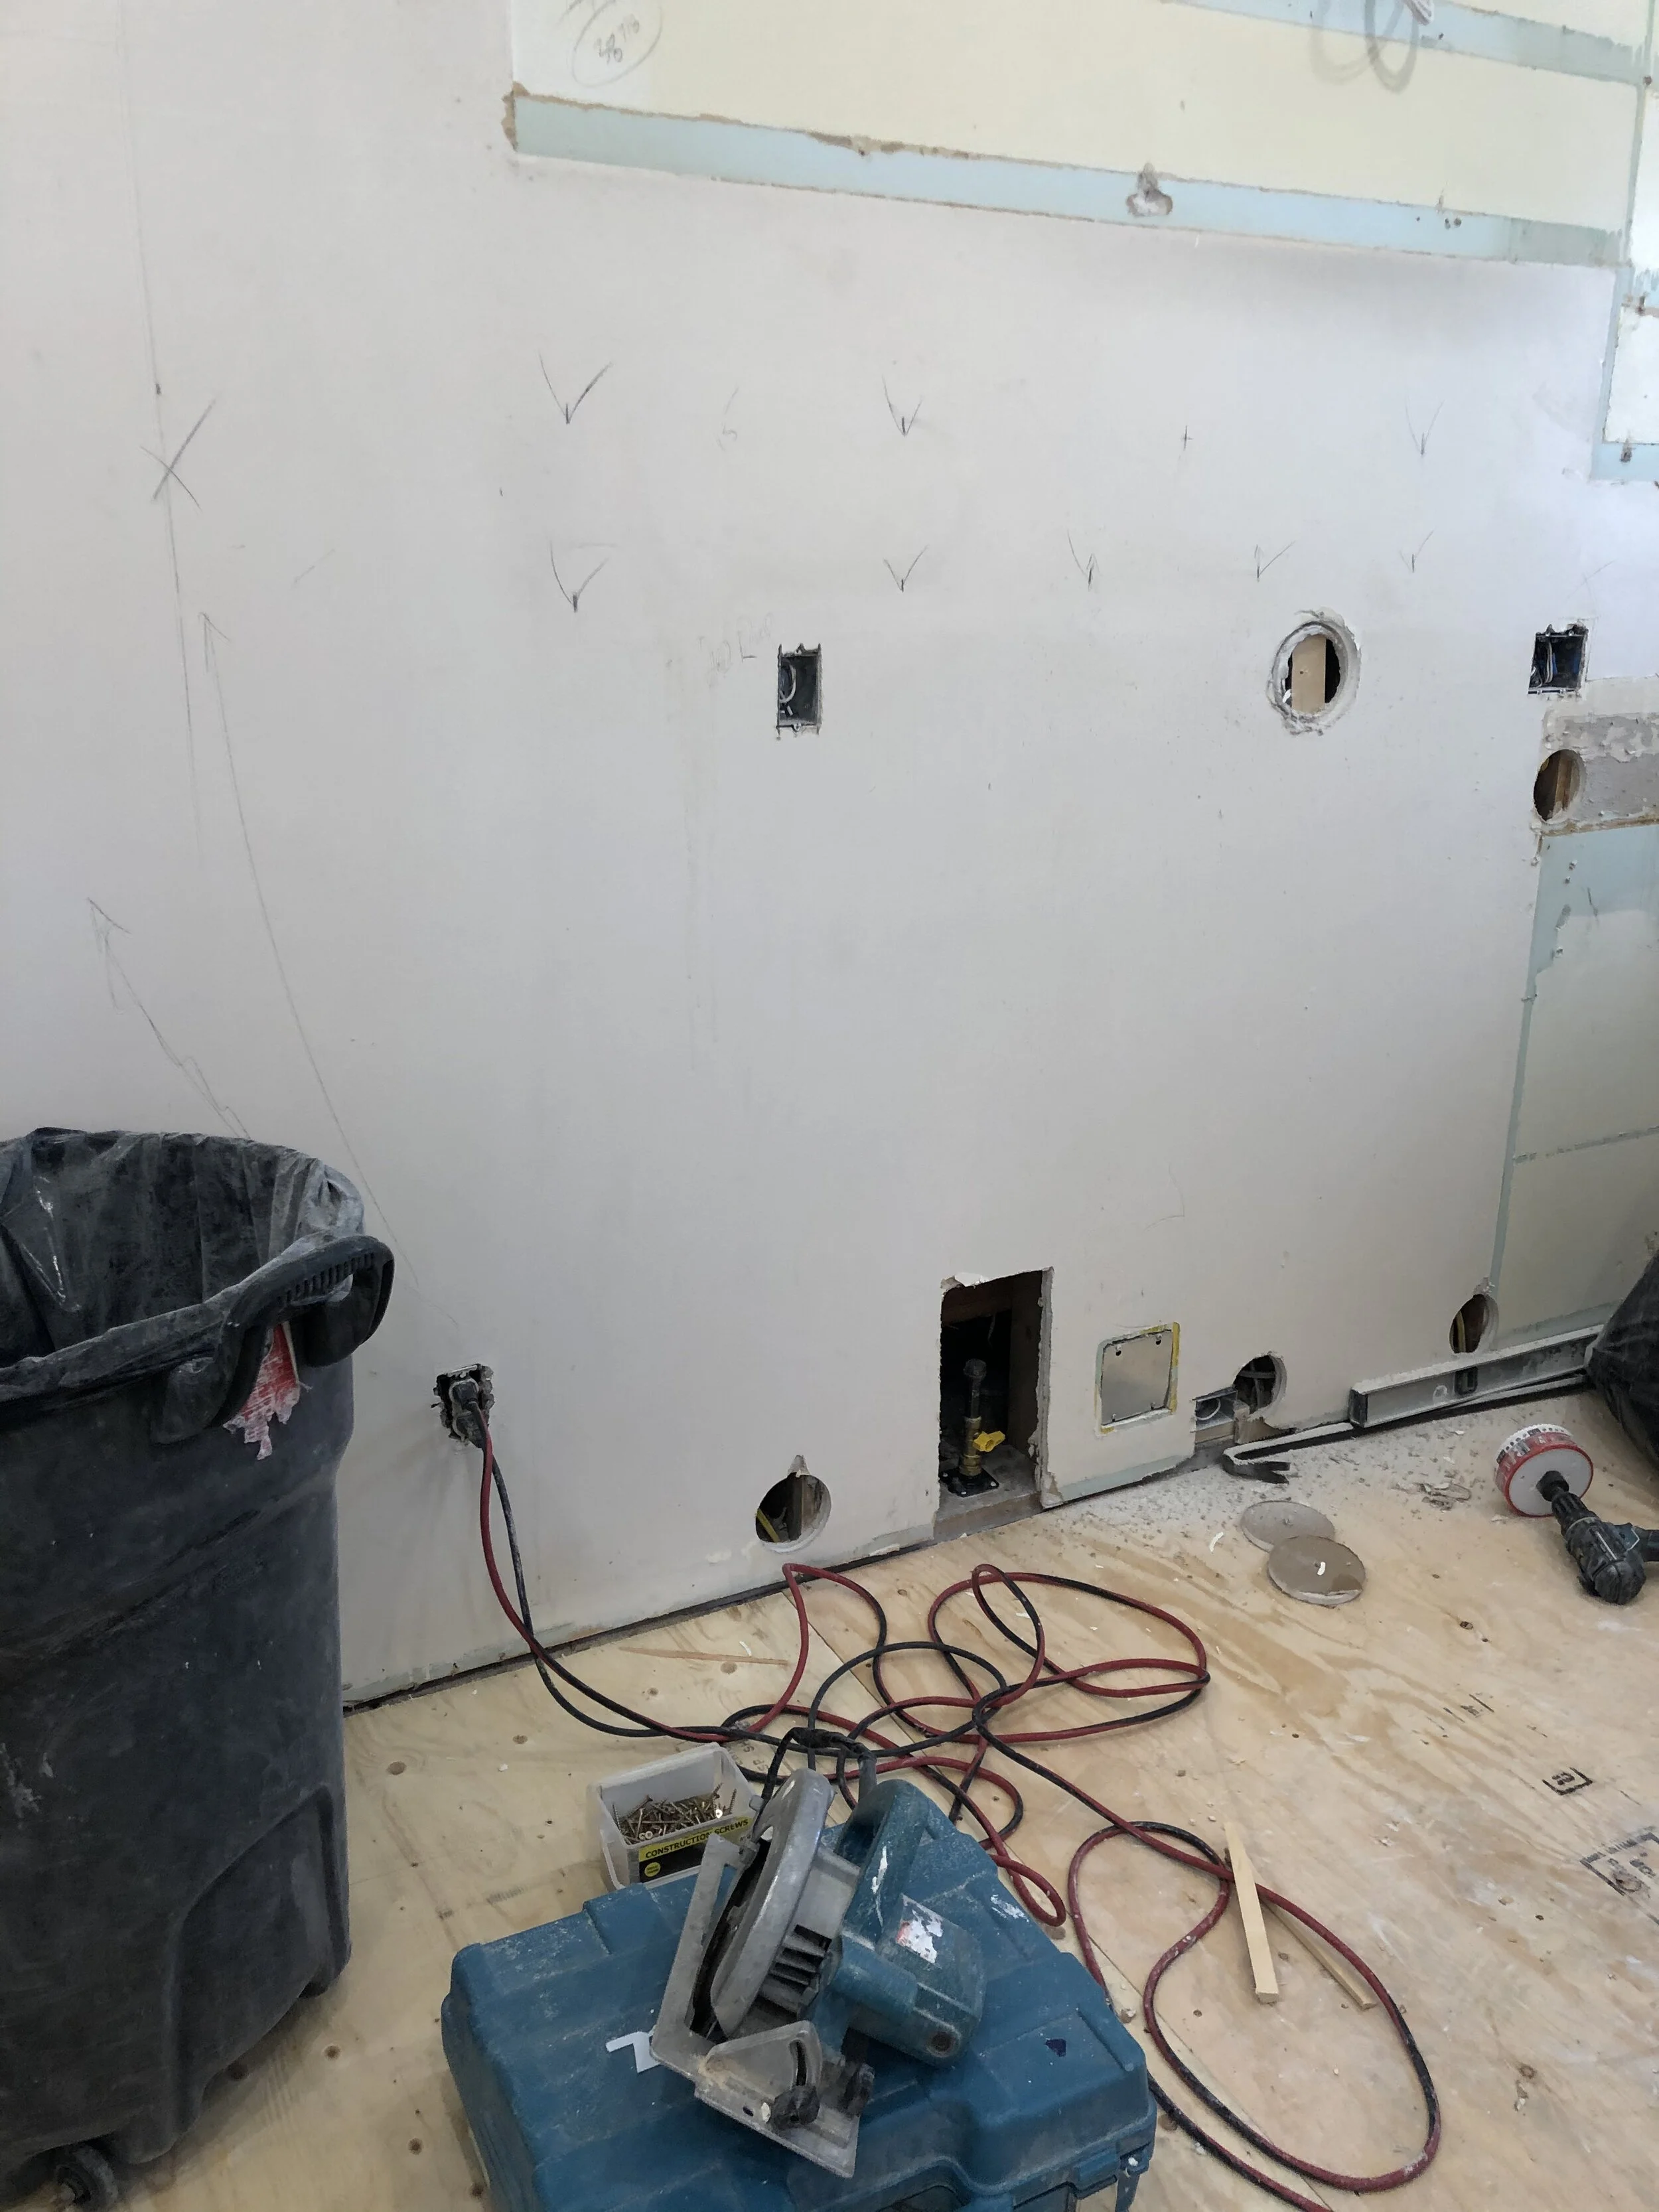
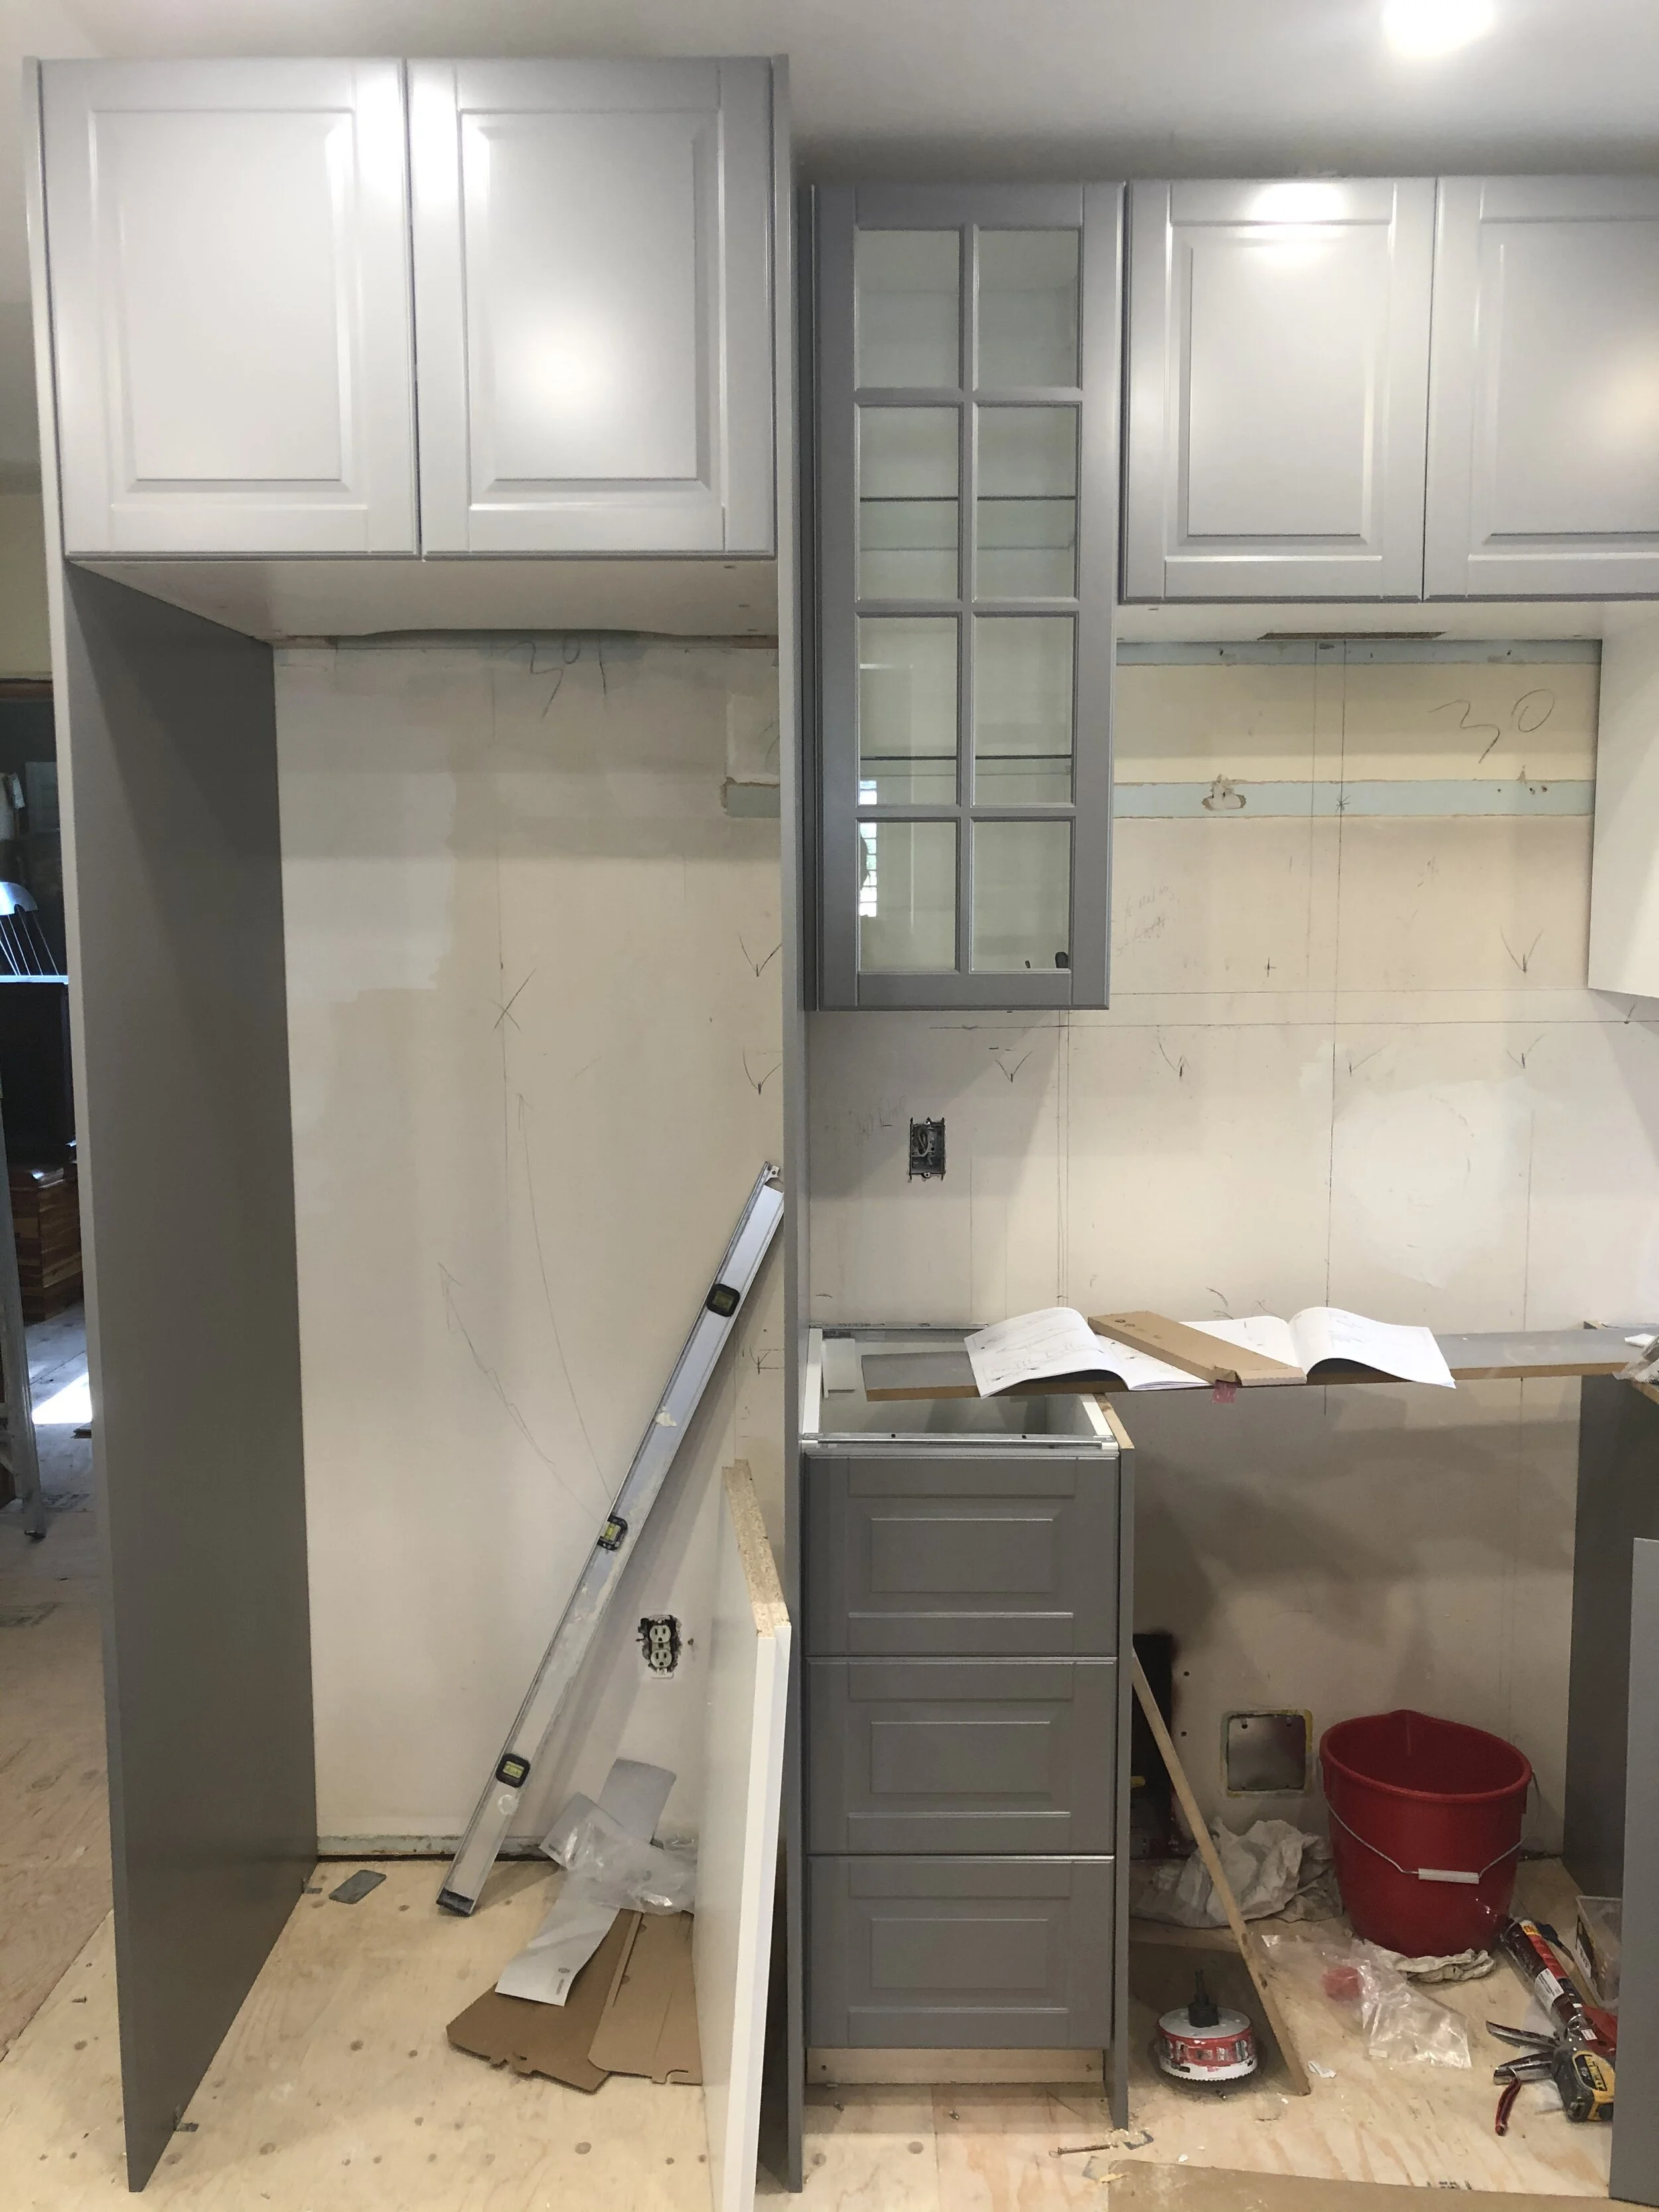
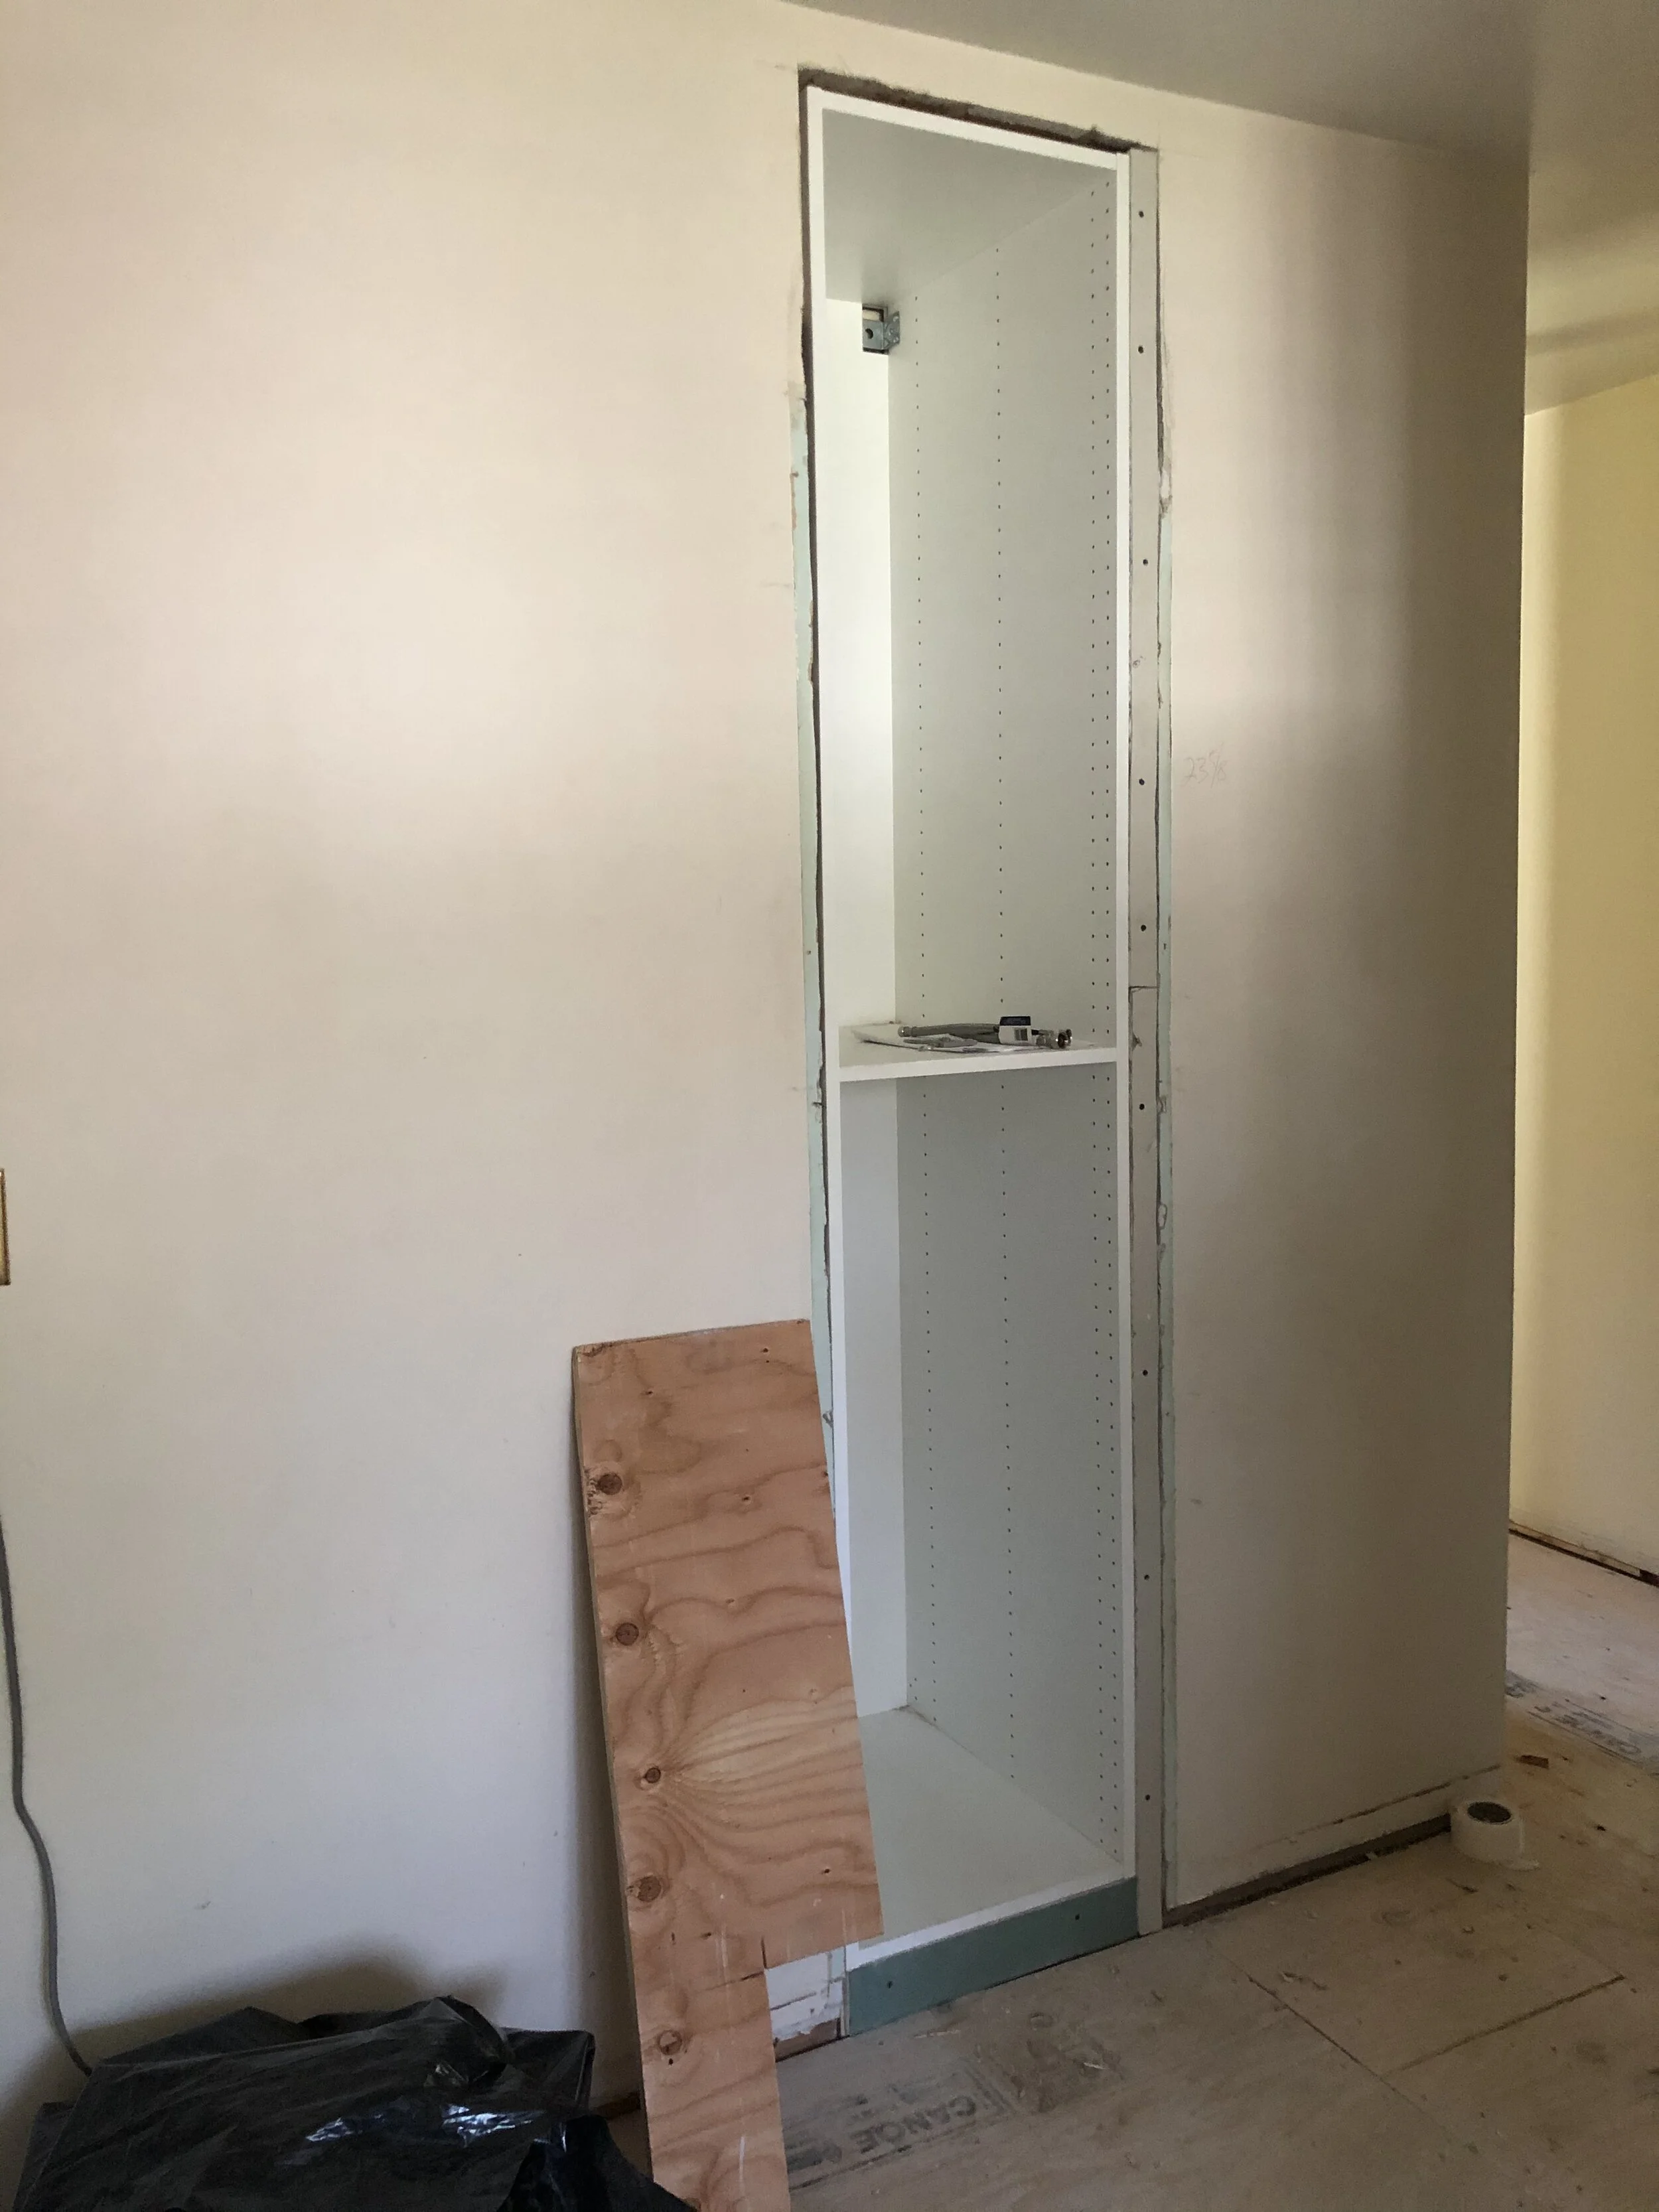
Let the renovation begin
My client was confronted with a couple of life events which delayed the start of renovations. So it felt really good for all of us when the old kitchen finally came out!
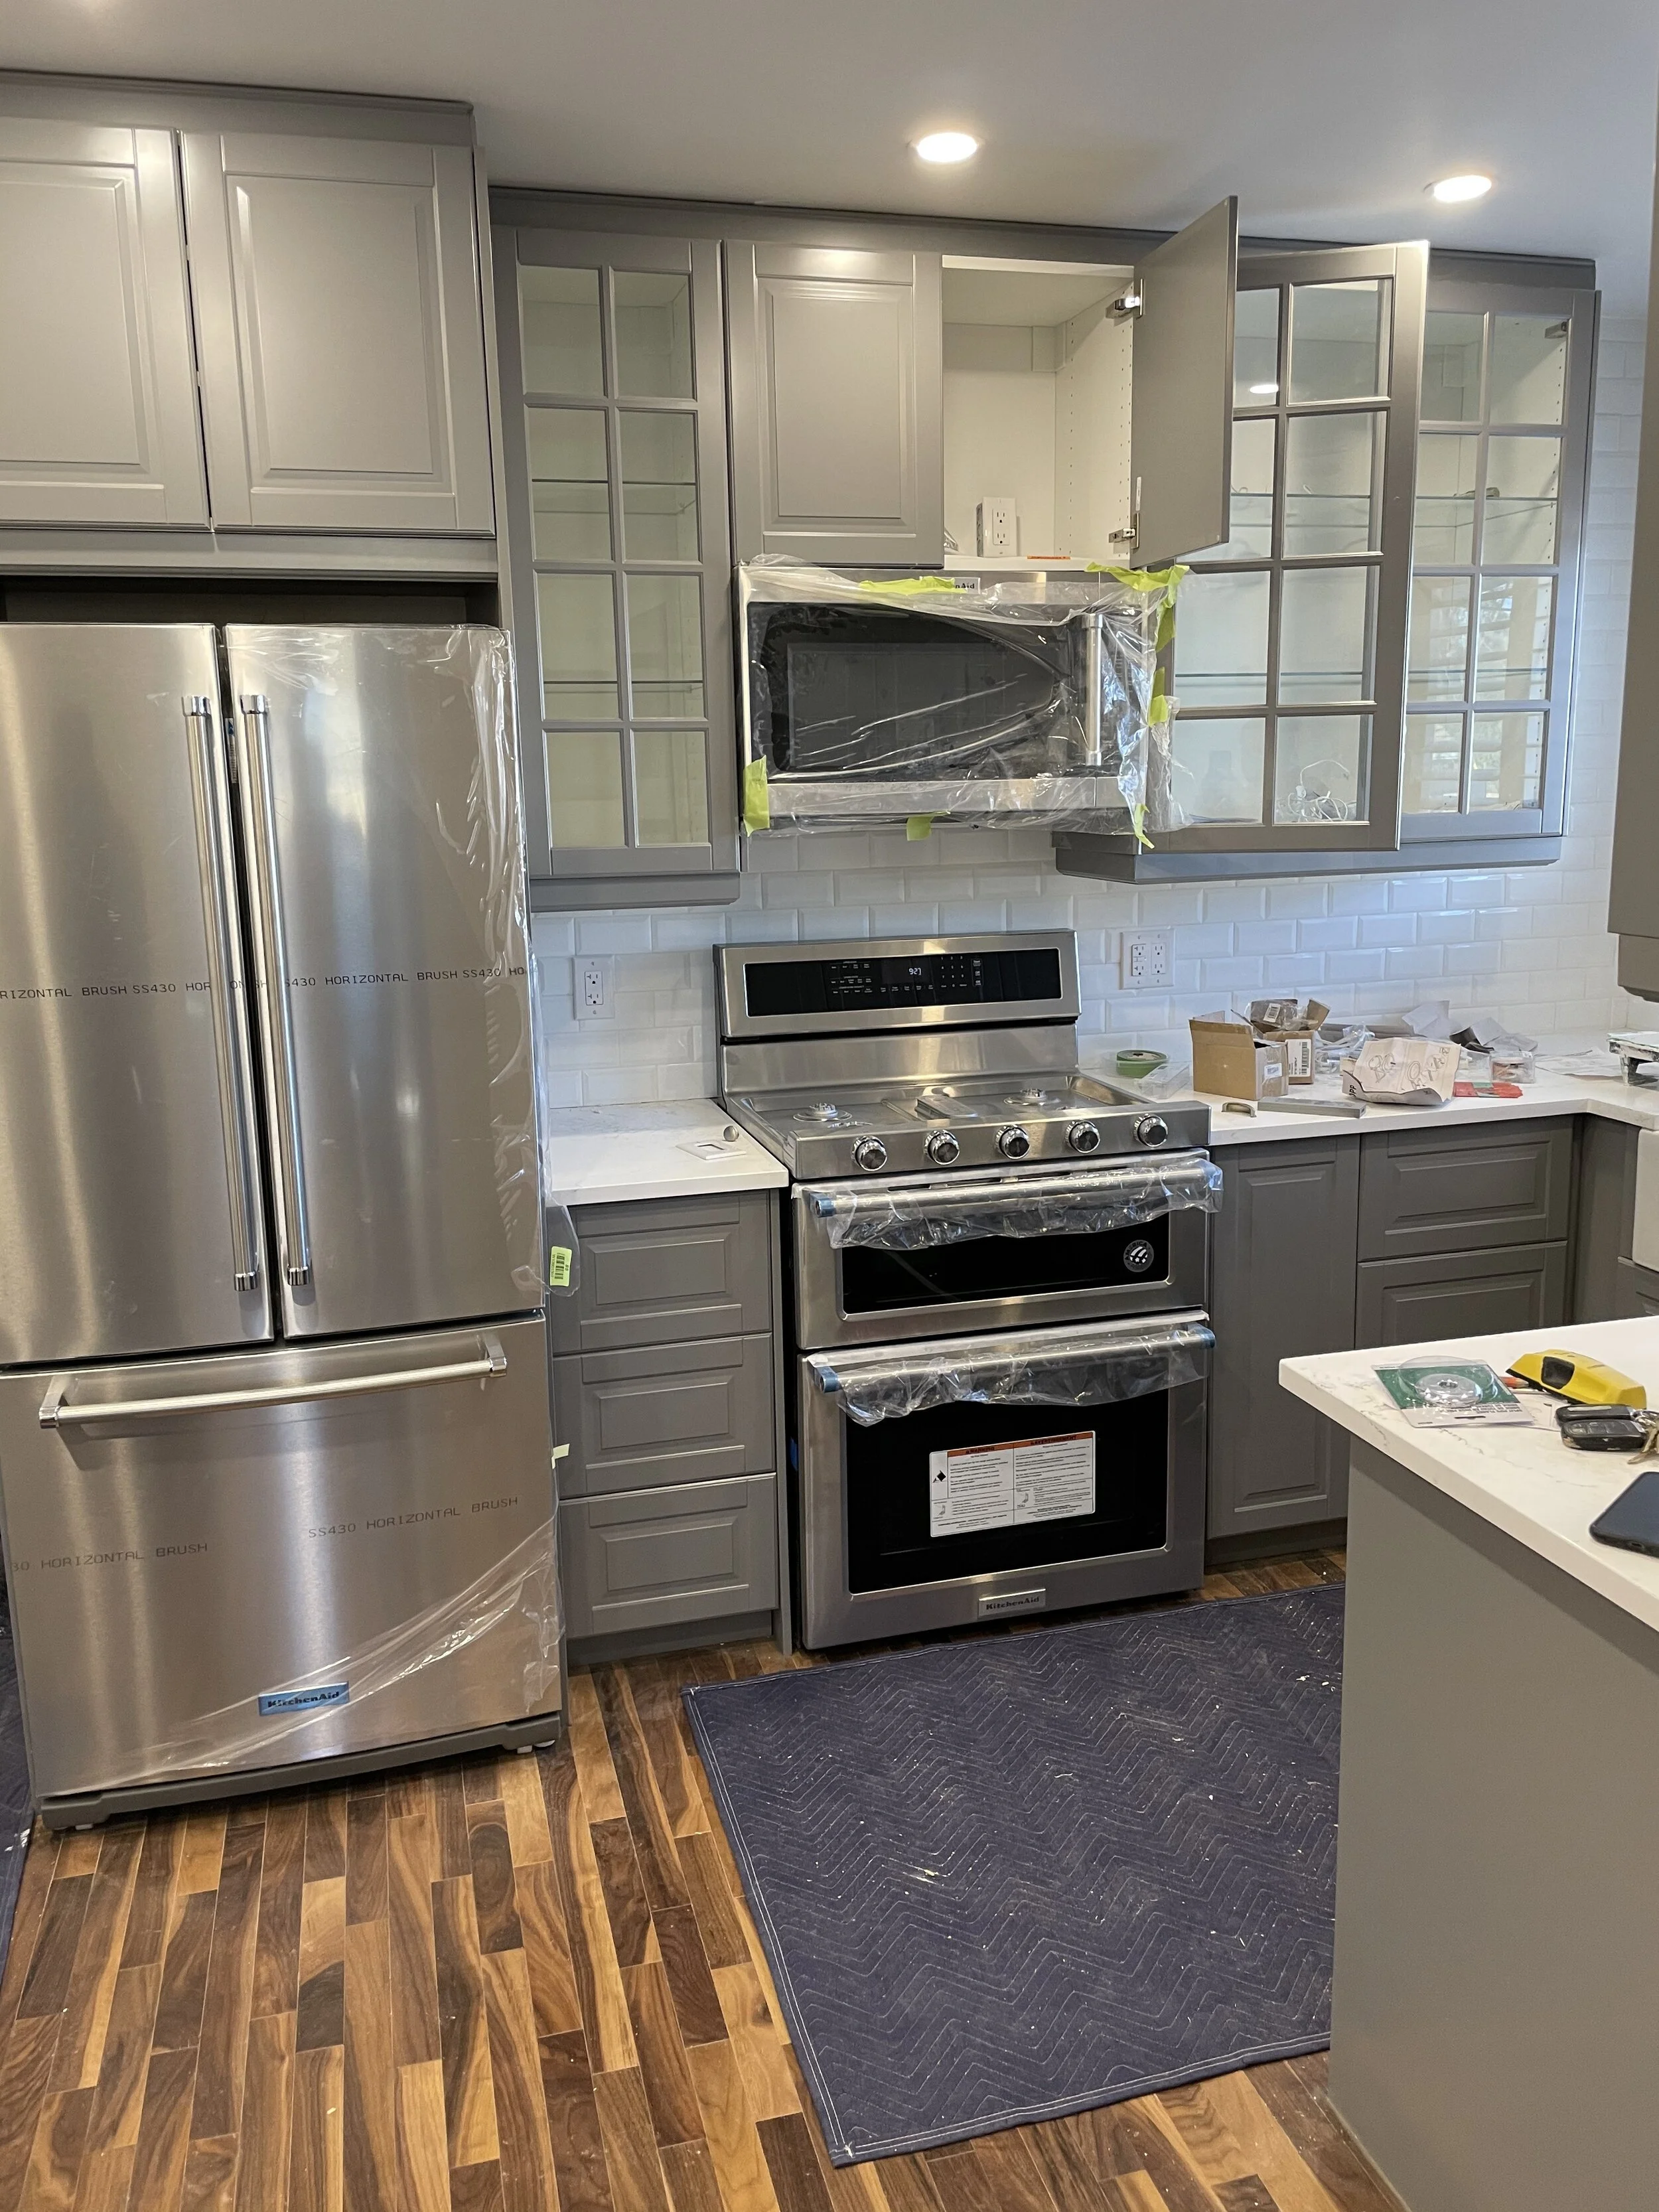
The end result was exactly what my client wanted: Classic, bright, welcoming, and (most importantly) functional.
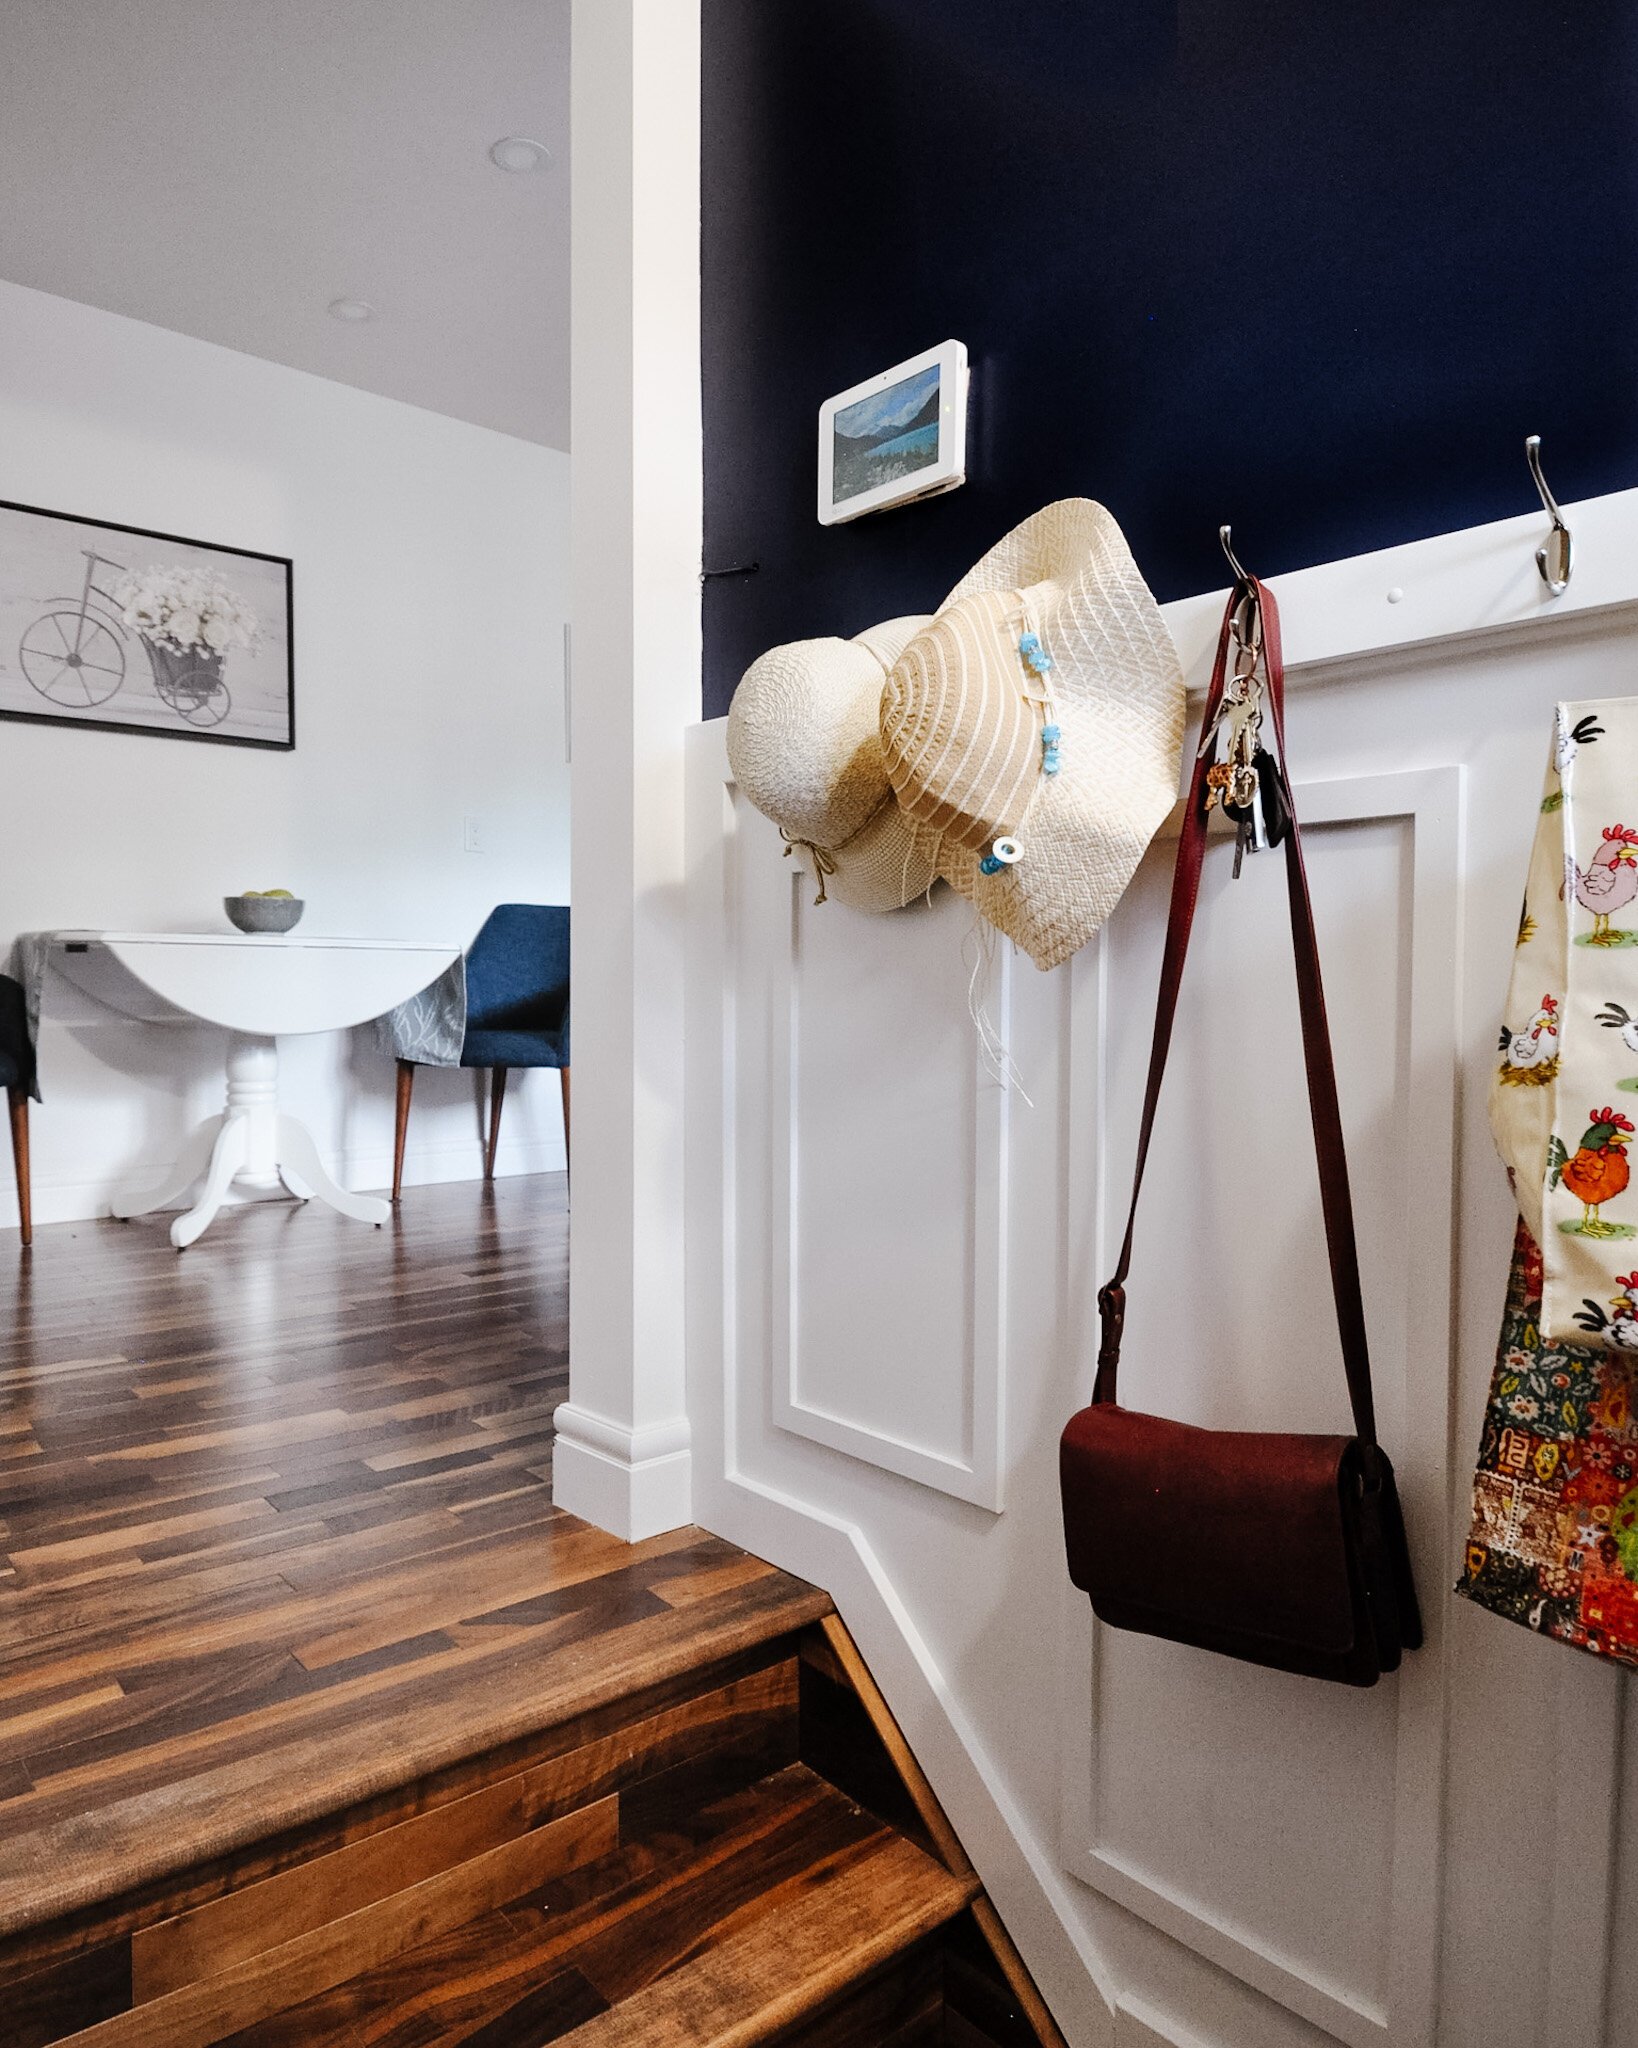
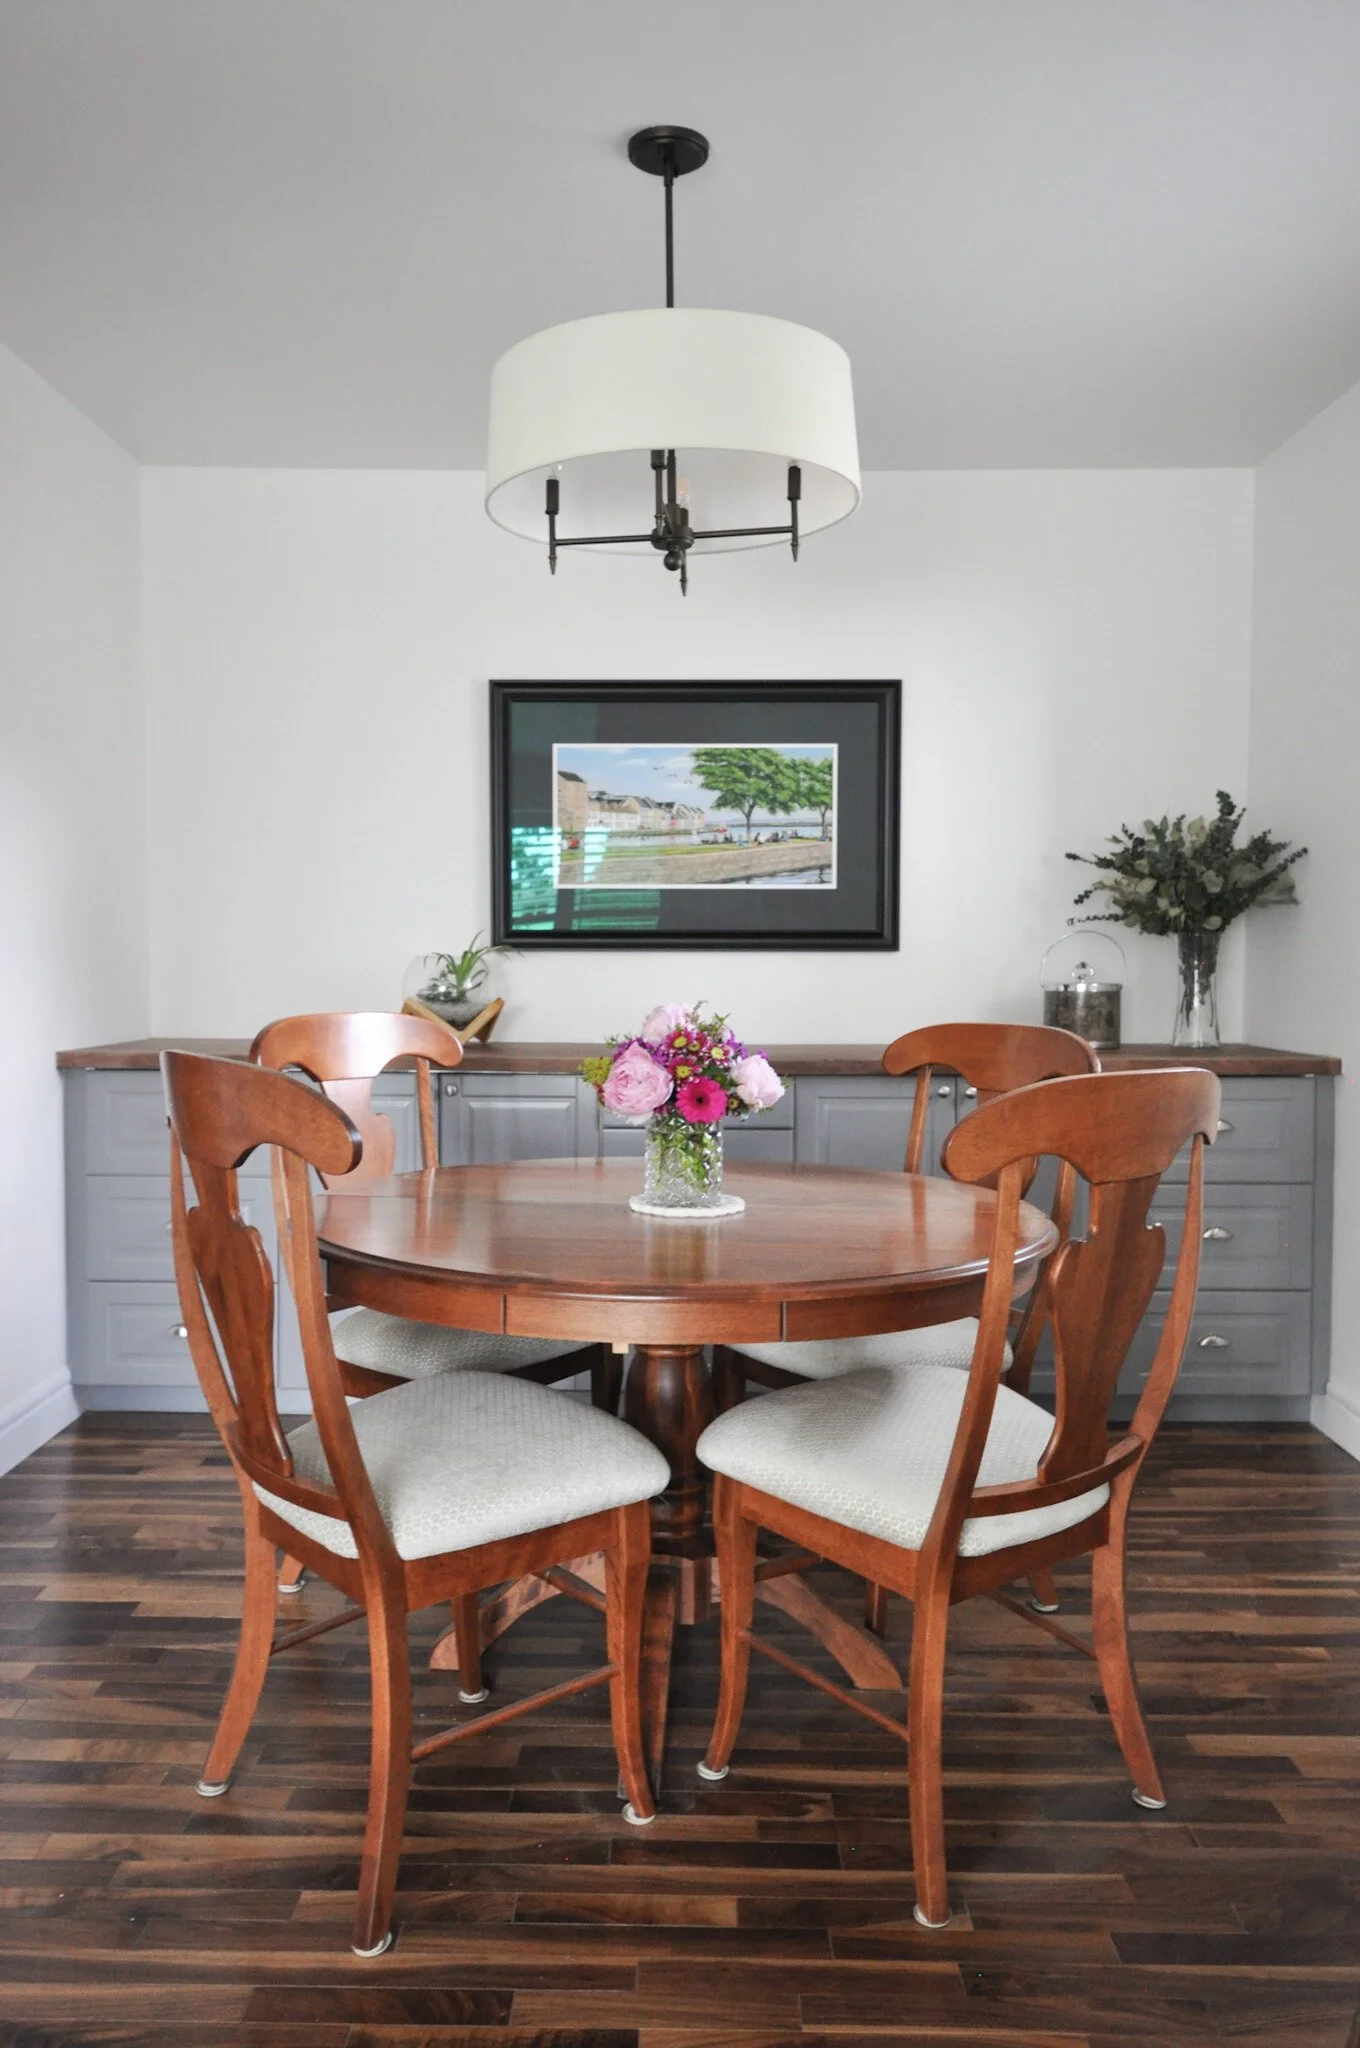
We decided to maintain an eat-in spot in the kitchen. Perfect for day-to-day use when it’s just her in the house, and a spot where guests can gather as well. The table expands and extra chairs can be added. And then, since the rest of the main floor had all received some love and attention, we couldn’t forget about the back entry! We went bold with the colour and the contractor even added a pull-out drawer, making that typical ‘50s home entry much more functional!

But wait! We aren’t done yet!
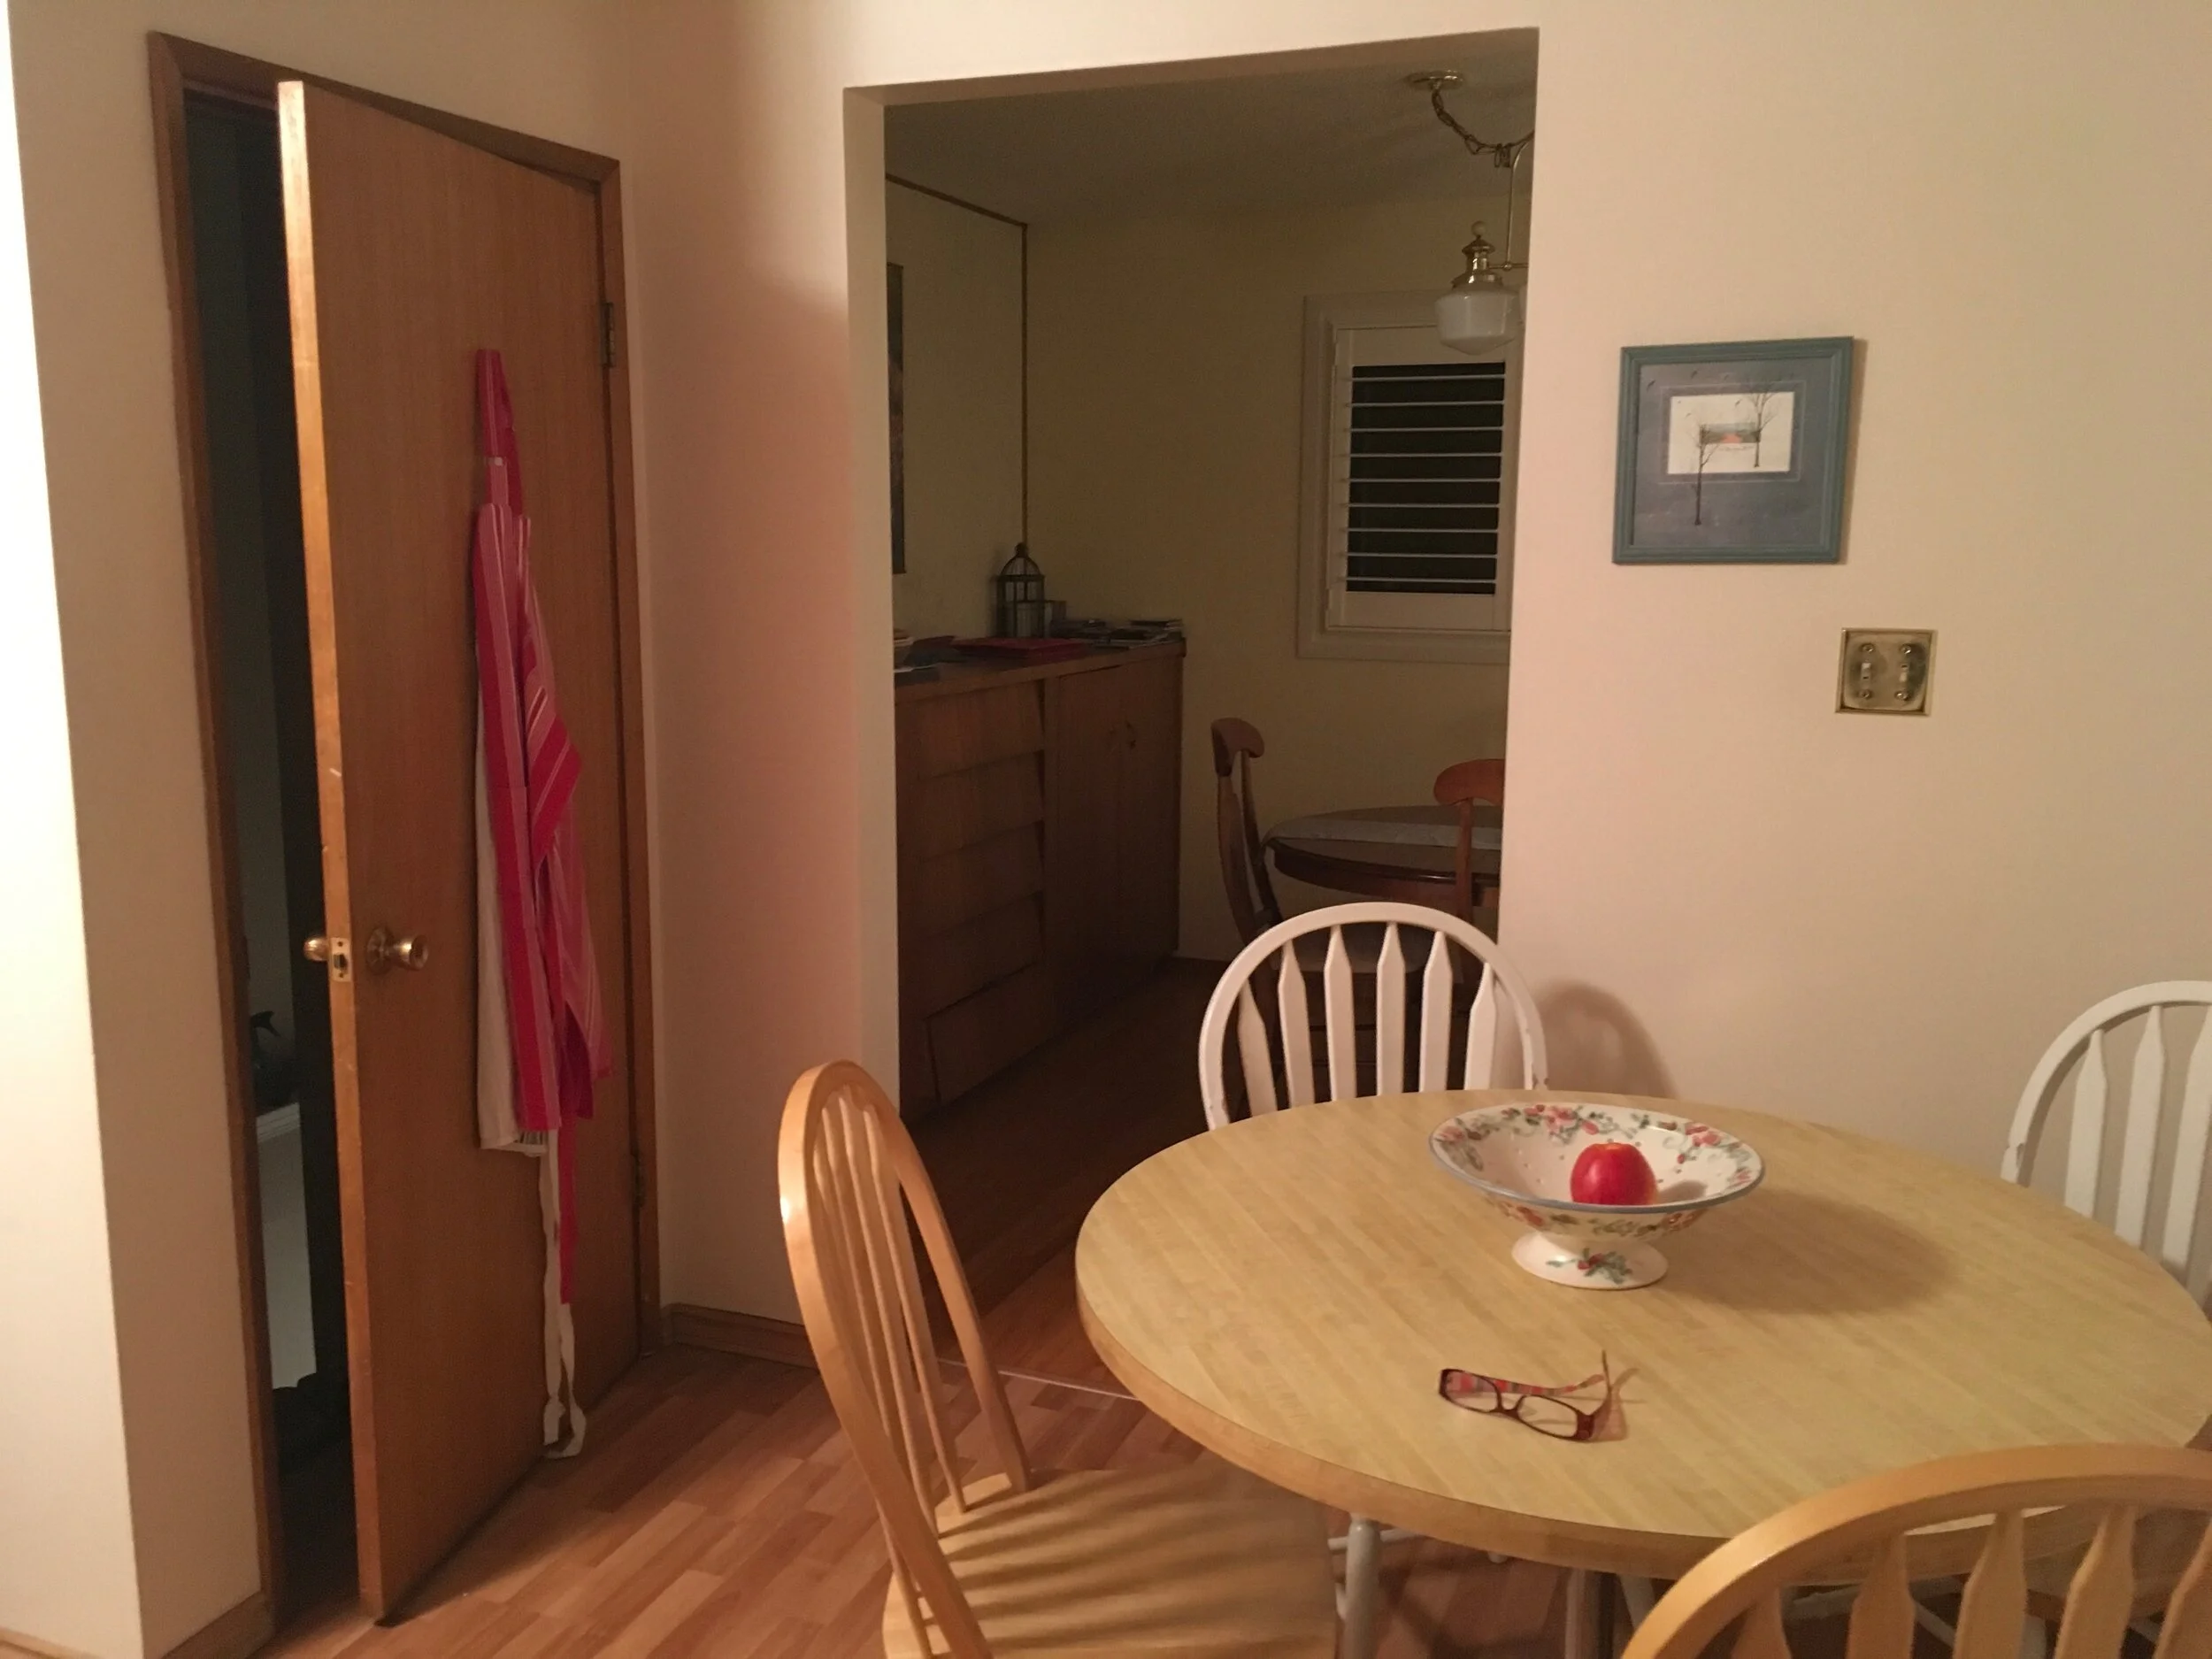
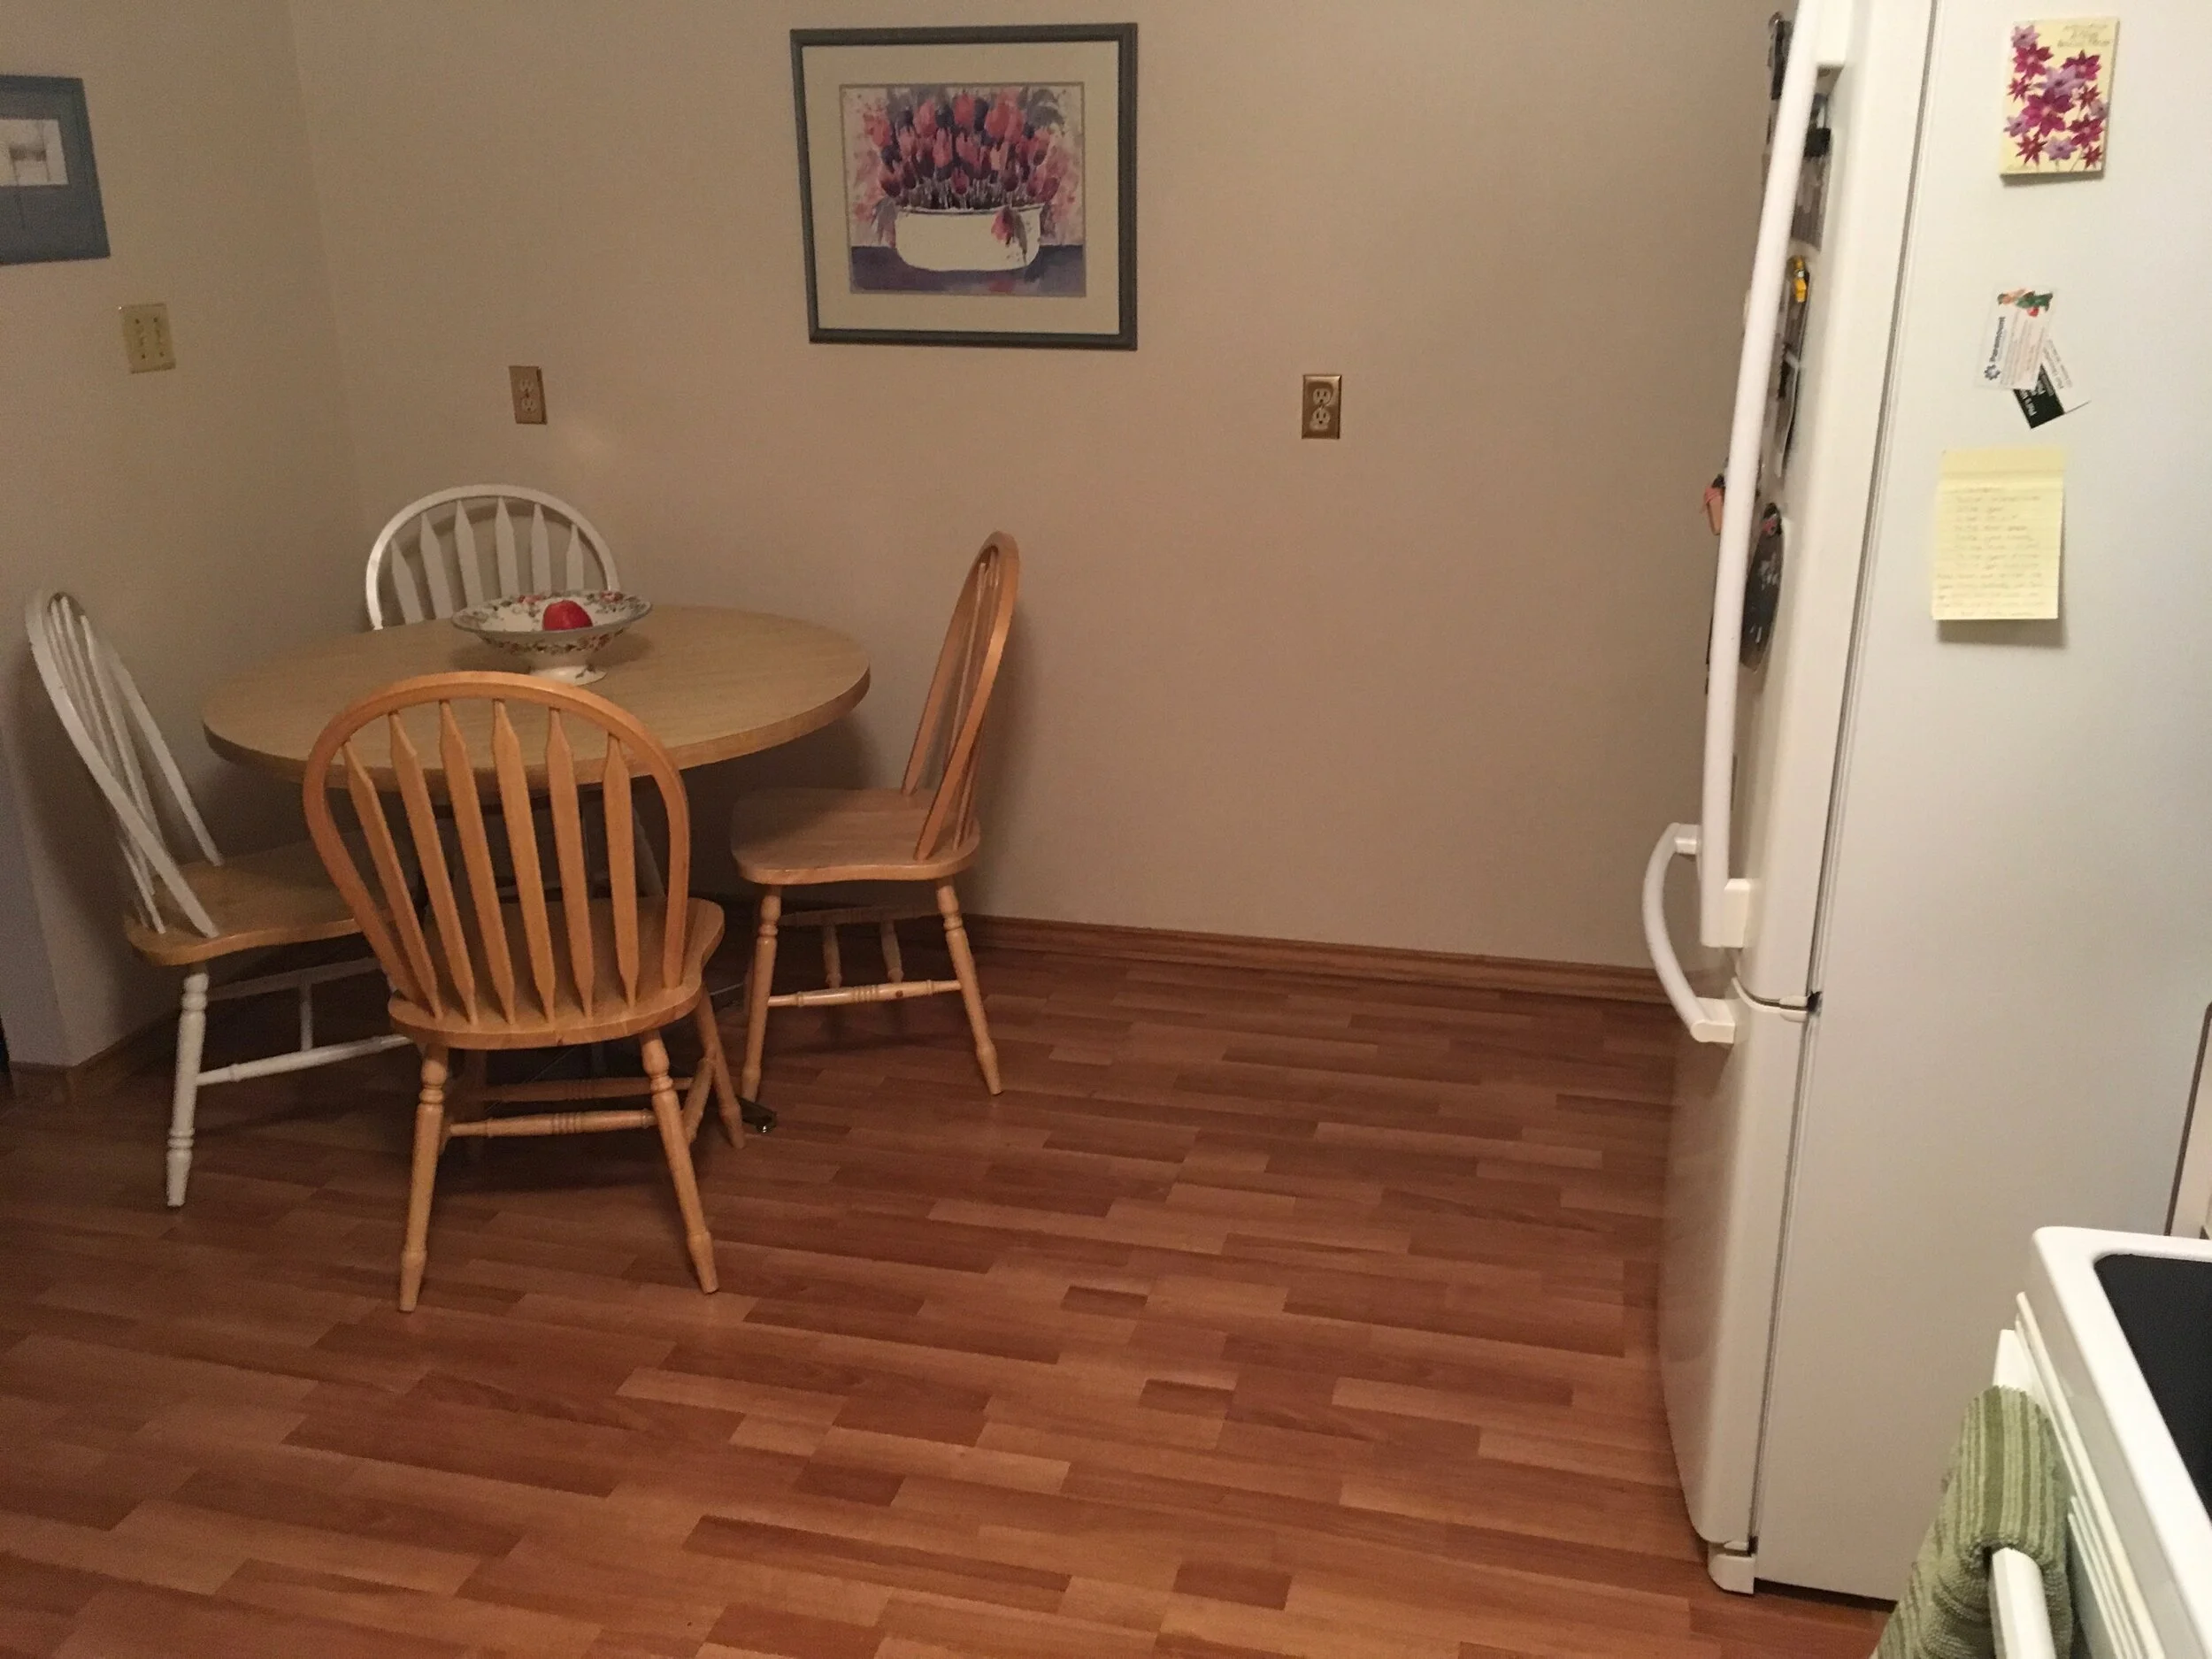
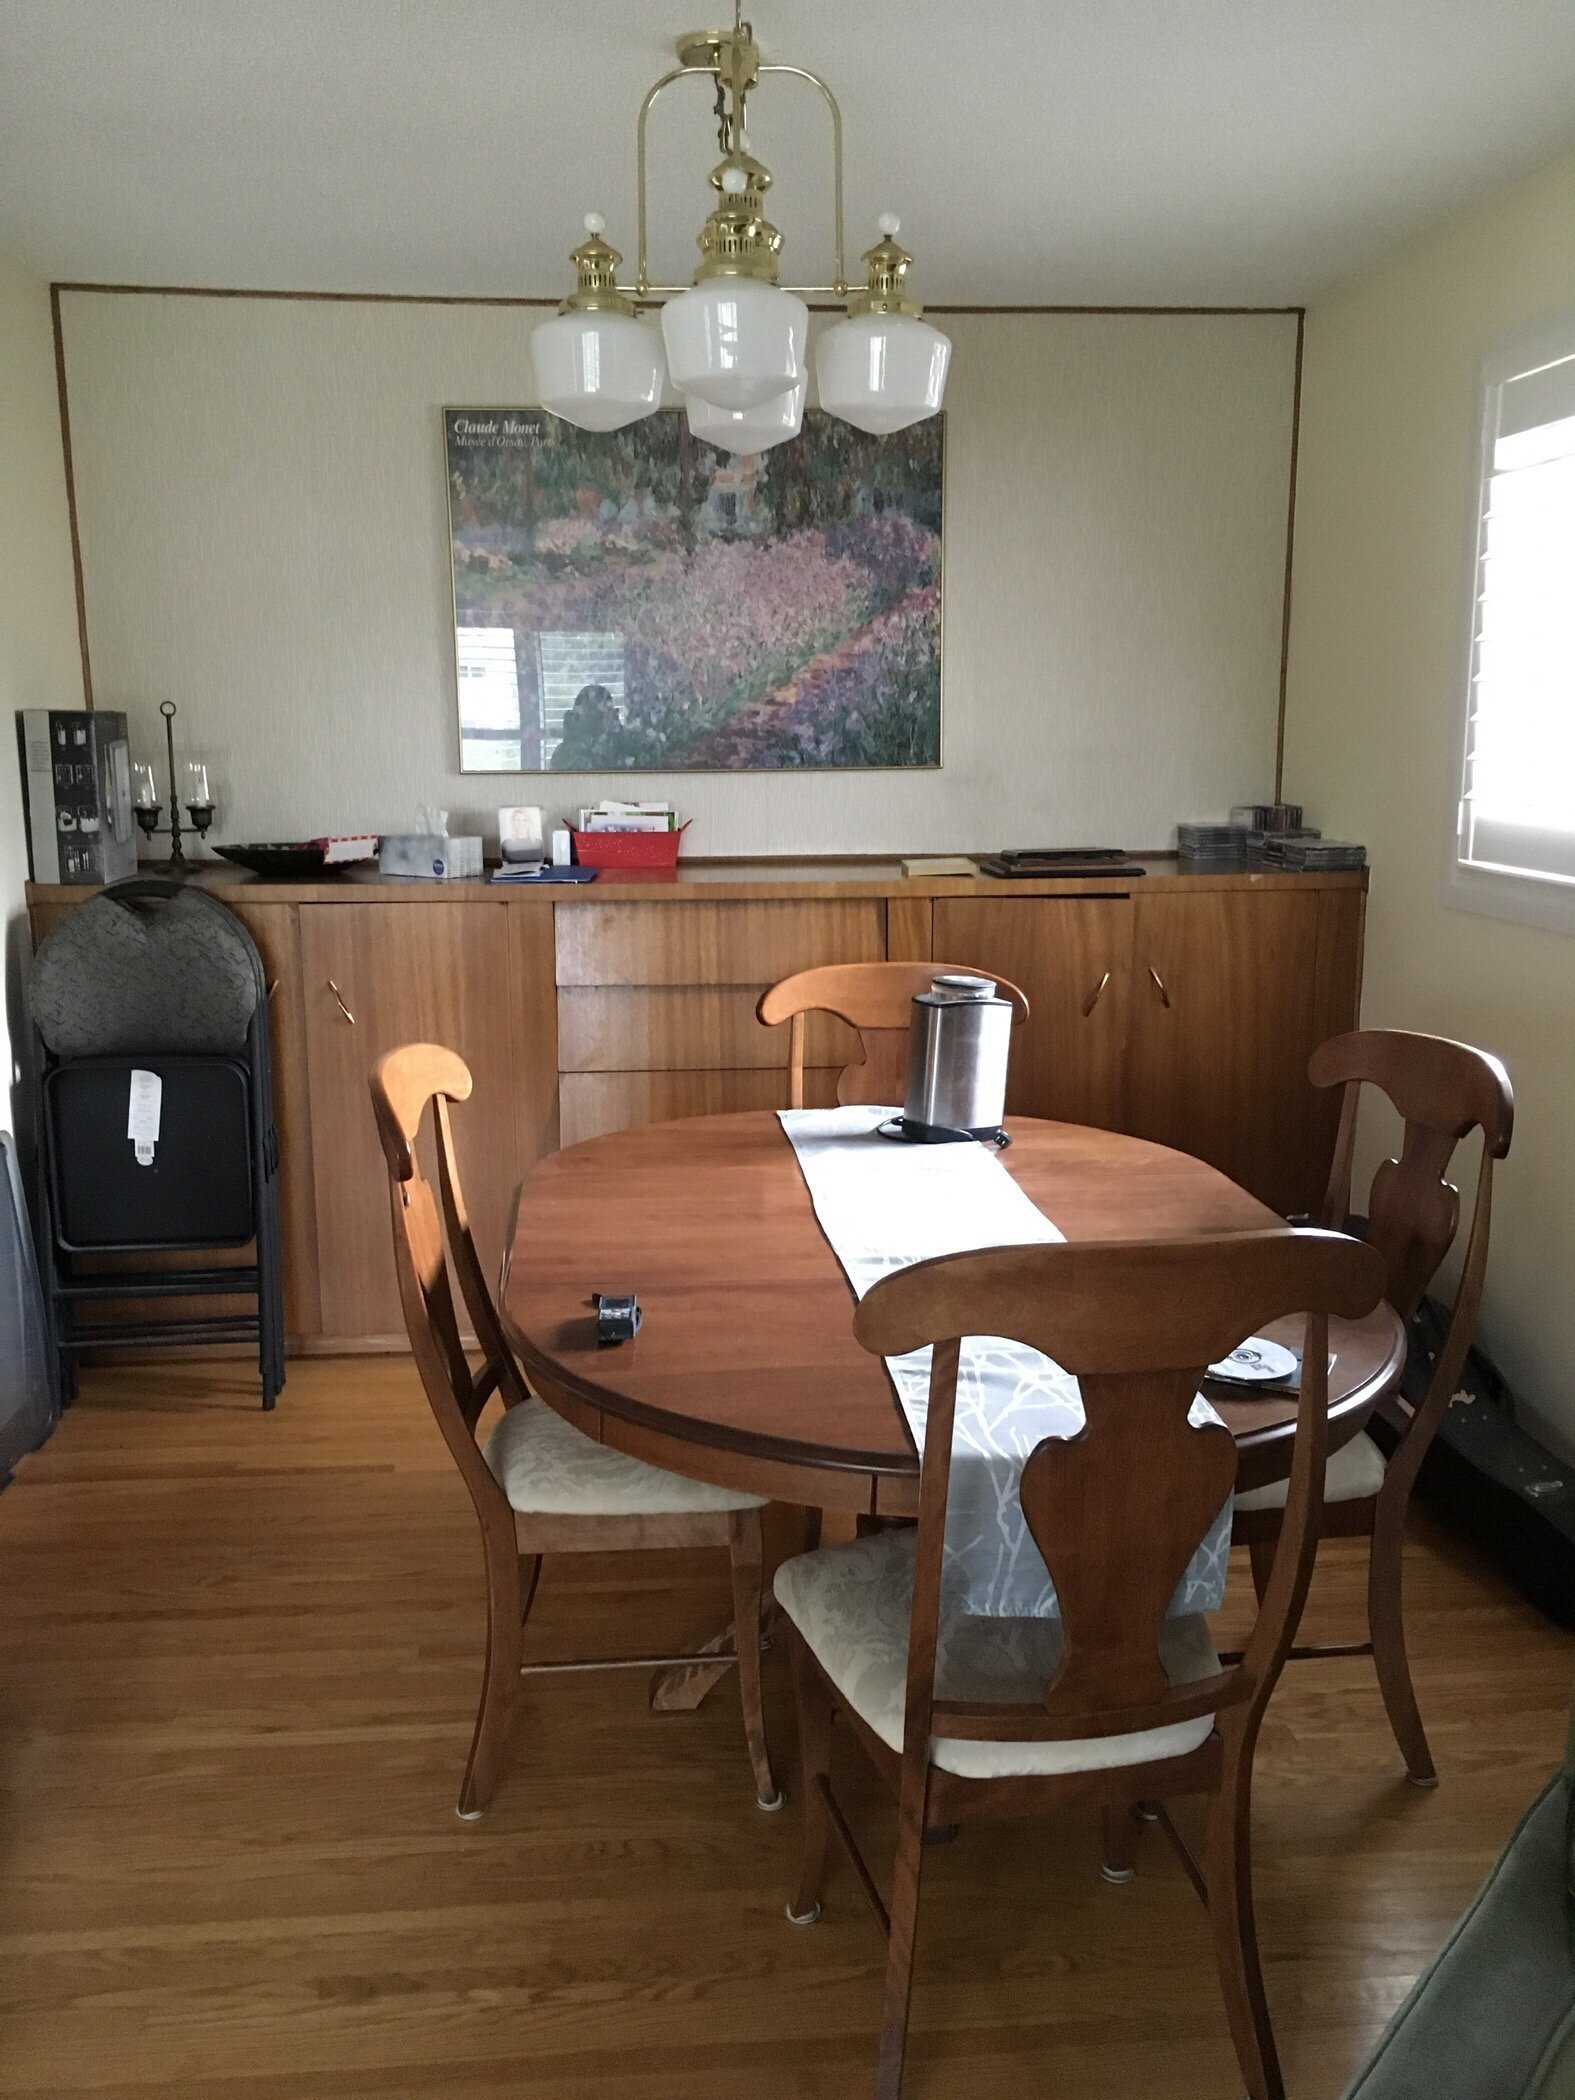
As mentioned, the scope of this project just kept increasing. The next two rooms my client wanted to tackle were the dining room and living room. The existing space was also original to the home. The dining room featured a large sideboard-style buffet. The height was less than ideal from a functional perspective, but the storage space was desirable, so we knew the new version had to make even better use of the space. In addition to the larger changes, we also put in new lighting and had the dining chairs re-covered and re-padded to give them new life.

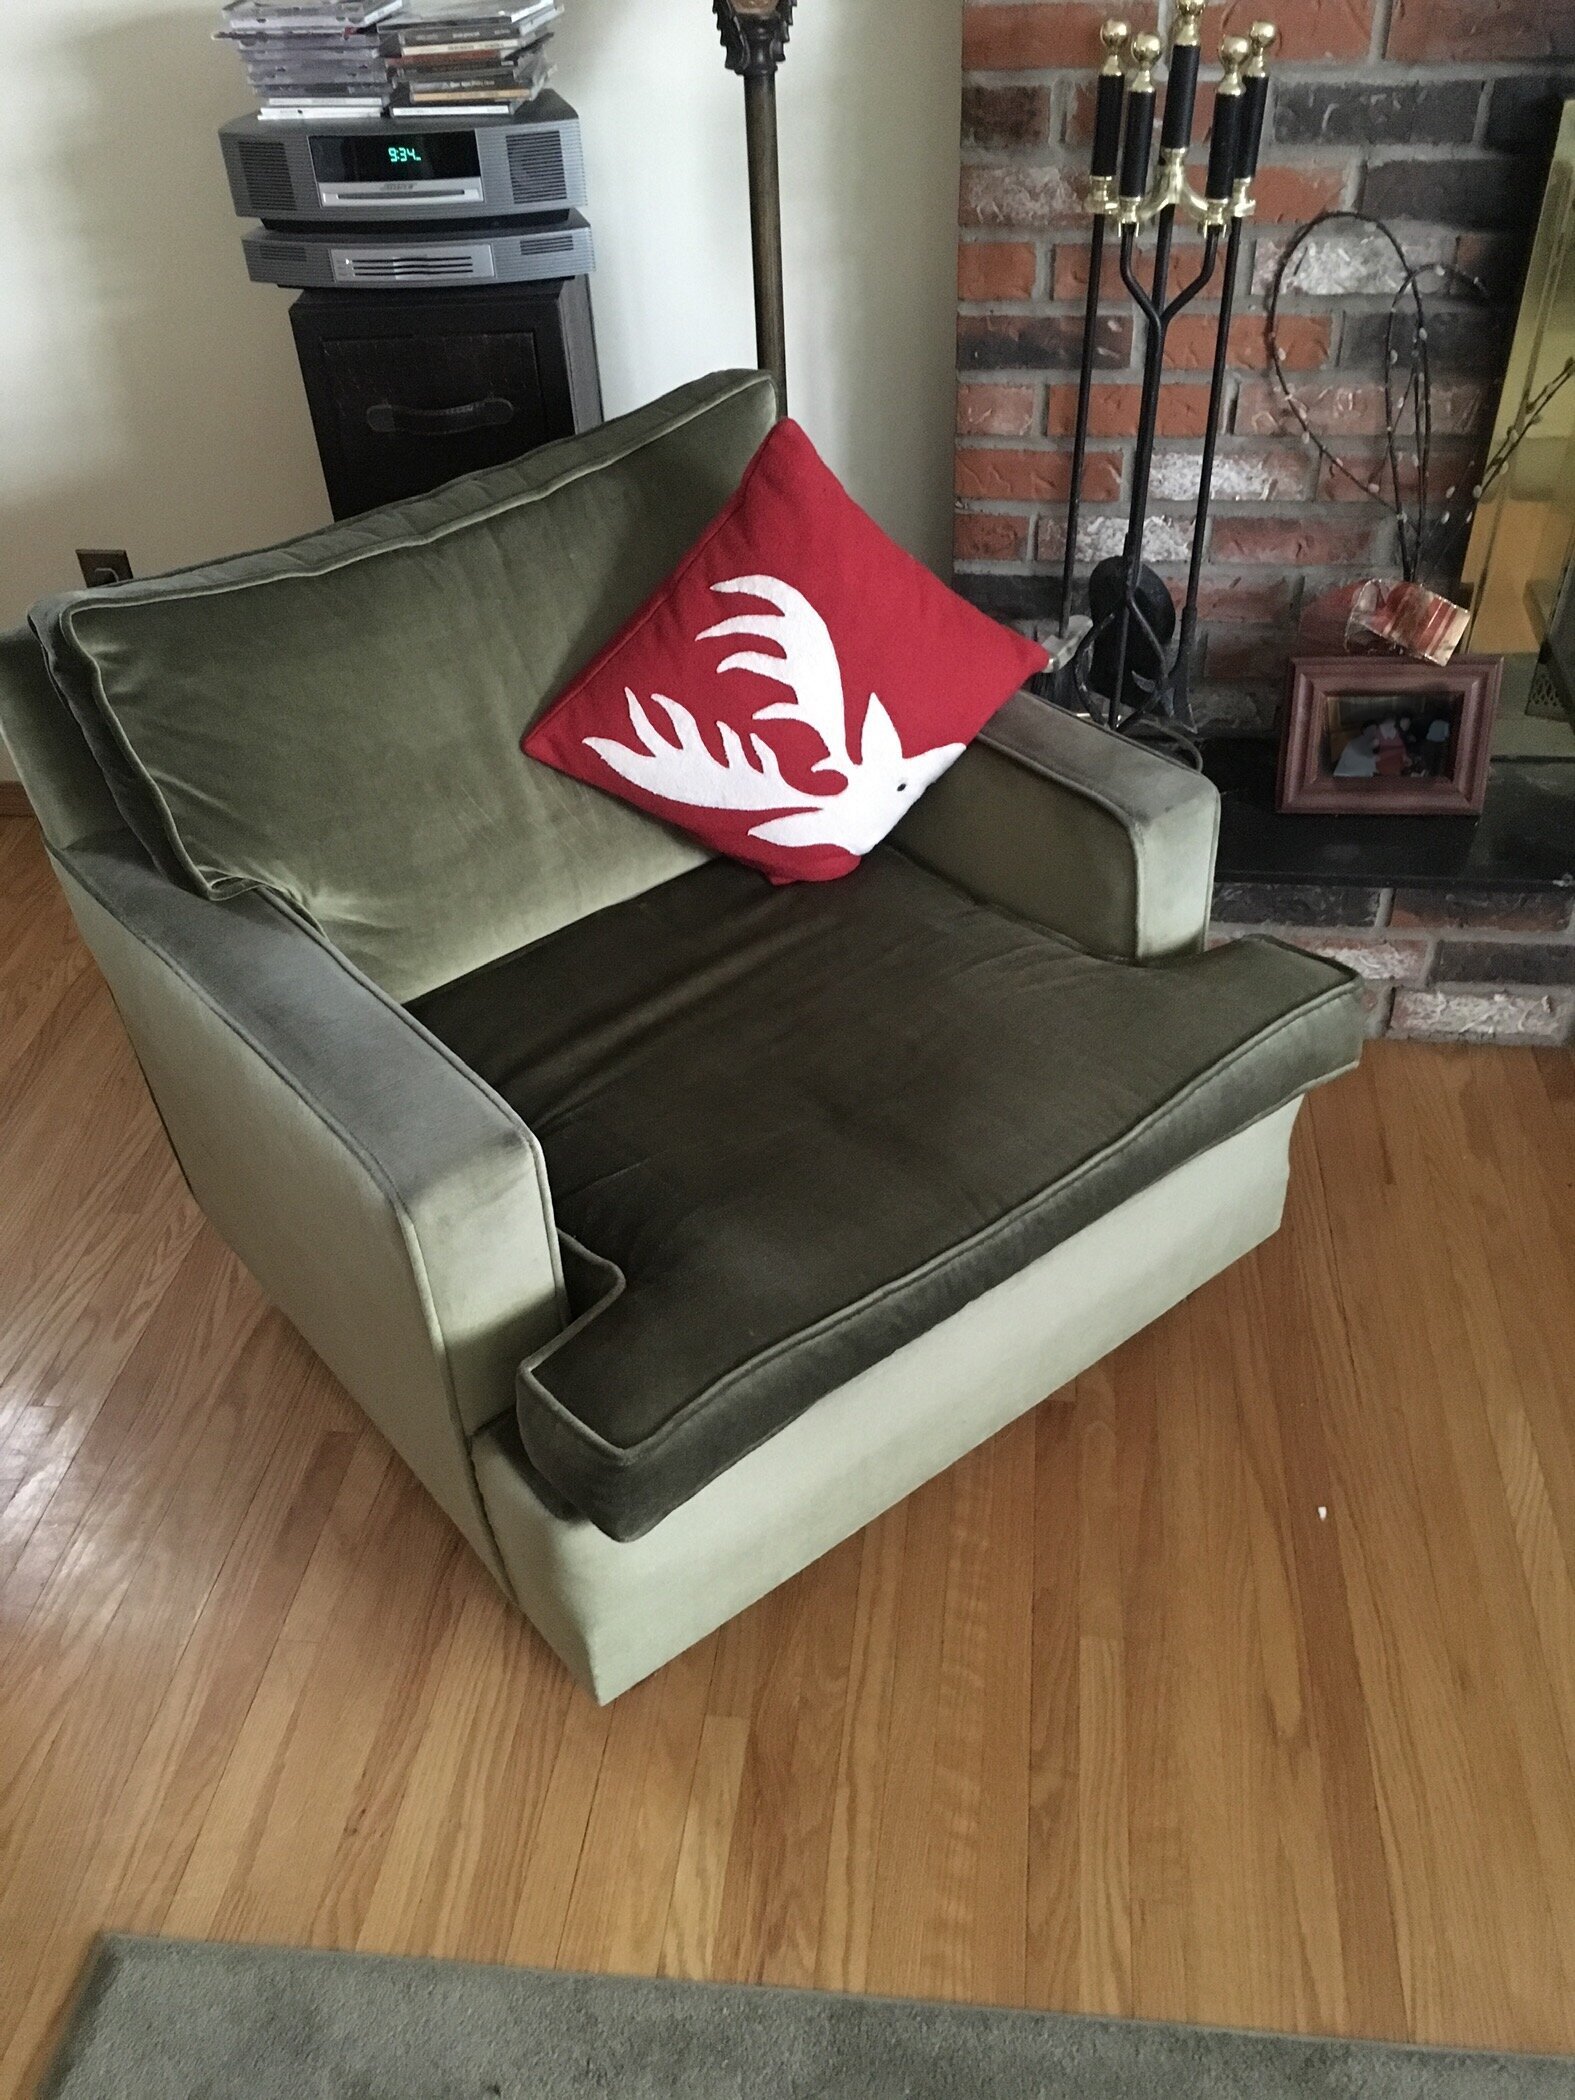

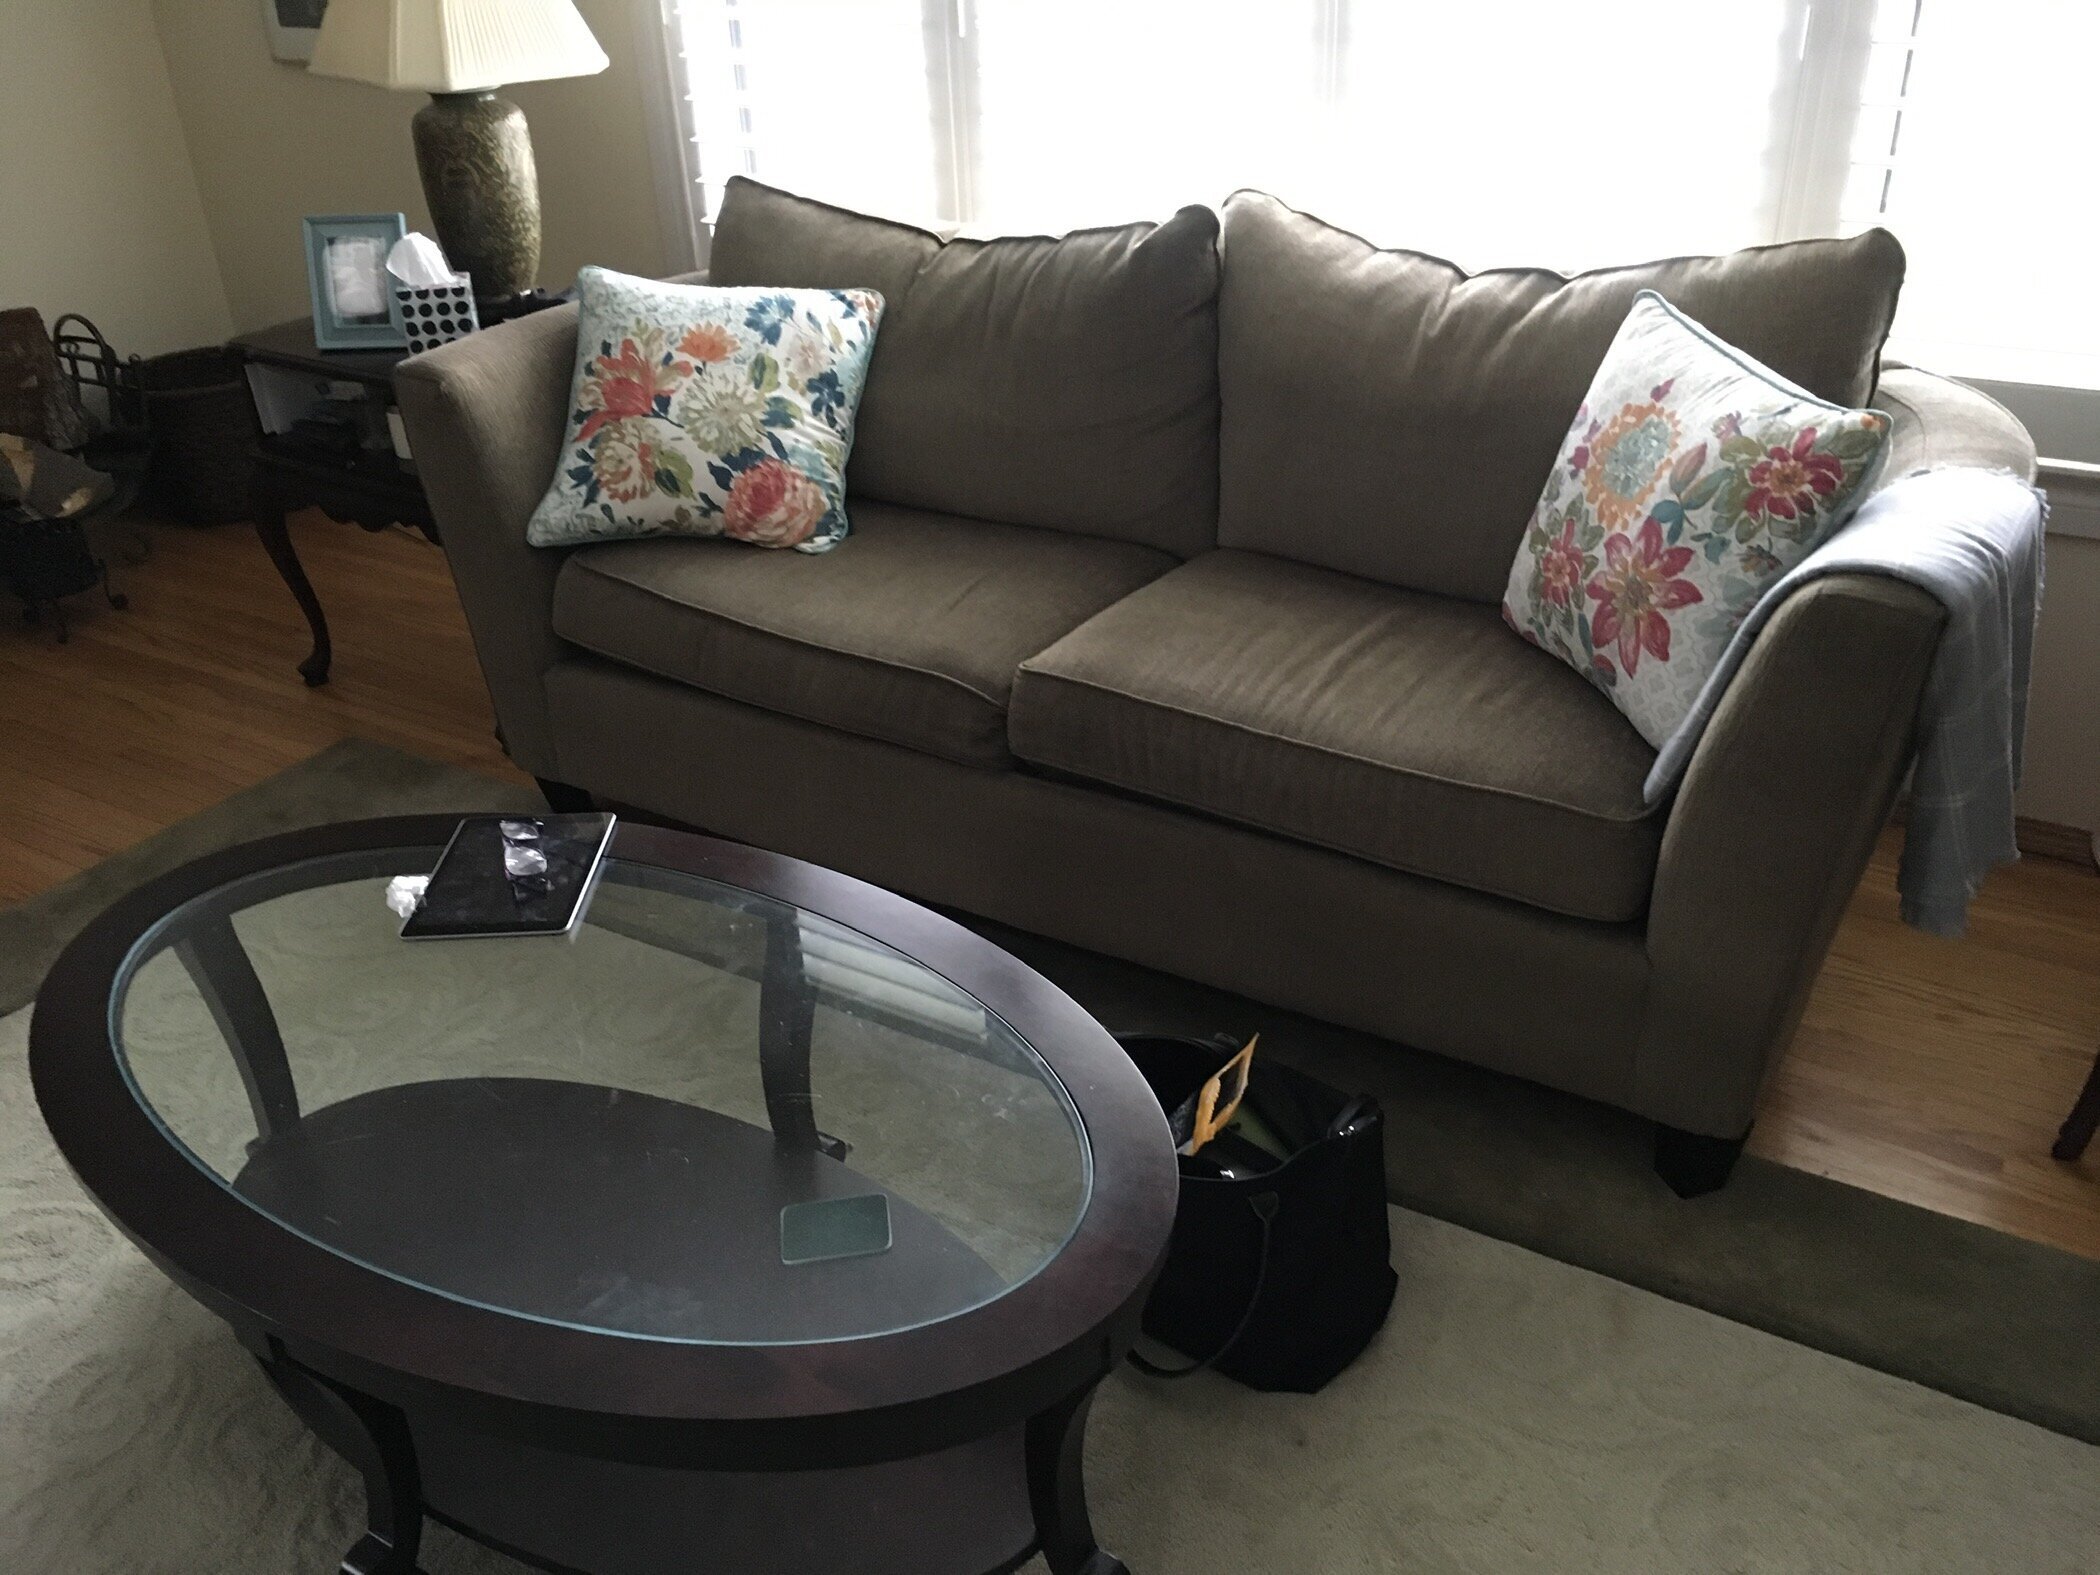
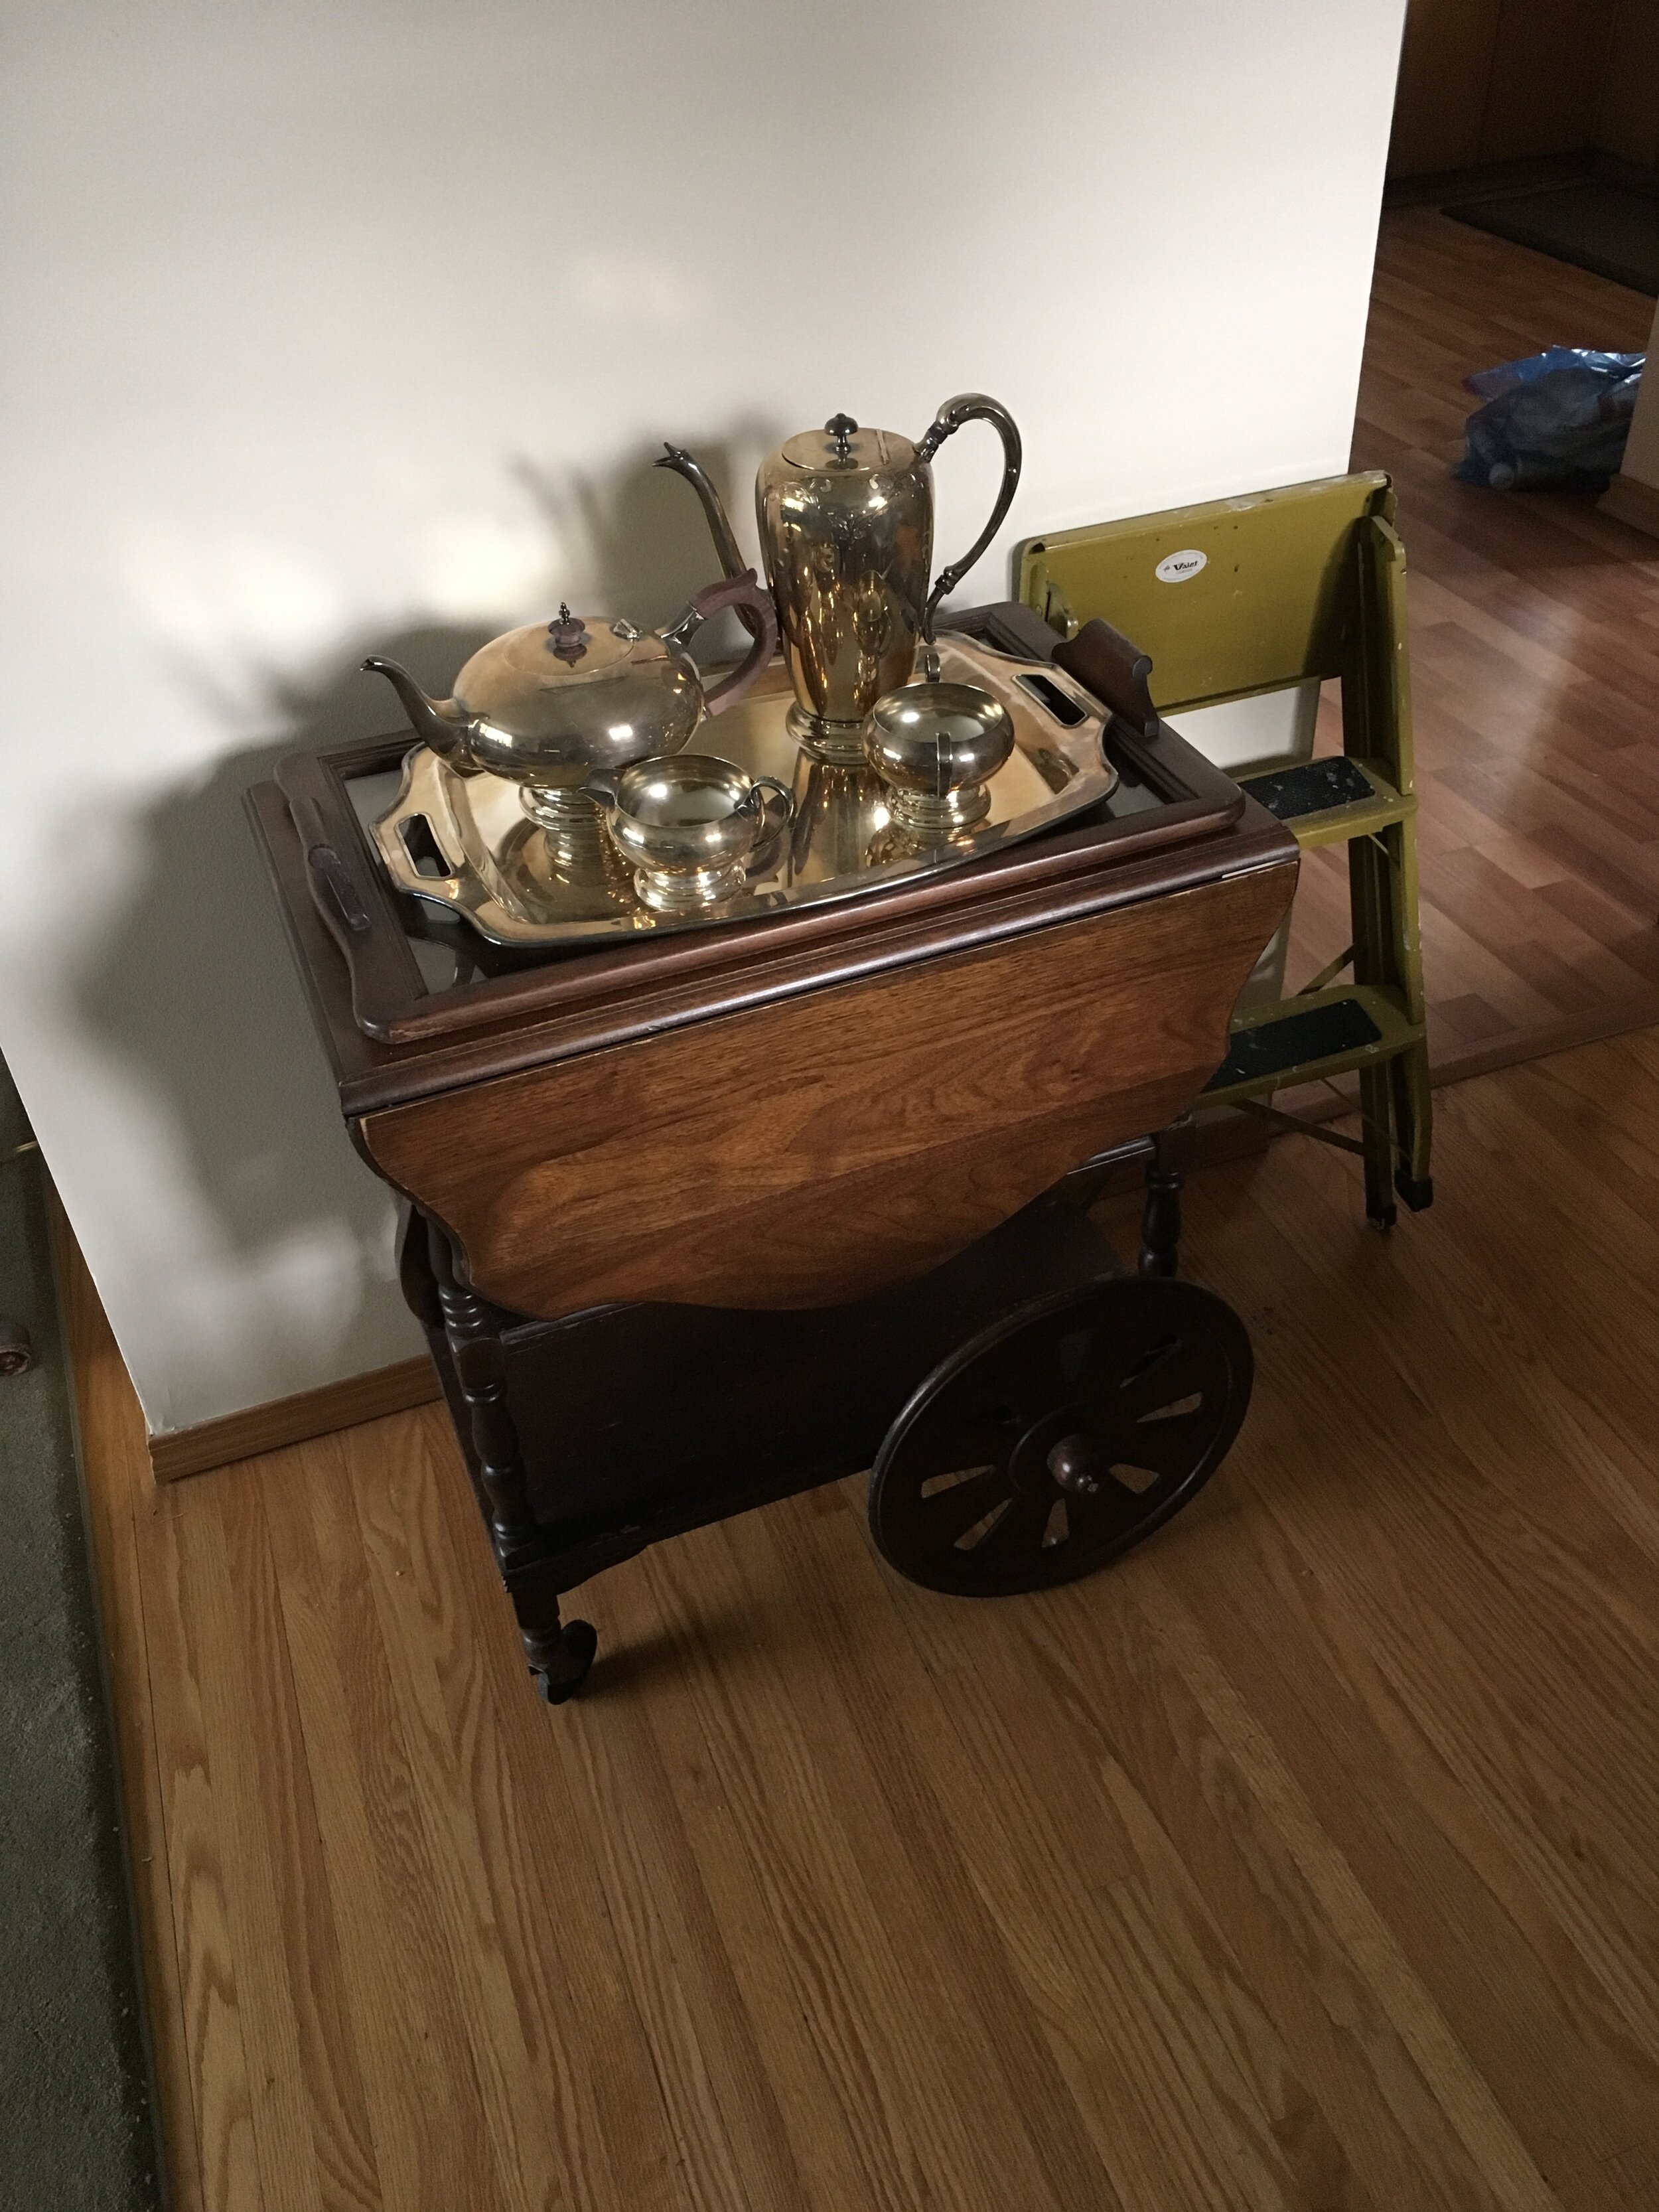
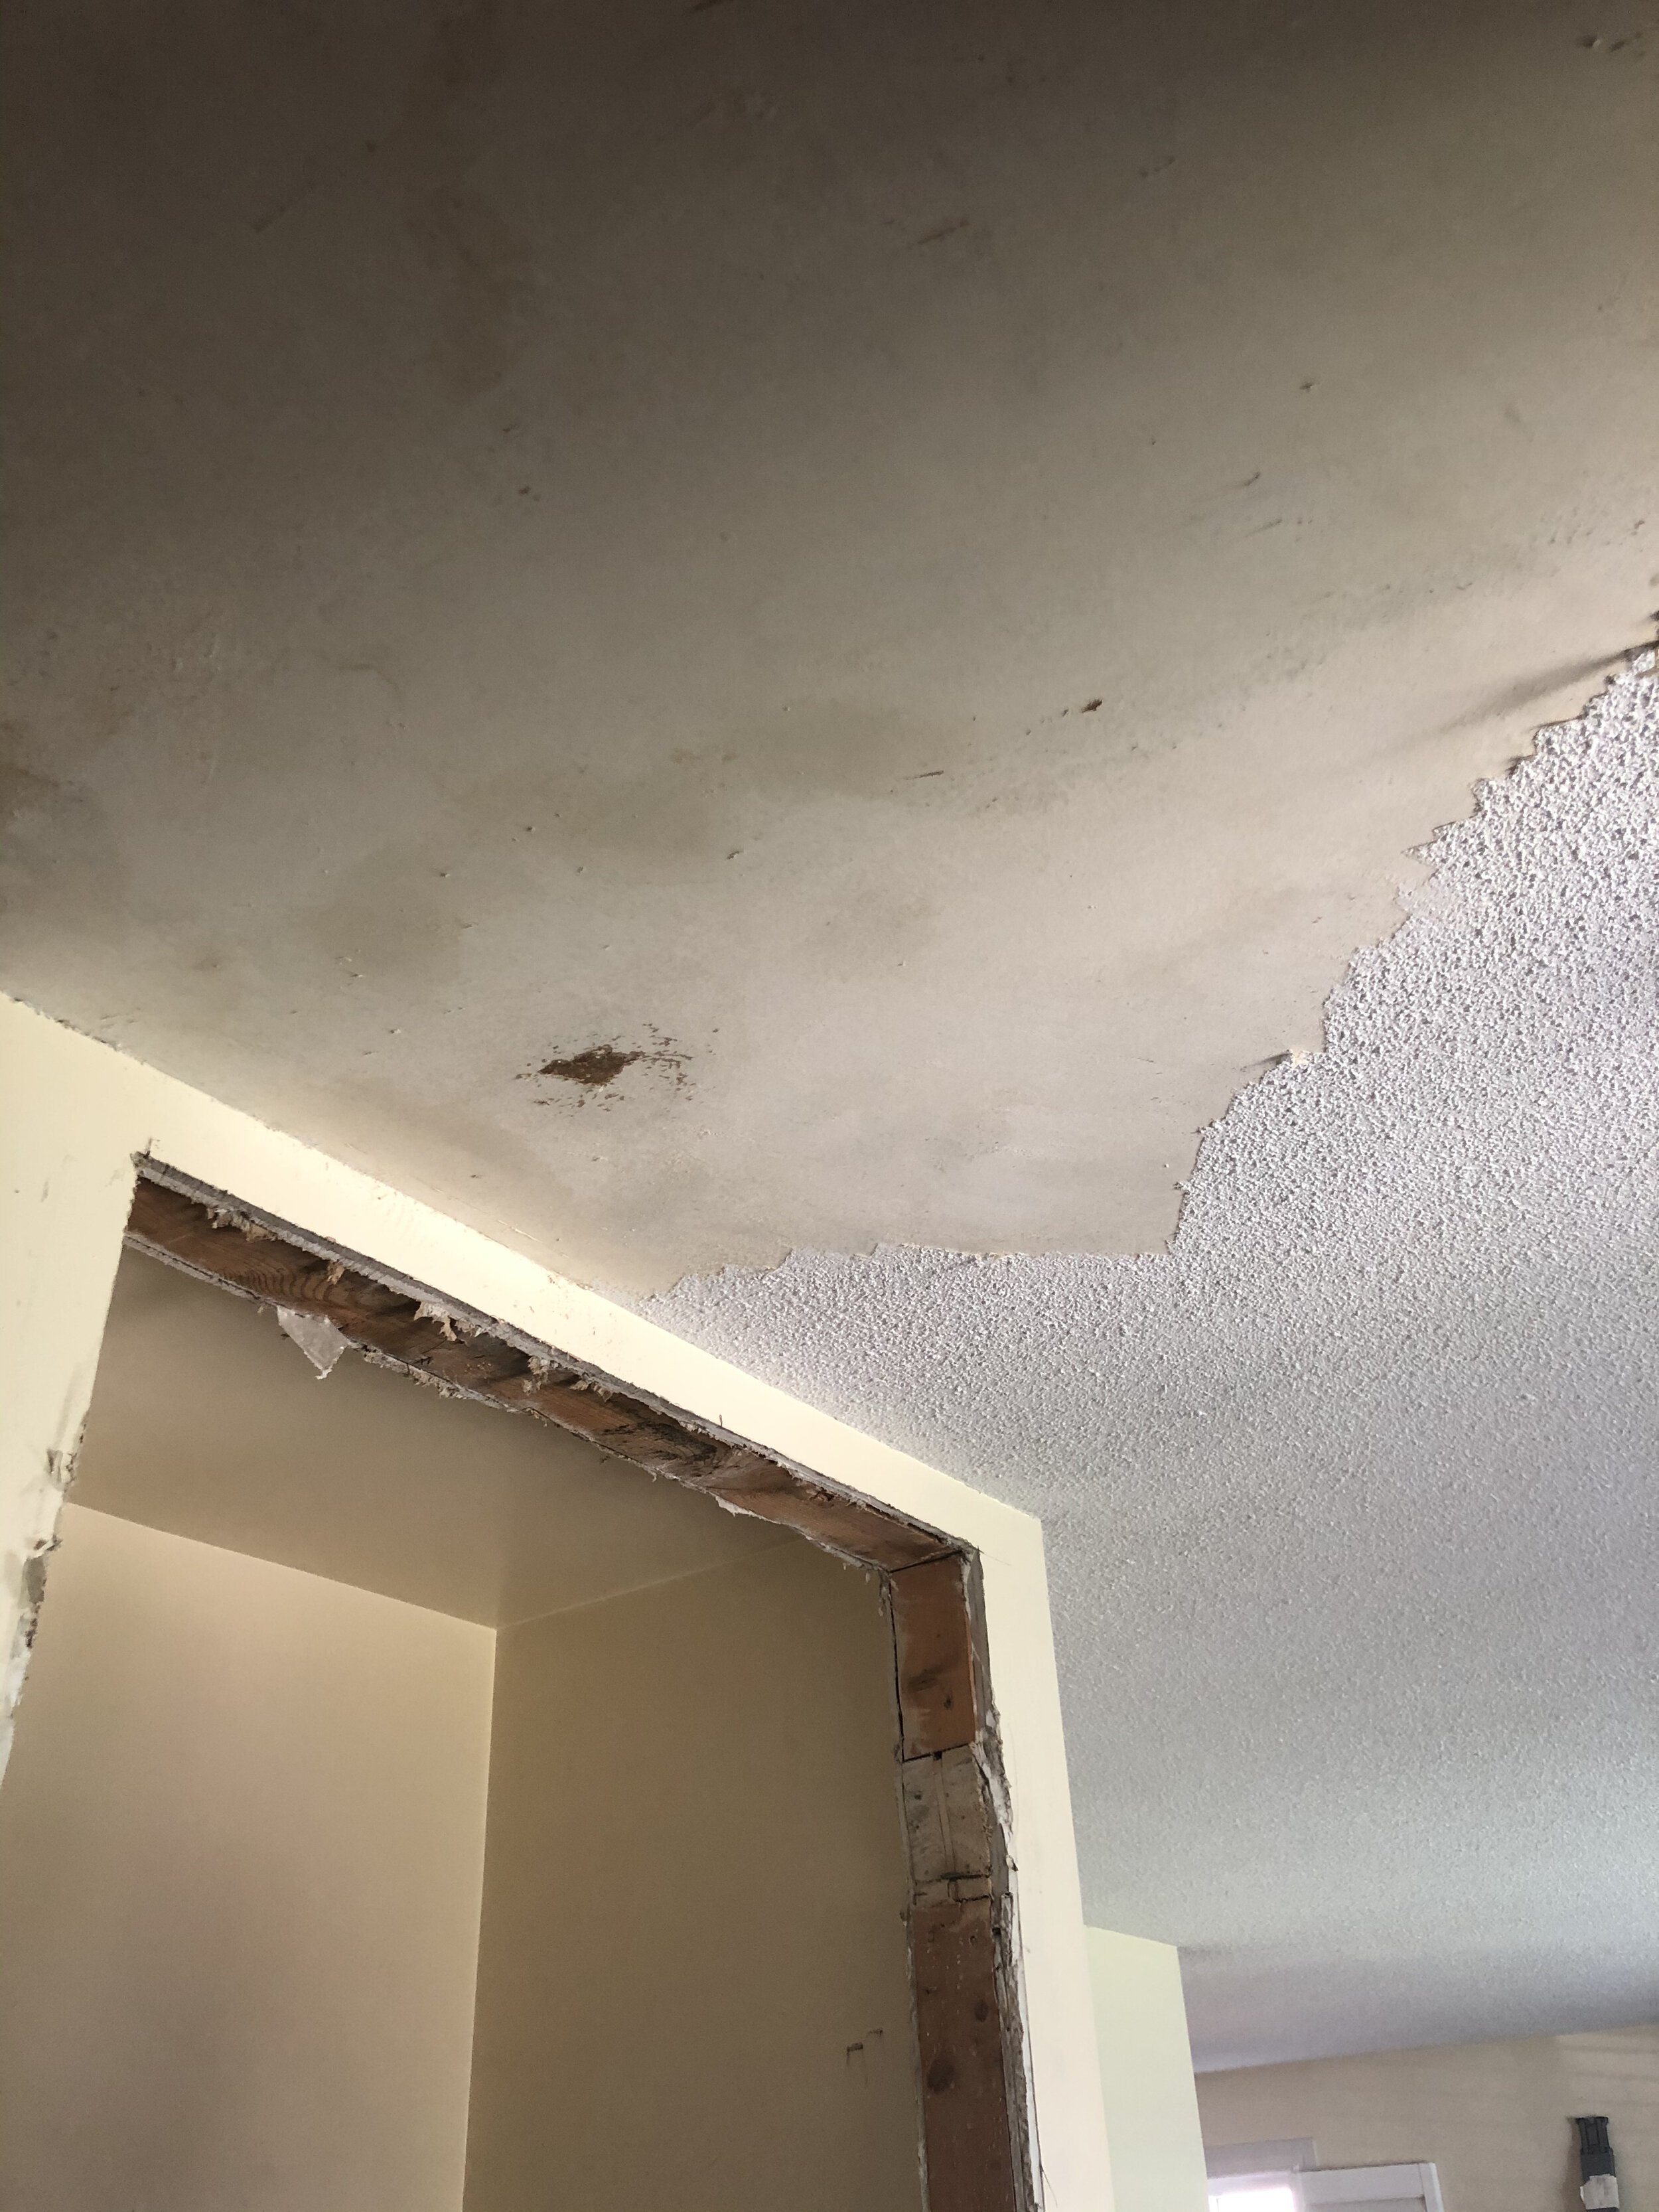
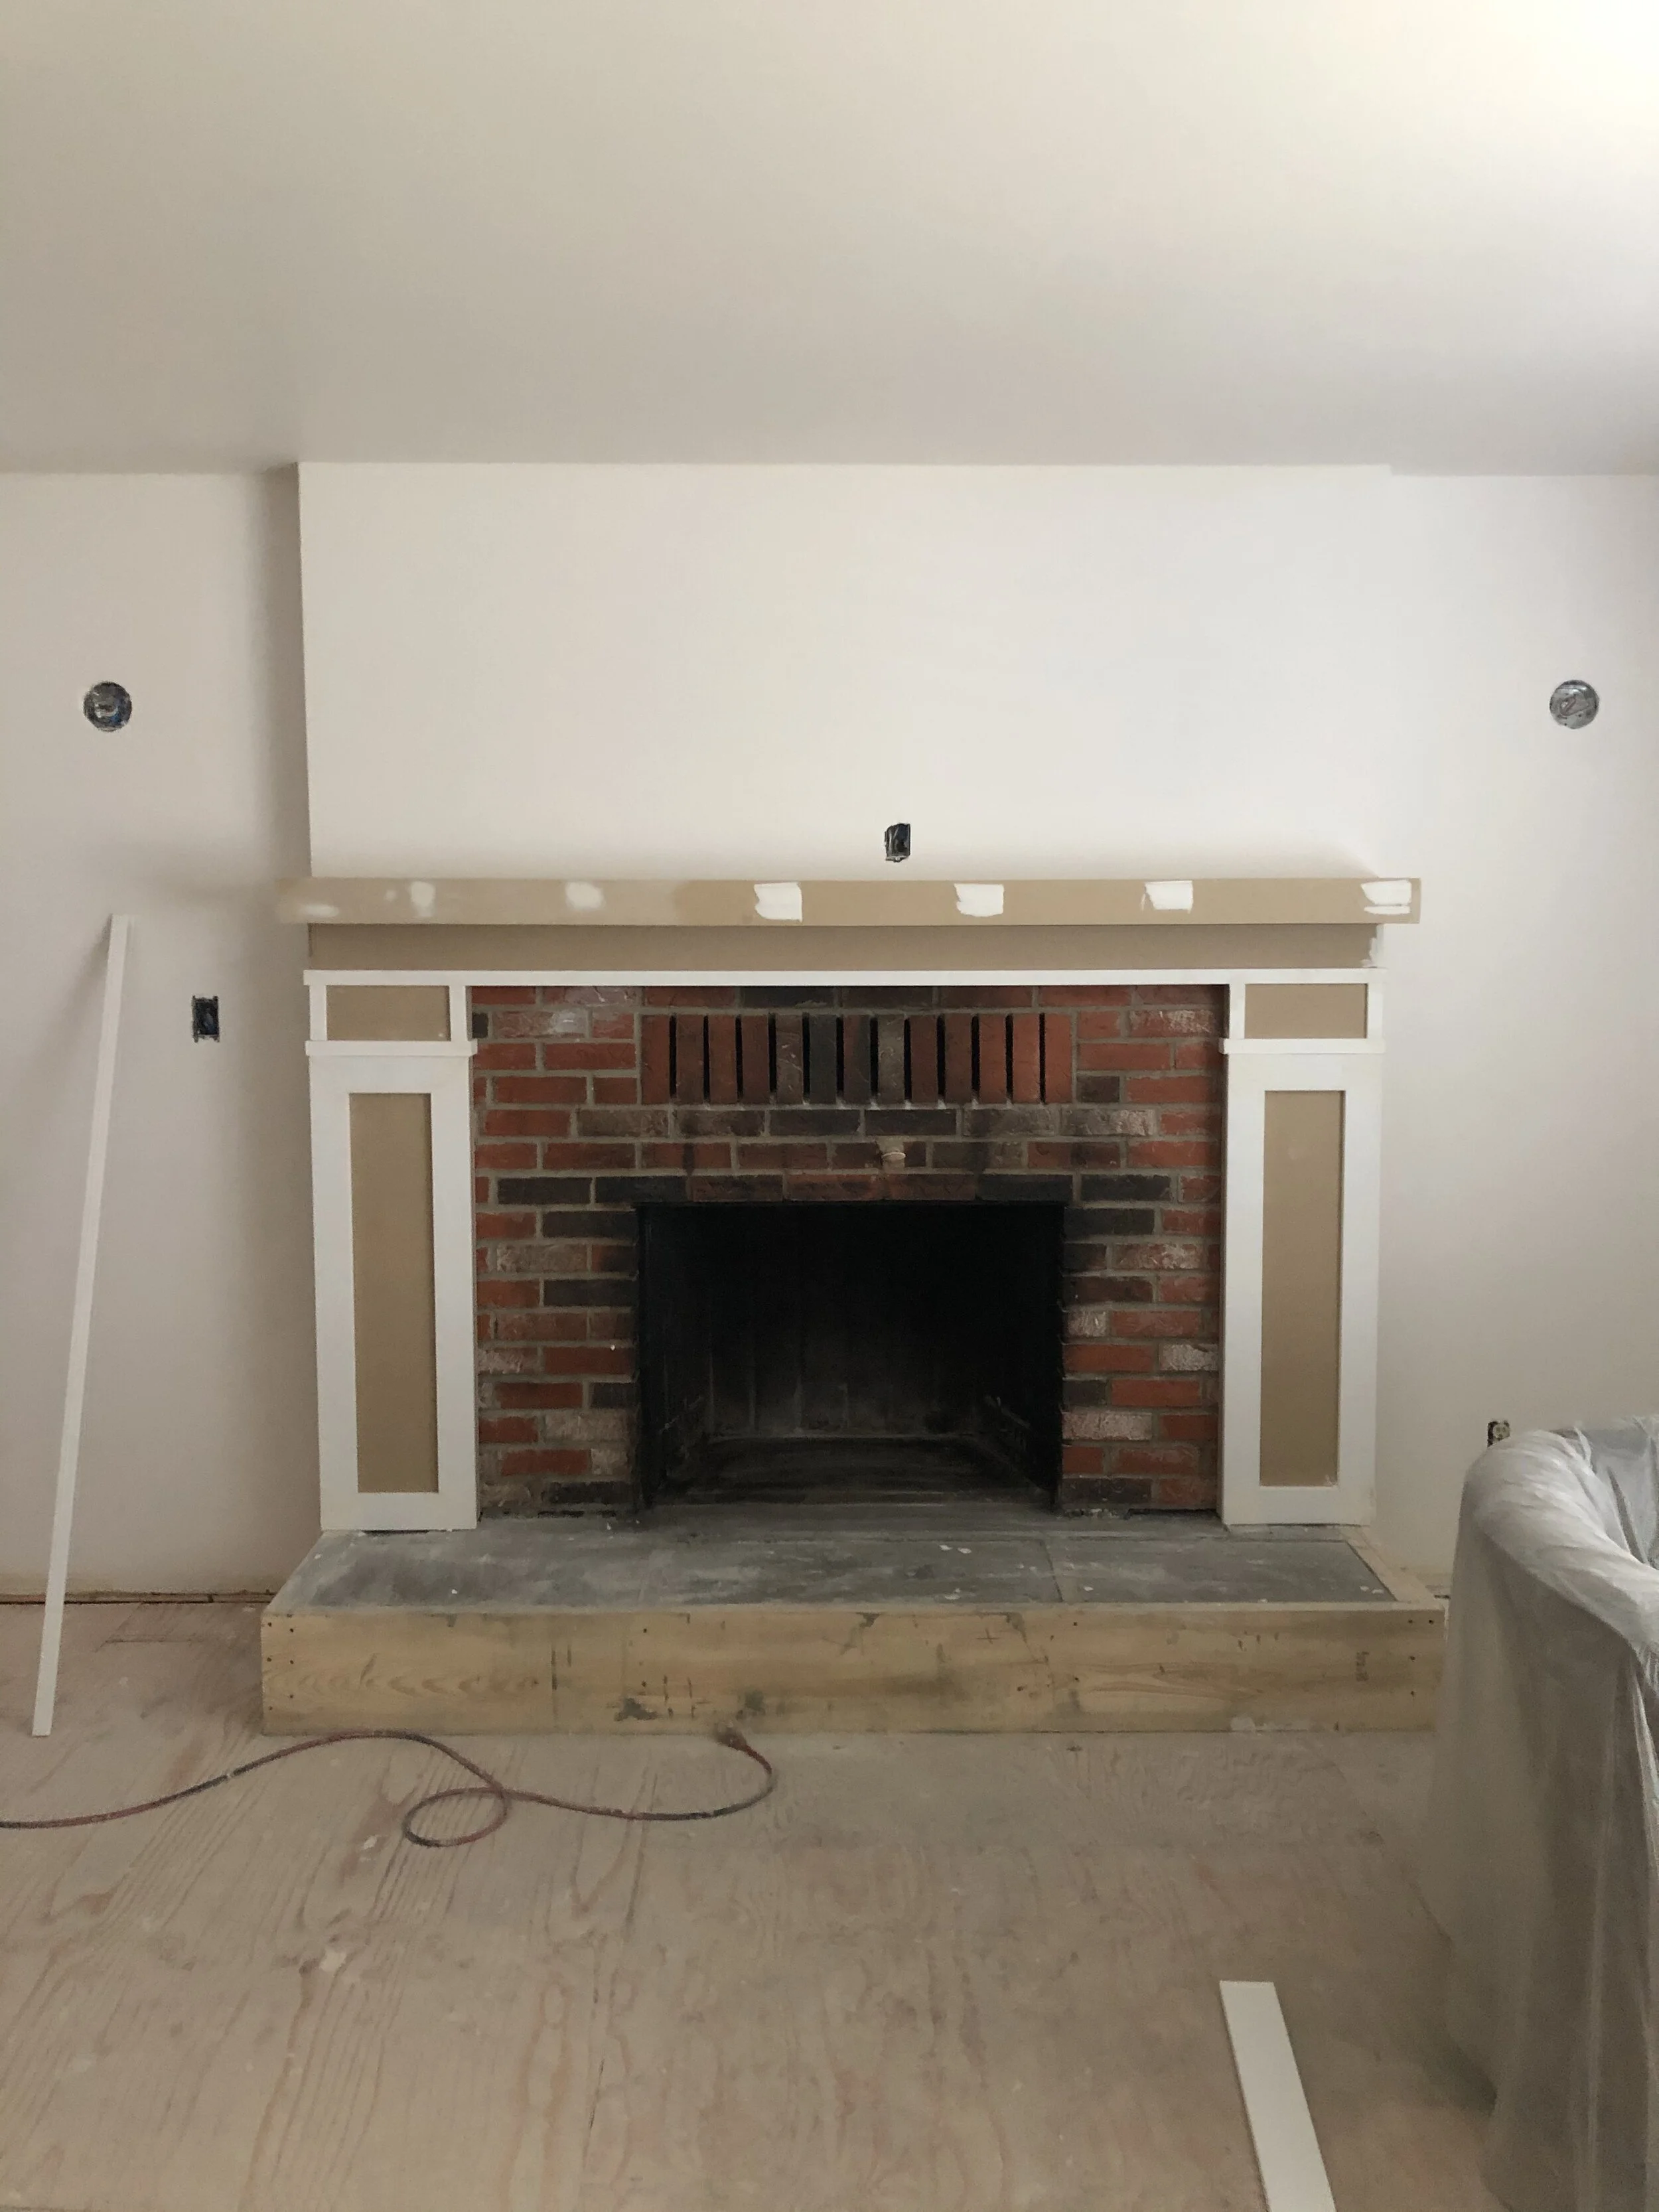
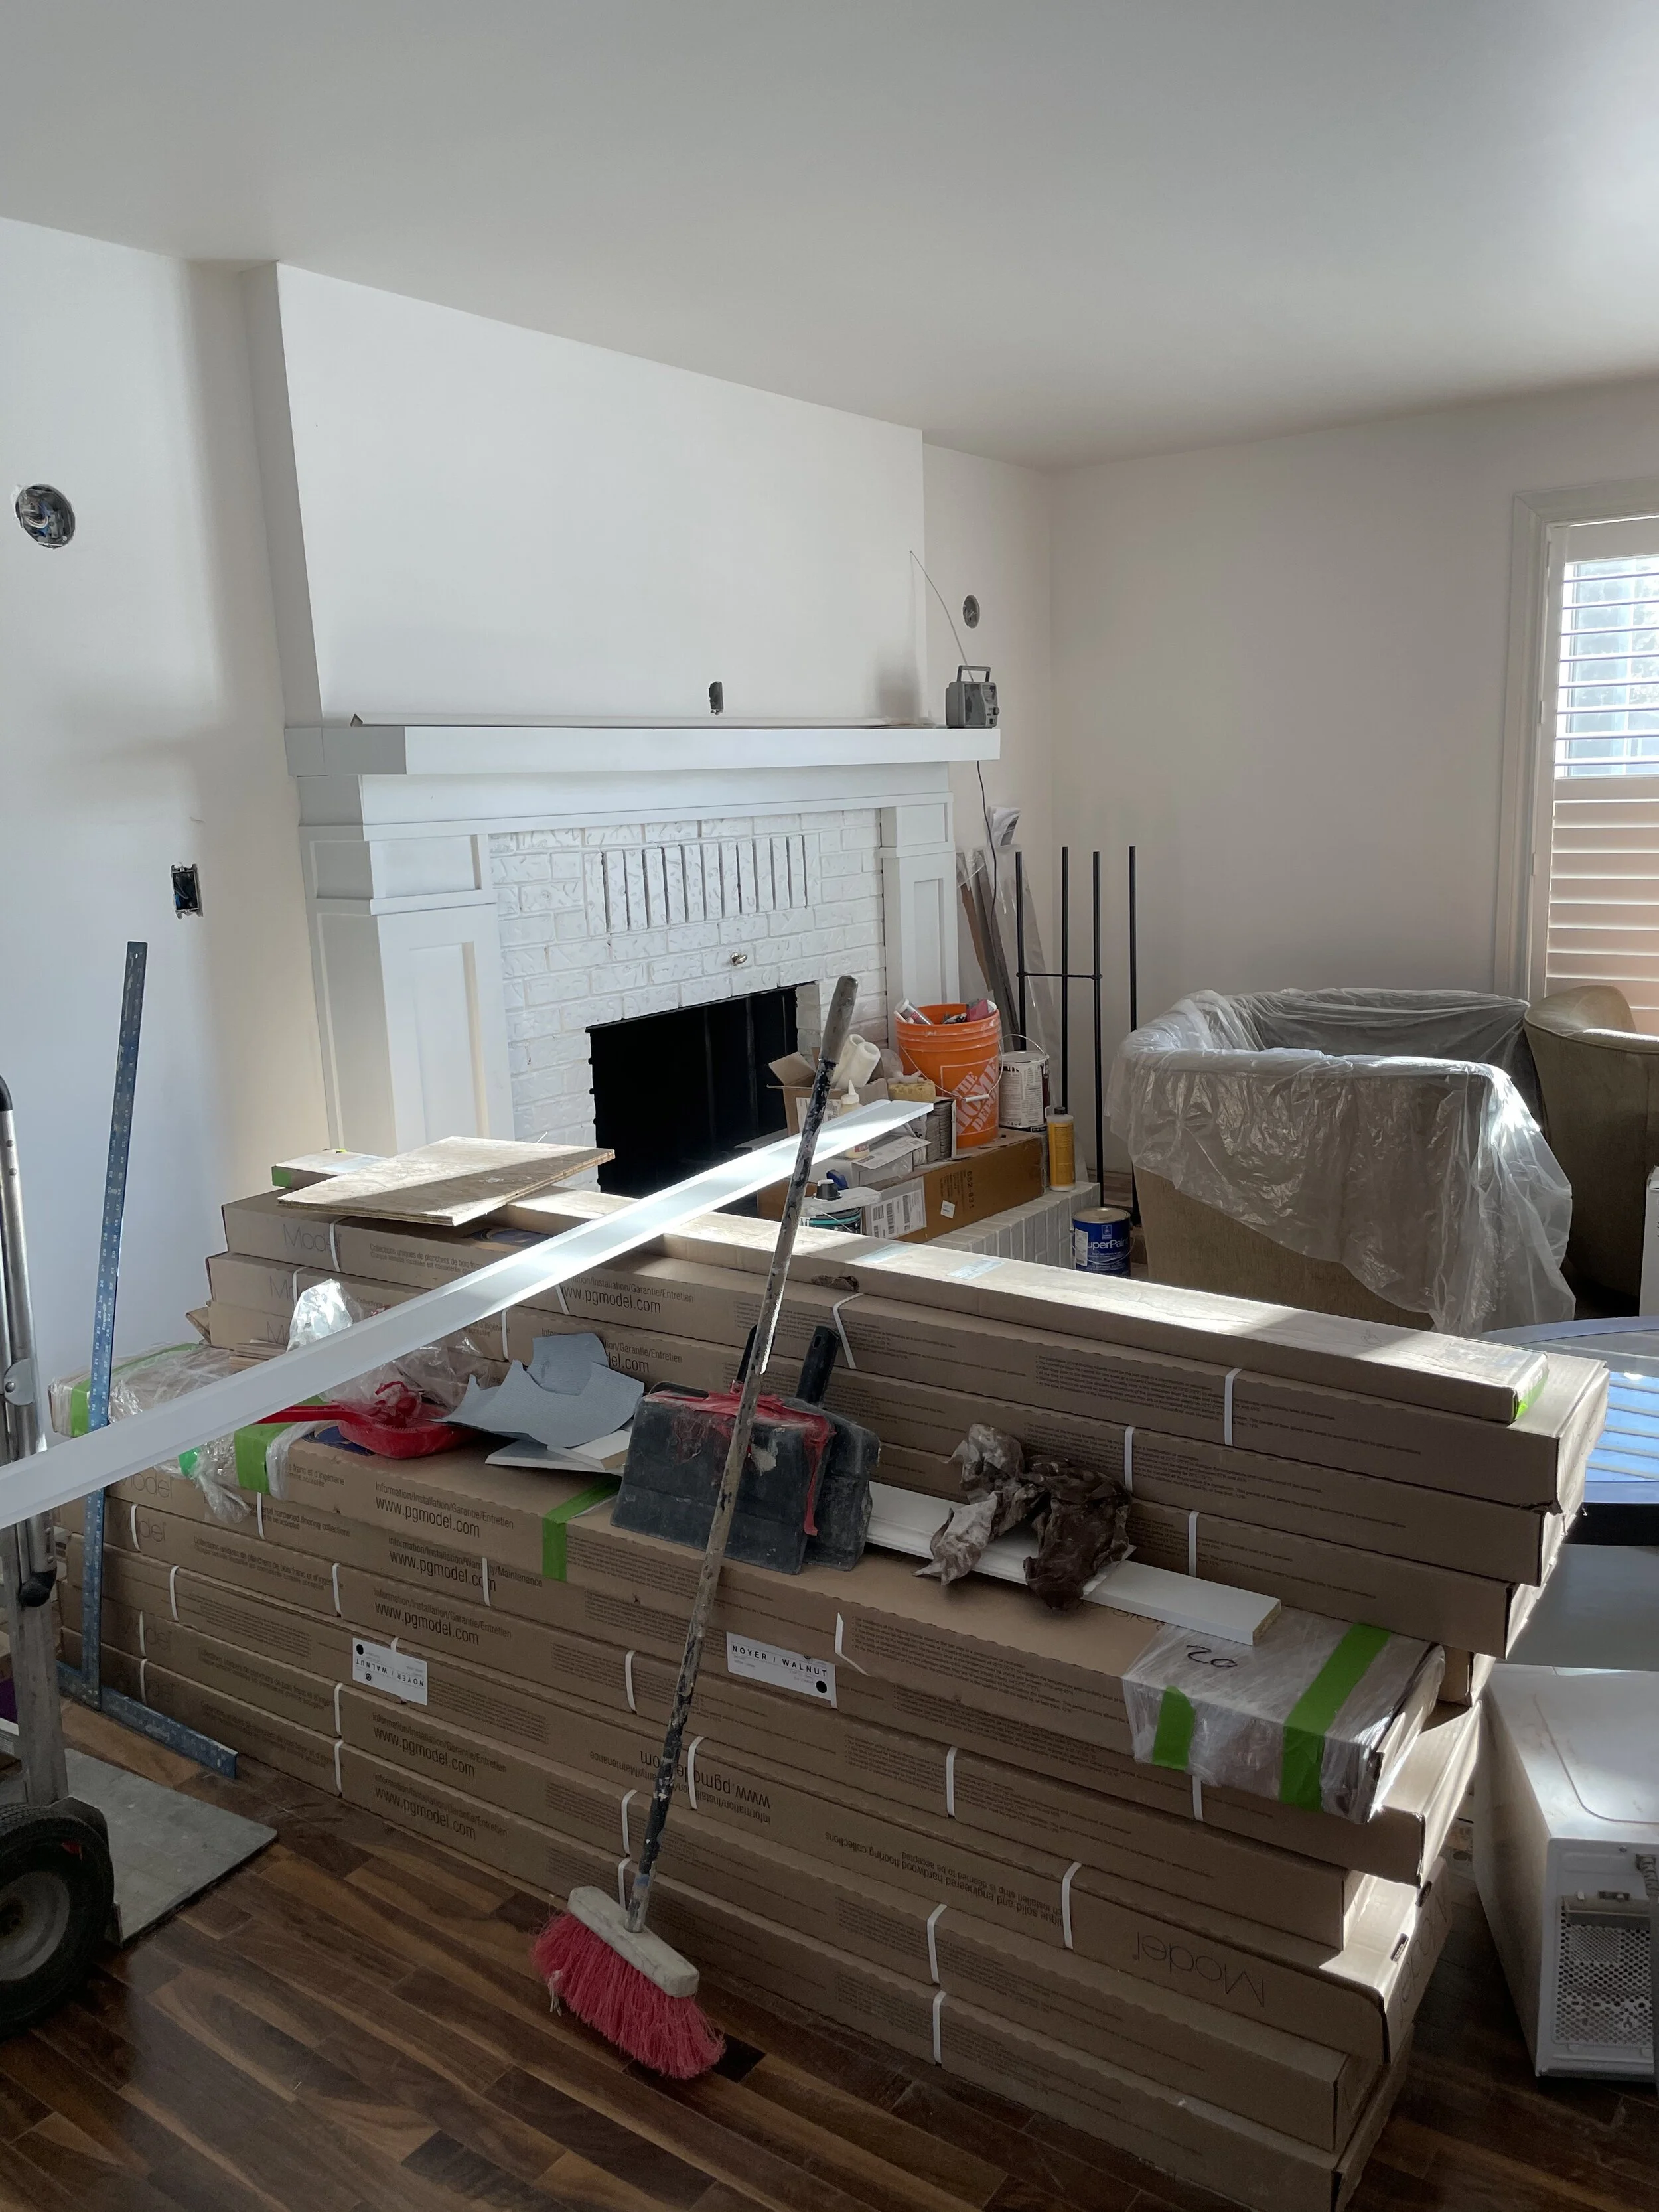
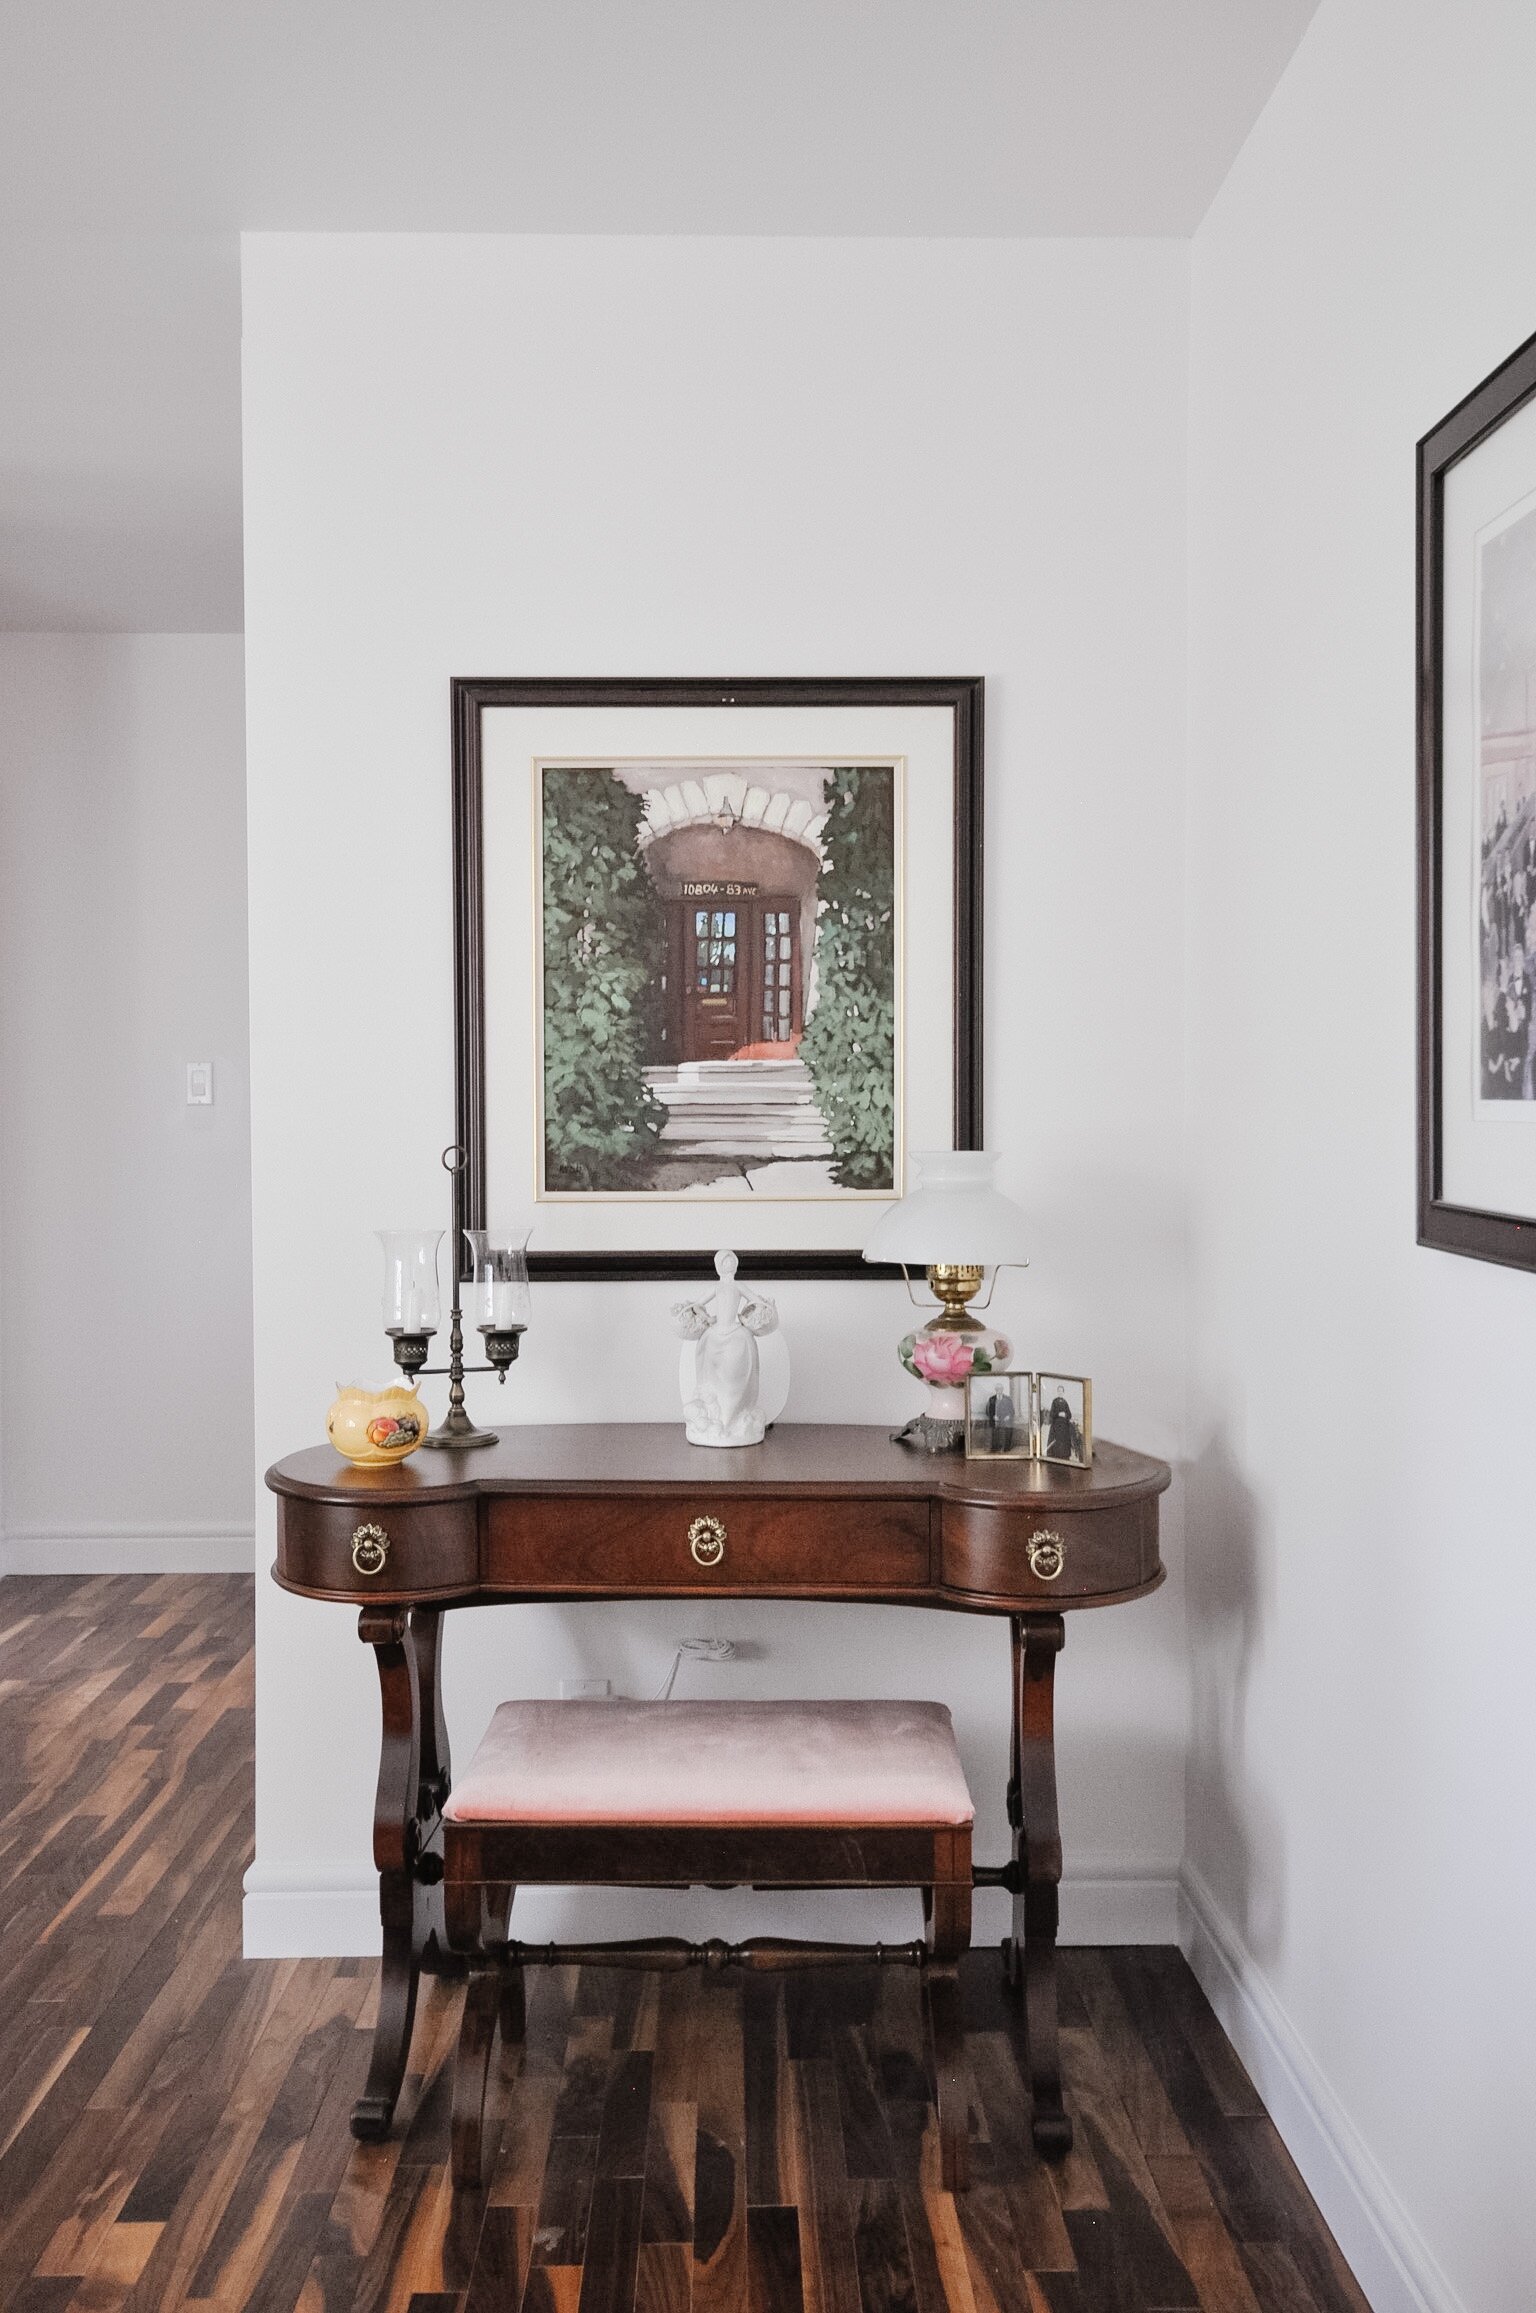
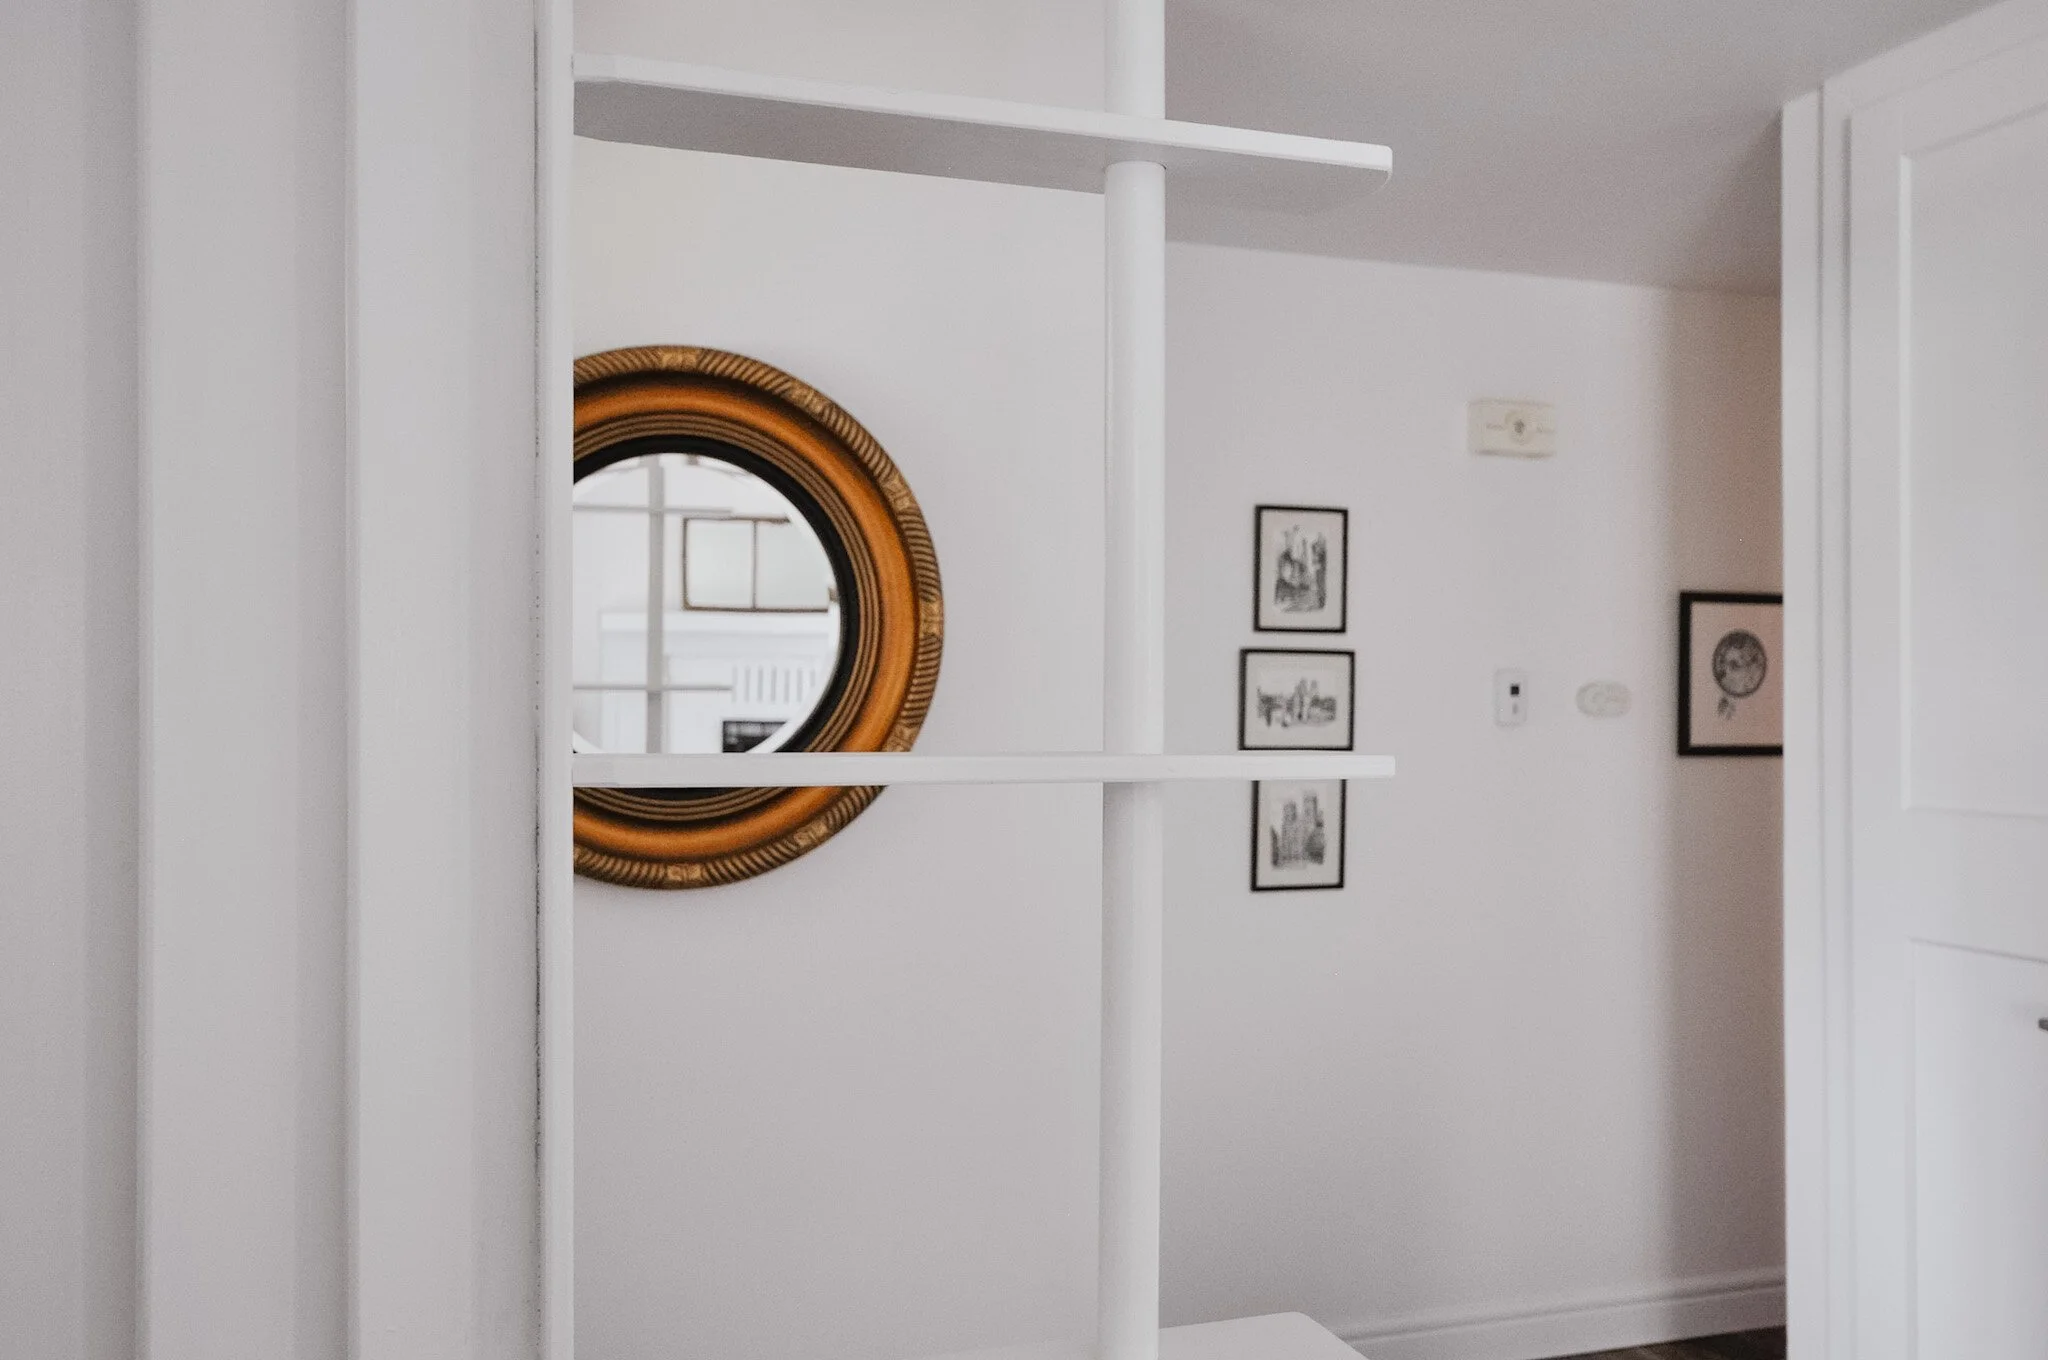
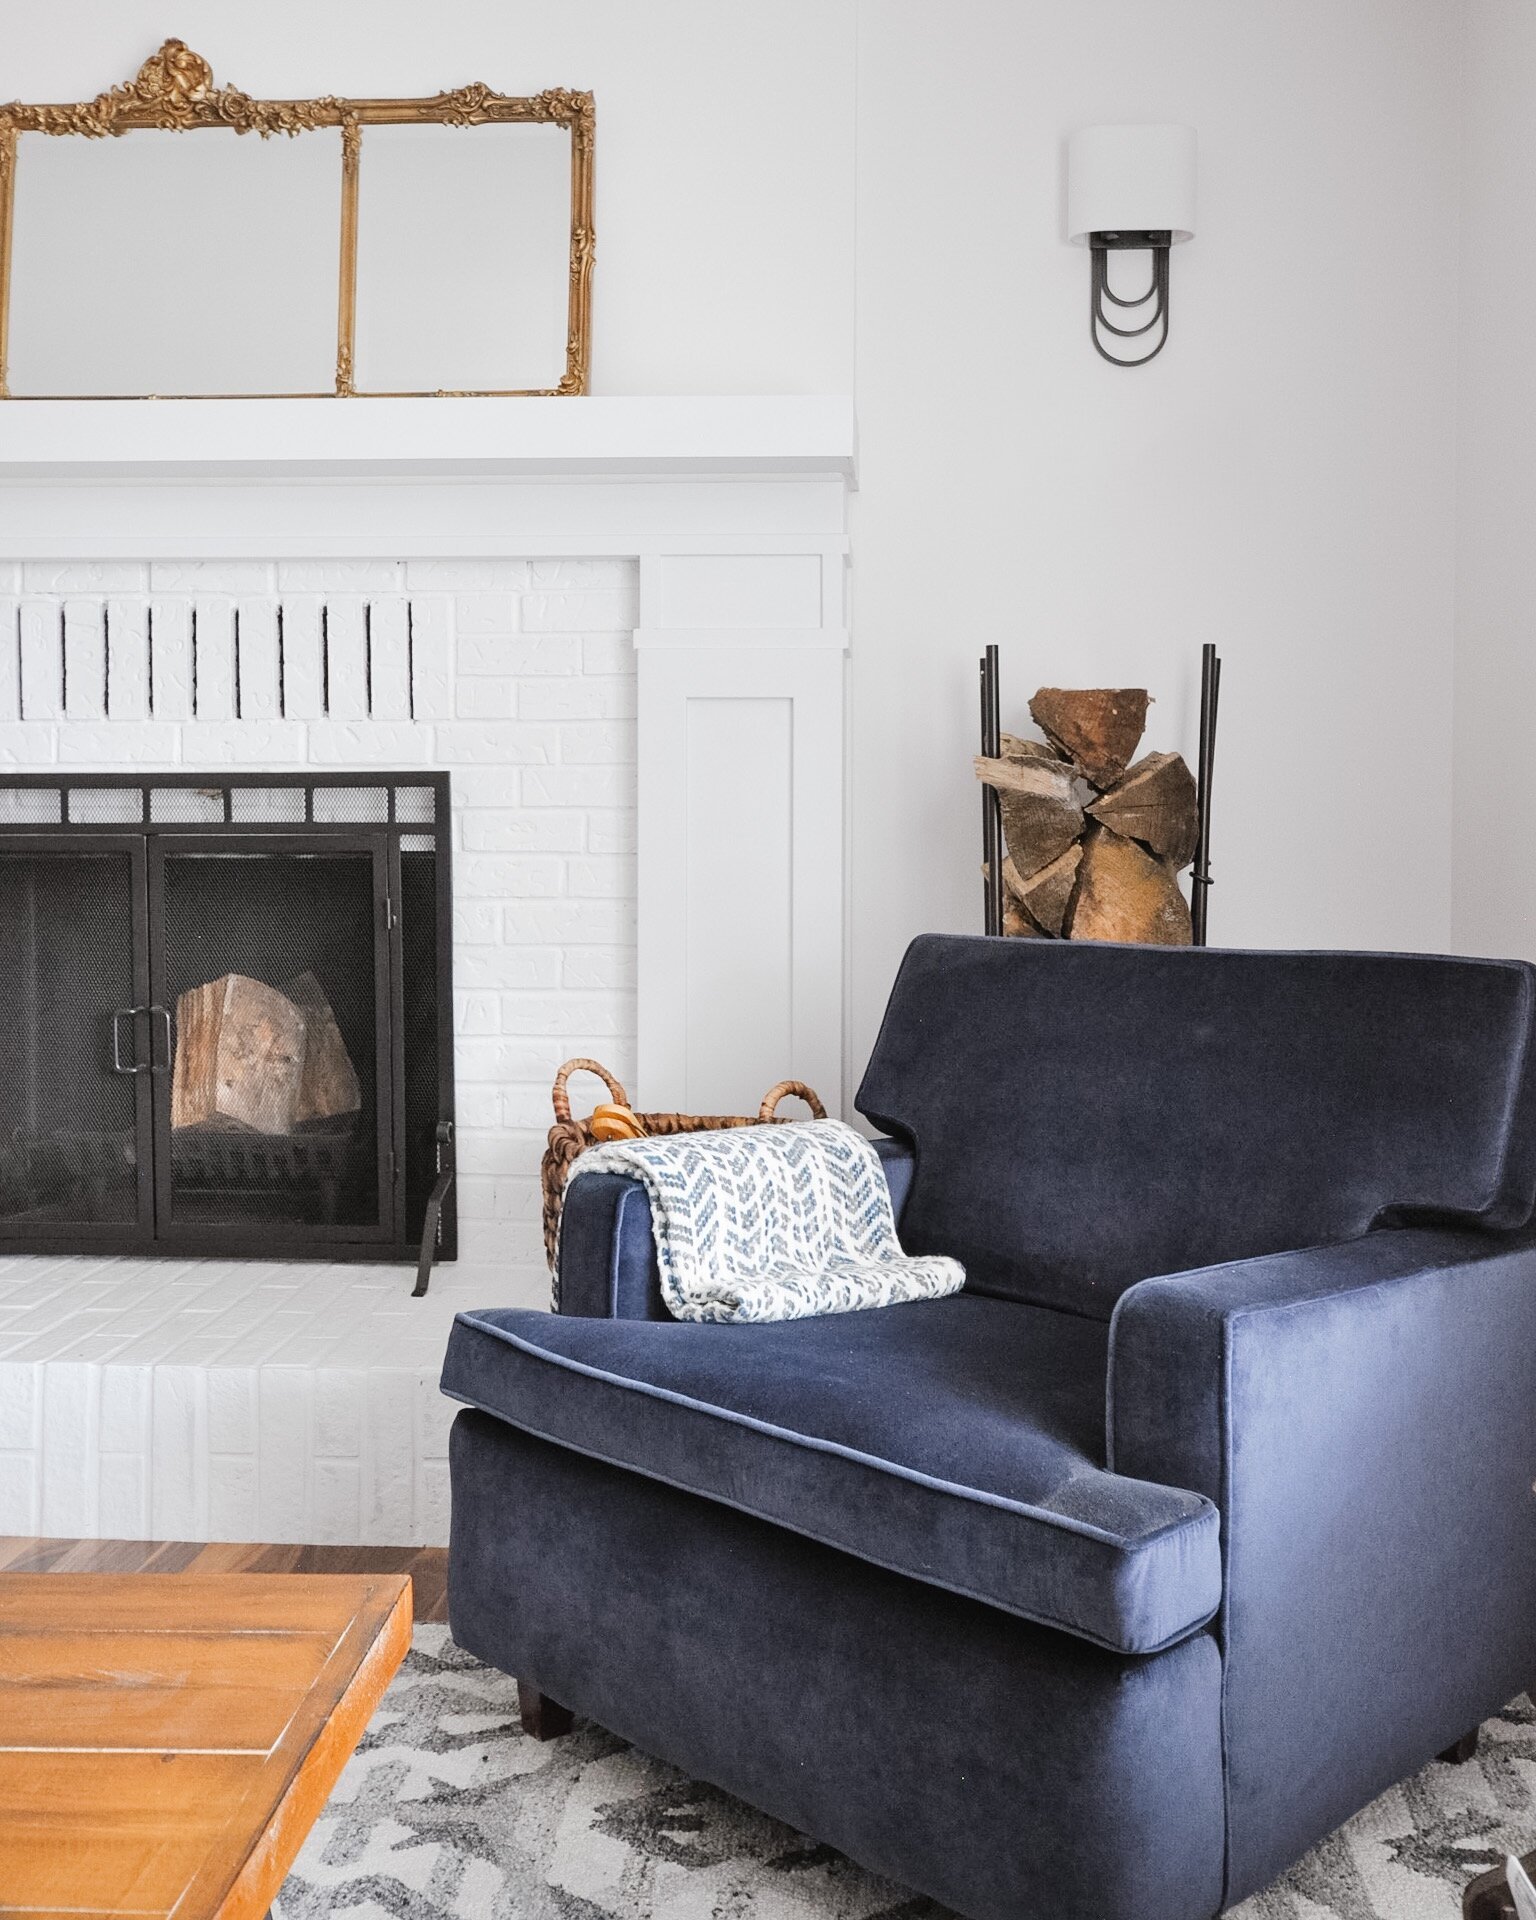
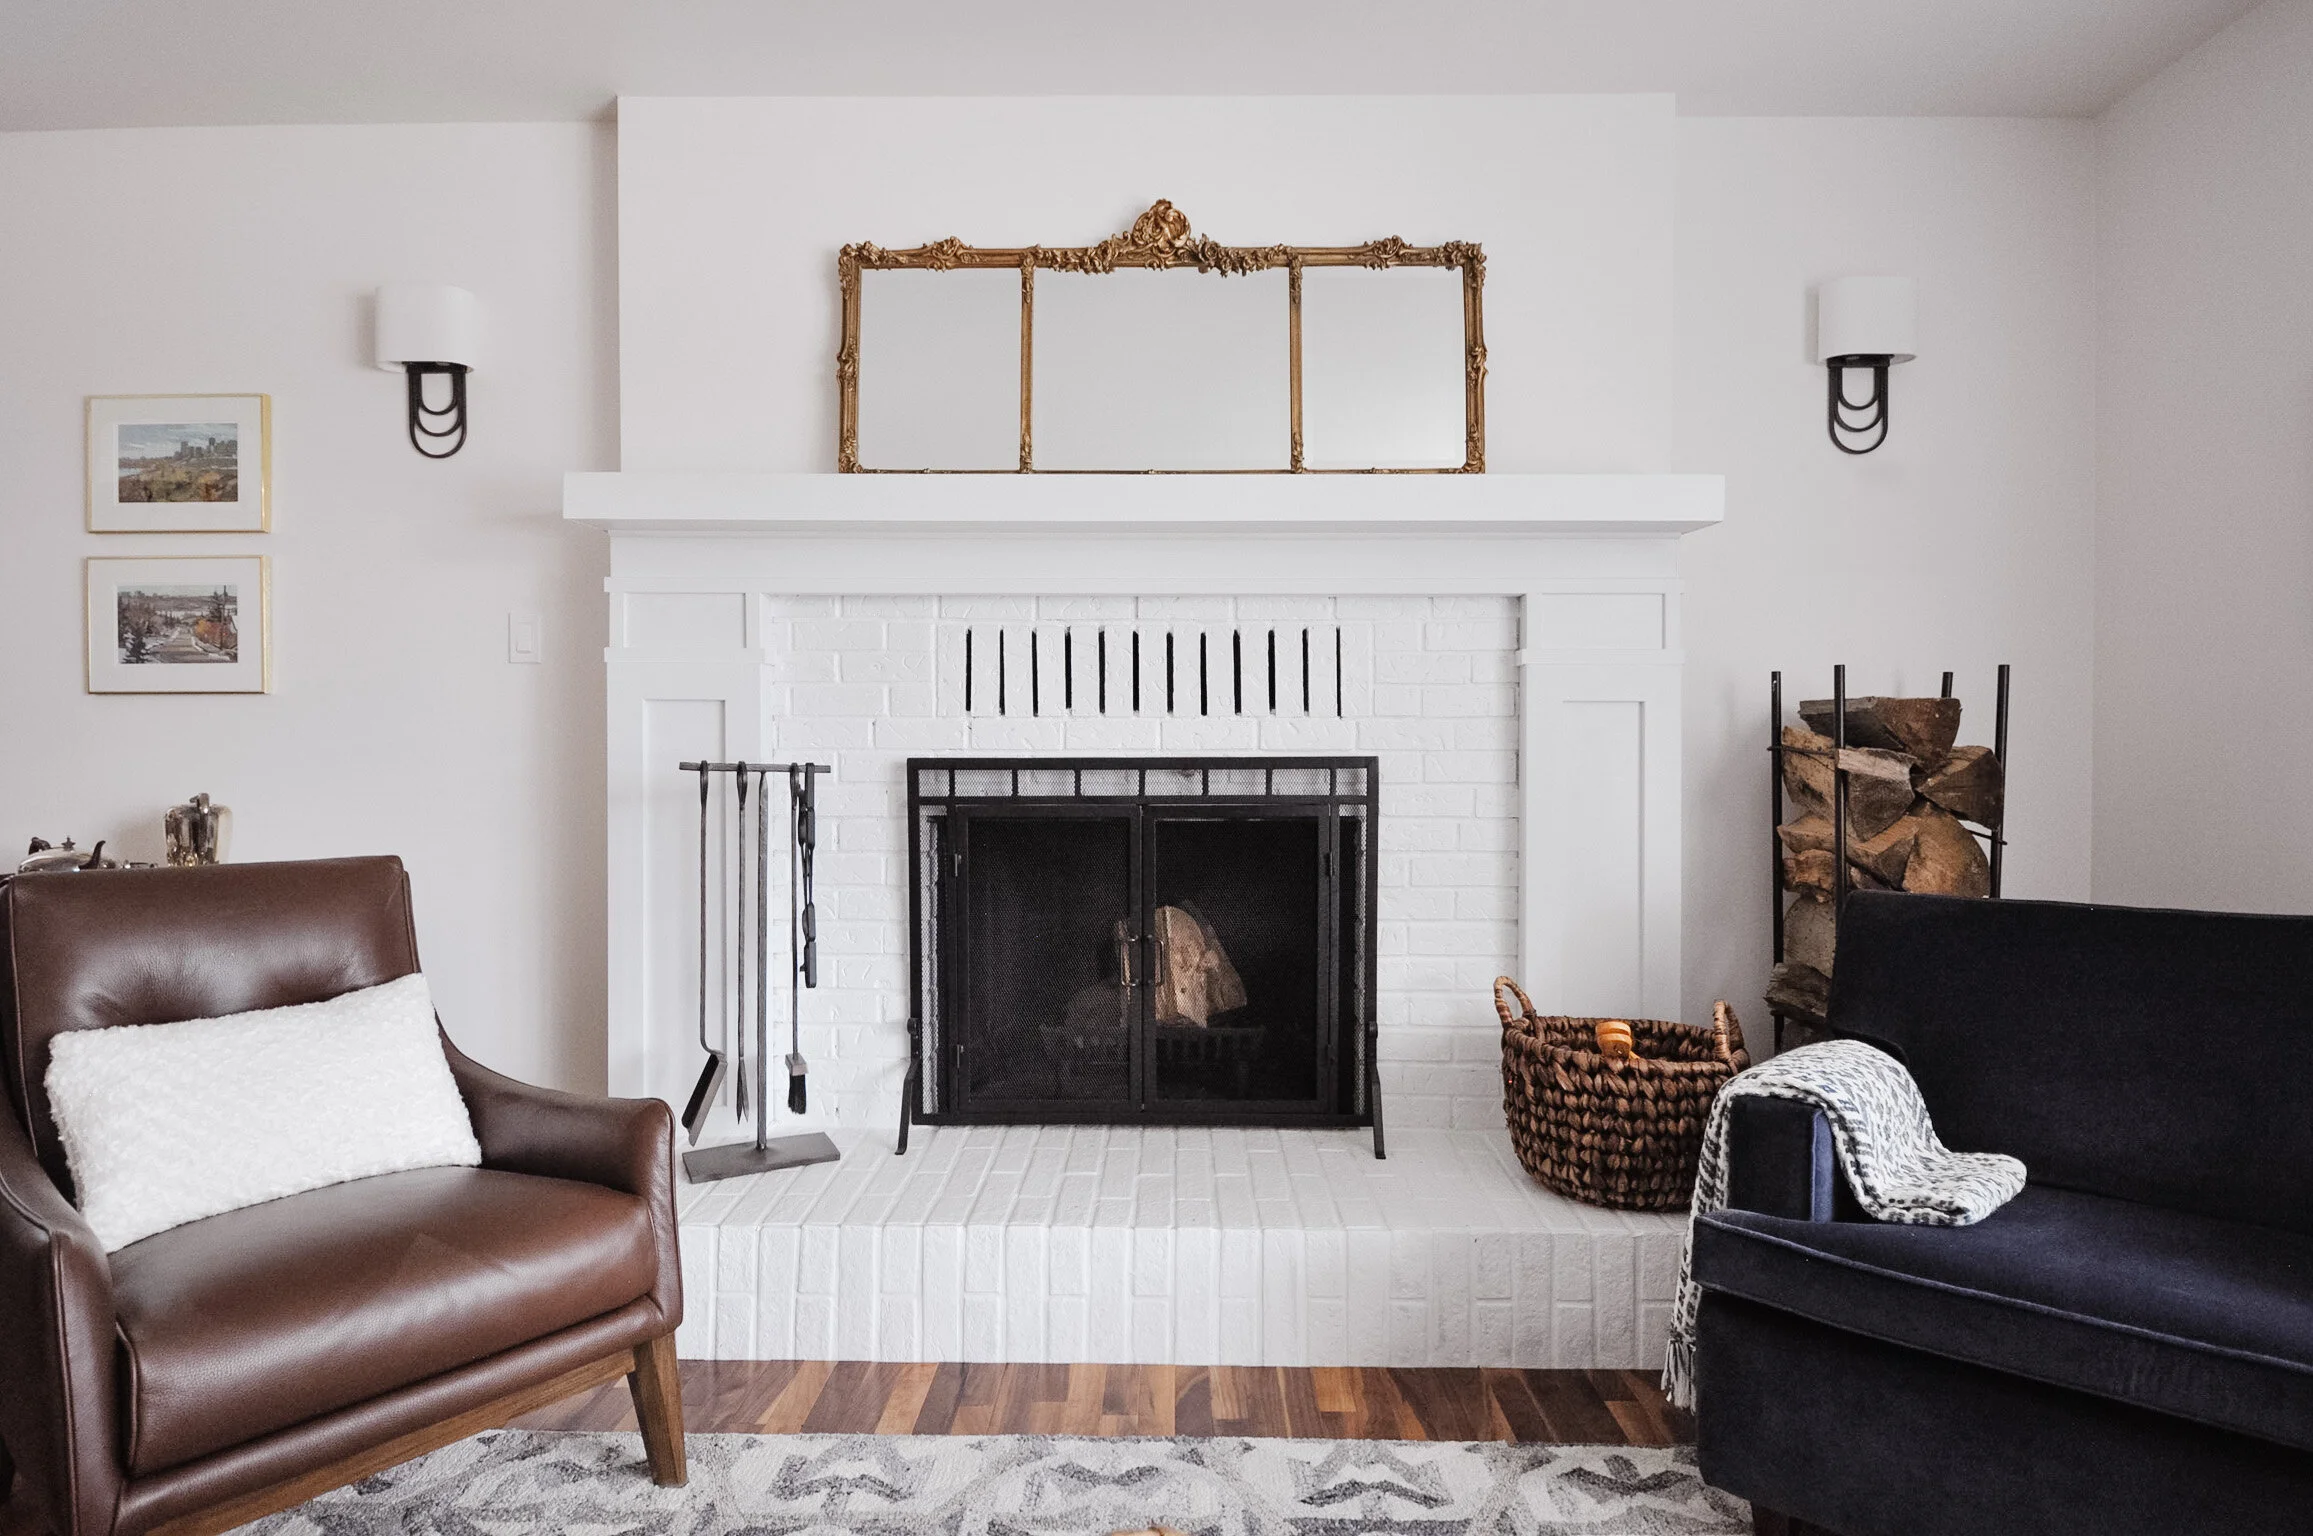
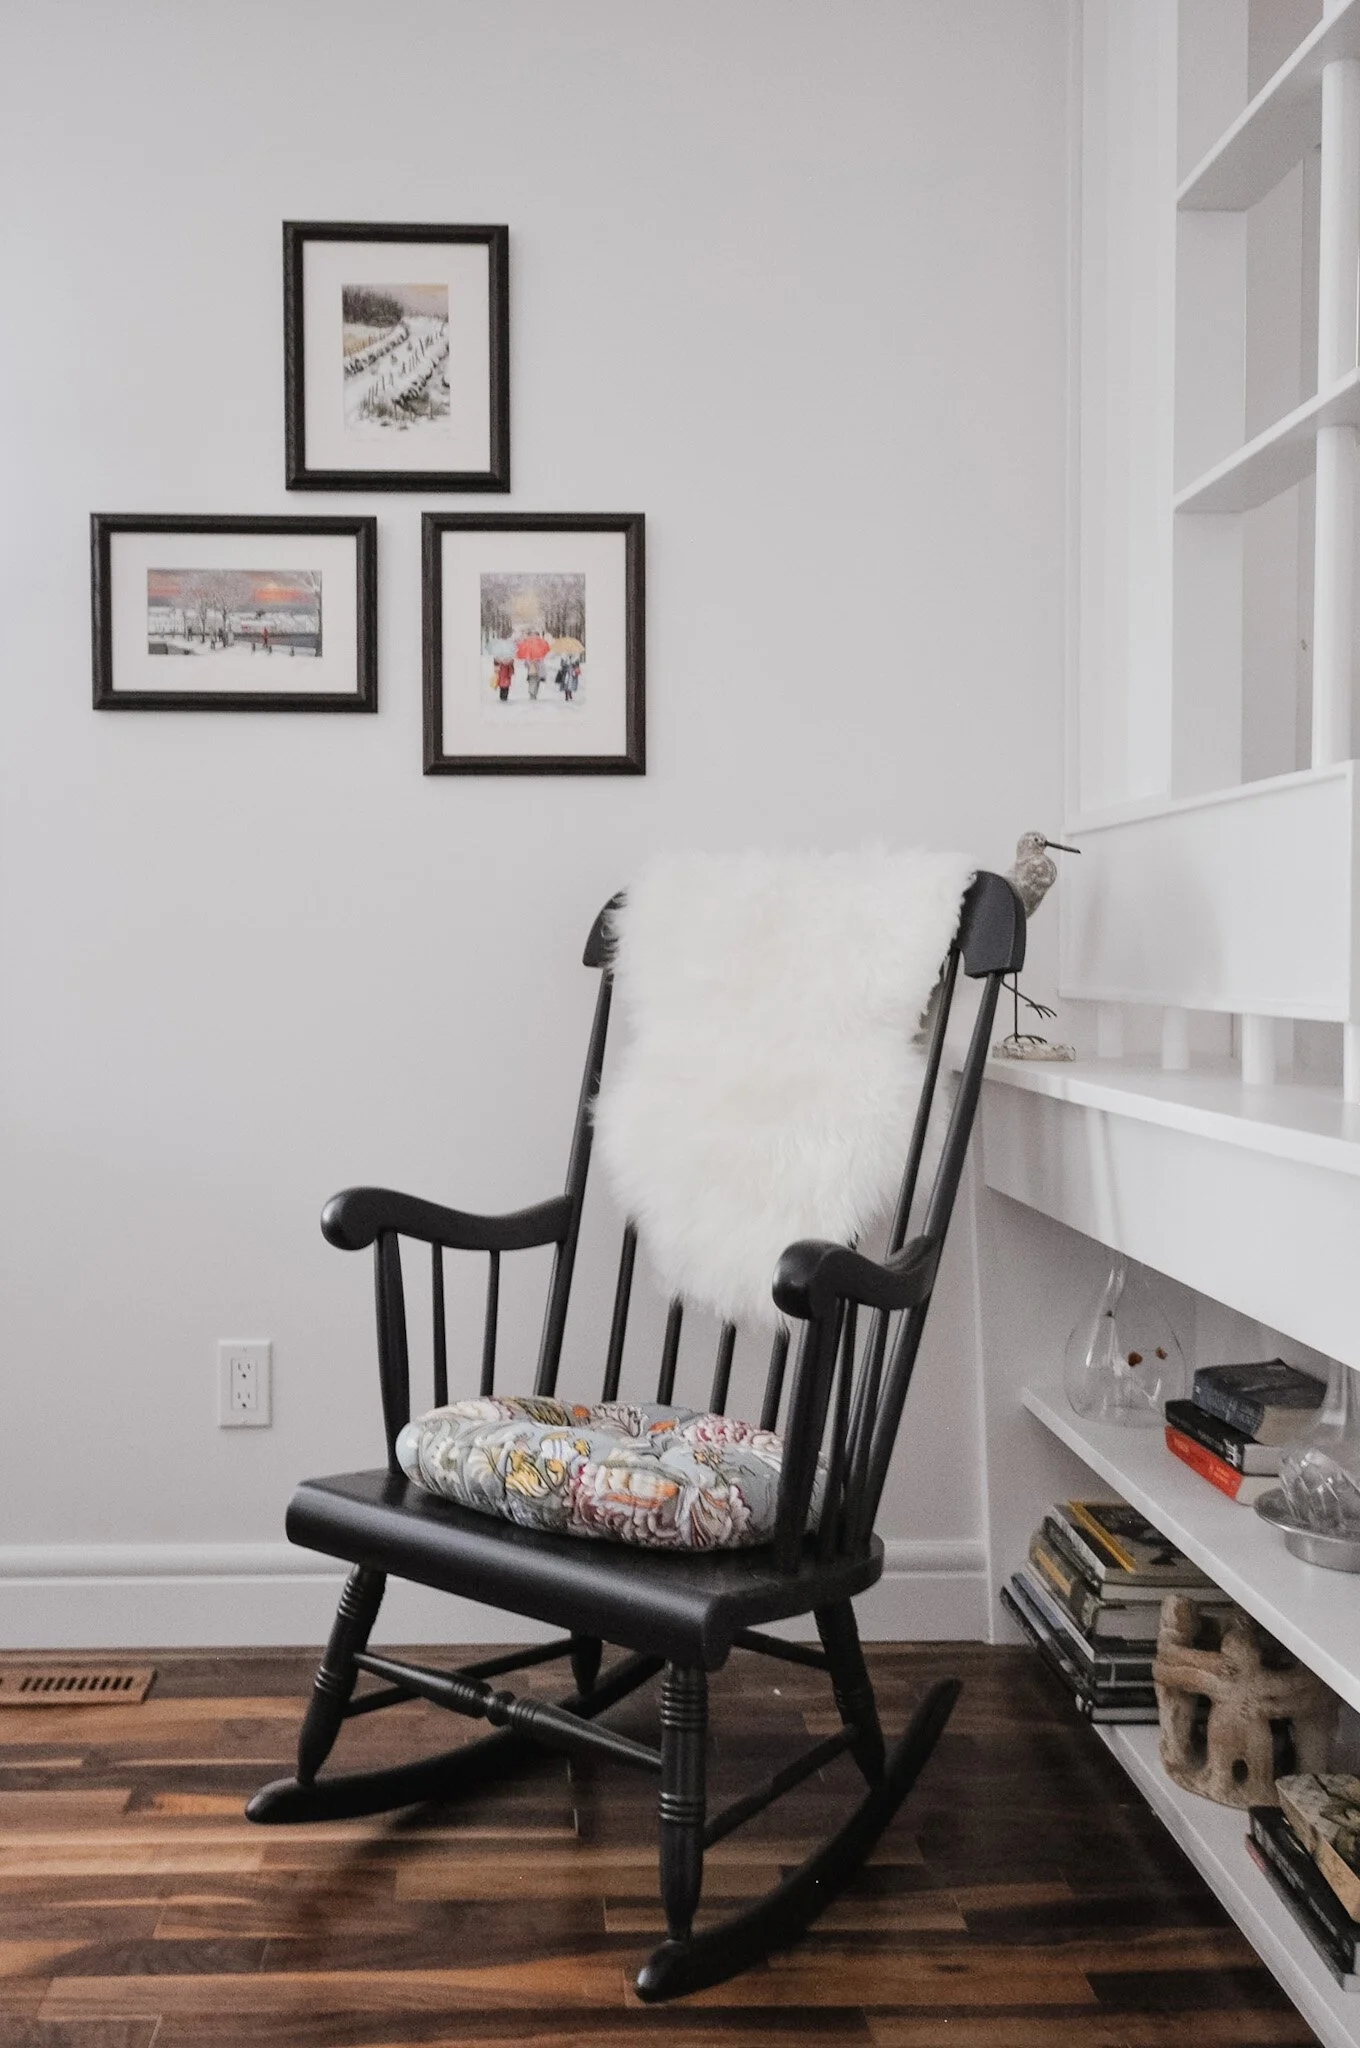
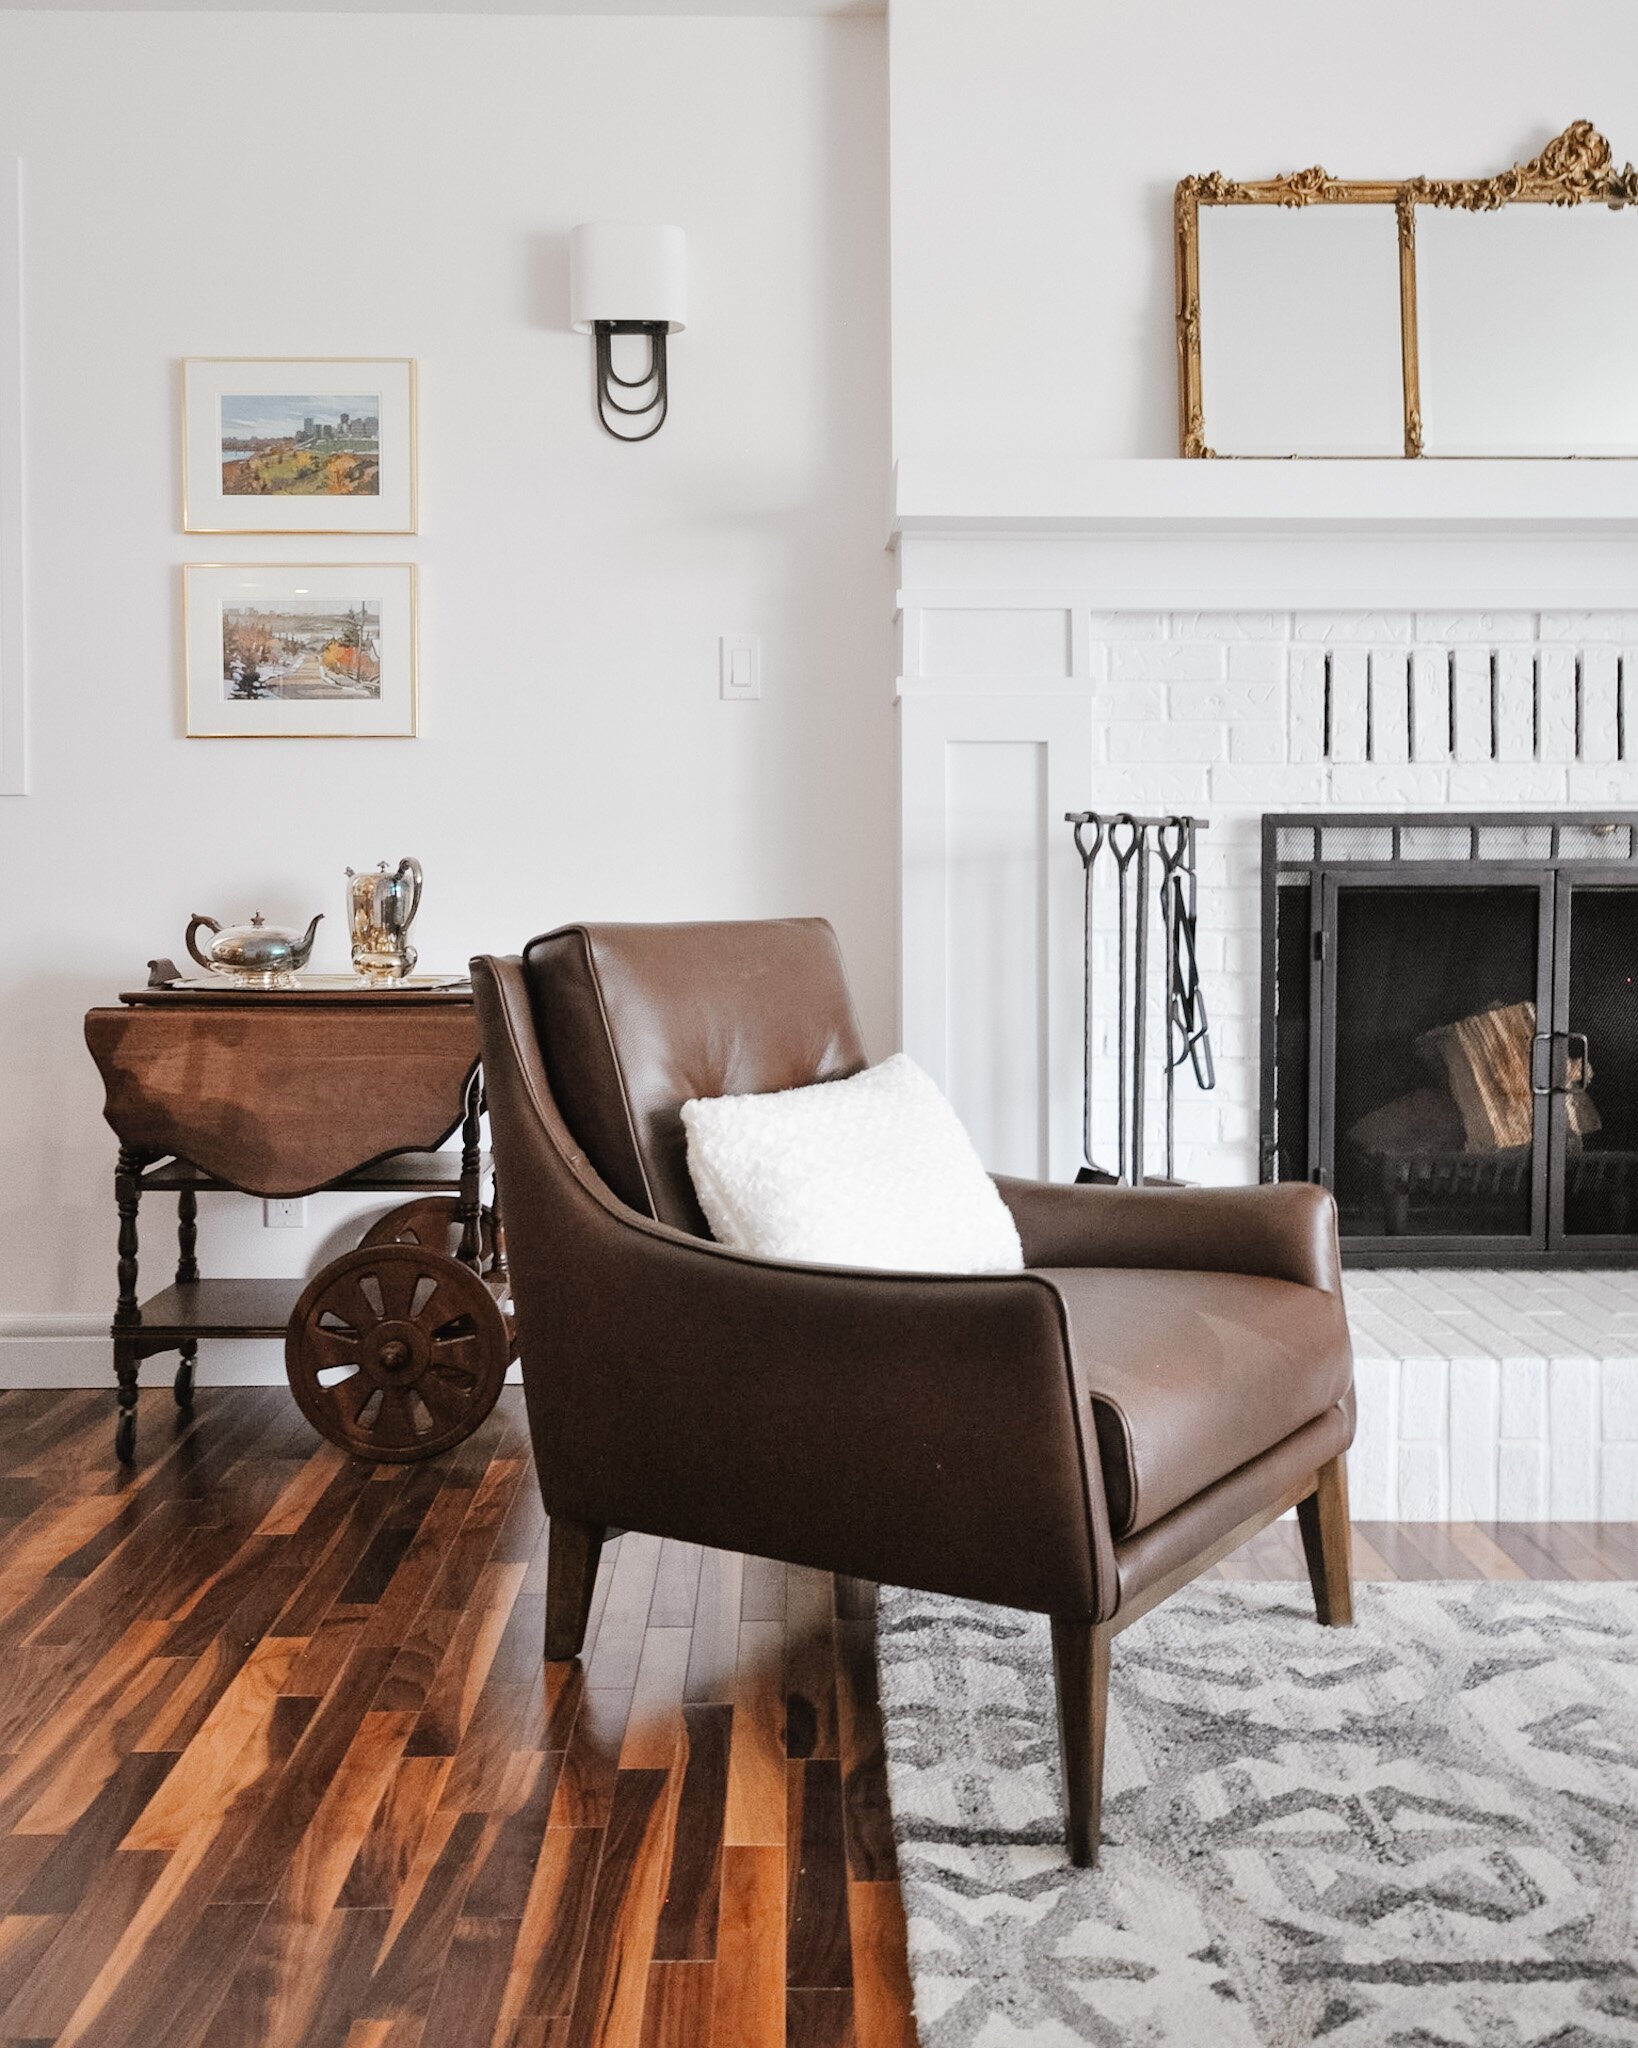
Over in the living room, the biggest change was going to be the fireplace. This was the source of a lot of debate and we went through a few design options before making our final decision. We also removed the popcorn ceiling throughout the home, and updated the front entry closet as well. Everything got a new coat of paint to make it feel bright and fresh. We kept the green armchair, but again had it reupholstered. We also kept a few of the antique pieces to create a blend of the old and the new - which I feel is the perfect representation of my client and who she is today.


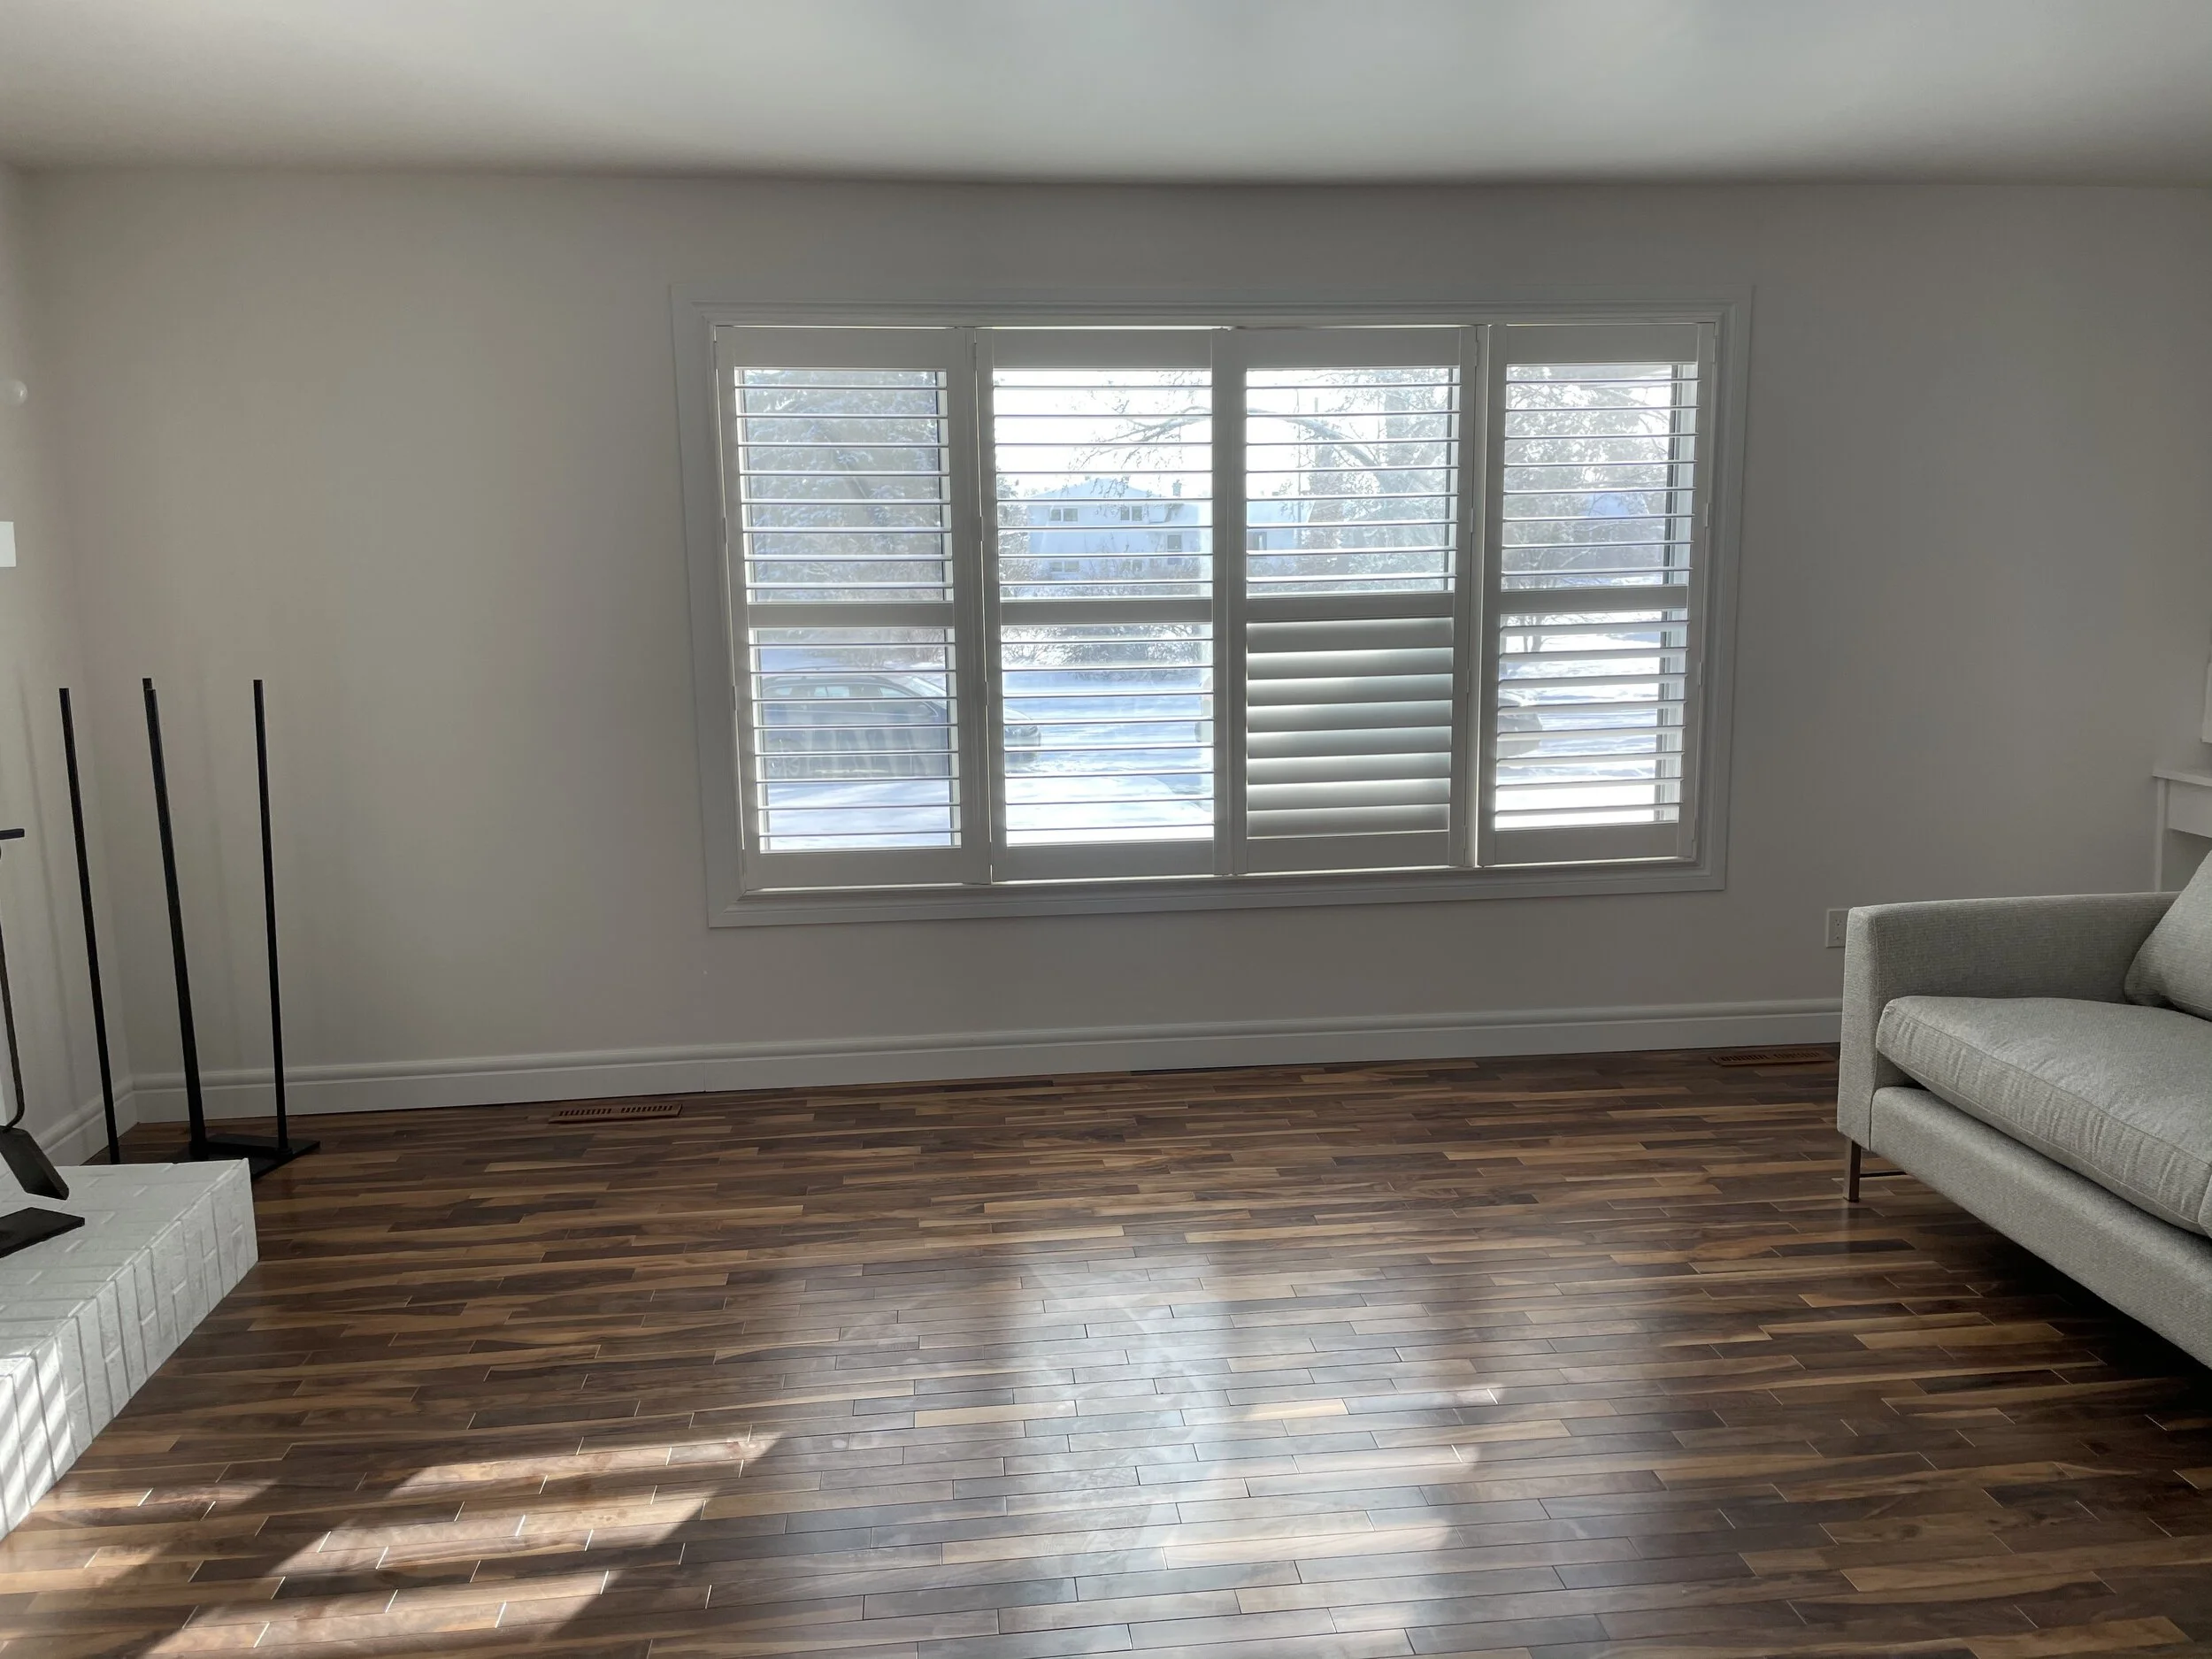
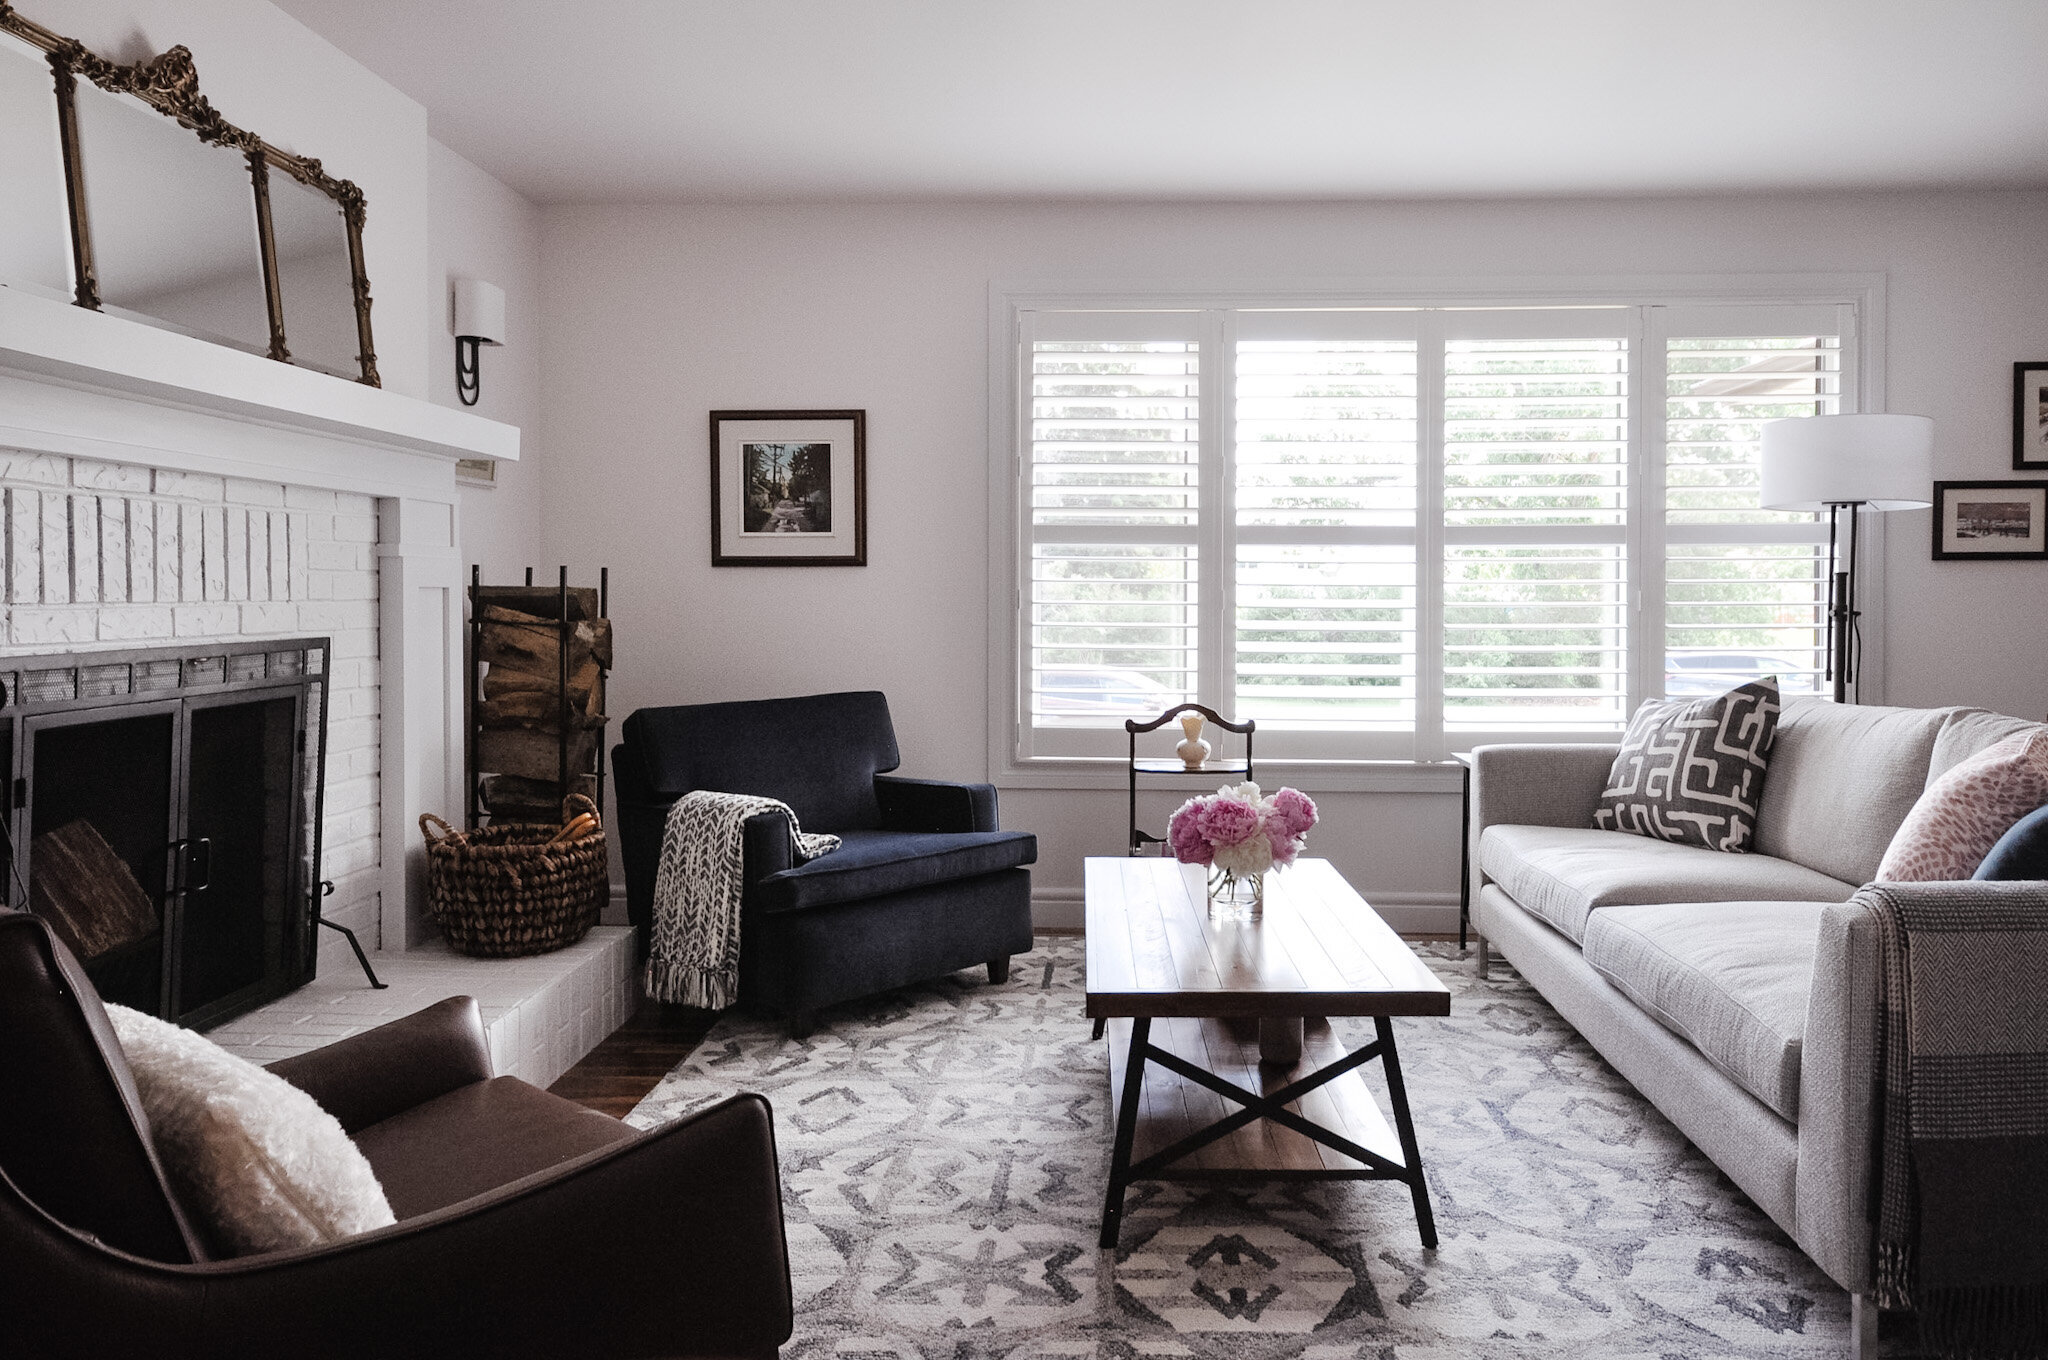
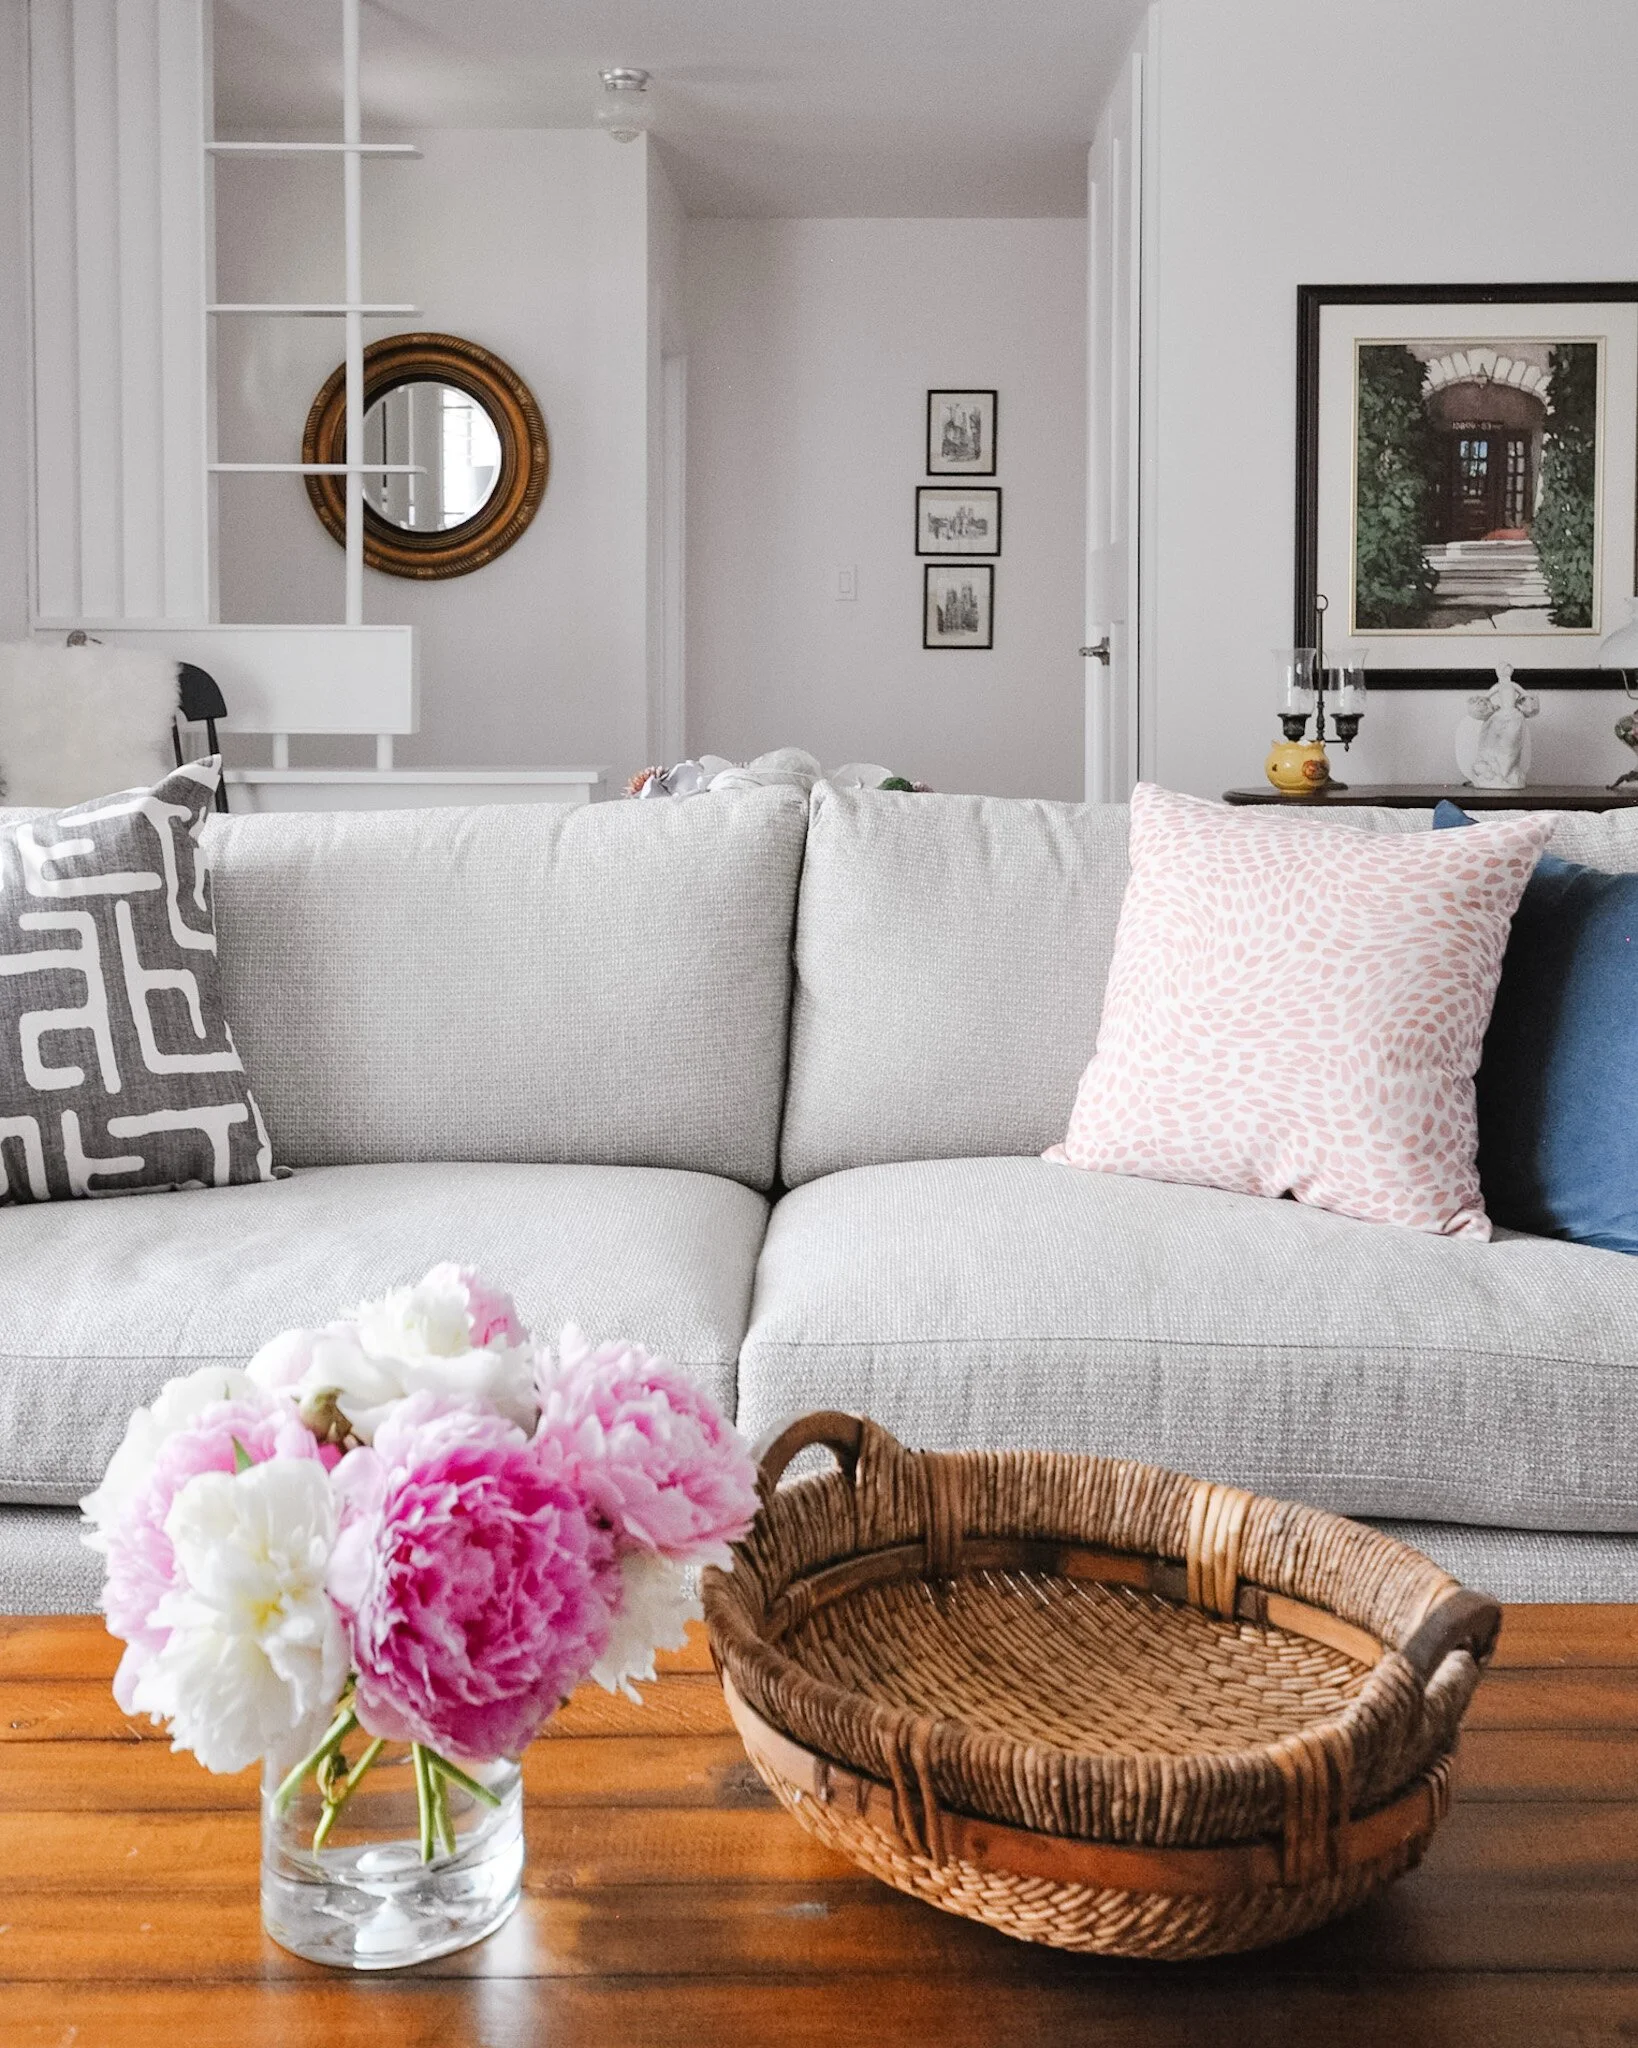
The new look
I really love how the living room came together. It’s so cozy and welcoming. That blend of old and new truly makes my heart happy. The newly upholstered chair may be my favourite part of this room … or maybe the fireplace. I love getting to give new life to existing objects and to me, this room is the perfect example of that.
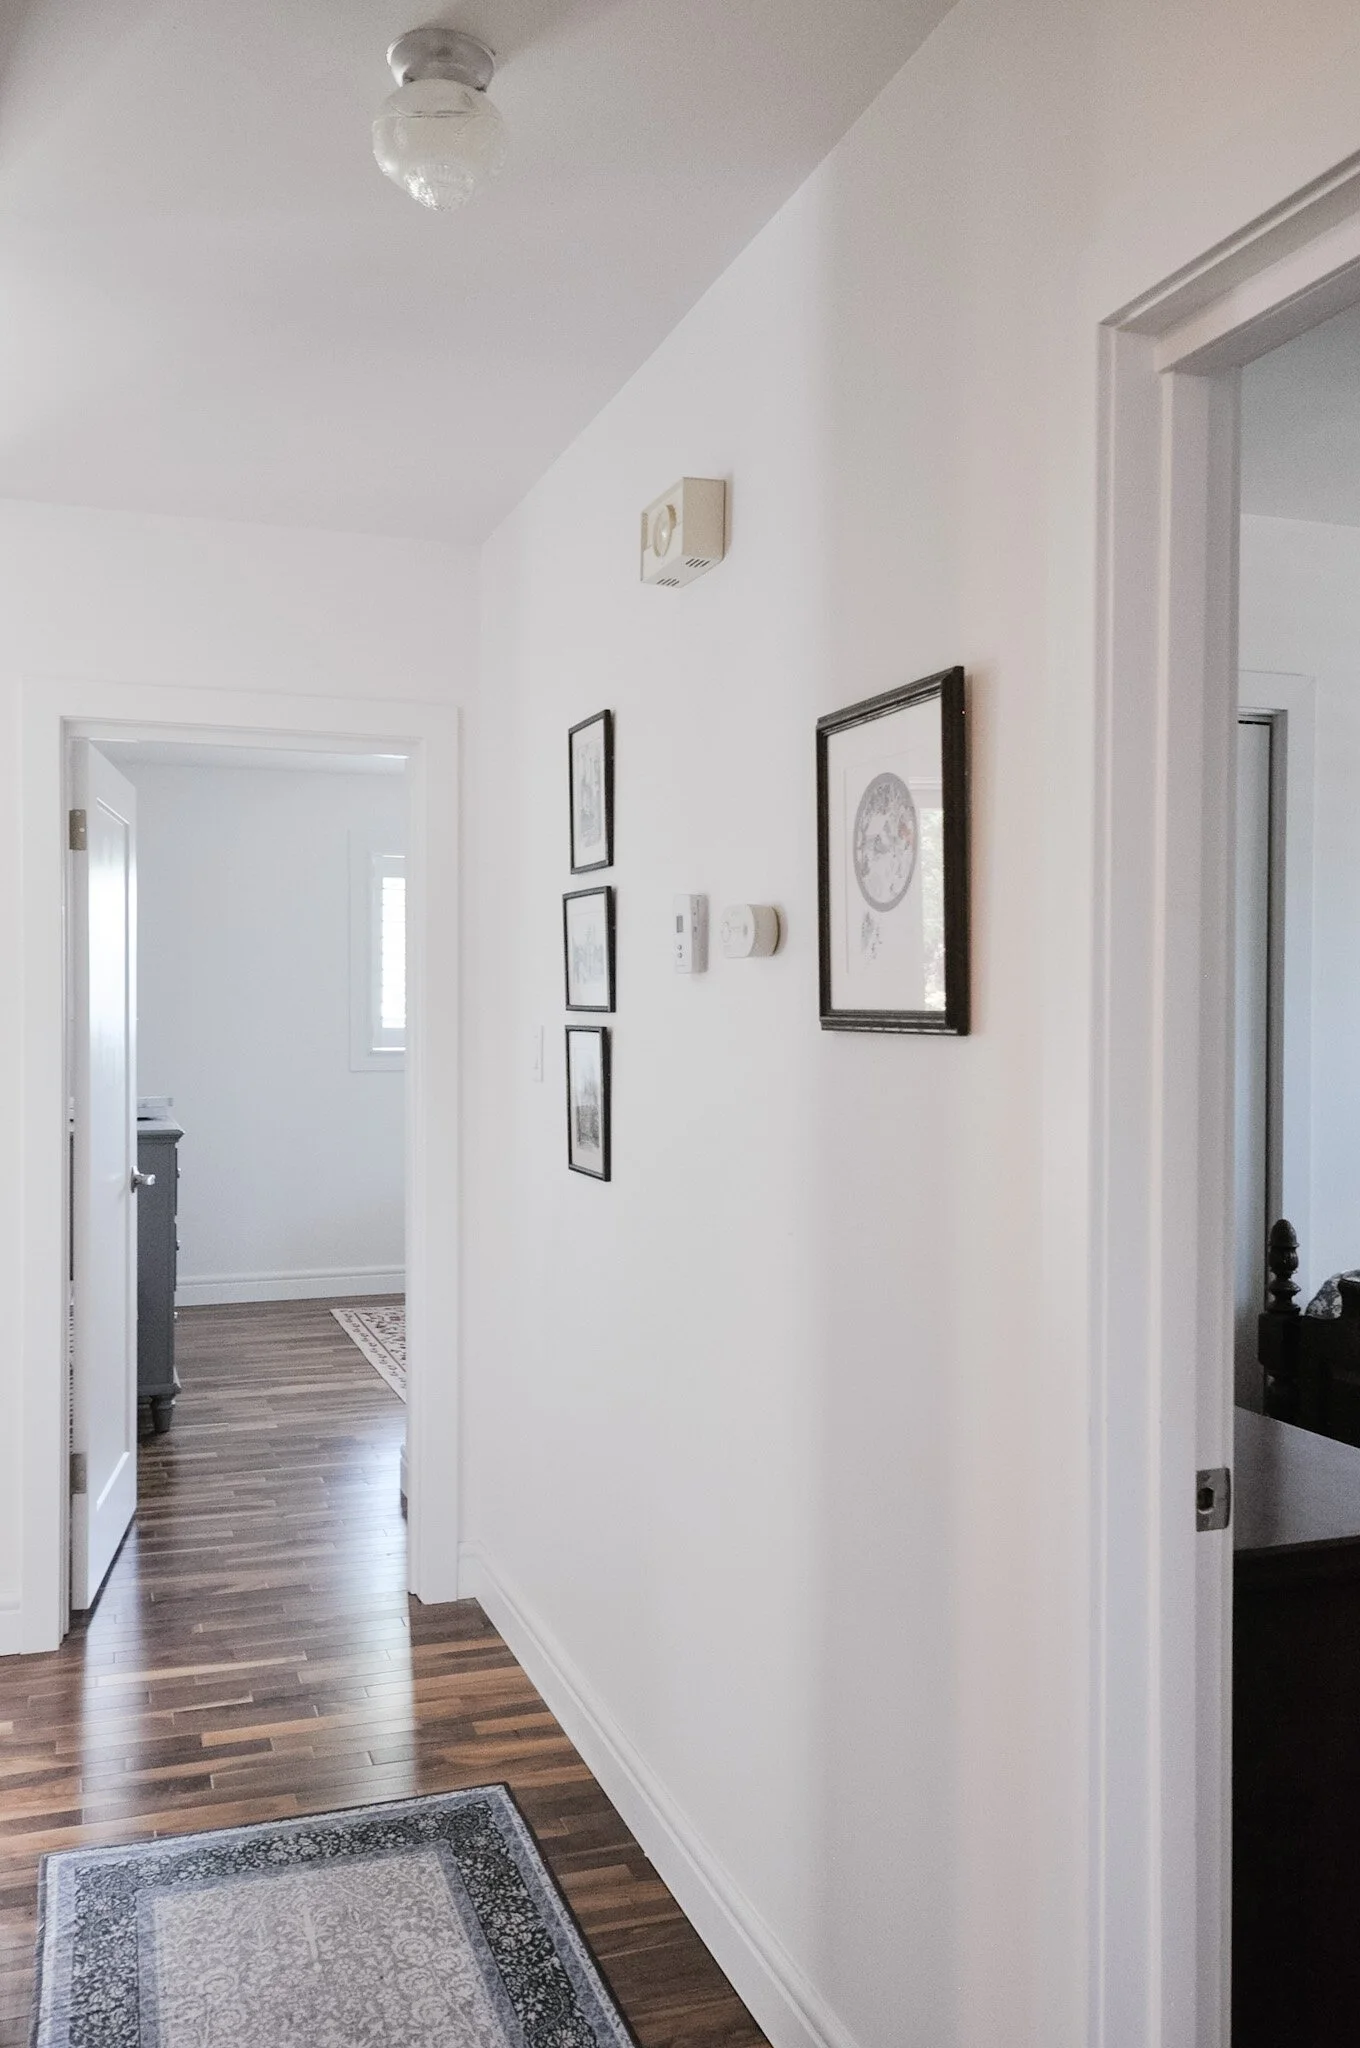
The rest of the home
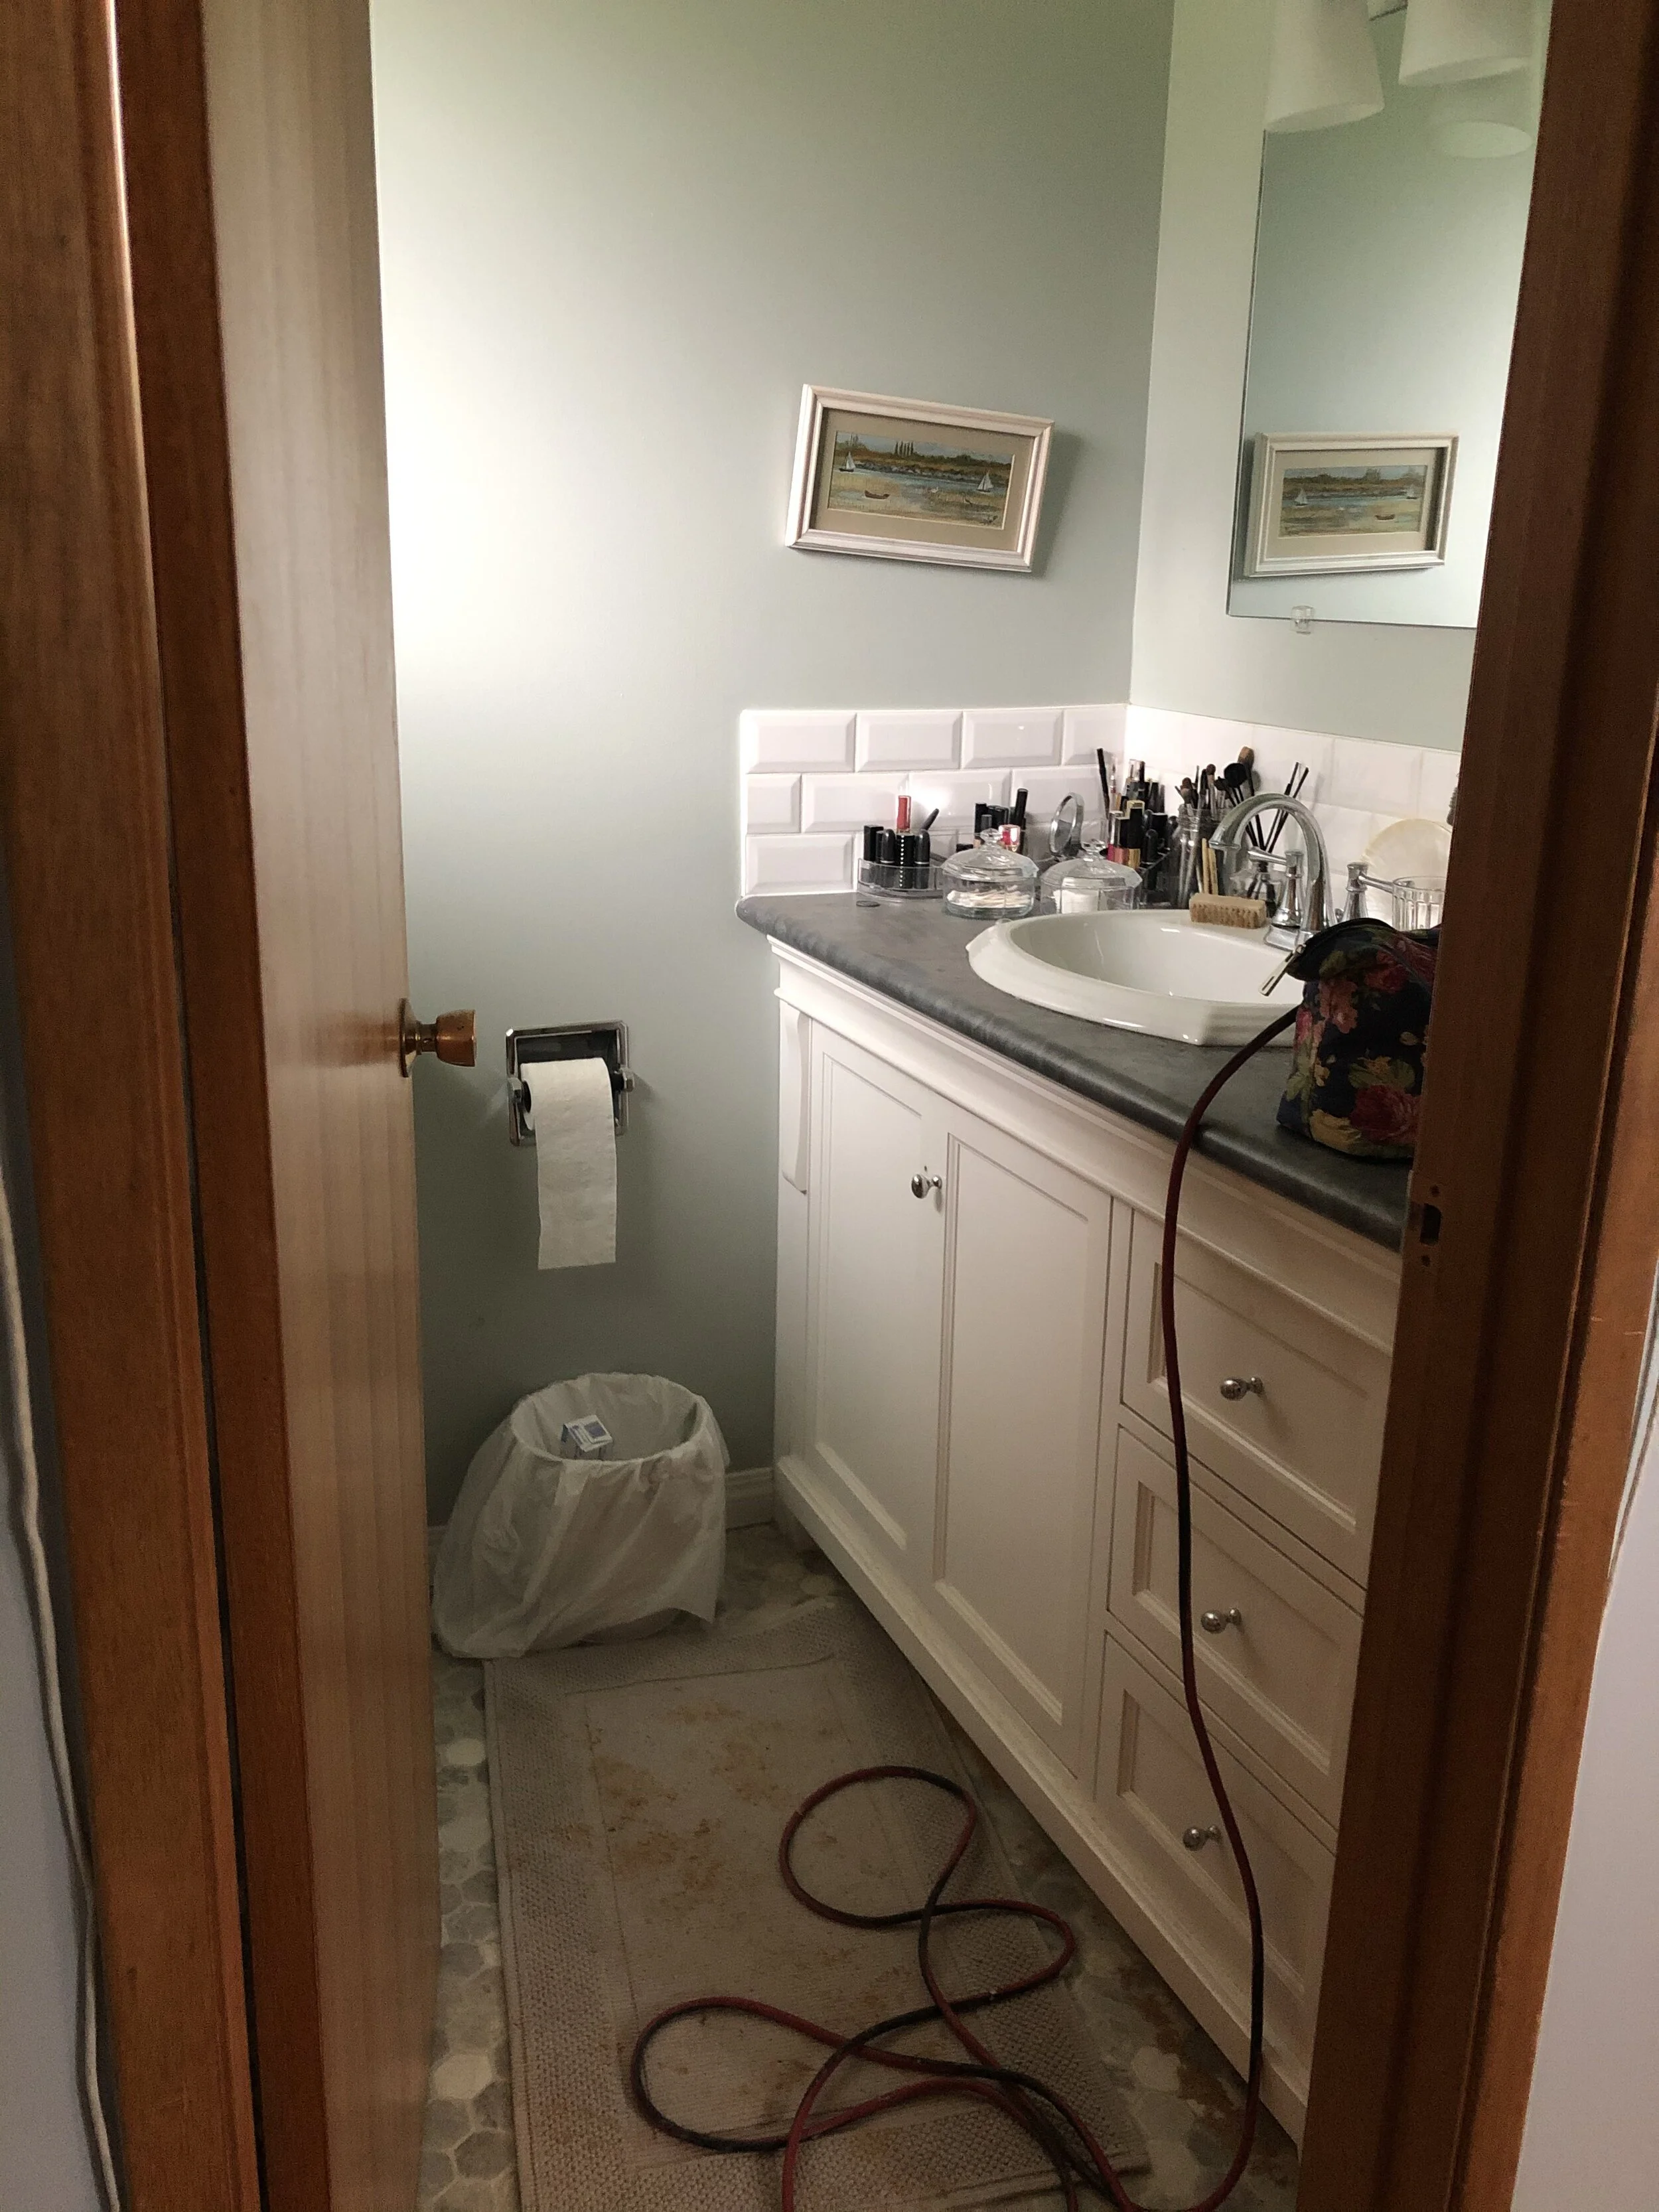
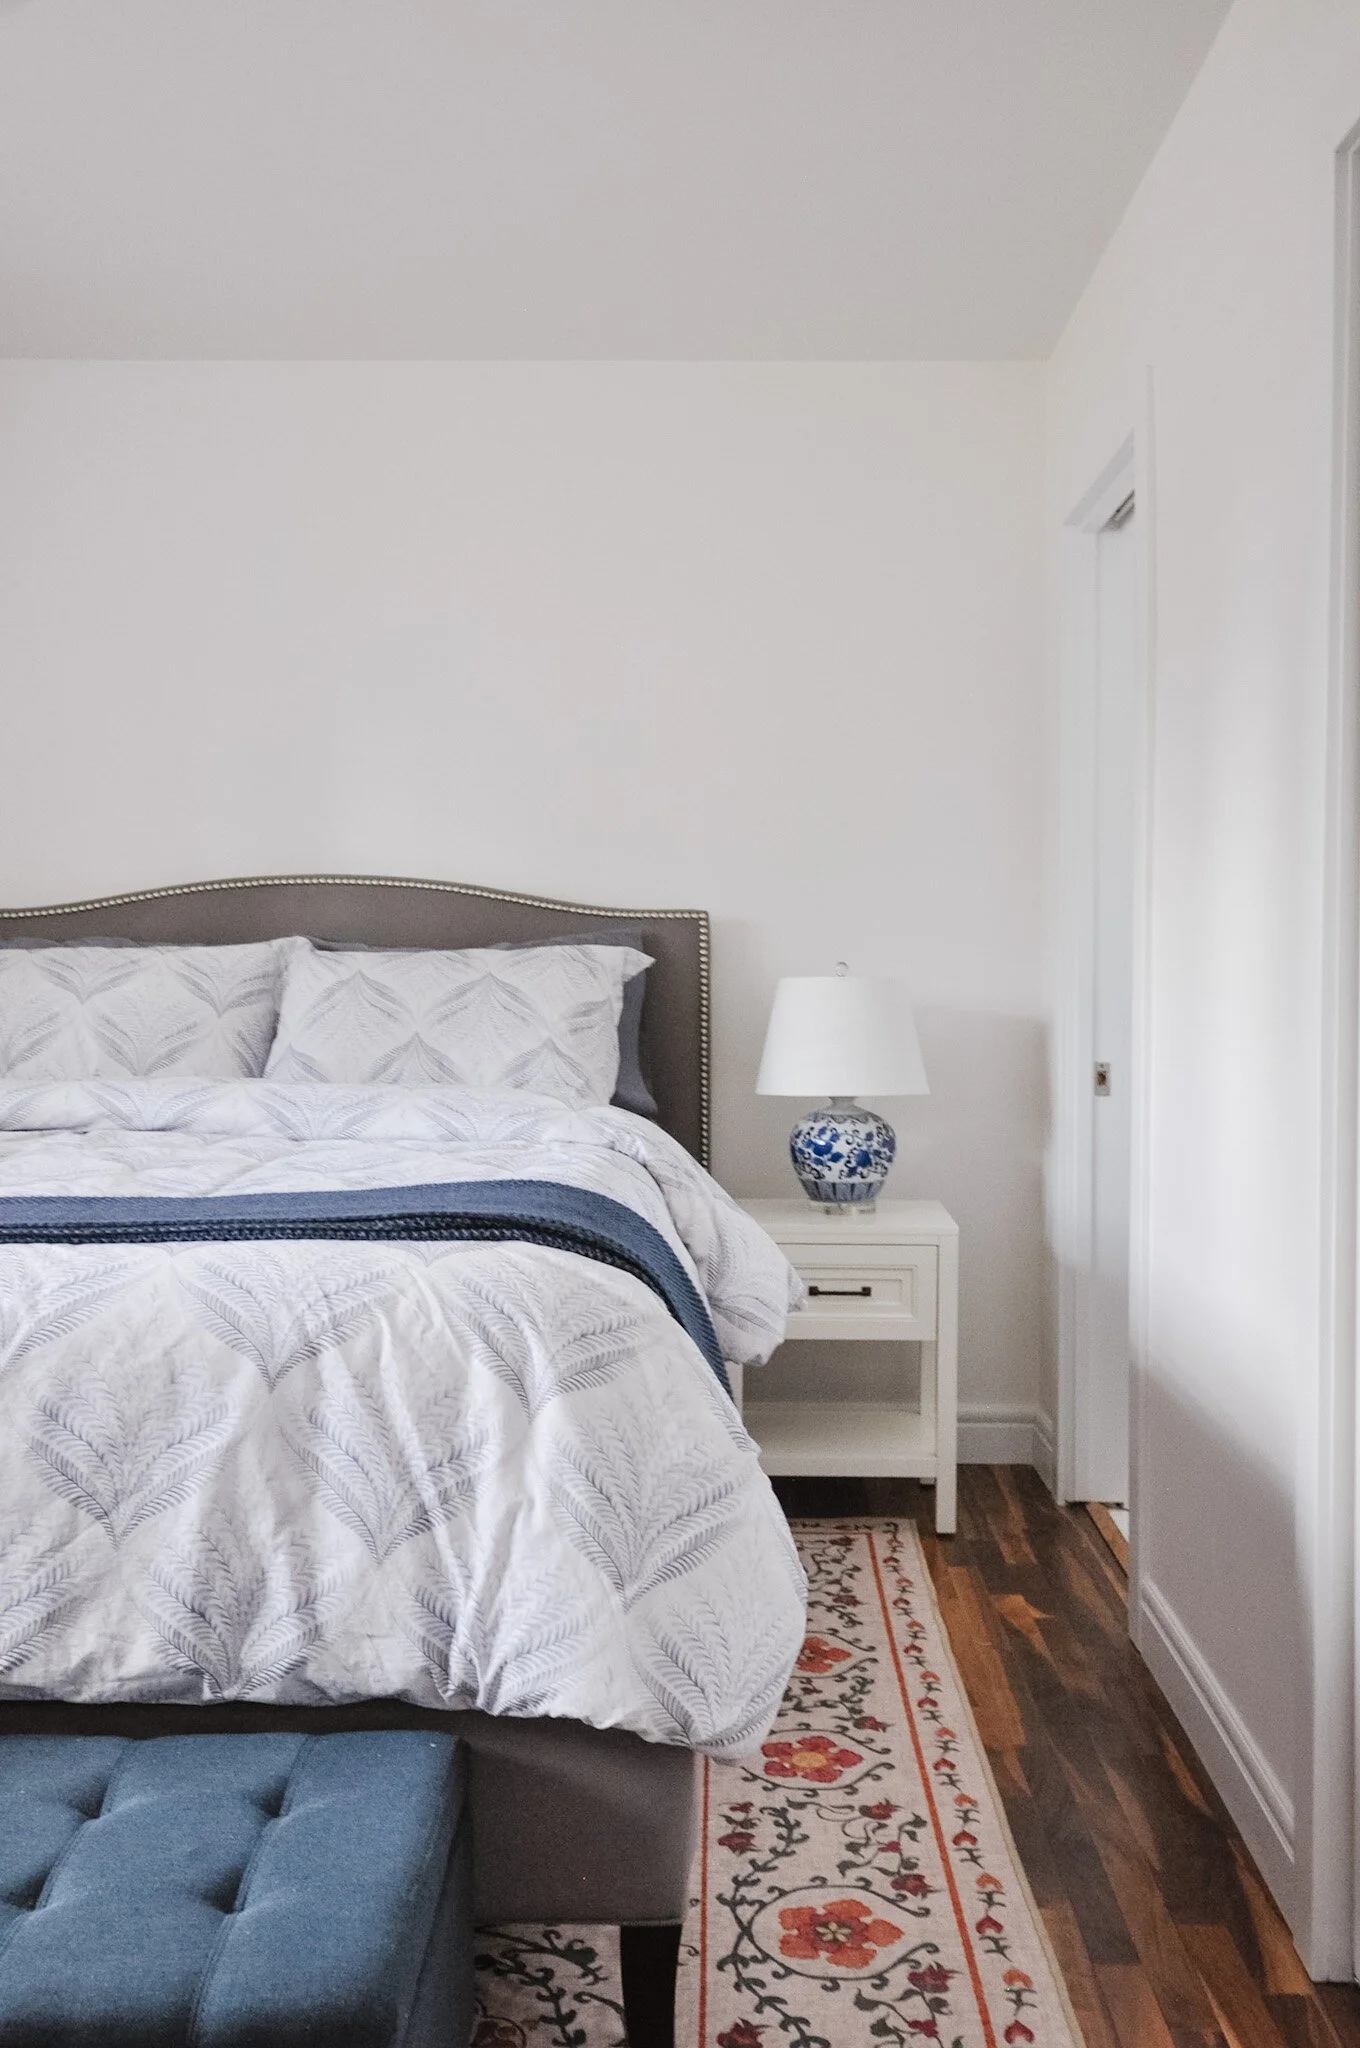
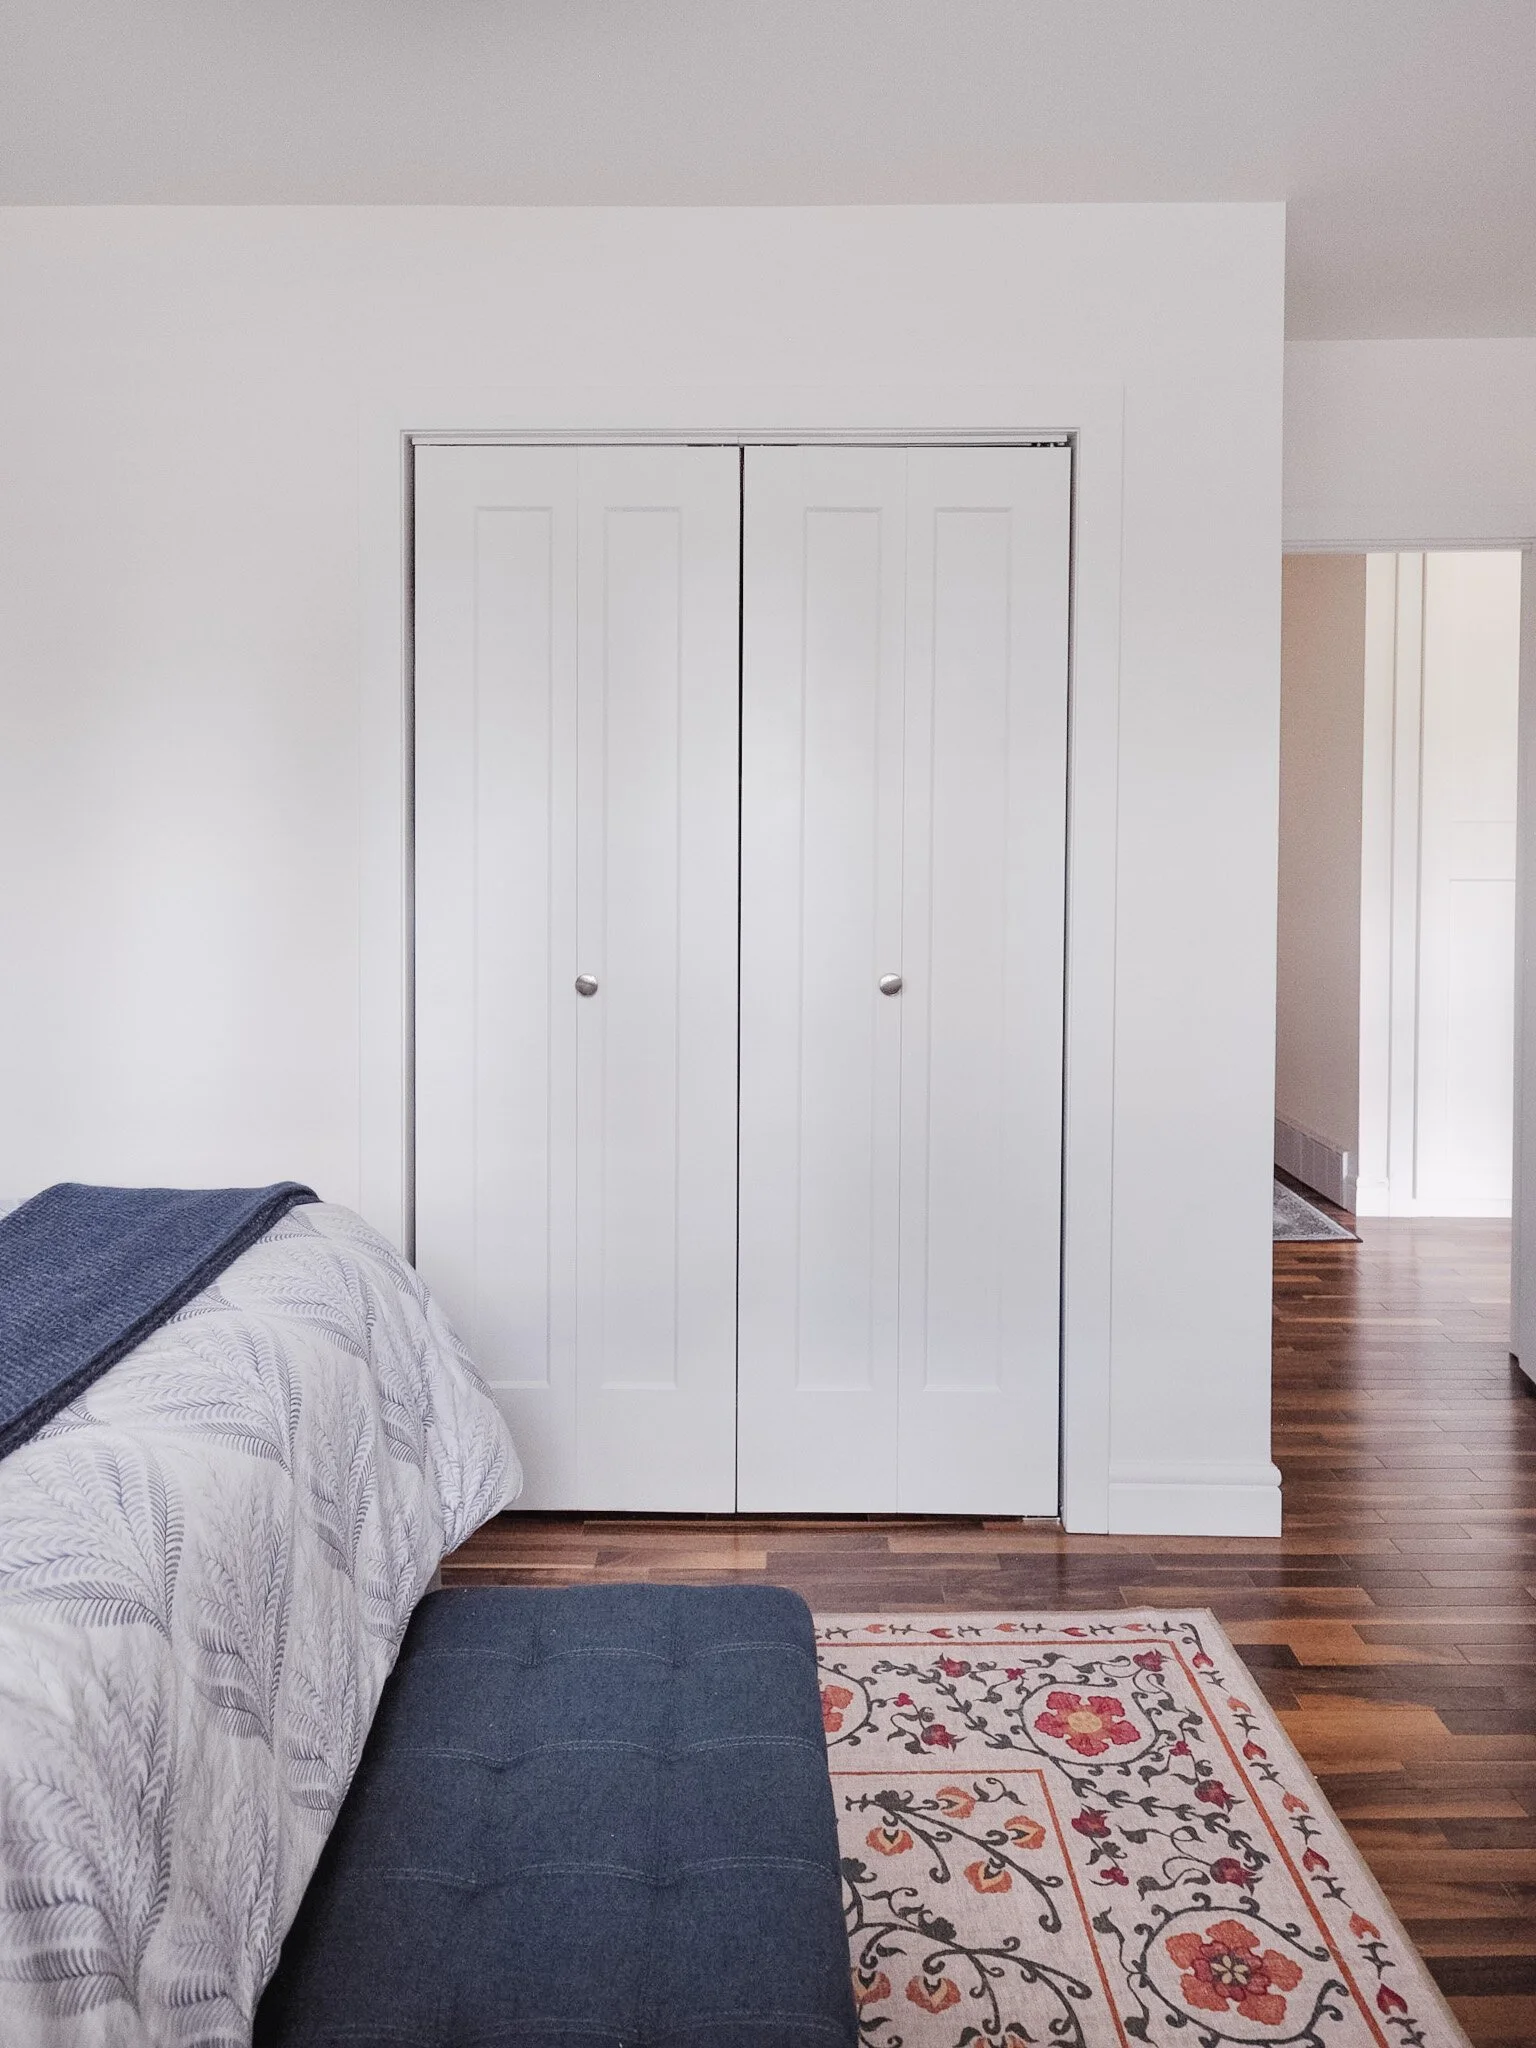
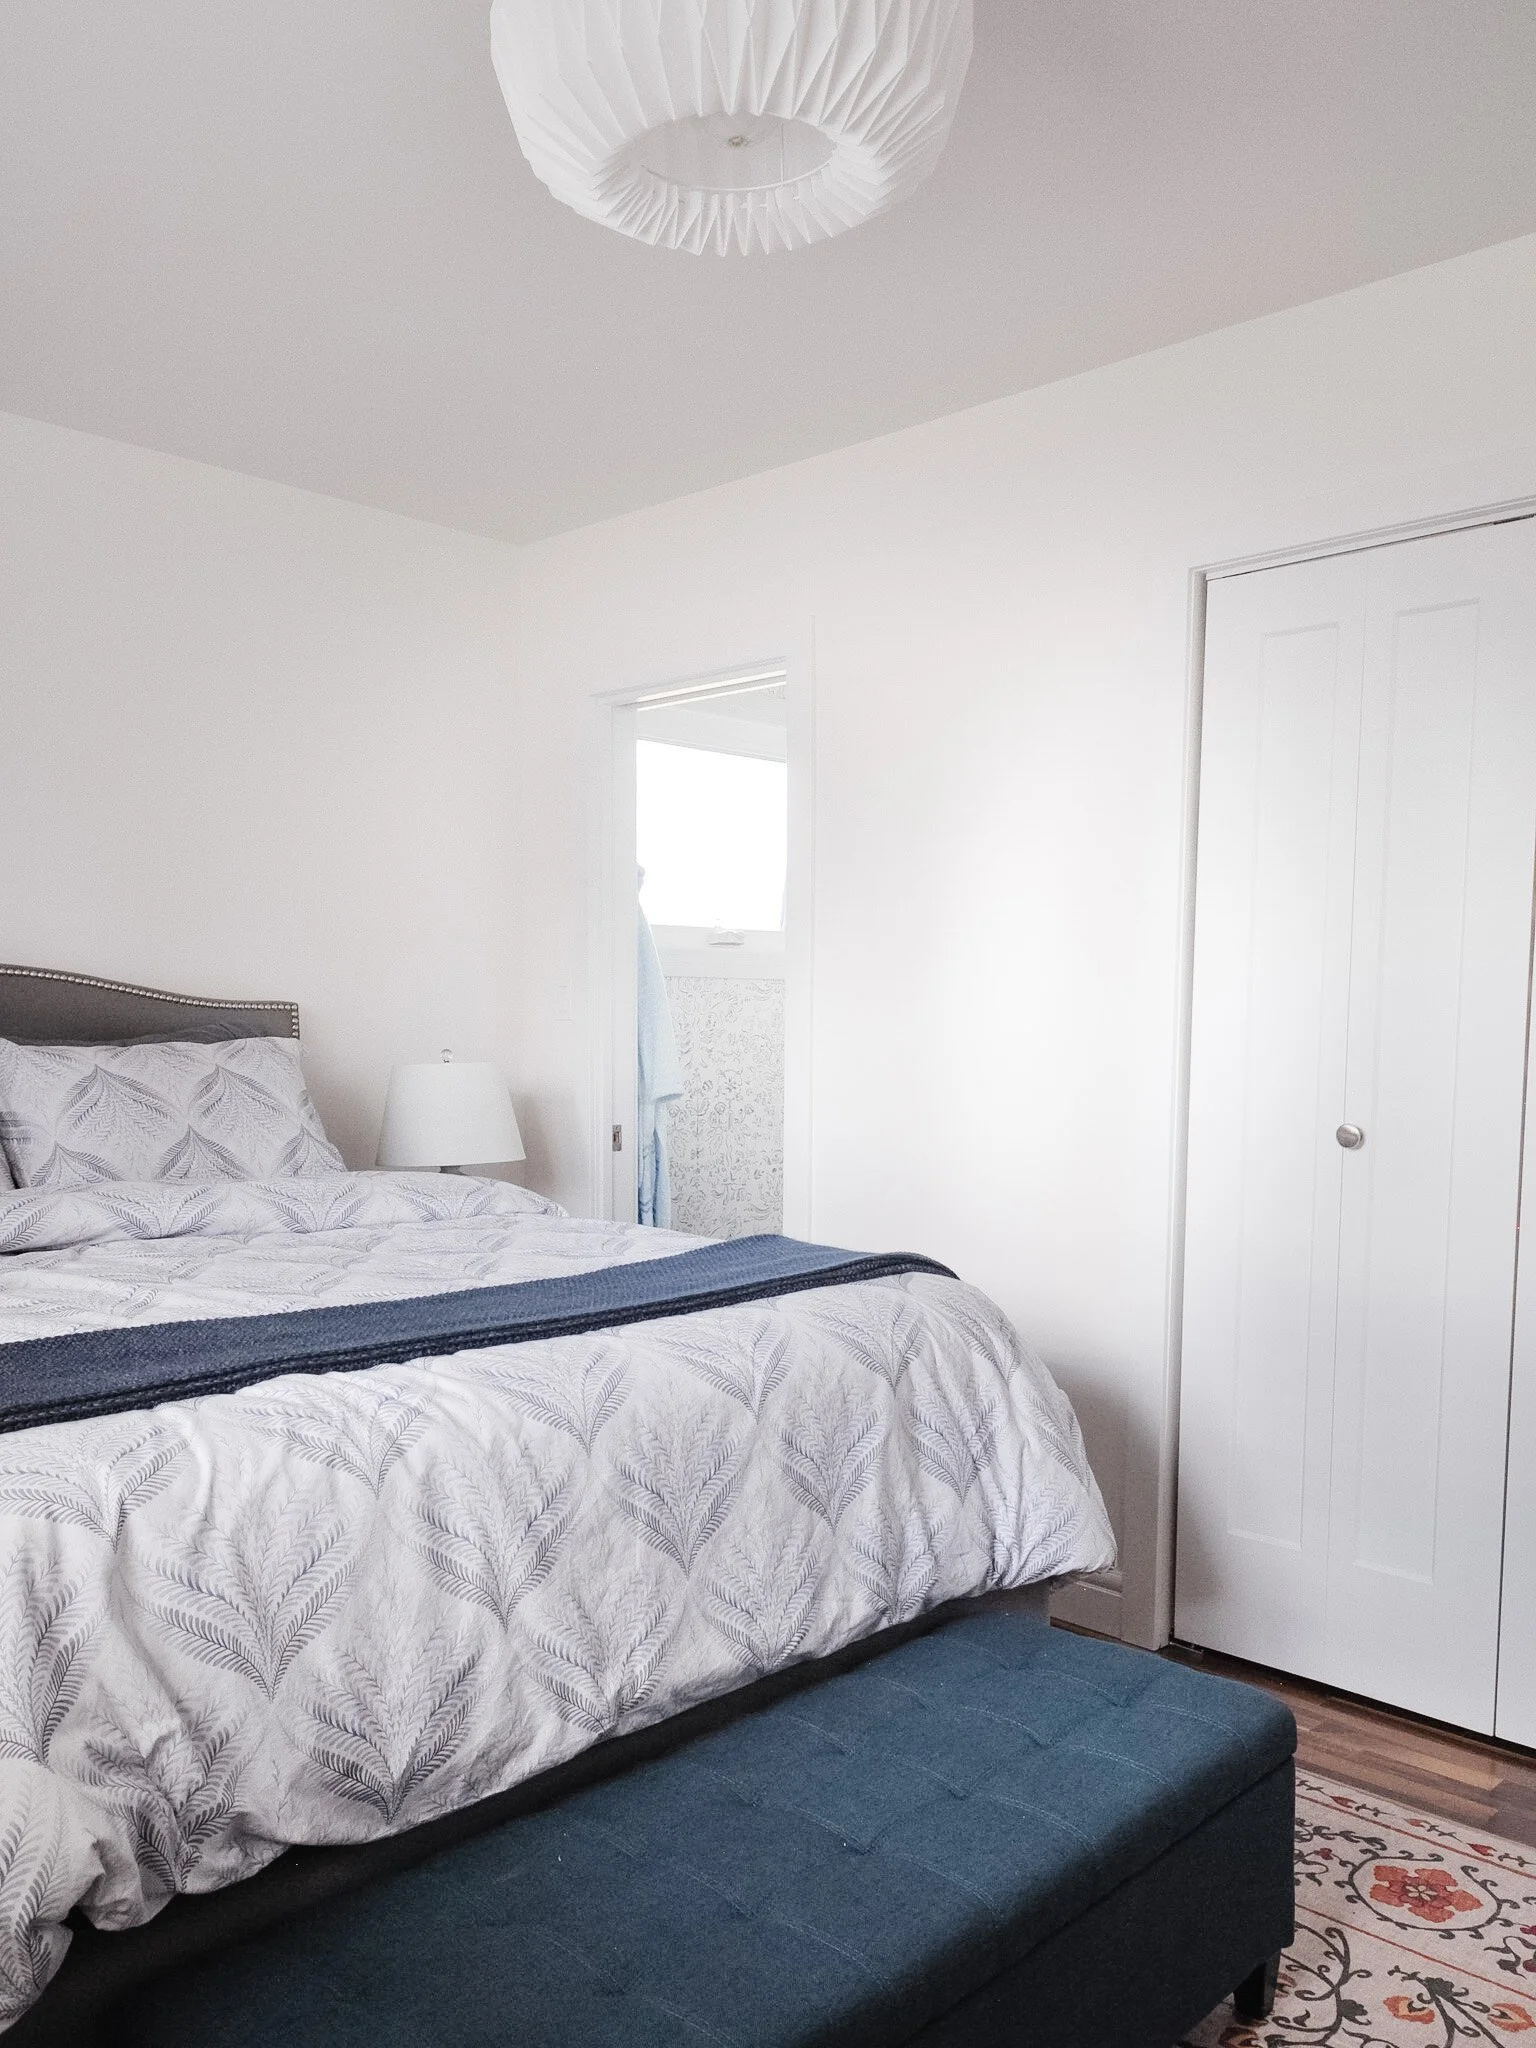
Both bathrooms got a makeover, as well as the bedrooms. Here’s a couple before and during photos of the primary bedroom and its ensuite:
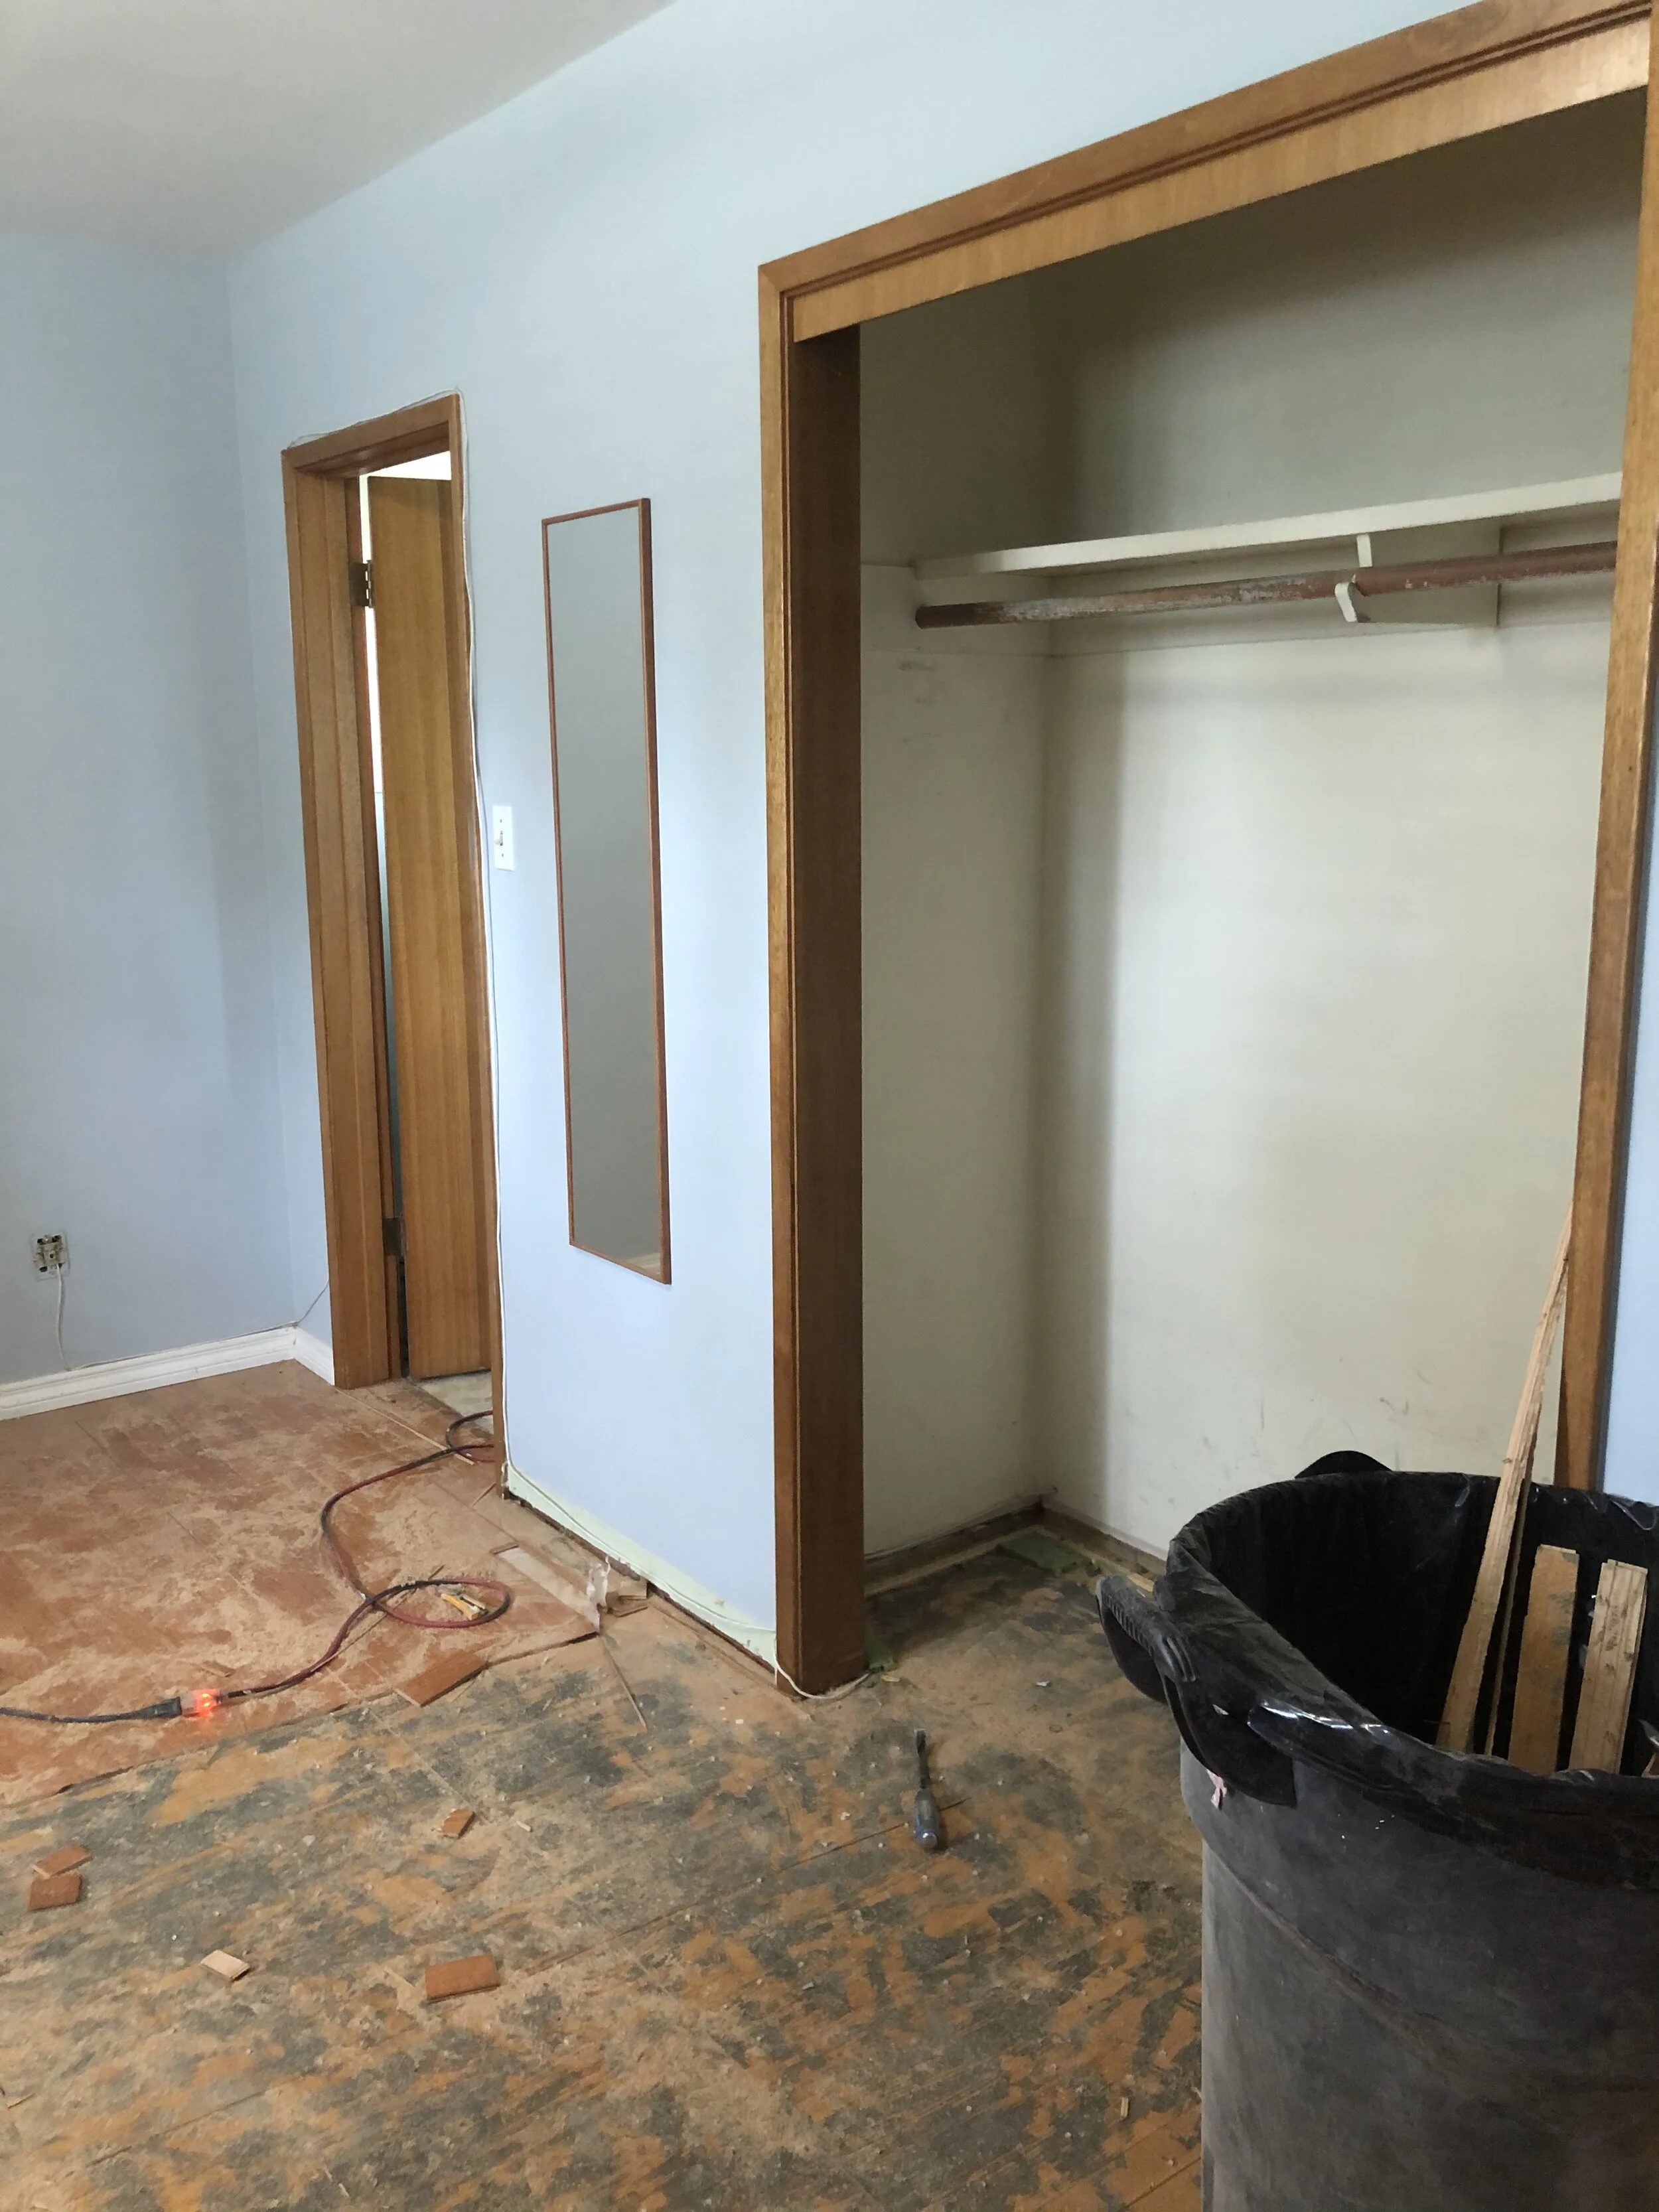

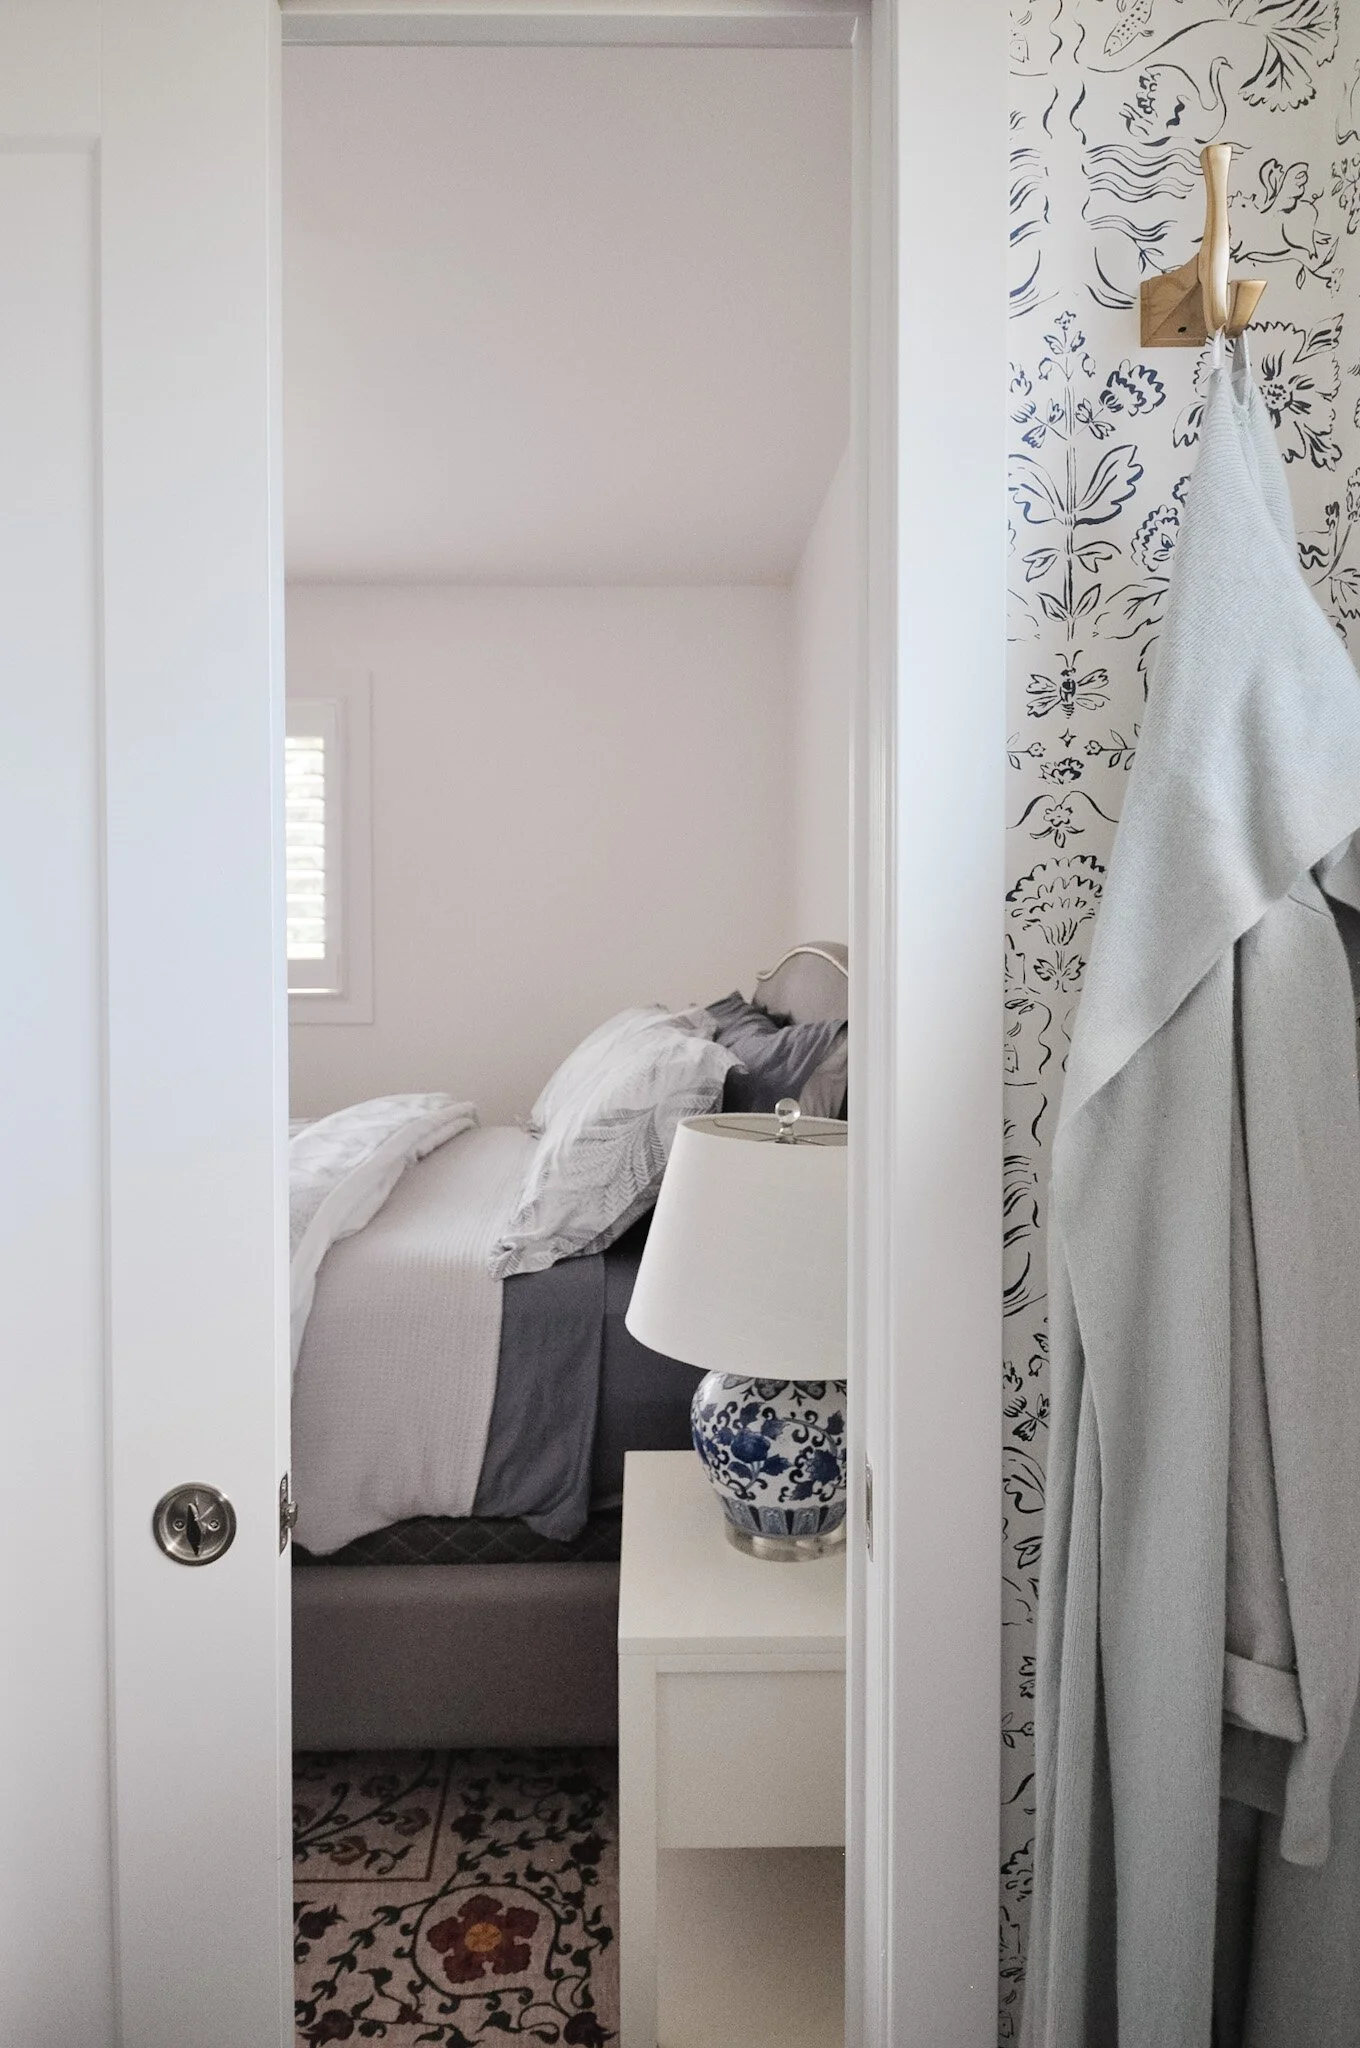
In the bedrooms, we focused on improving the closet storage, so each was custom designed and built for the needs of the room. Each room also received new lighting fixtures and a fresh coat of paint. From a design perspective, the focus was on the primary bedroom, where we decided on all new furniture.
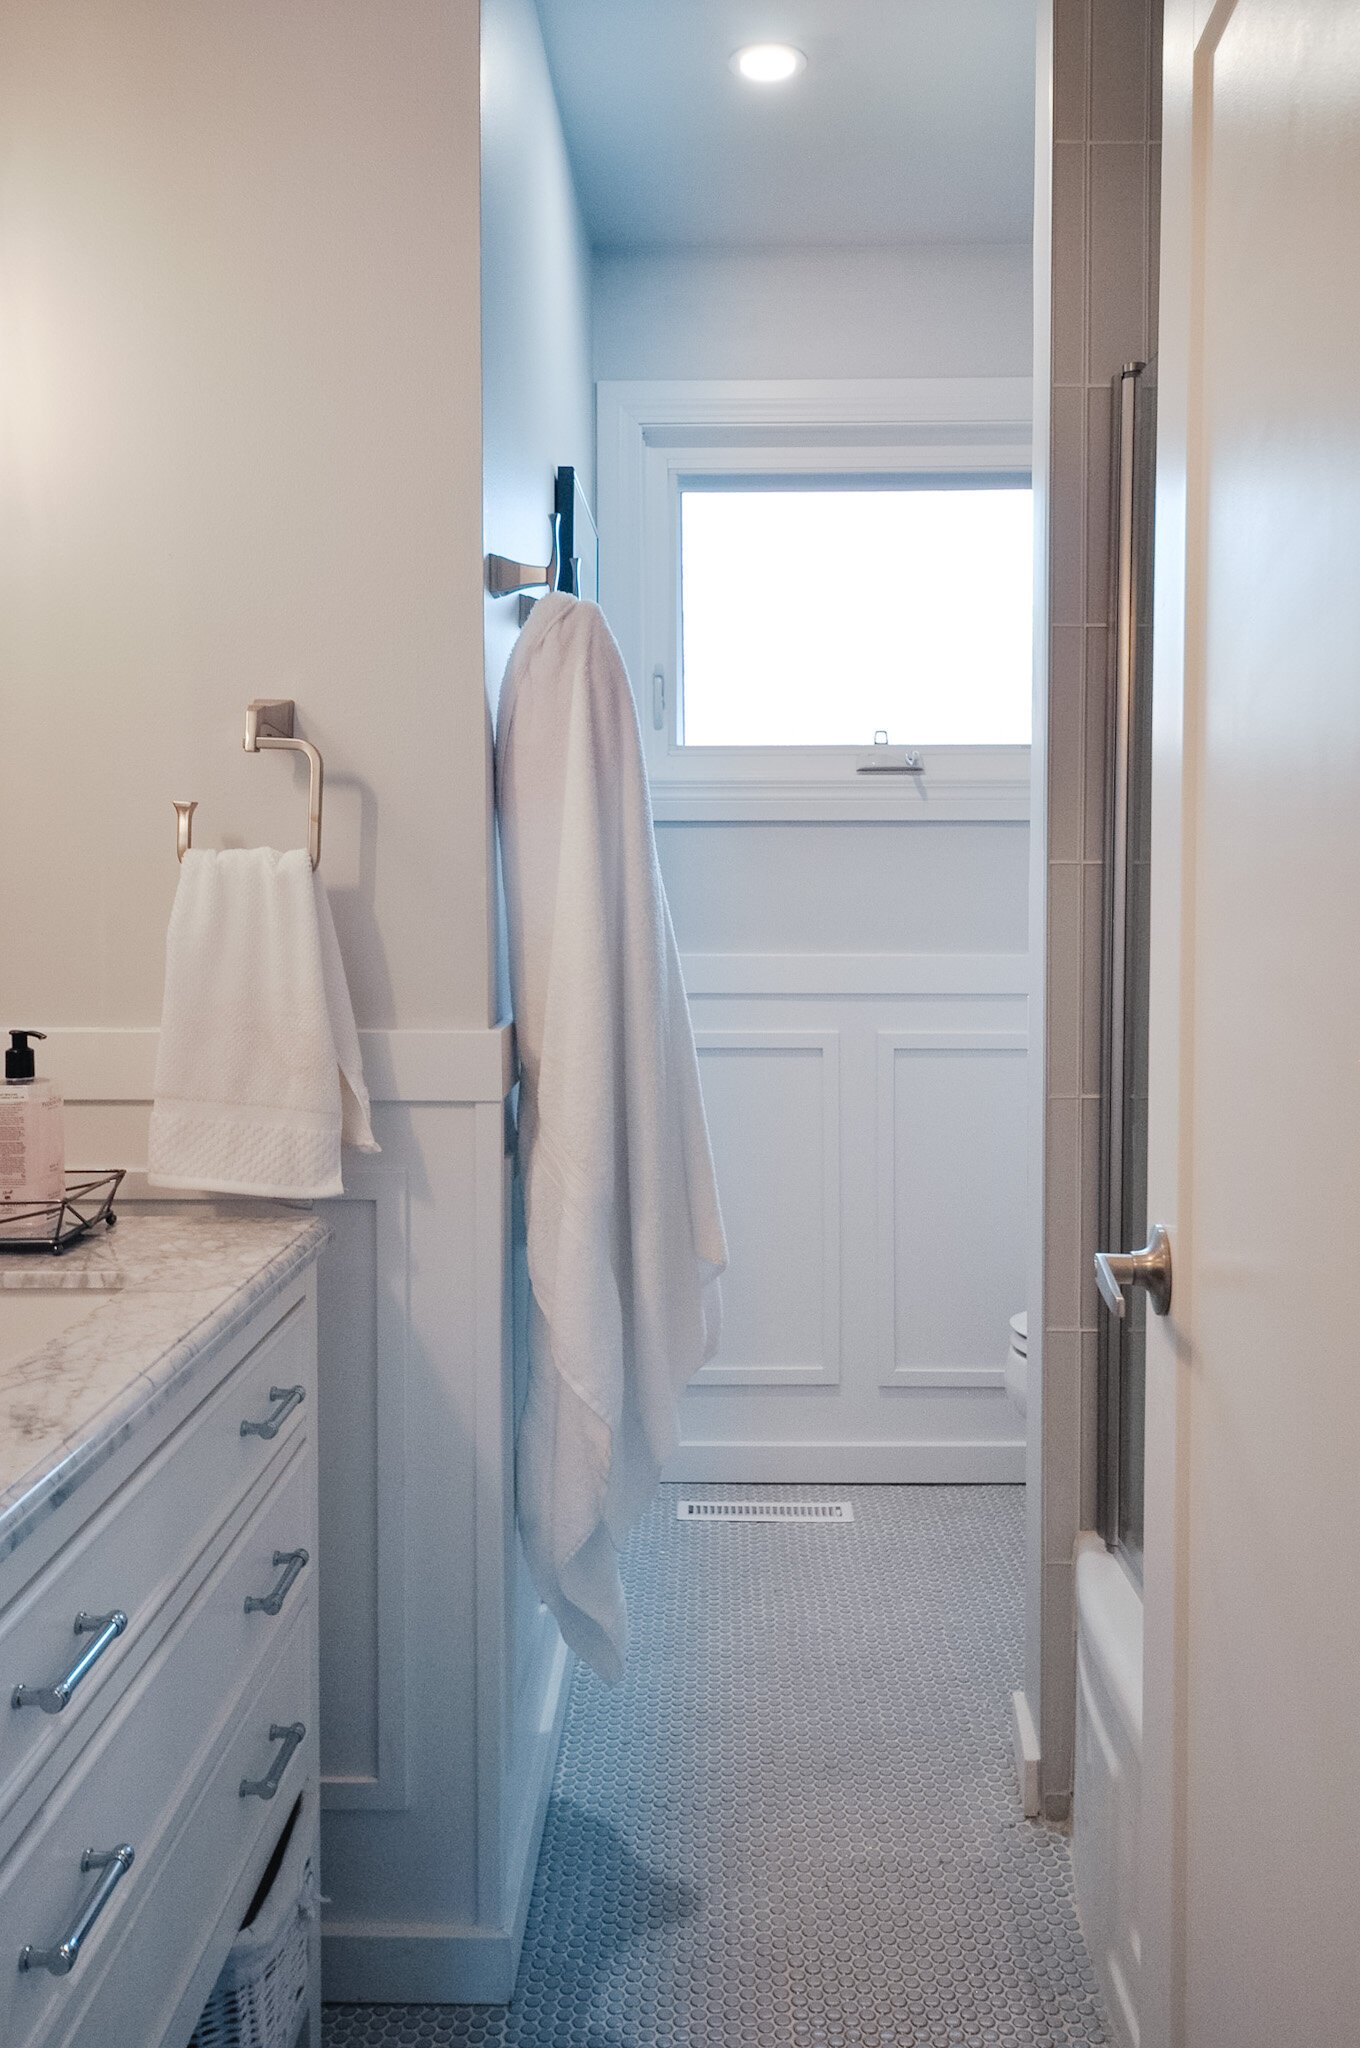
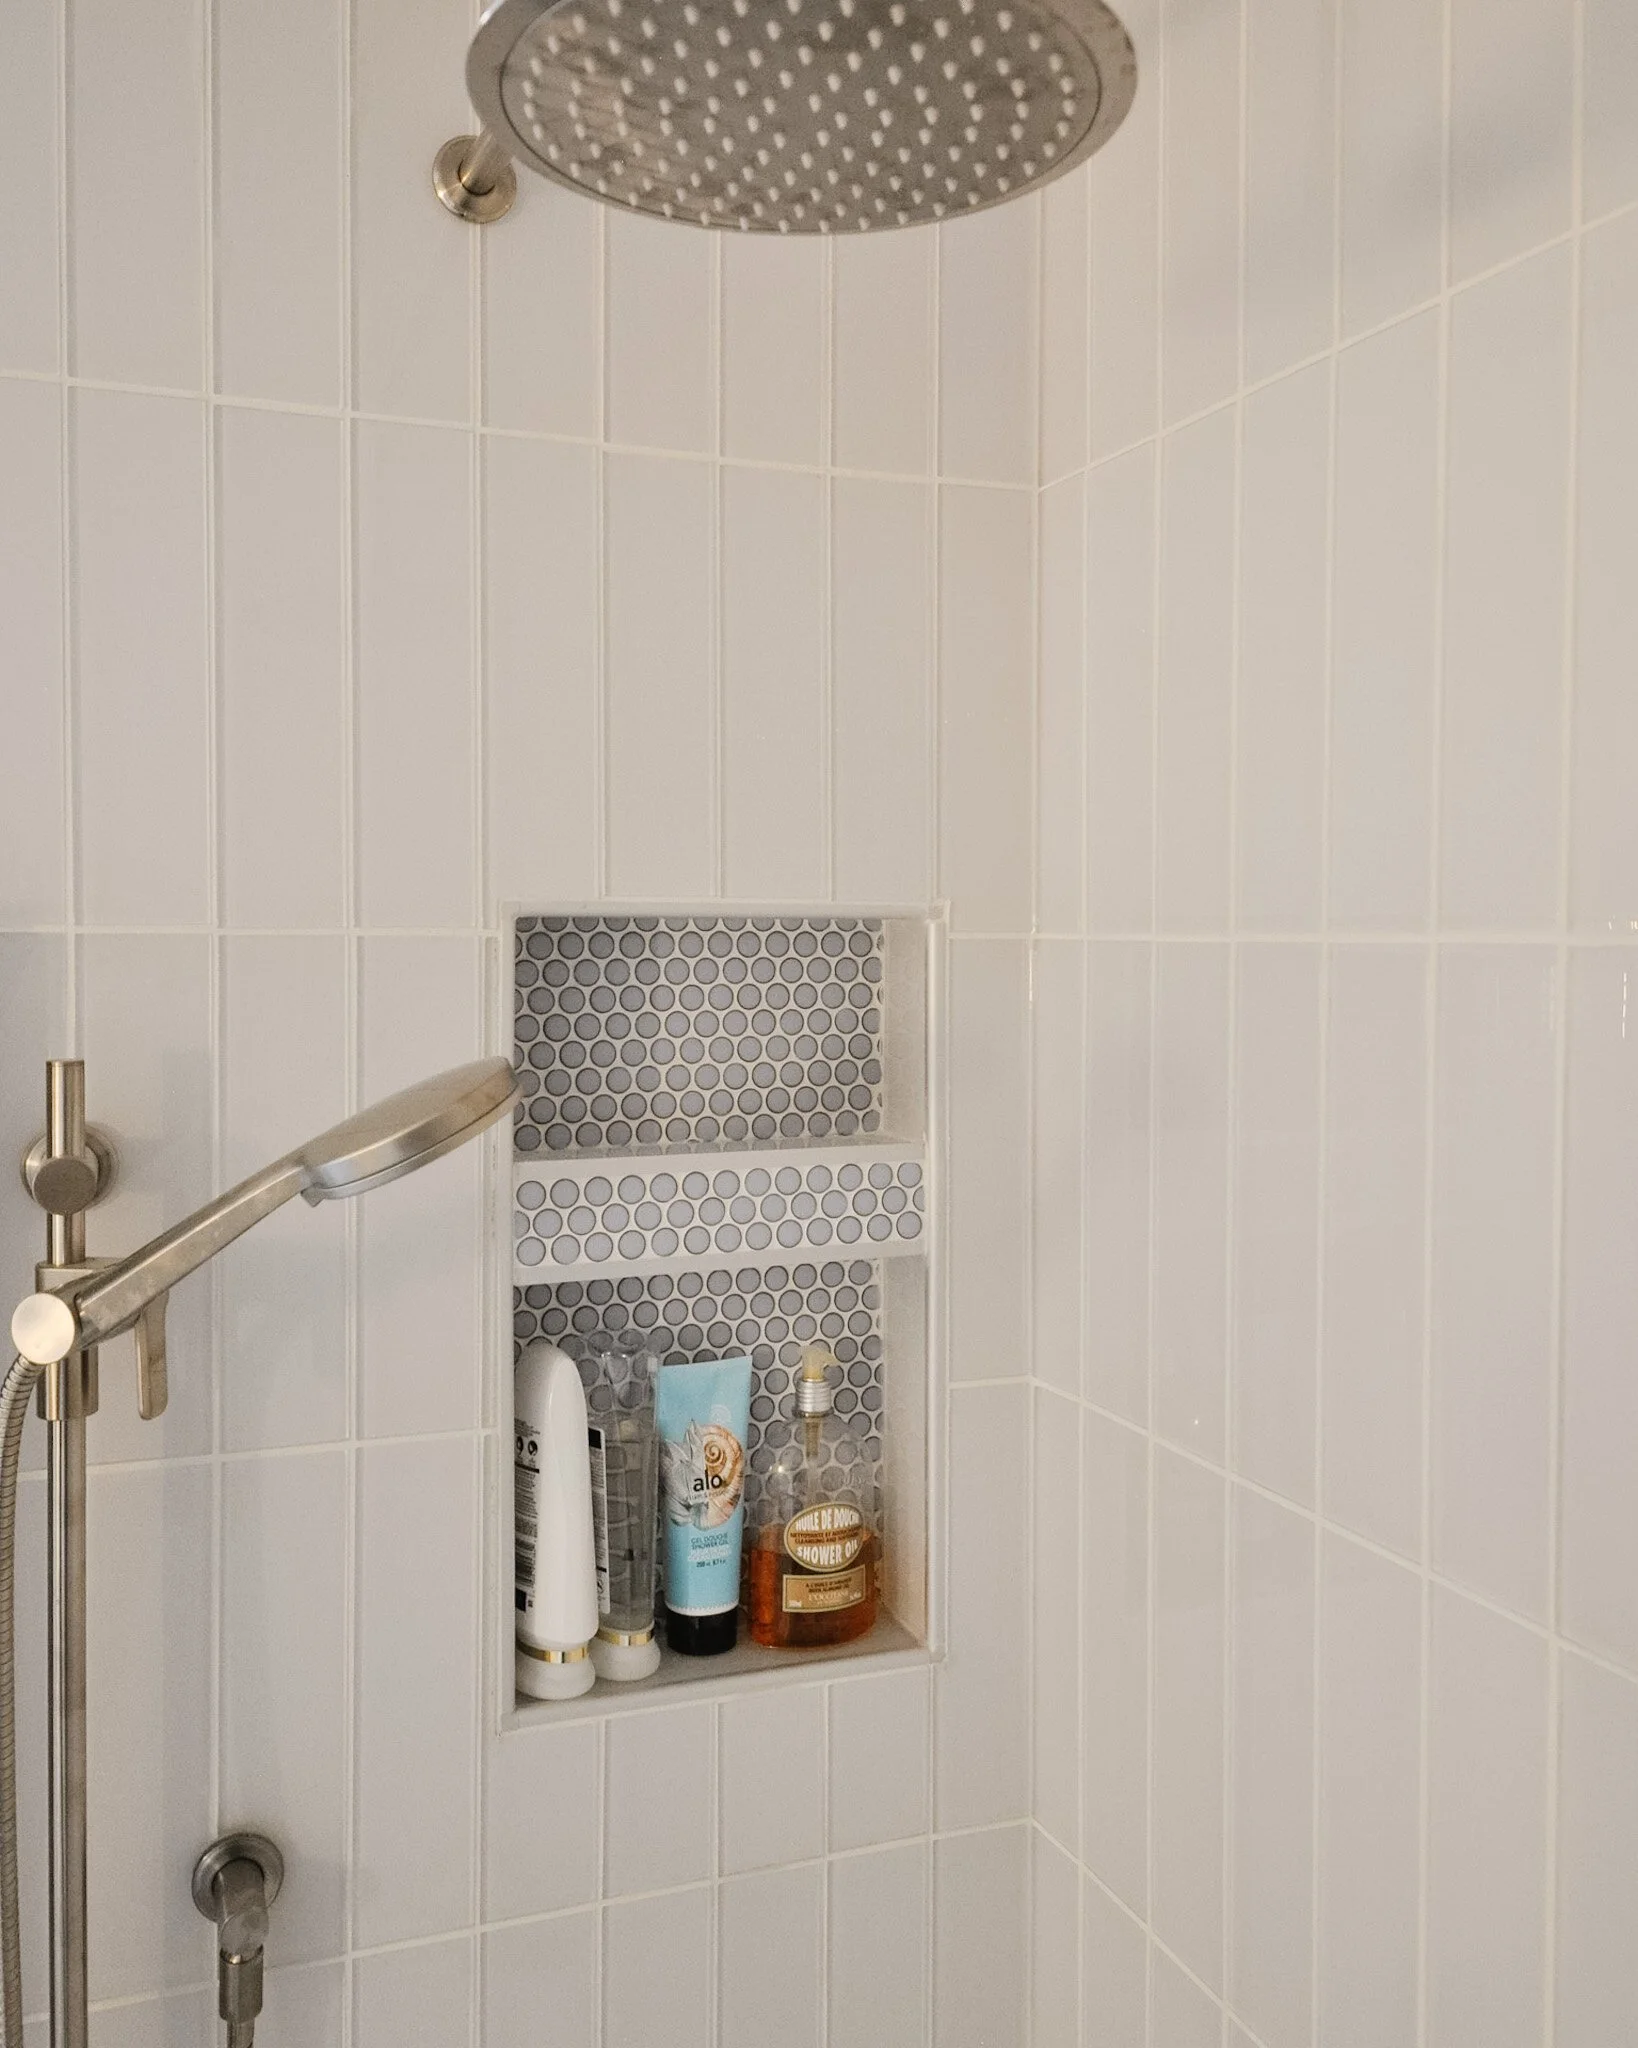
The bathrooms received new vanities and new tile floors. In the main bathroom, we added new tile around the shower, new fixtures - including a rain shower - and a new shower door. In this space, we kept it bright and white with accents of brushed nickel and marble, and a touch of blue in the glass tile and the penny tile on the floor.
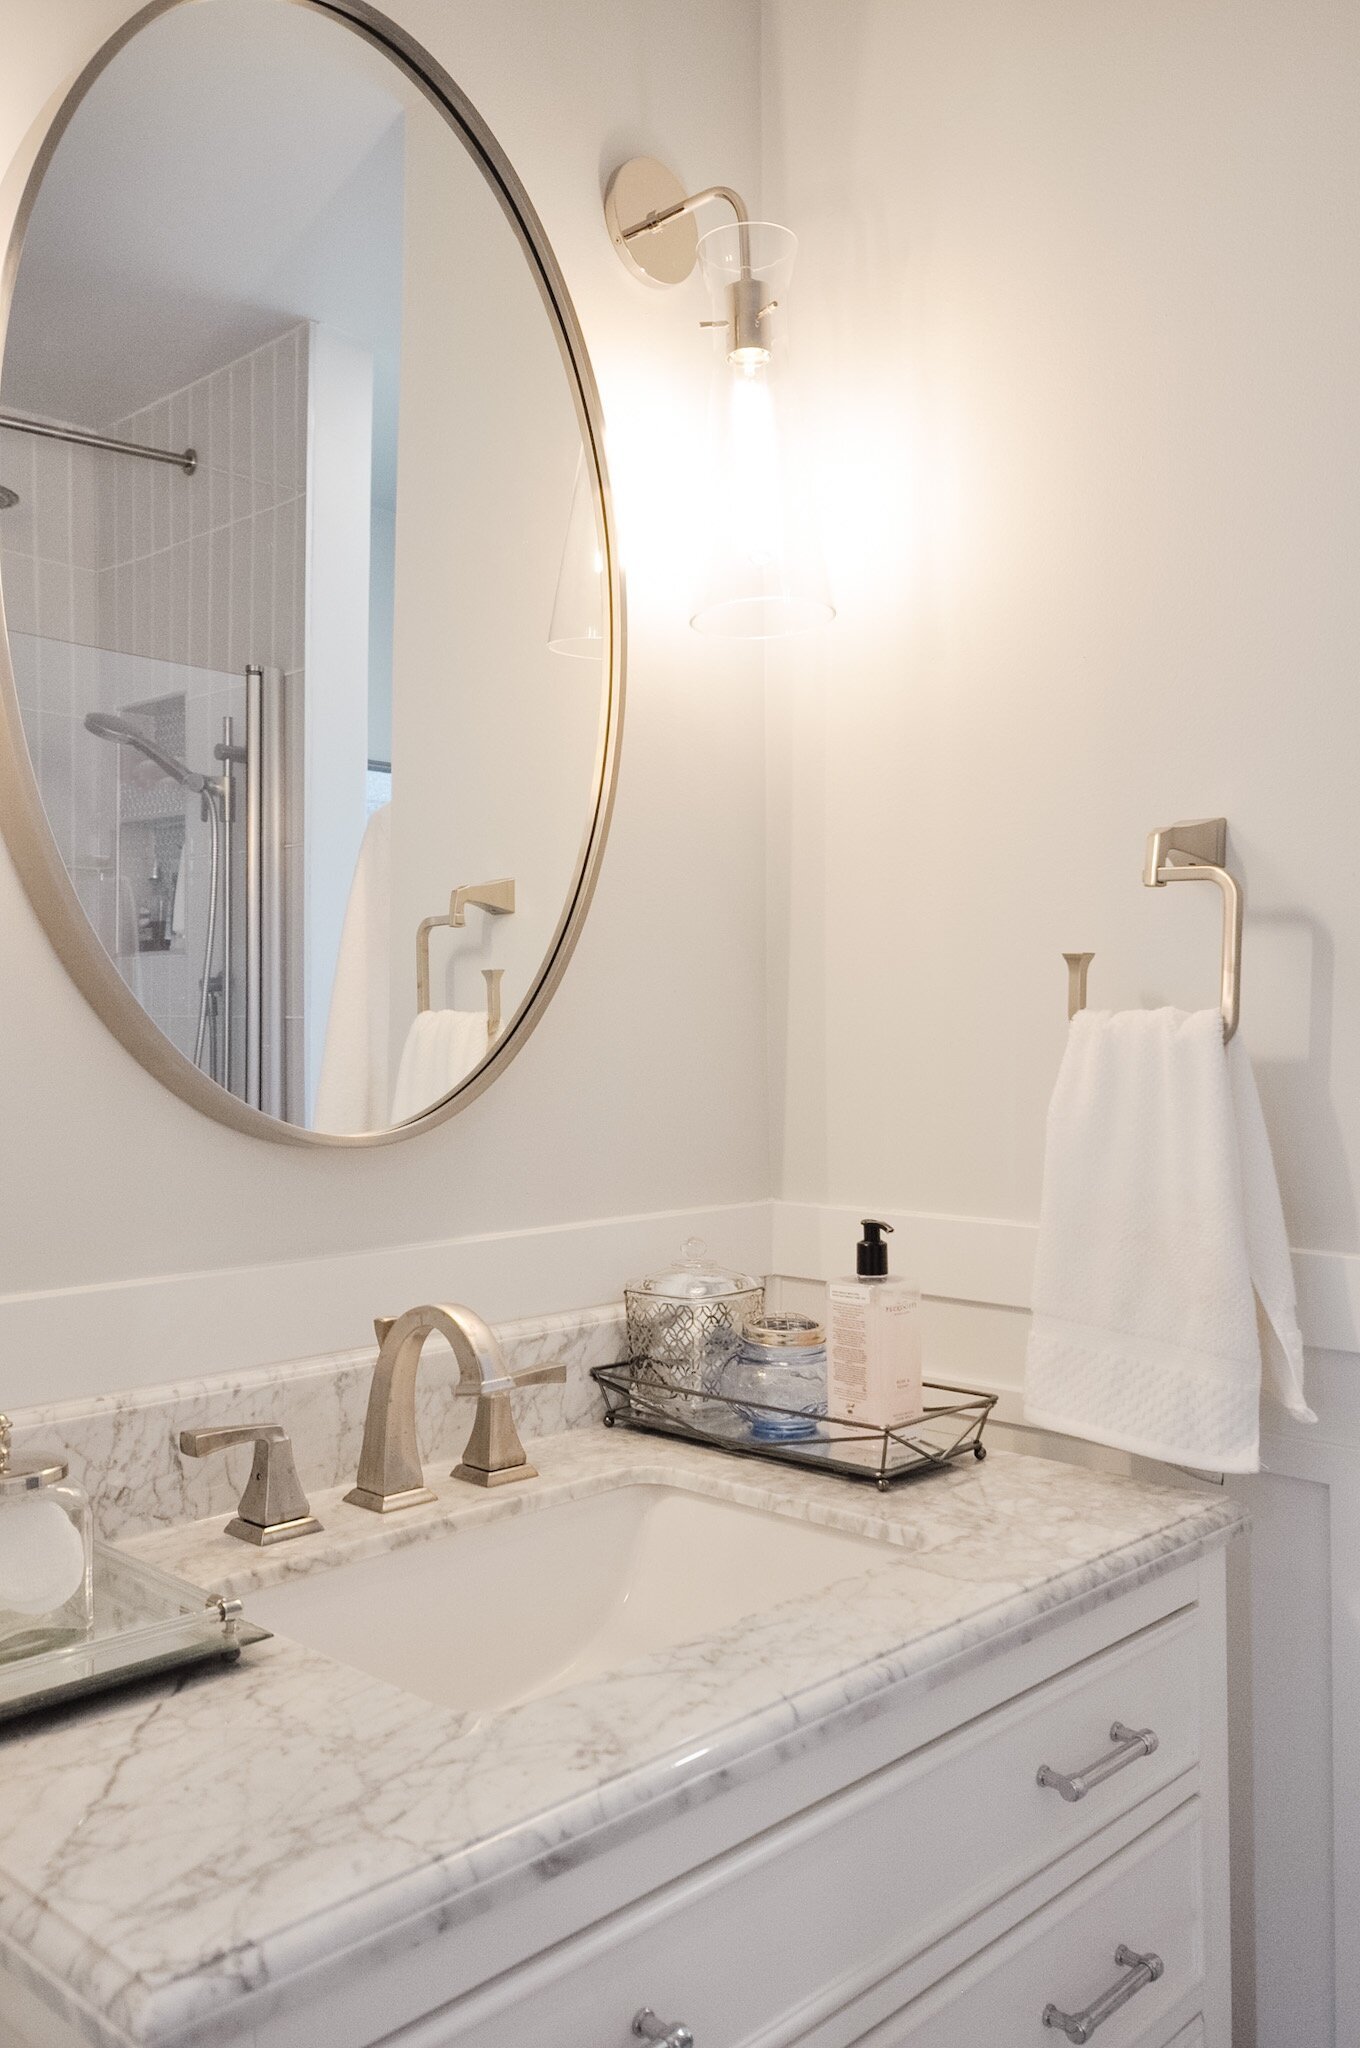
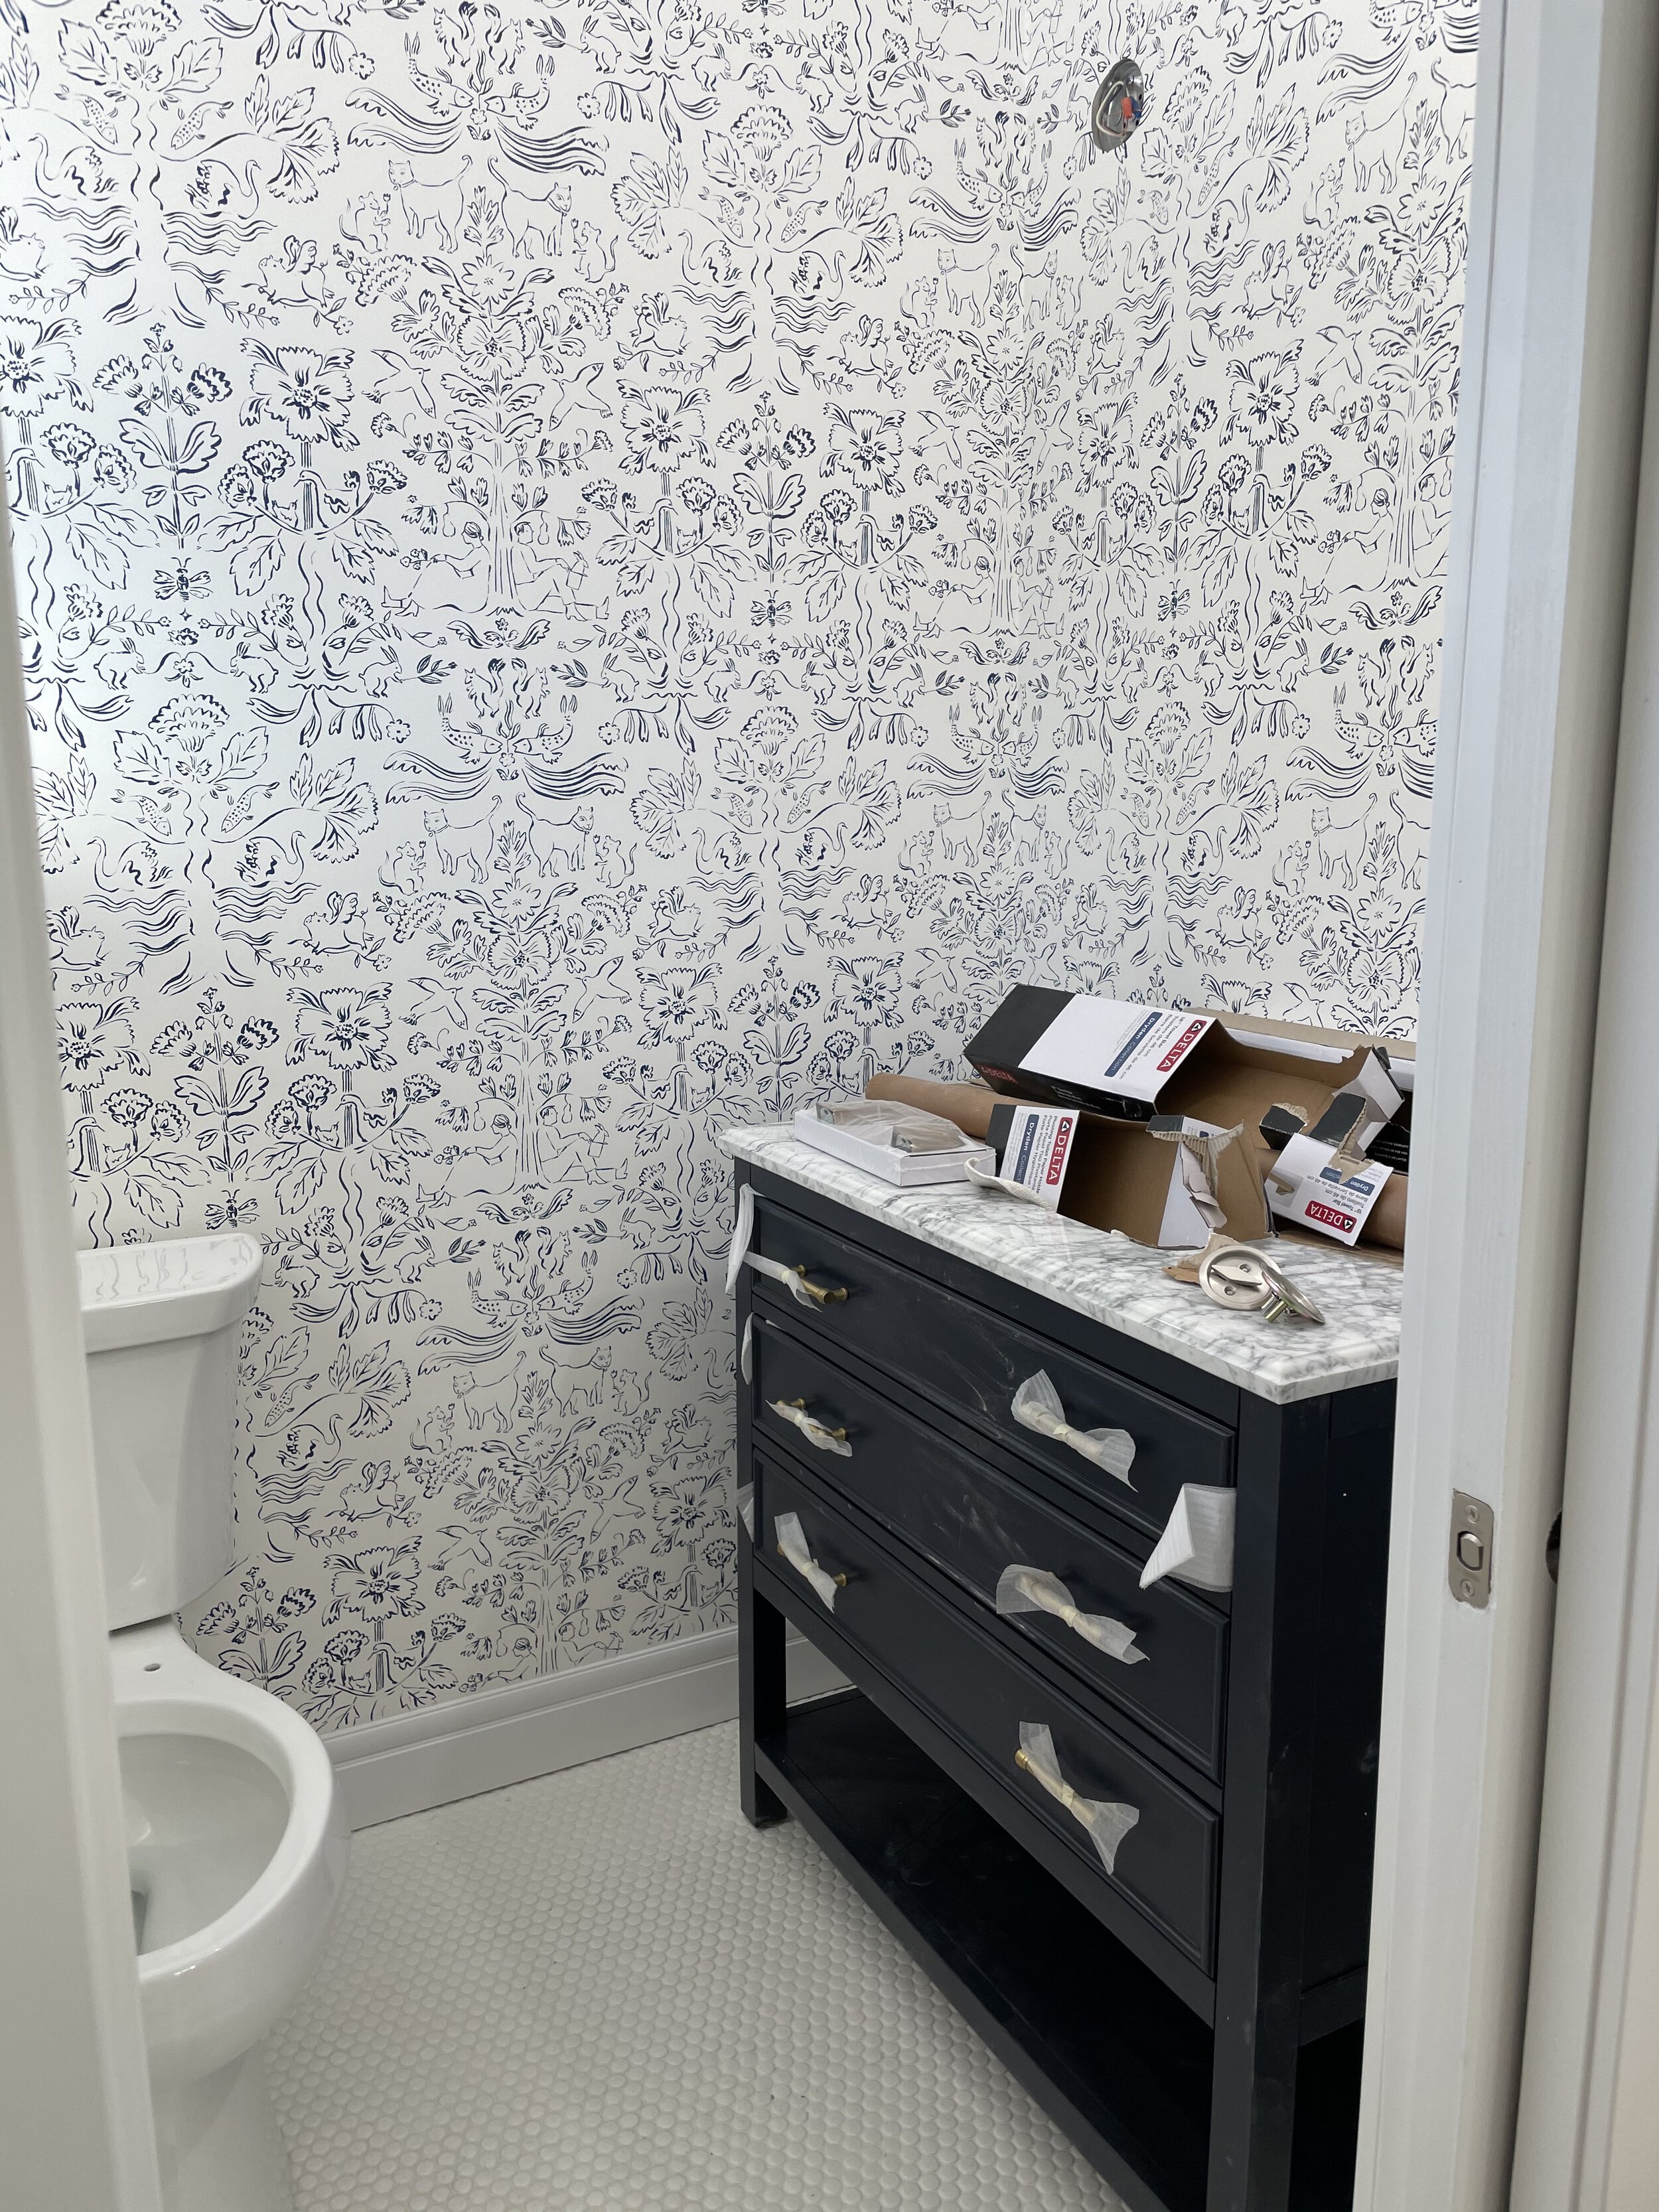
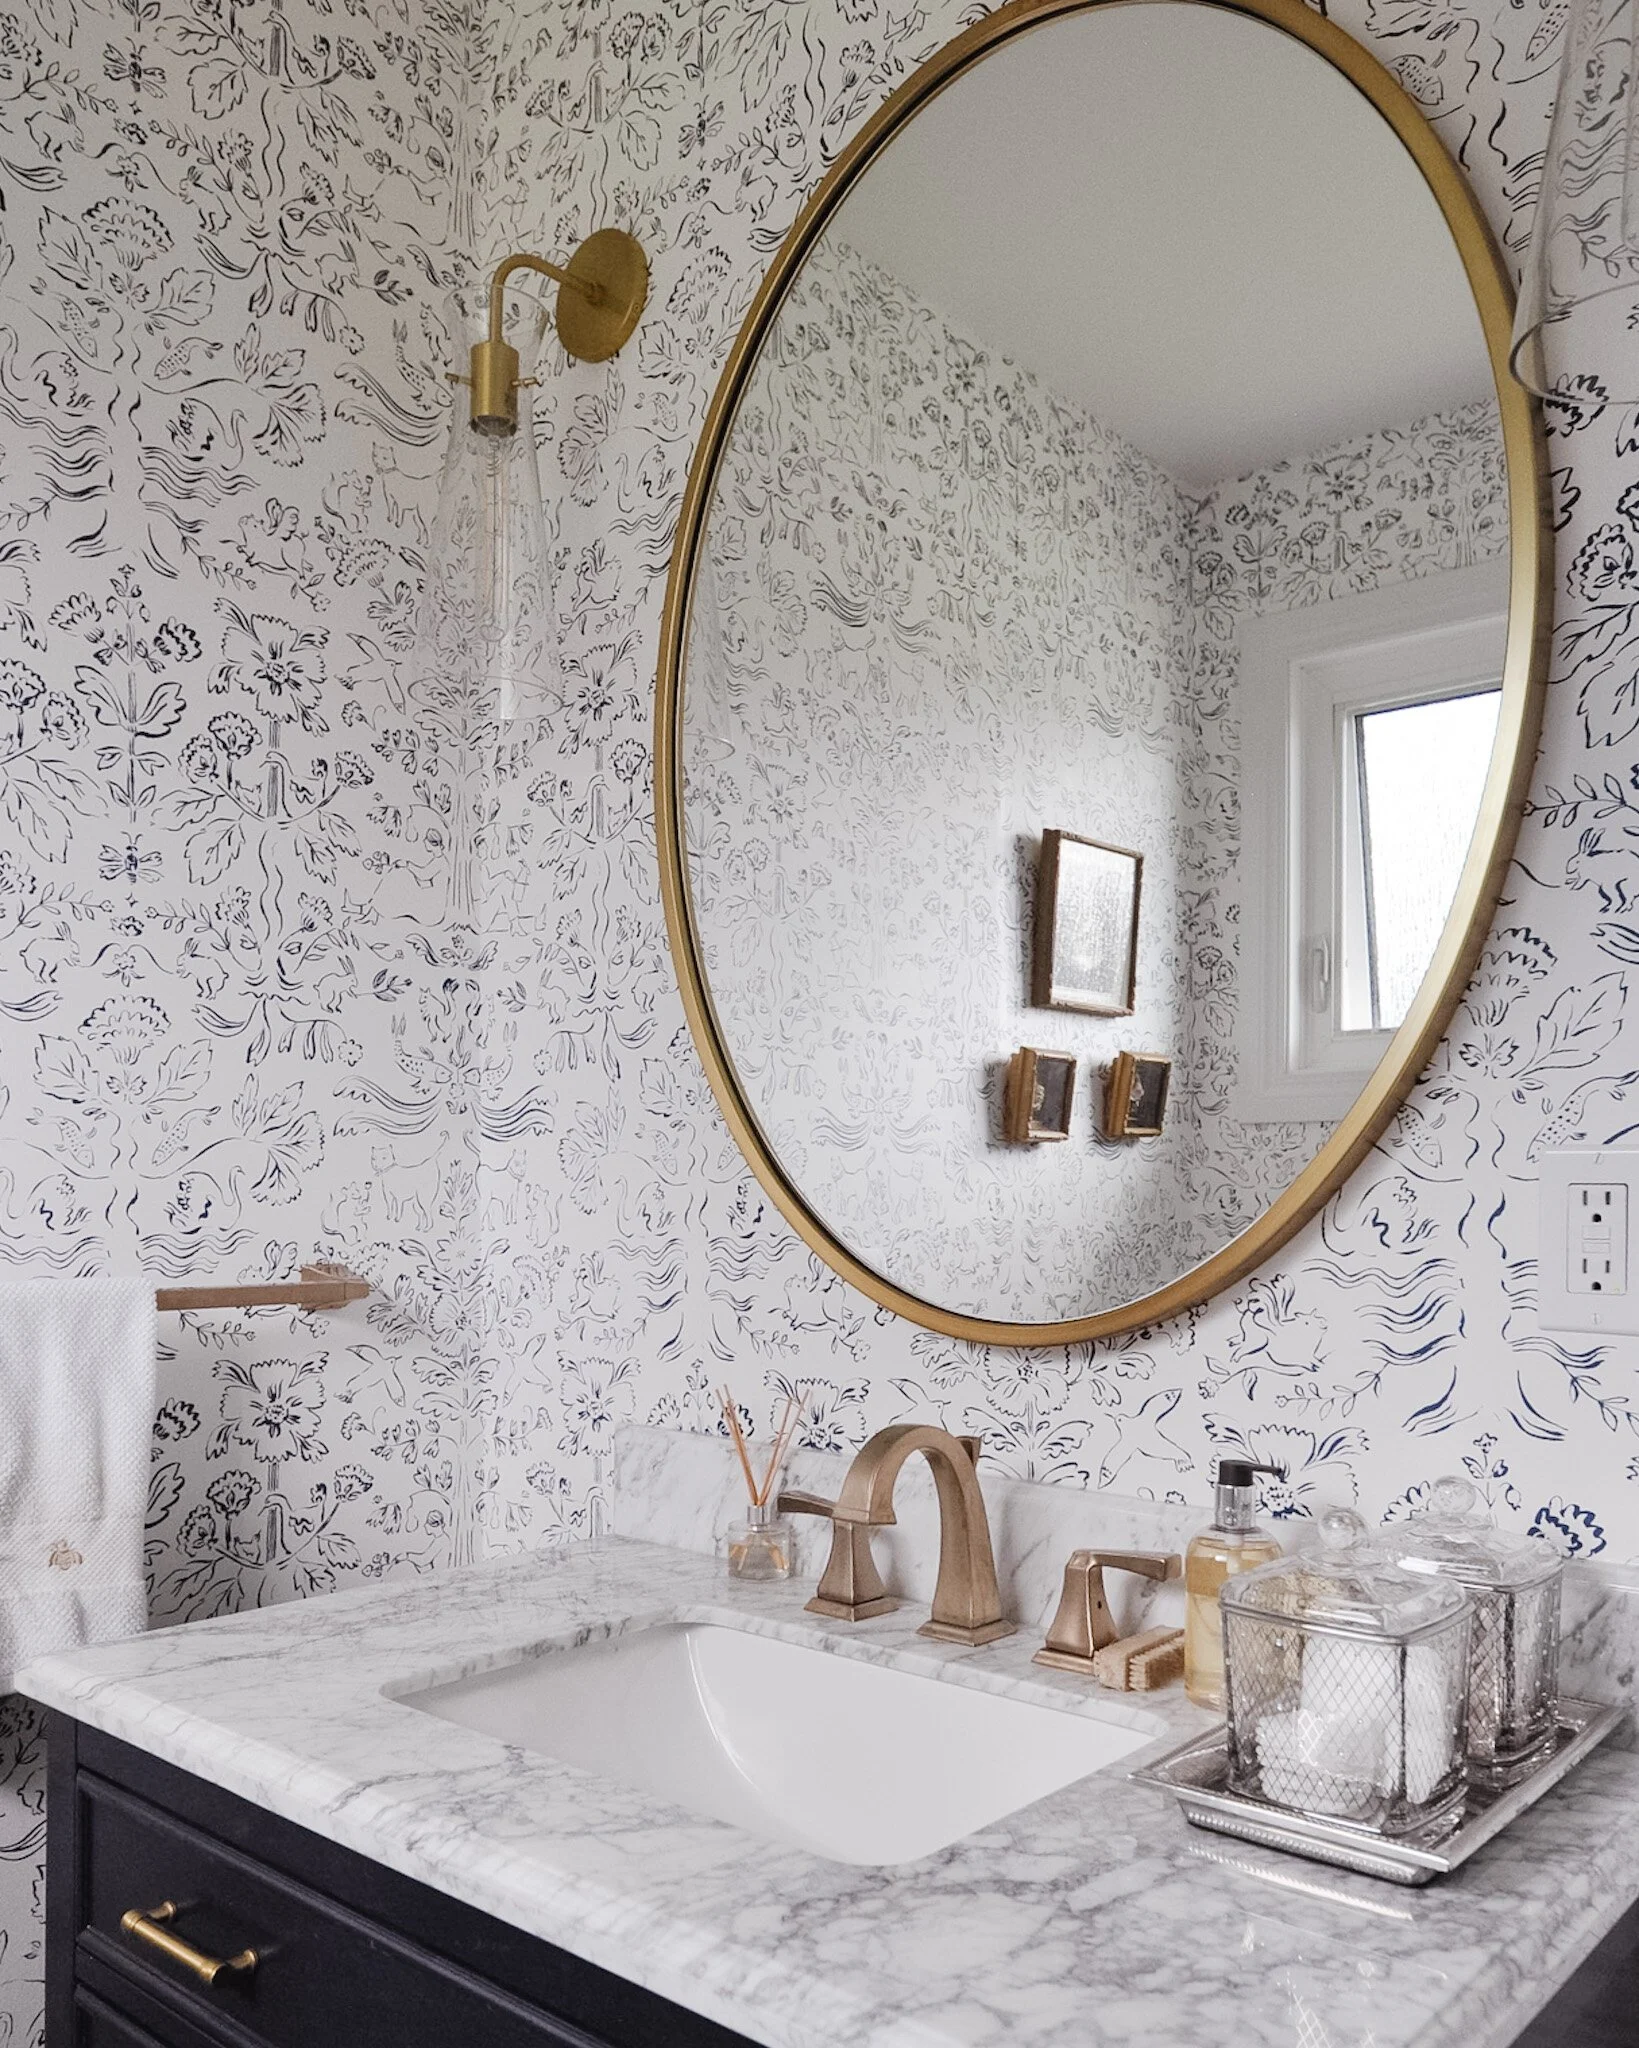
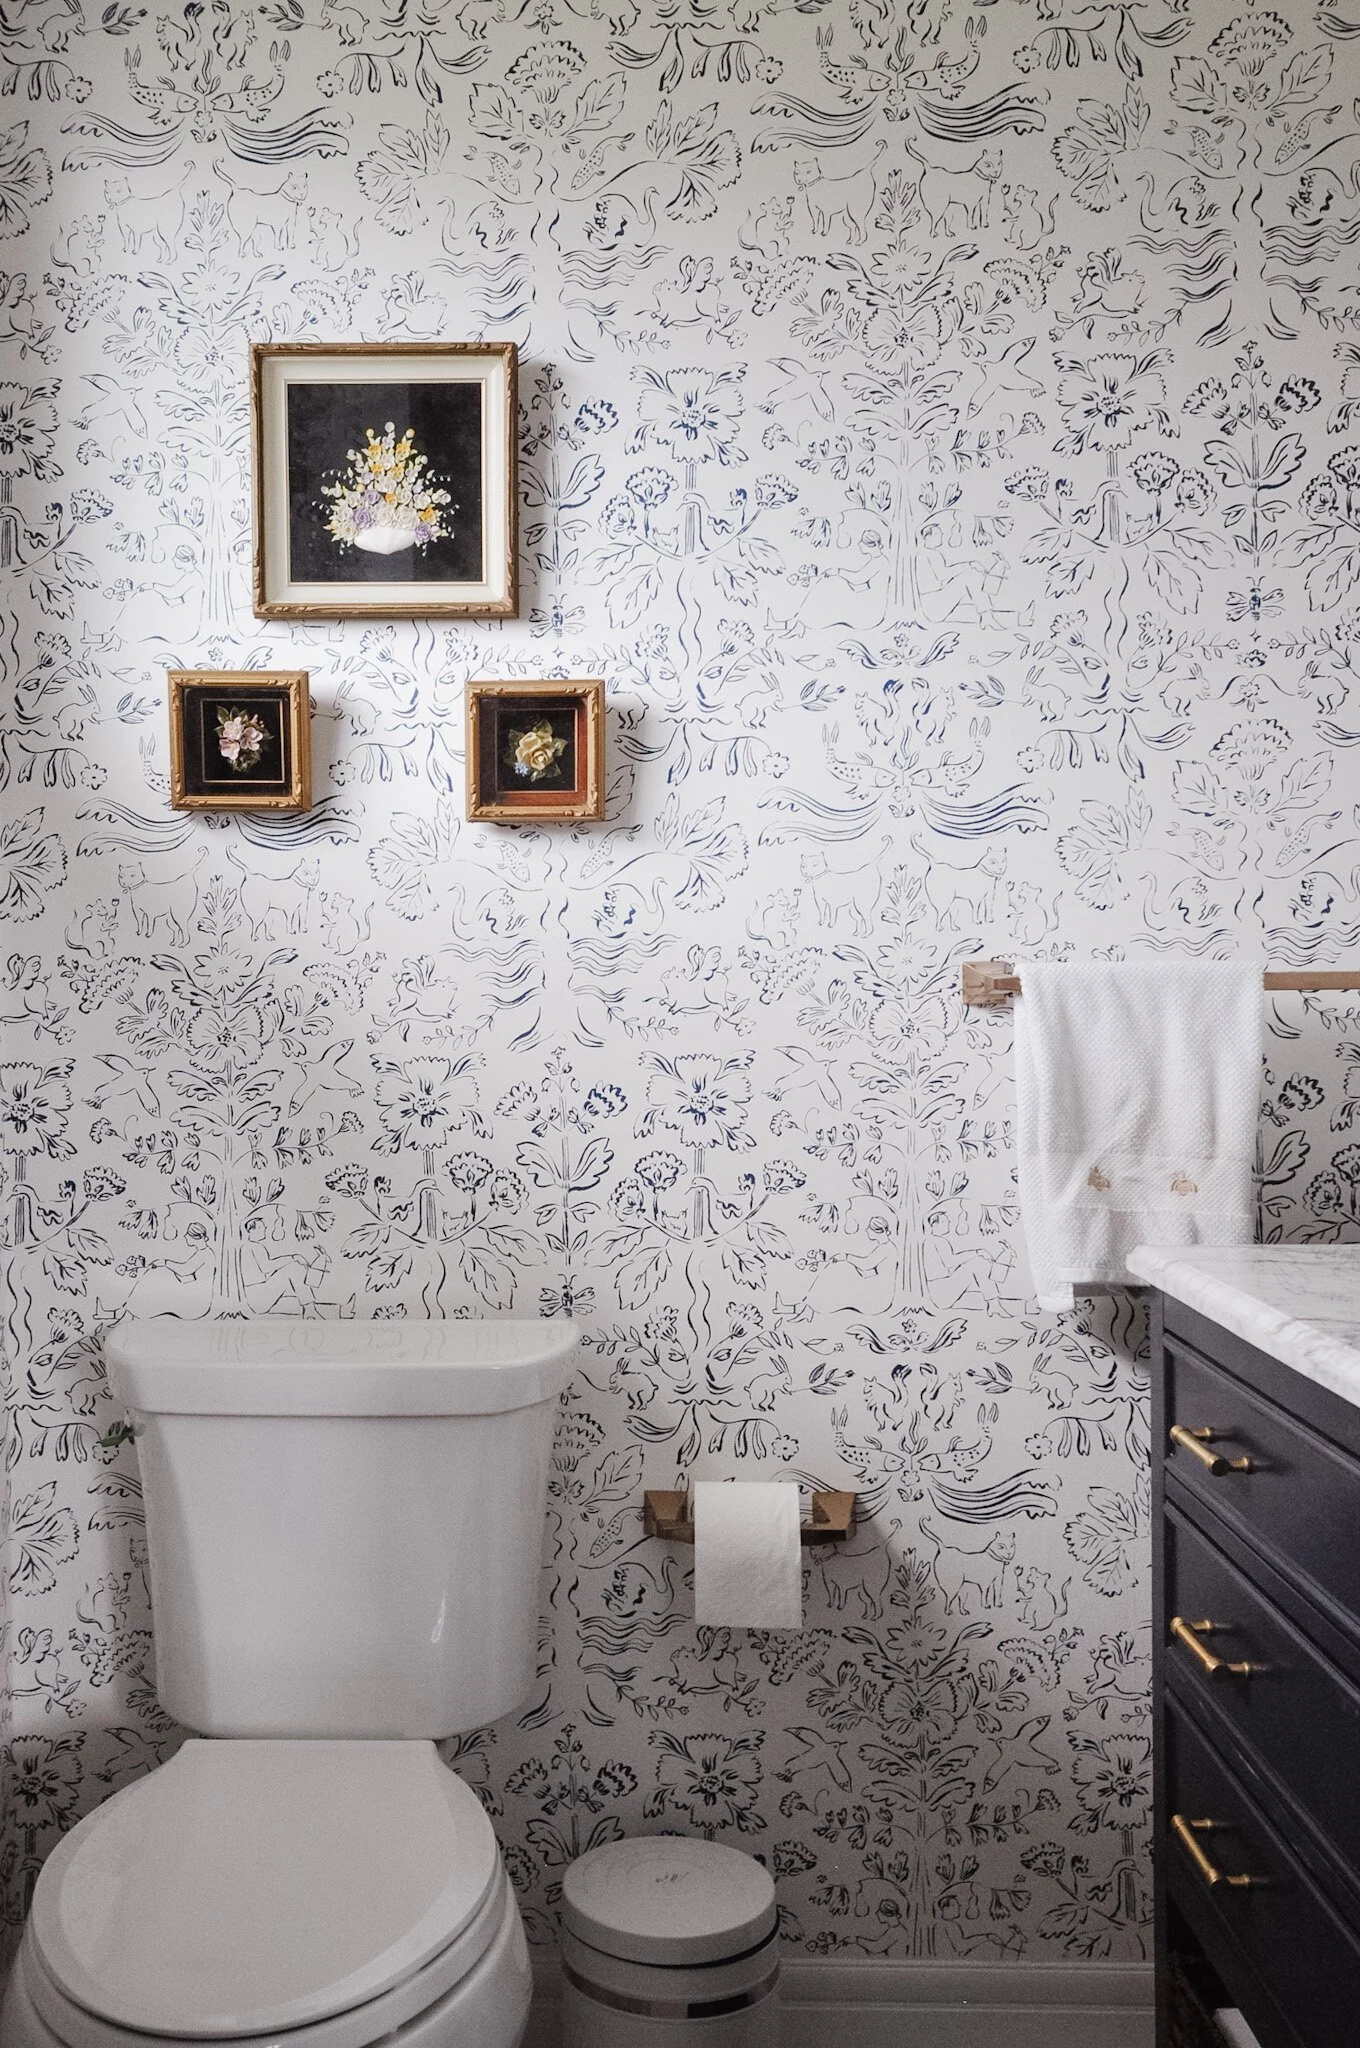
In the ensuite, we removed the old door (which didn’t have room to open fully) and replaced it with a pocket door. I wanted this room to be a little jewel box for her, so we did gorgeous champagne and brass fixtures, a stunning navy and marble vanity and, of course, that wallpaper.

In Conclusion
Looking back on this project and writing this blog post made me a bit emotional. I grow so close to my clients and get to truly be a part of their lives during renovations. Just thinking back on the length of this project and all of the life events that my client experienced during that time makes me even more pleased to see the finished result. I’m so grateful to have been a part of it all and to have had the opportunity to create a beautiful home that is truly representative of my client and her new phase of life.