Strathcona County Renovation & Redesign
In many ways, this project was 3 years in the making. I met our clients back in July of 2020, when they were preparing to sell their house in Edmonton. Their realtor, who we regularly work with, brought us in to help prep the home for sale, provide a paint colour consultation and finish it off with some light staging. The home sold quickly (of course!) and the clients then asked me to come out to their new home in Strathcona County to help them figure out the purpose for each space, where to put what, recommendations for new pieces and choosing paint colours. Then, after completing some more pressing repairs, I was back out for a visit to start a redesign of the main floor rooms, as well as a design assessment for the possibility of doing a full renovation of the kitchen and ensuite bathroom. As you’re about to see, we went ahead with that renovation and the redesign, bringing much needed functionality and our client’s personalities to these key spaces in their home.

We wrapped up the renovation in 2023 and booked in our photoshoot just over 3 years after that first meeting. Spending this amount of time working with clients is one of the true gifts of our work. To be part of our client’s lives and be there through their own ups and downs is an honour. And for me personally, I have so much gratitude for them both as they supported me through growing the firm, from the one-woman show it was at our first meeting to welcoming the team we have now. This sort of relationship is why it’s so important to find the right fit for both the client and the designer, because it often becomes one of deep trust, respect and friendship.
And with all that said, let’s jump into this incredible transformation!
After photos by Darren Lebeuf.
Where this Home Started
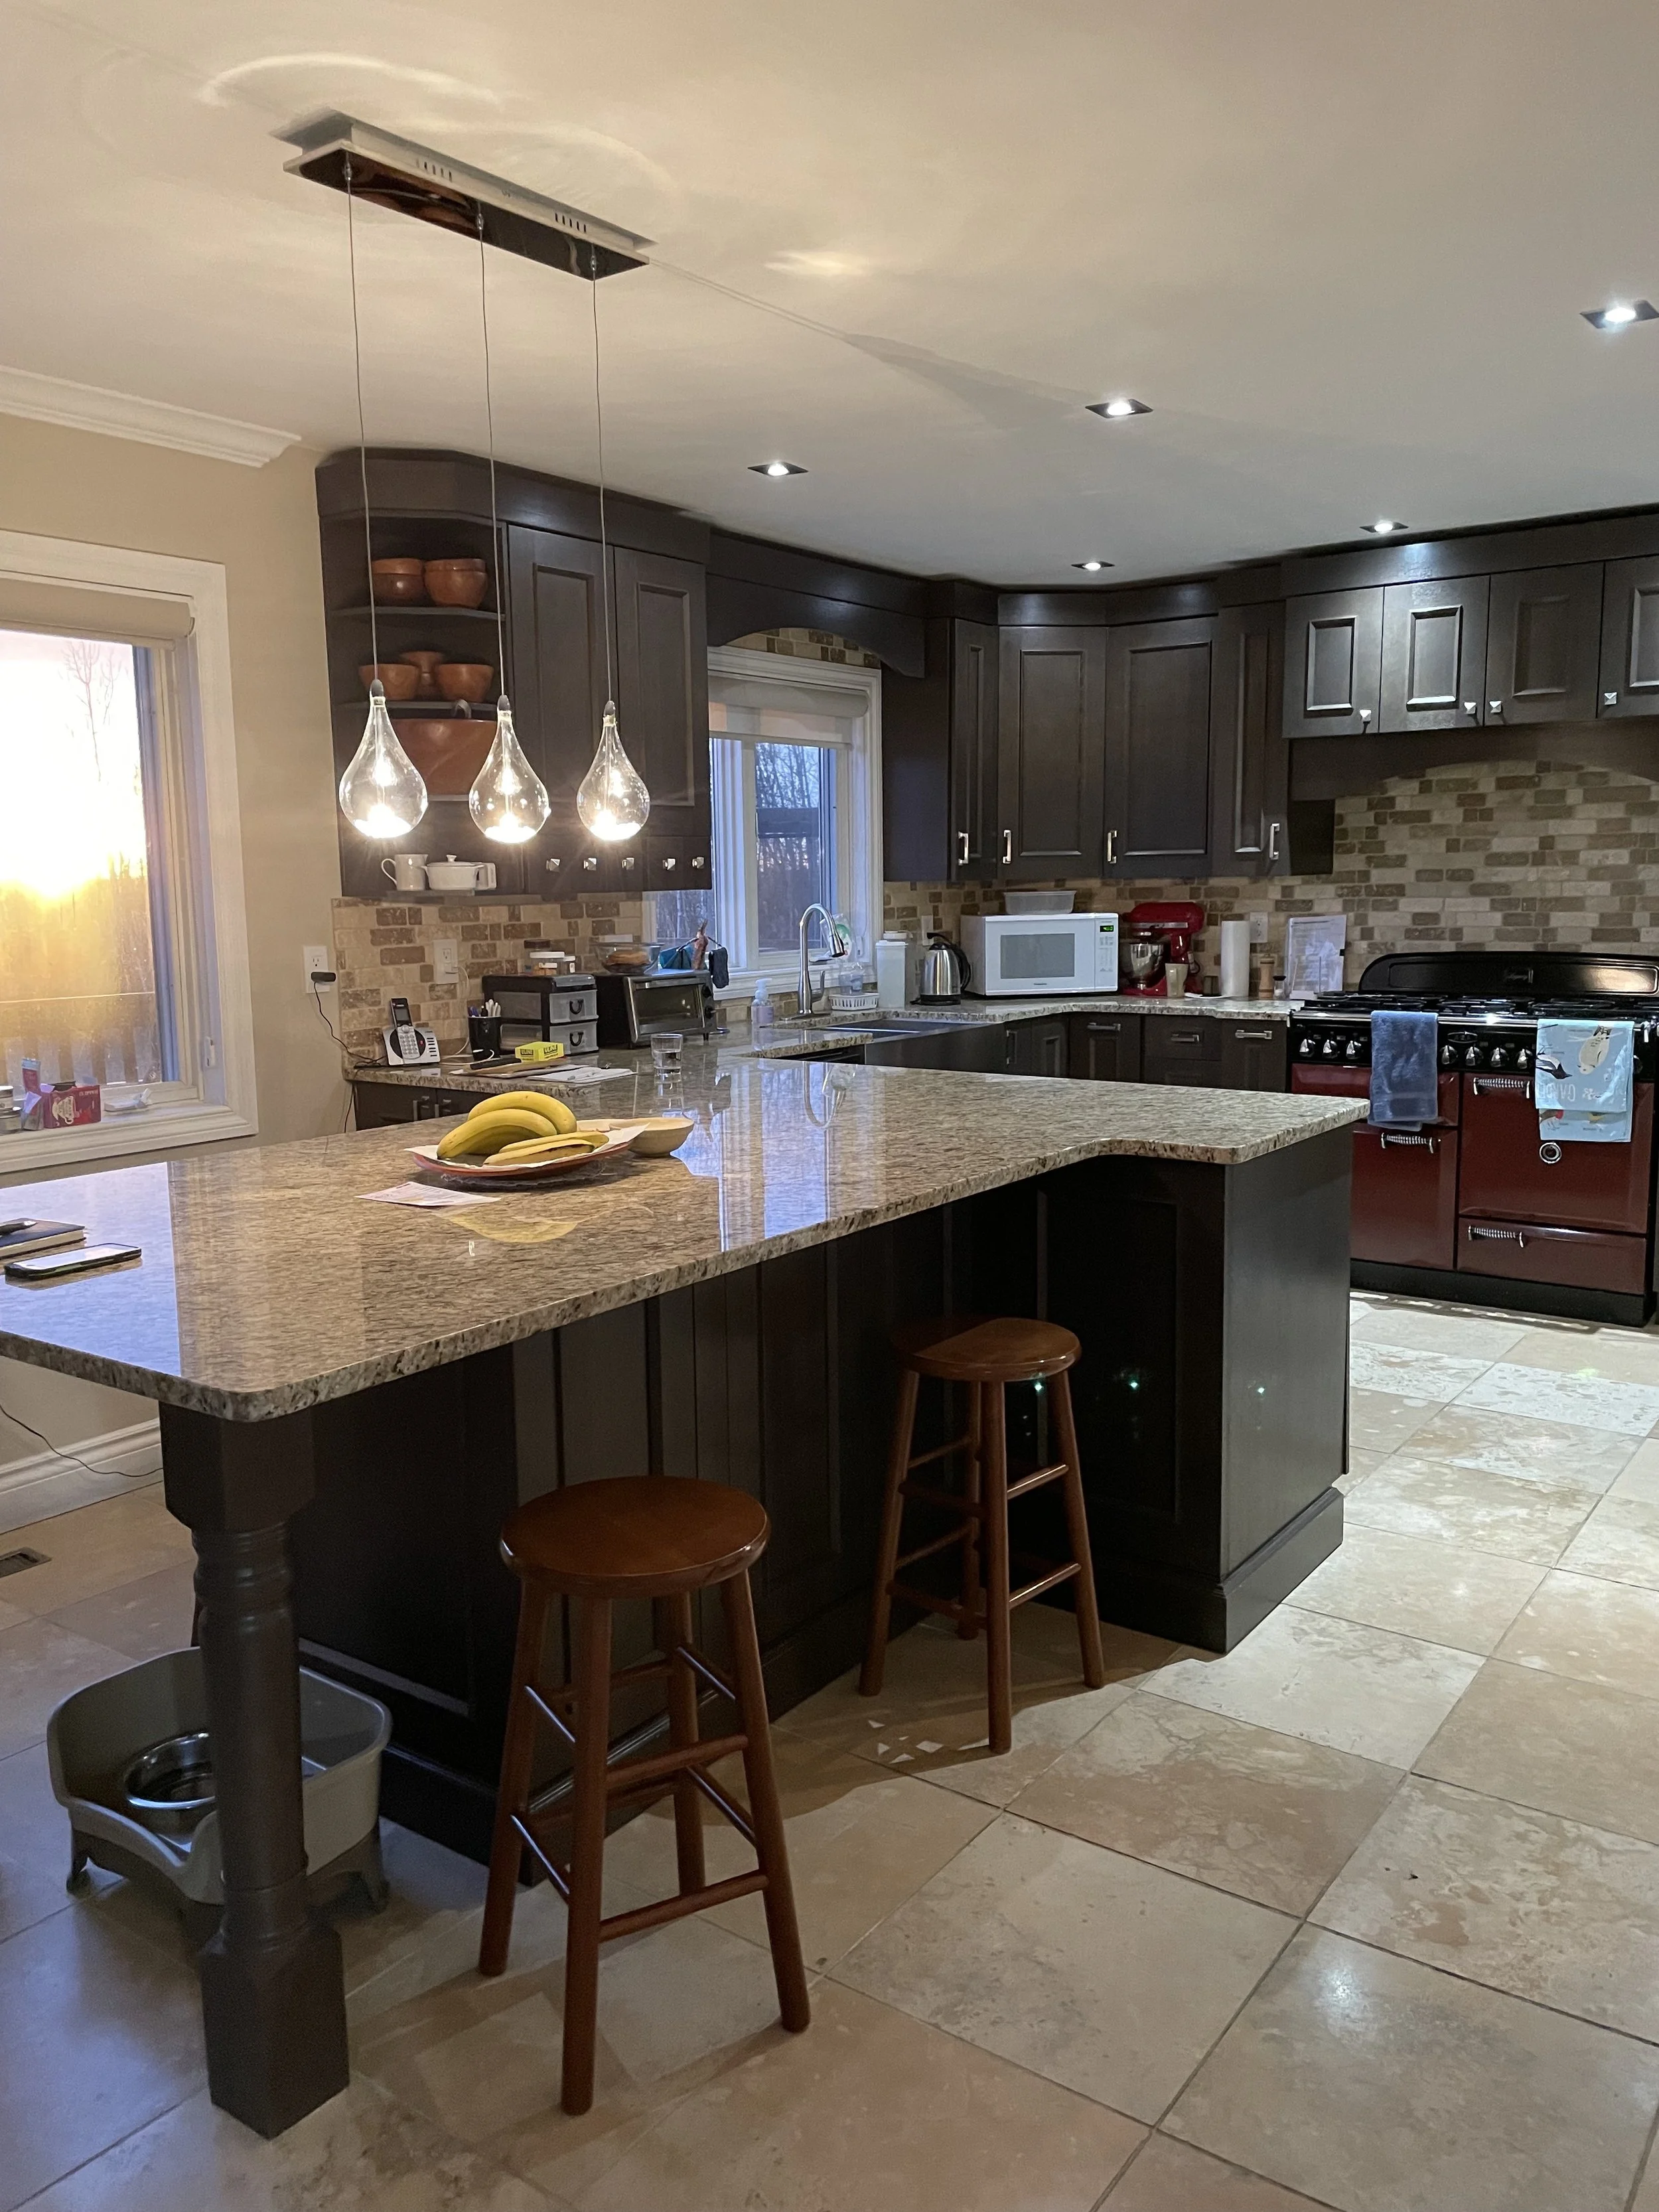
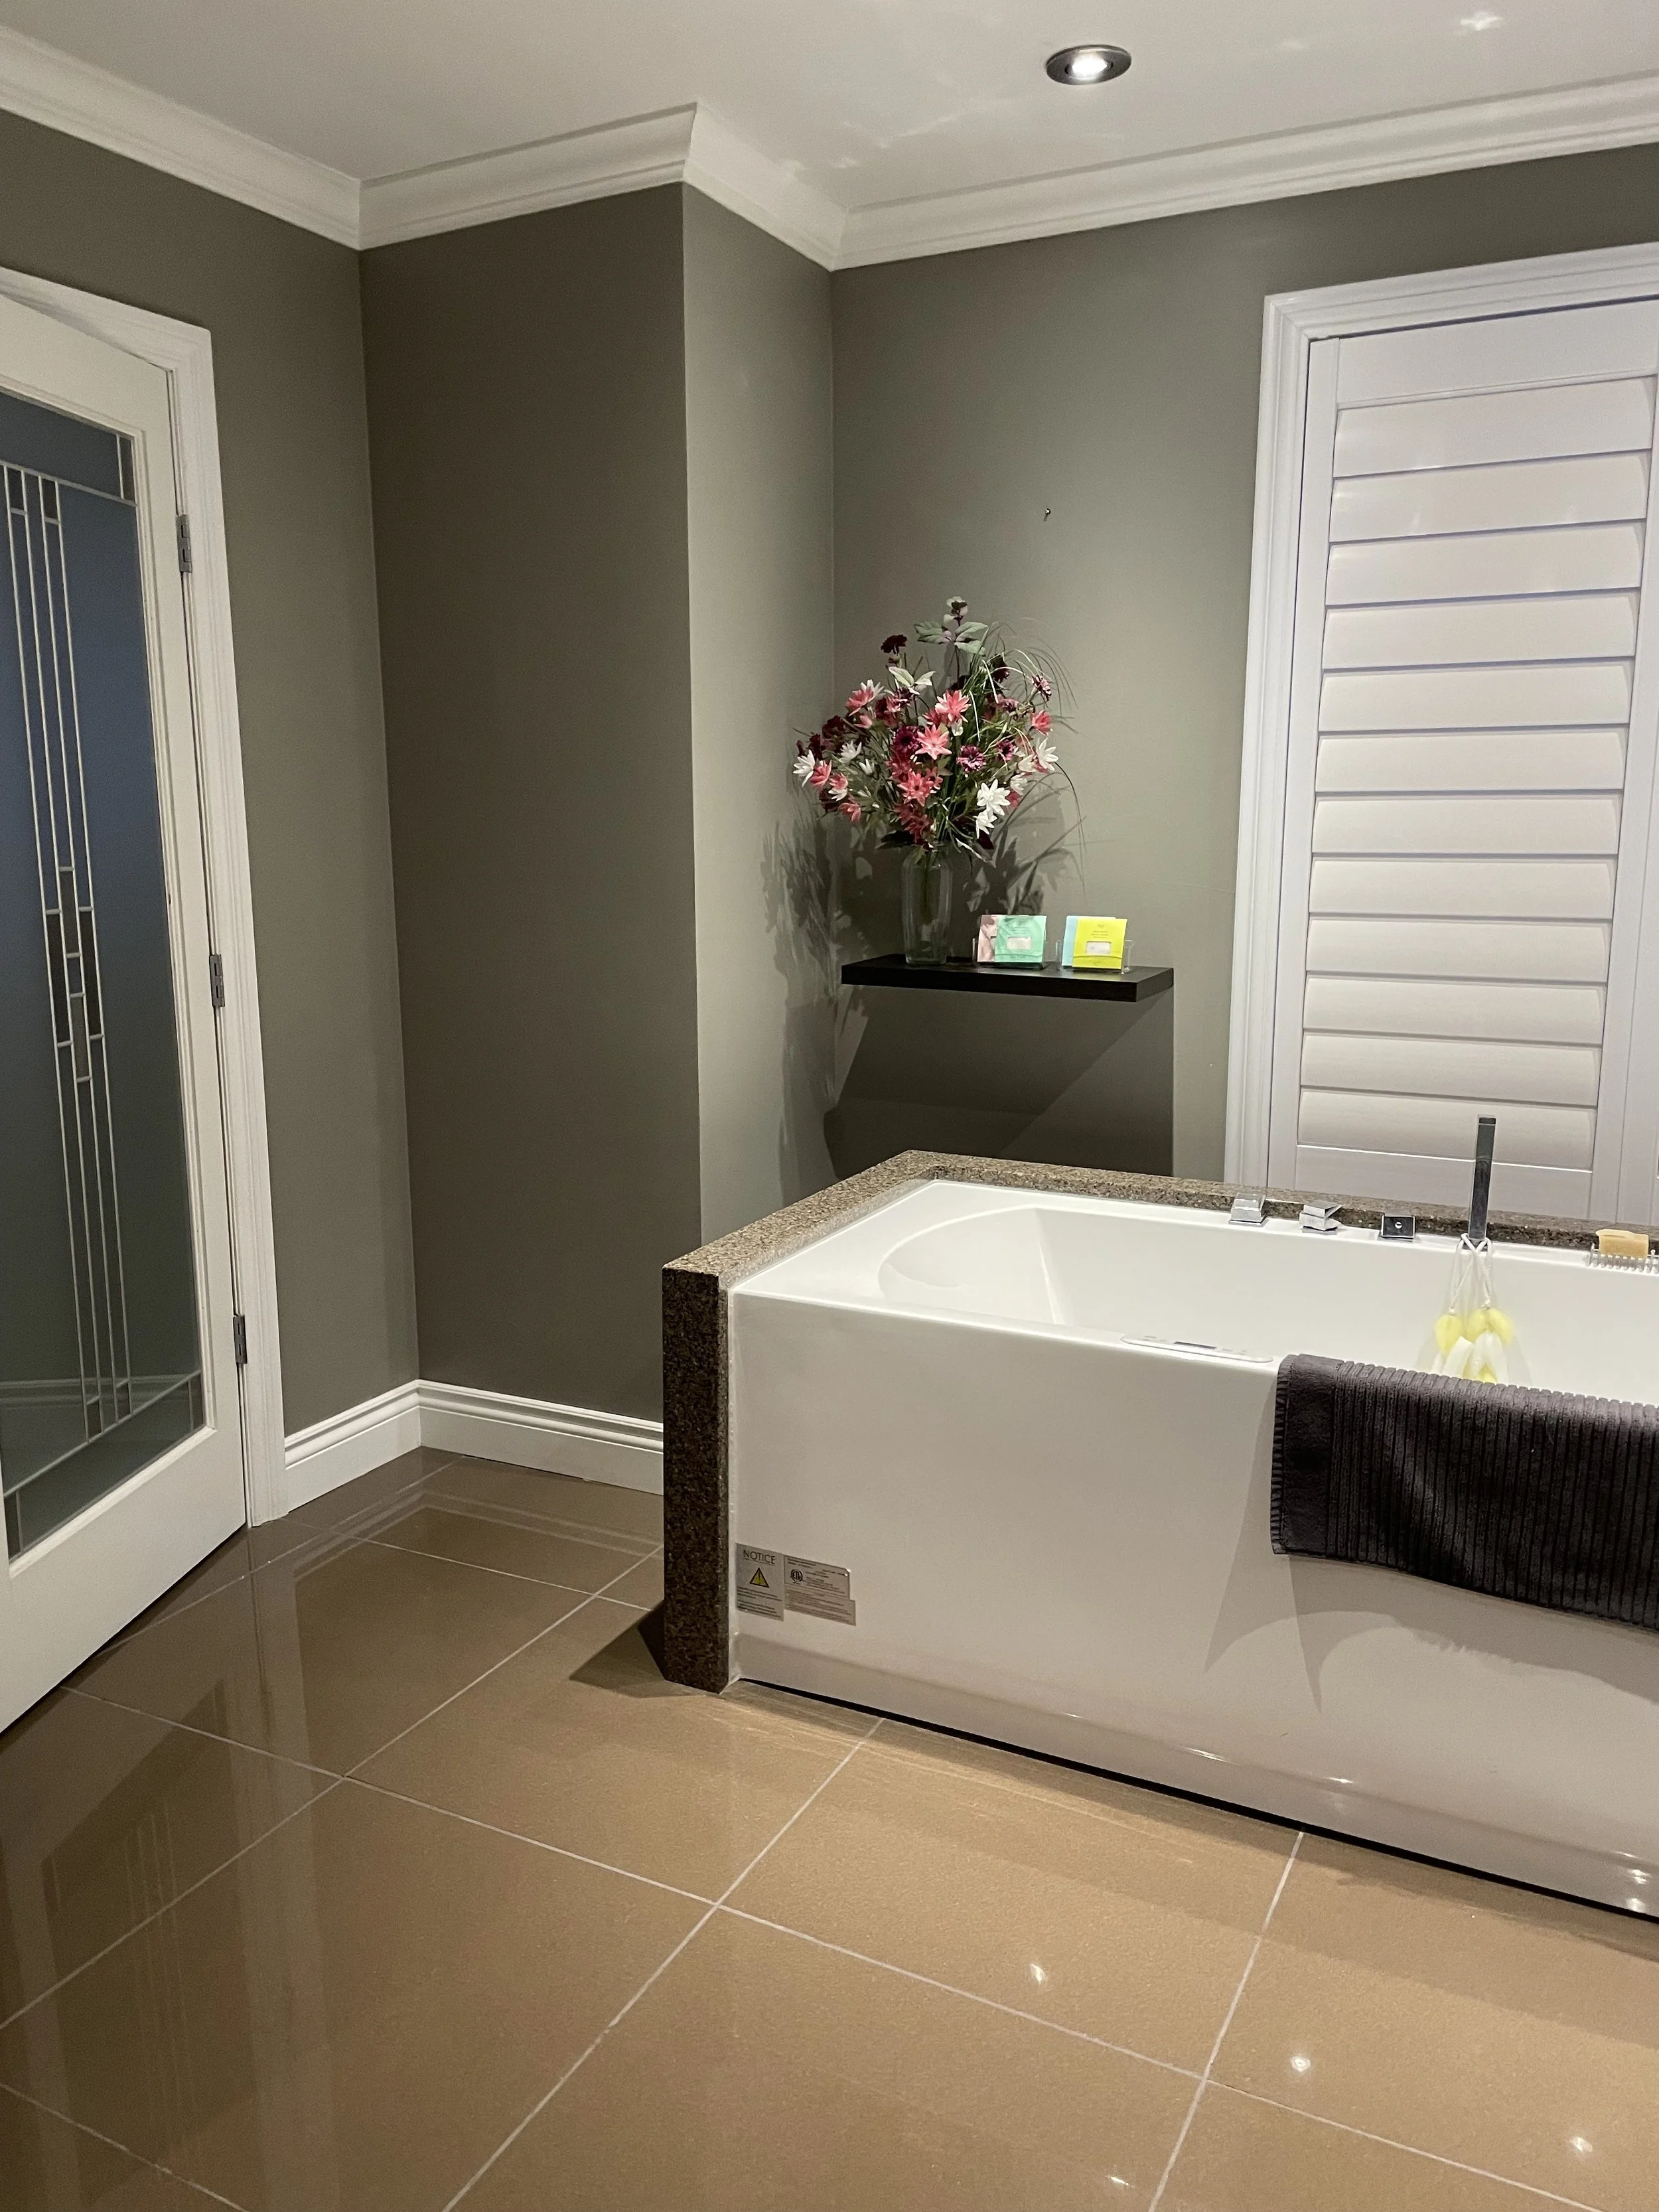
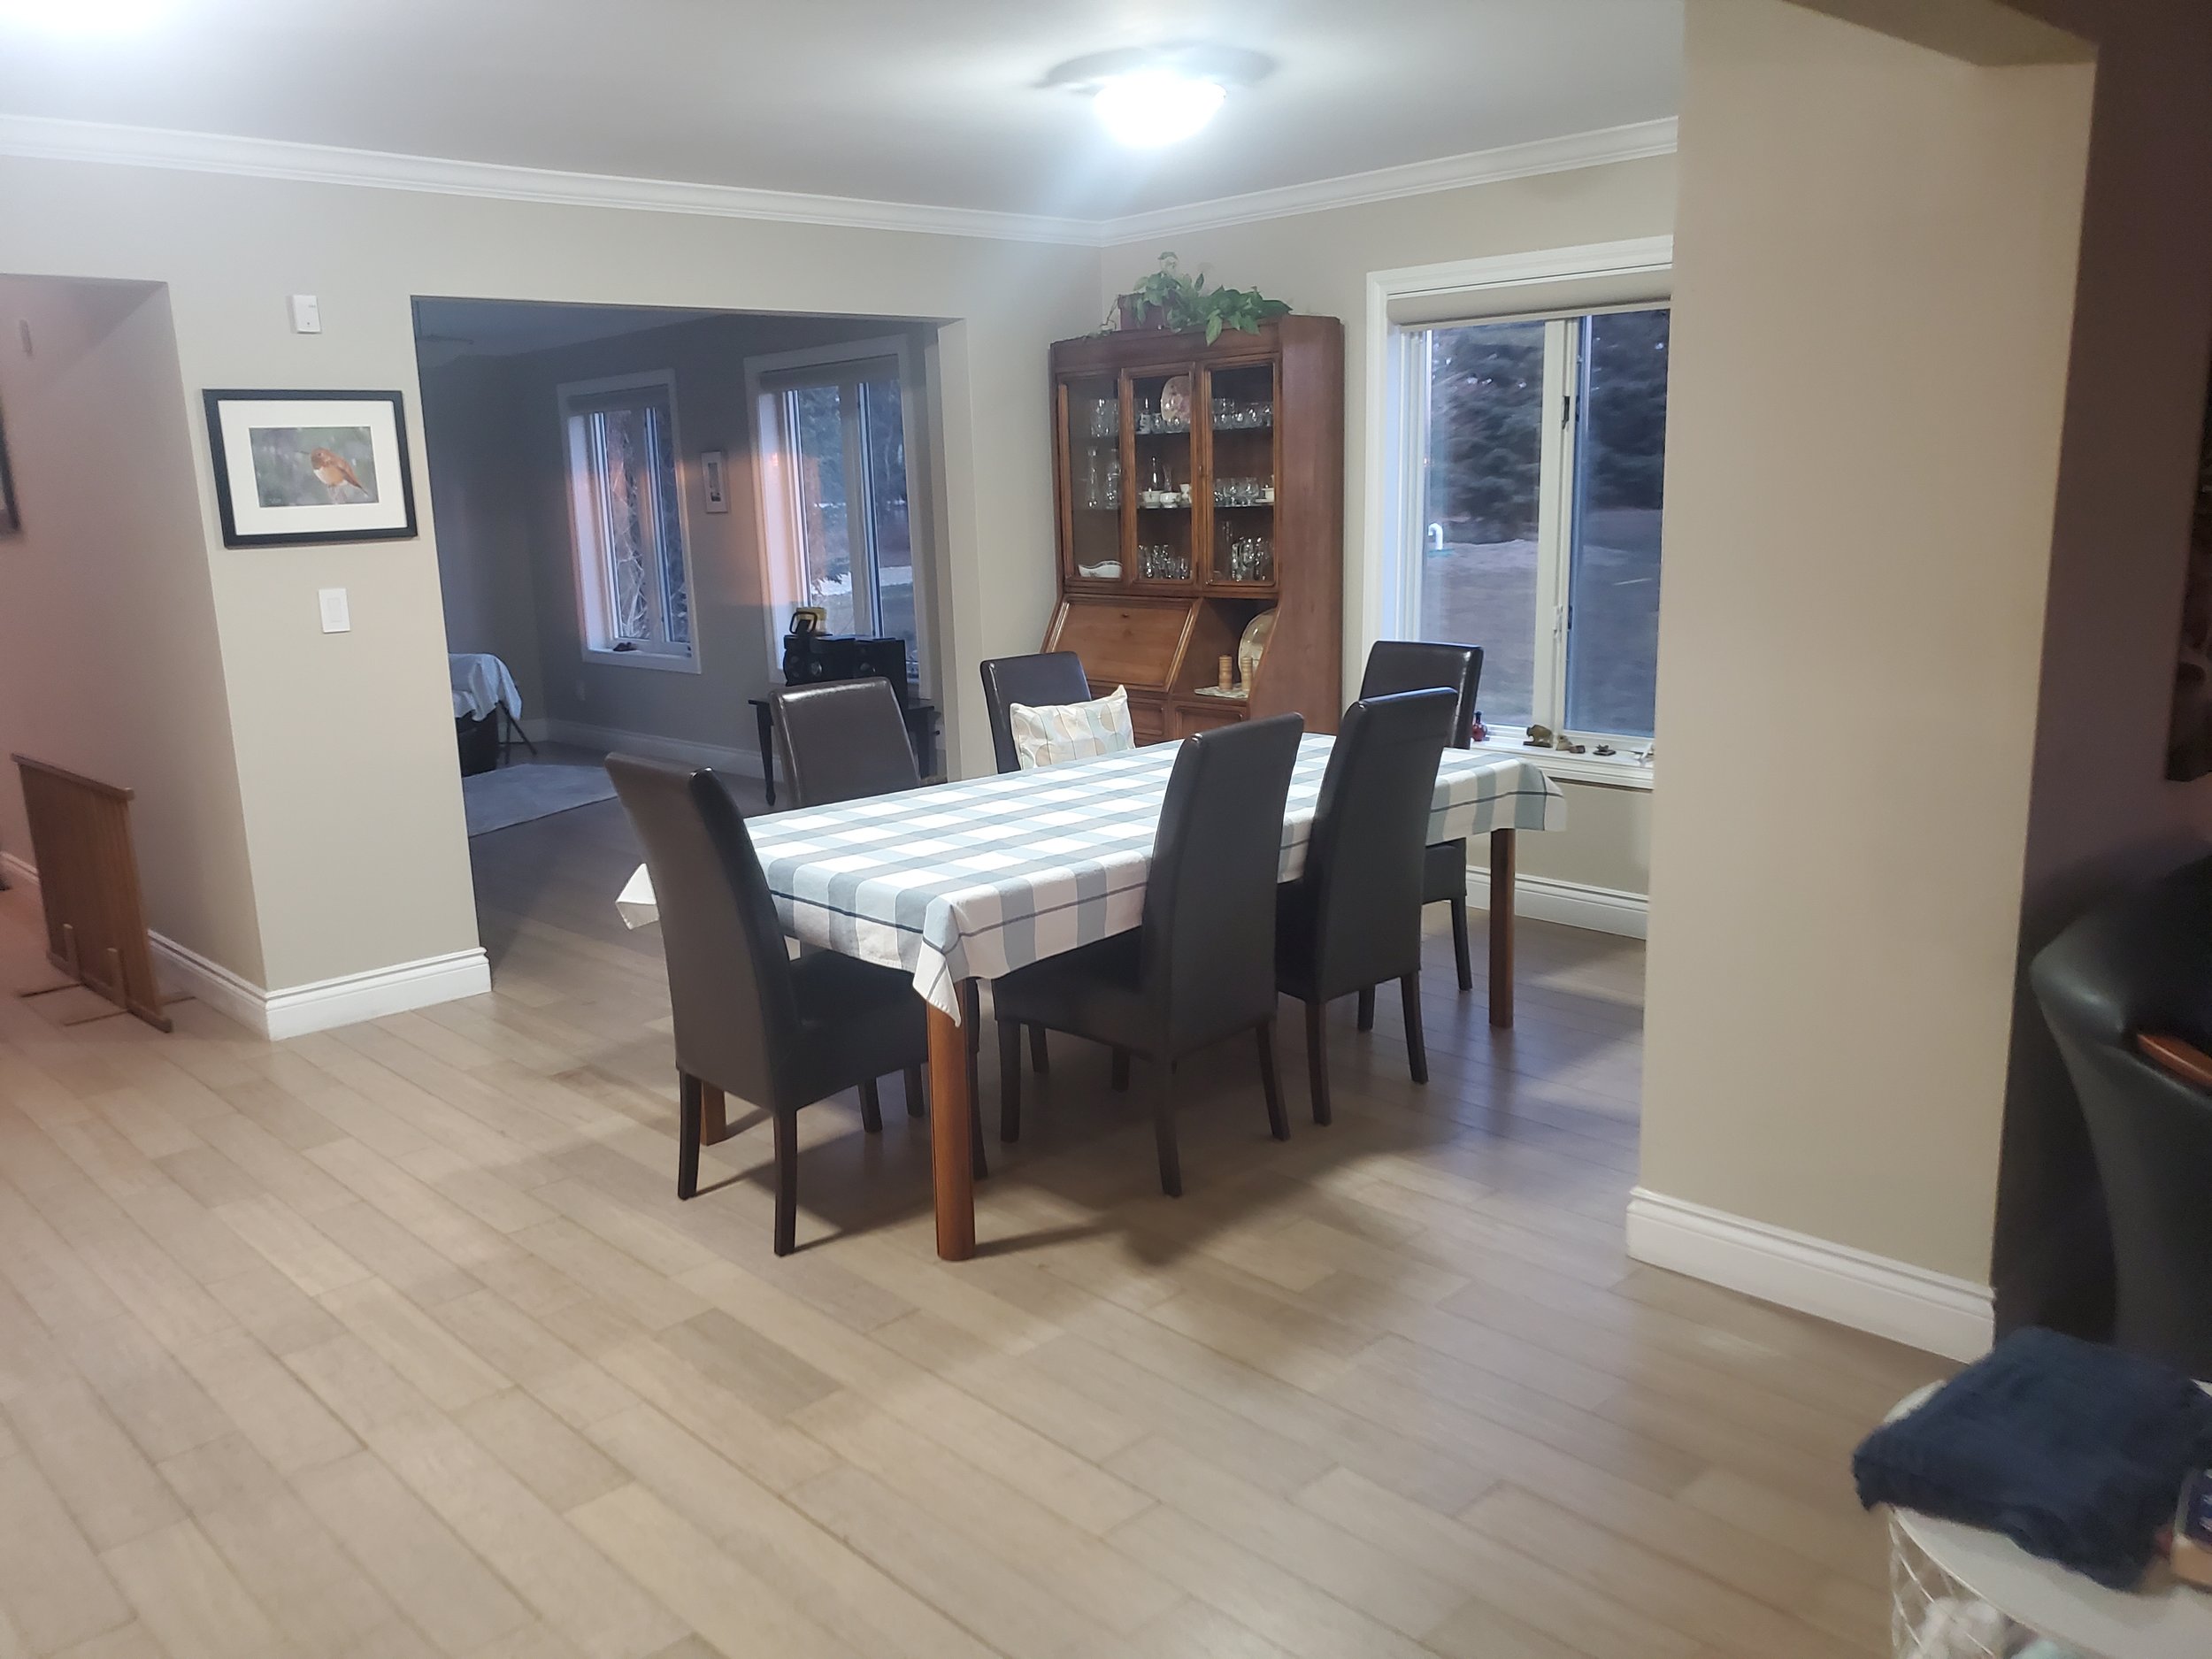
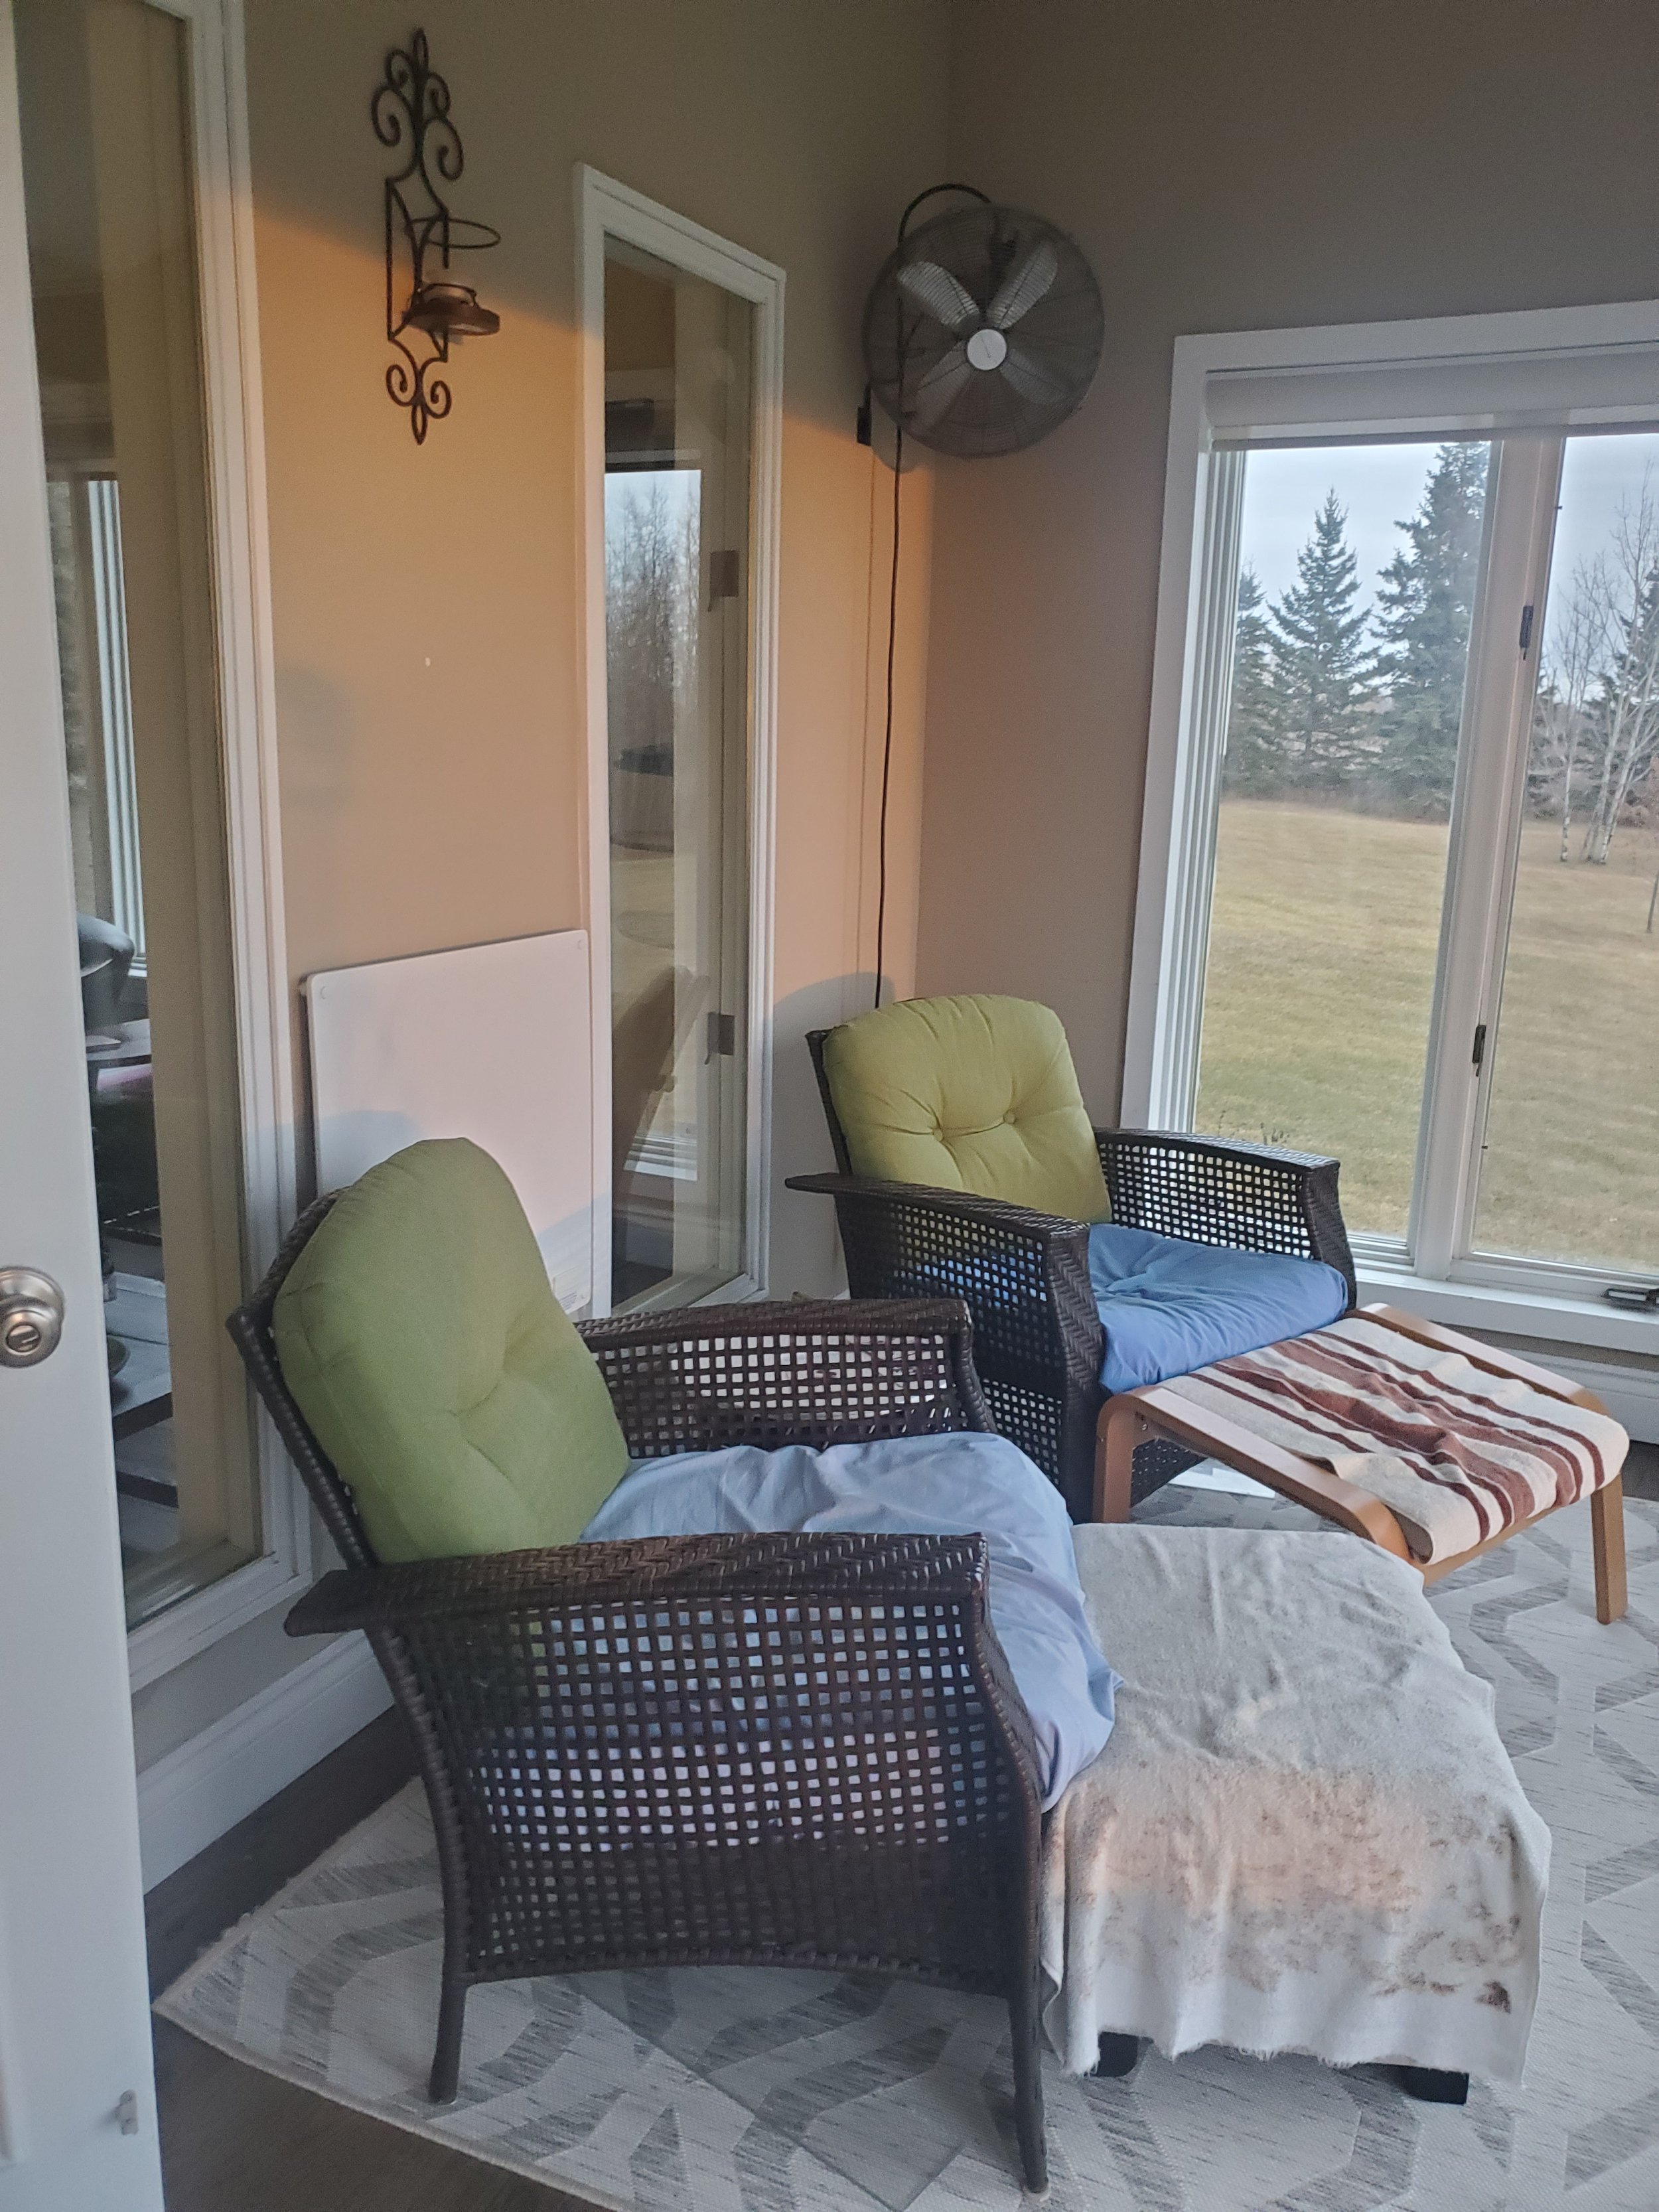
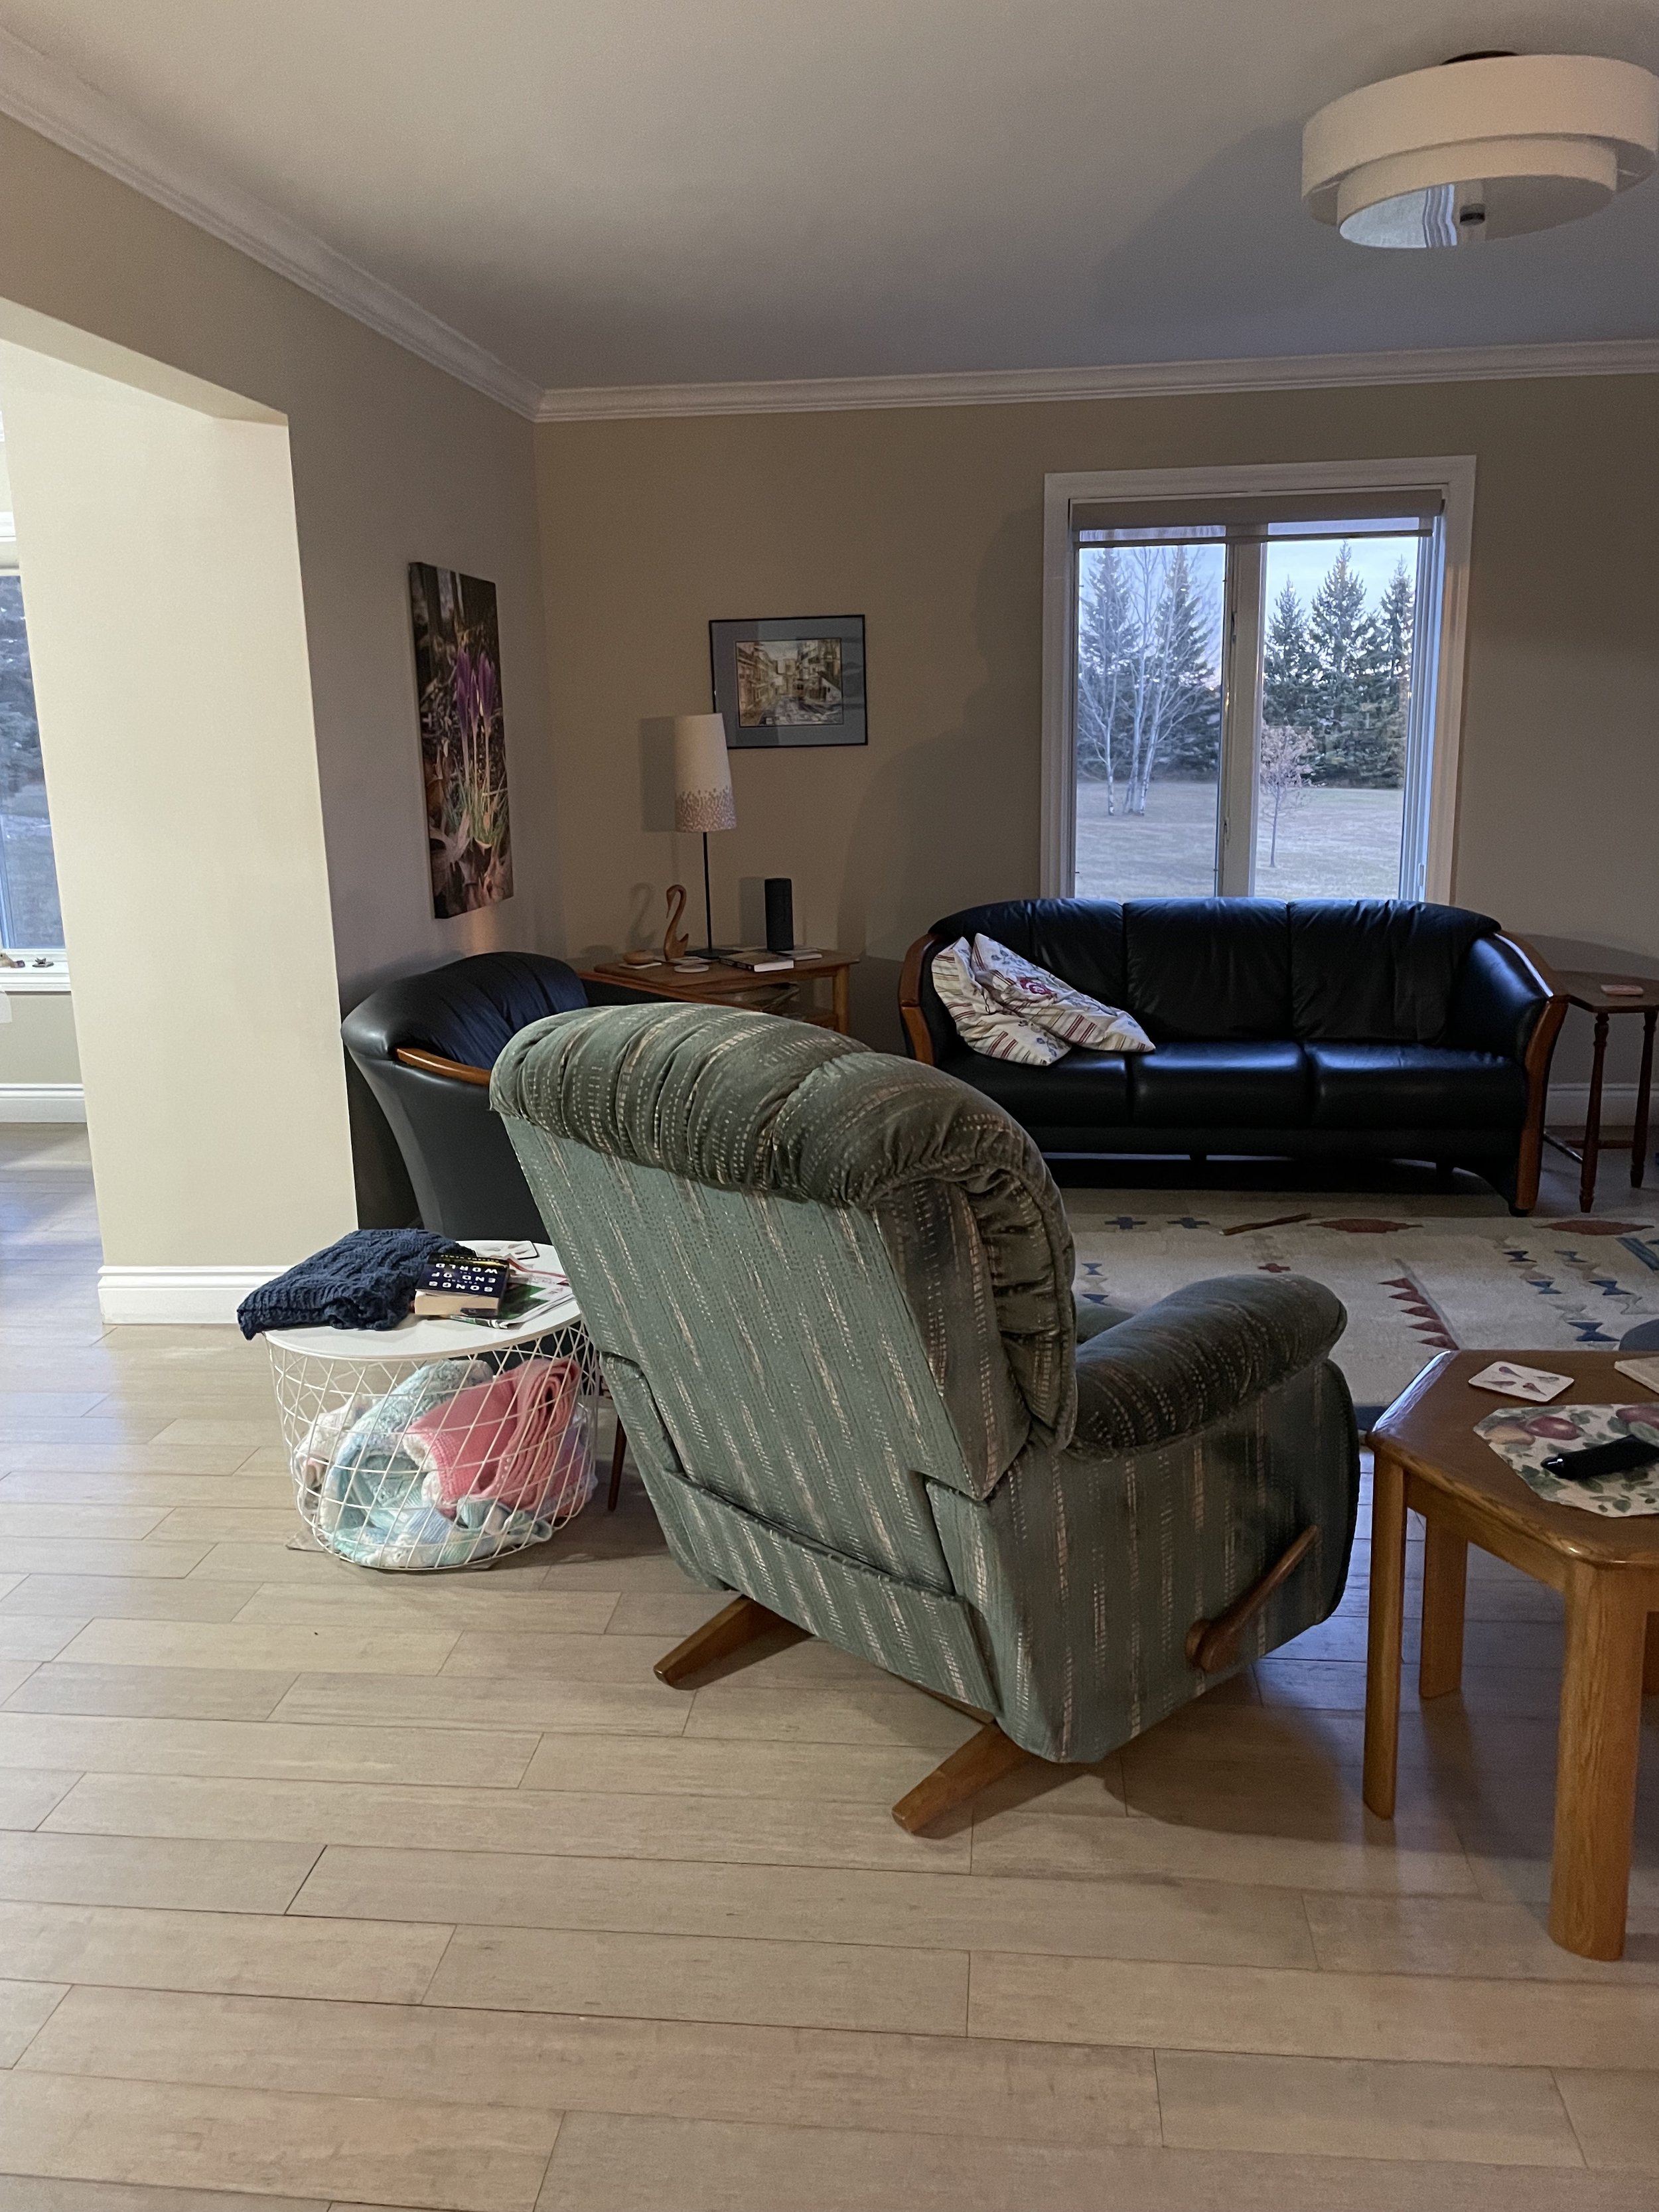
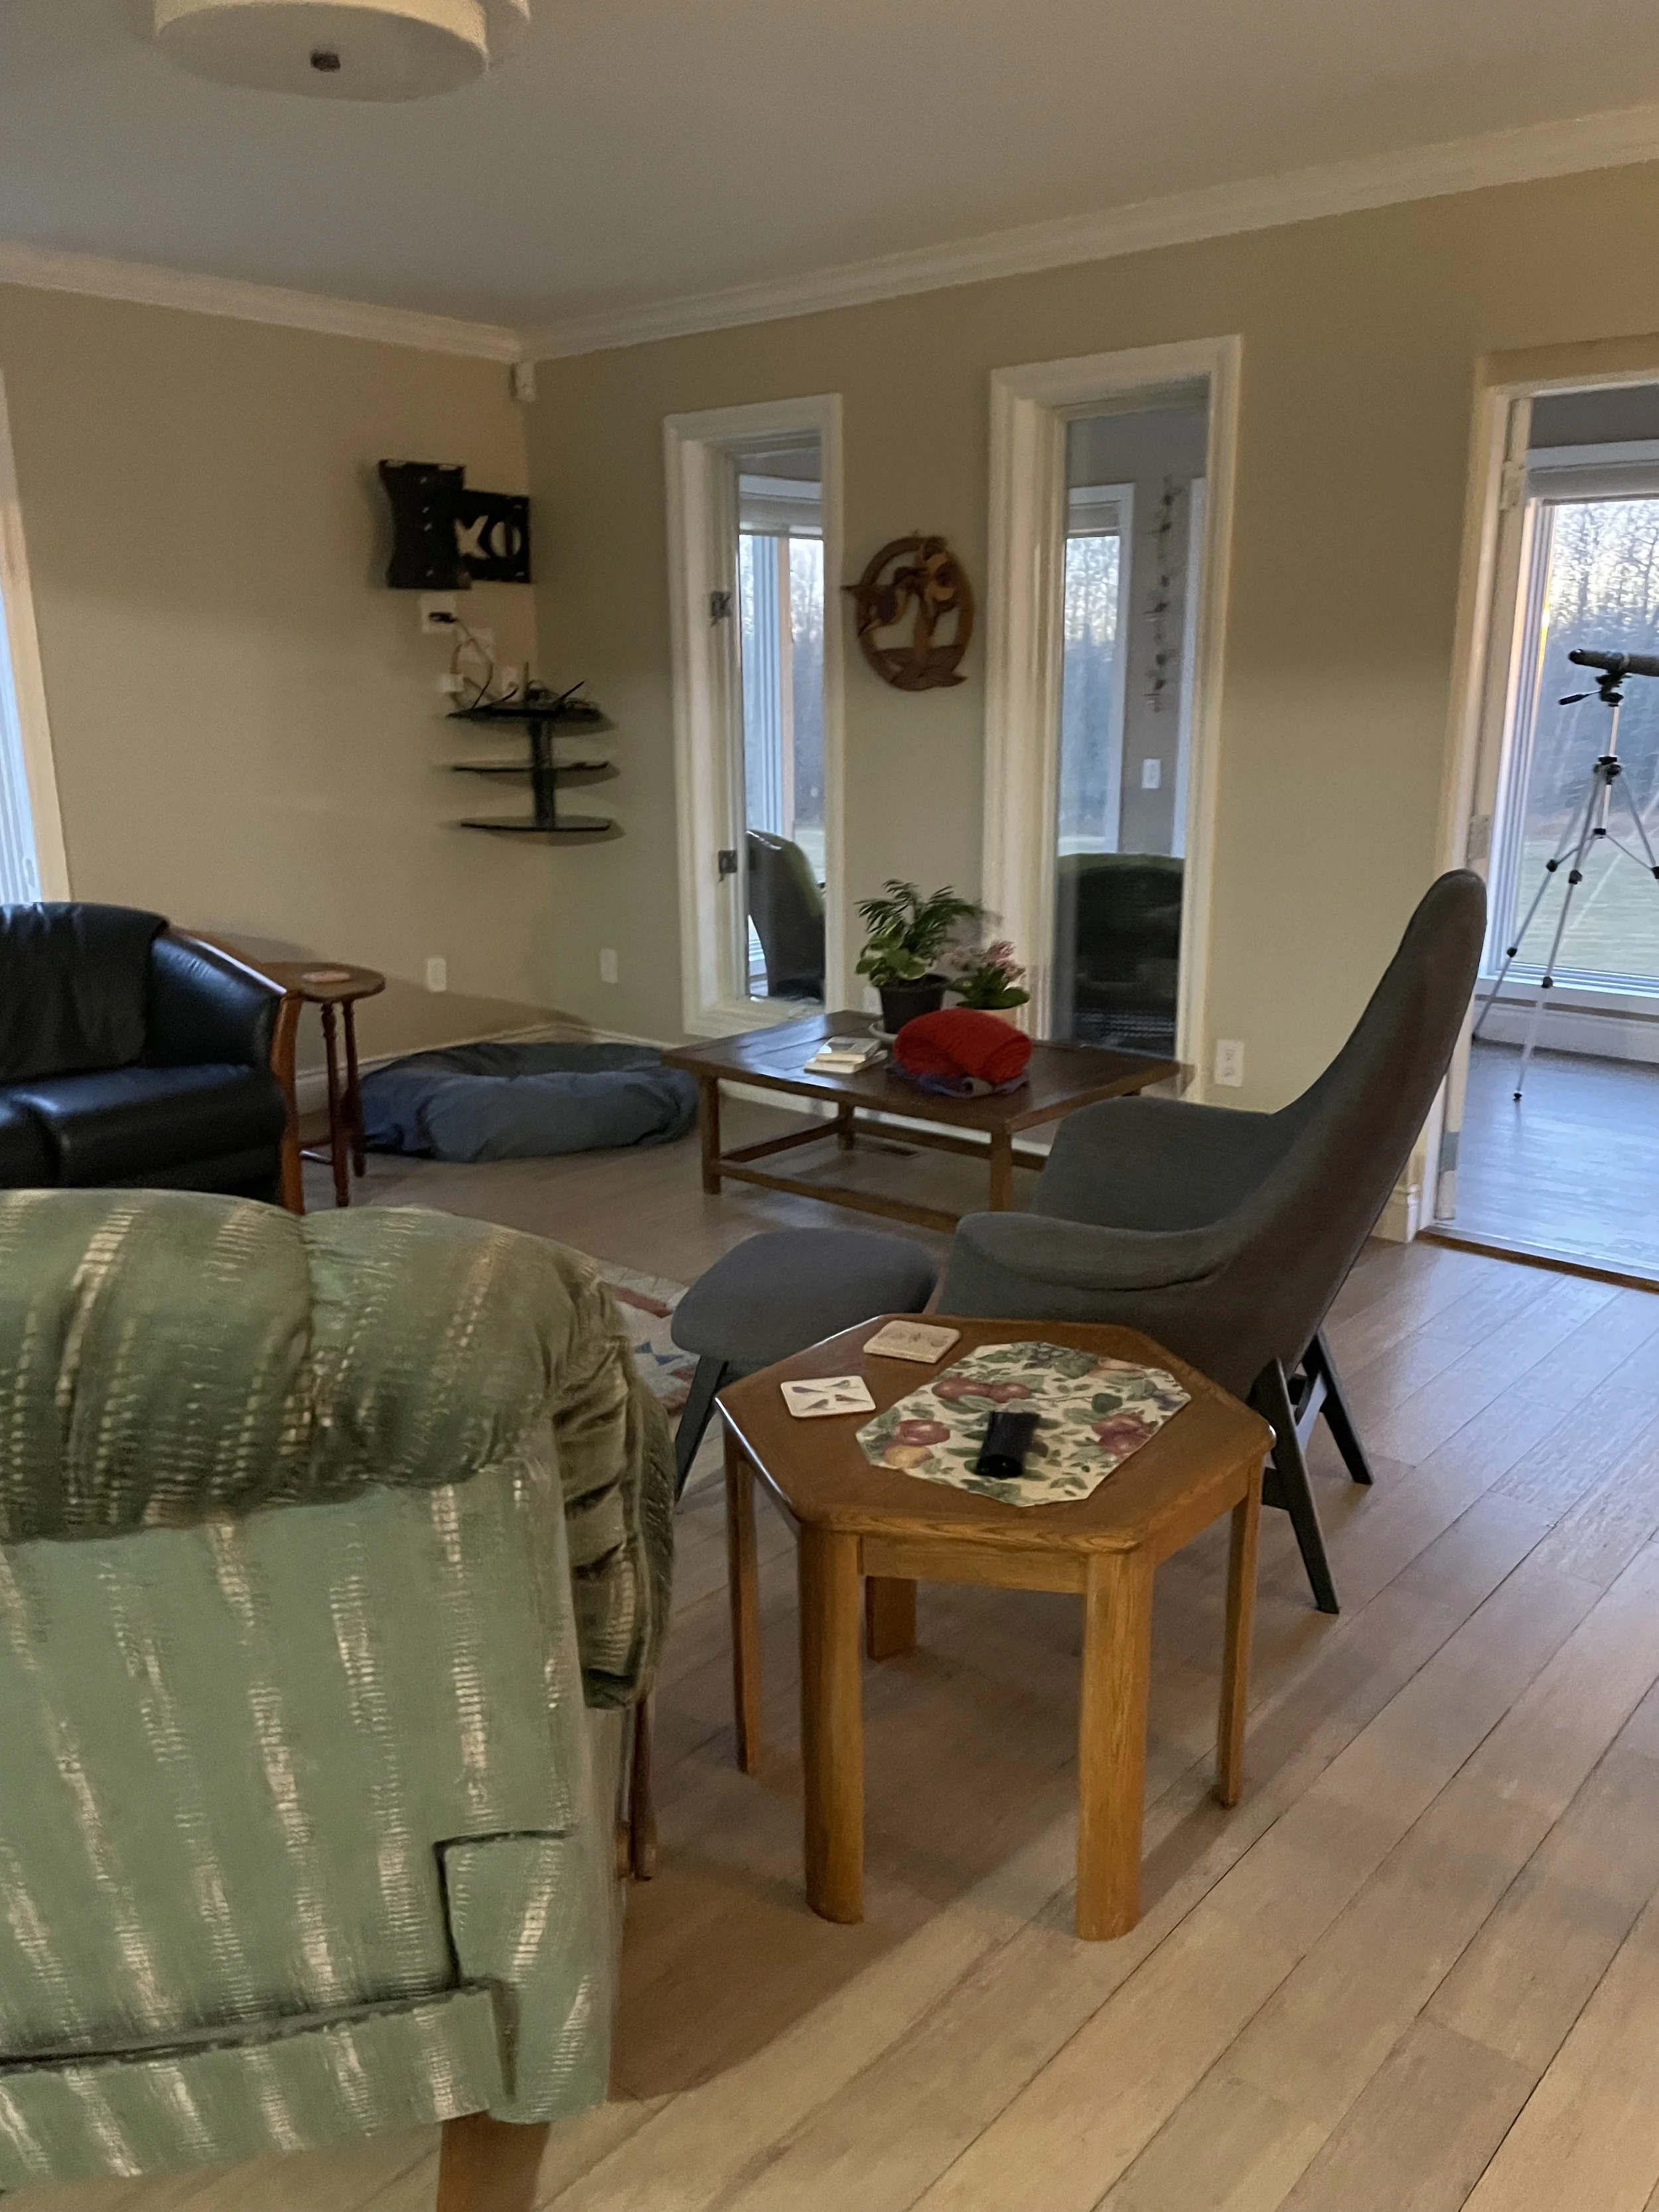
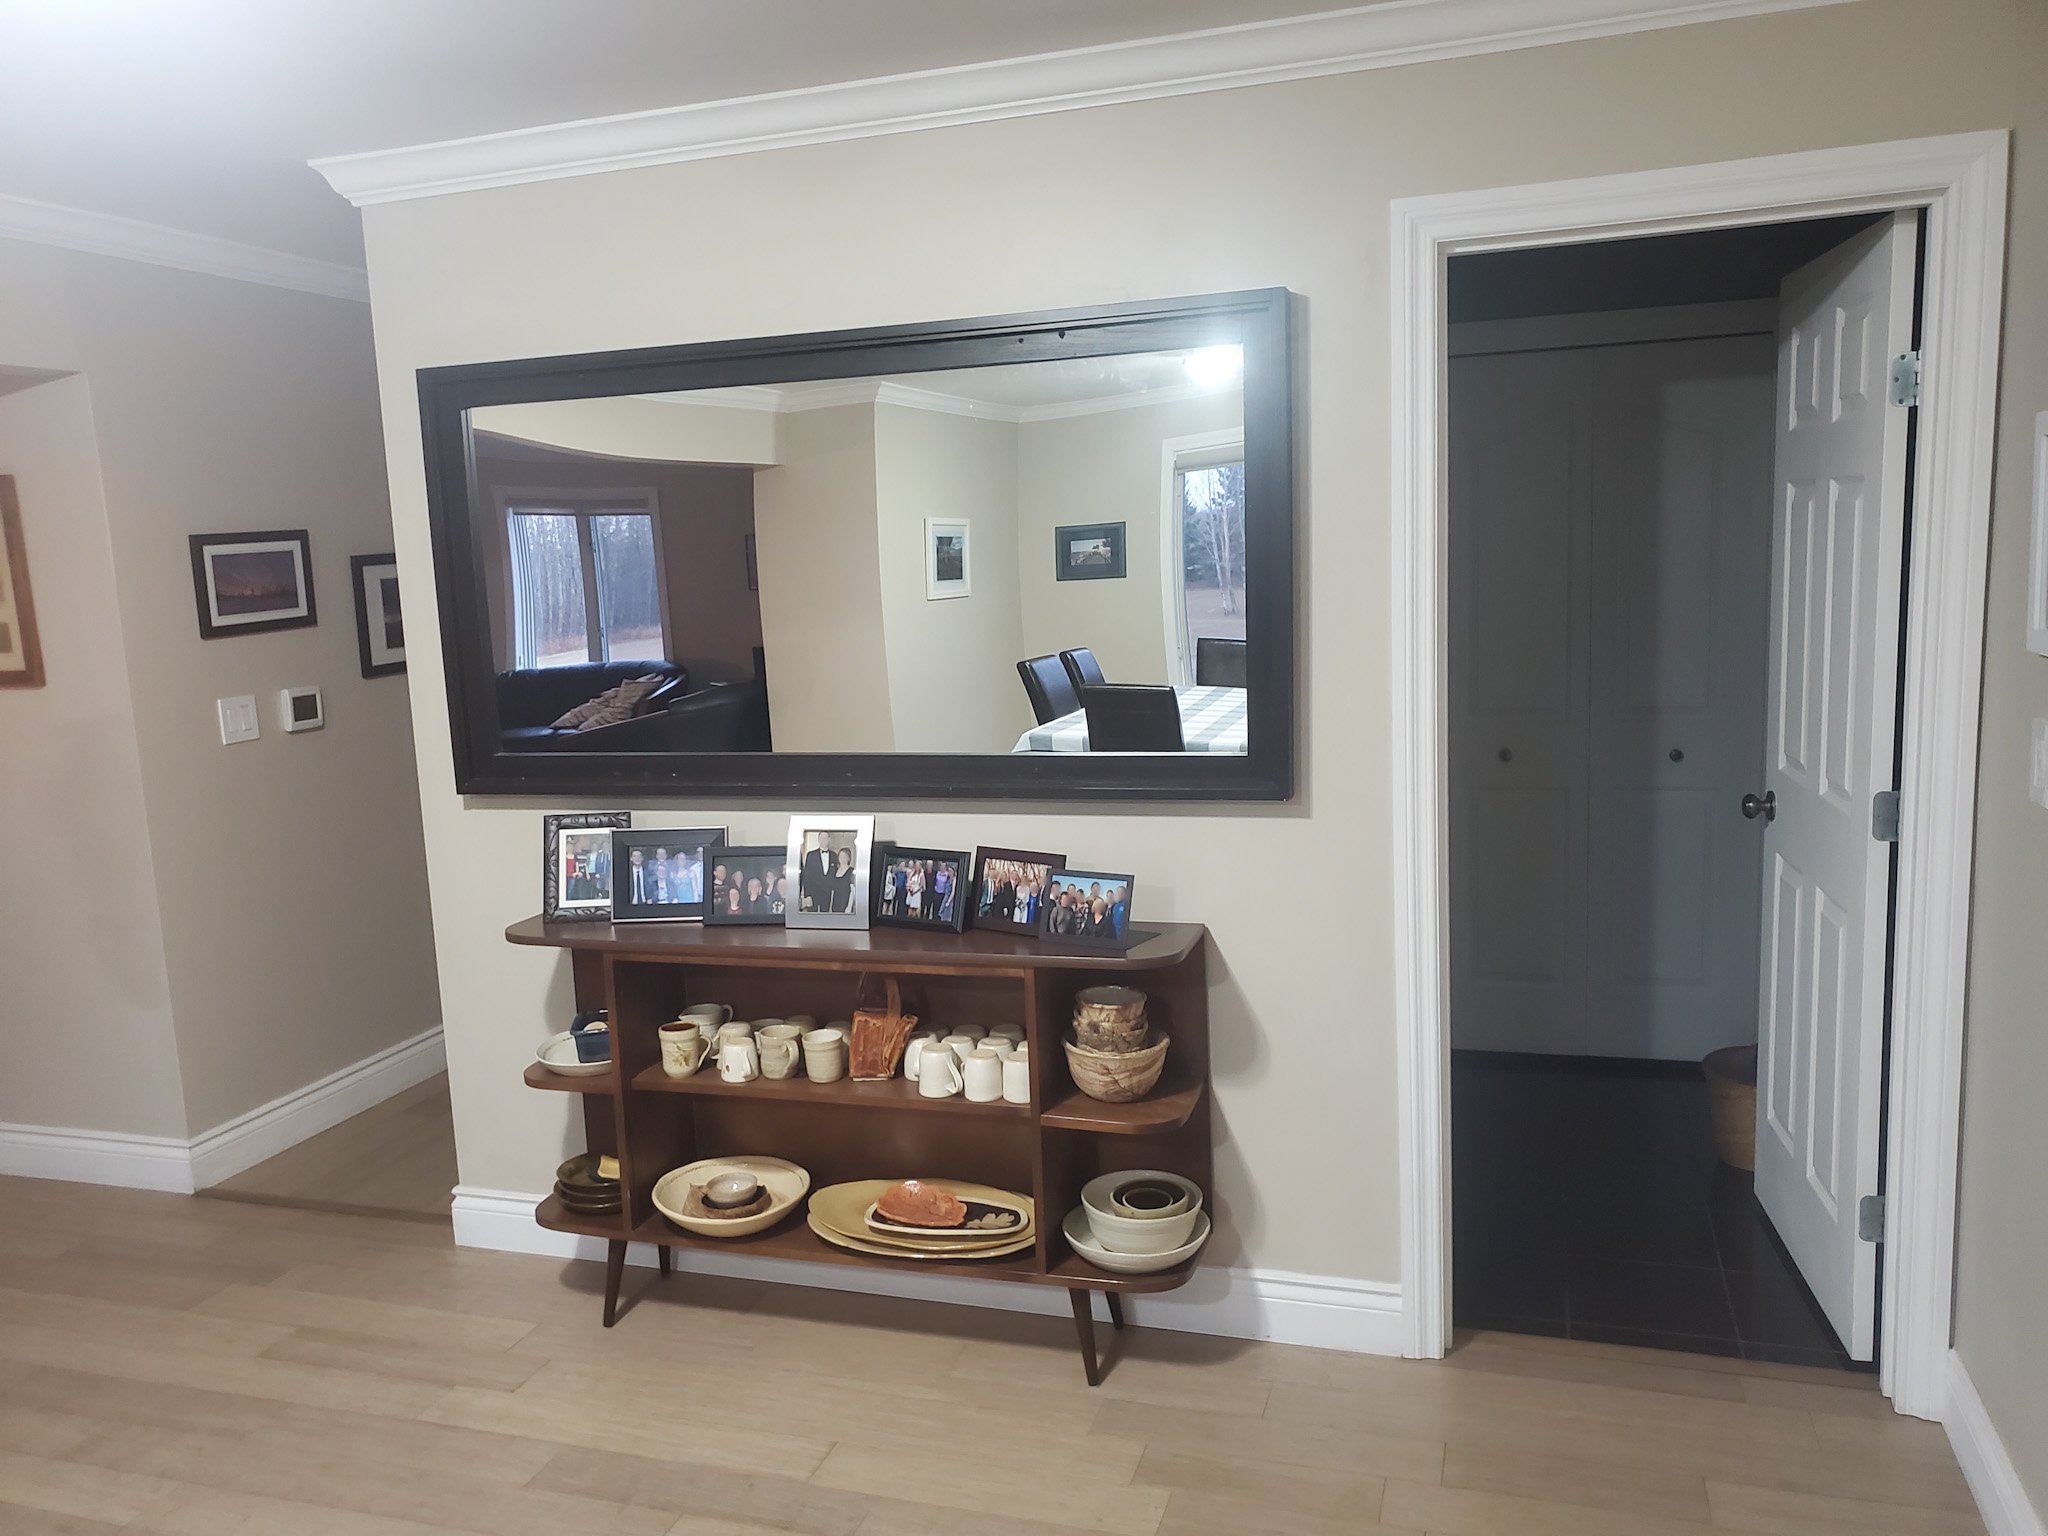
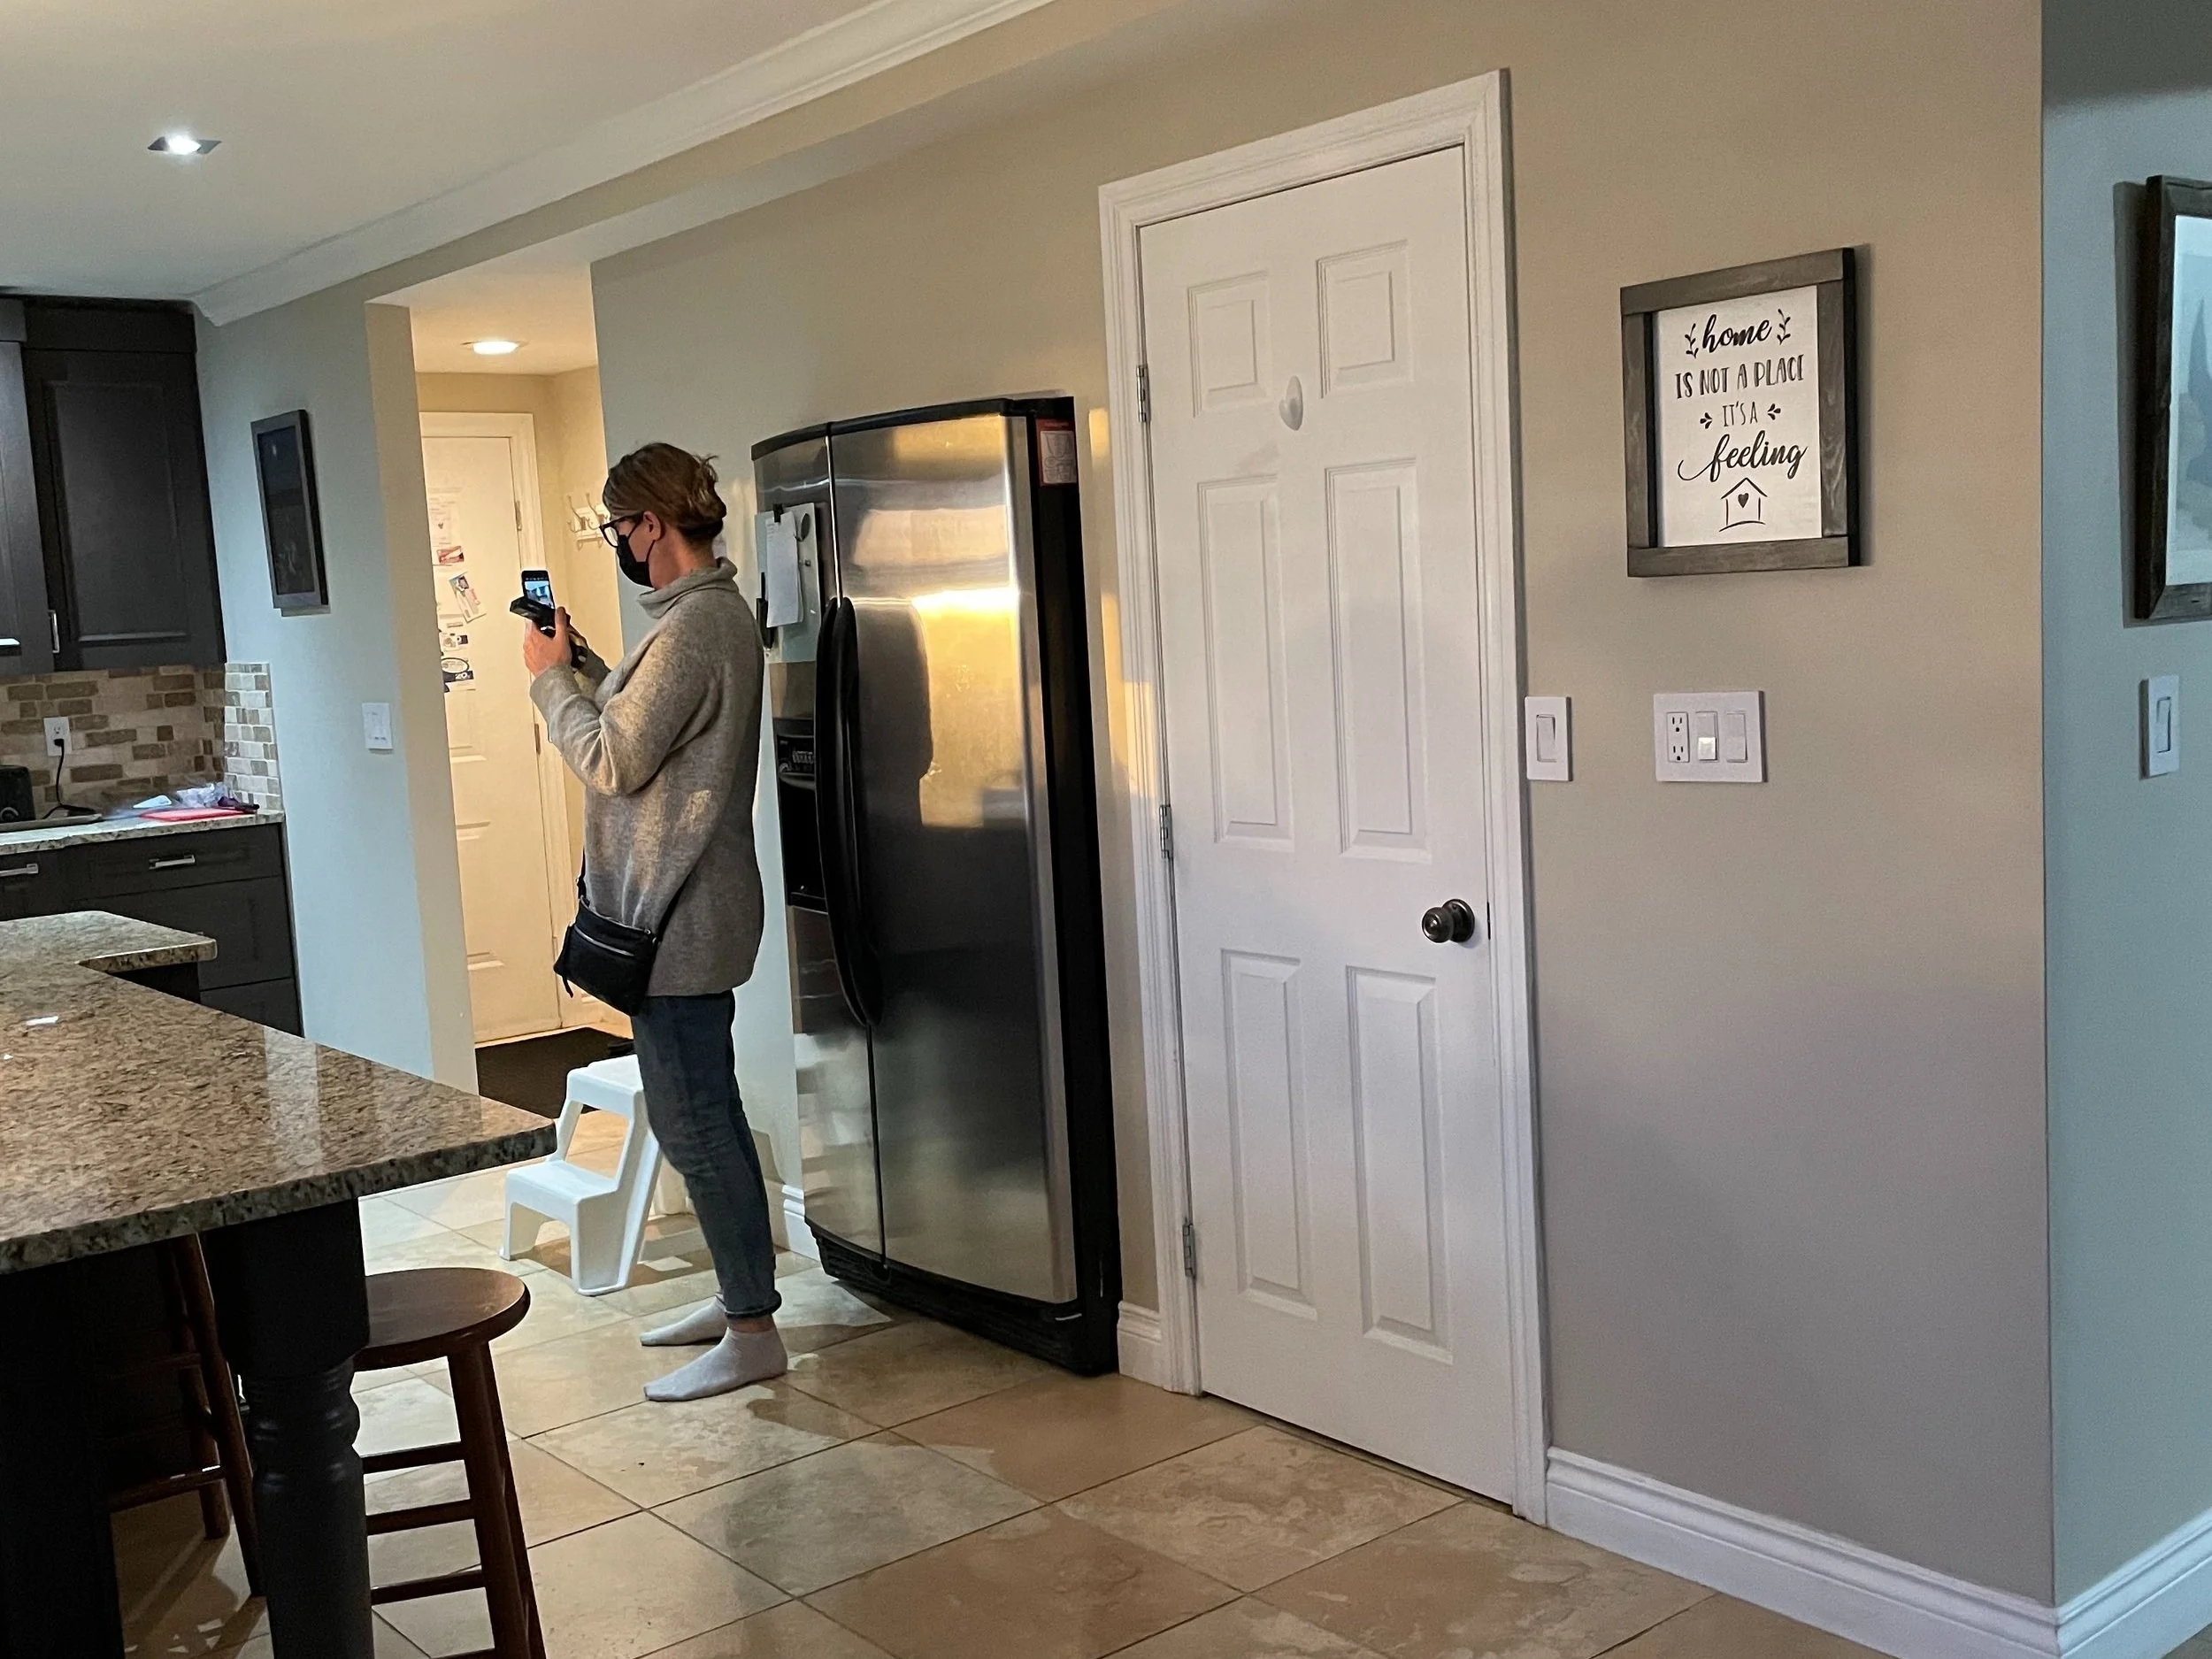
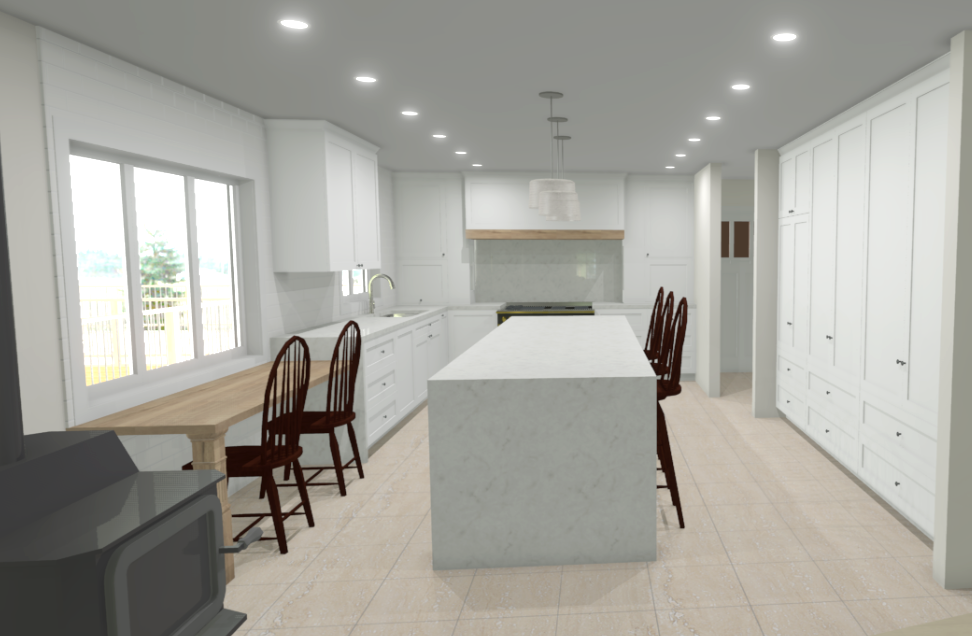
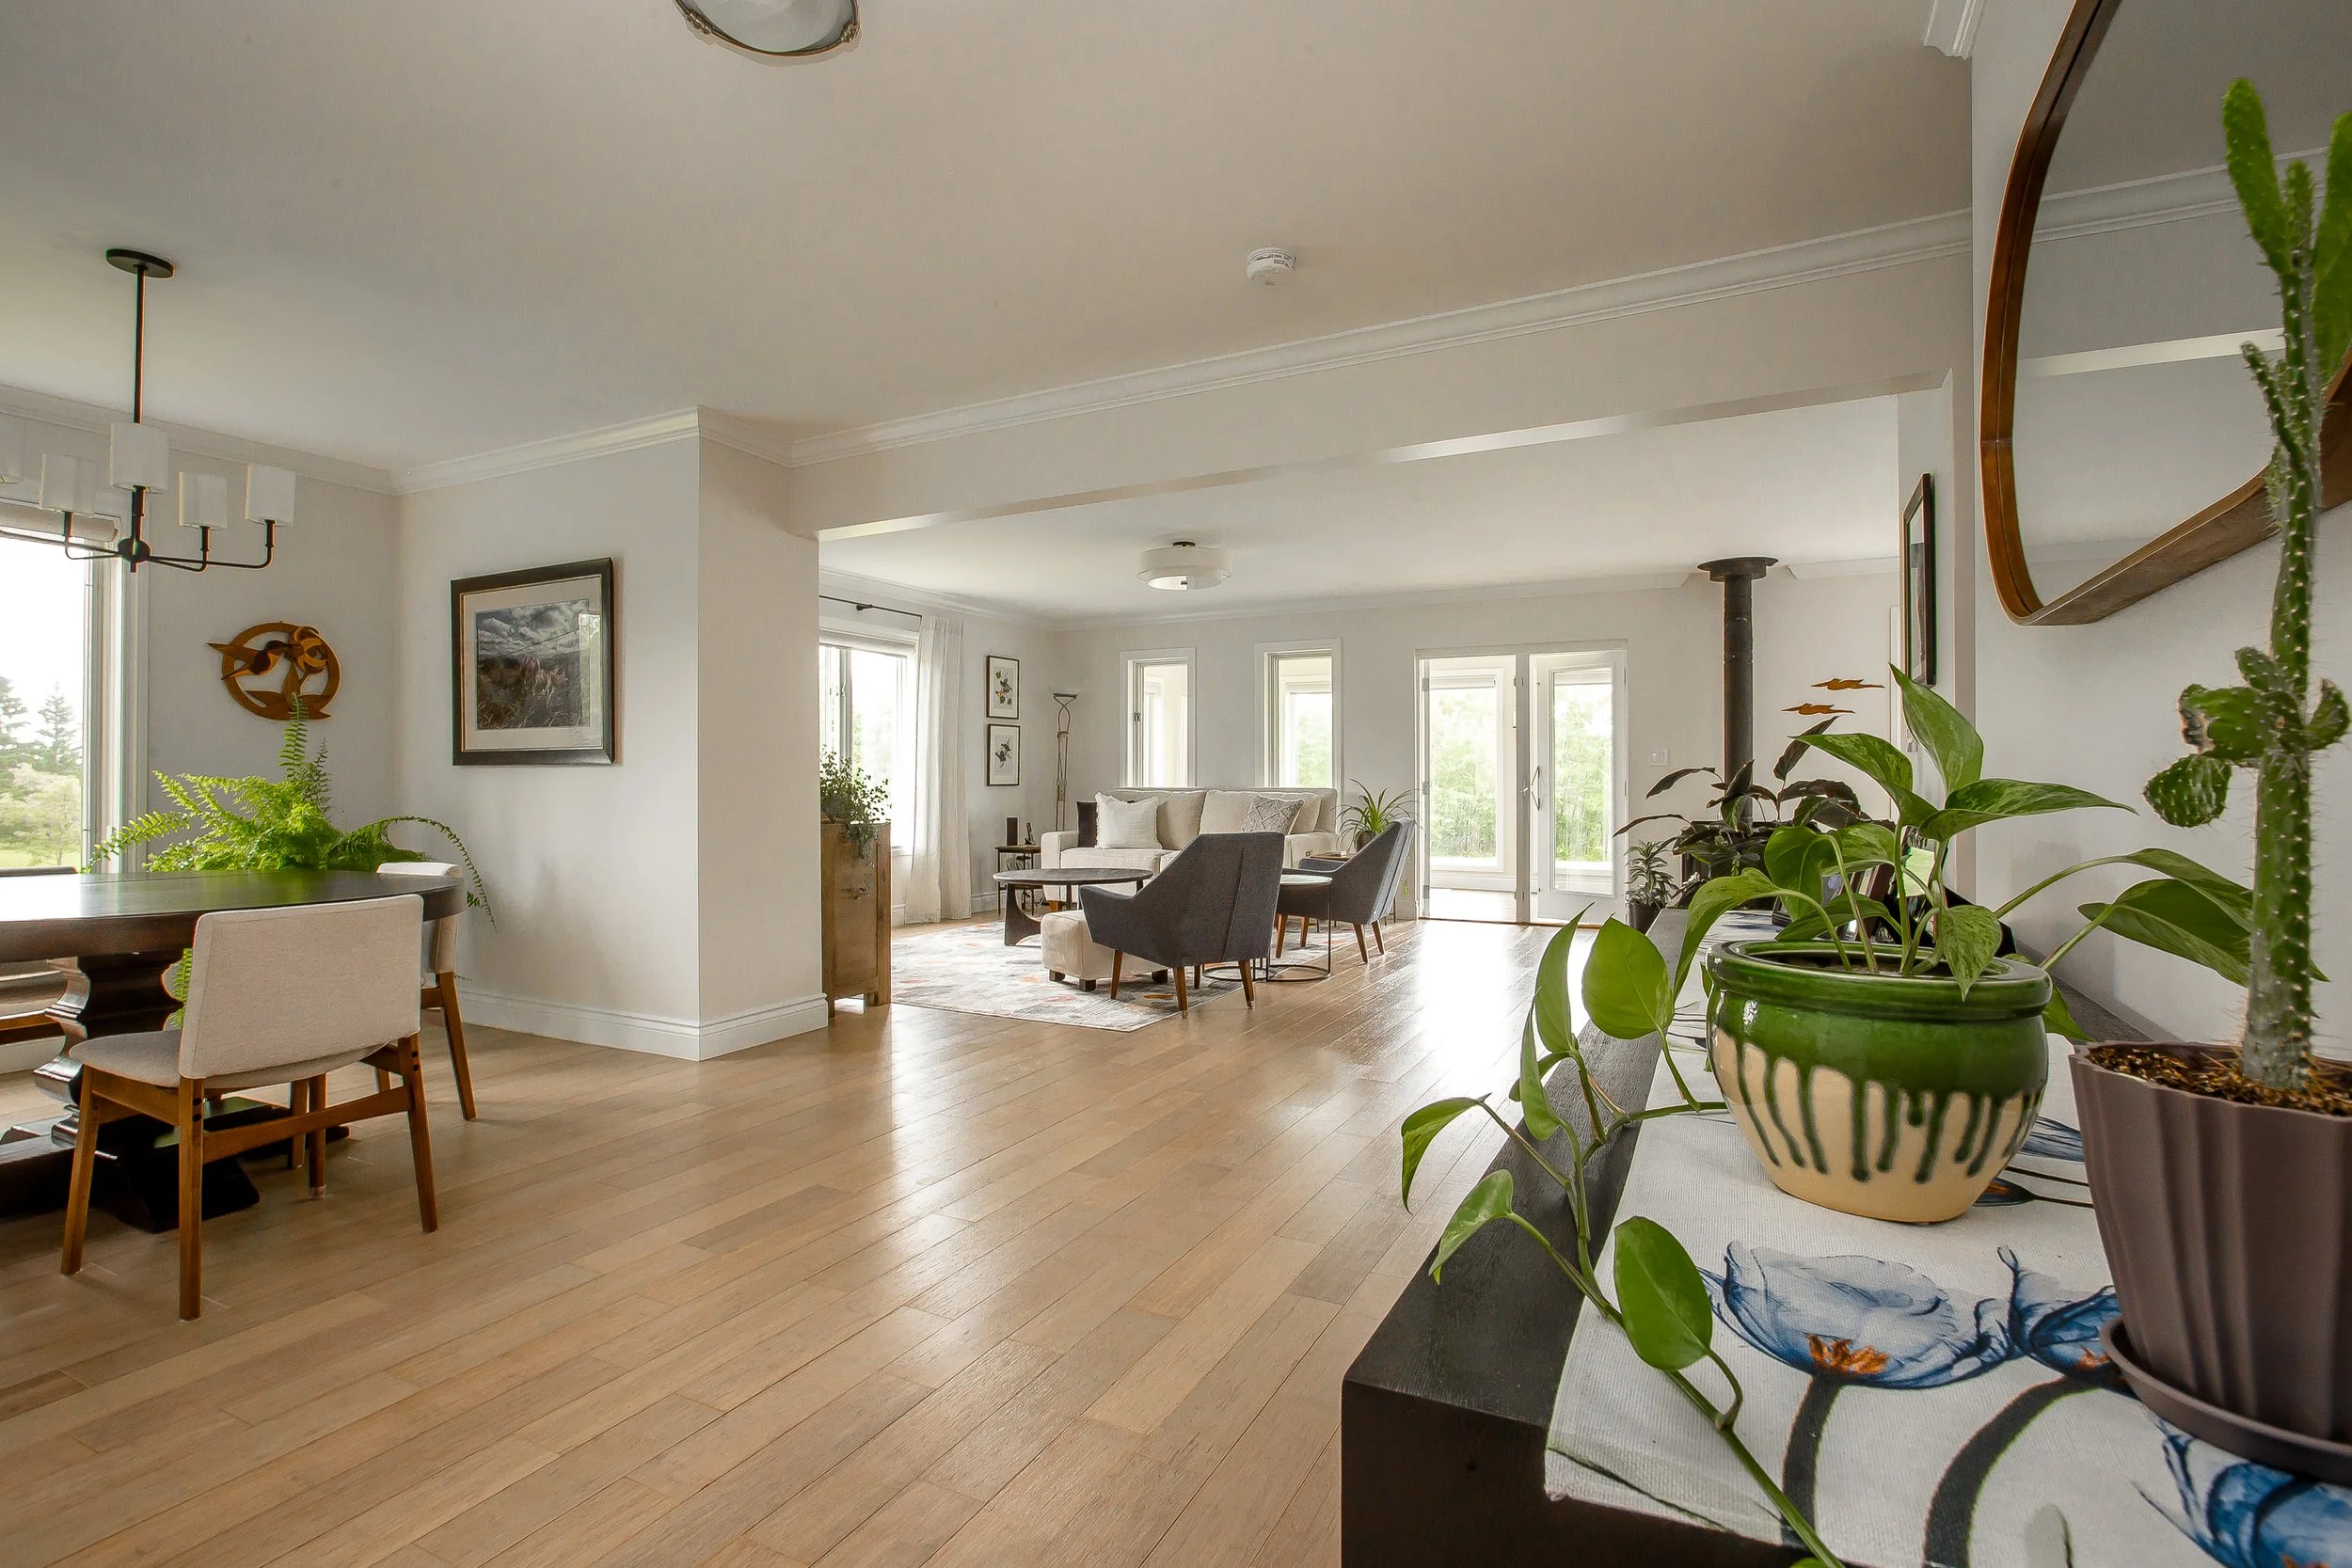
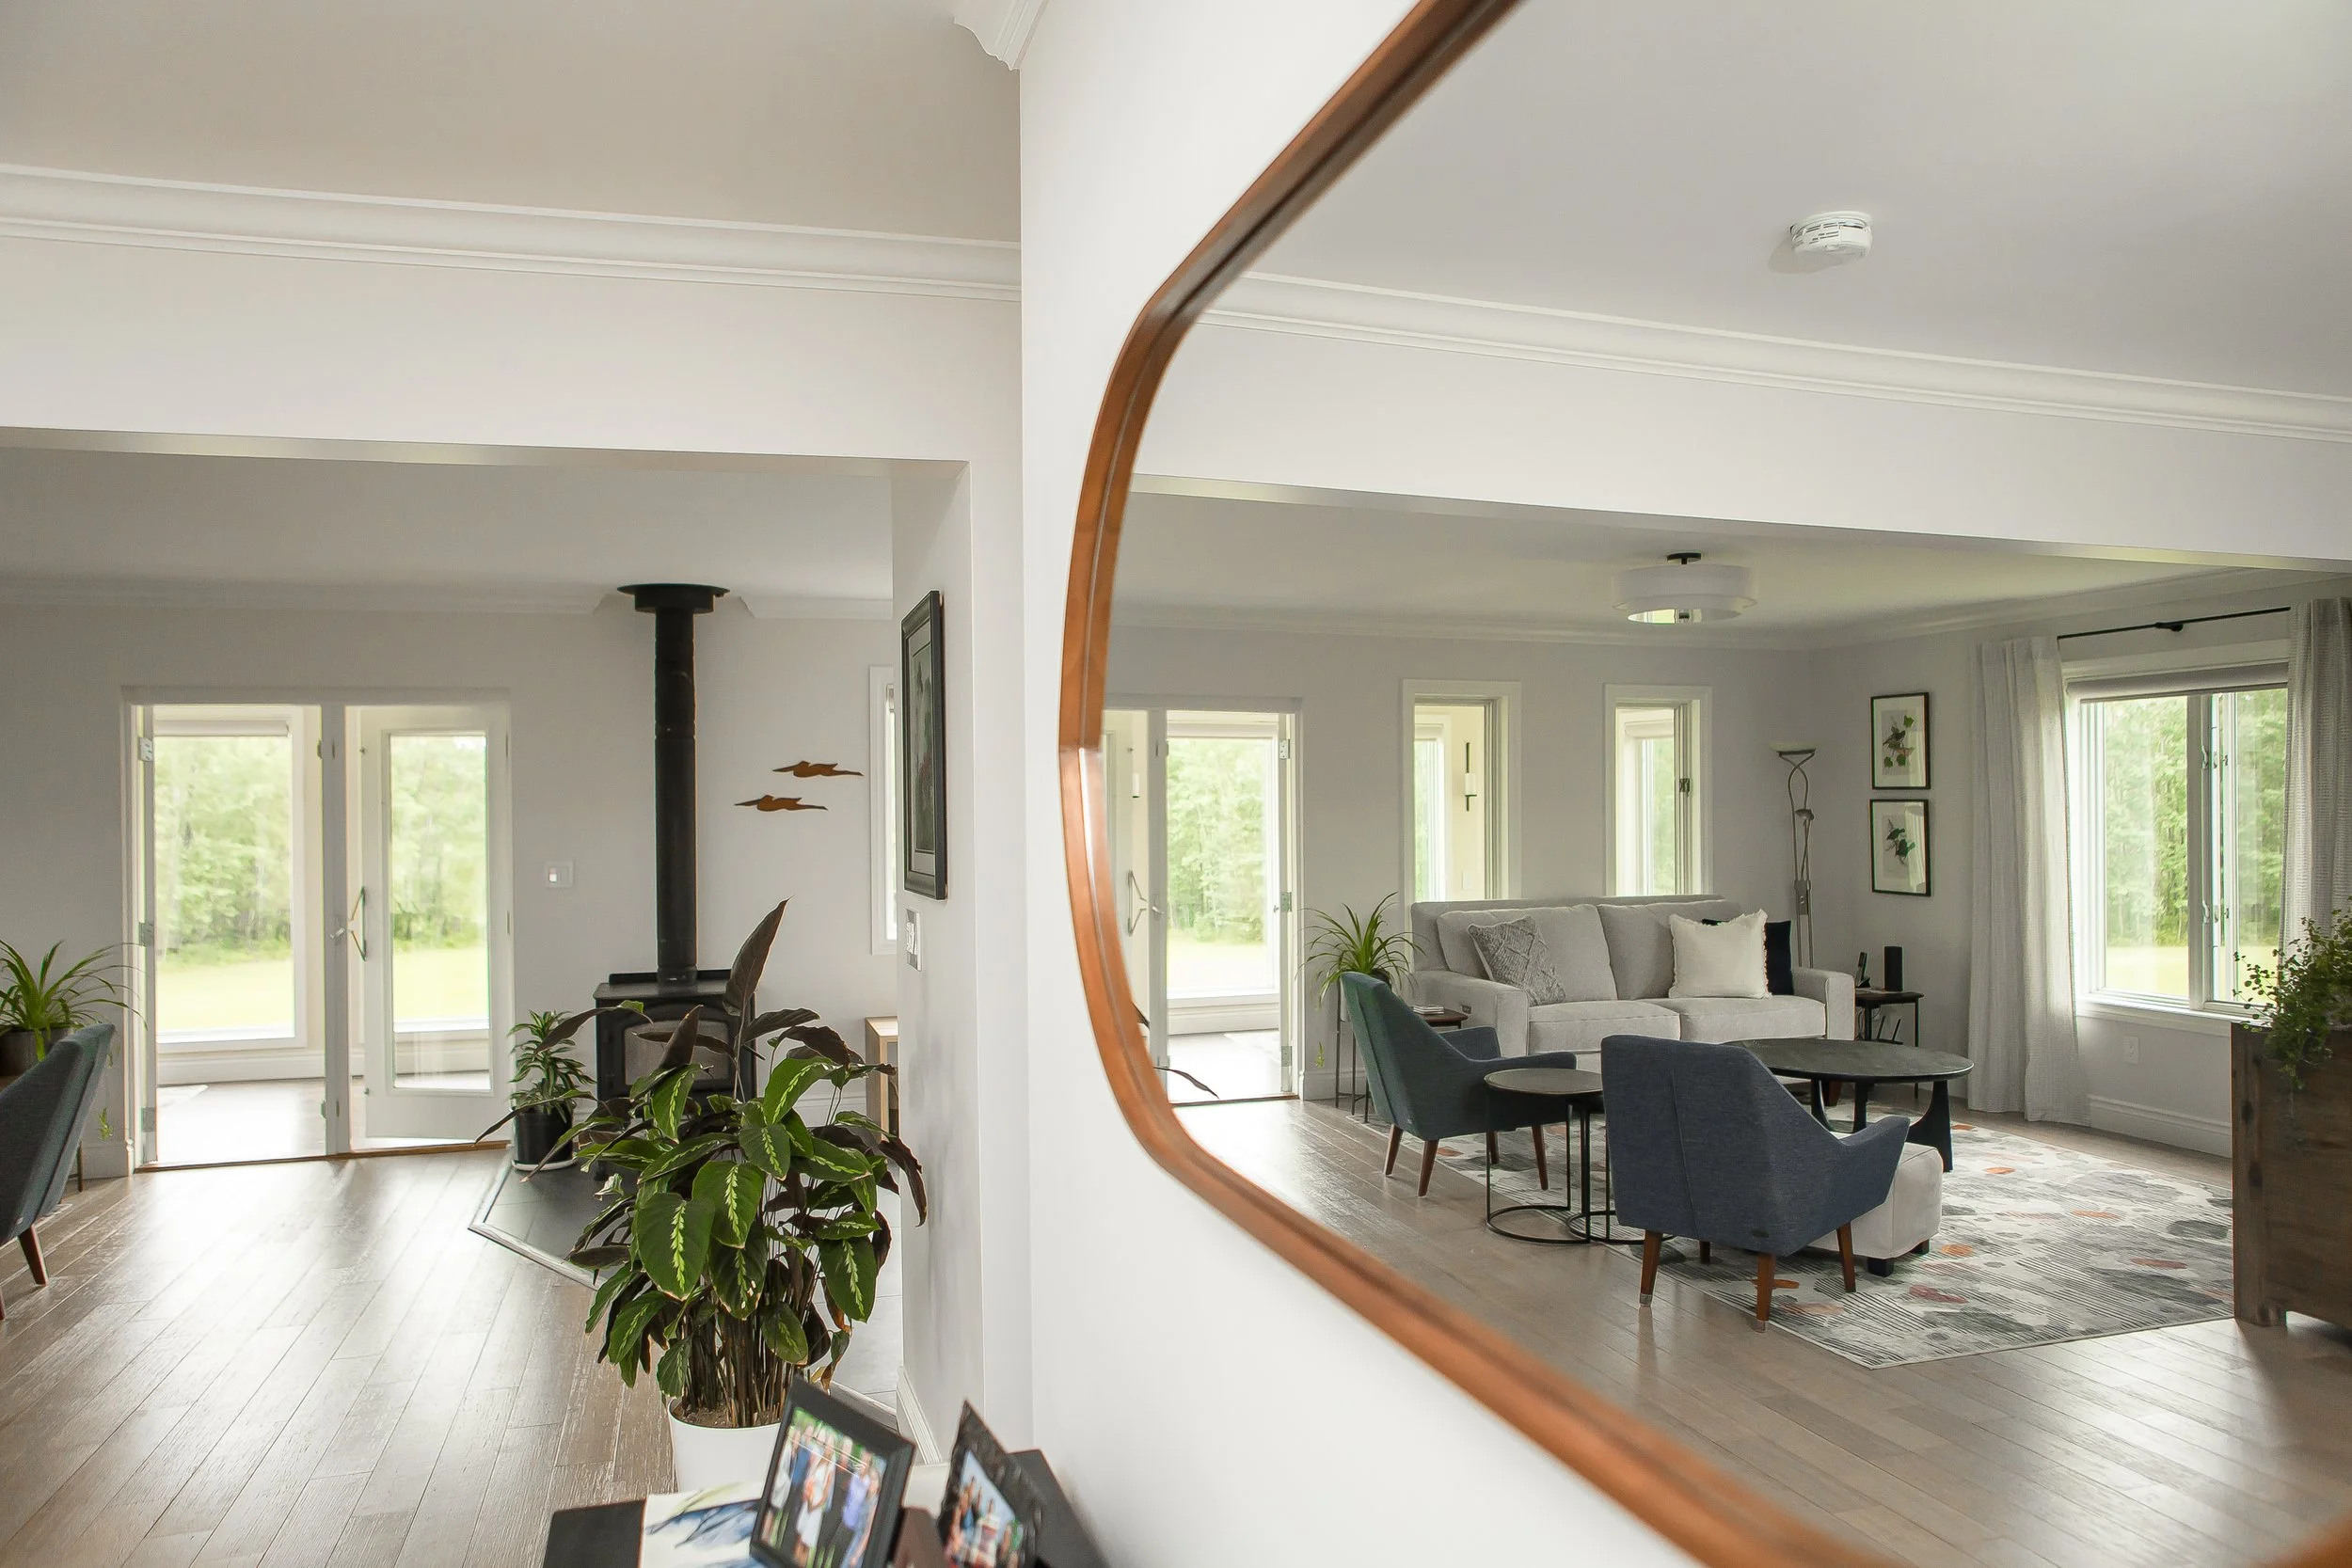
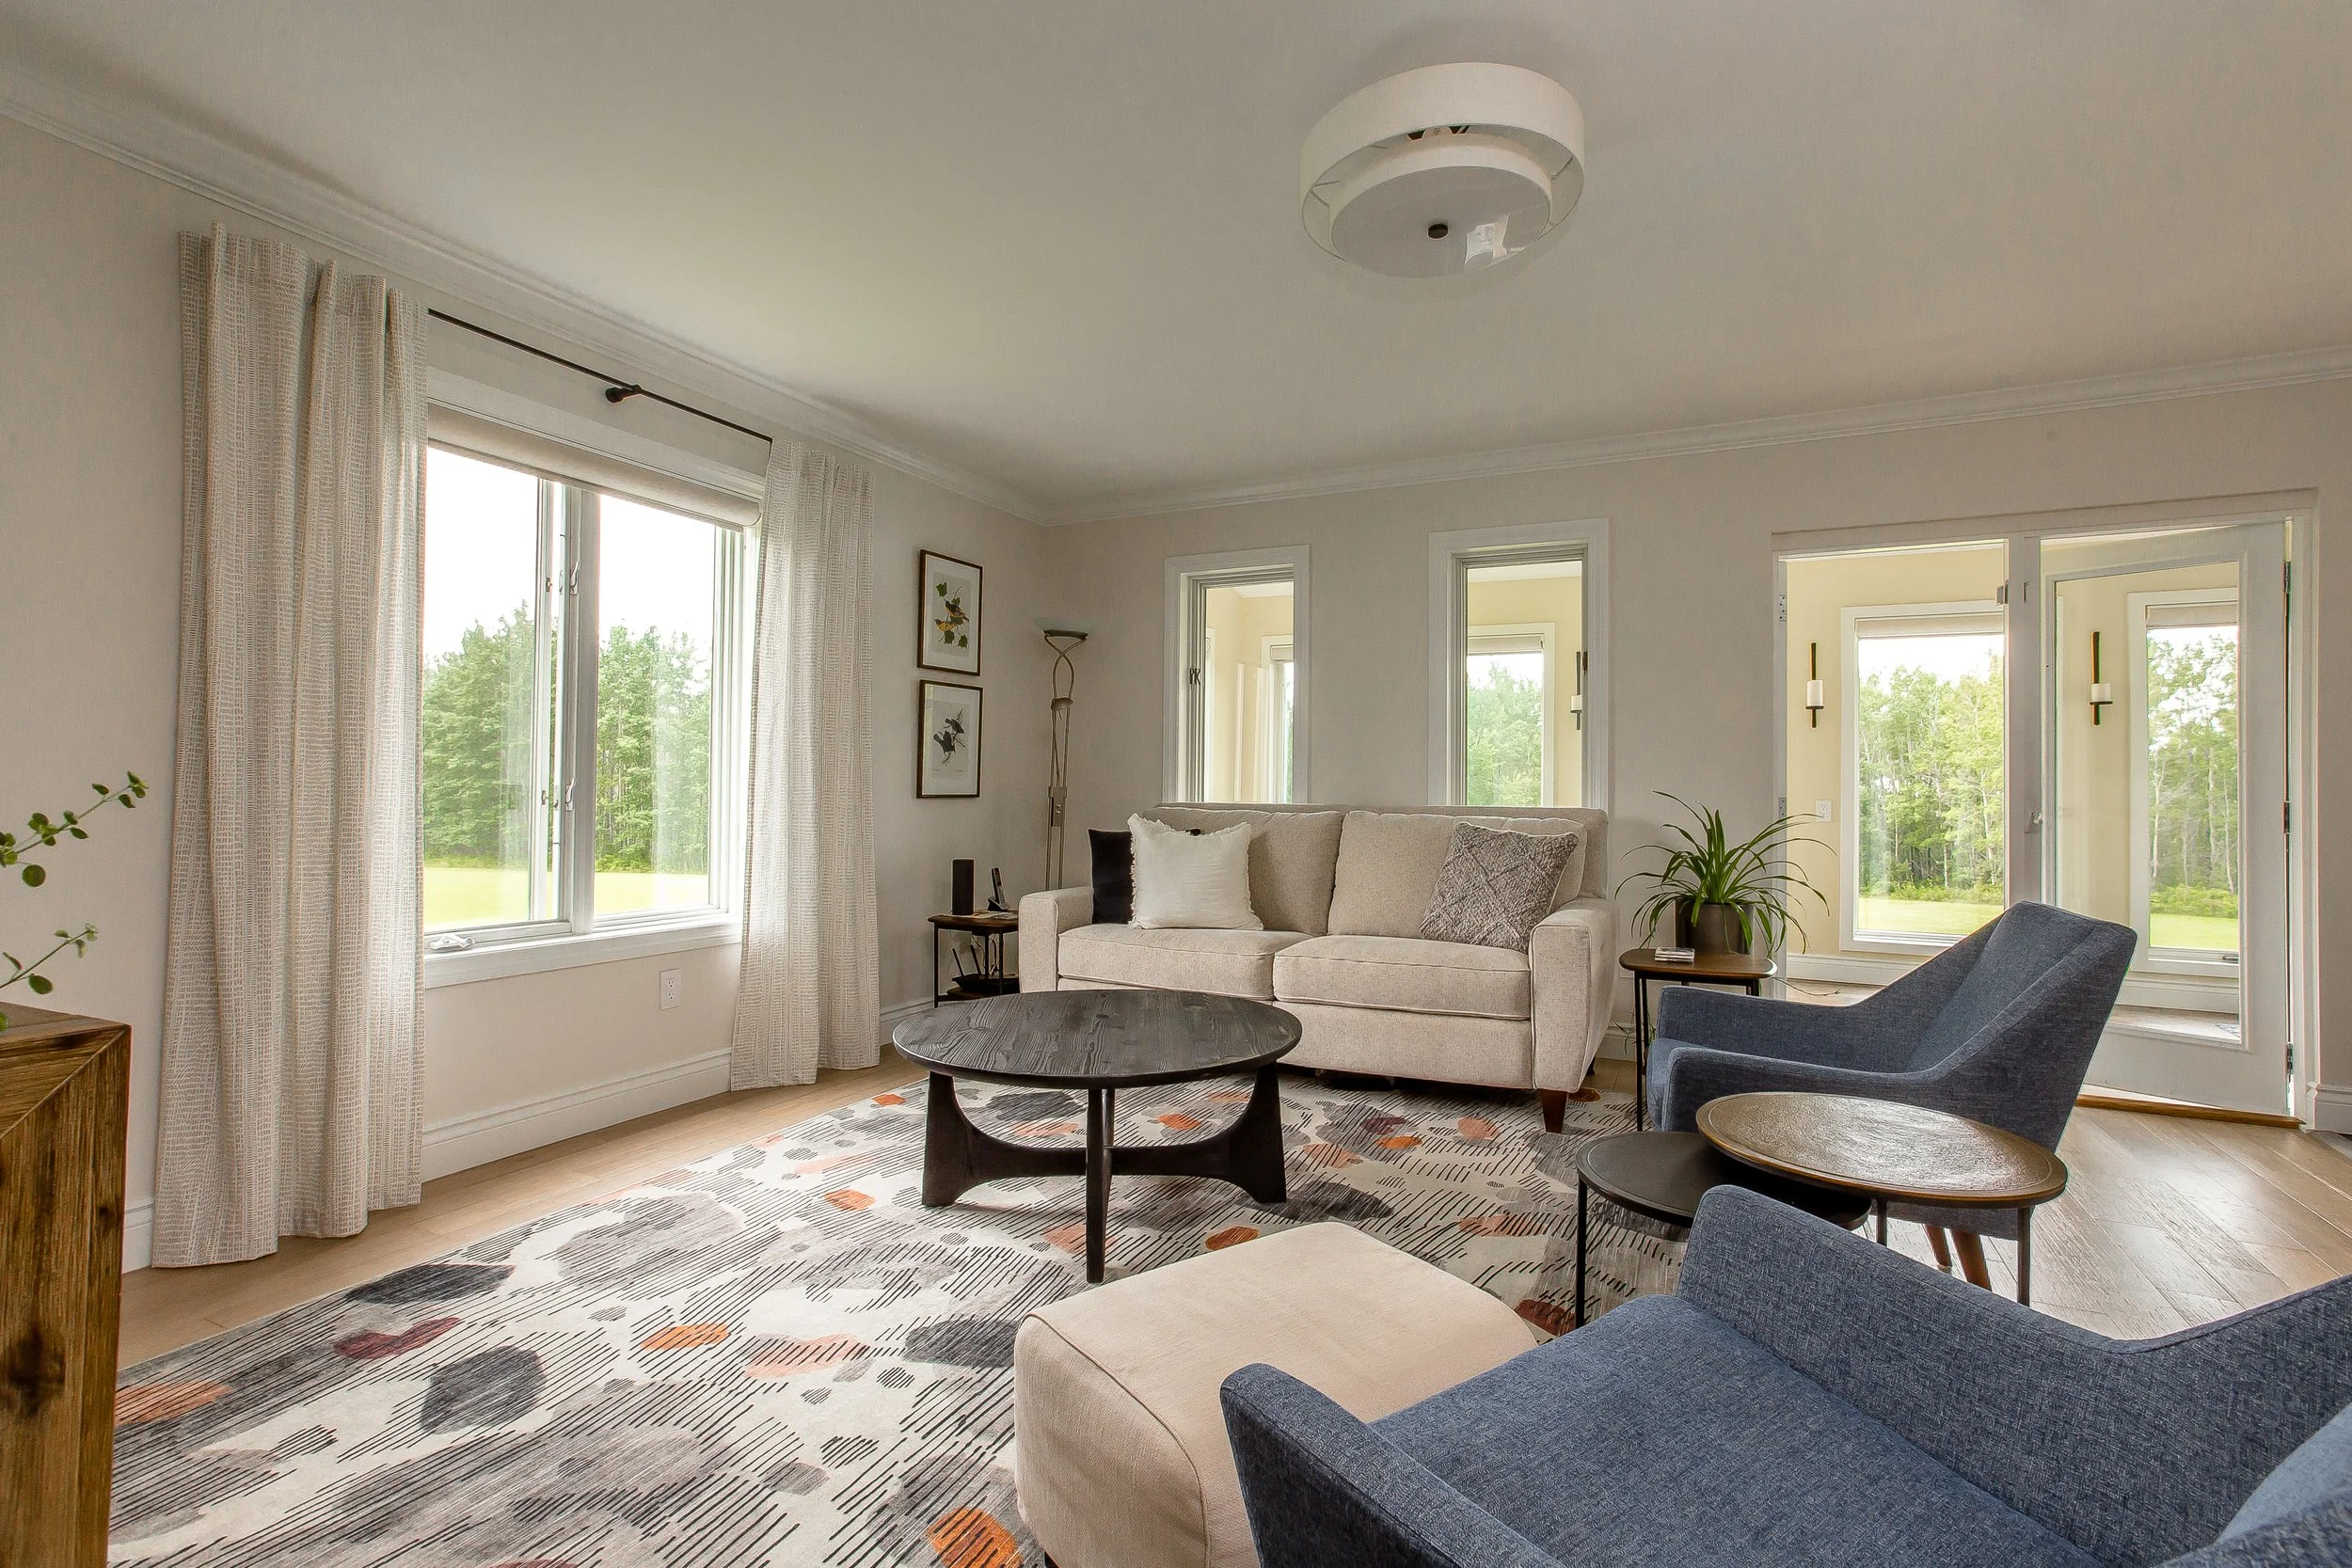
For our clients, the move to the new home was a bit of an up-size for them compared to their previous home in the city. This meant that they didn’t actually have enough furniture to fill each room and we even had to figure out what the purpose of each room would be. These before photos show how we initially positioned their existing furniture so that they could functionally use the space until it was time to start the redesign and the renovation.

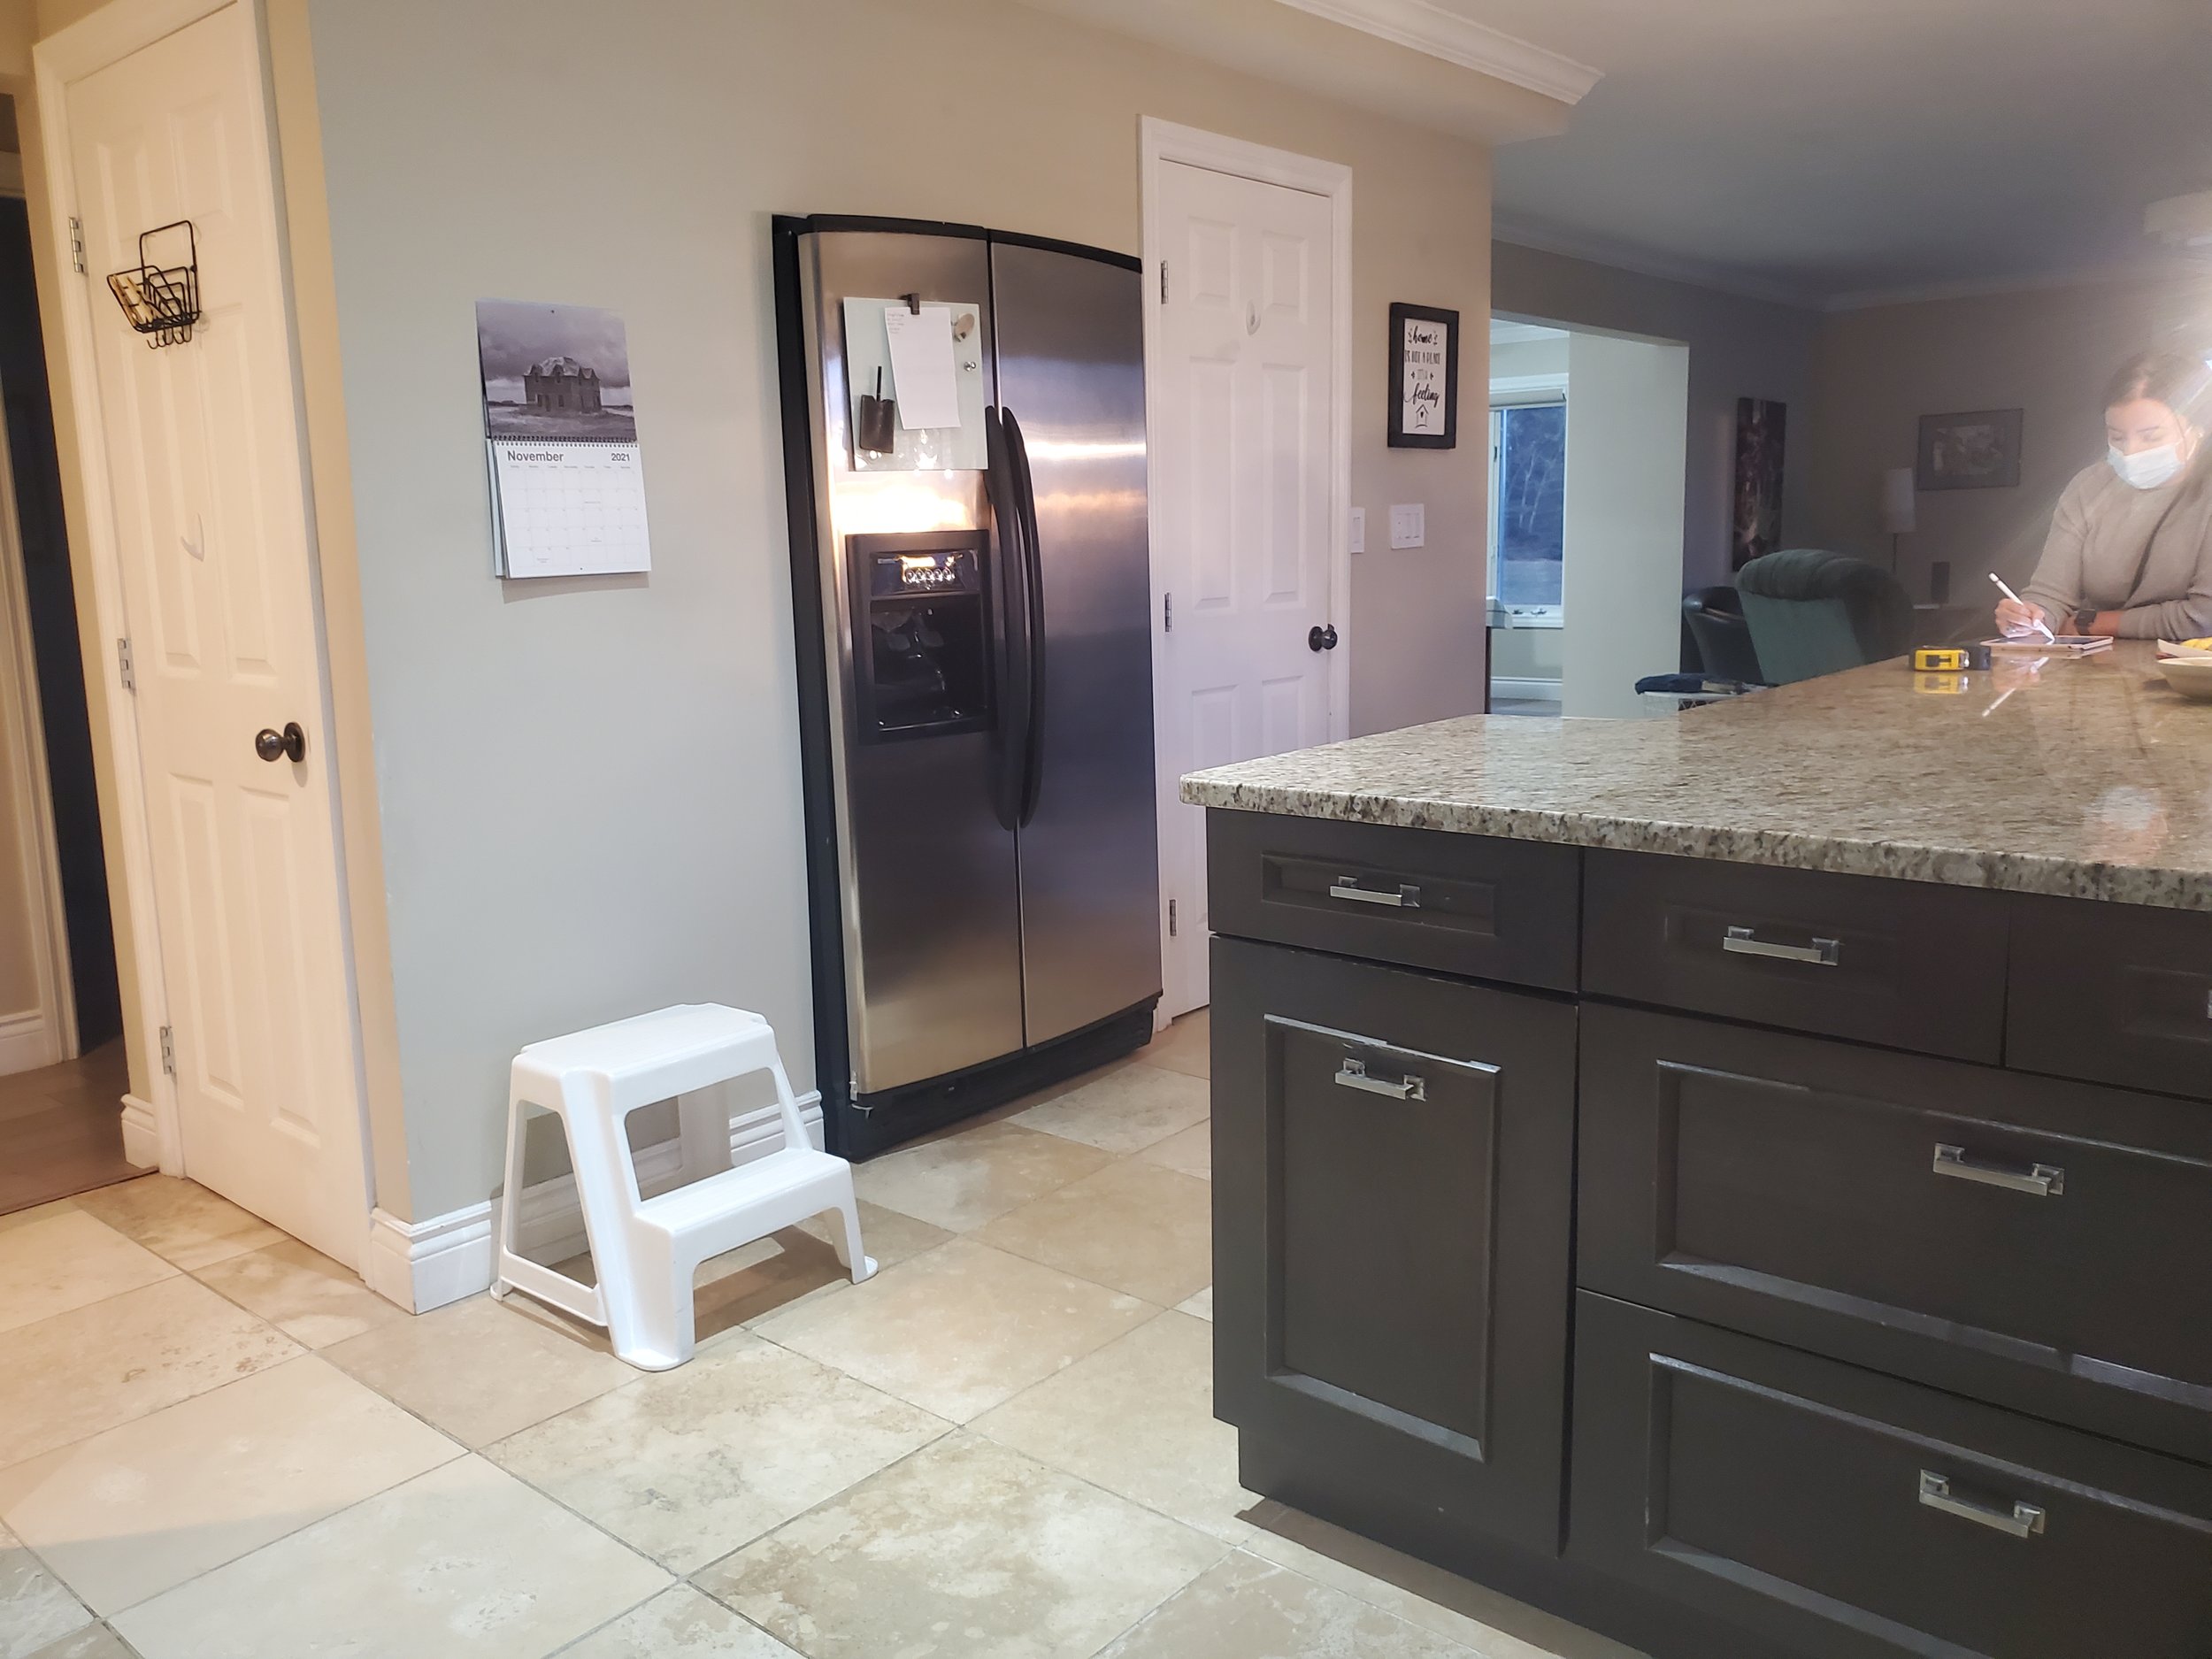


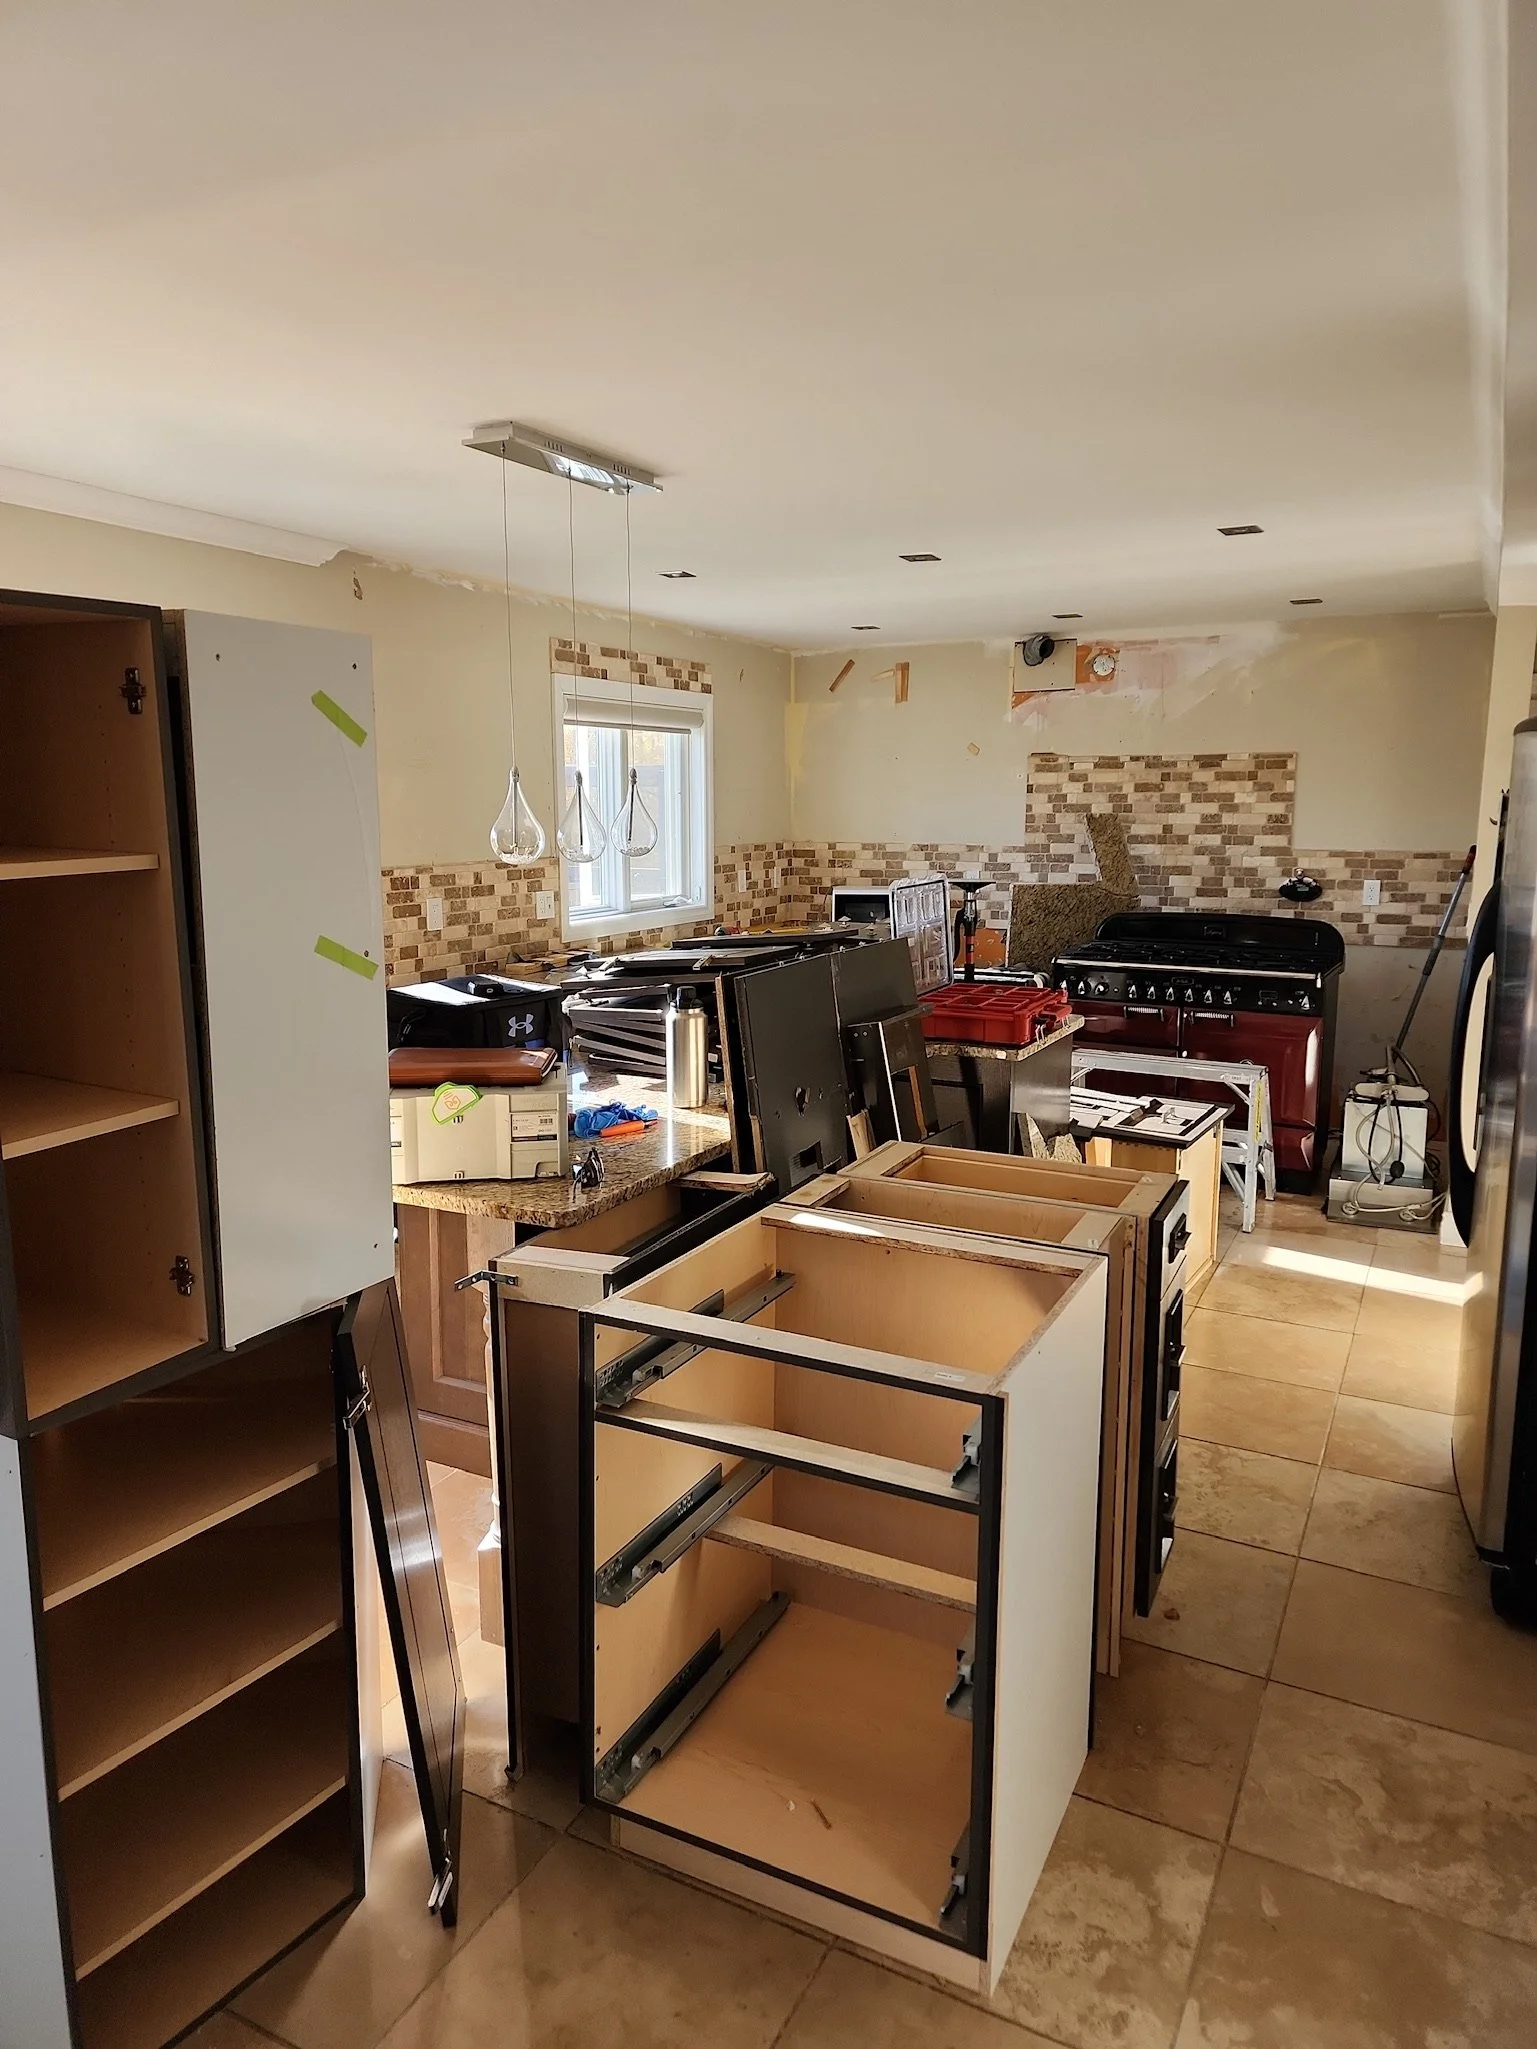
When looking at the two areas that we did a full renovation on - the kitchen and the ensuite - there were a few elements that were not the most functional and became the tipping point to going forward with a full gut vs a refresh.

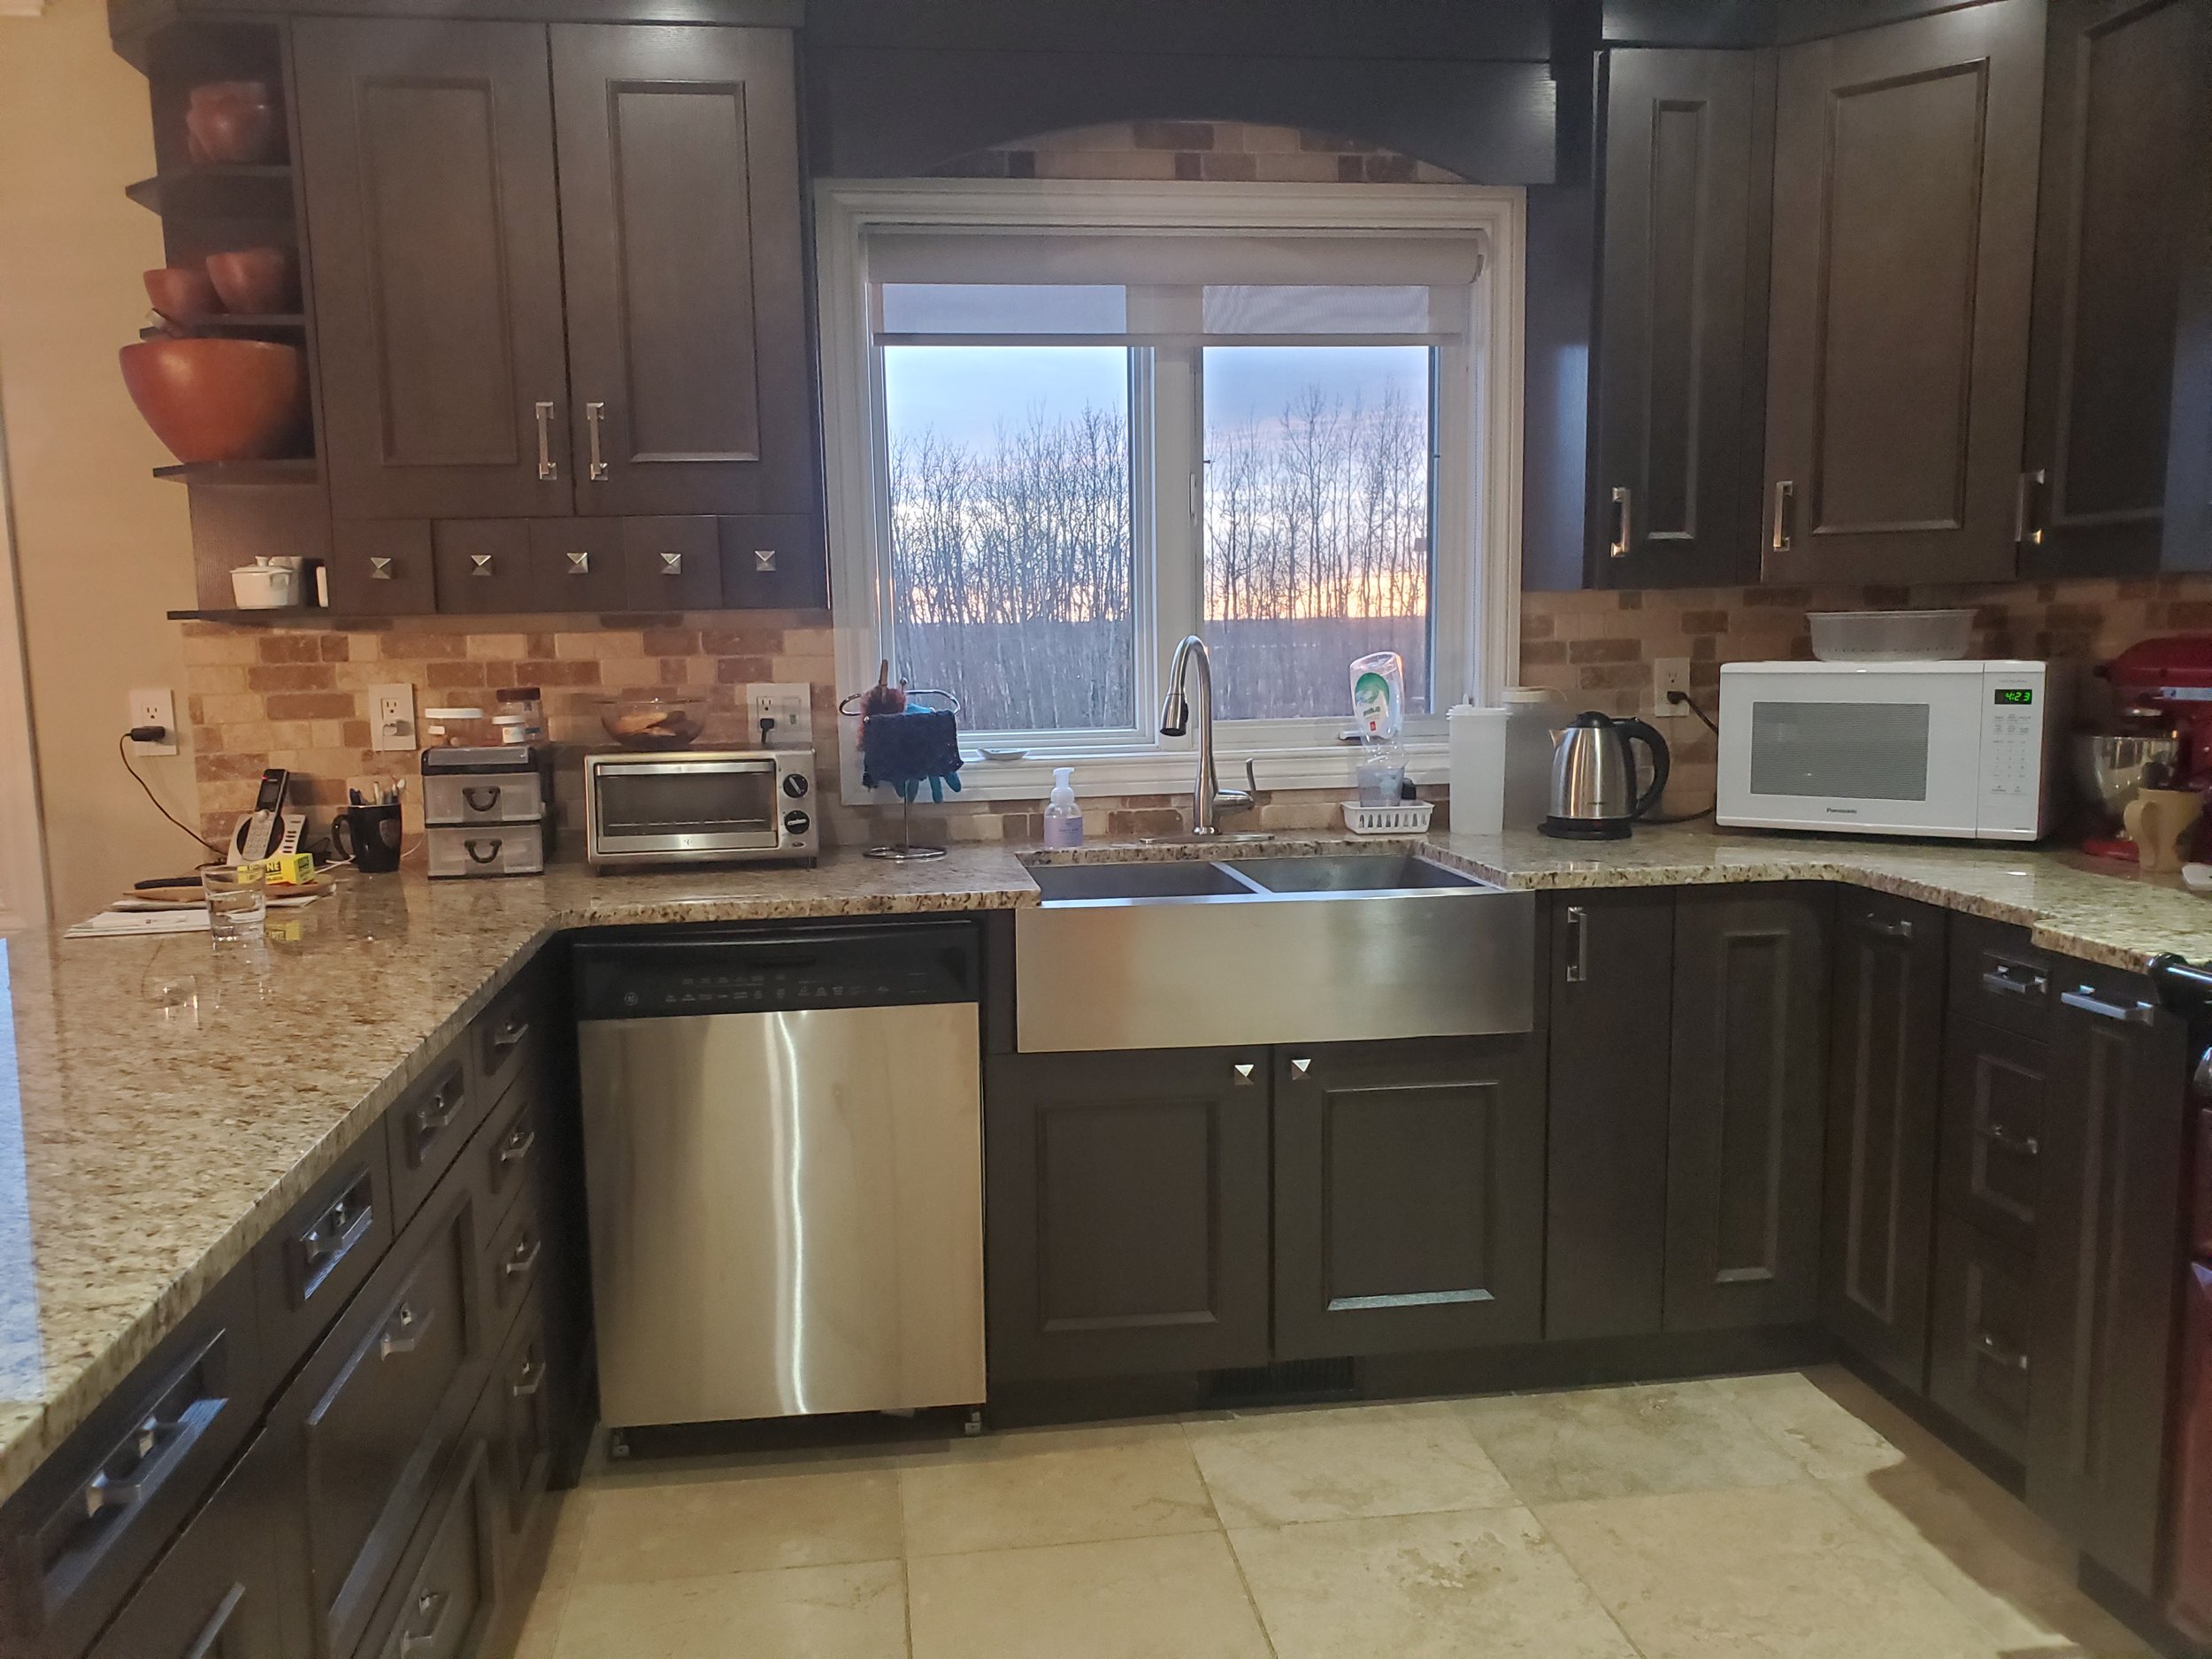
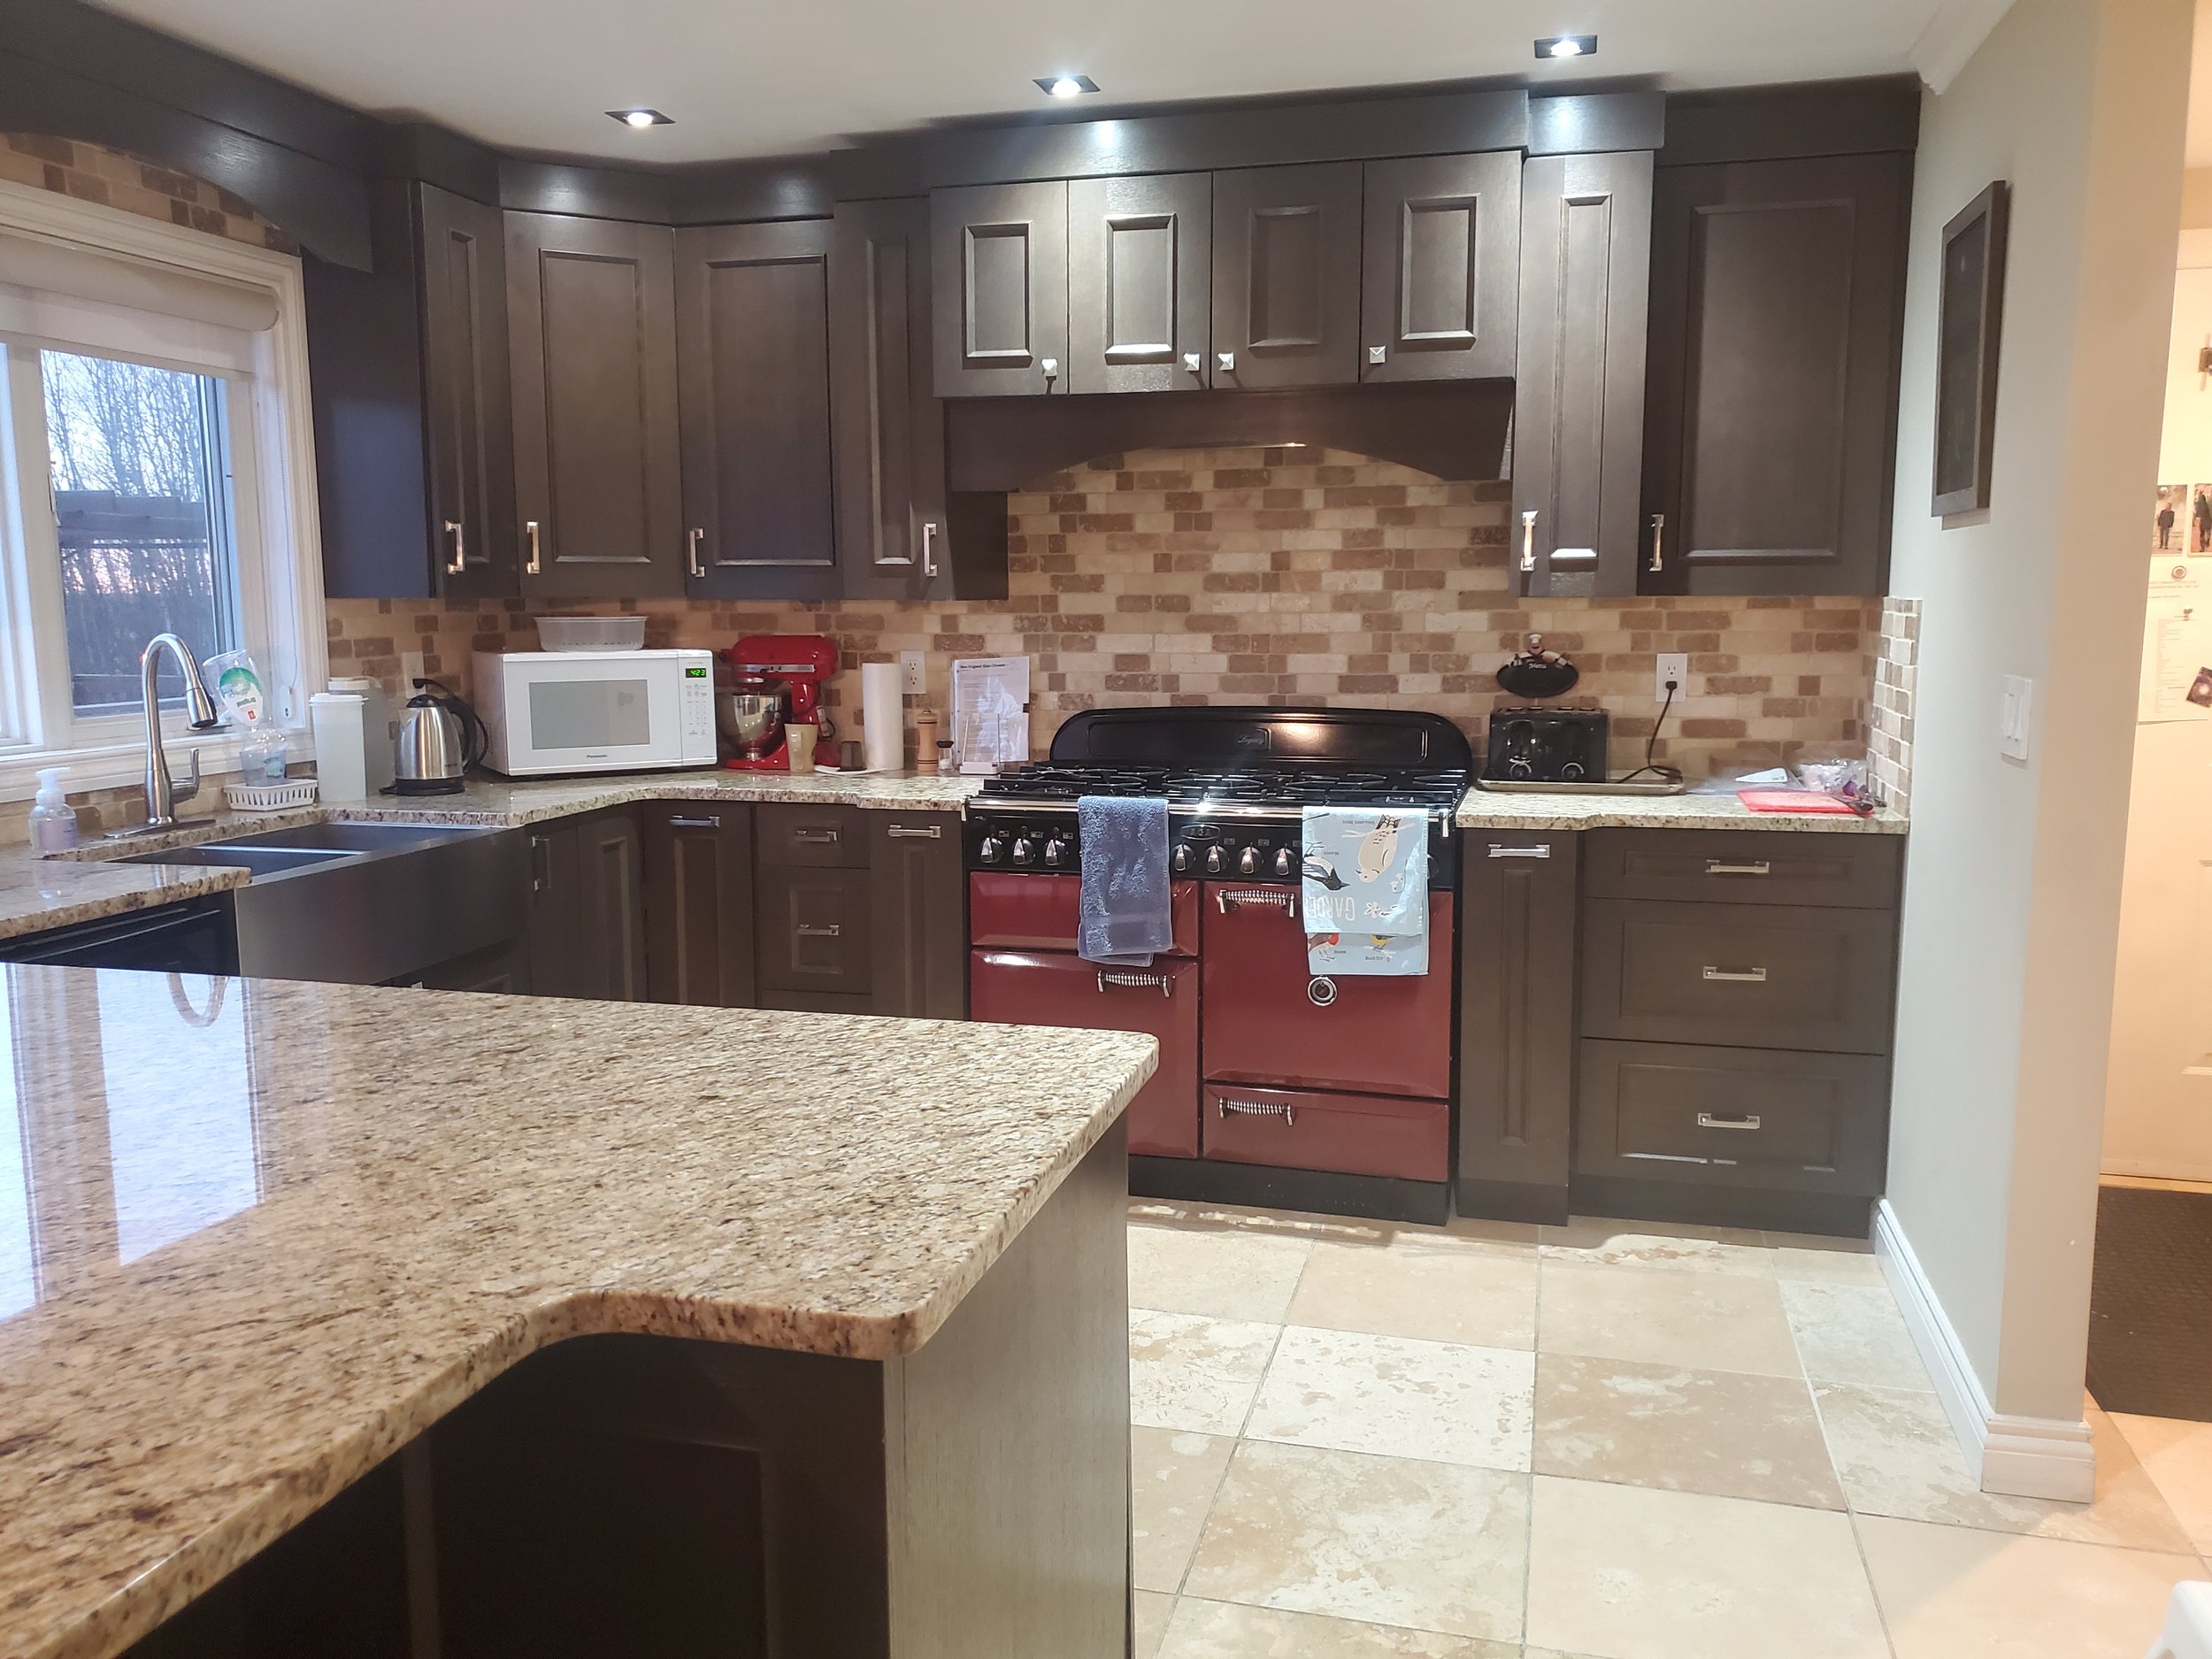
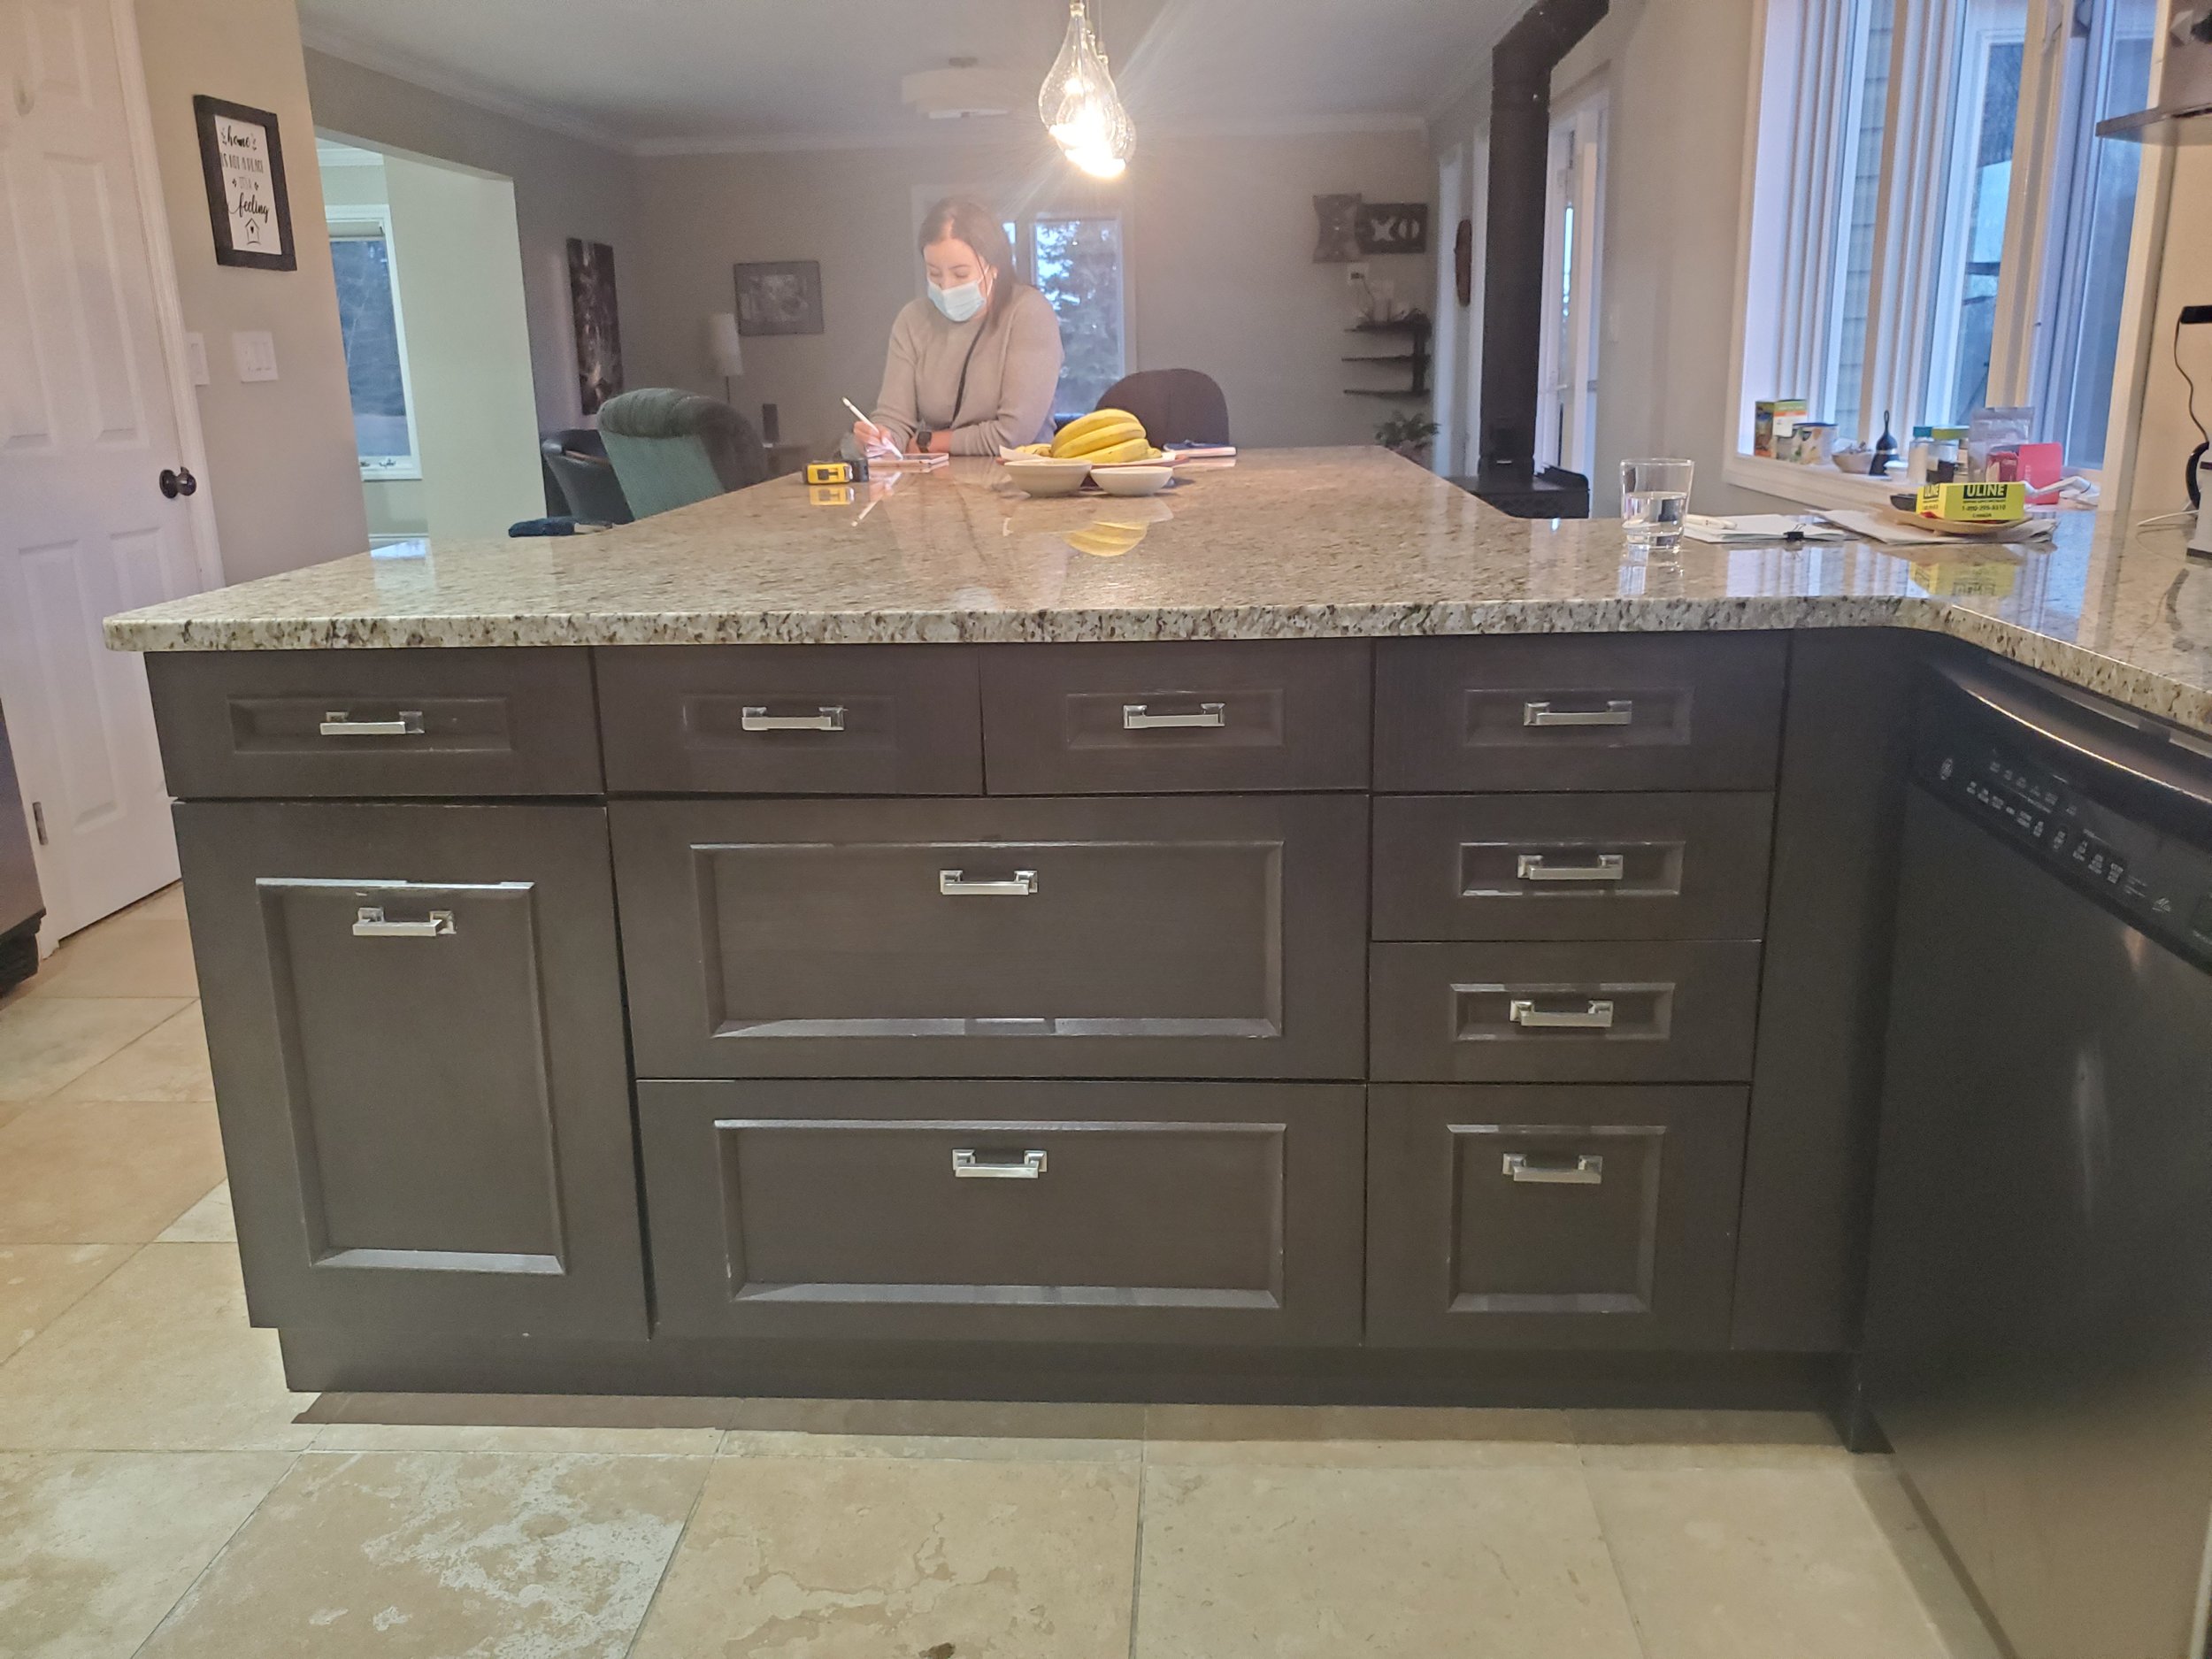
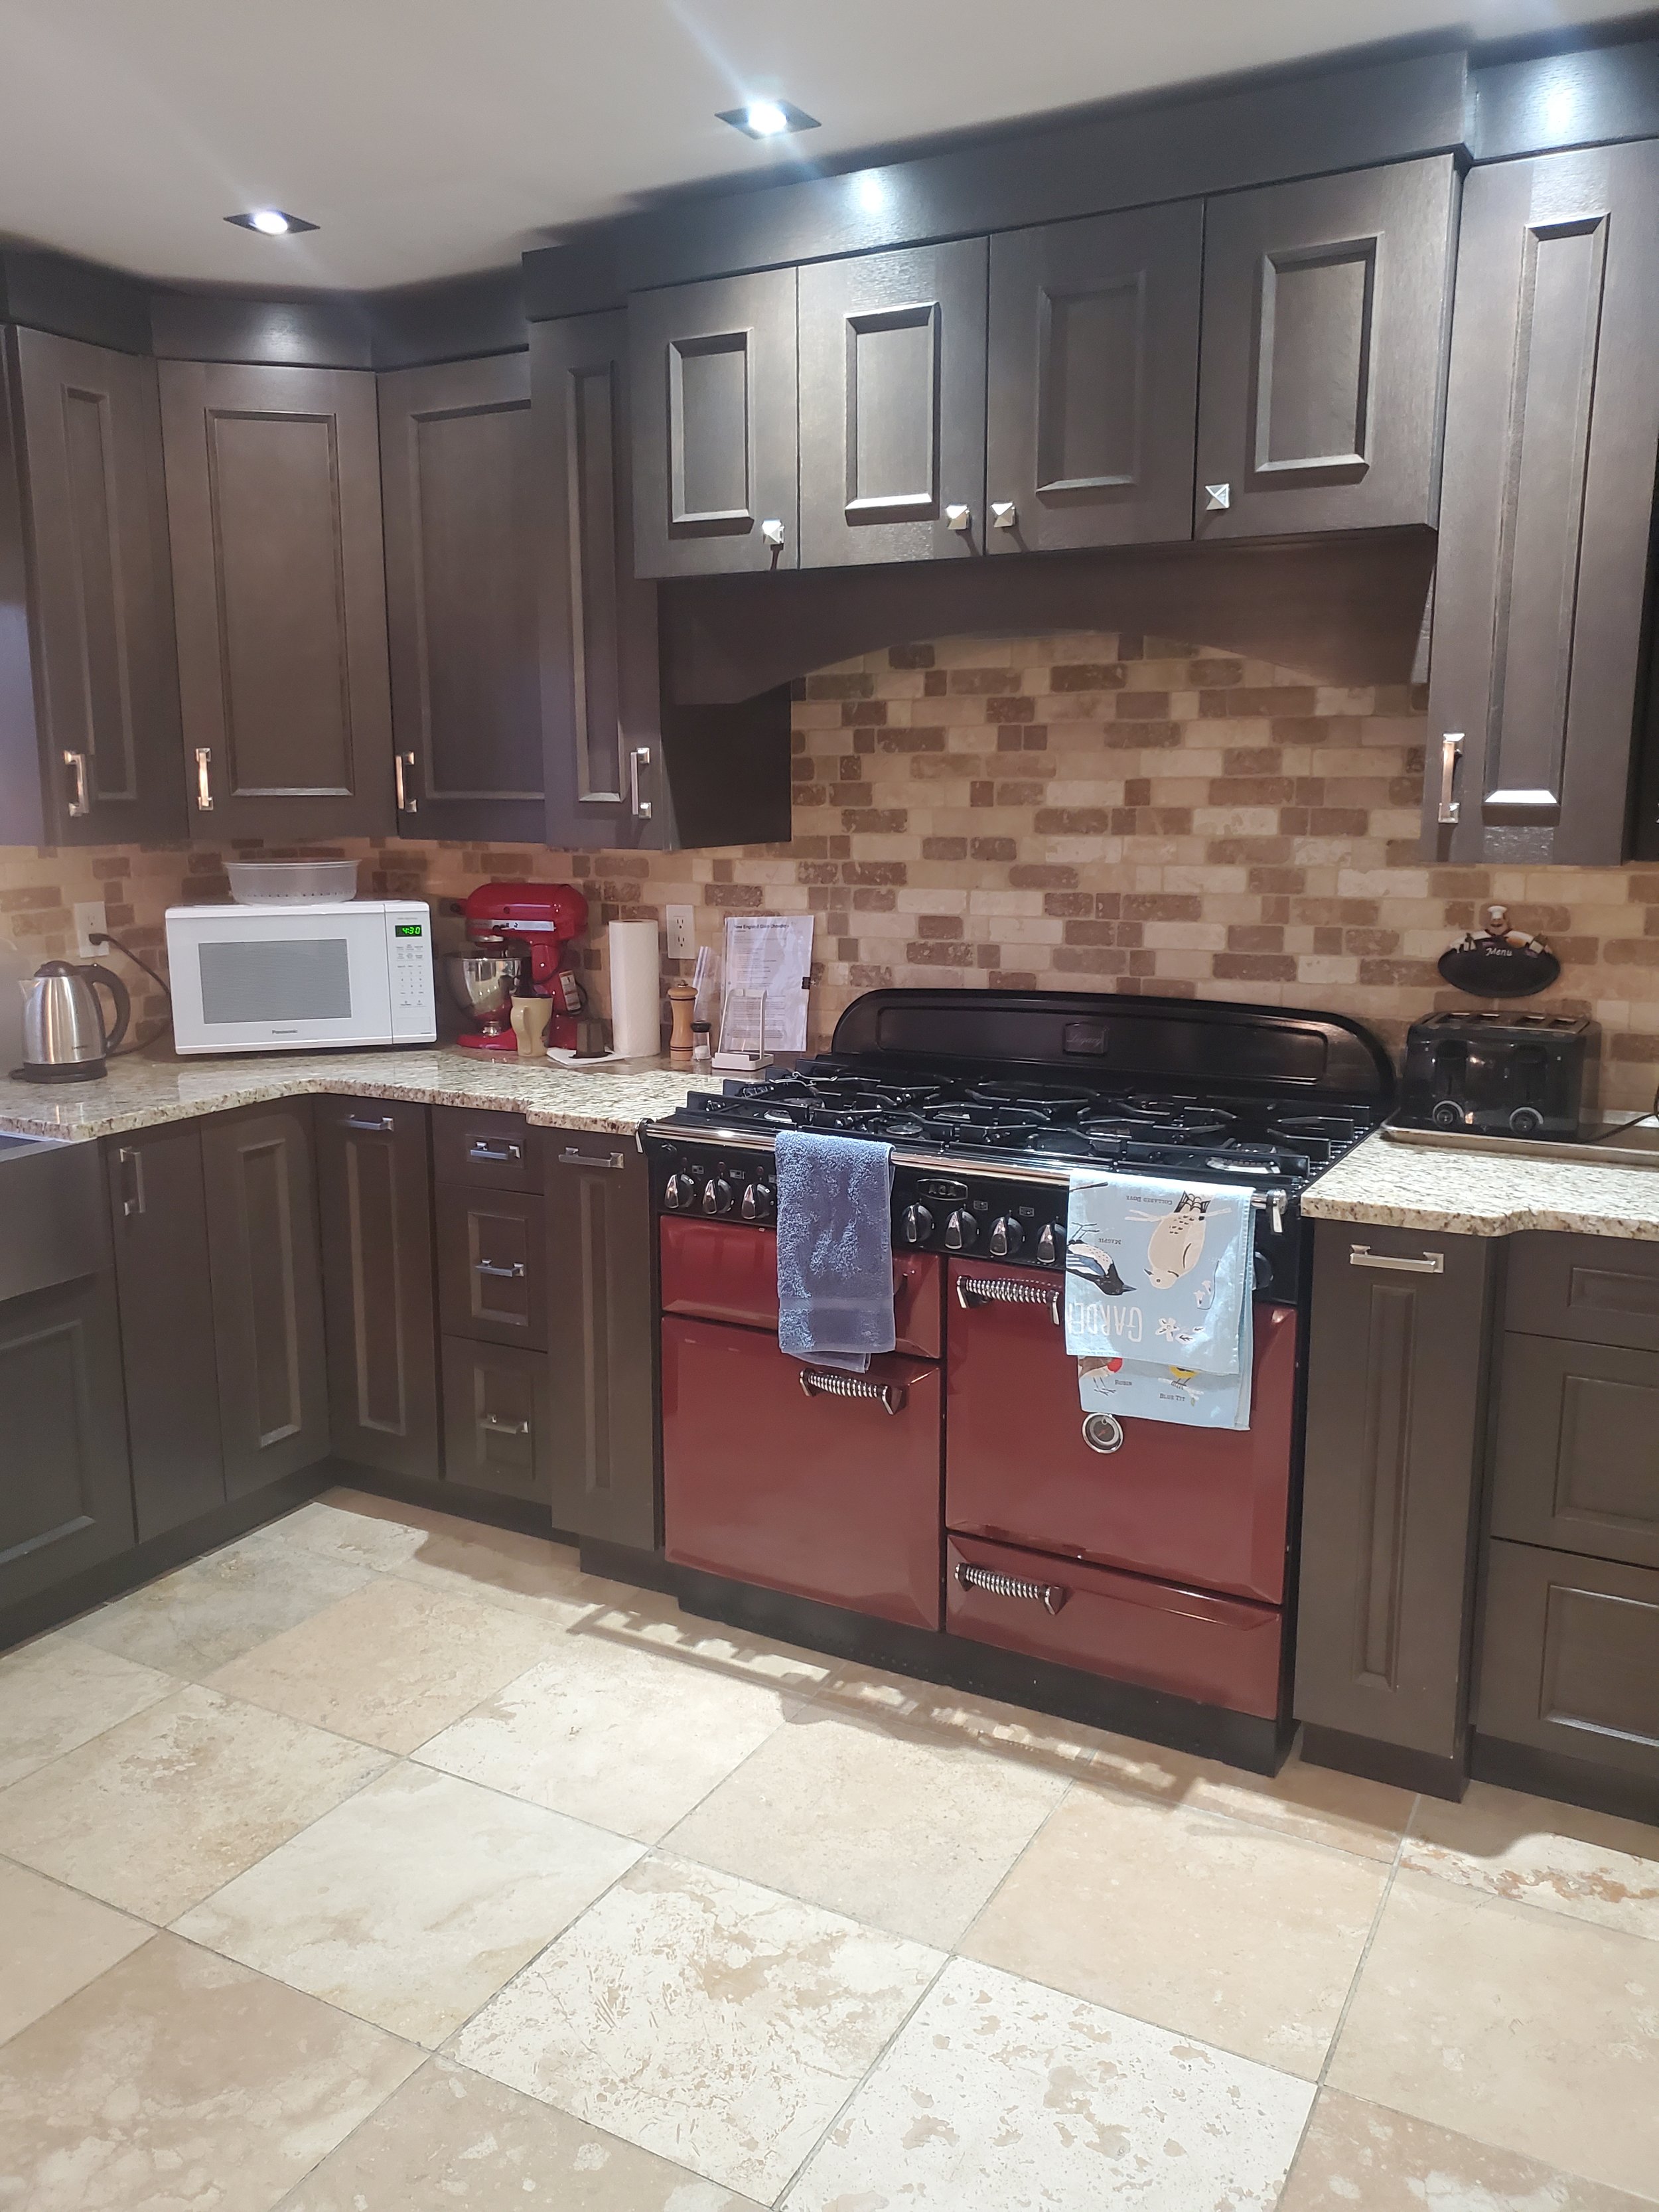
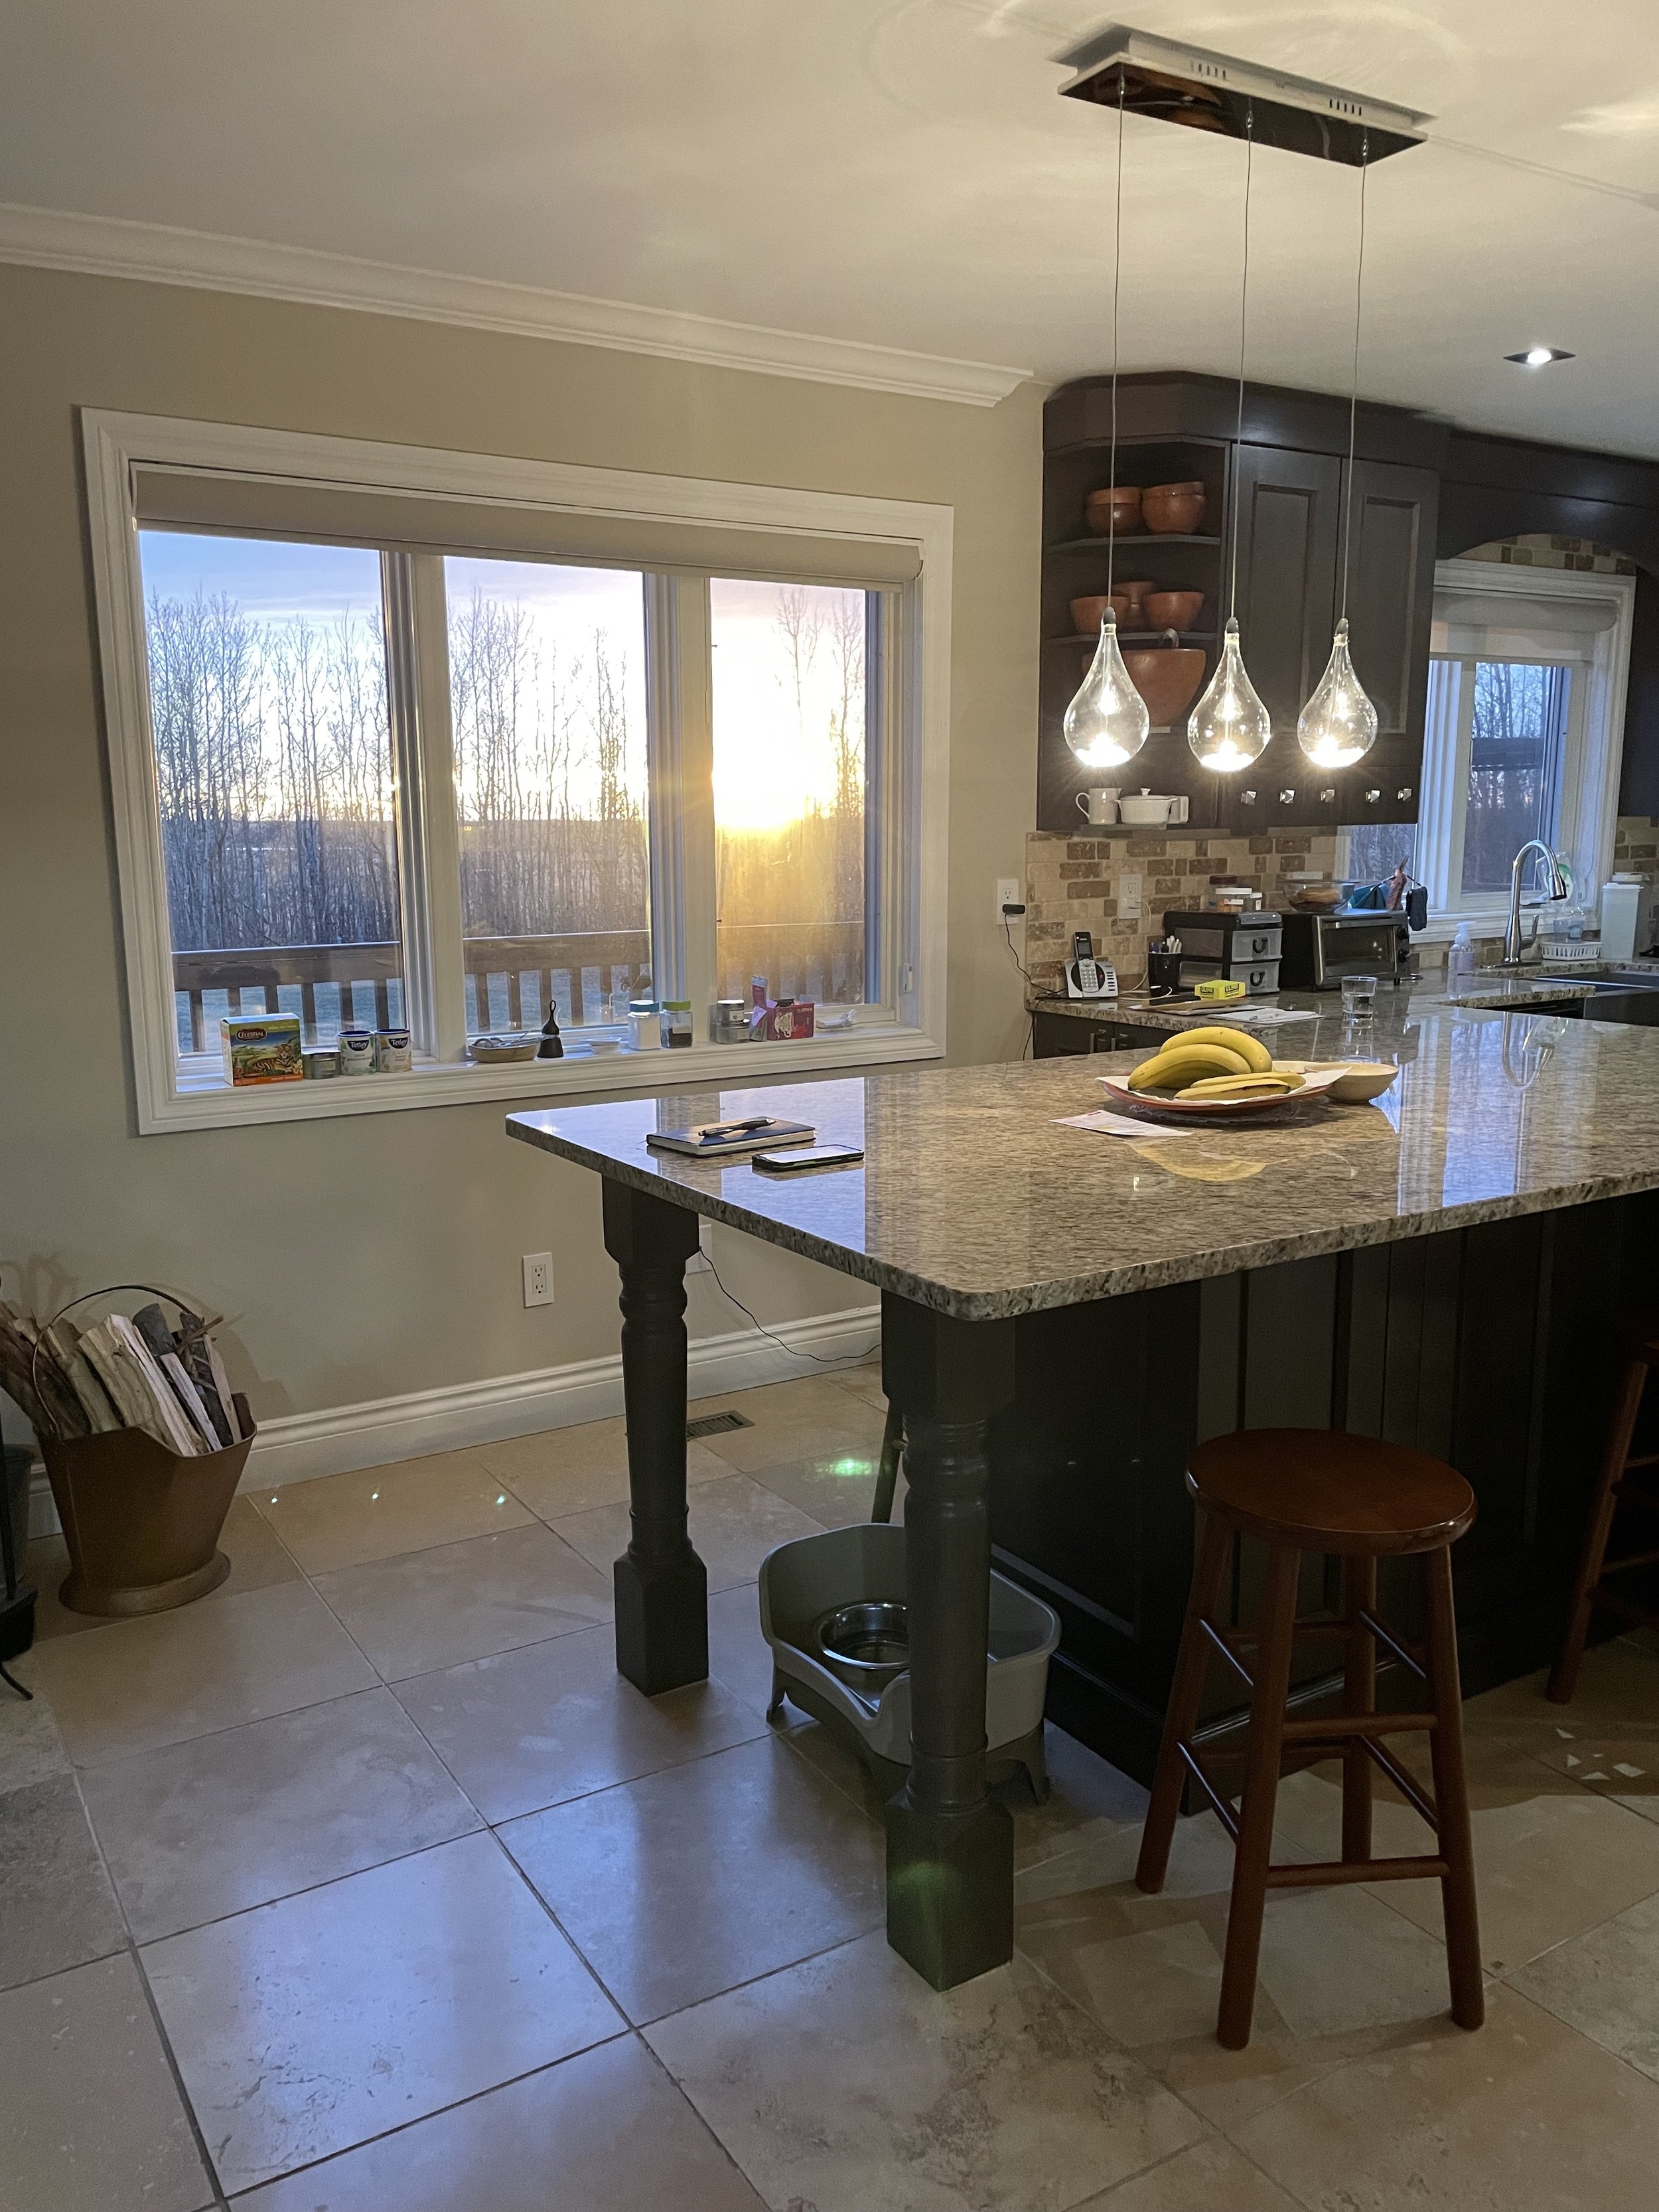
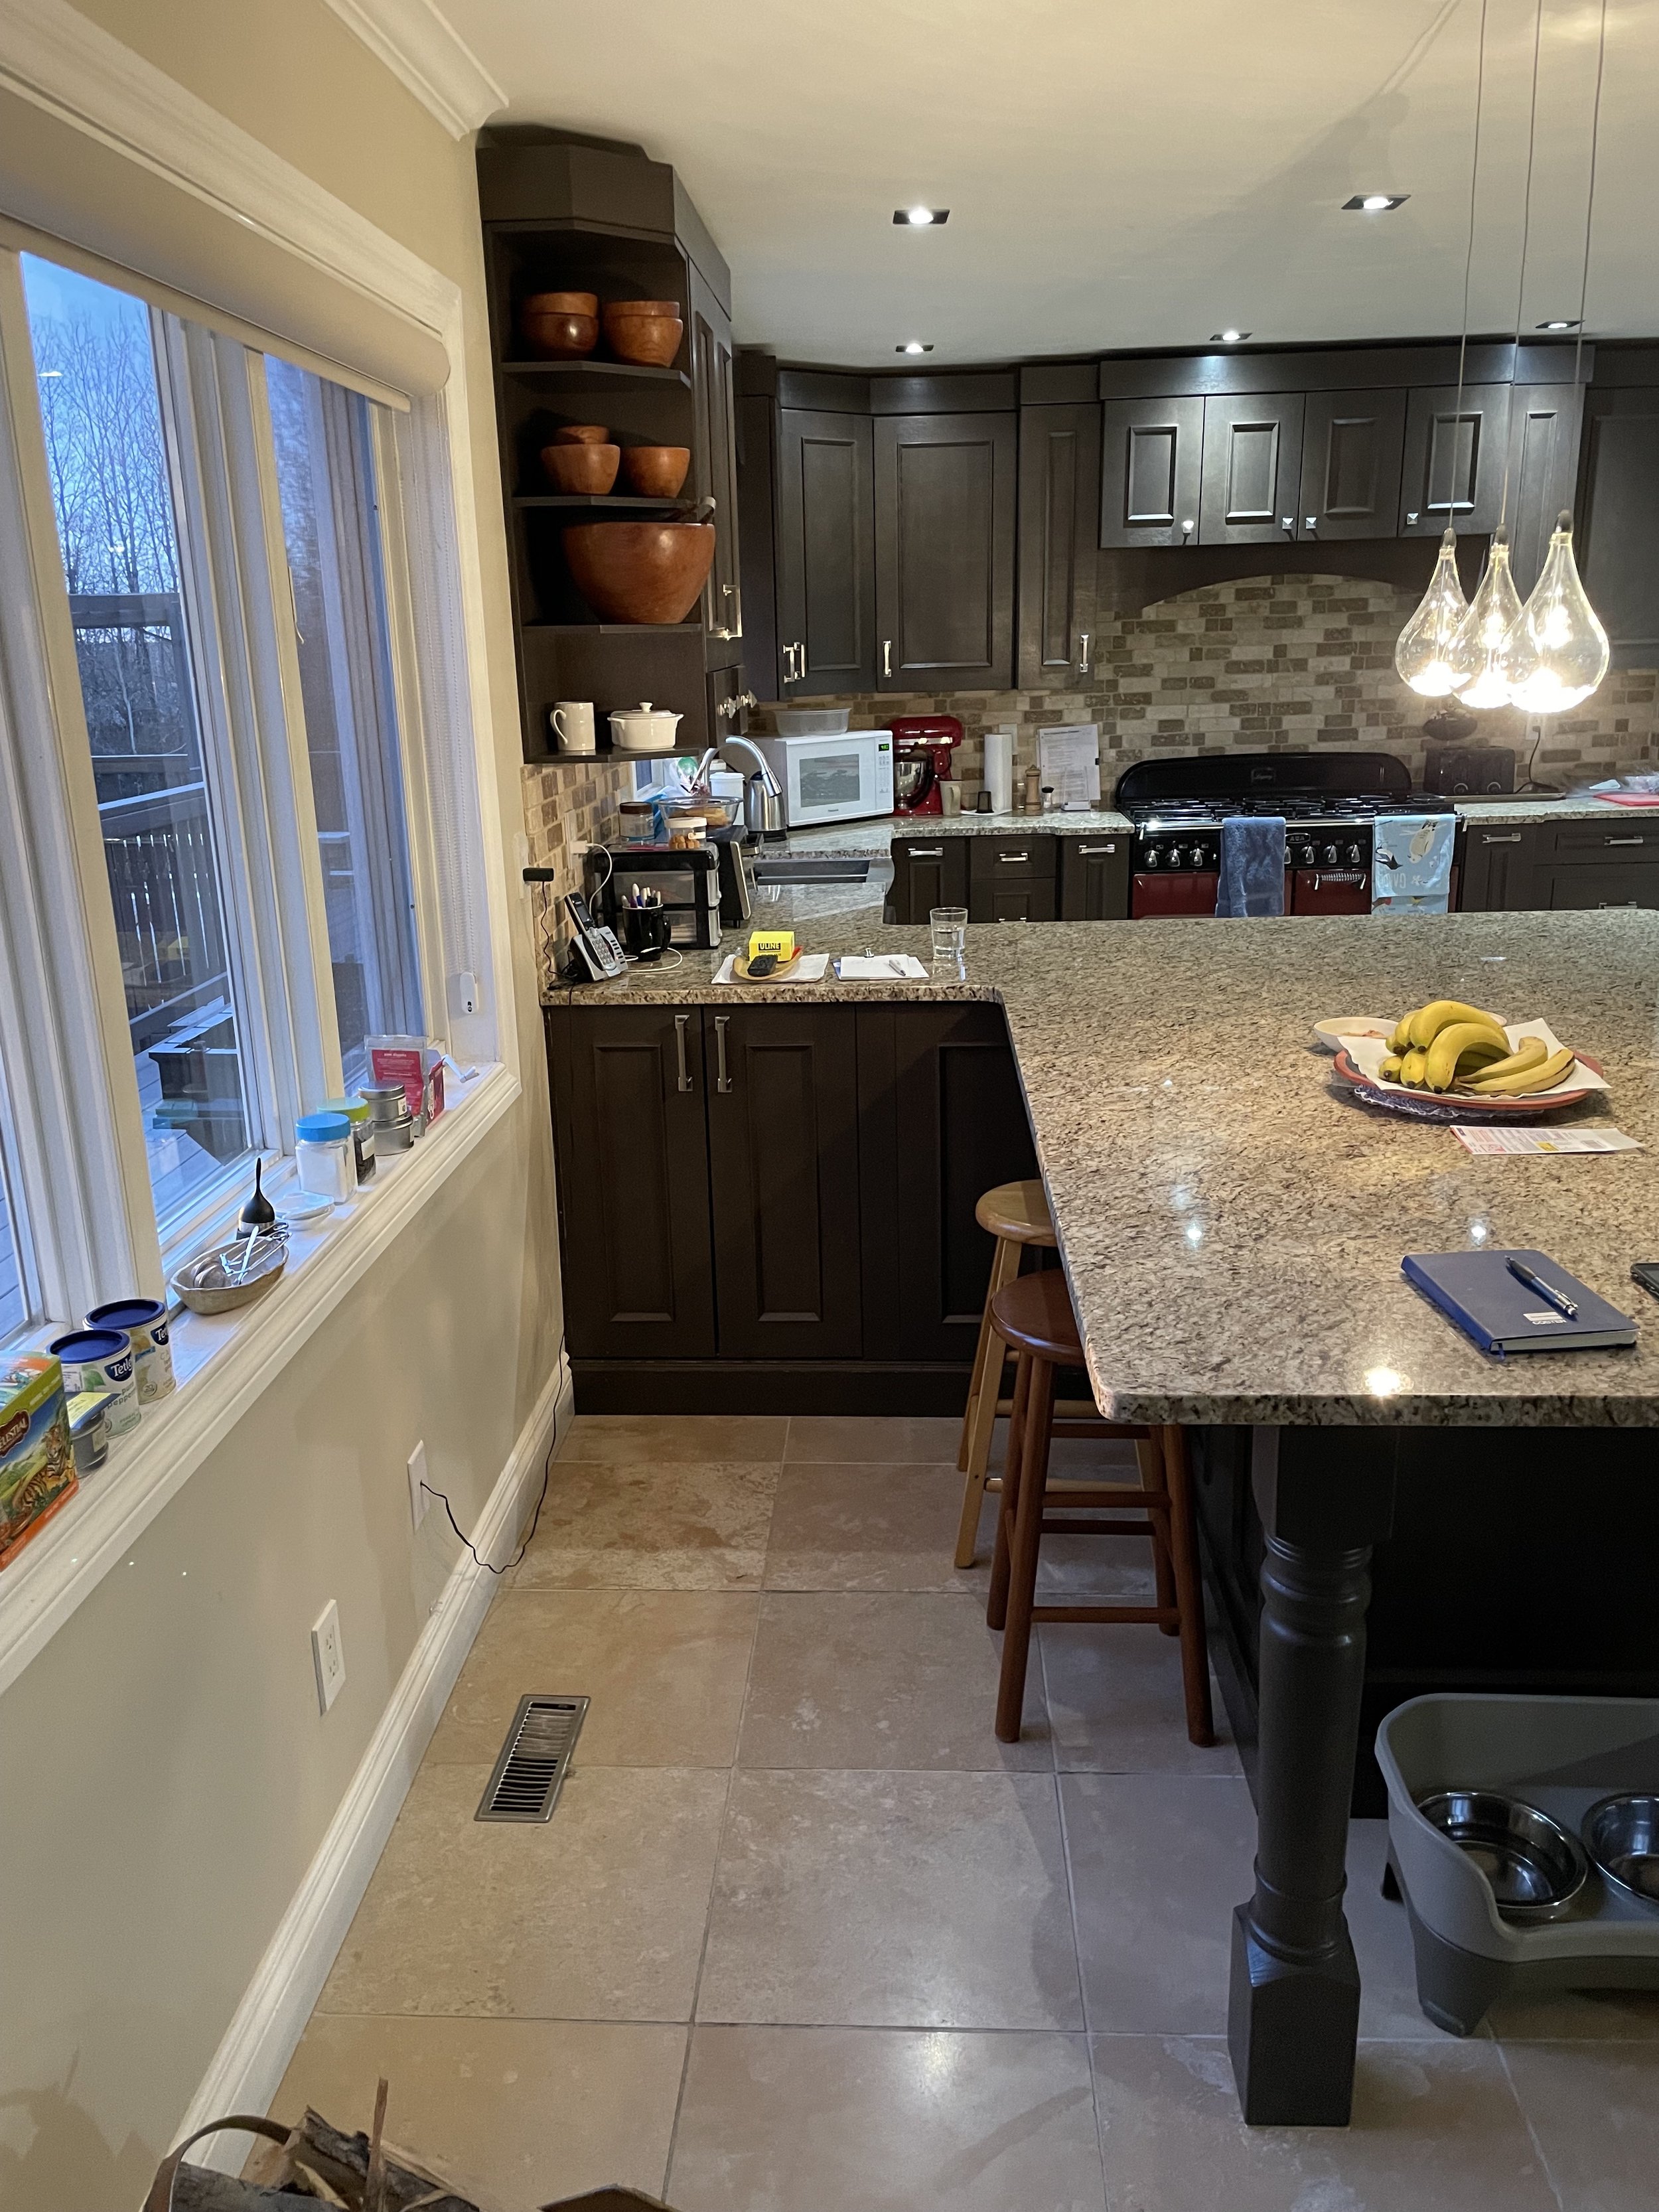
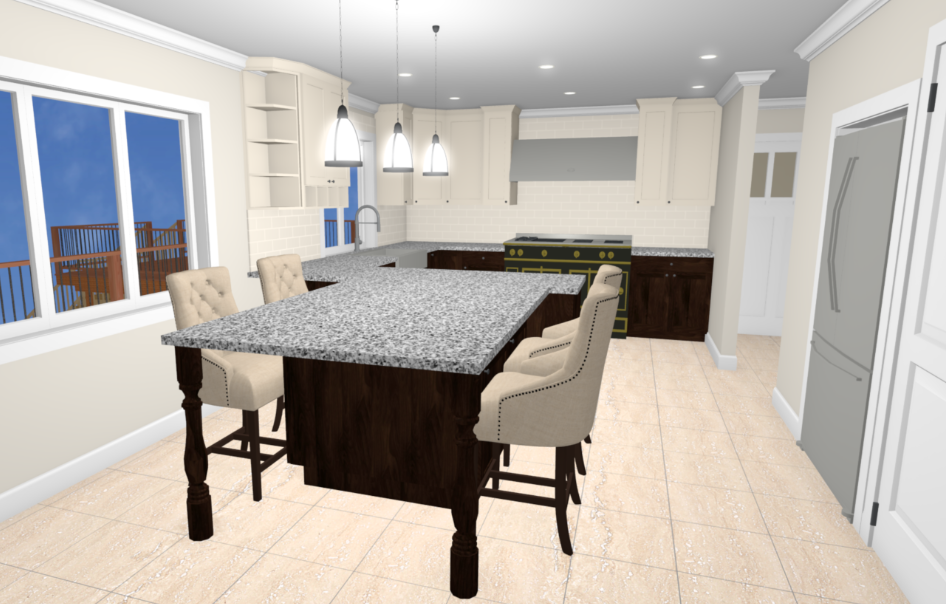
The kitchen’s extended peninsula had no storage in it - that’s right, all of that space was just enclosed boxes. There was so much storage potential just sitting there that couldn’t be used. Also having it as a peninsula connected to the main kitchen blocked the traffic flow in that area. There were smaller elements like the little drawers on the wall cabinets to the left of the sink that my client couldn’t even see into, making them essentially useless, and they were also keen to move to an induction range from a gas range. The storage areas were separated on two sides of the wall separating the kitchen and the hallway and it also made the space feel choppy with the fridge on its own in the wall. Additionally, the dark colour and countertops weren’t to their liking aesthetically and several of the tiles needed repair, likely due to a poor installation job originally (and this was just one of many install issues that were found throughout the home).
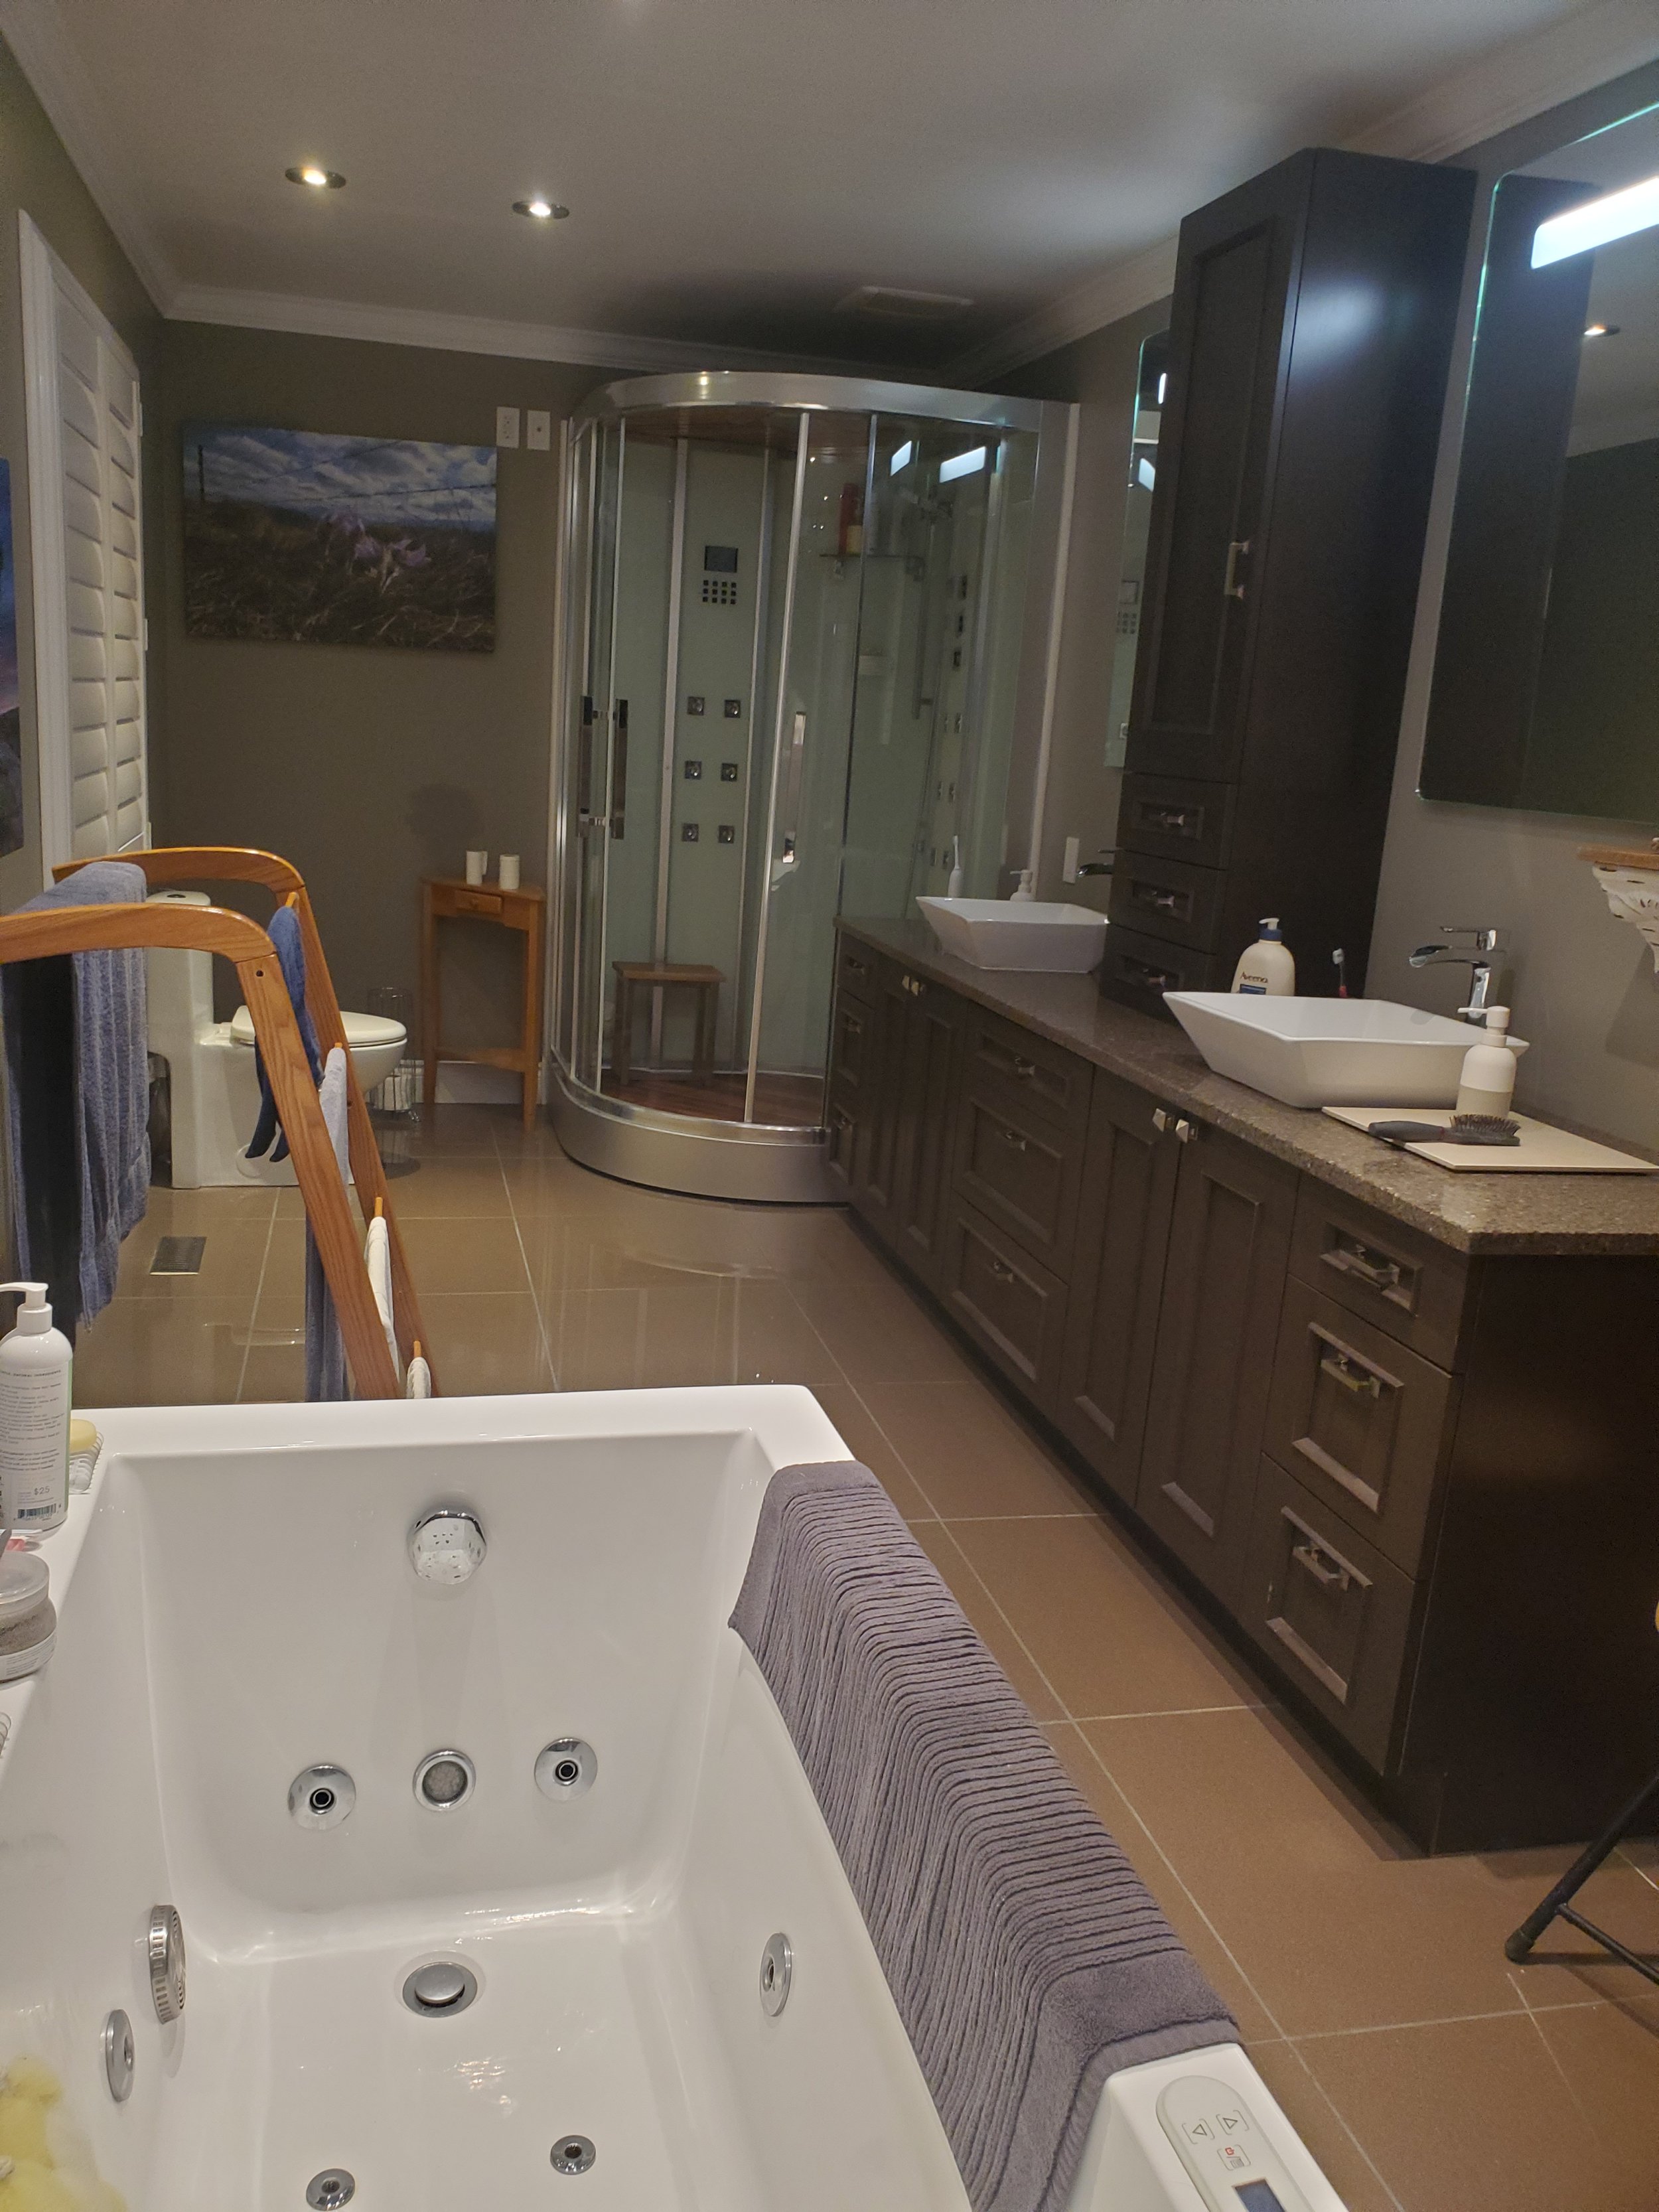
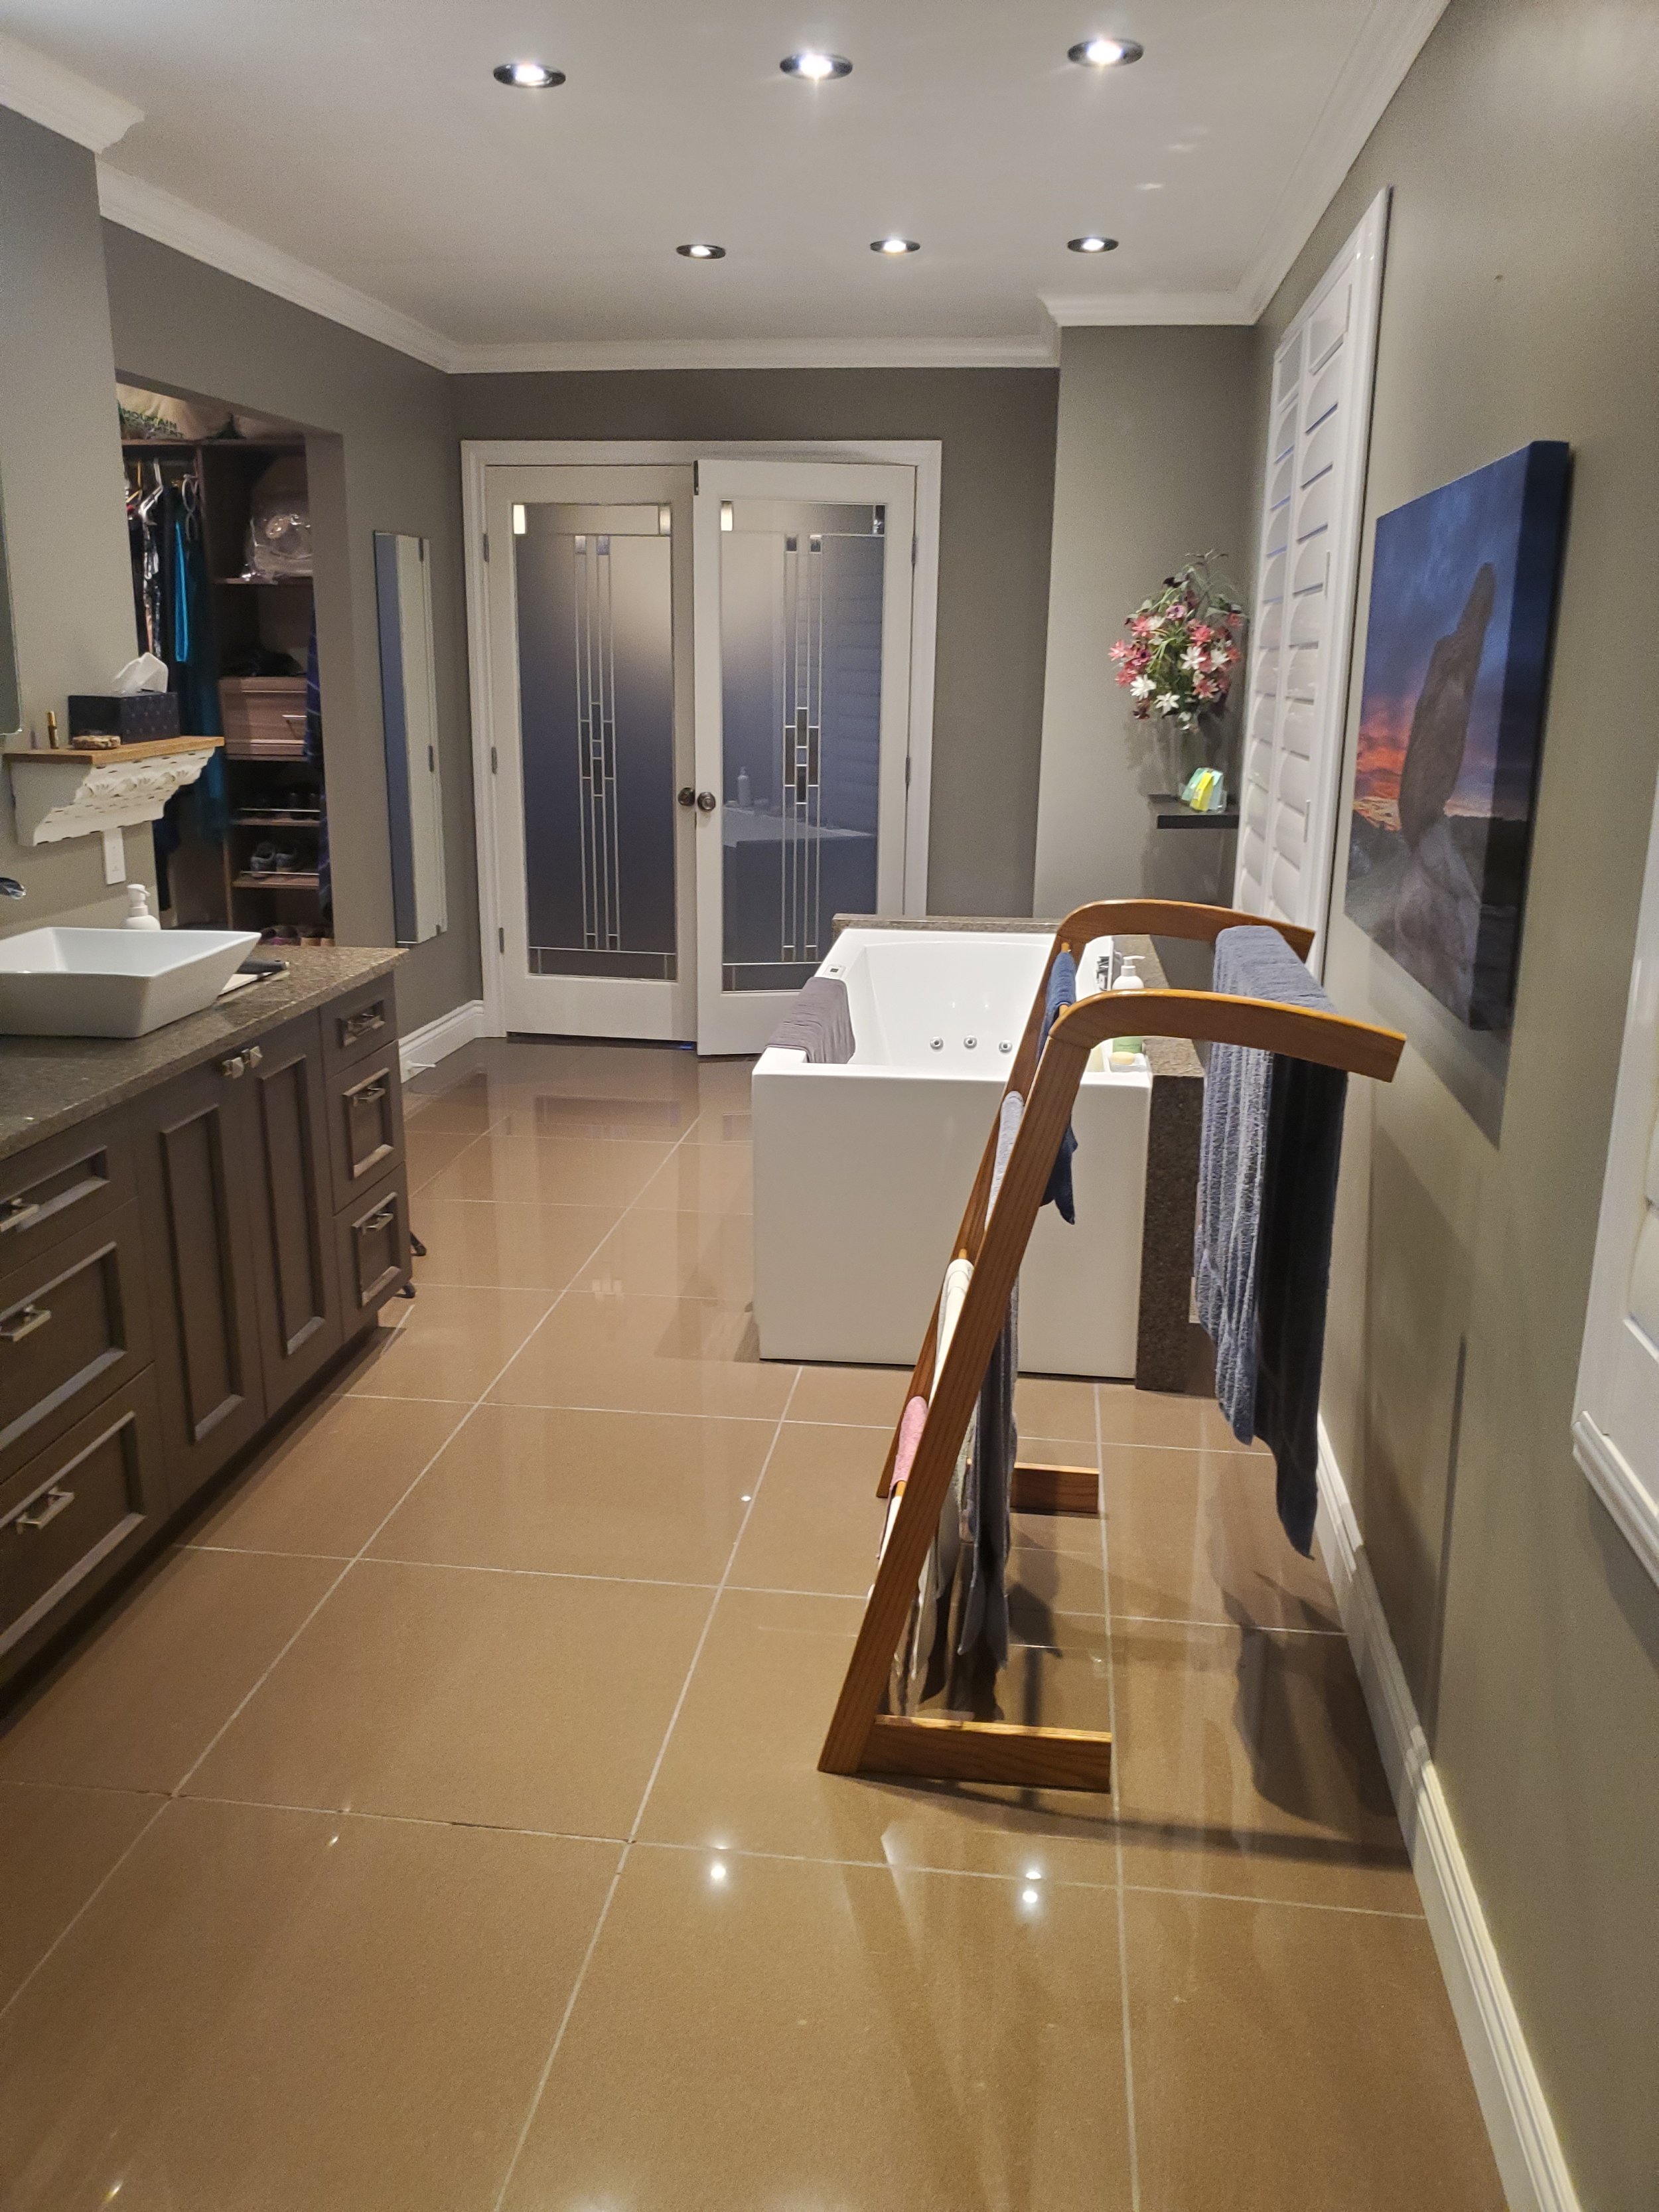
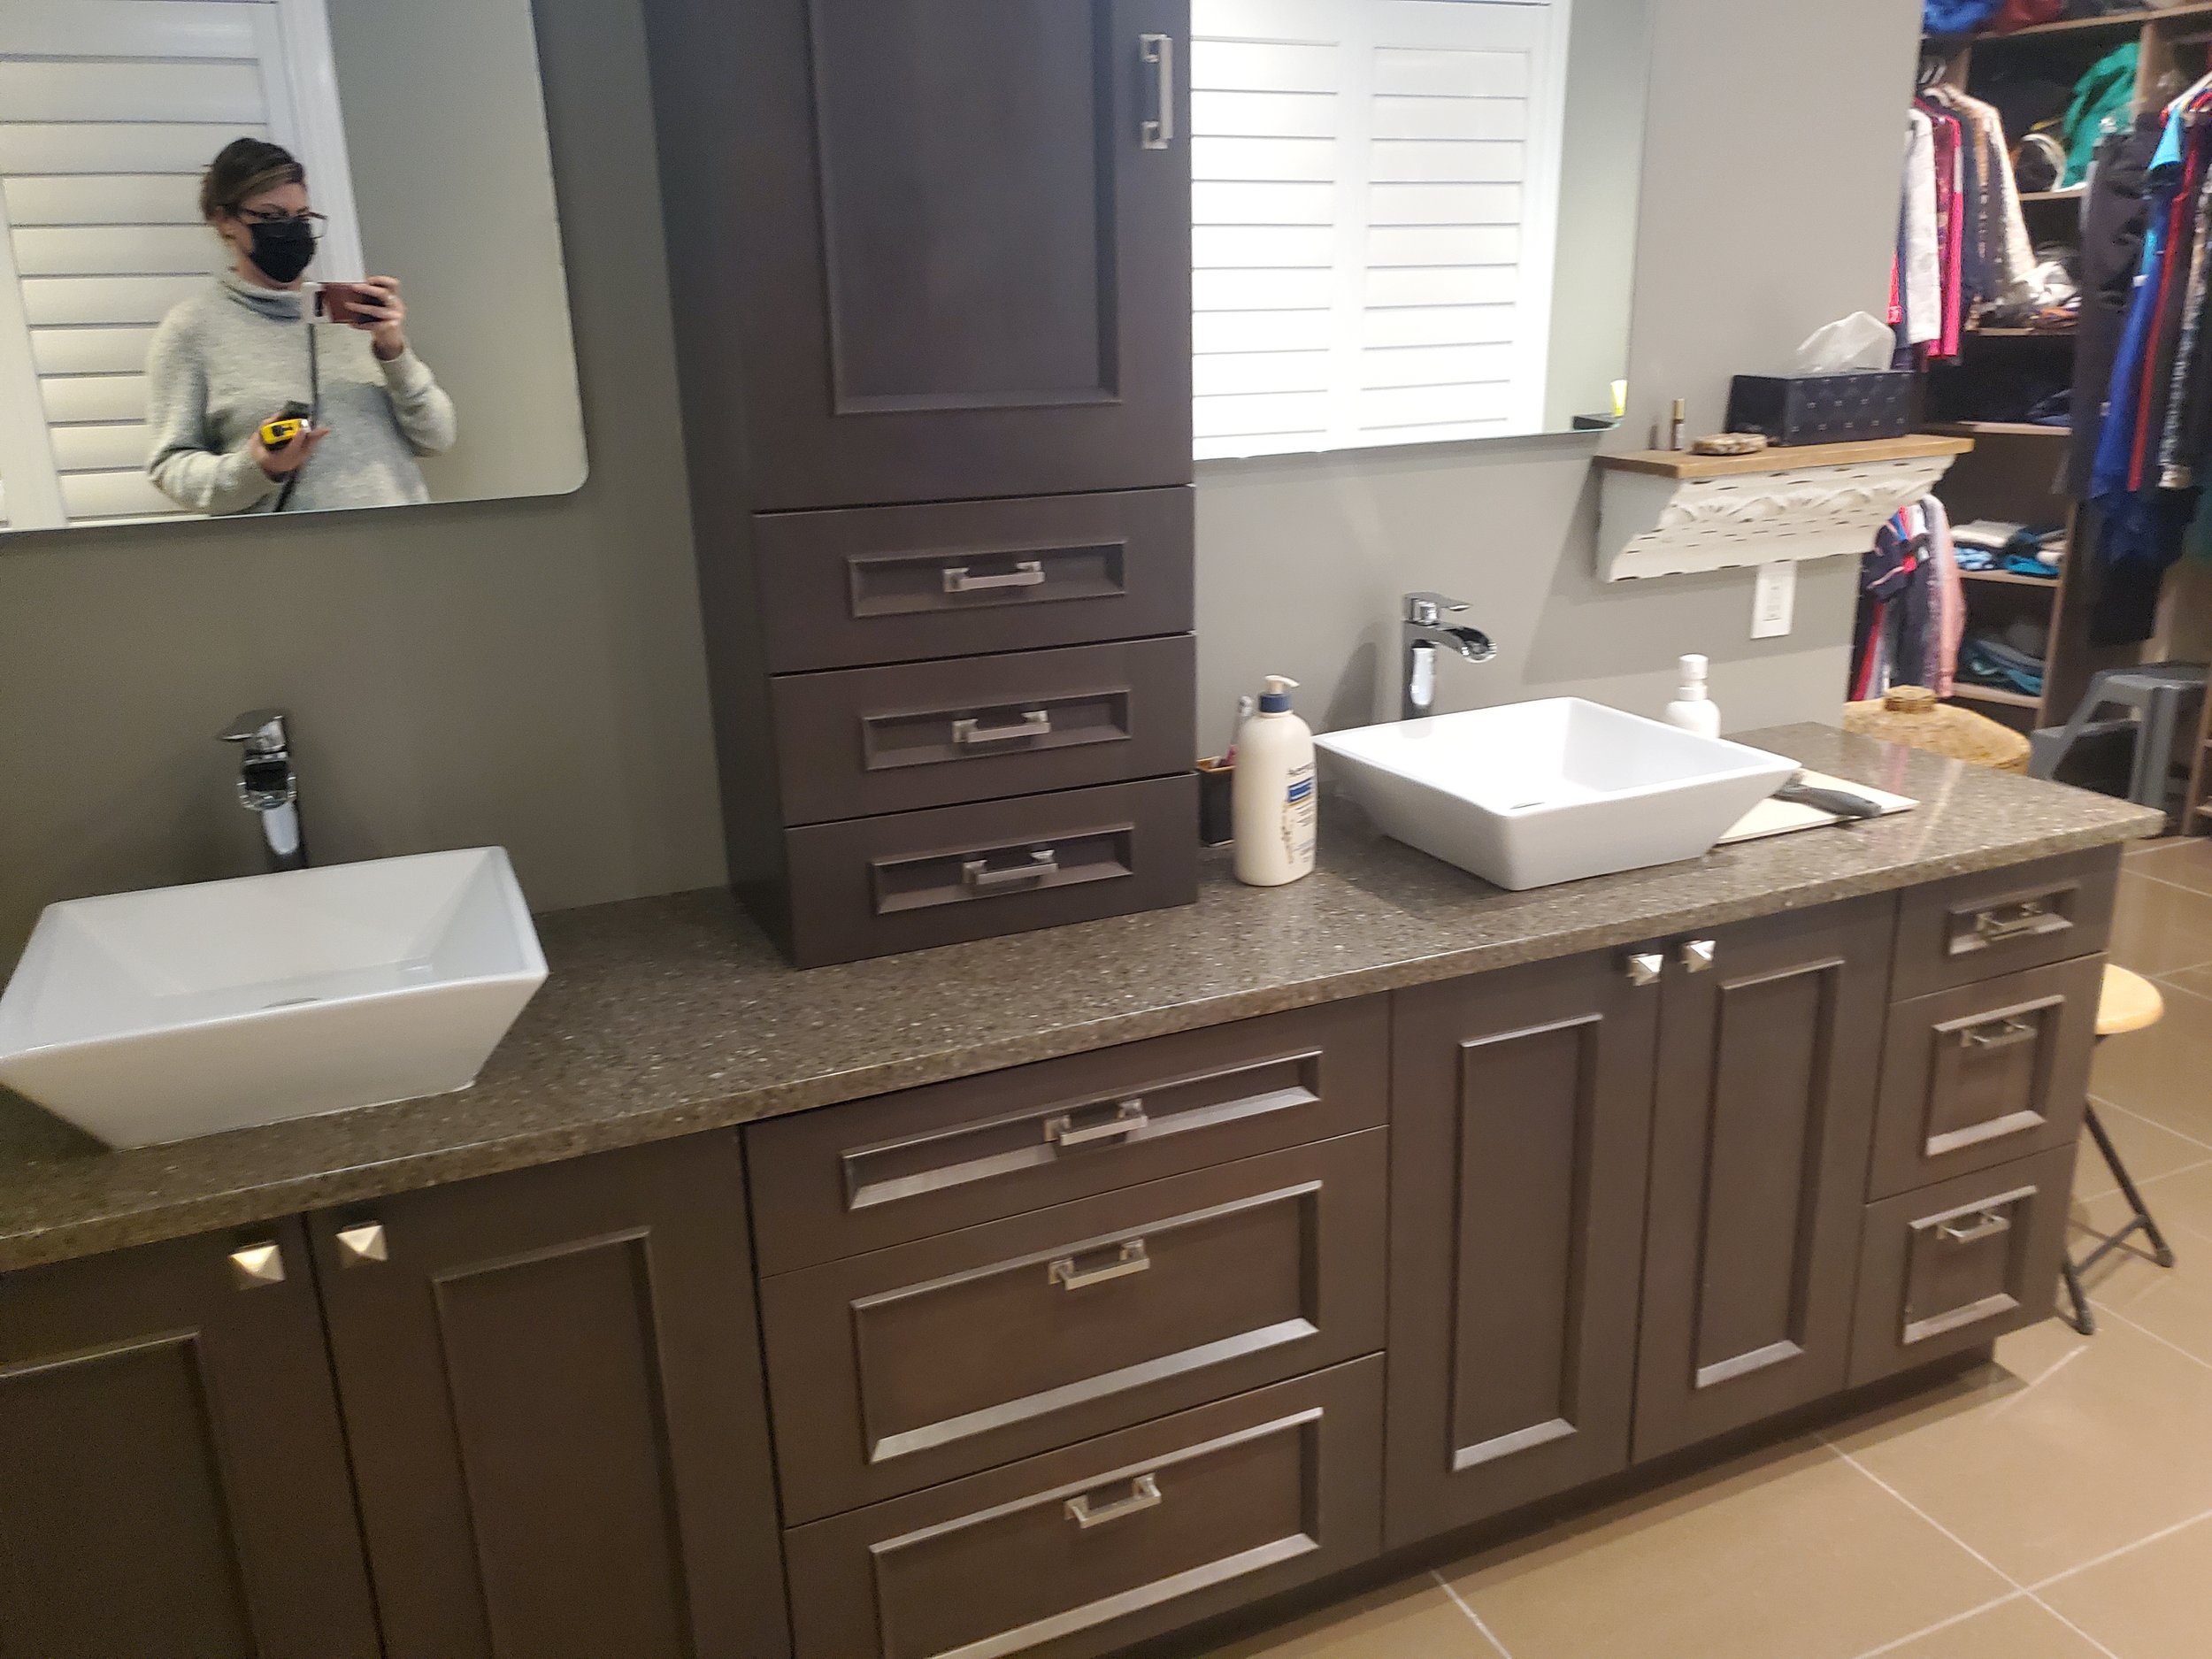
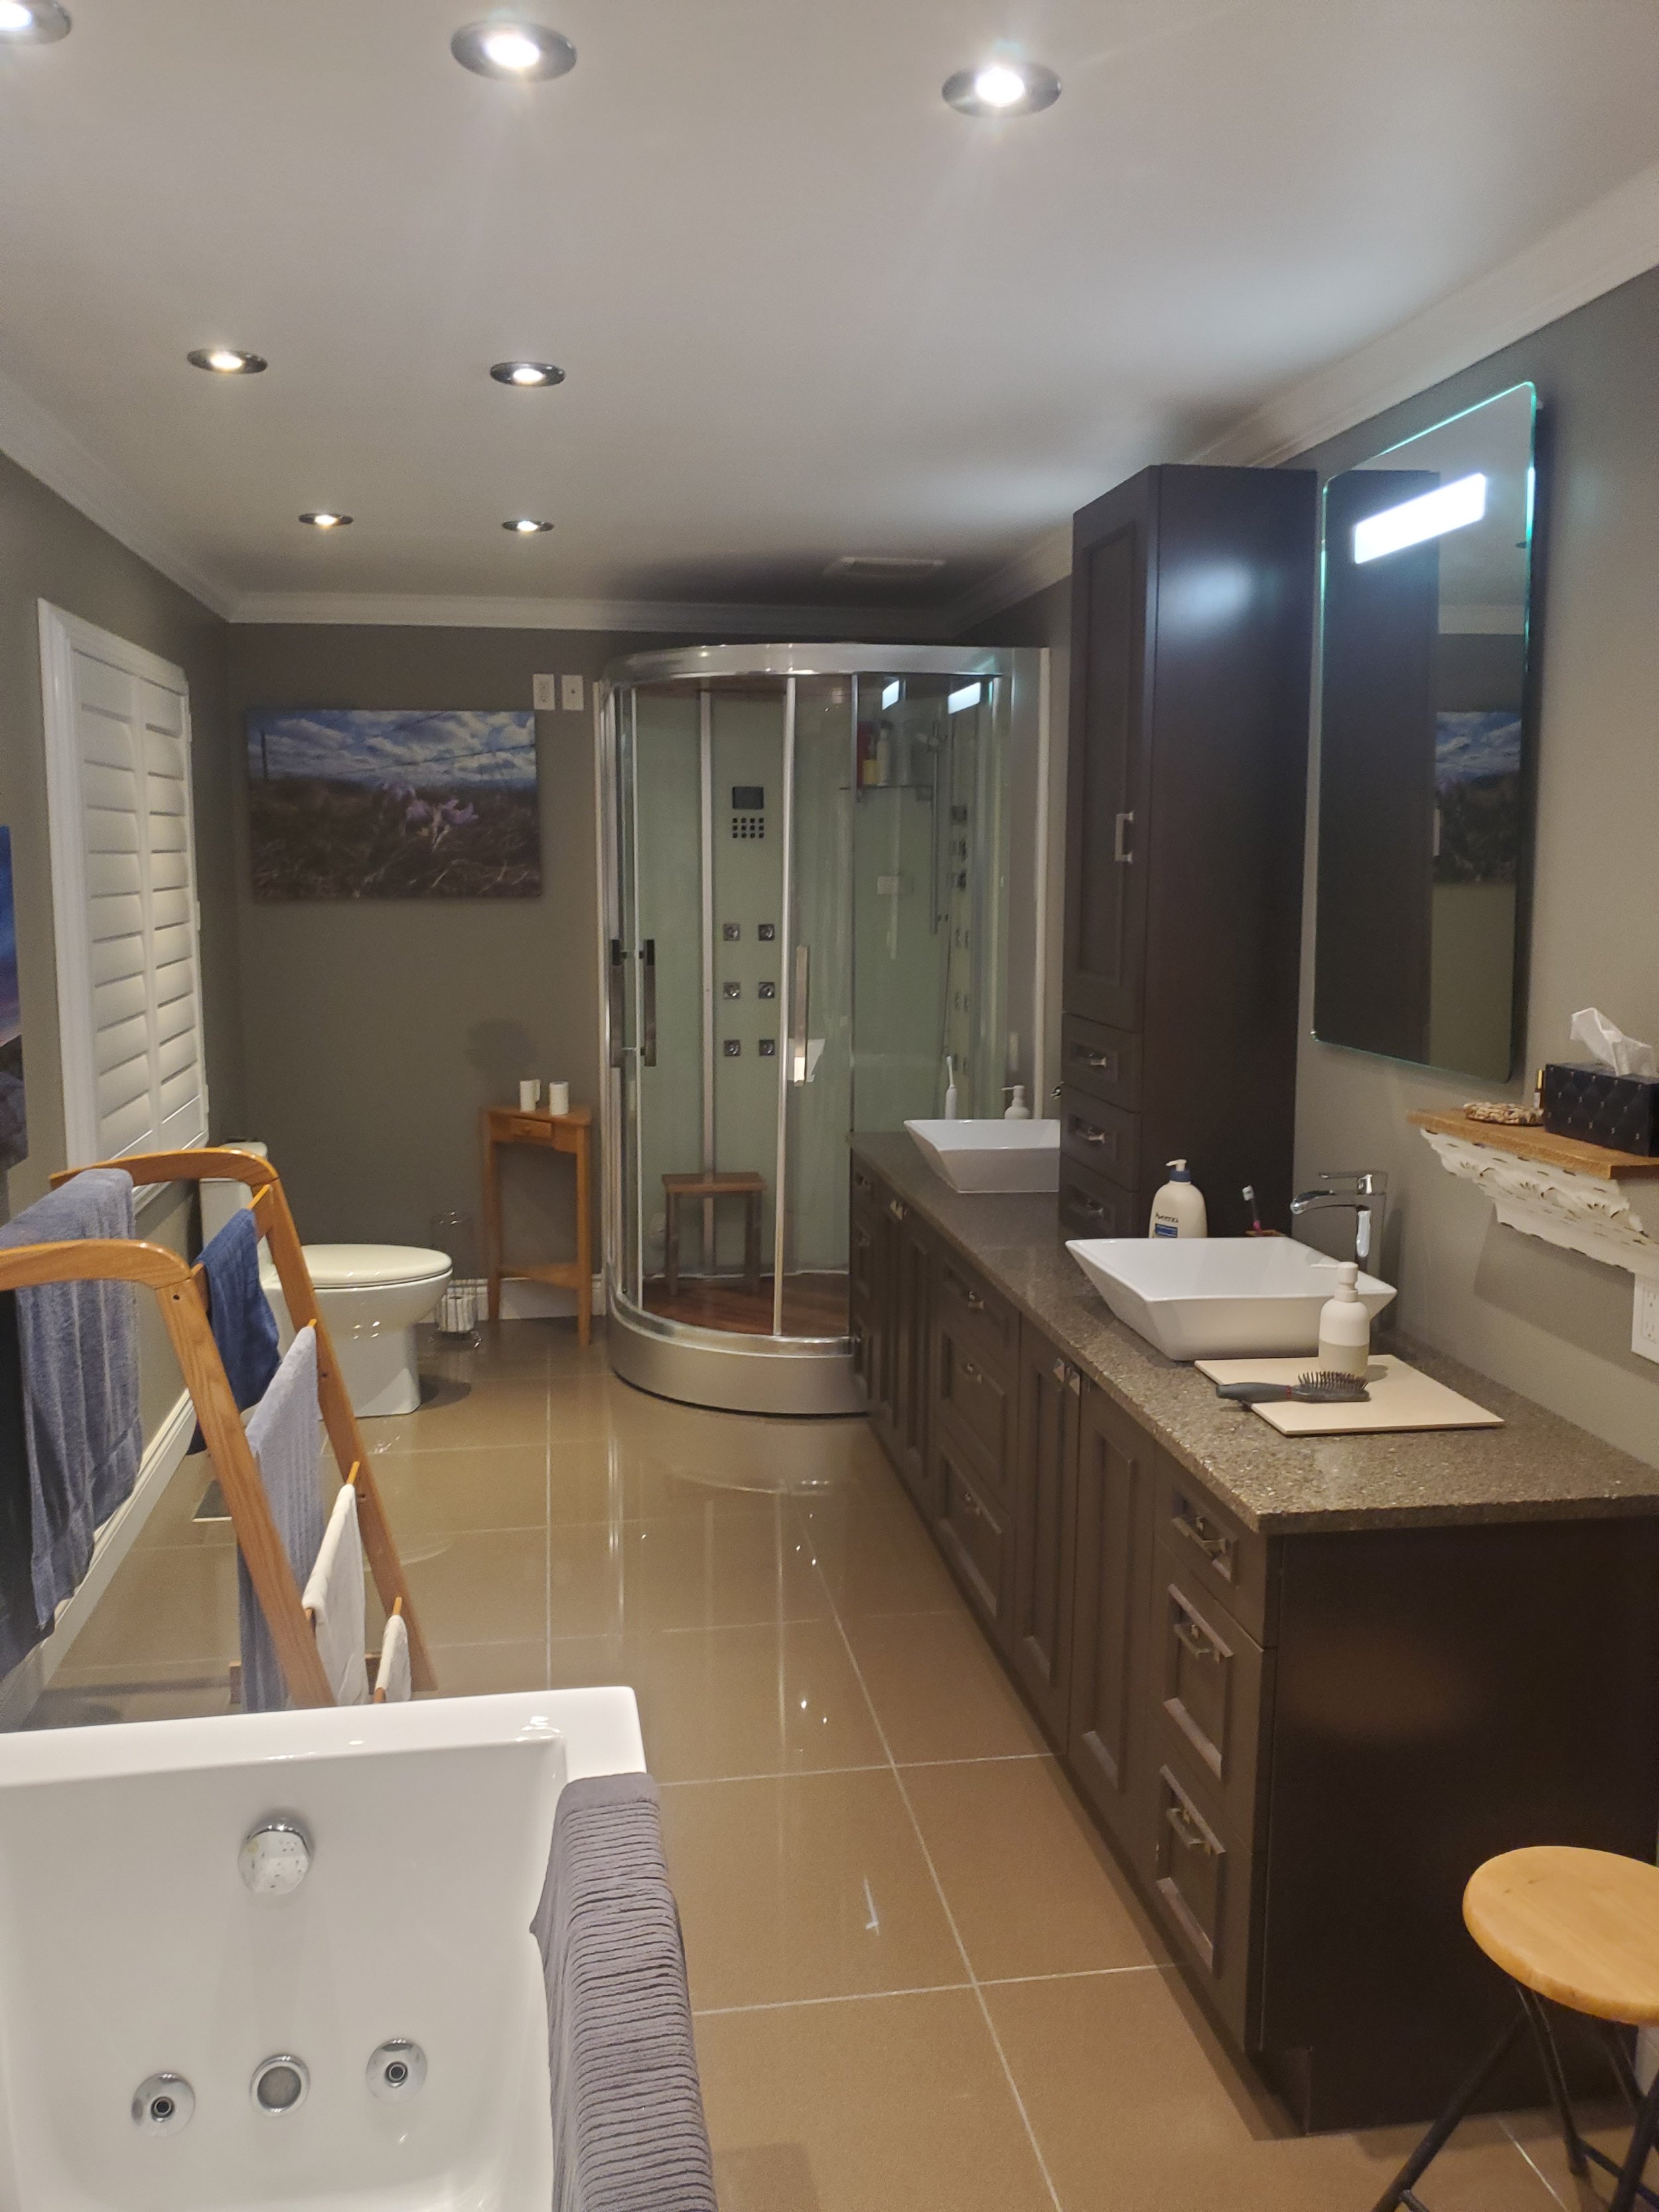
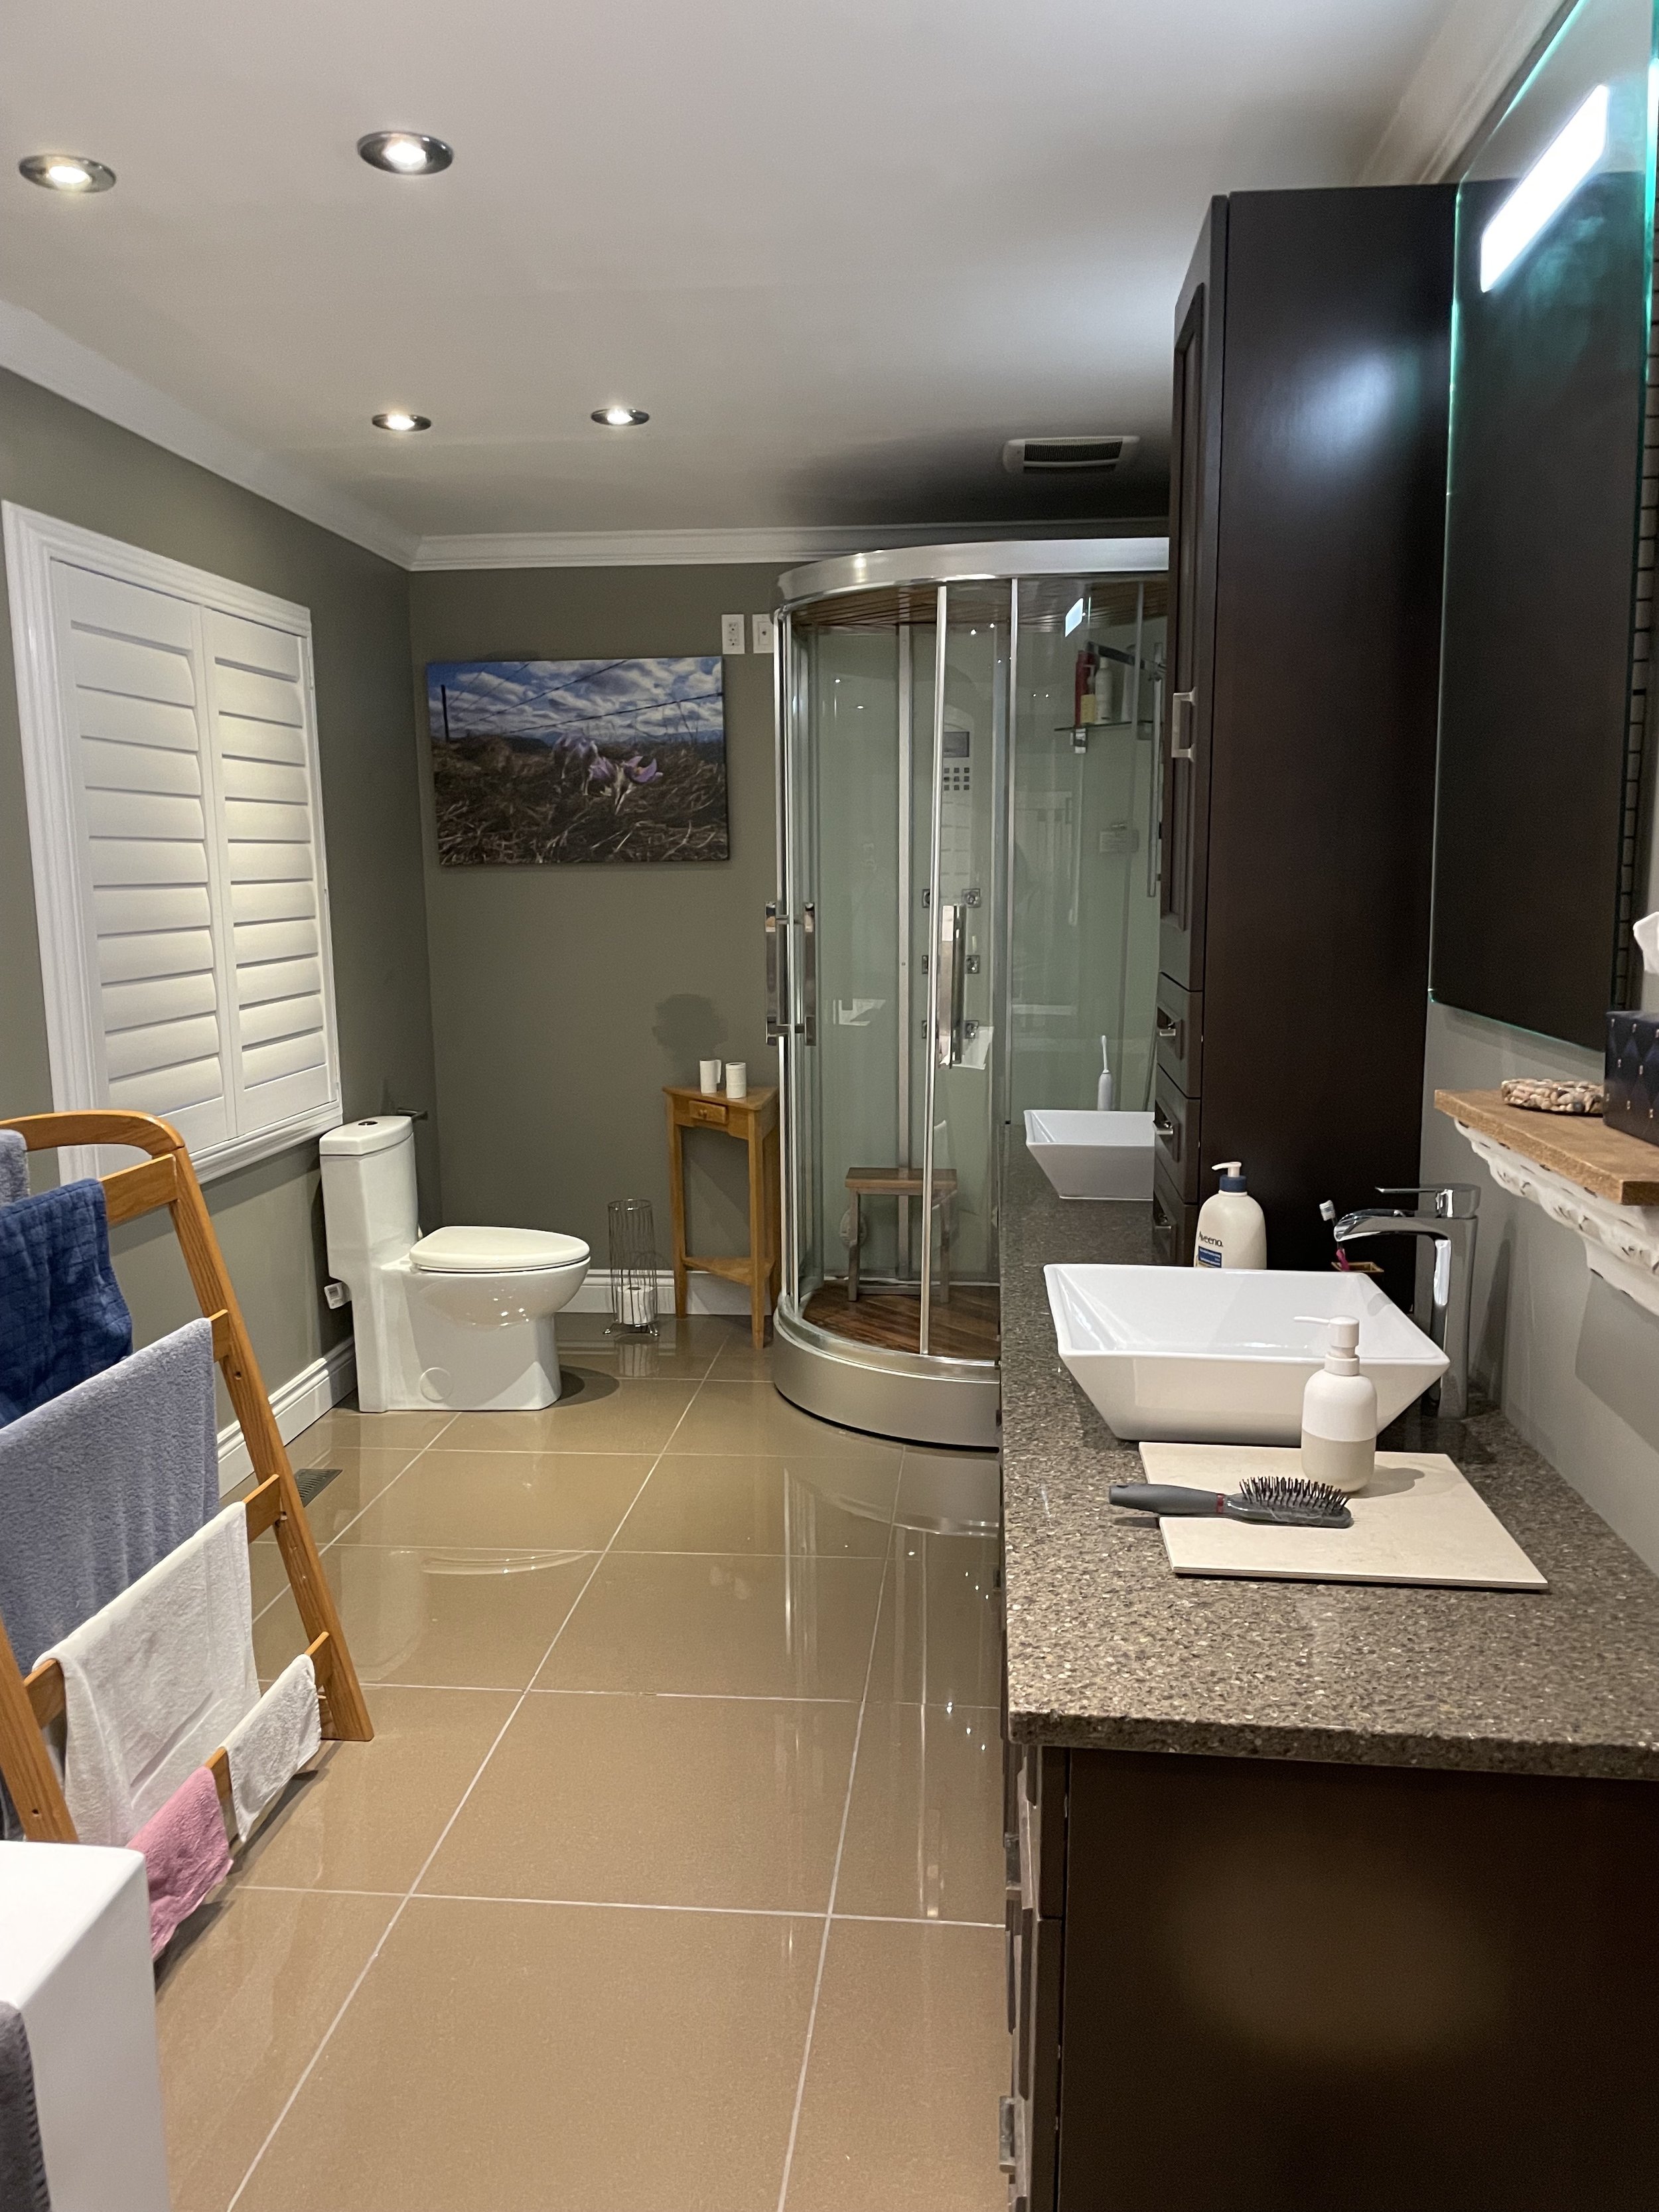
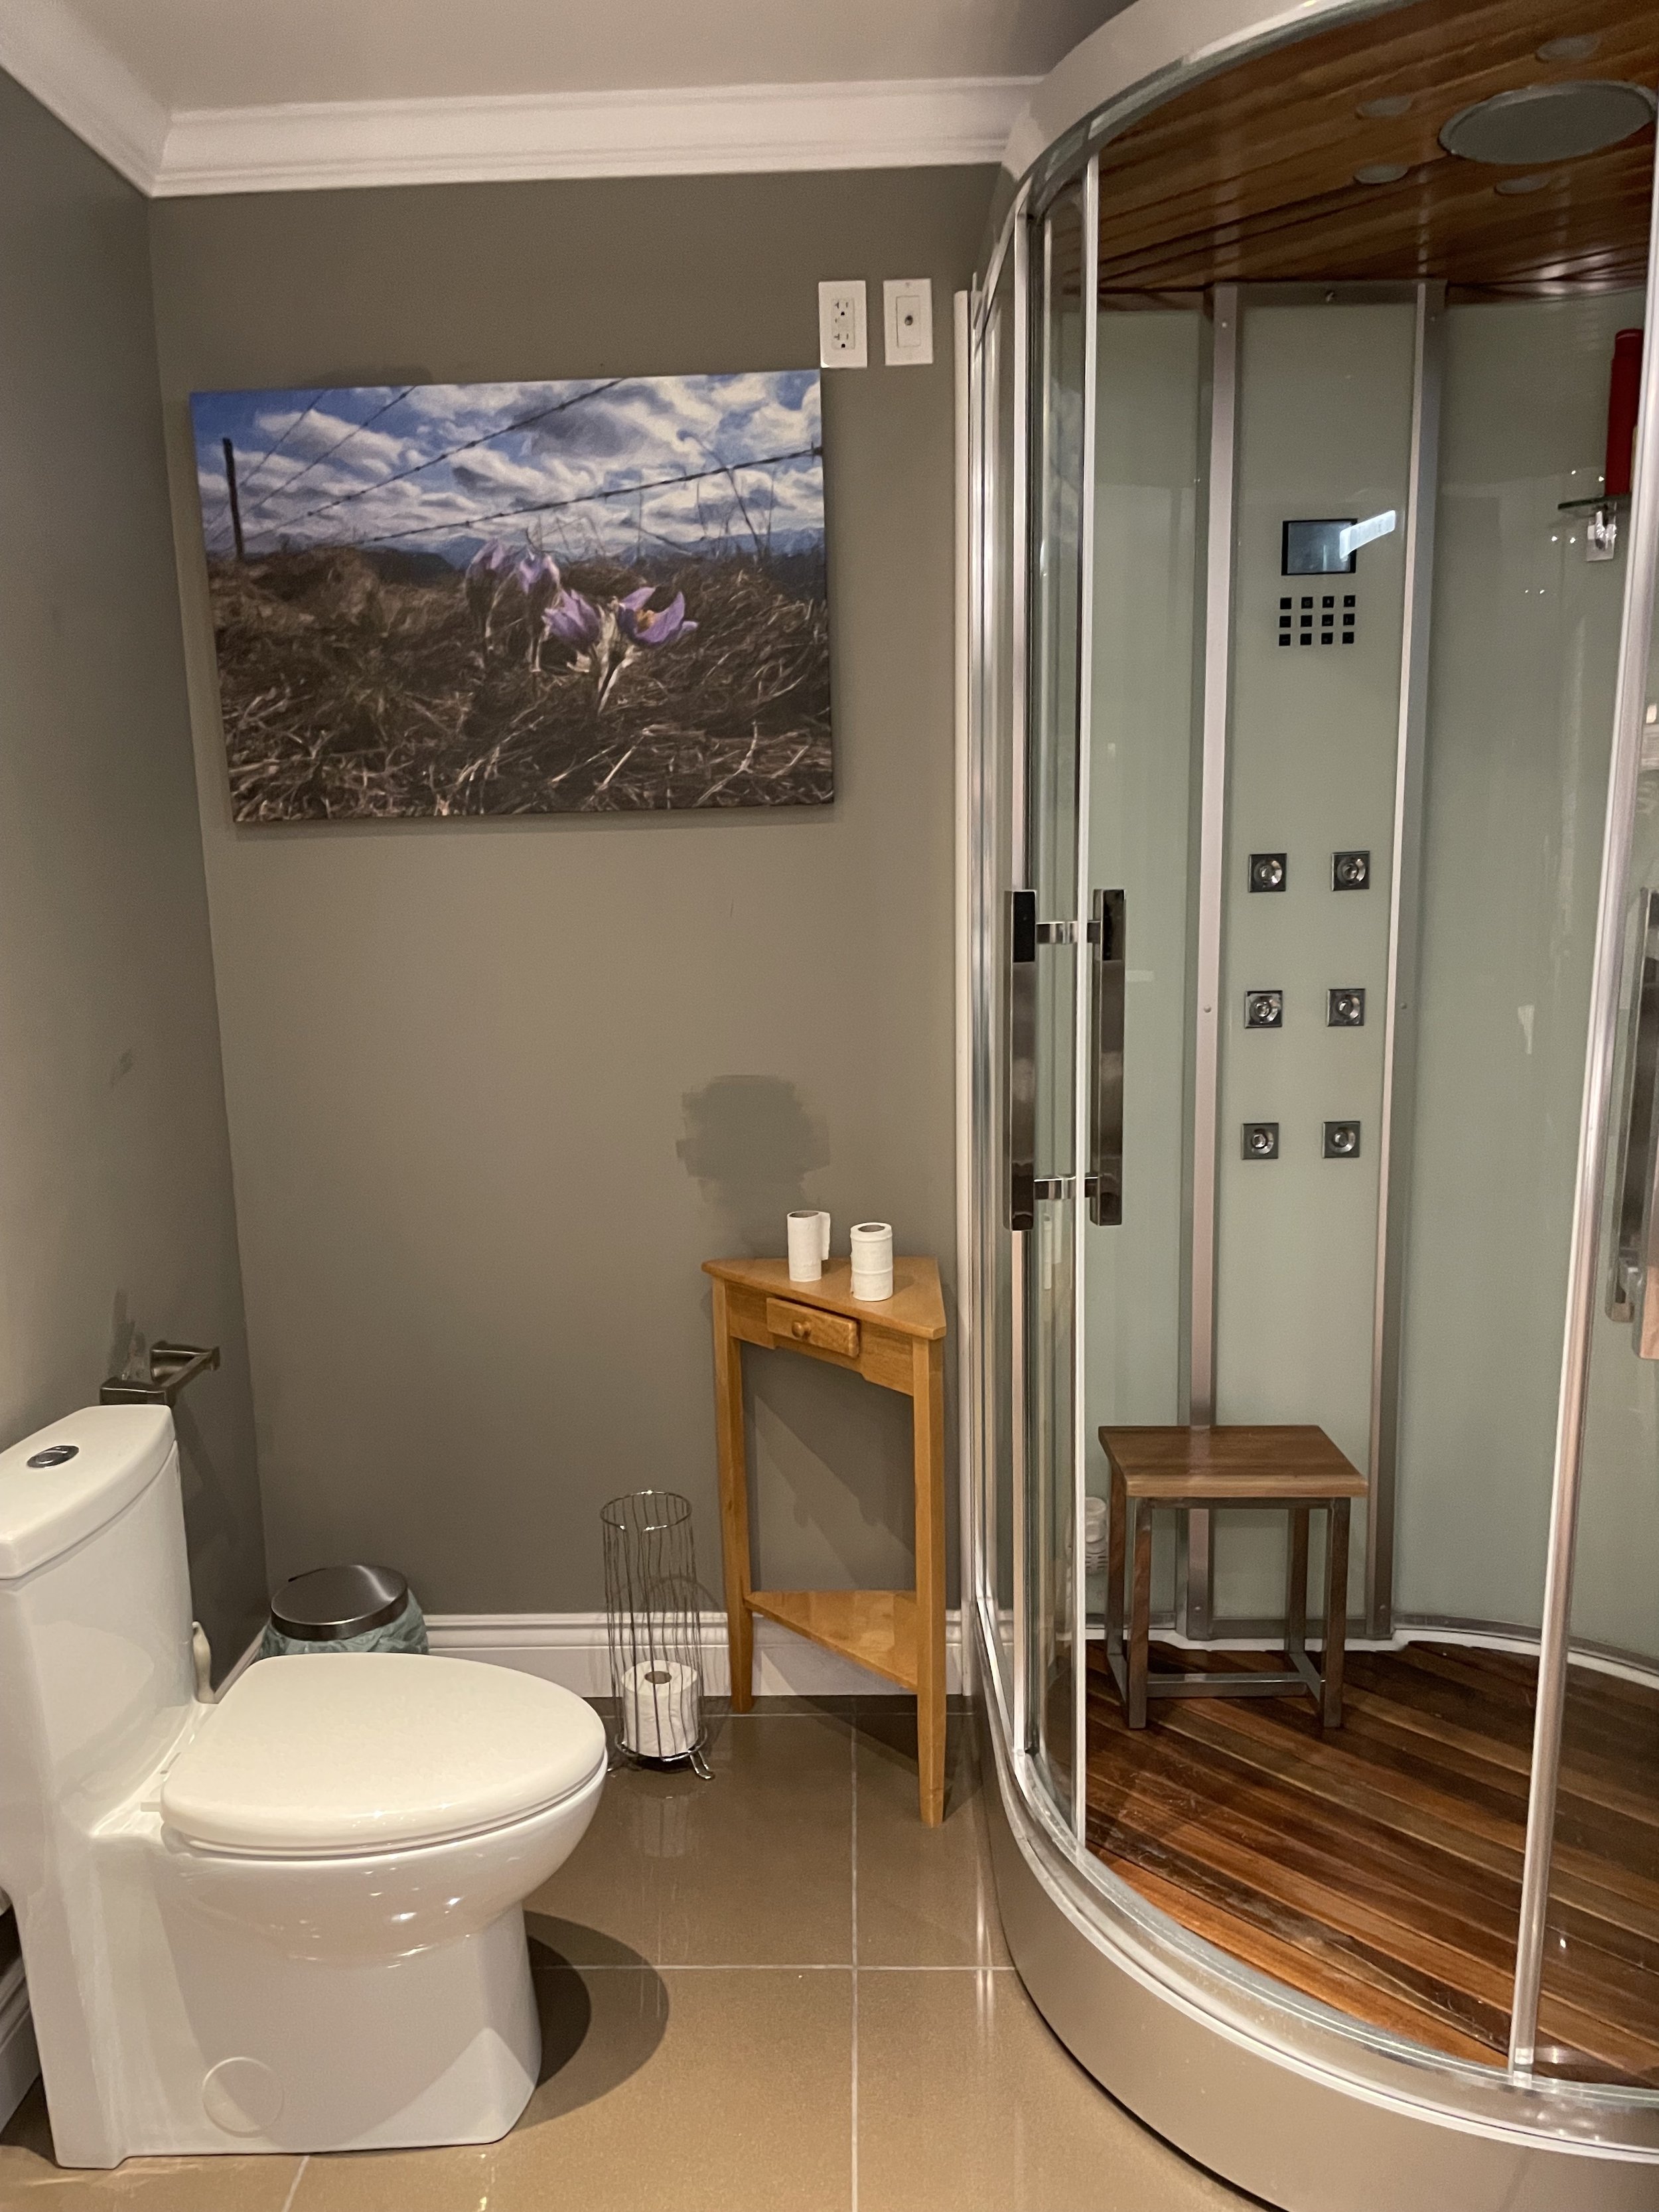
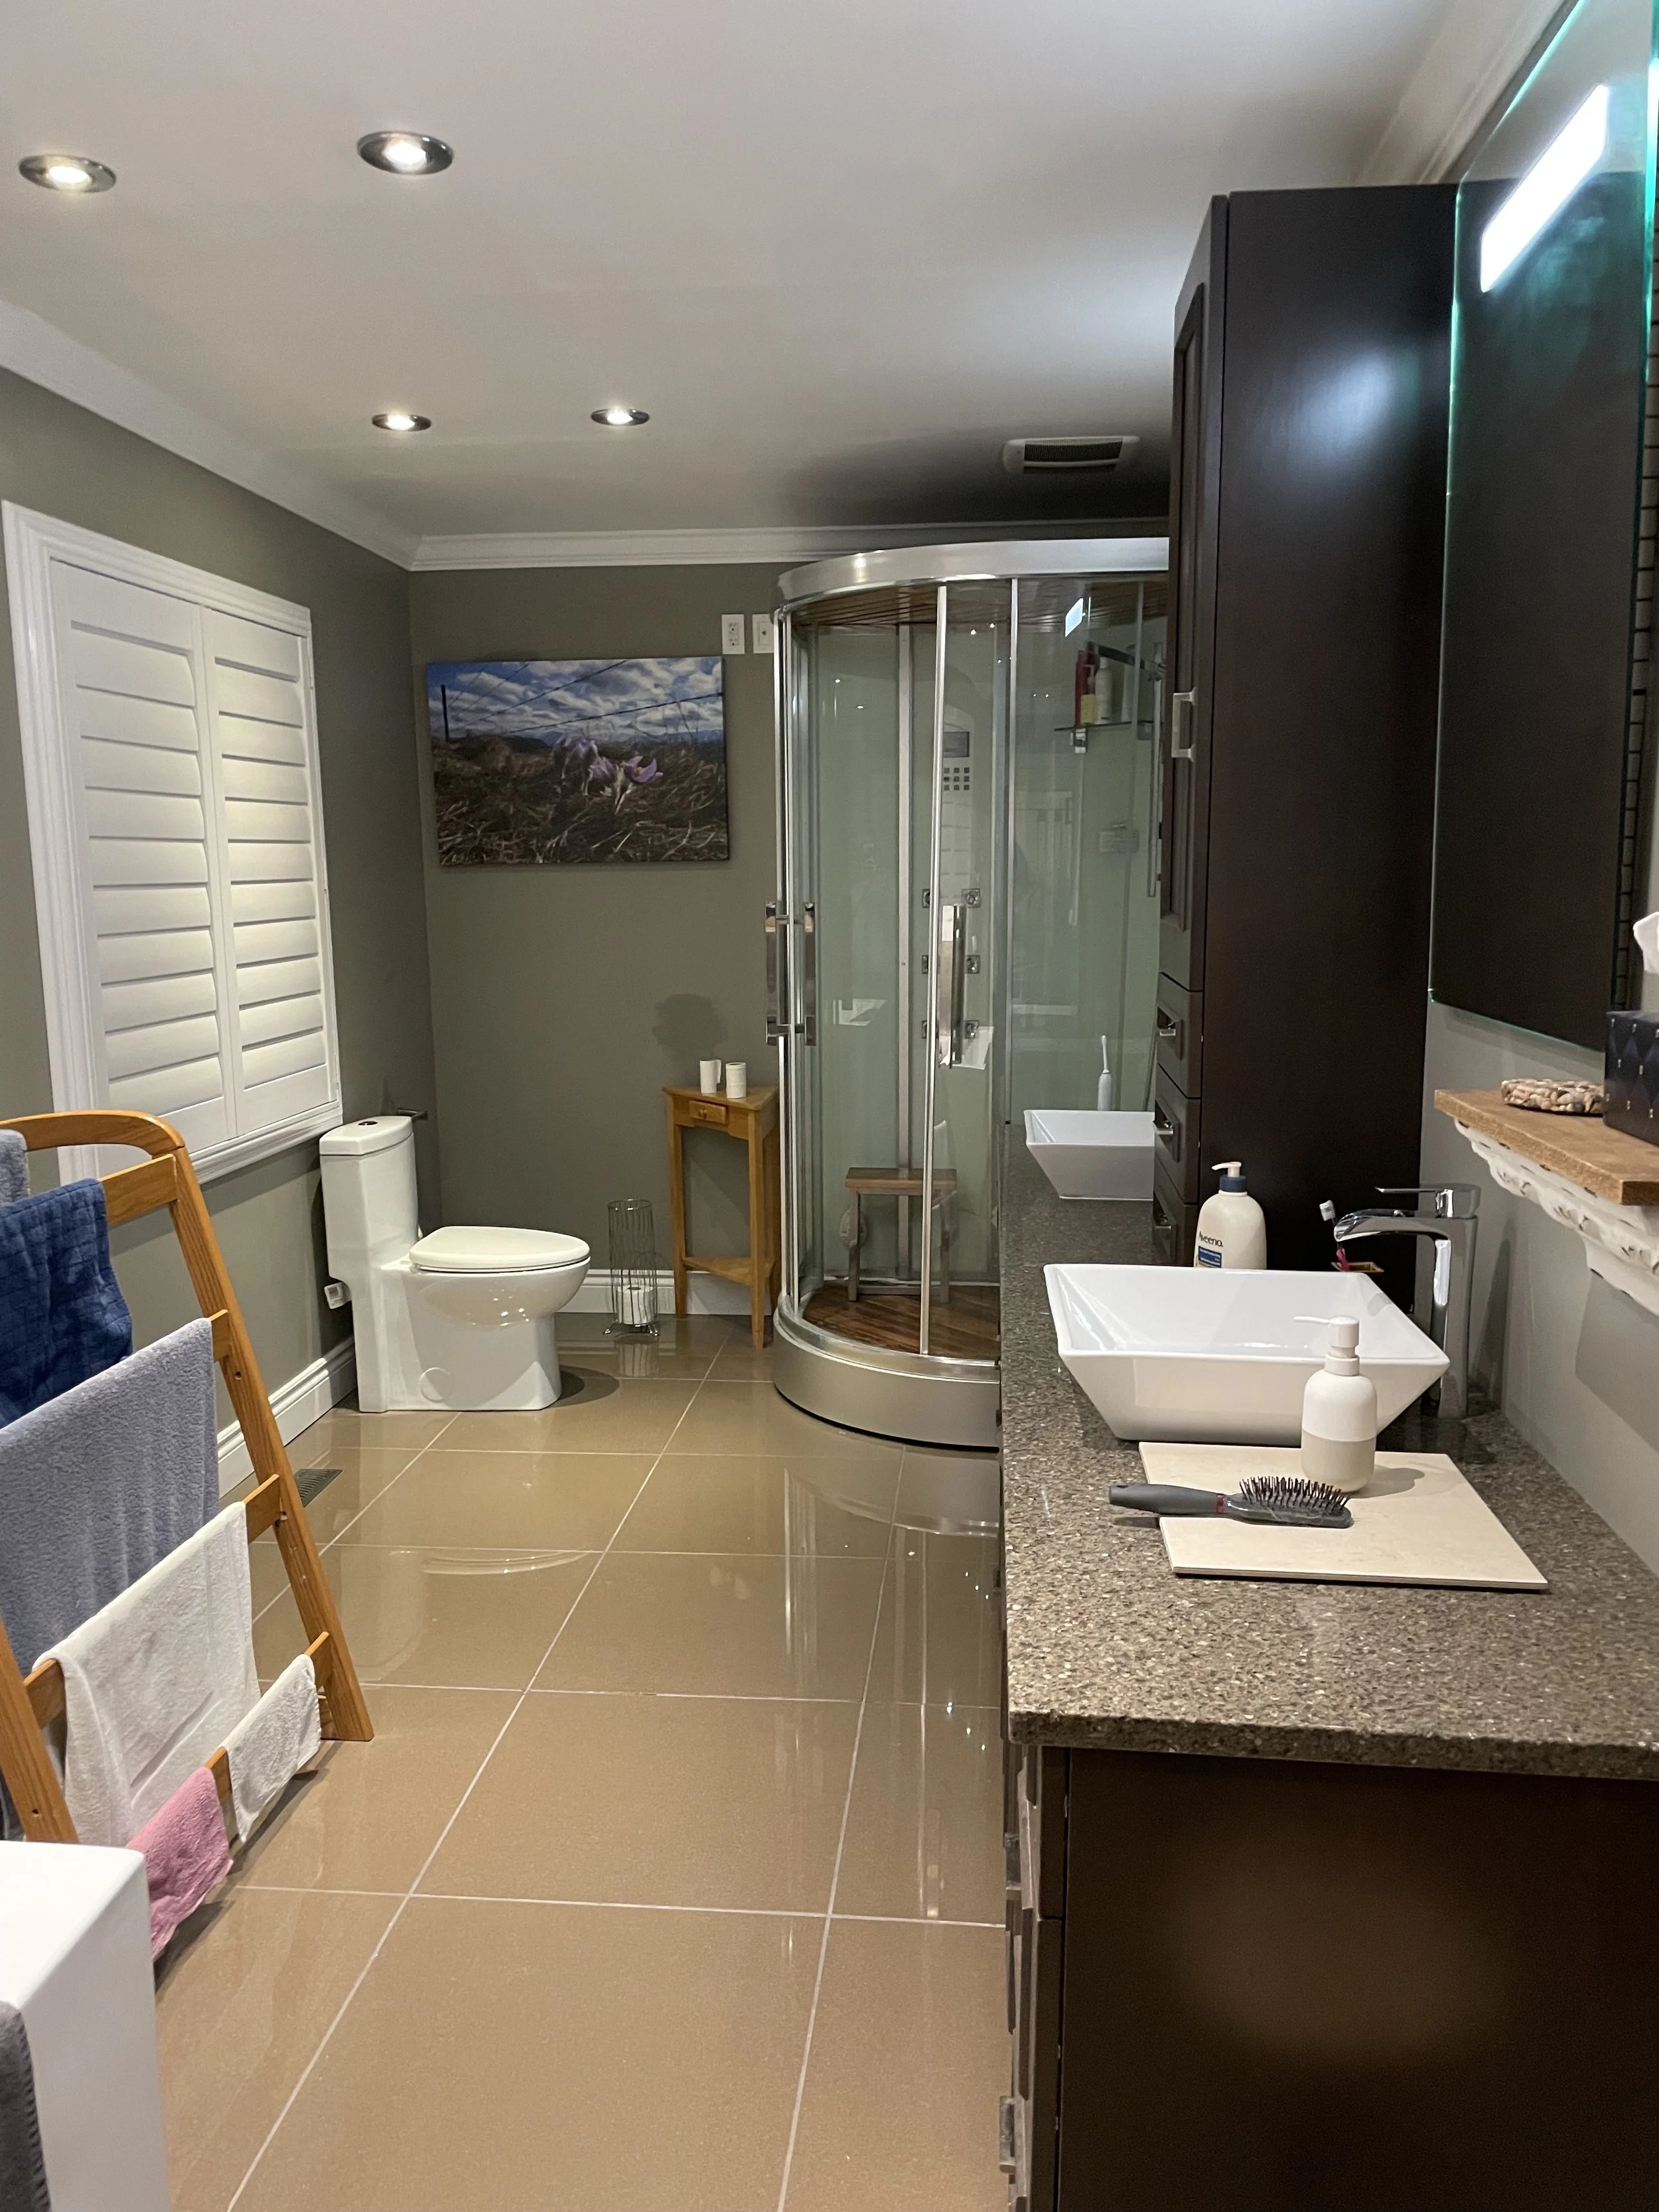
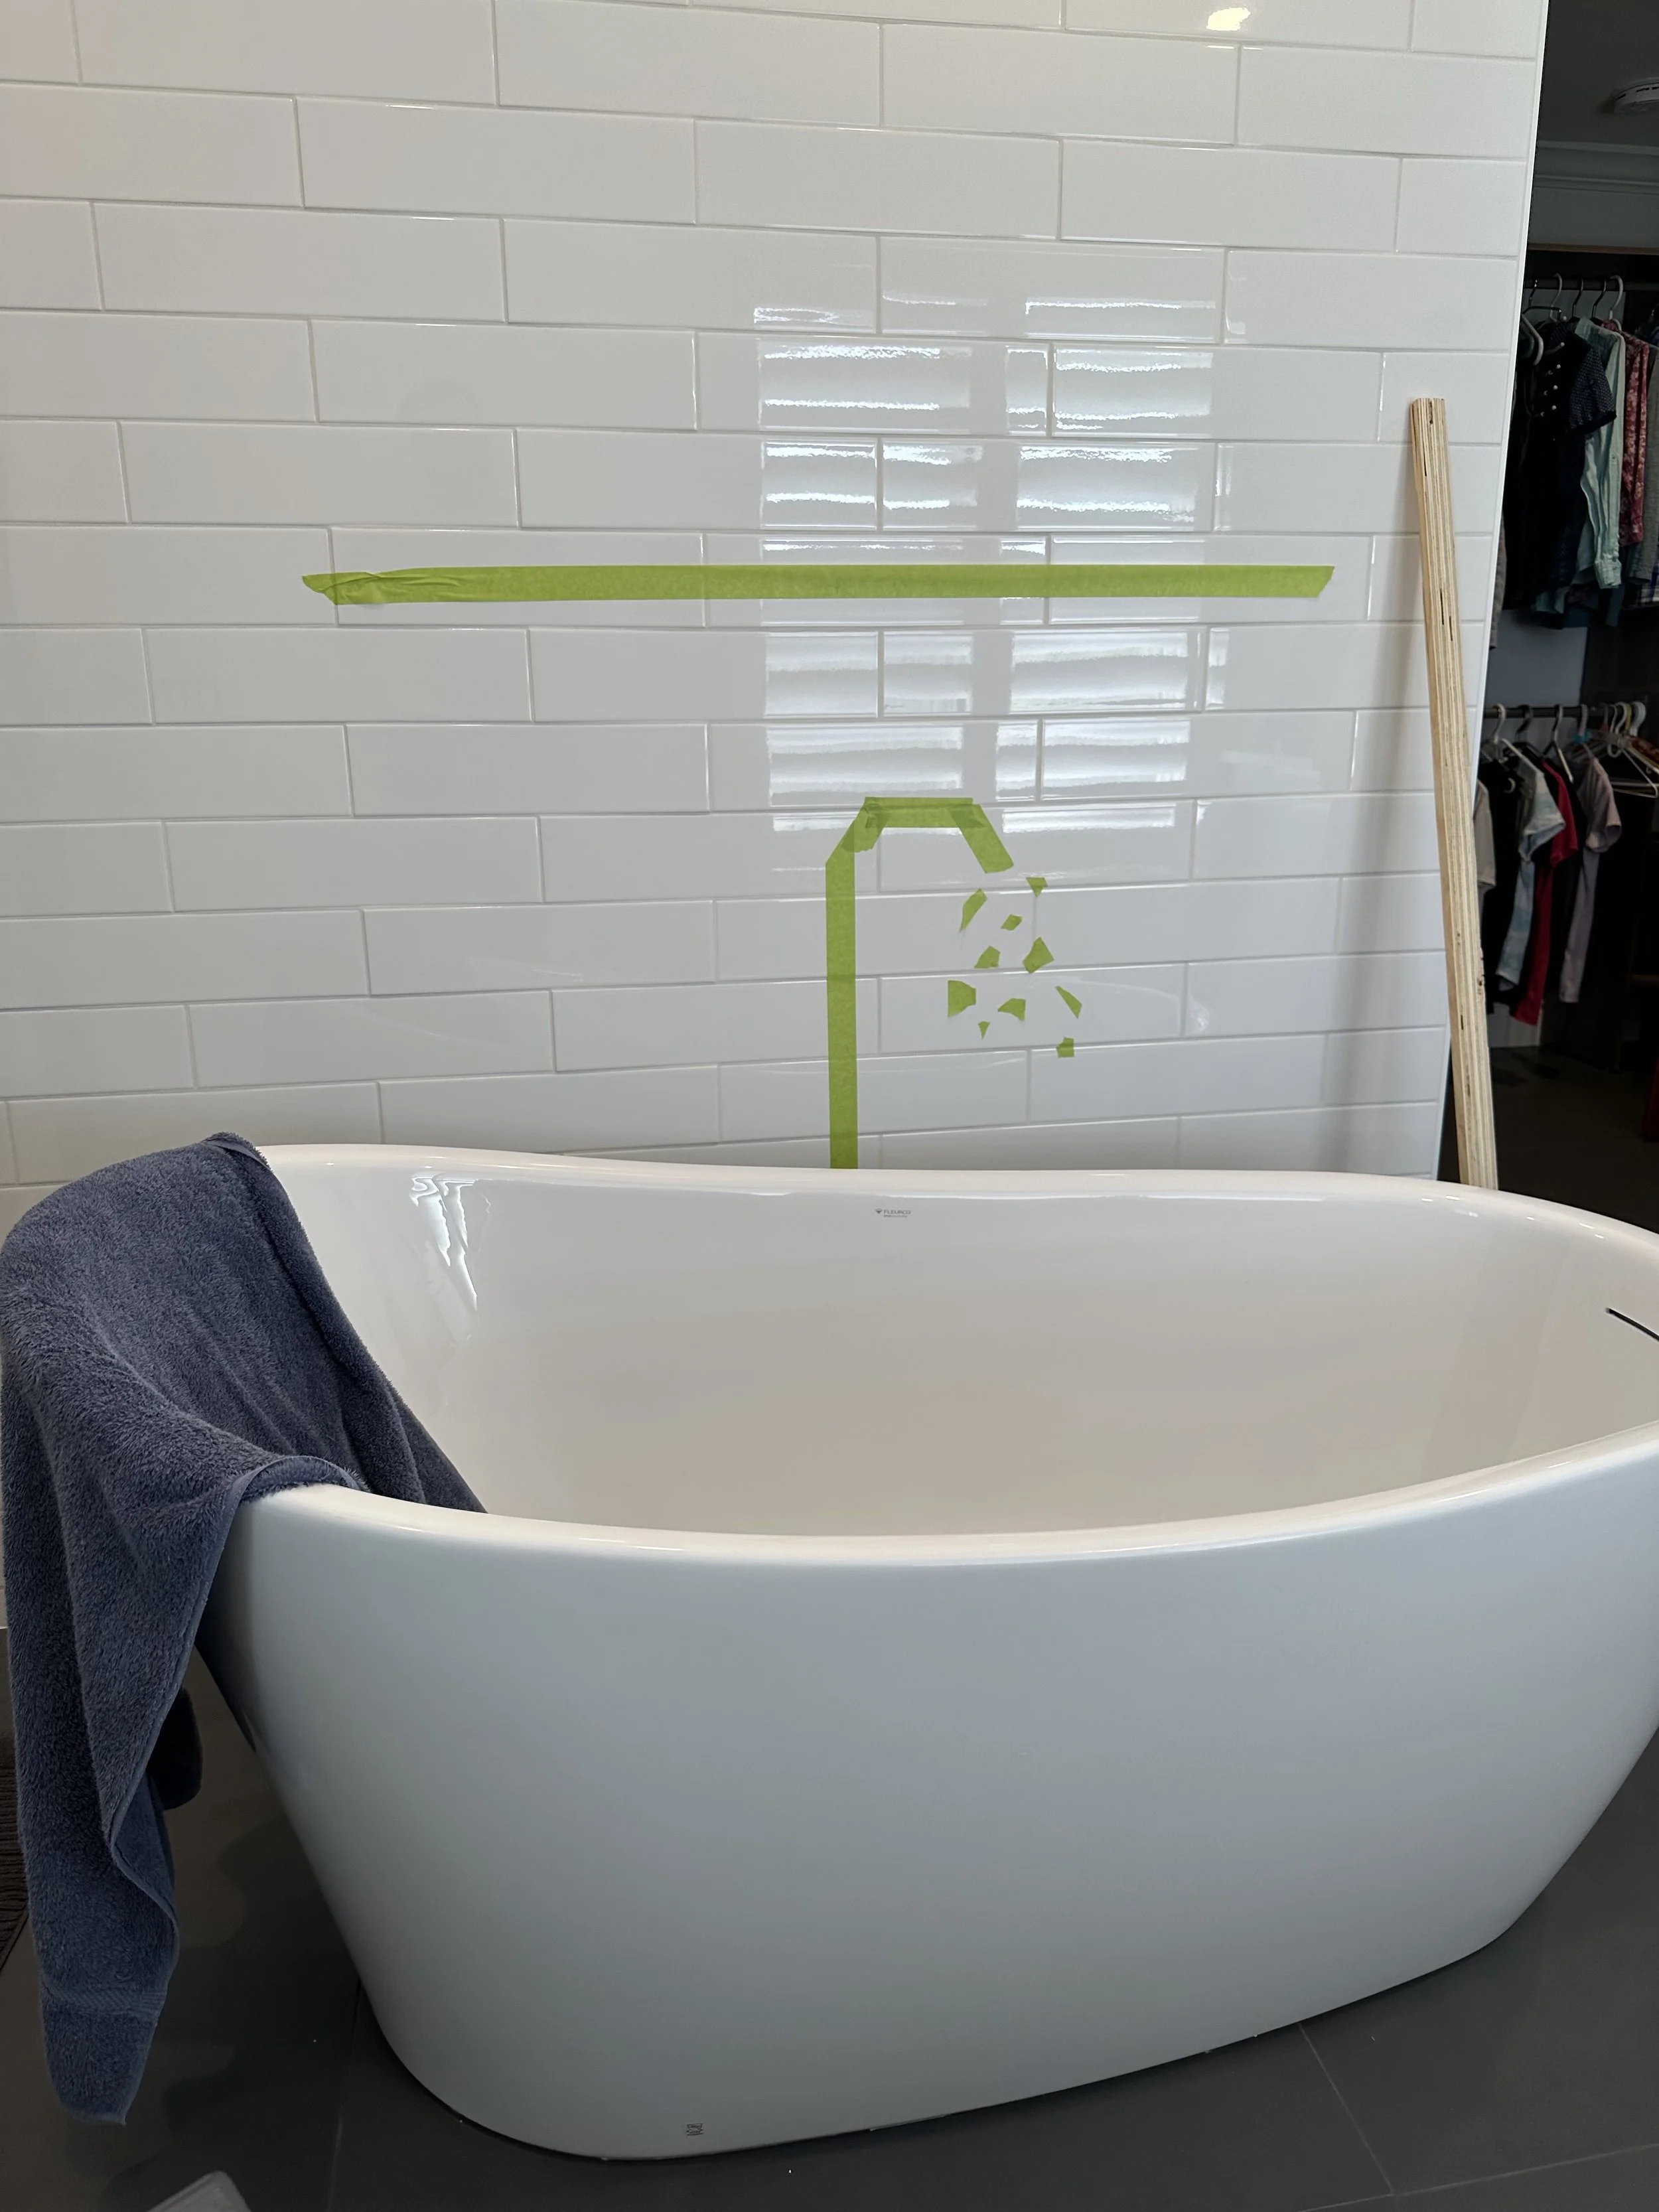
In the ensuite, the layout always felt a bit off, but the majority of the issues here were actually functional. The steam shower wasn’t in great condition and needed to be replaced. The tub also had issues with some of its features, wasn’t fully adhered to the ground (you could literally move it) and wasn’t comfortable for our clients. Having the toilet out in the open did create some challenges as well as access to the walk-in closet is through the bathroom, meaning if you wanted privacy, no one else could be accessing the rest of the bathroom or the closet.

The Design
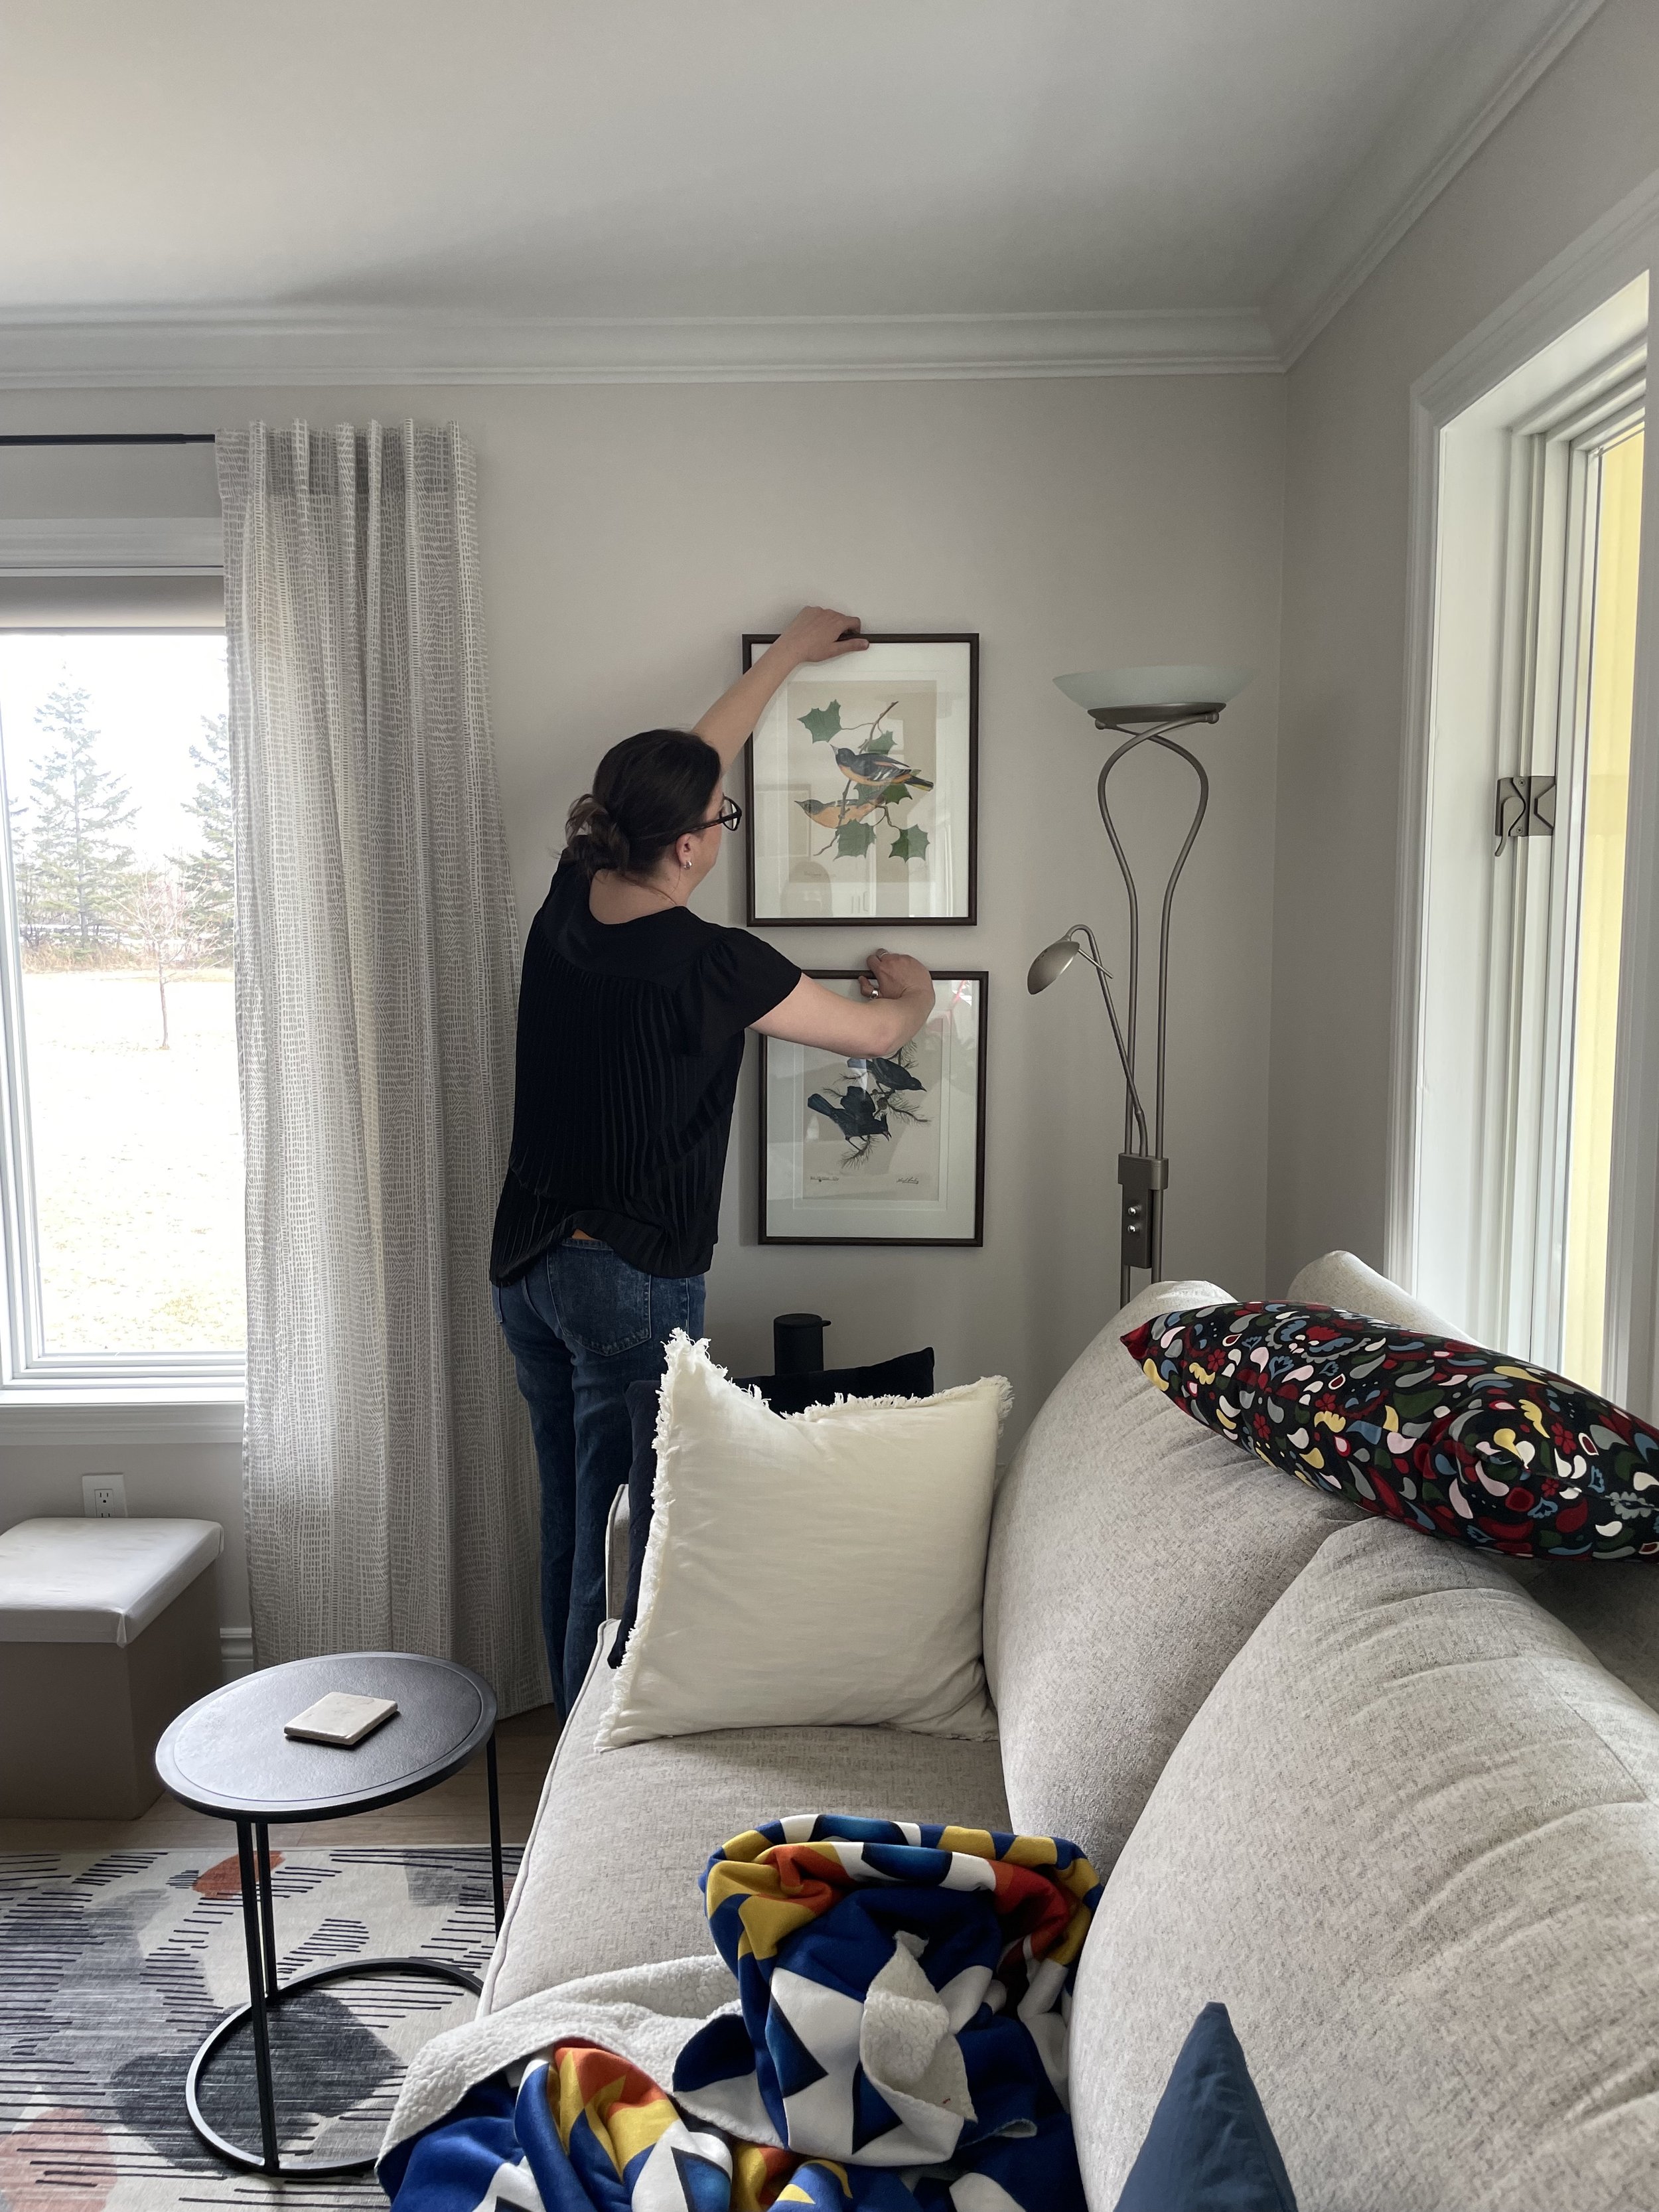
While we provided recommendations for the whole home, our focus for the new furniture and decor was the living room, sun room, dining room and a bit in the piano room too. We worked to incorporate existing pieces with new ones and utilized all of their existing art and decor.

This process occurred over most of our time working together, slowly choosing and implementing the first round of key elements, then the major furniture pieces, ending with the final decor and finishing touches. One of our favourite days was art and decor day, where our clients pulled out all the pieces they had, and we spent a few hours determining what was going where throughout the home.
The overhaul of the ensuite was essentially a given, based on how much was needed to be replaced and it made even more sense if we were going to open up the kitchen as well (the ensuite sits above the kitchen).
For the kitchen, we did prepare an option that would see the wall cabinets painted to be a cream colour, opening up those drawers to make it into a wine rack, updating the backsplash and adding new pendants and hardware. But… let’s be honest, there wasn’t really any competition when the initial option to completely overhaul the kitchen looked so beautiful and gave so much more storage and functionality.
With the decision to move ahead with the full renovation of both spaces, we started the process of finalizing the design. Having worked with our clients for quite some time, our initial designs were quite close to the final ones, although we did discuss some options like adding in some wood cabinets to the island. And of course, with any kitchen renovation, we spent many hours discussing the exact cabinet layouts to work with how they use their kitchen and the items that had to be accommodated within it.
Going dark with the floors was one item that we weren’t sure our clients were going to go for. I’m so glad they did though. They so perfectly ground the spaces and have this lovely natural but luxurious feel to them.
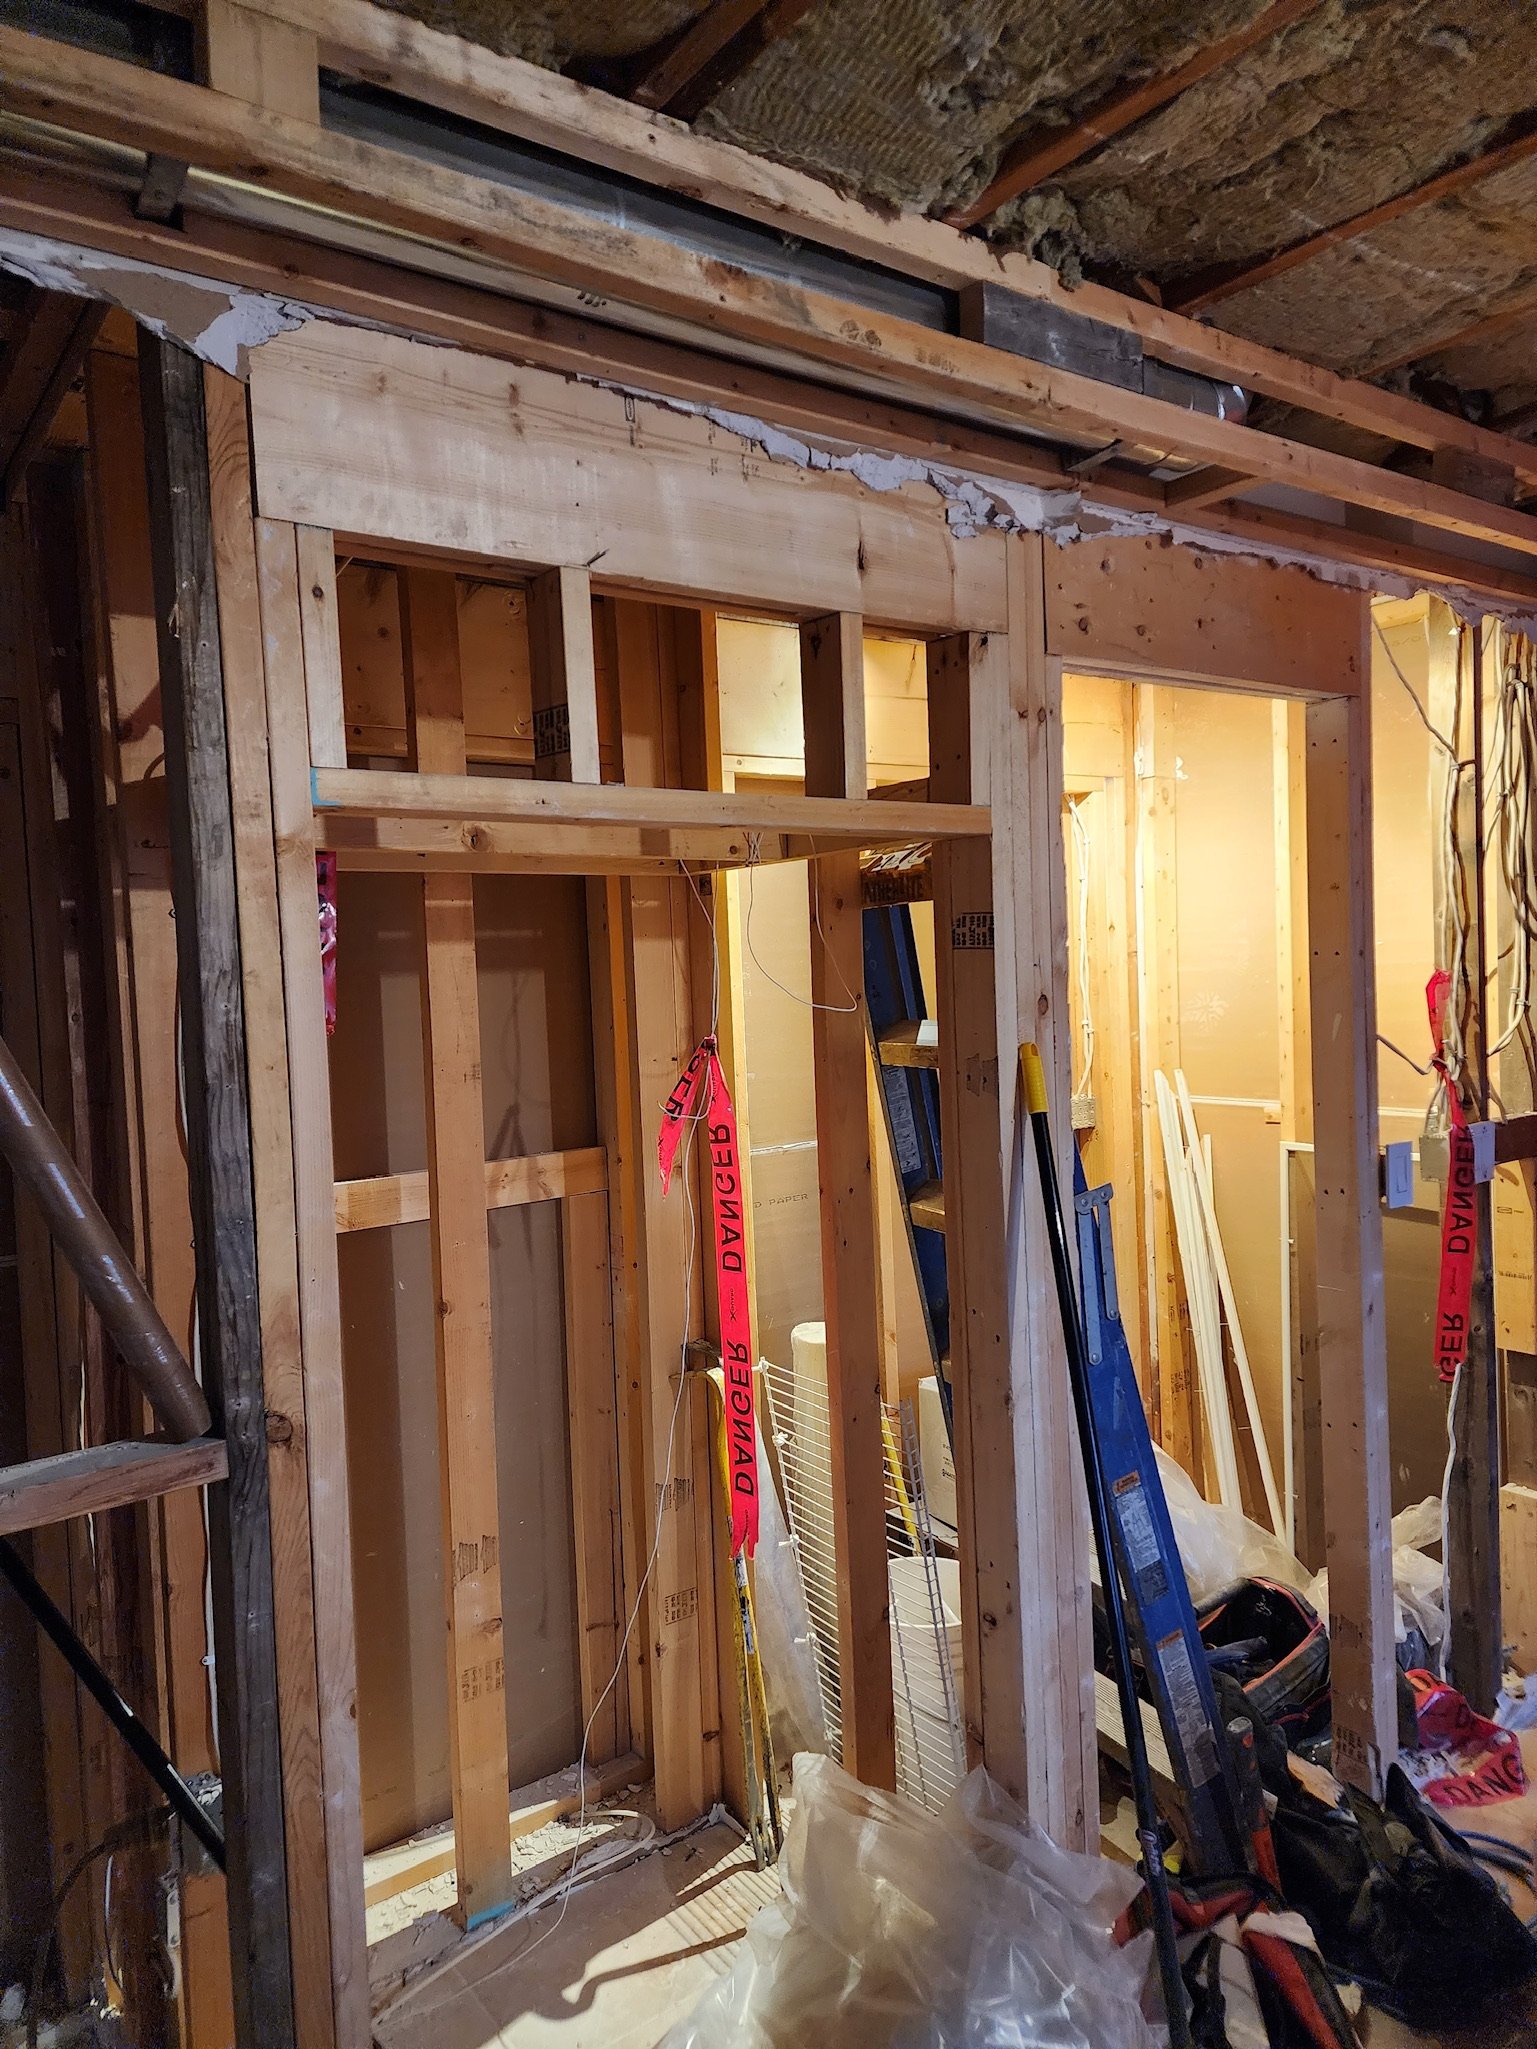
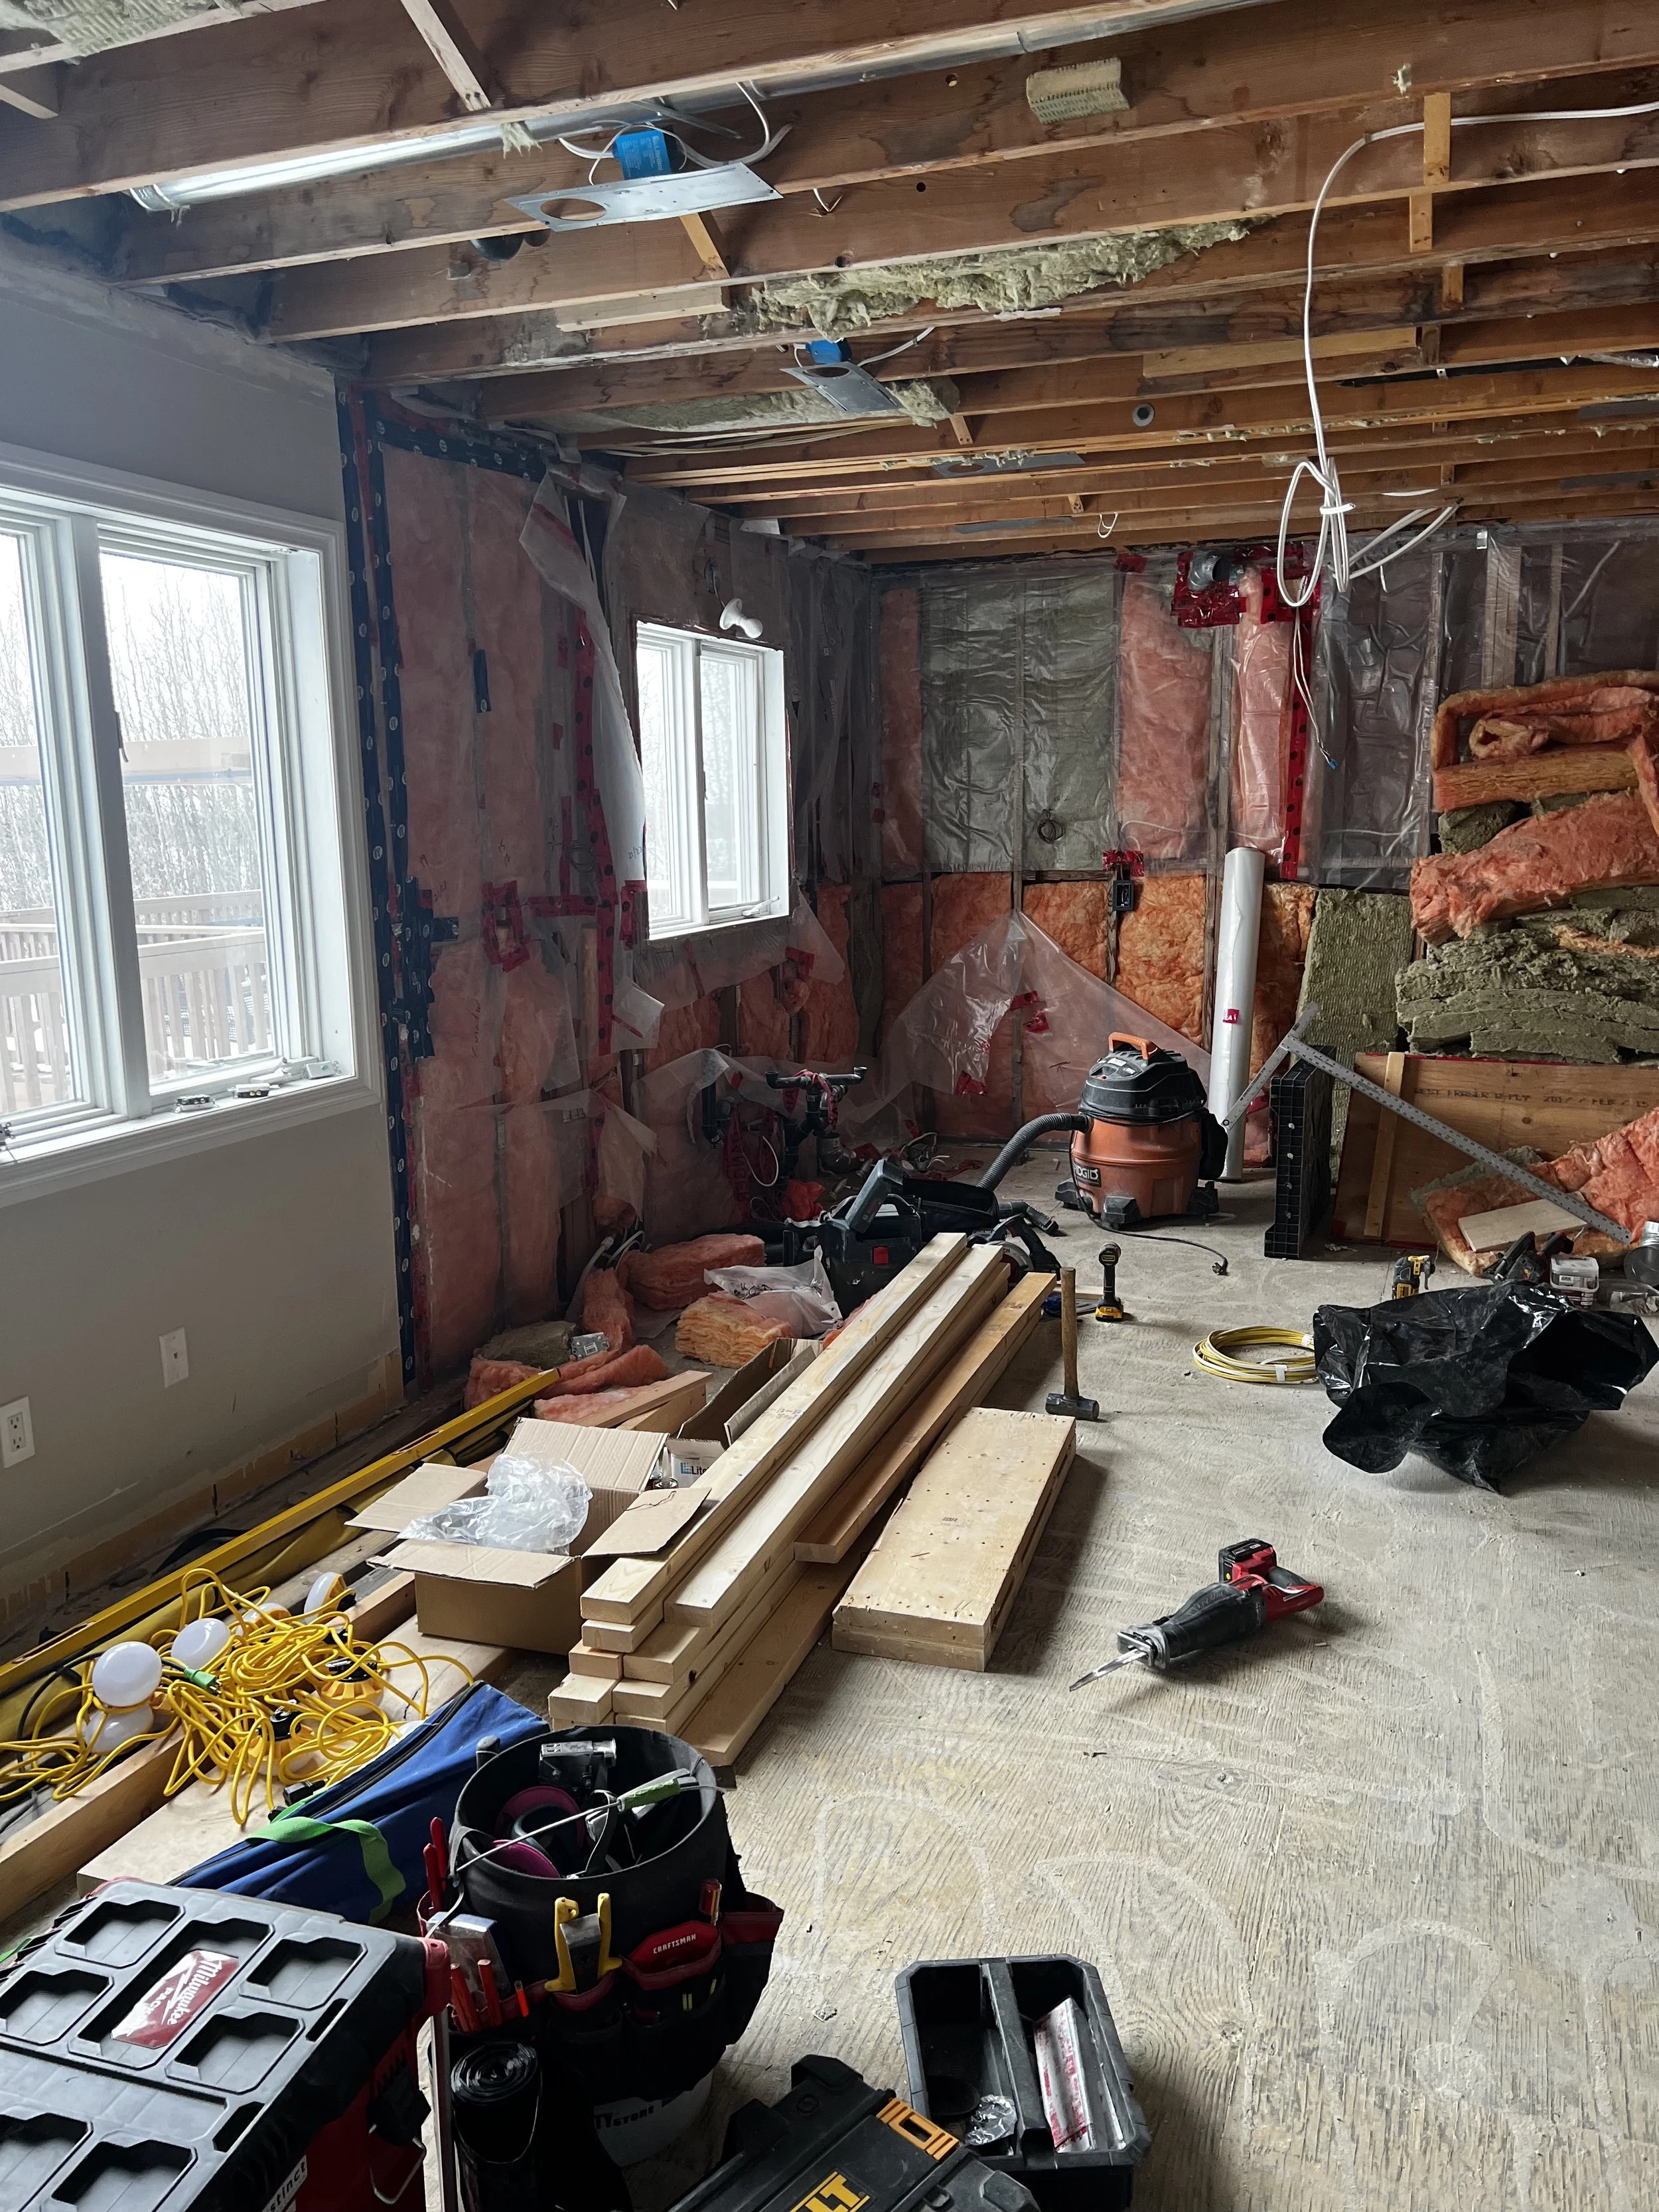
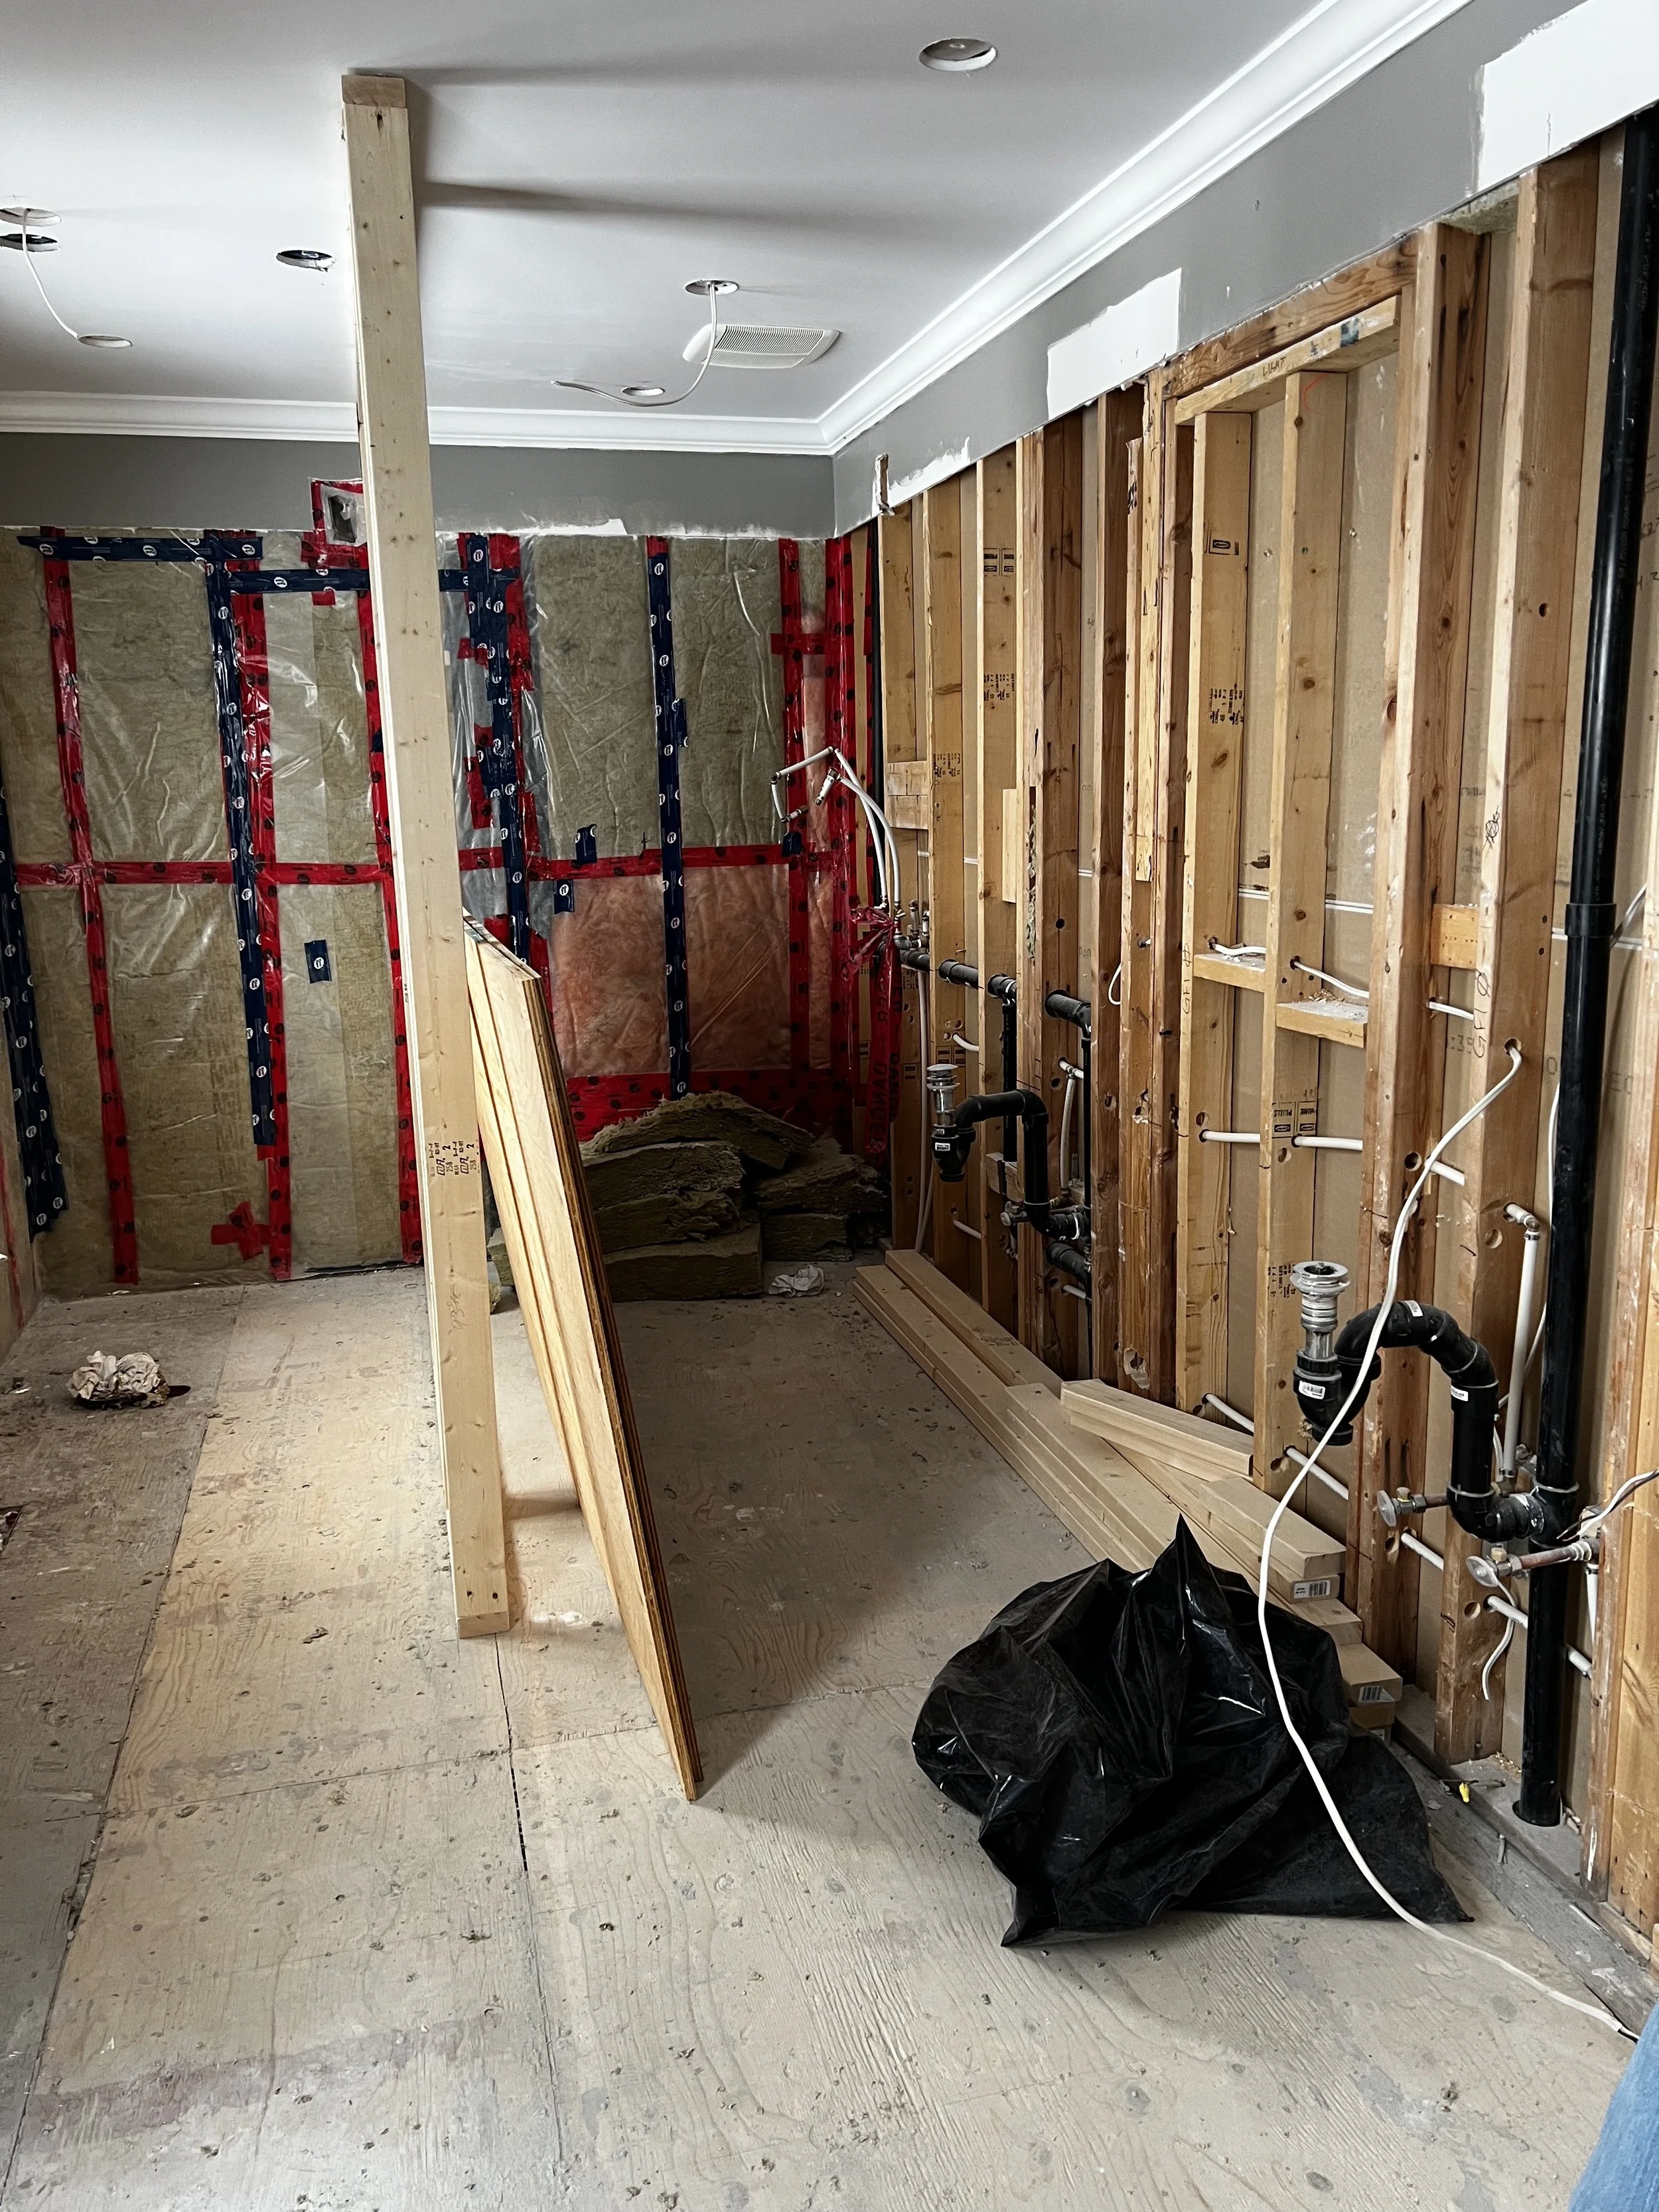
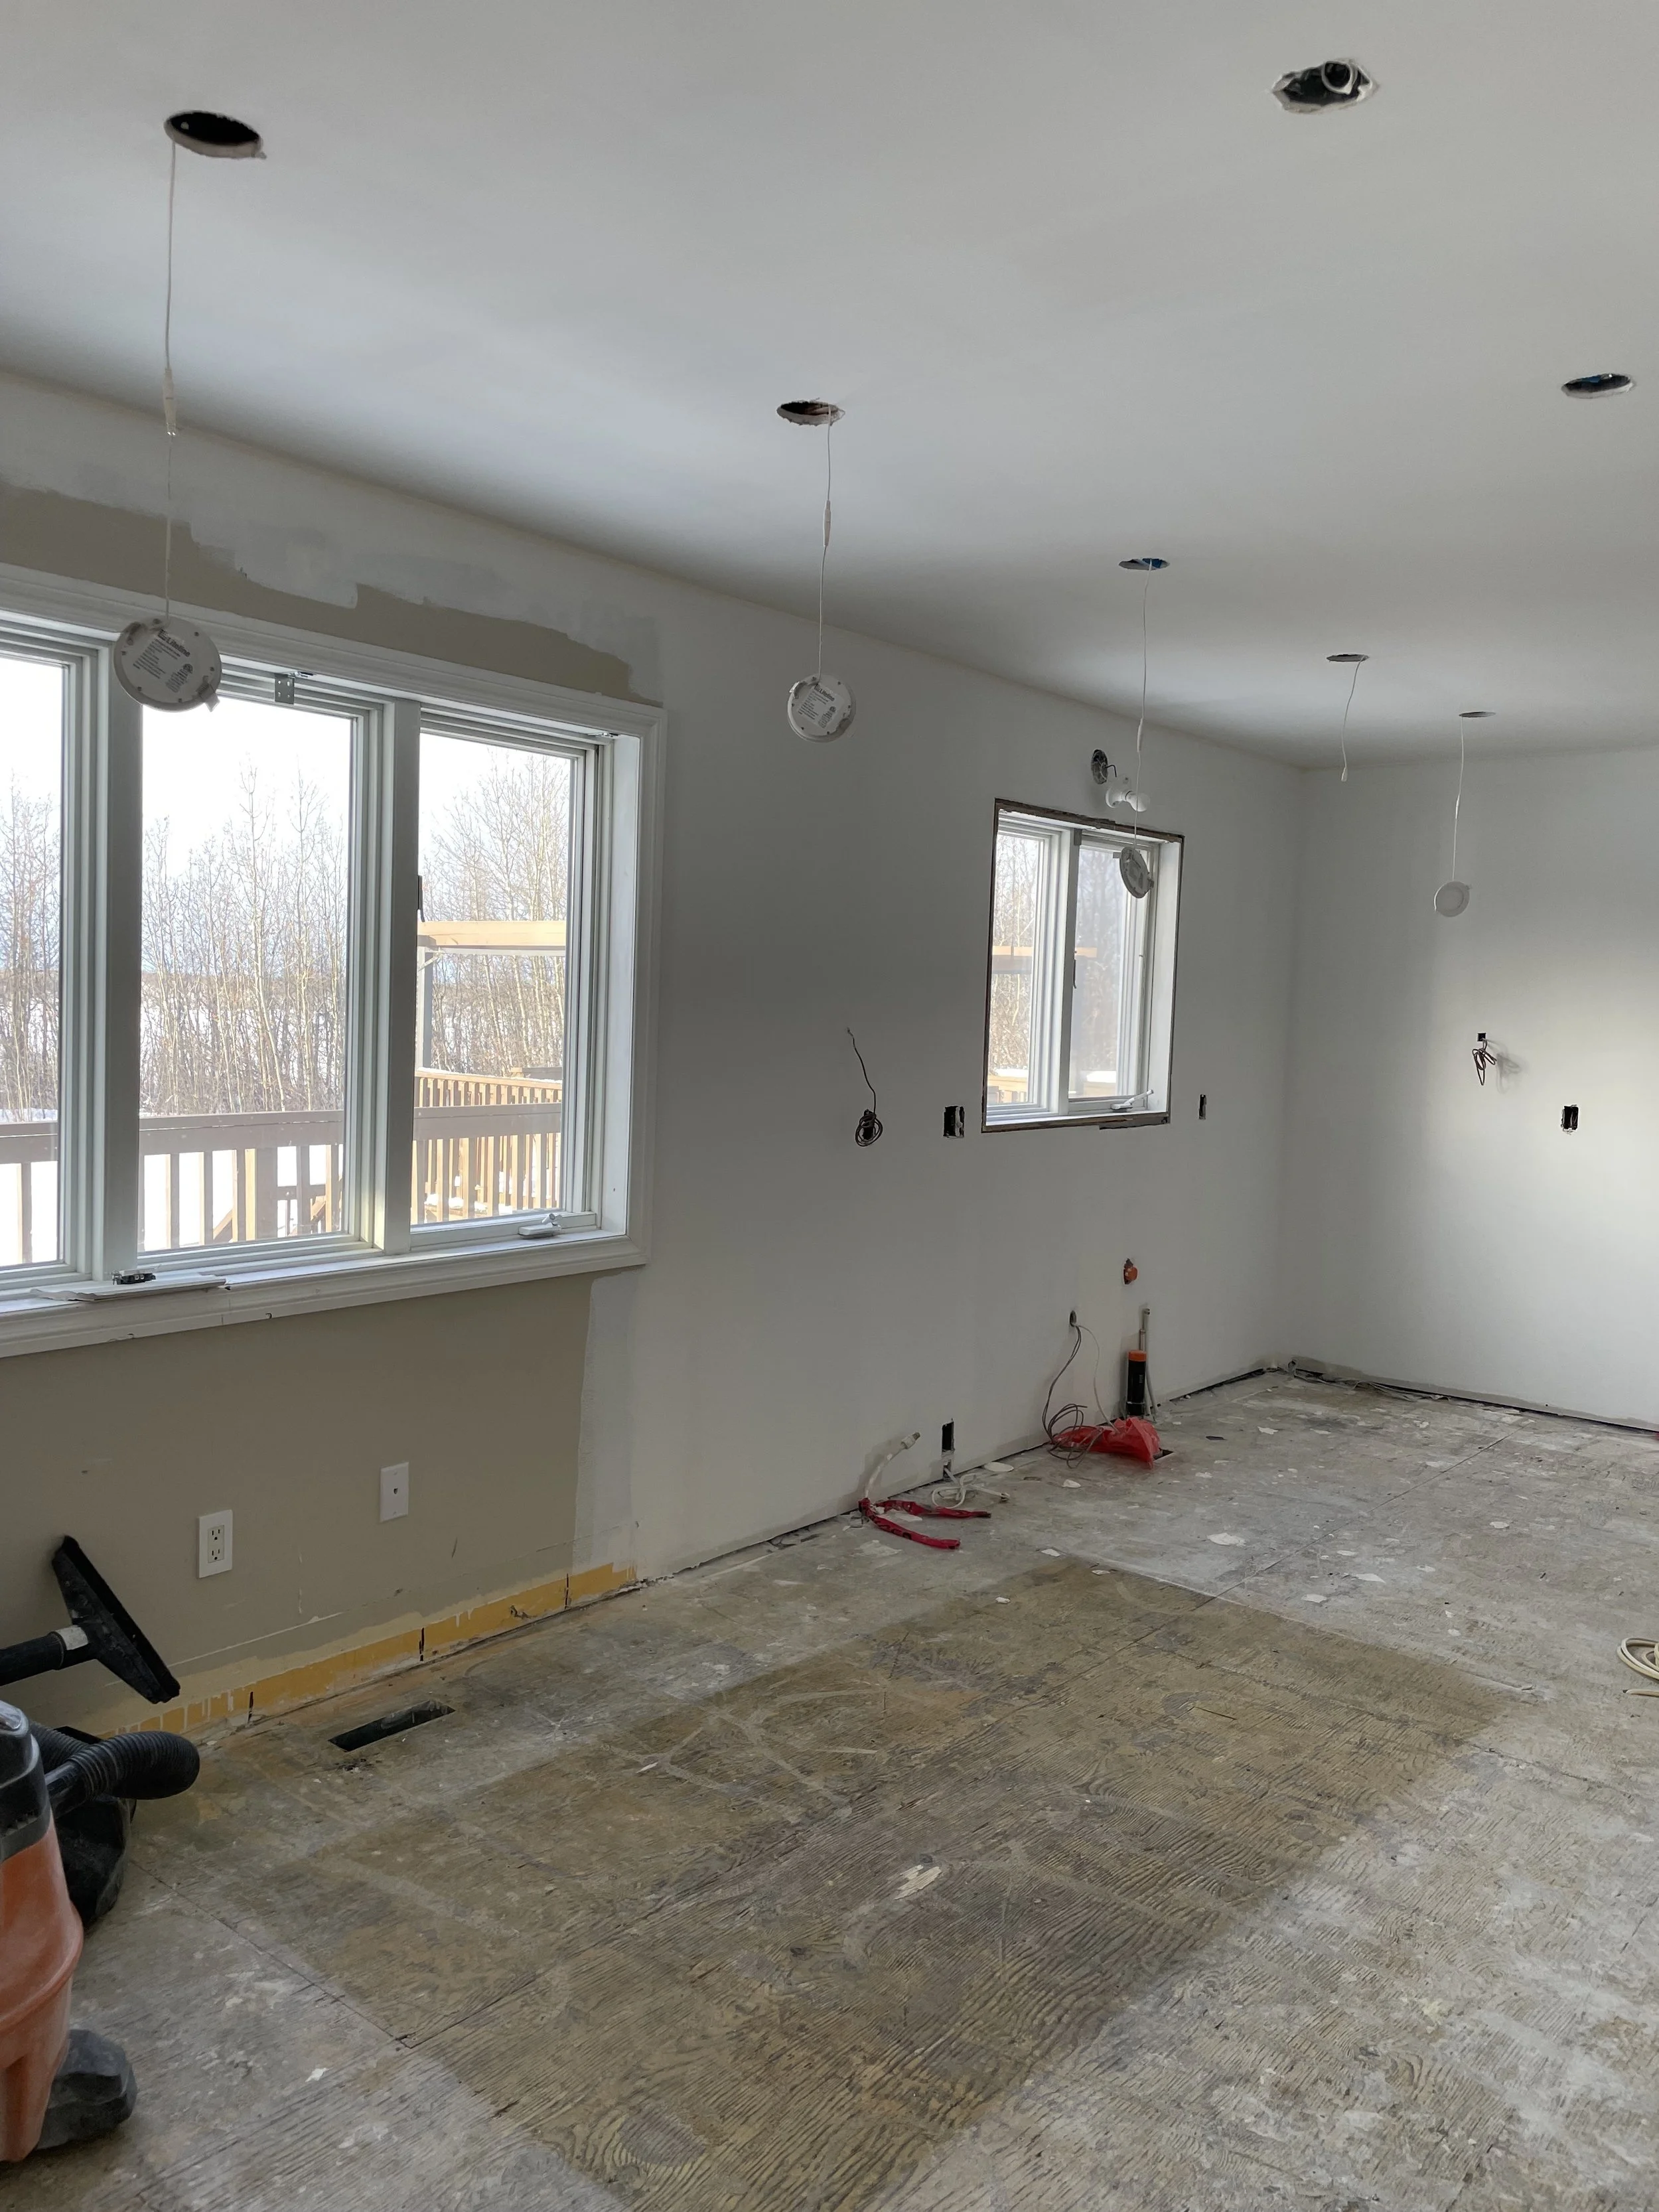
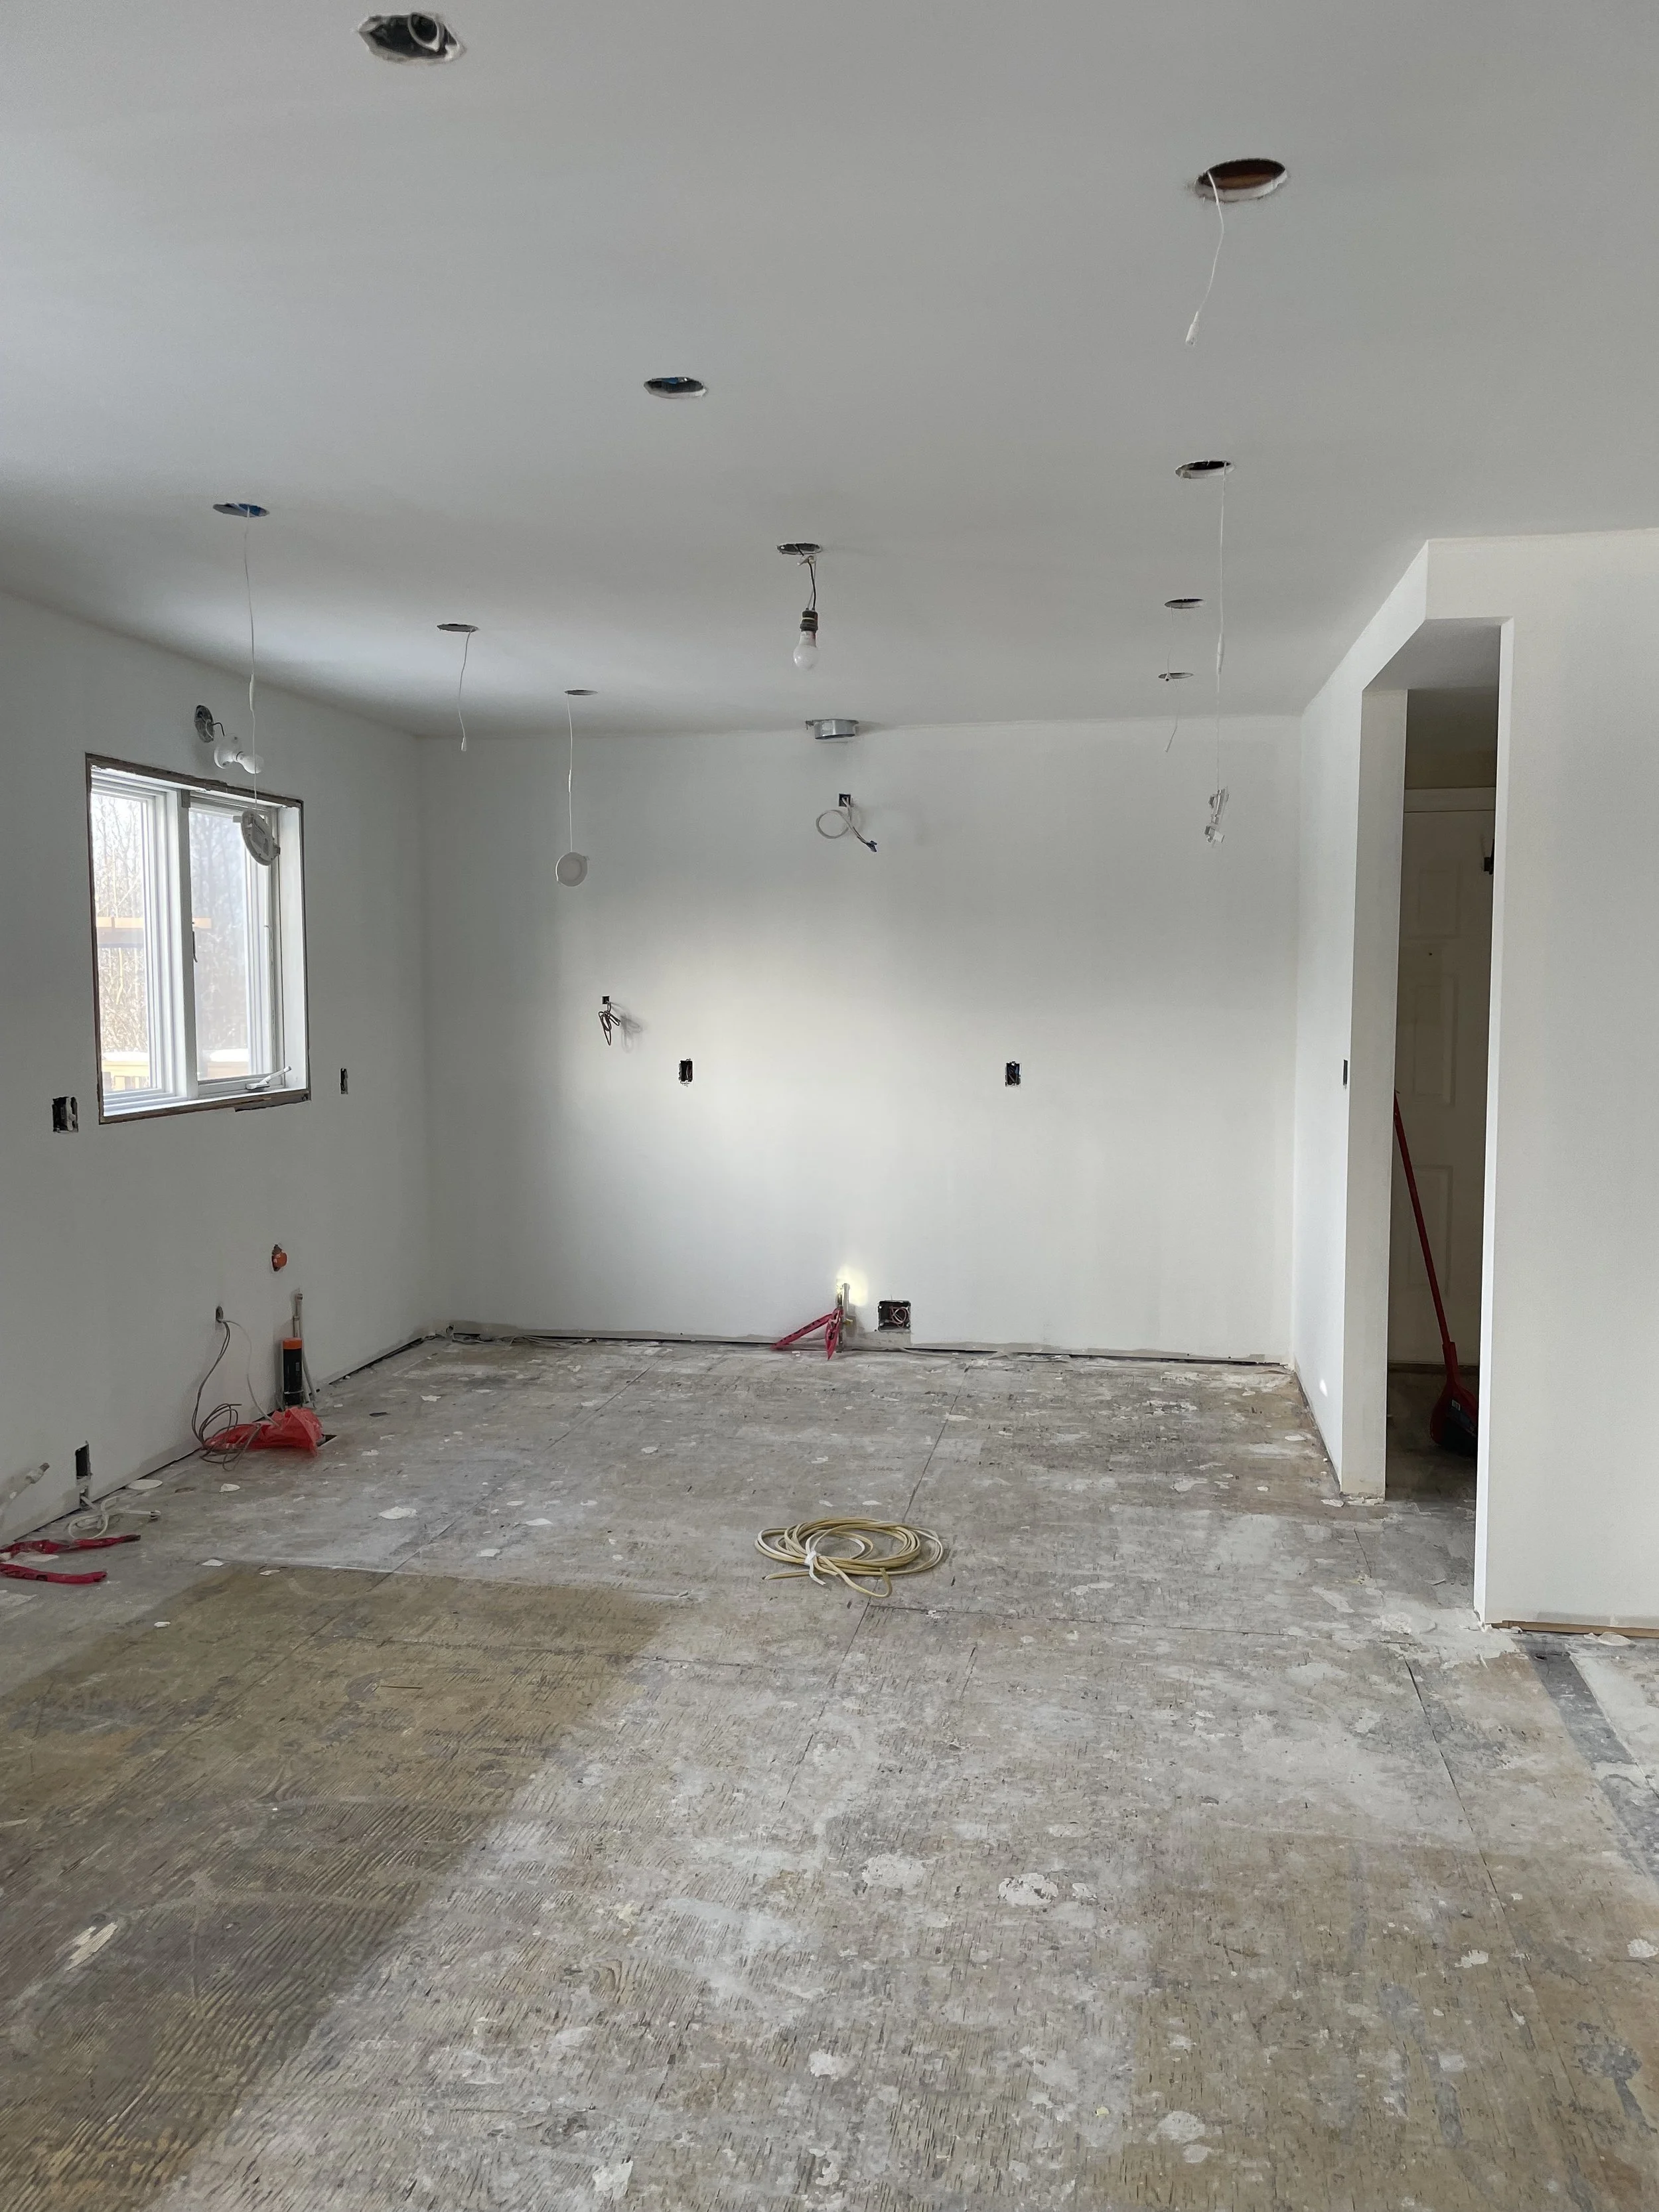
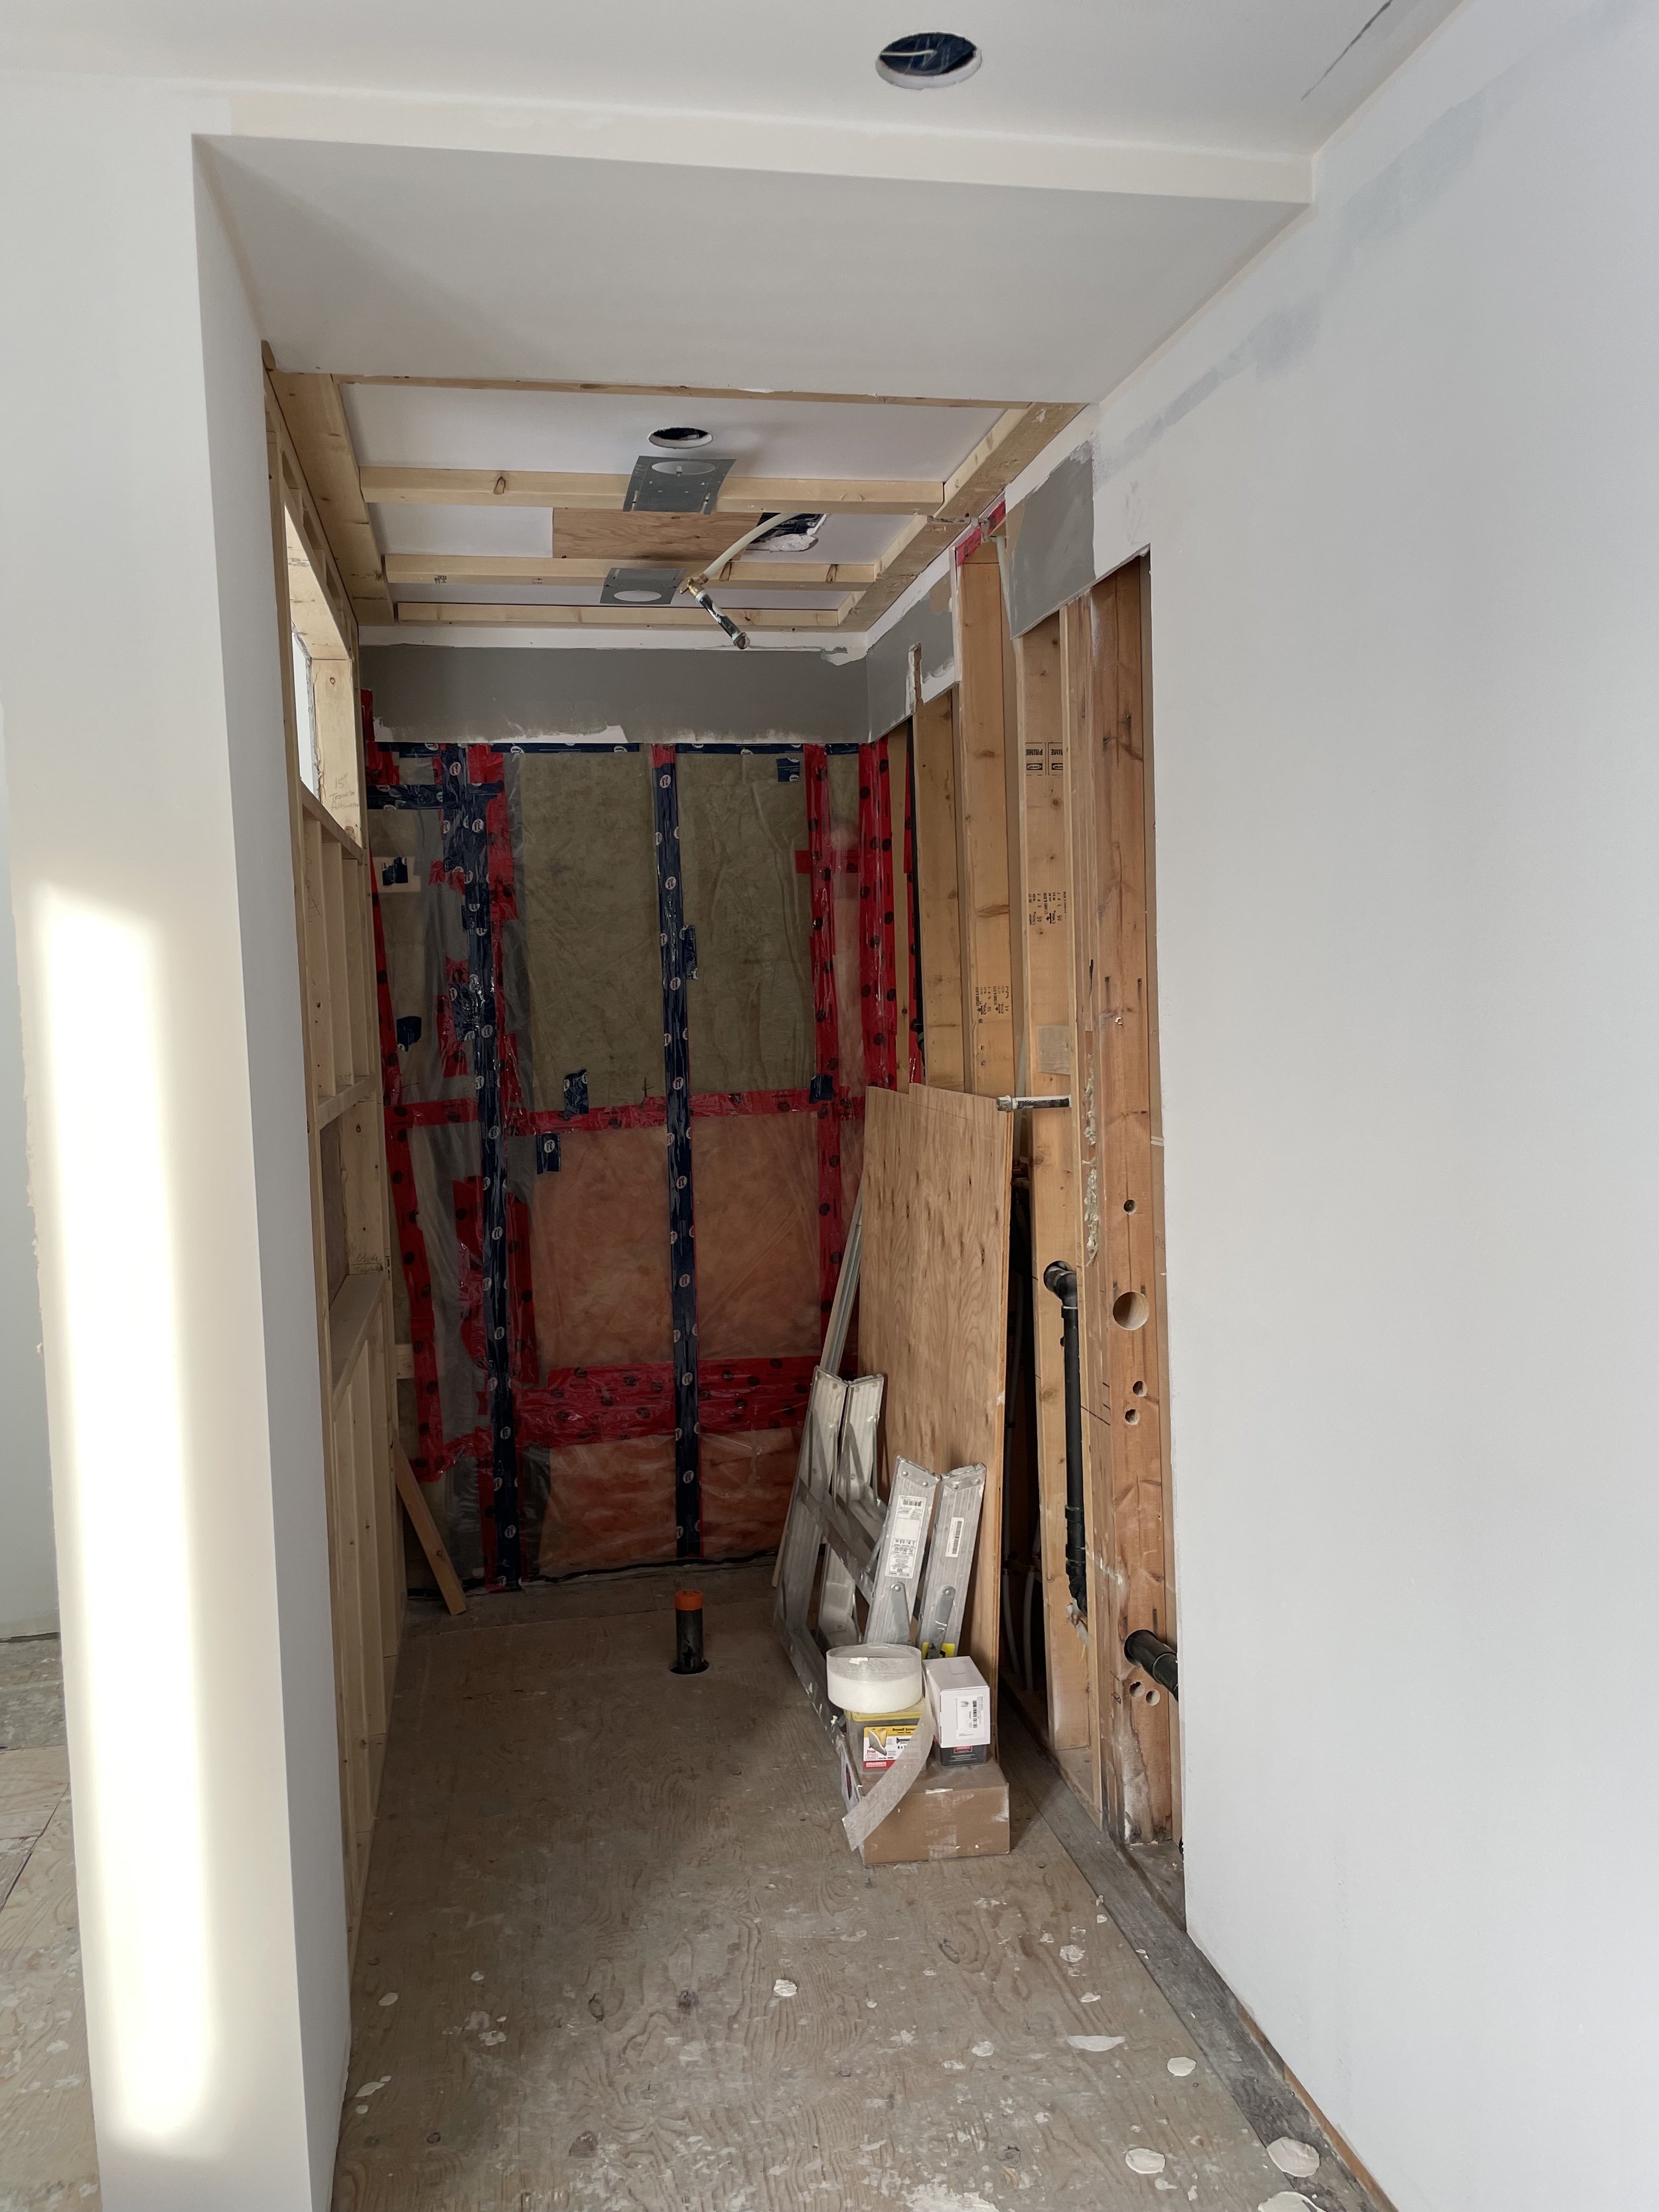
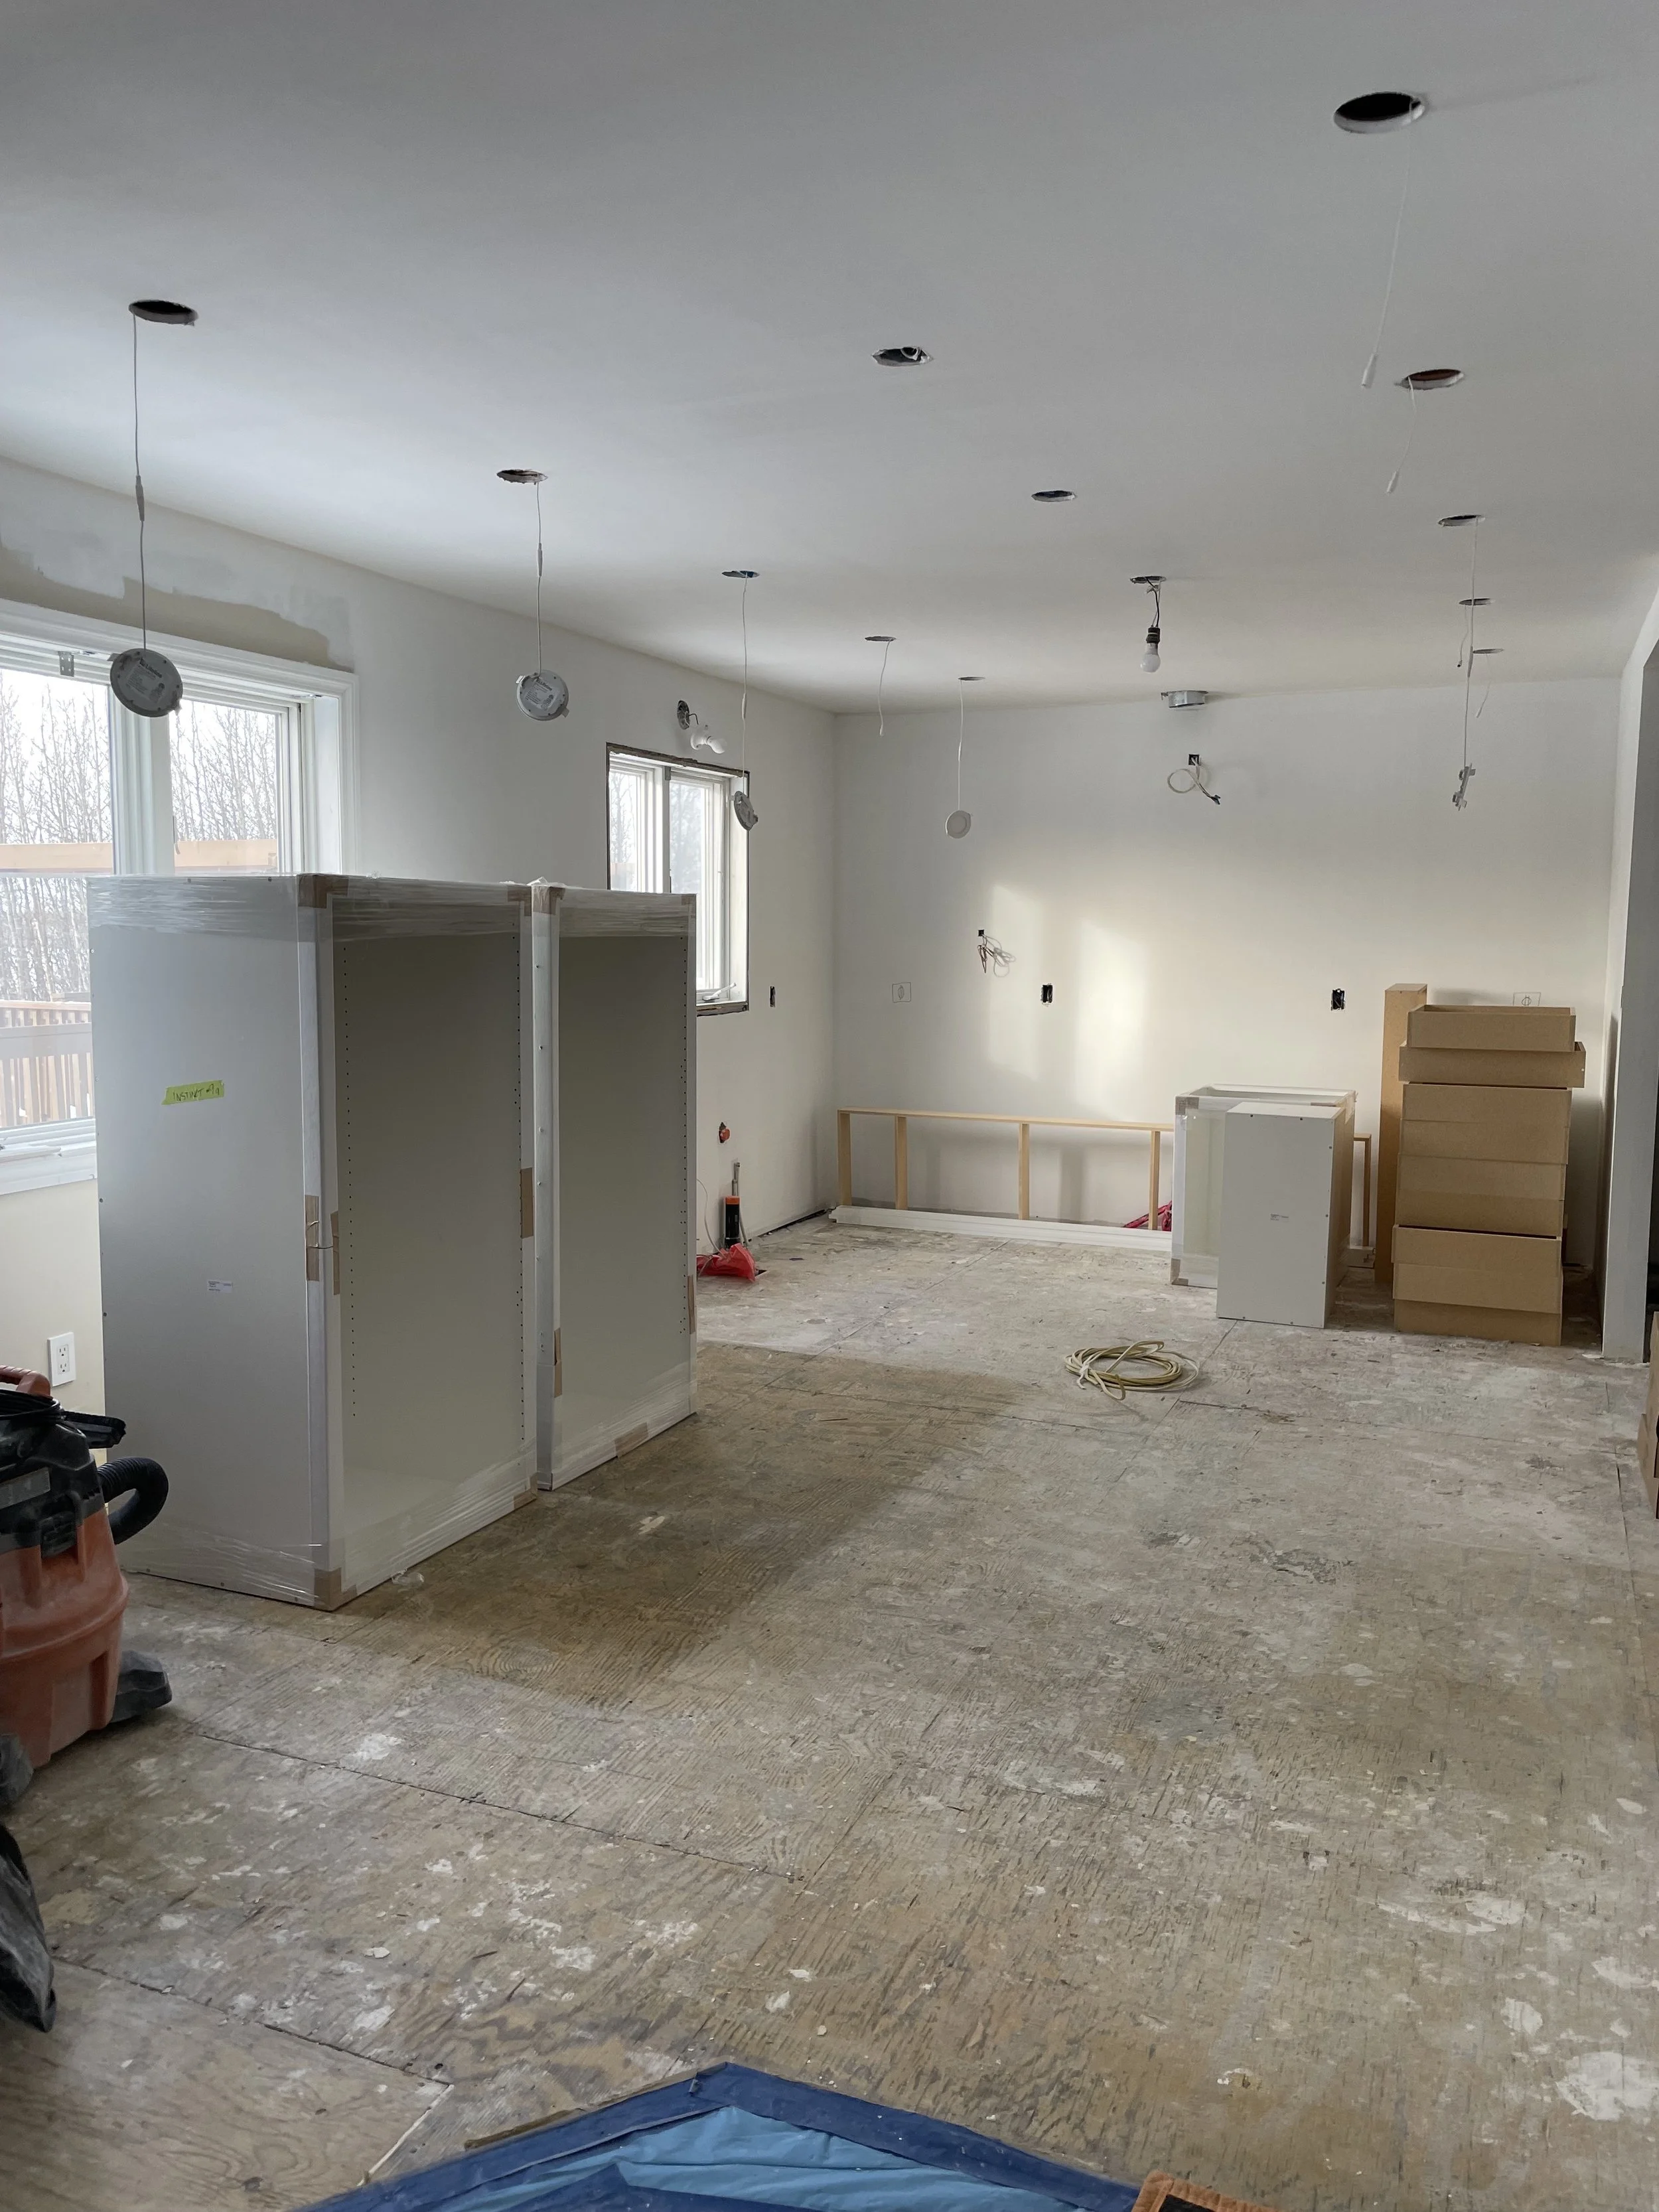
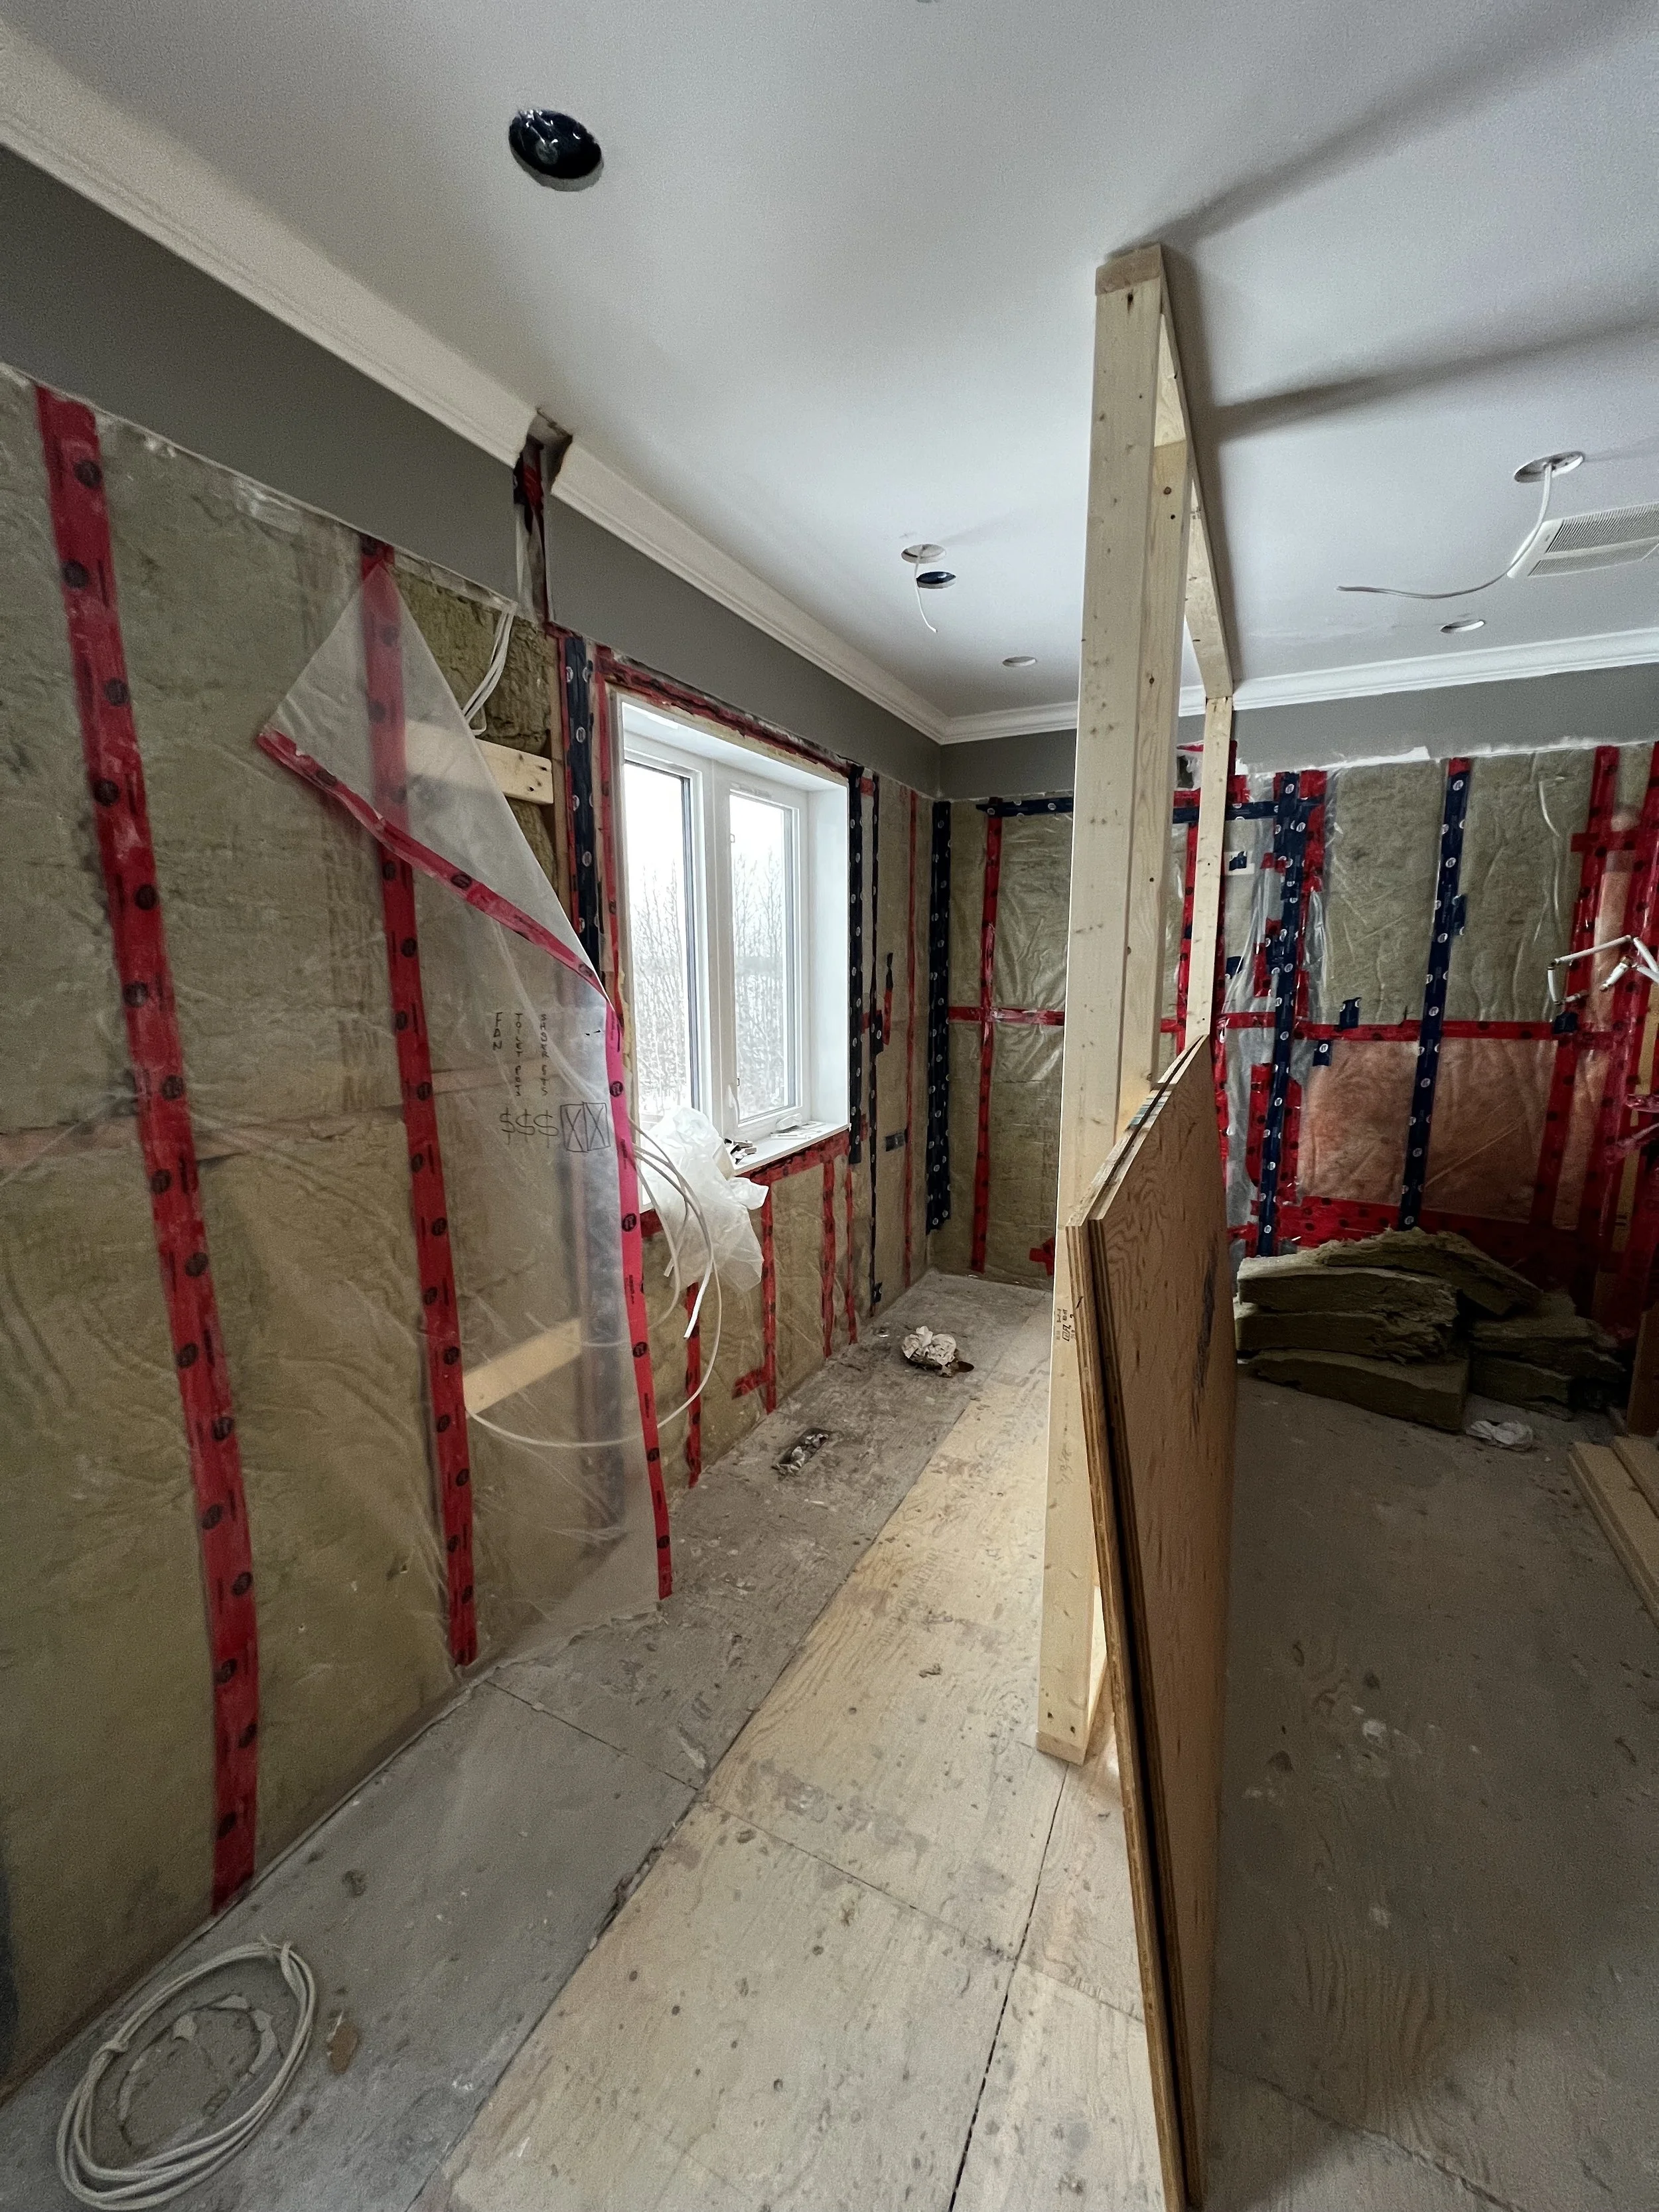
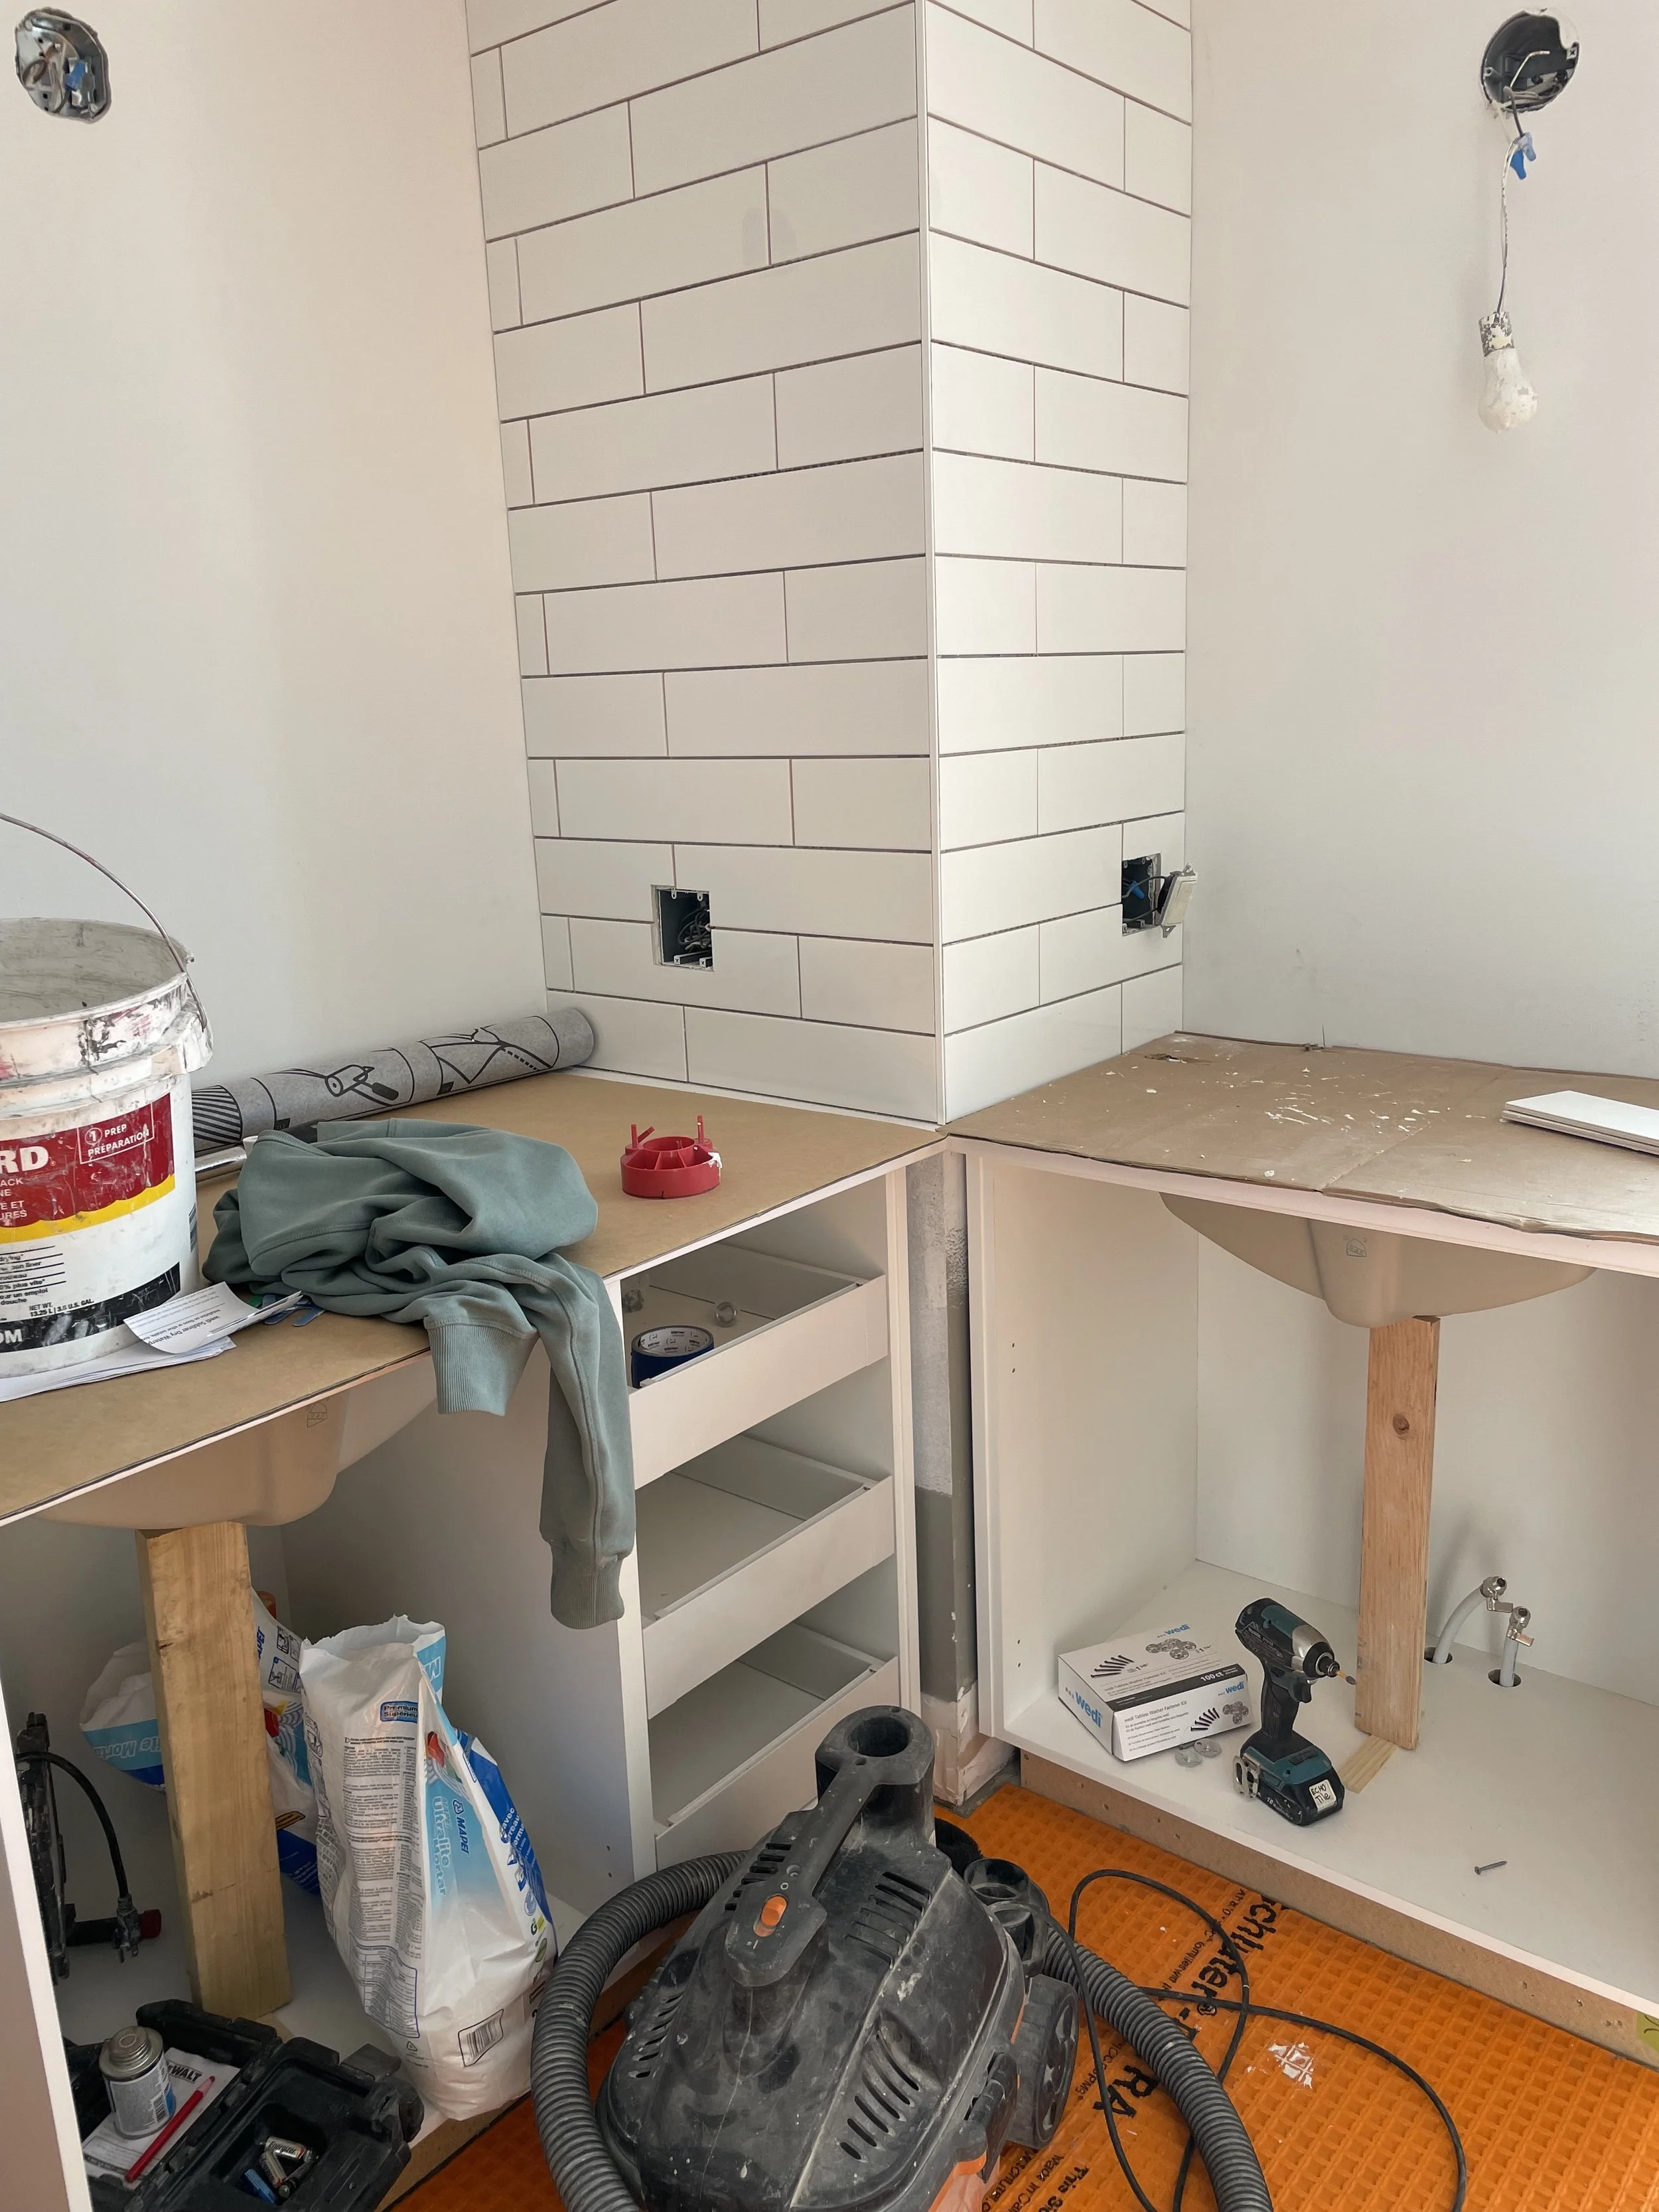
The Renovation
As with most of our renovations that have been underway over the past couple of years, there were some product delays, staffing changes and a couple surprises that caused the project to take just a bit longer than planned. There are so many elements that just can’t be controlled, but our team and our contractor’s team are always doing our best to bring it all together.
Here’s a quick look at the process and a few shots of our favourite pup, Chili, on site!
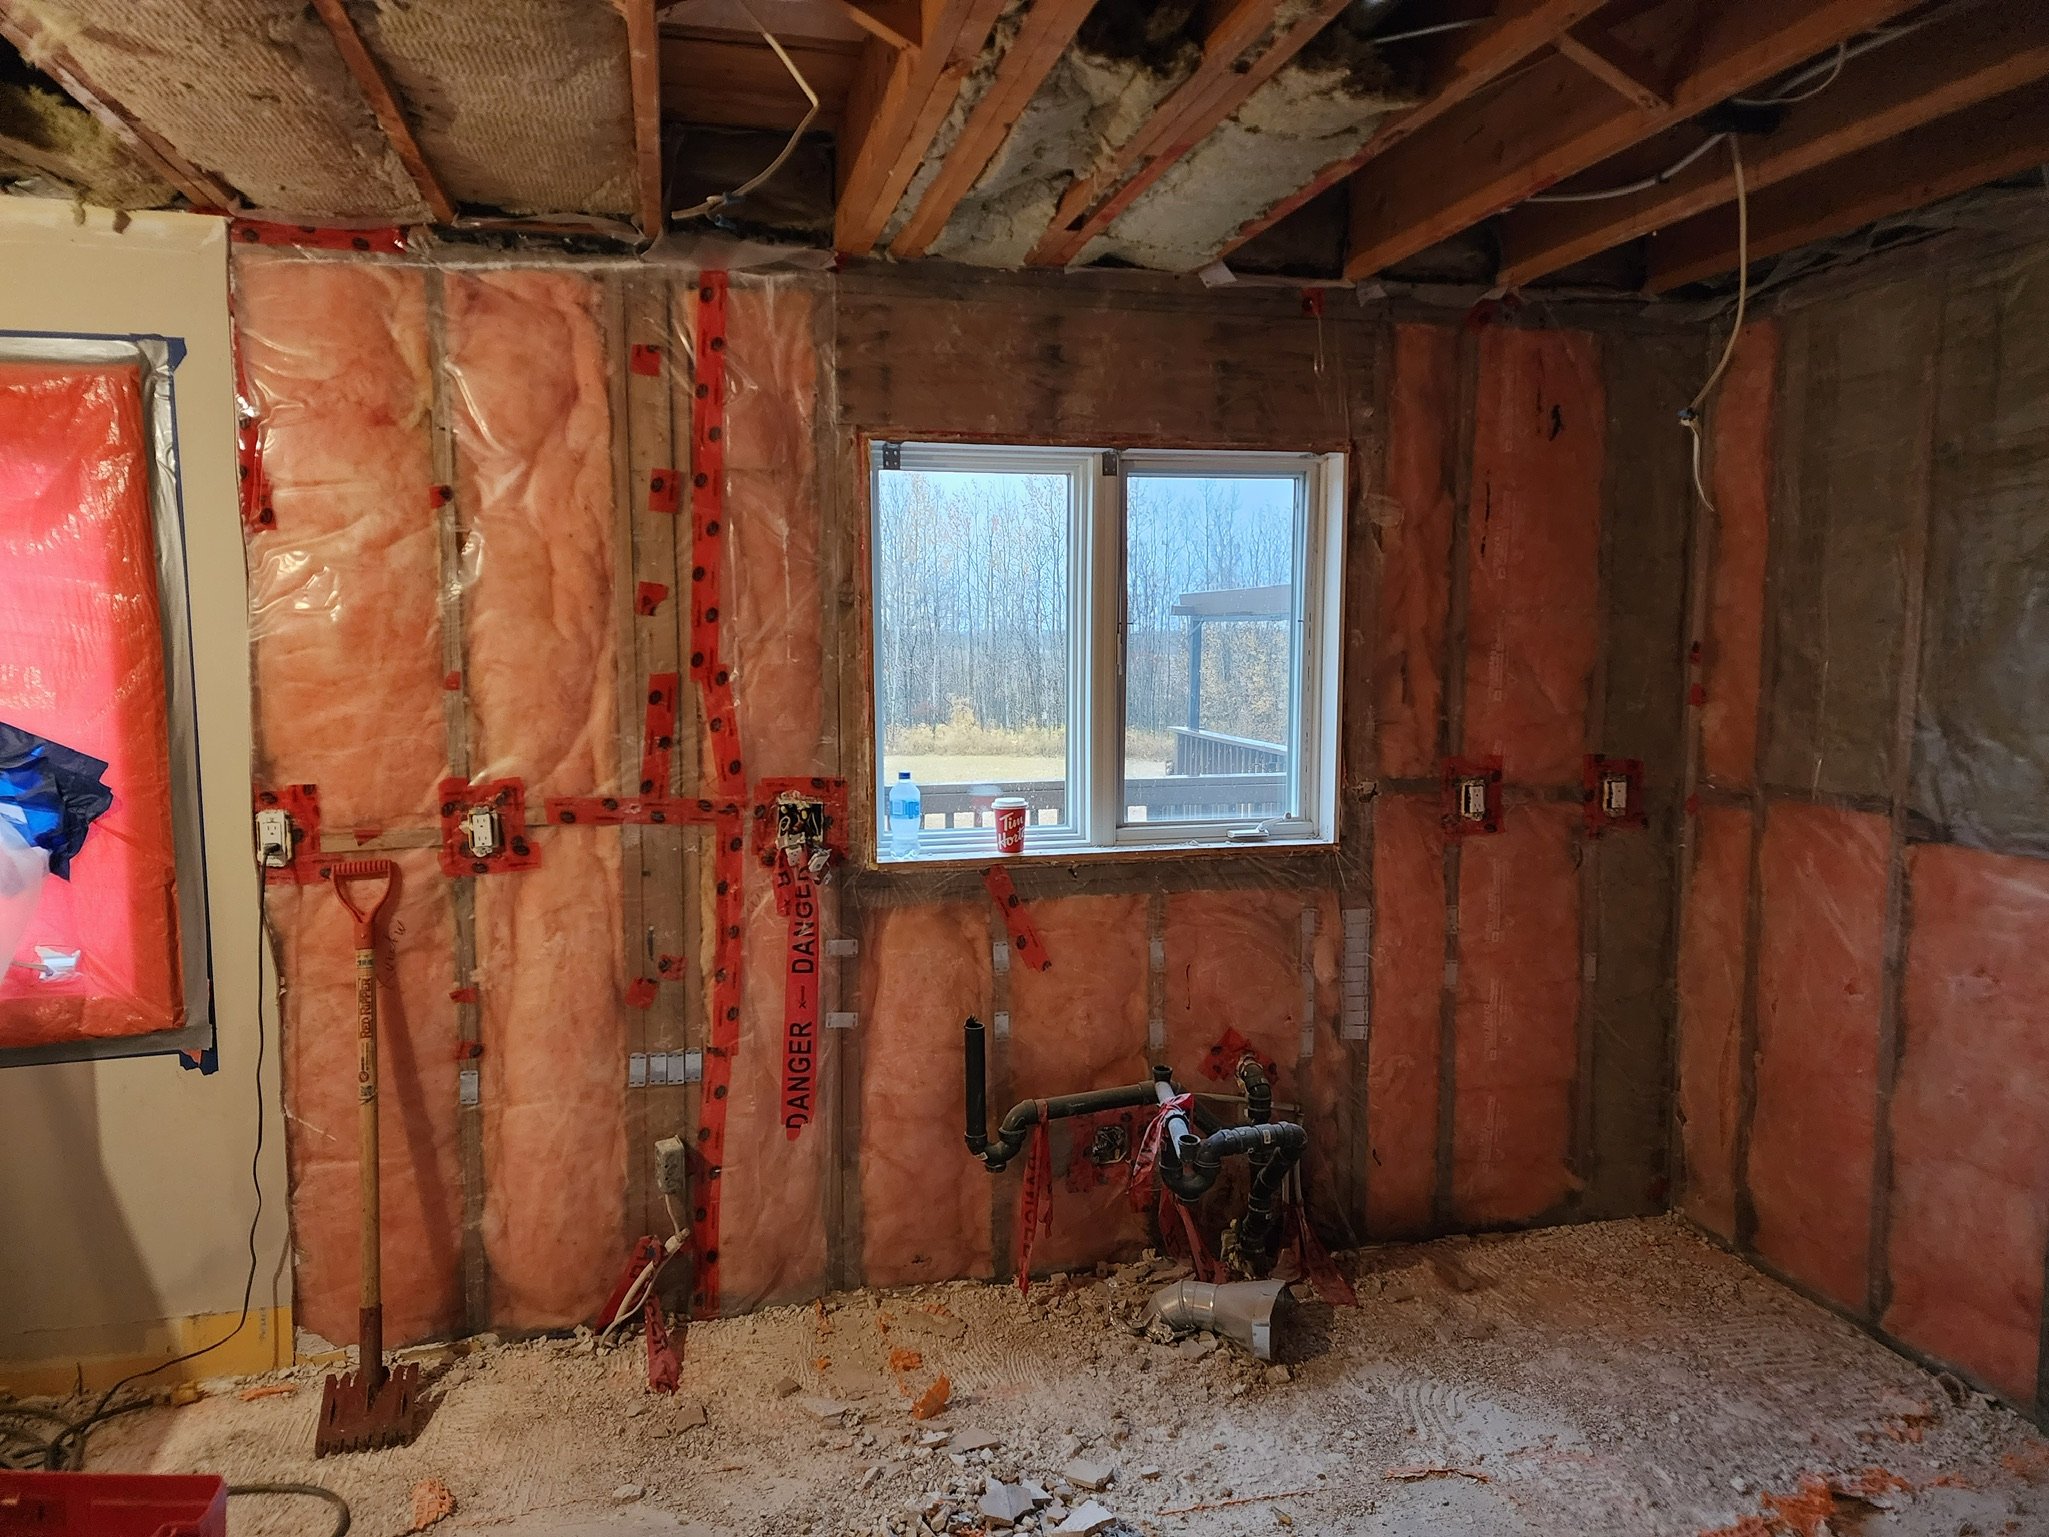
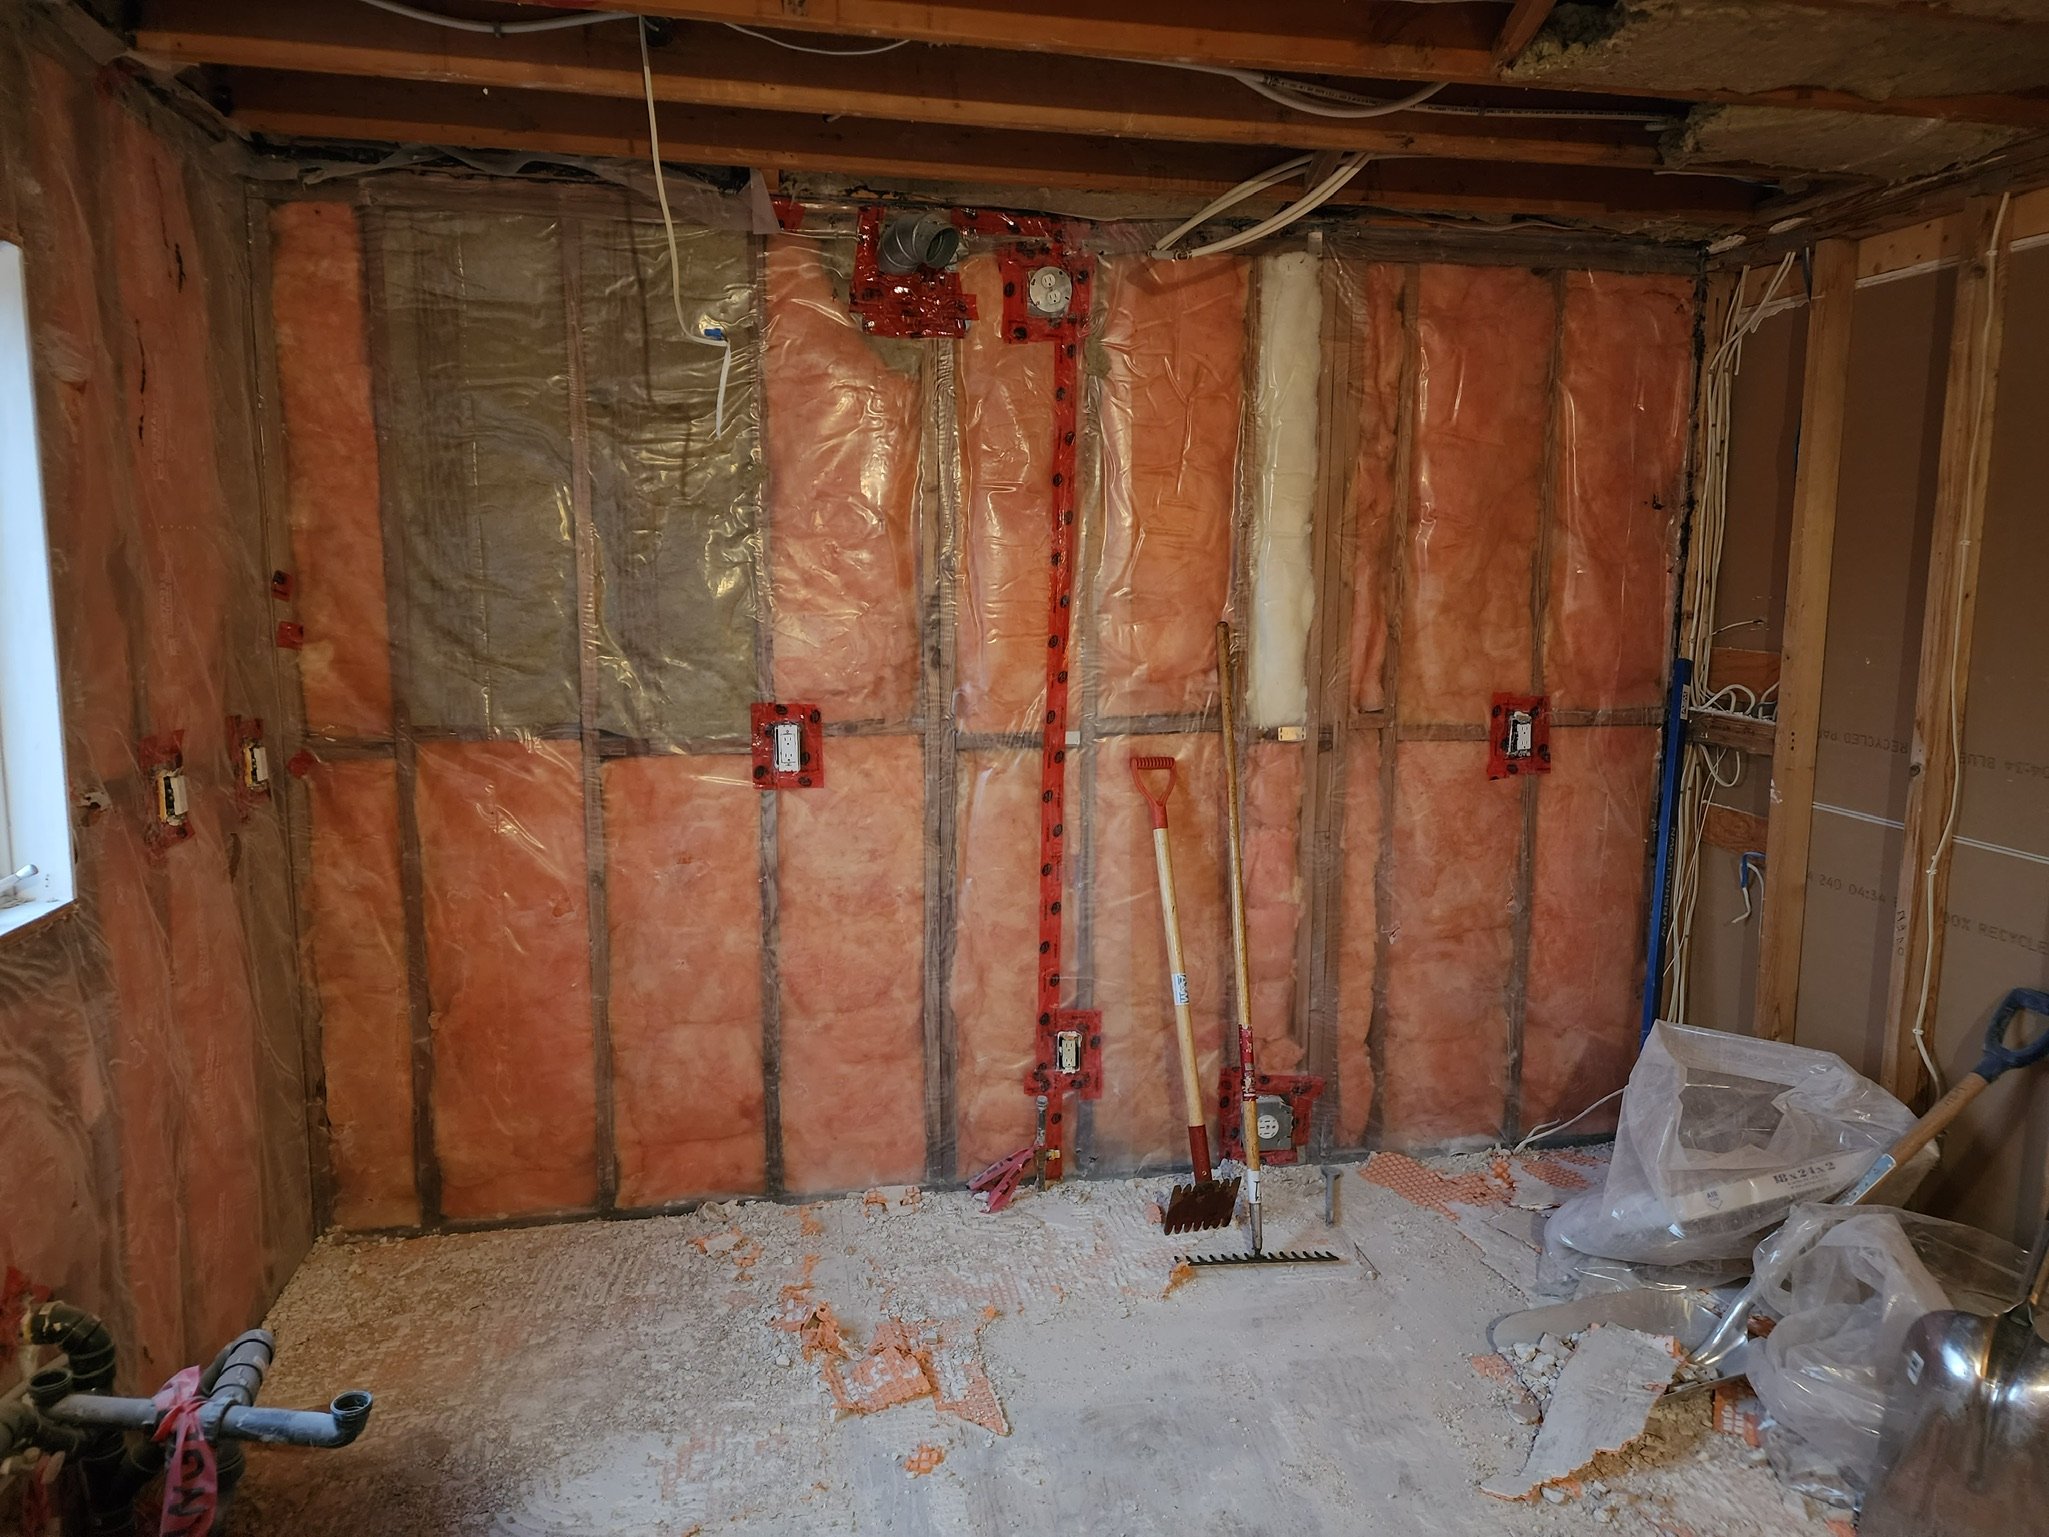
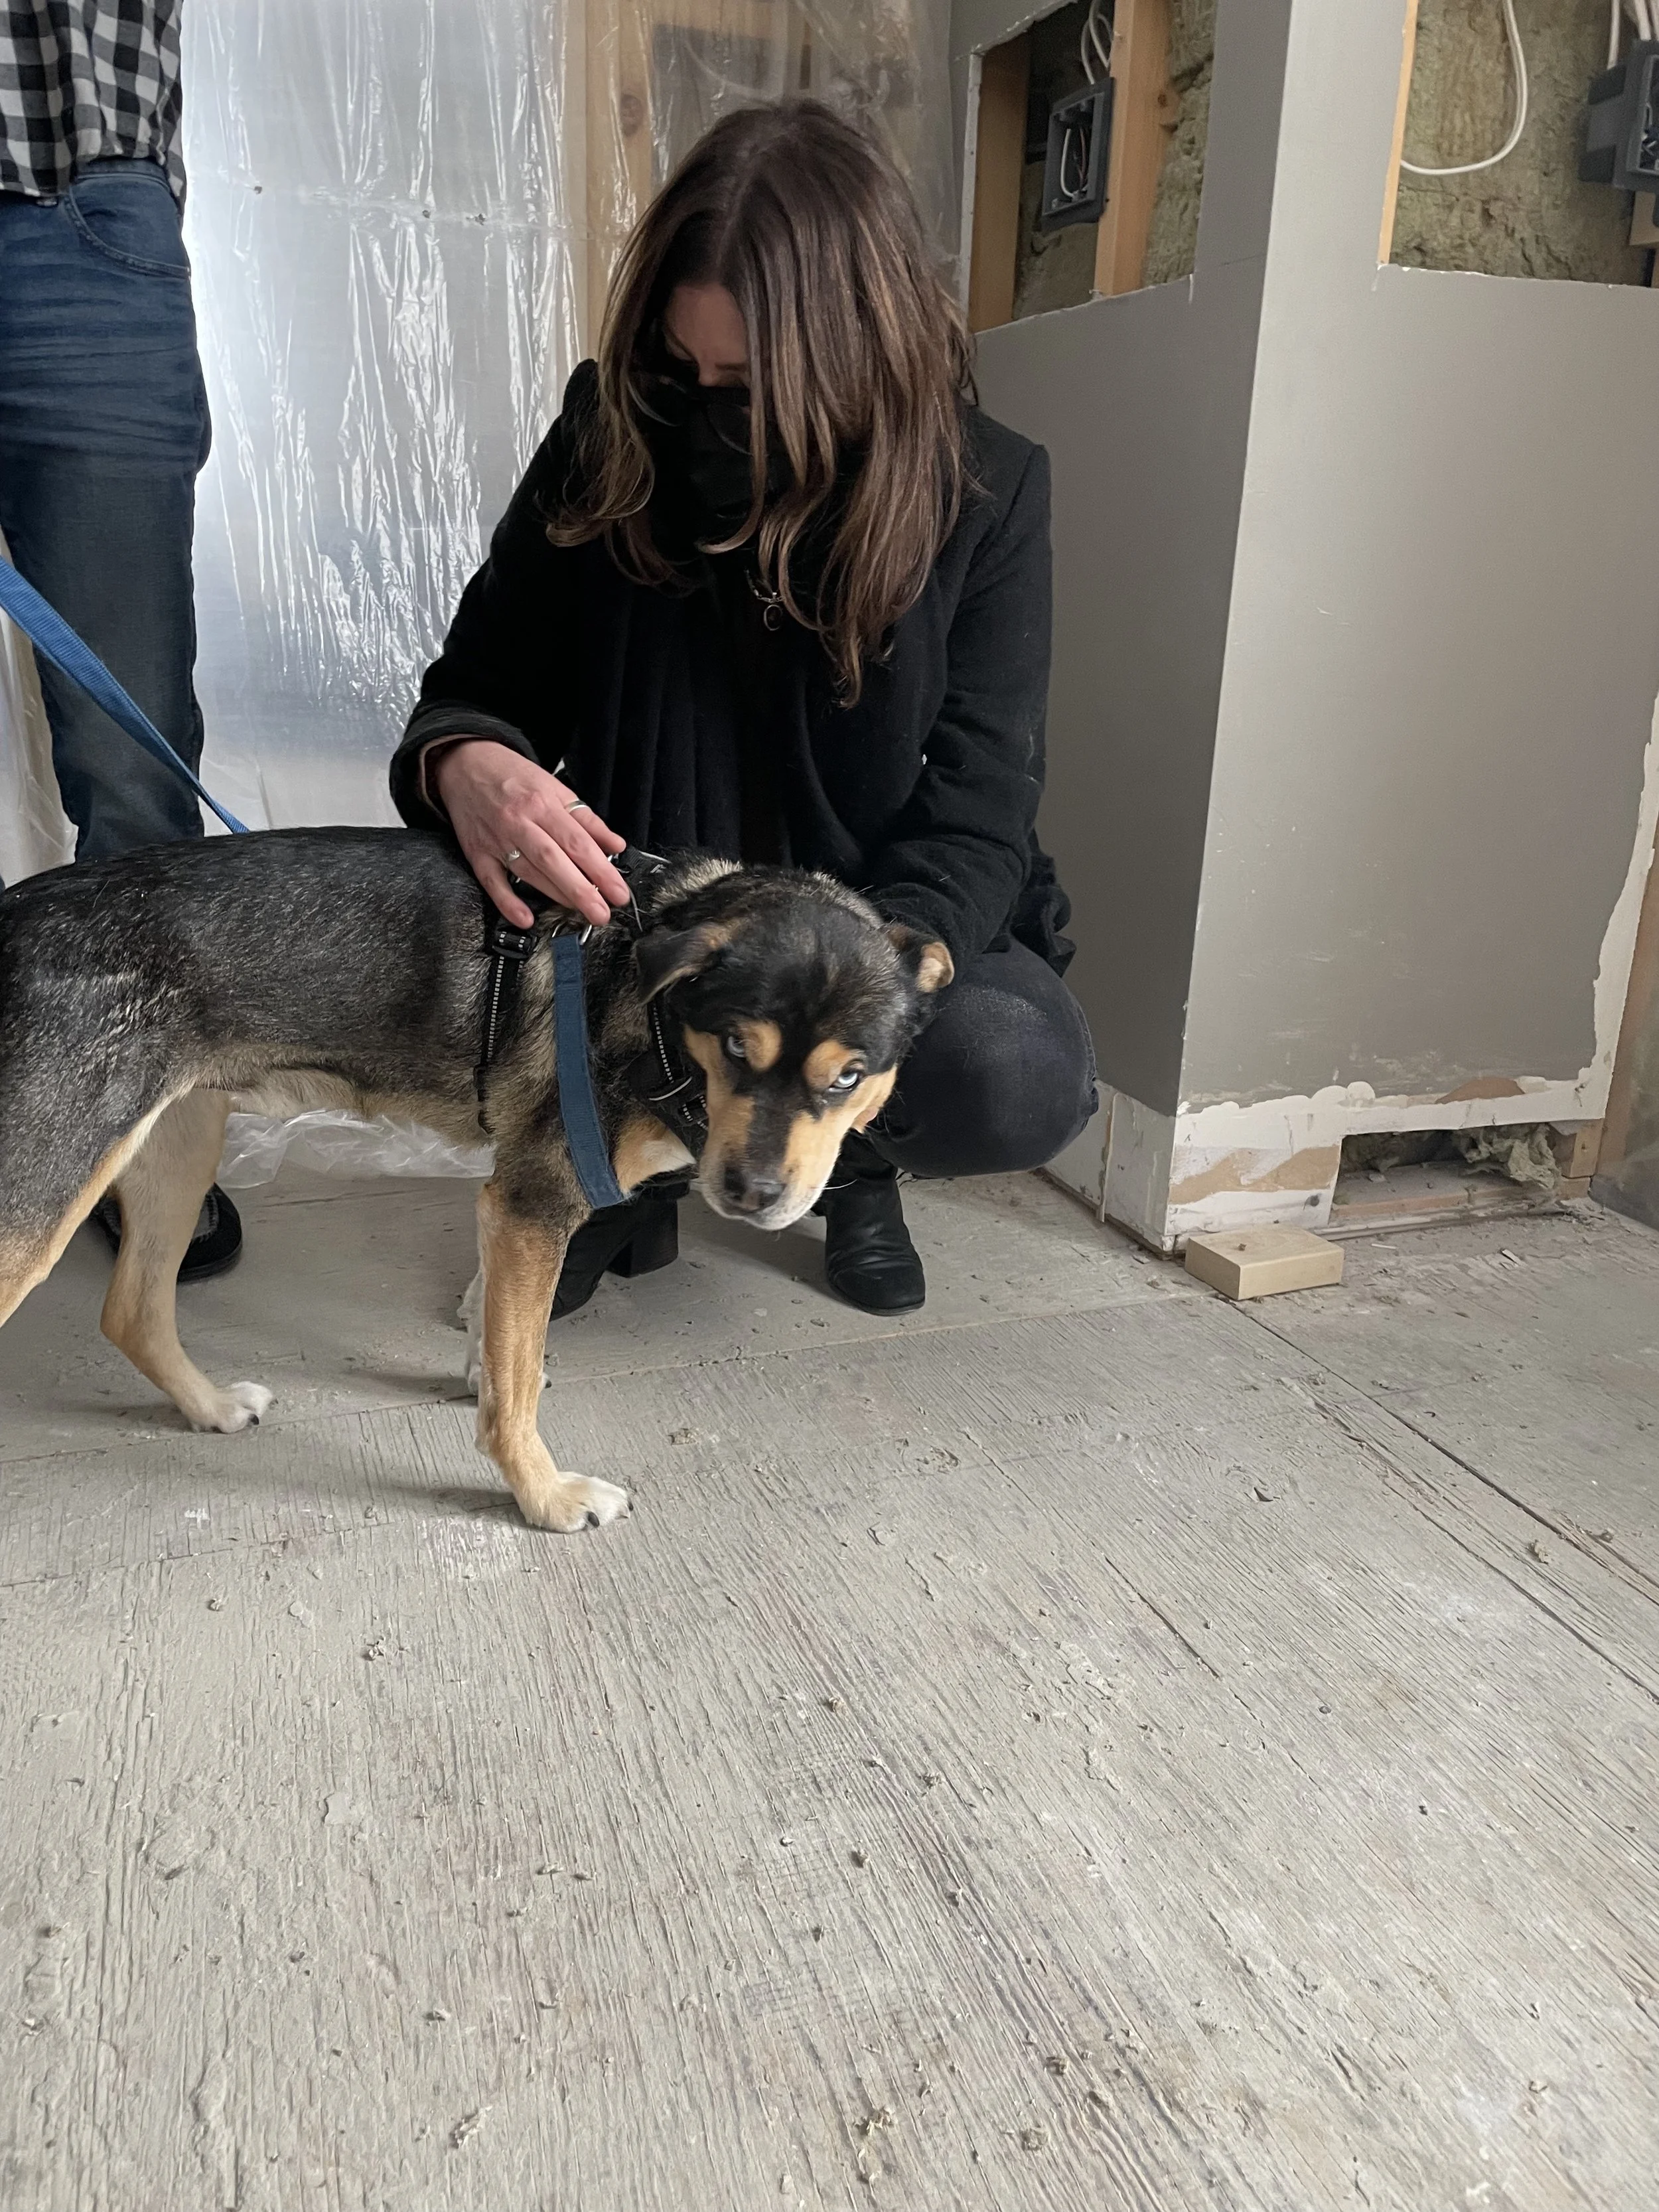
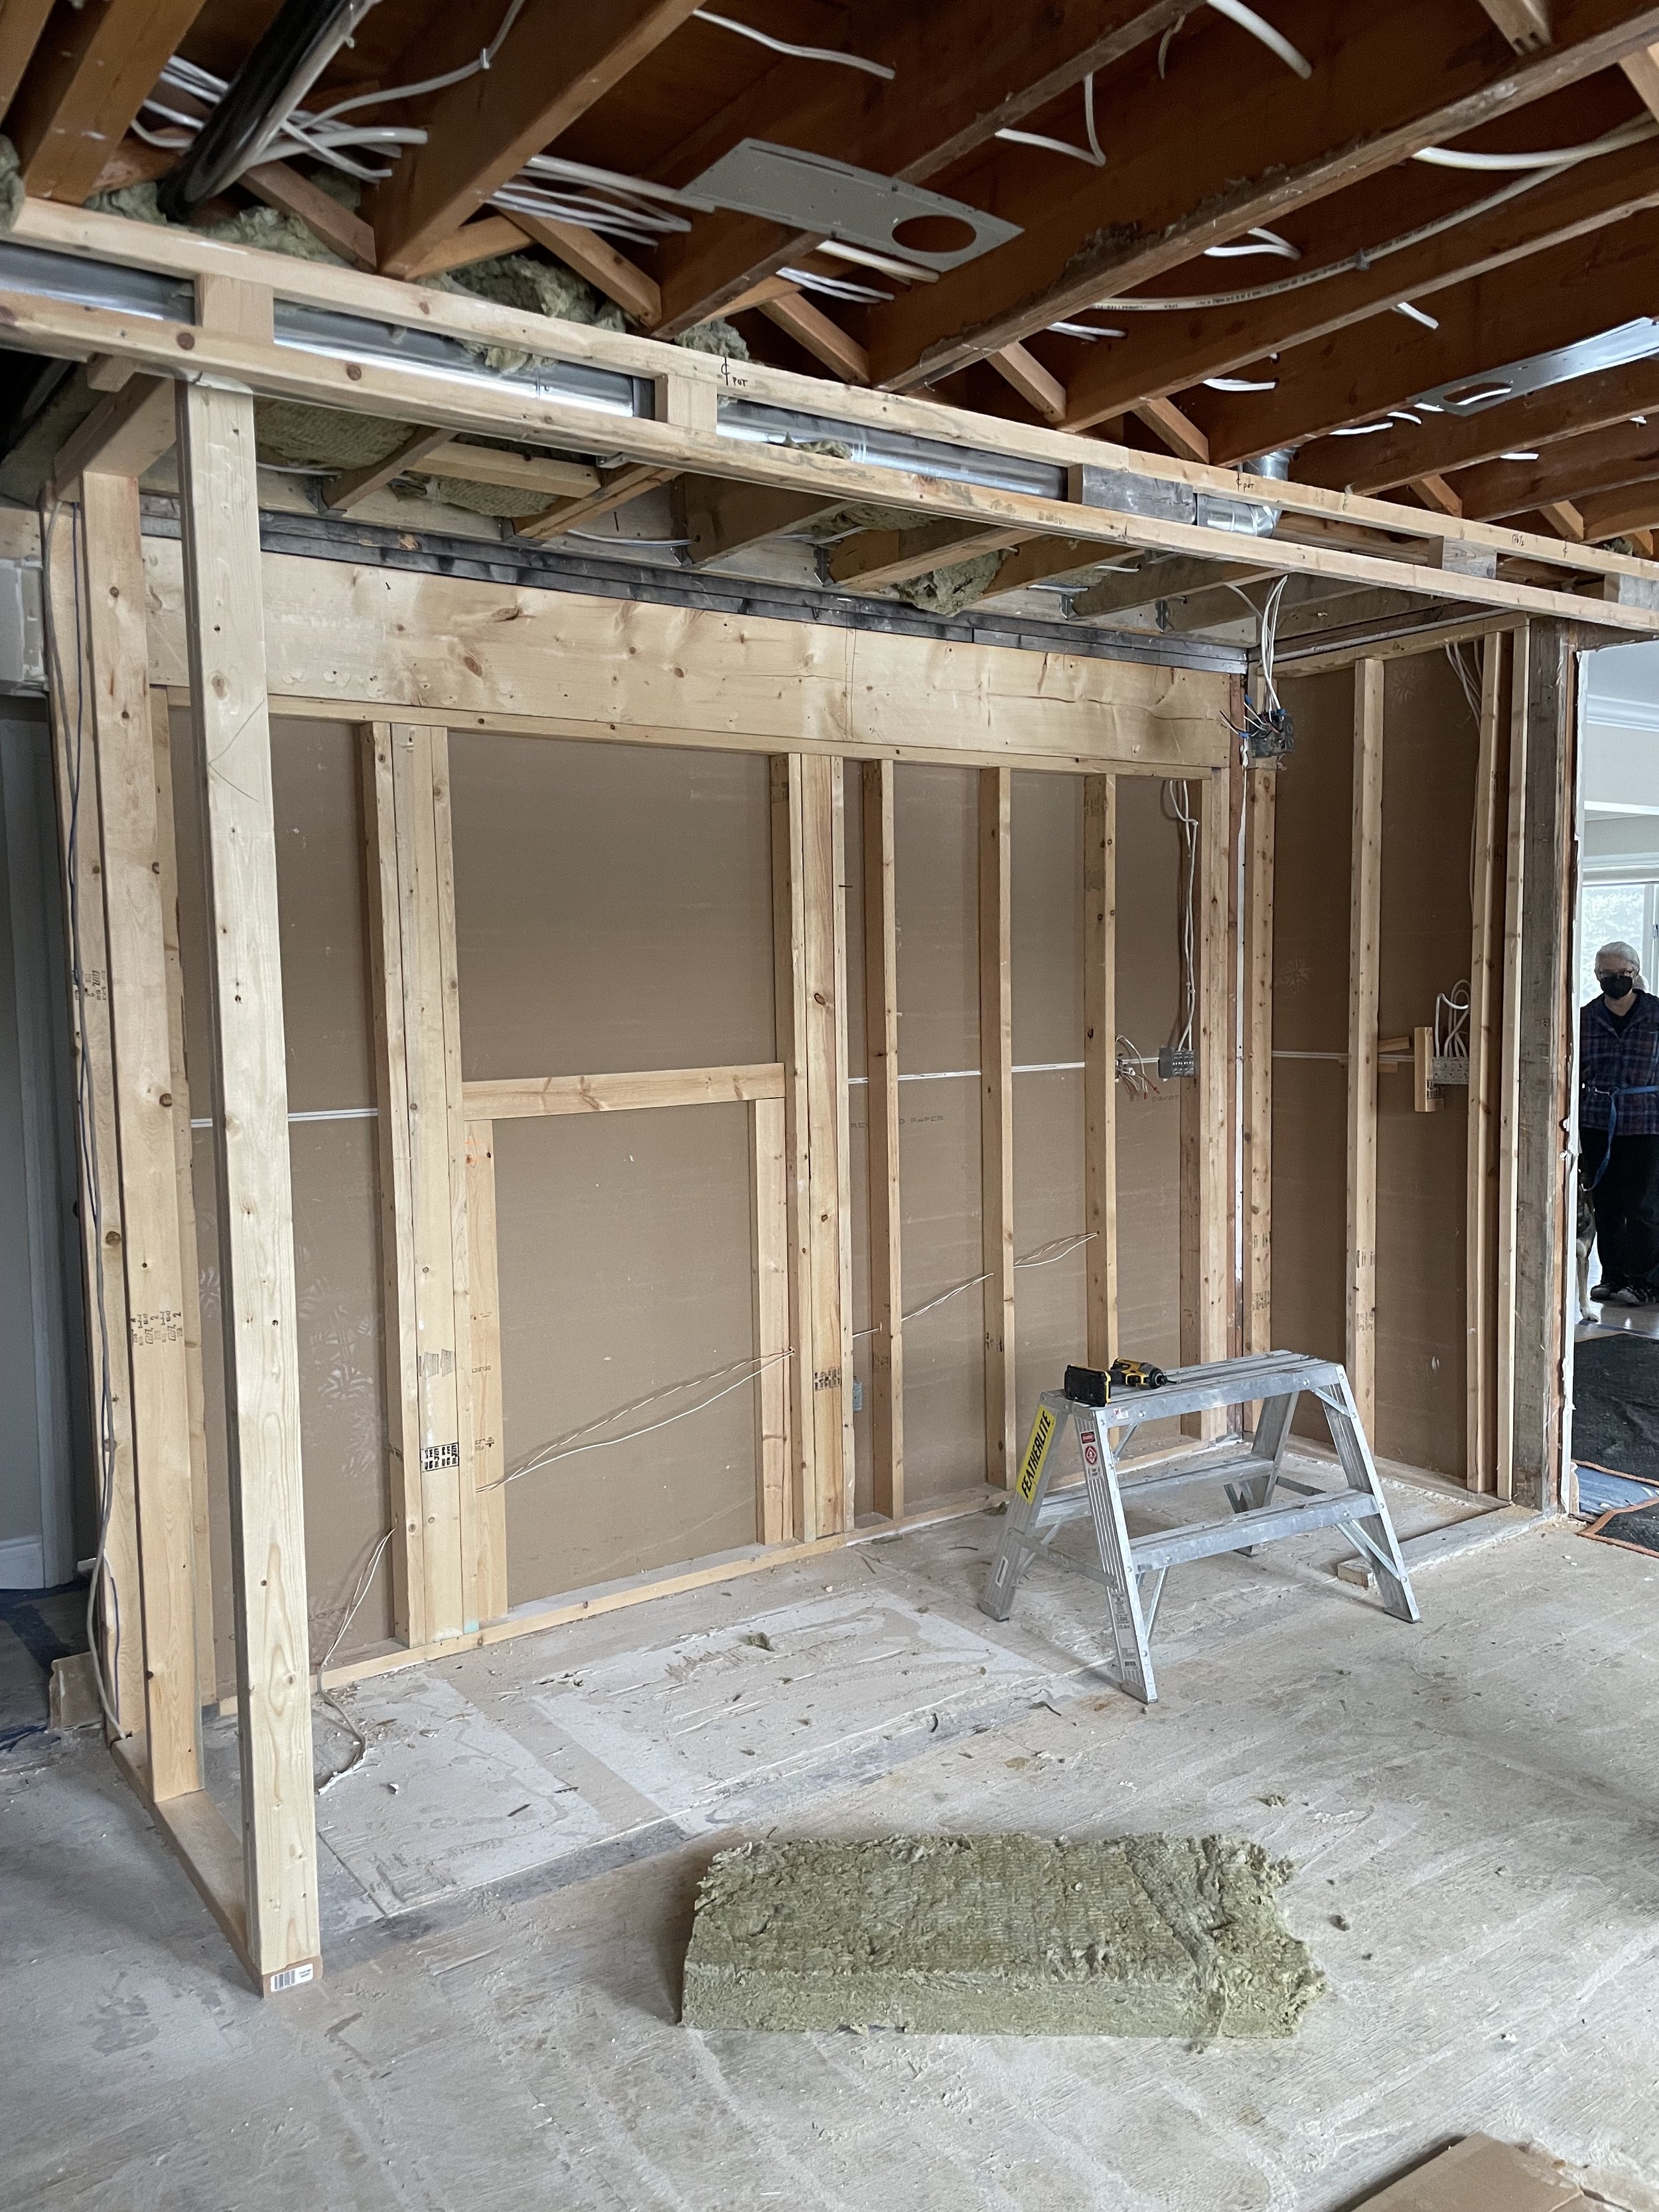

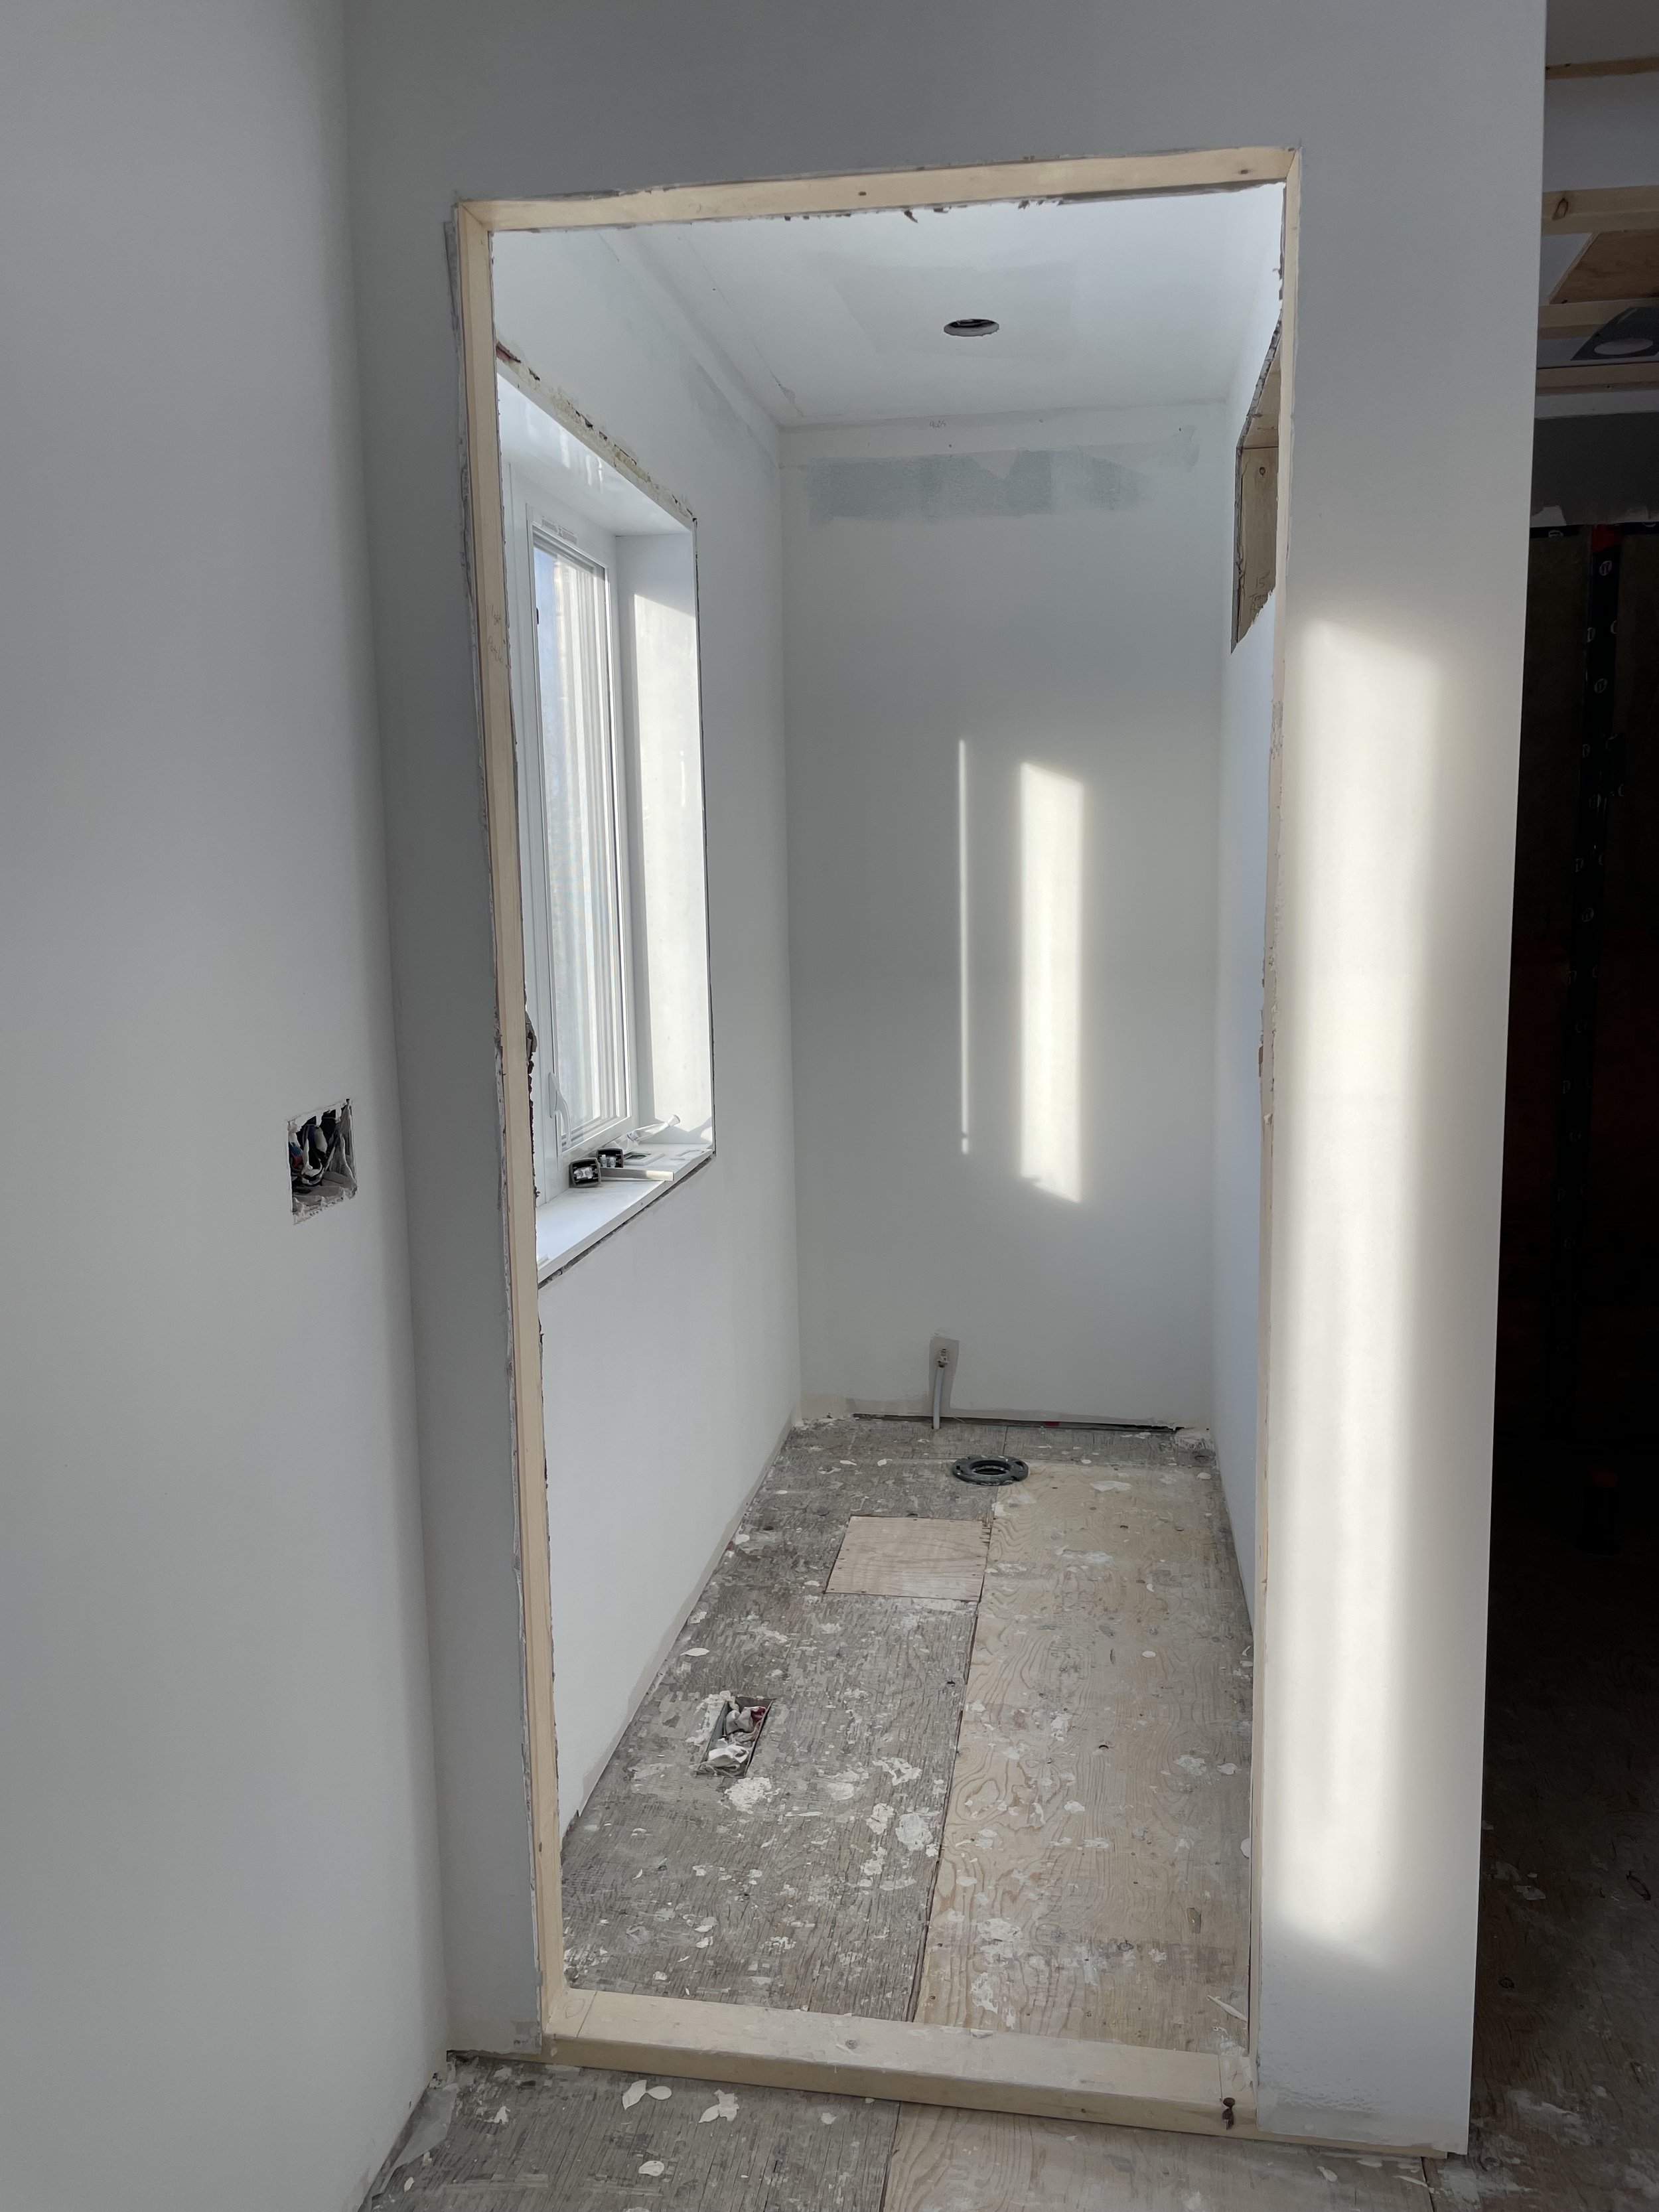


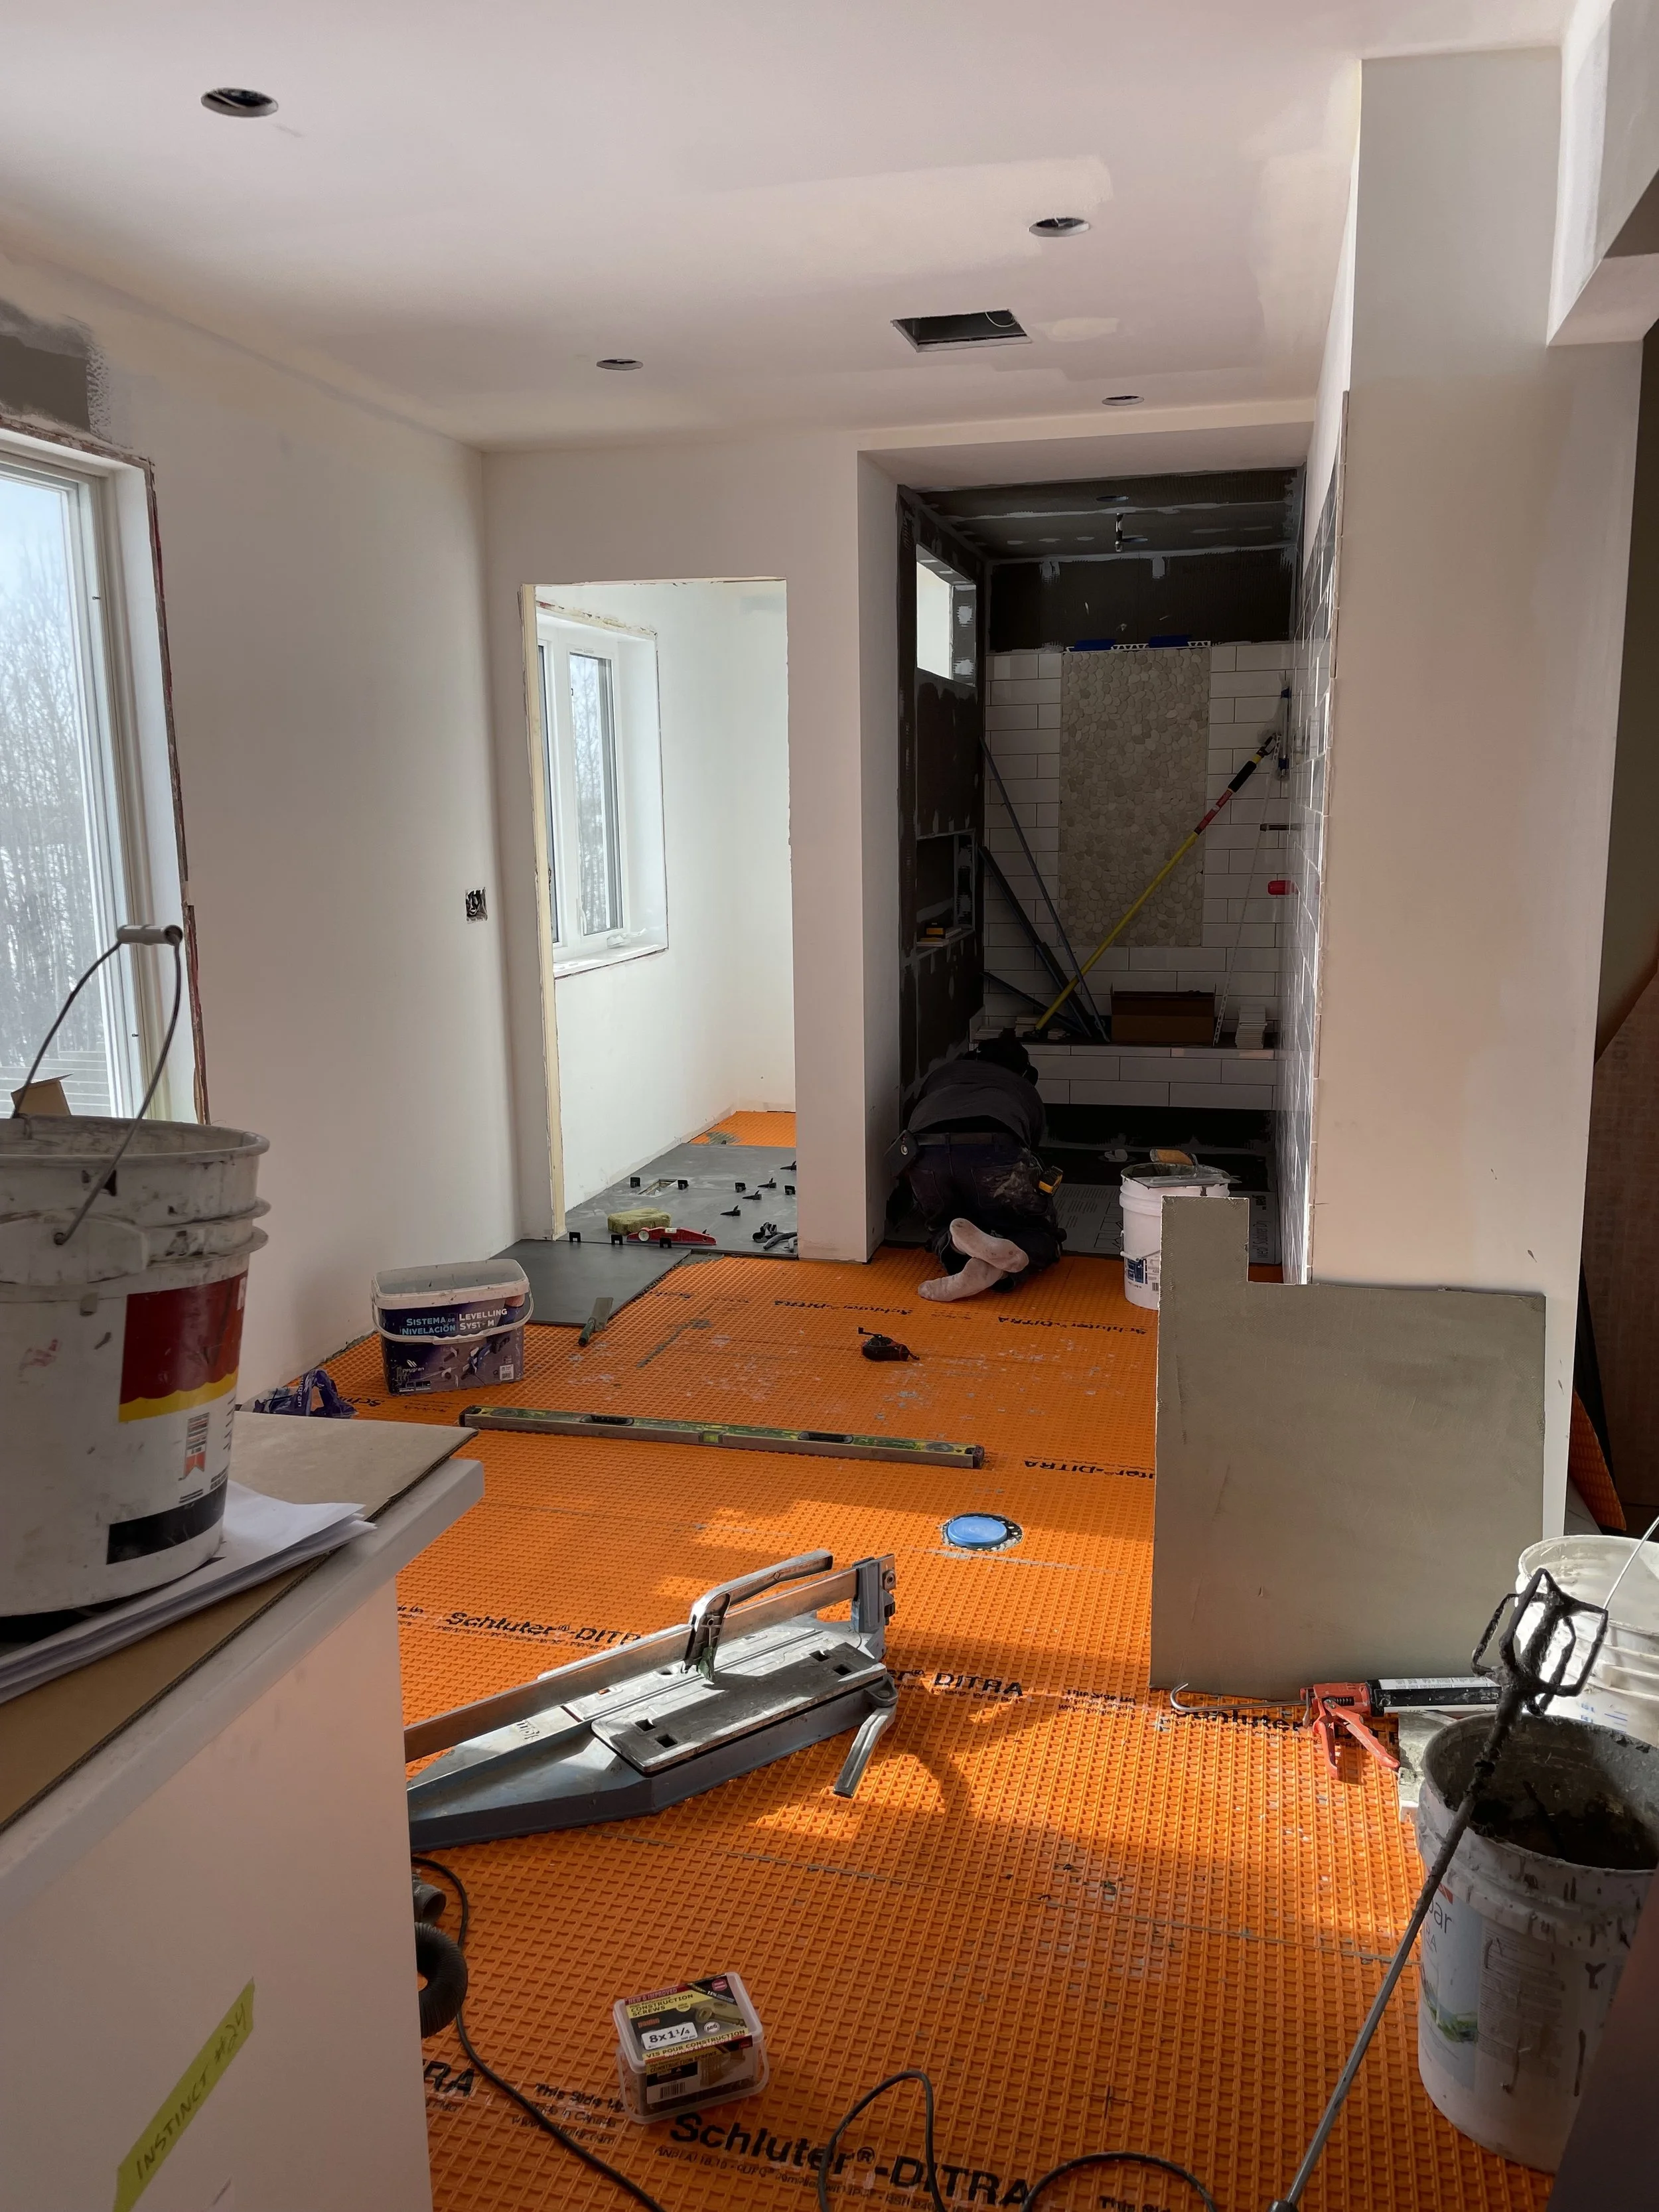
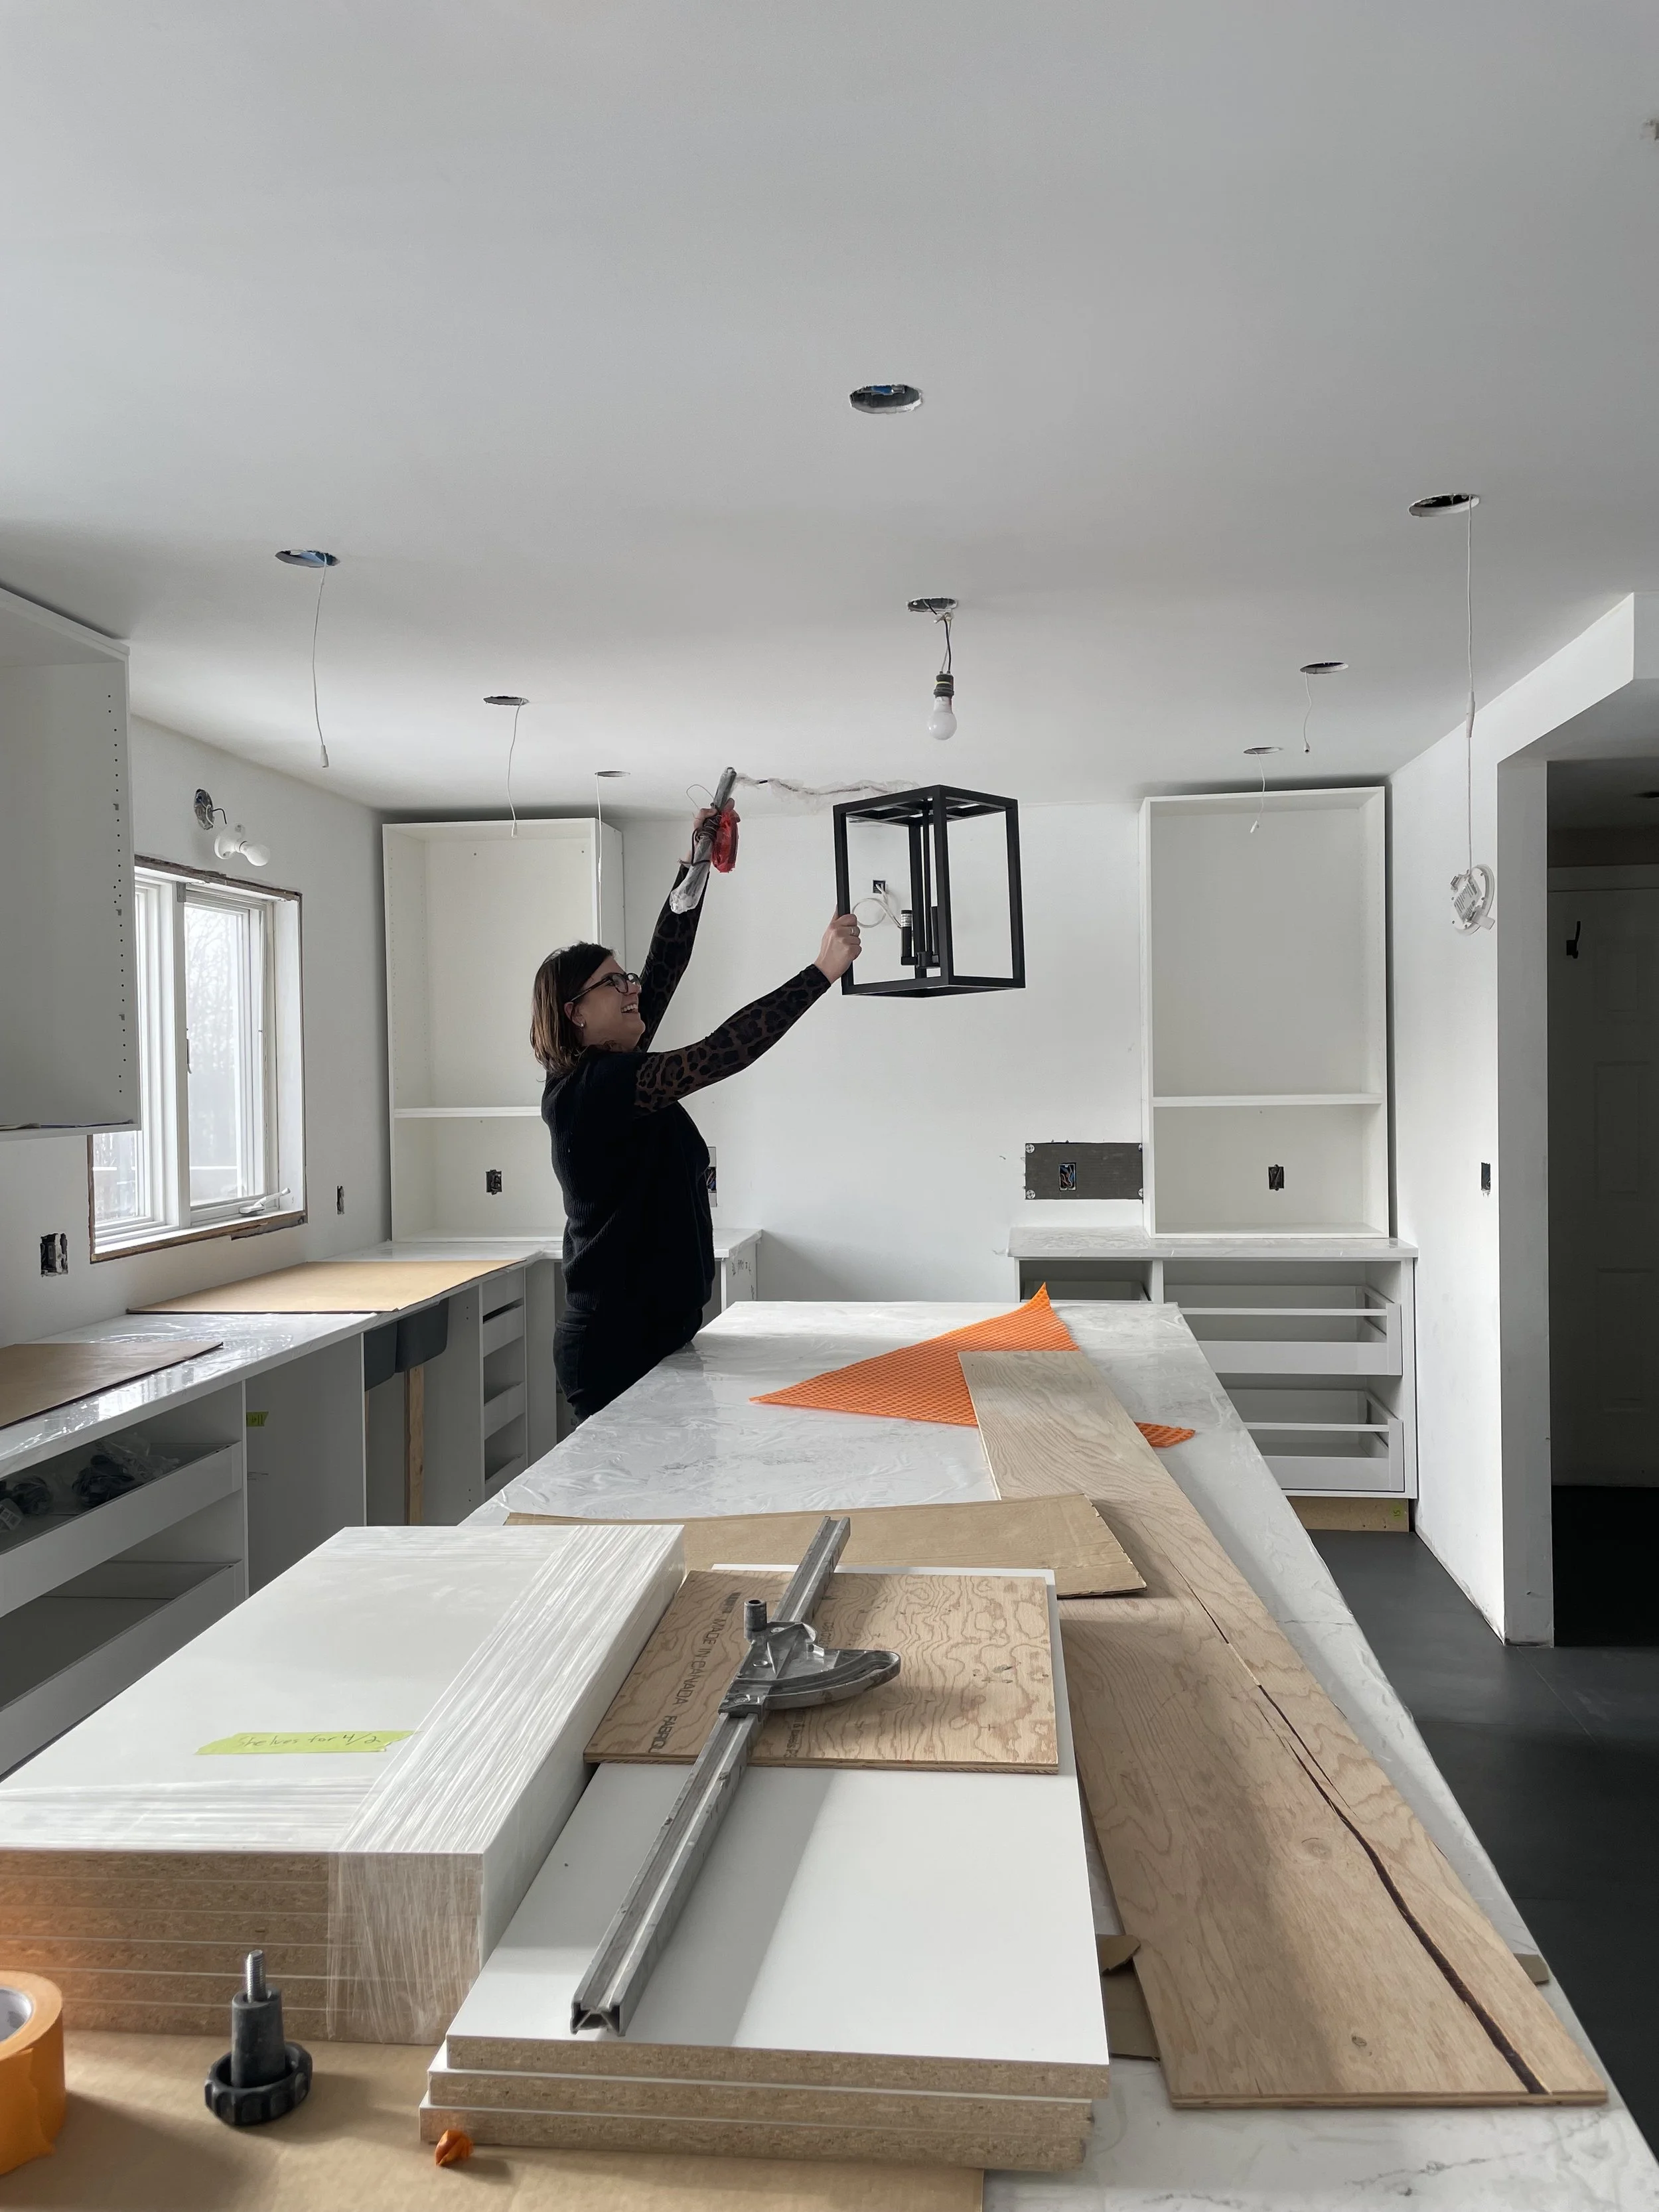


Renovations are always a challenge for the homeowners, especially when they are living in the home while the renovation is happening. It starts out fun and exciting, then you start to get a bit tired of having people in your home all the time and not having a fully functioning space… And then comes the point where you’re just “over it,” frustrated and desperate for it to be completed. Our clients went through all of that, and then some. Part of our role during the renovation is to be that supportive sounding board, to allow you to vent, to provide perspective and sometimes even a laugh or two. And of course, to help problem solve and provide assistance with the process where we can.
Despite the challenges, our clients made it through to the other side and are now very much enjoying their updates spaces… and once you see the end result, you’ll understand why.
The End Result
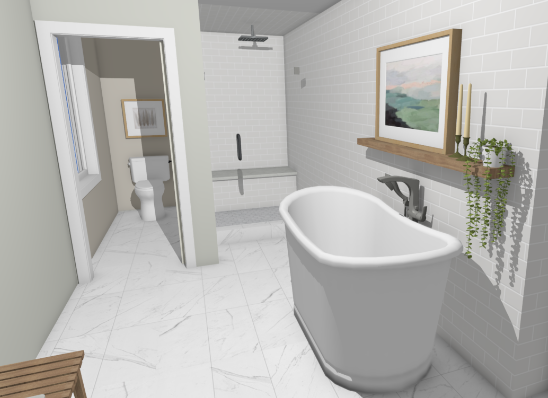
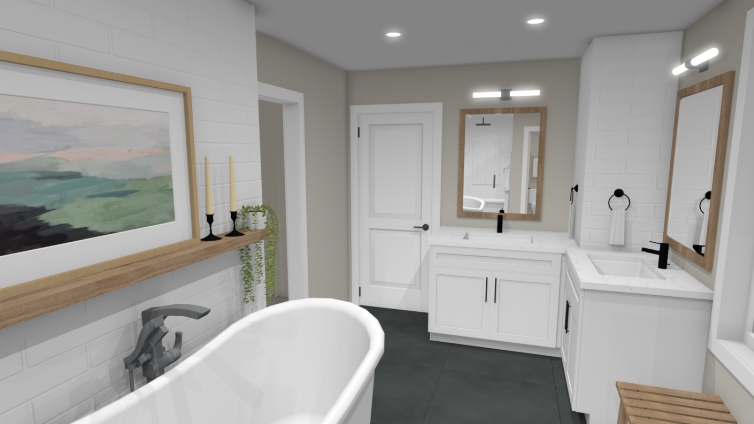
Let’s begin in the ensuite upstairs.
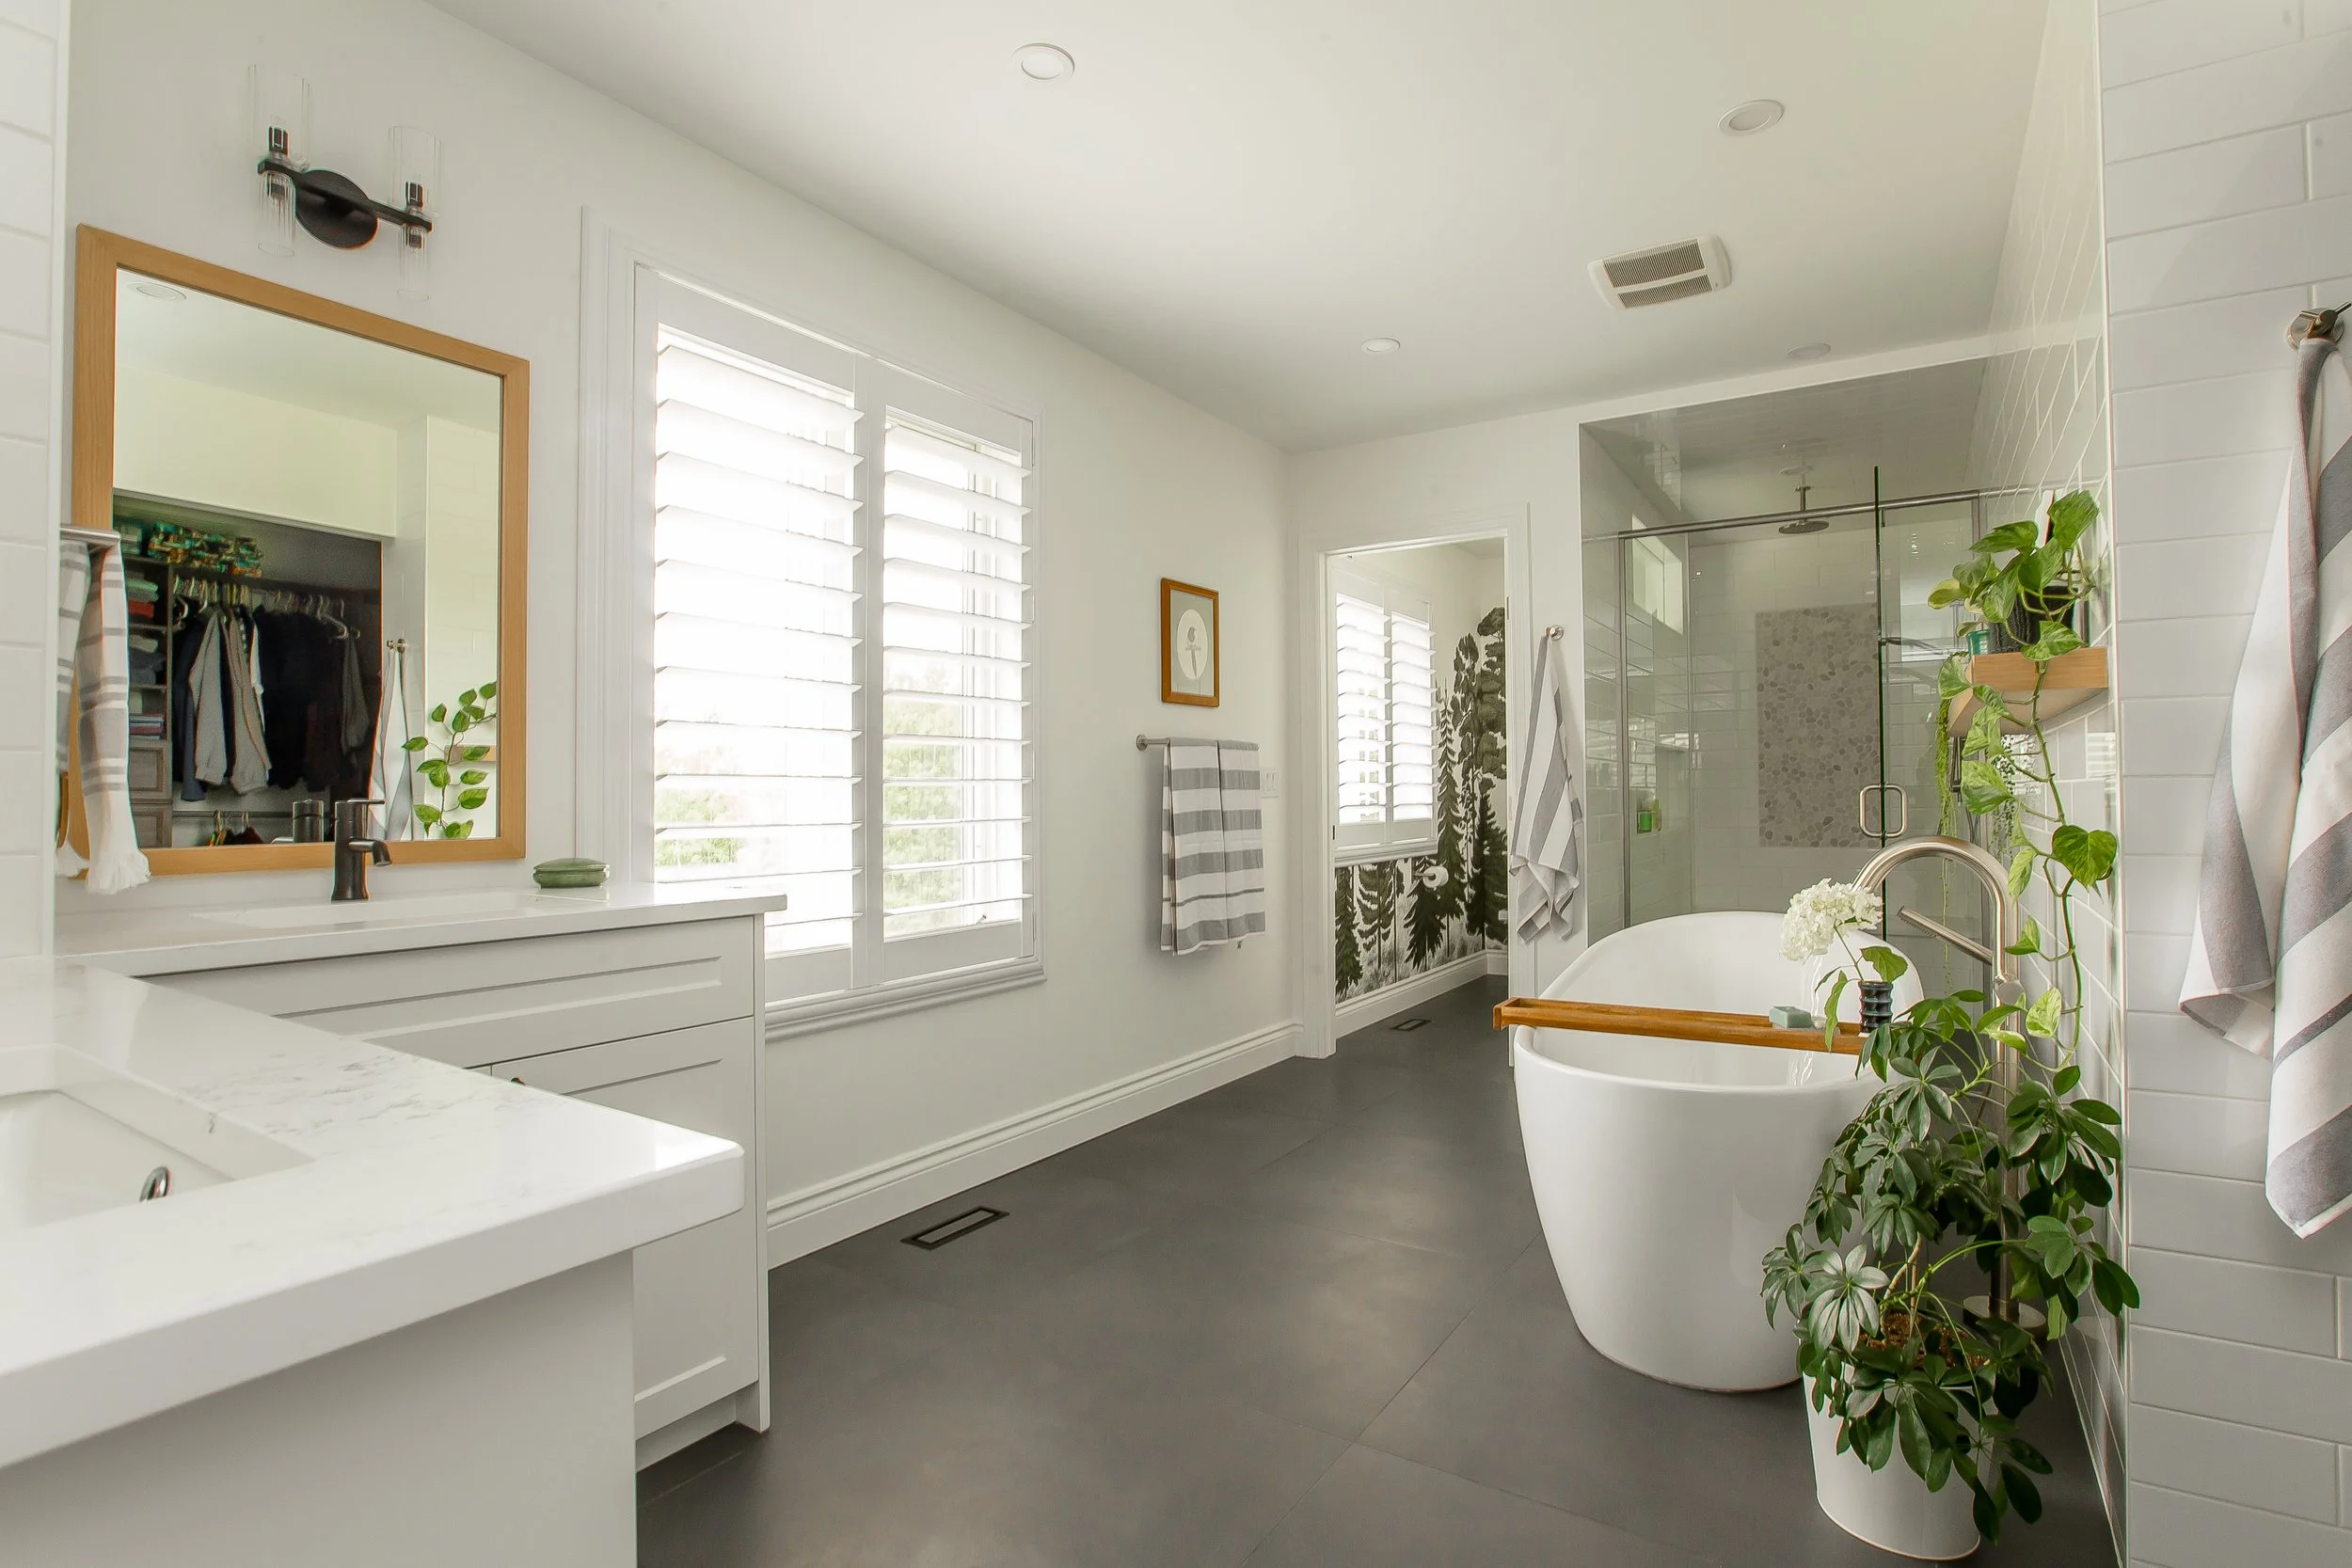
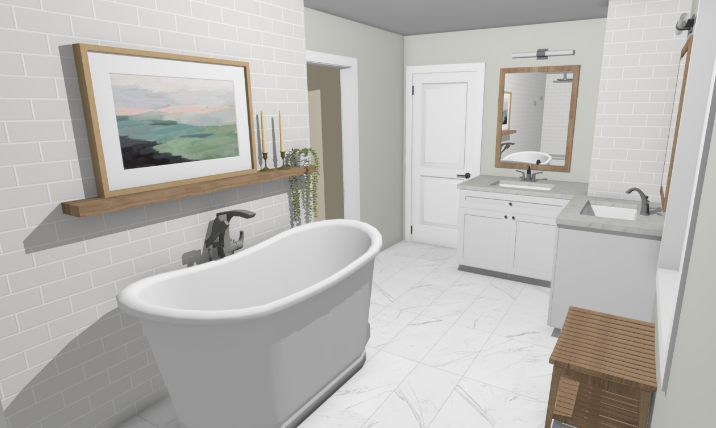
This is such a long space so this isn’t our most conventional layout but it is a layout that really maximizes the shape of the room and the functionality contained within it. By decreasing the size of the entry to the space, we were able to fit in a double vanity around the existing vent space, still providing ample storage and surface areas.
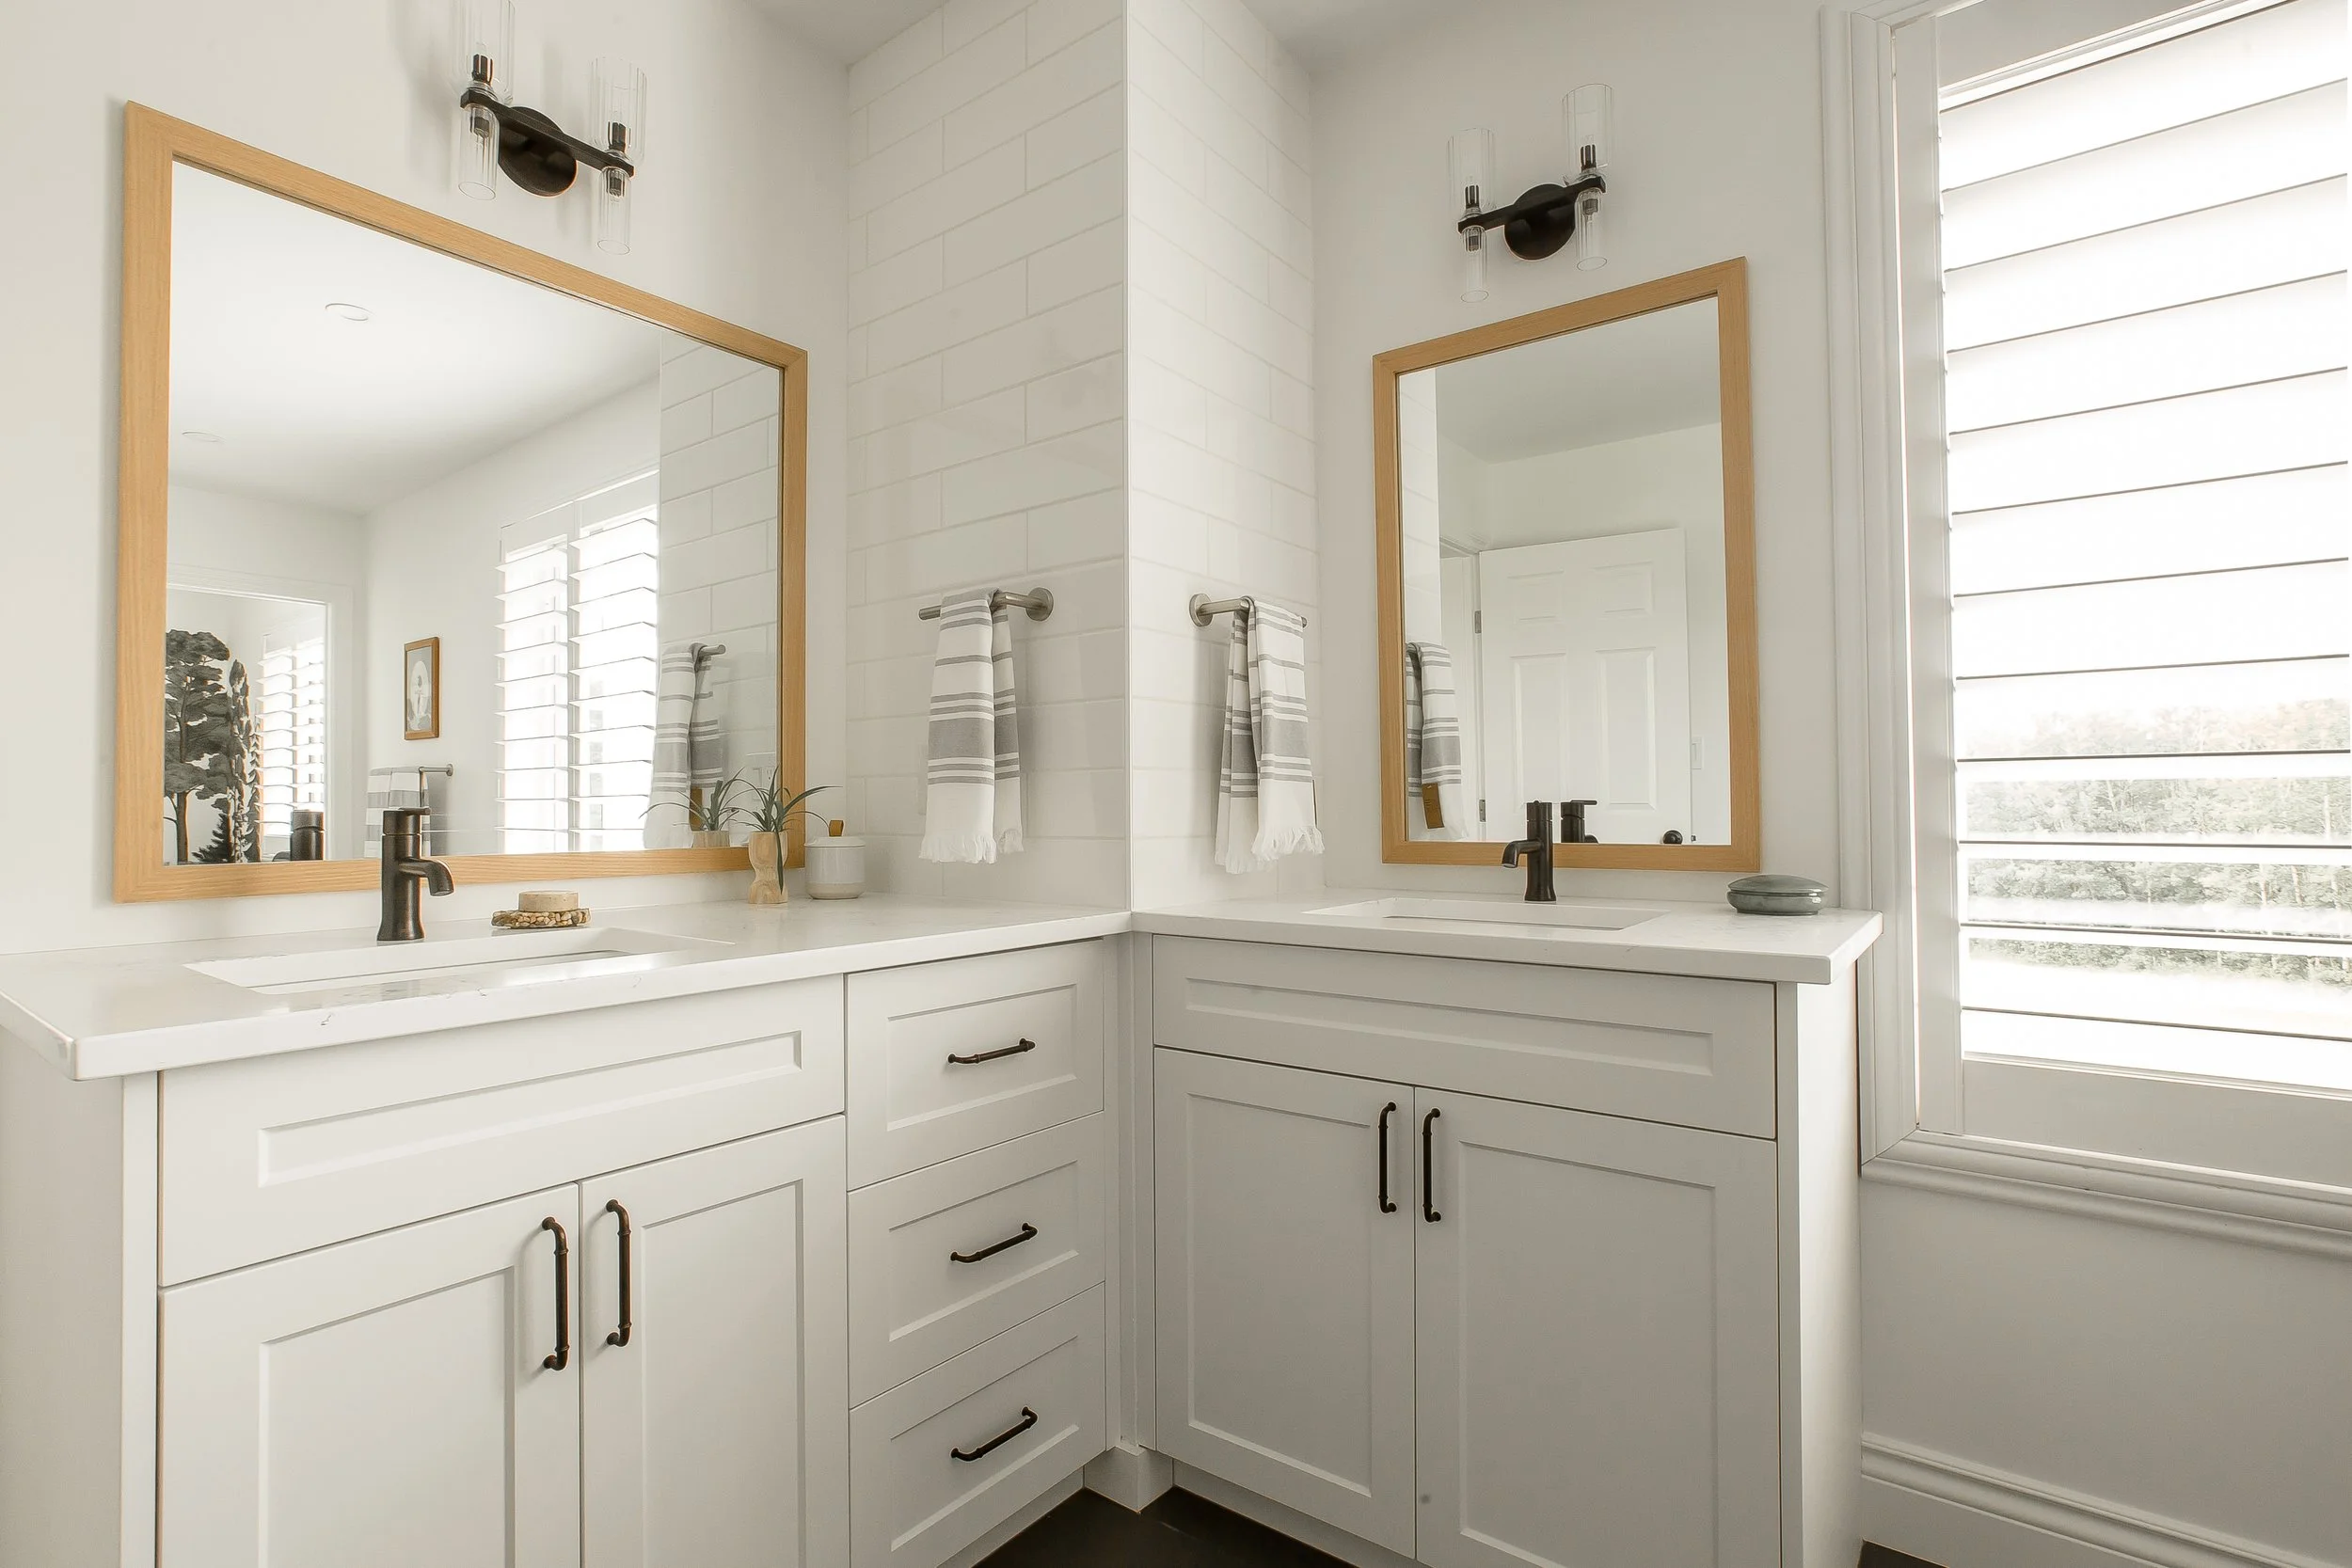
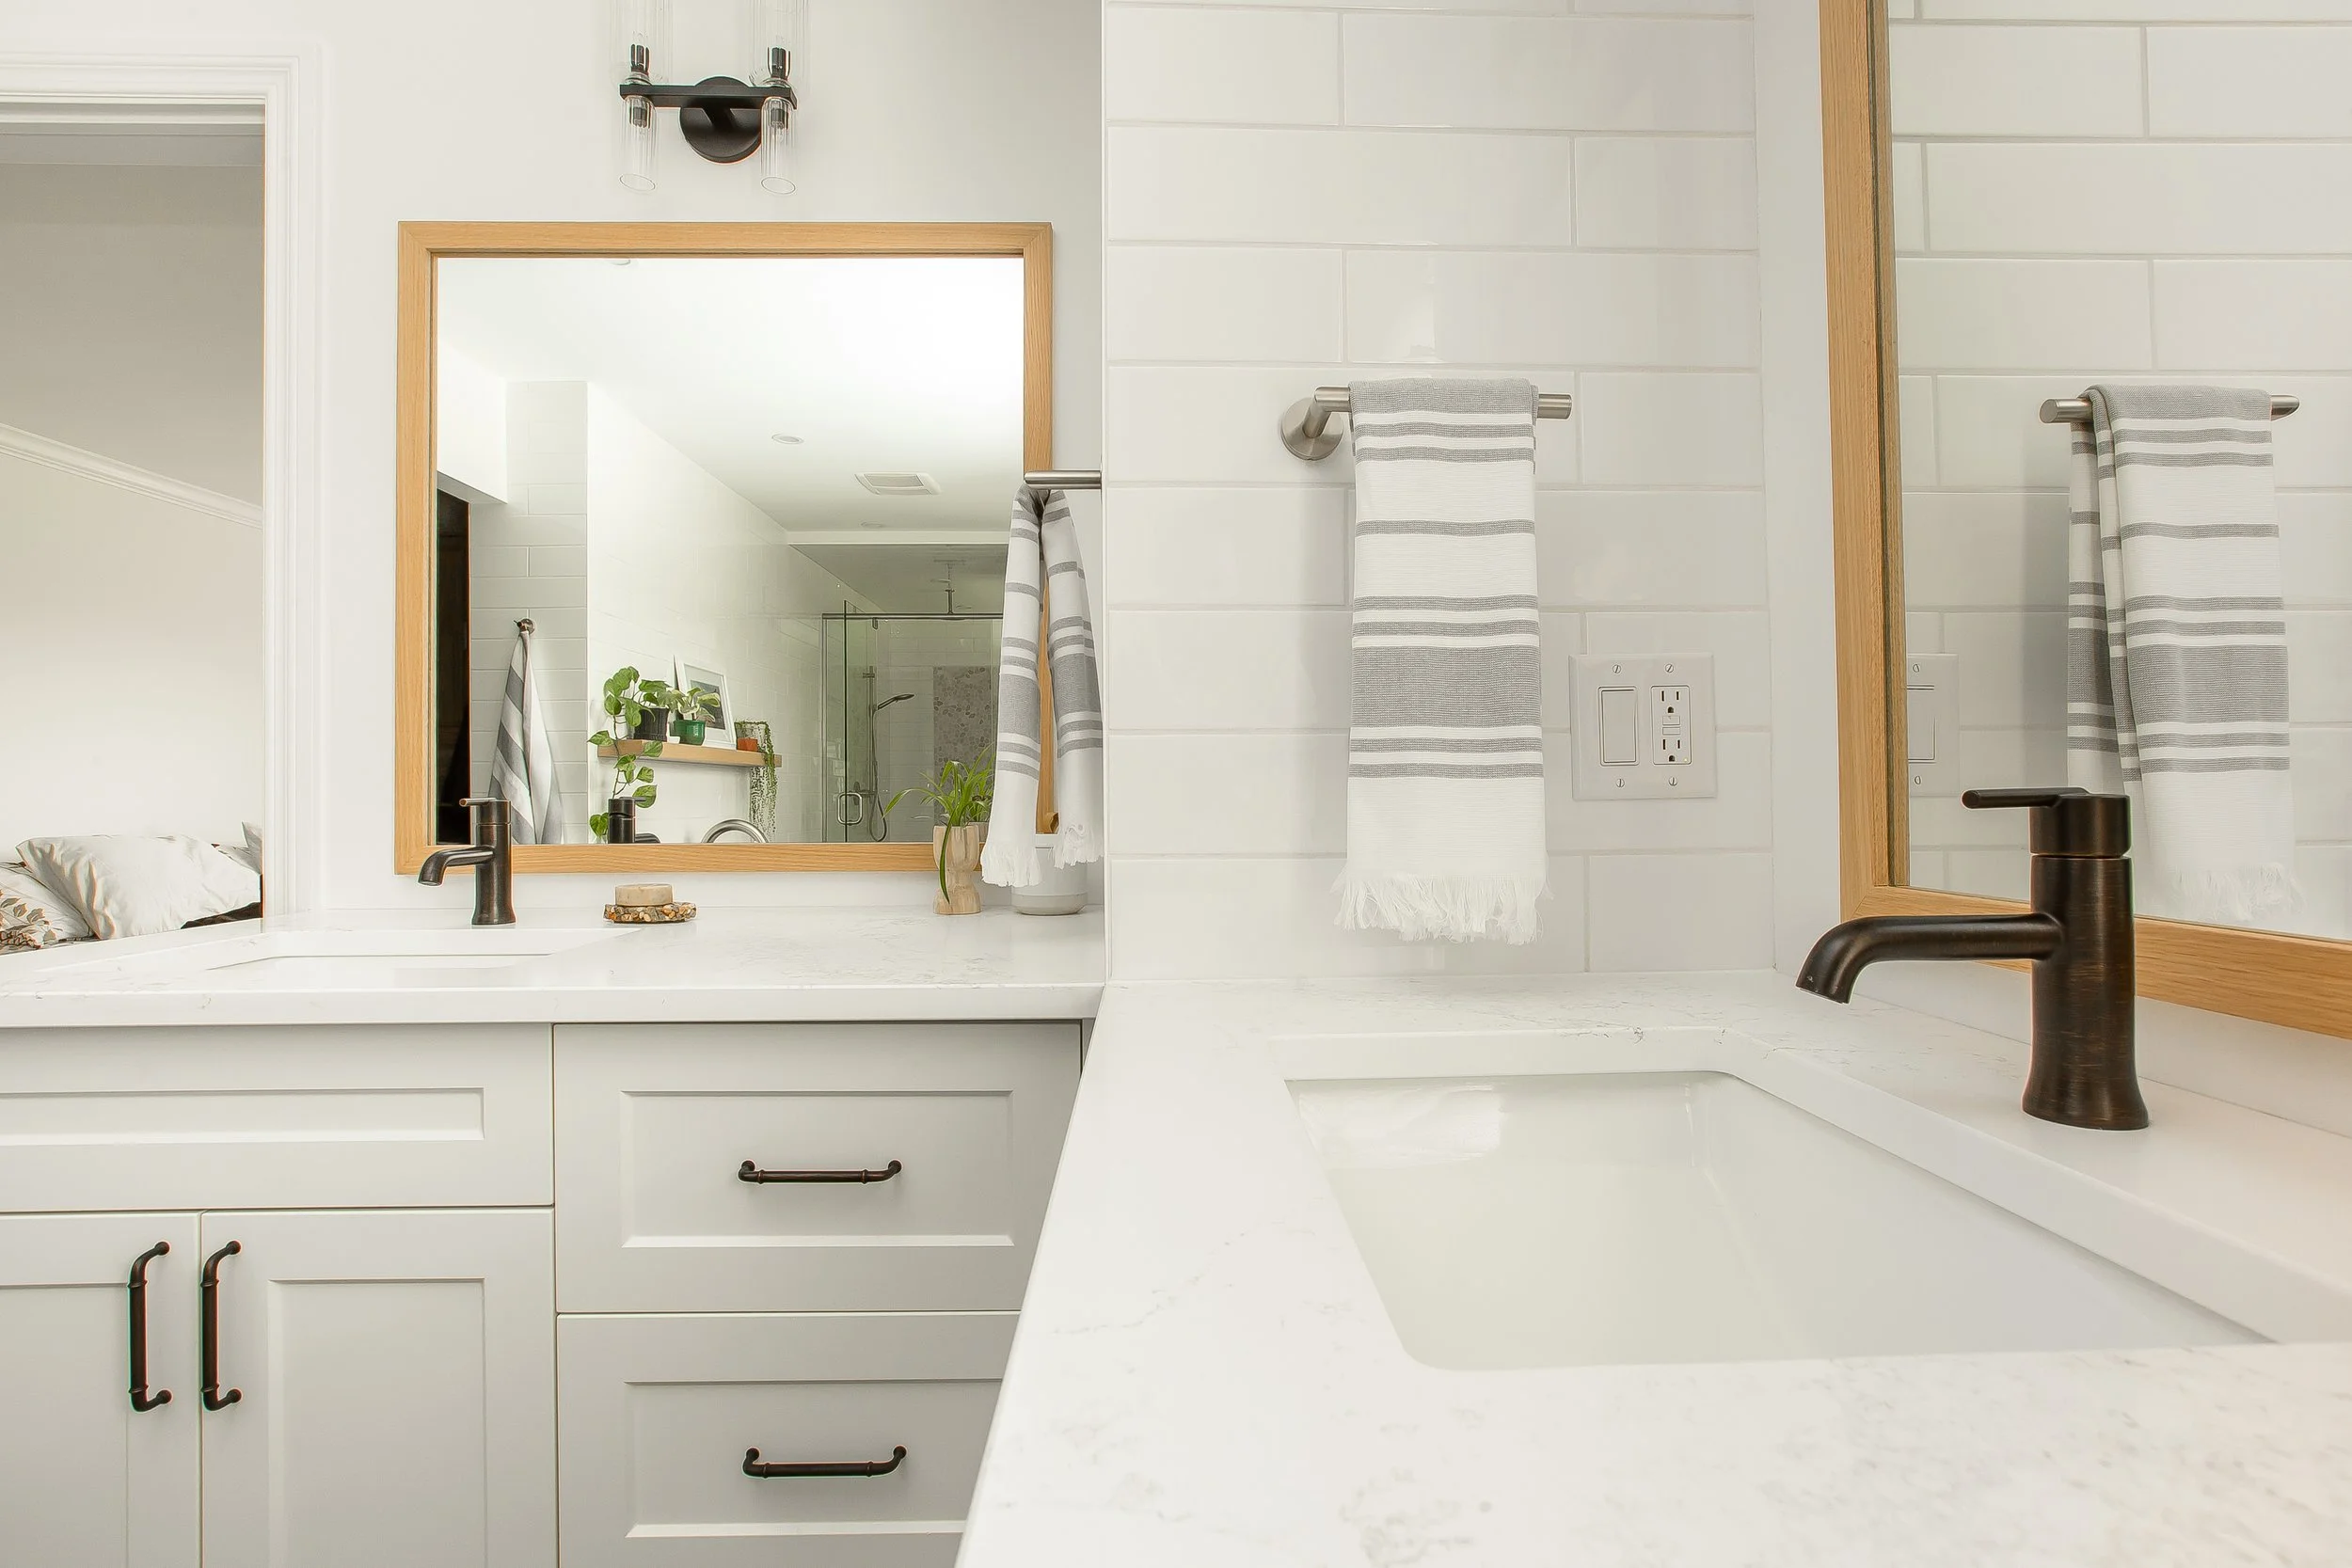
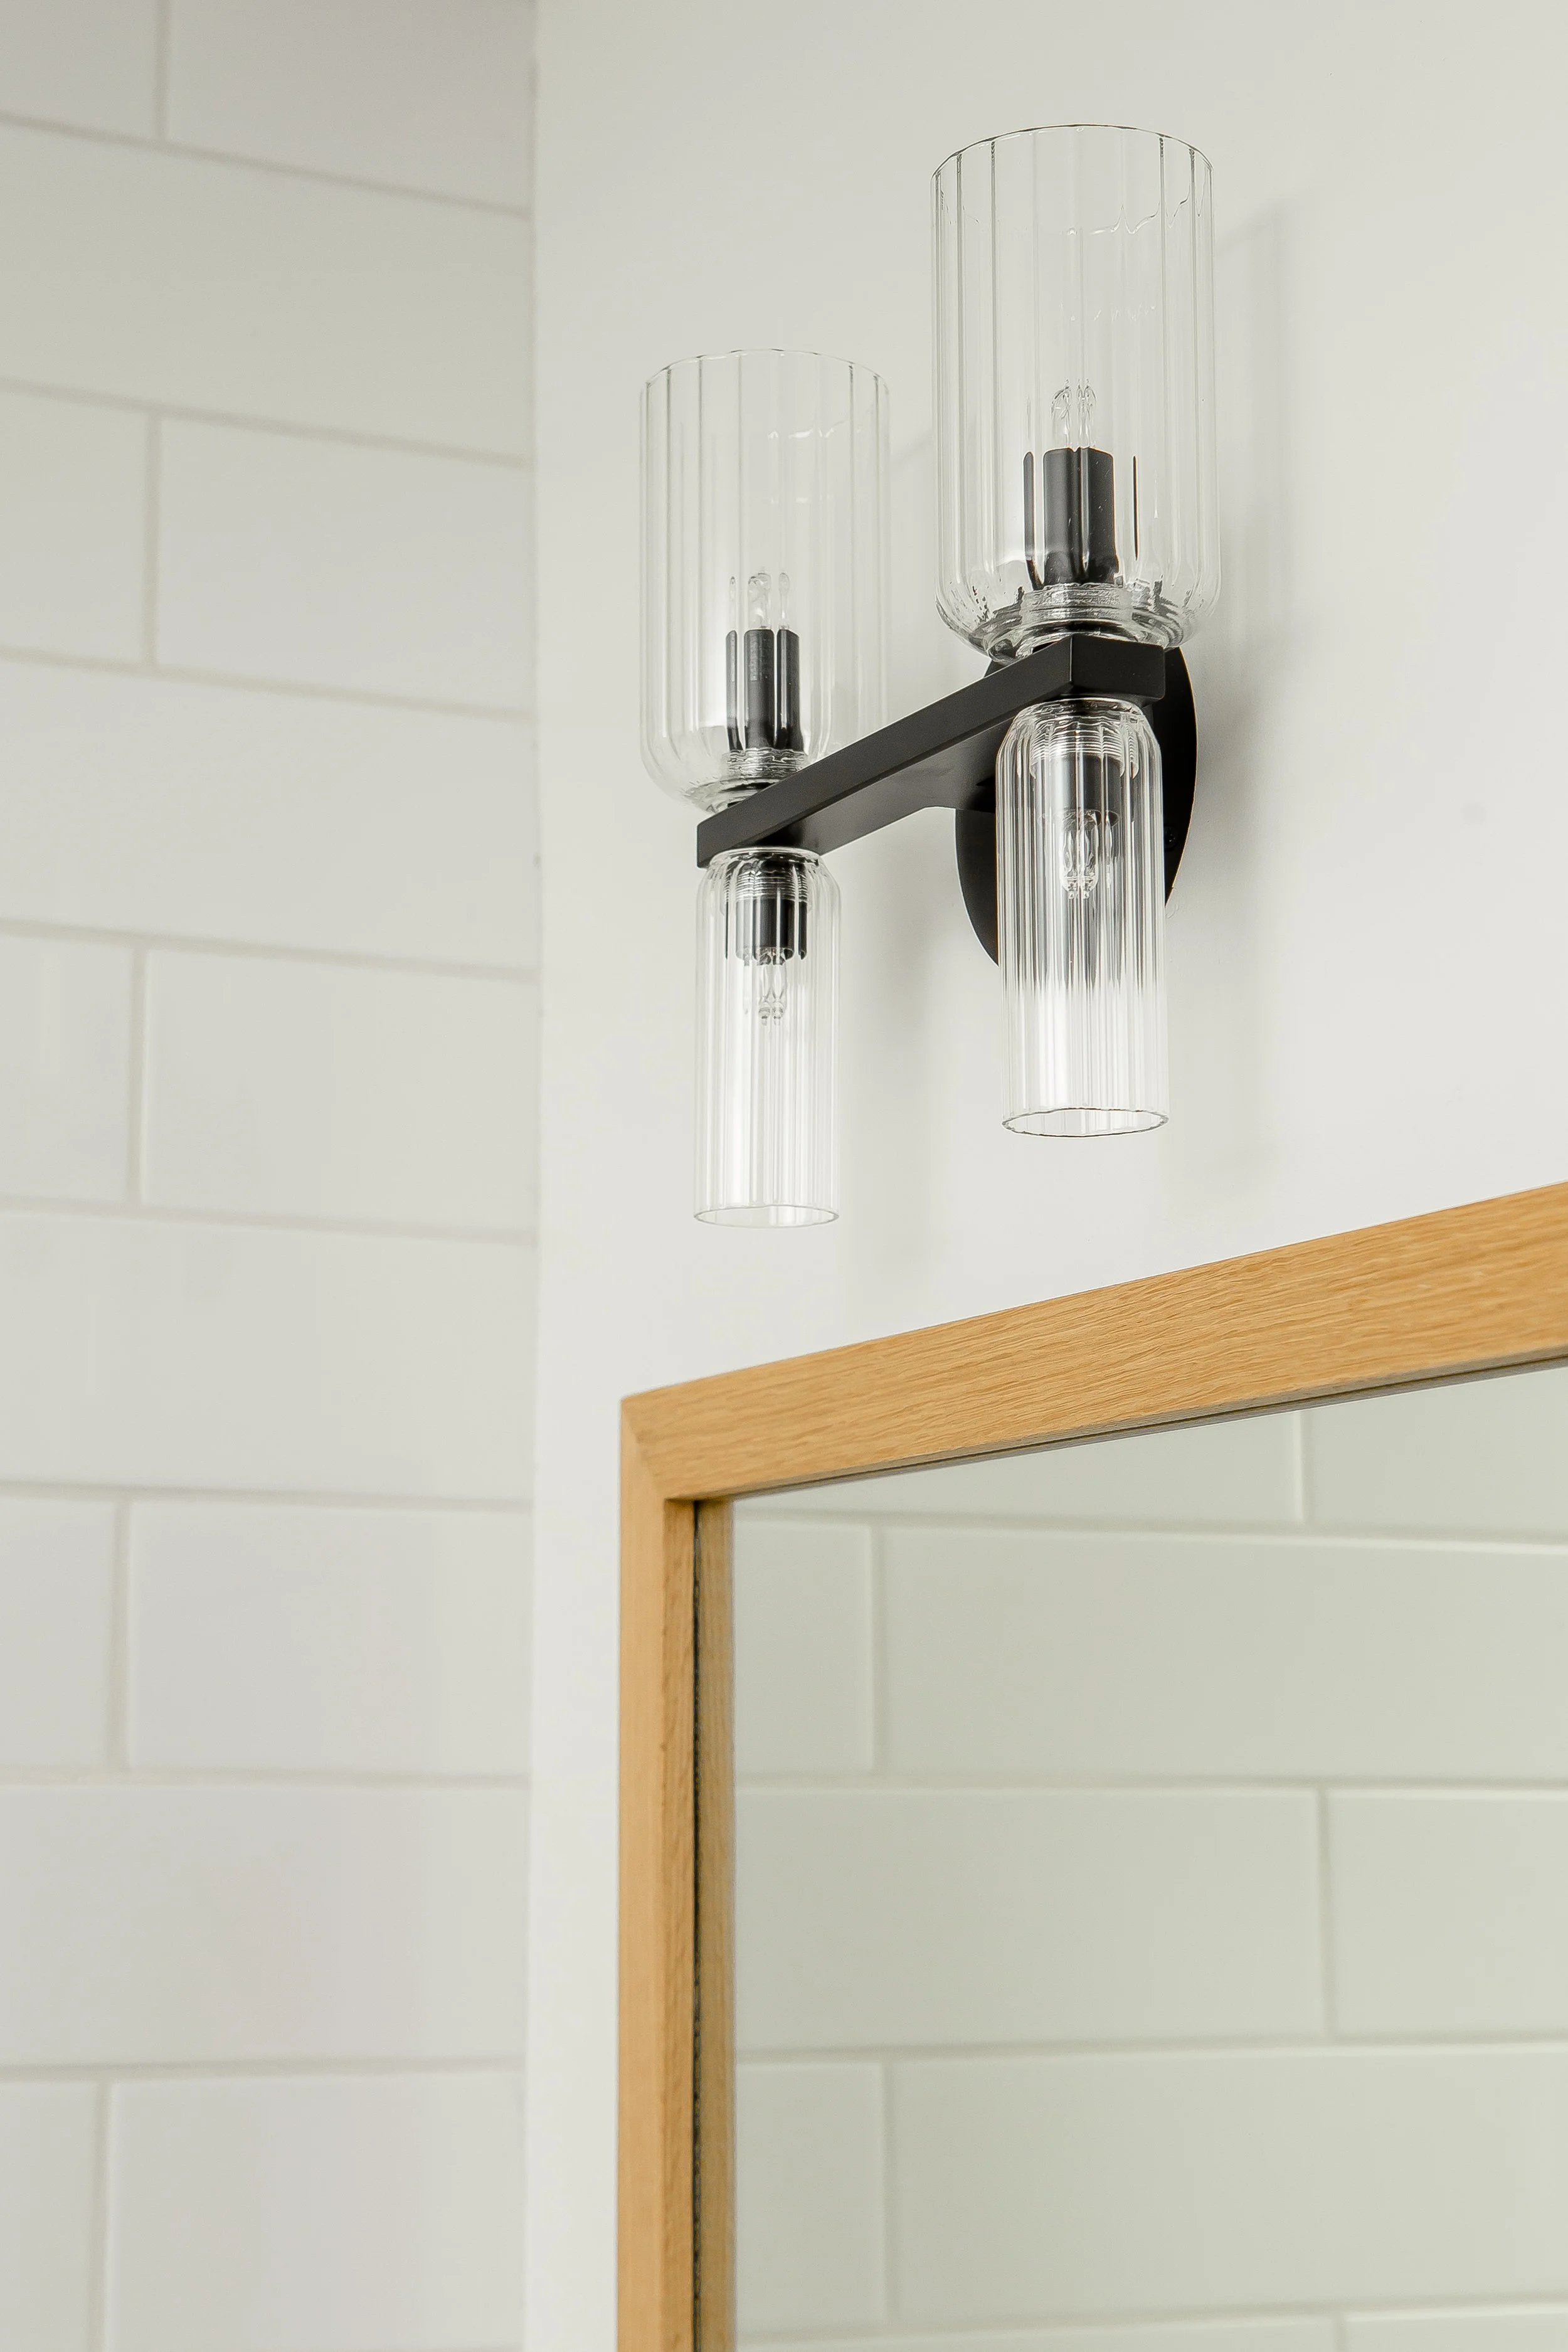
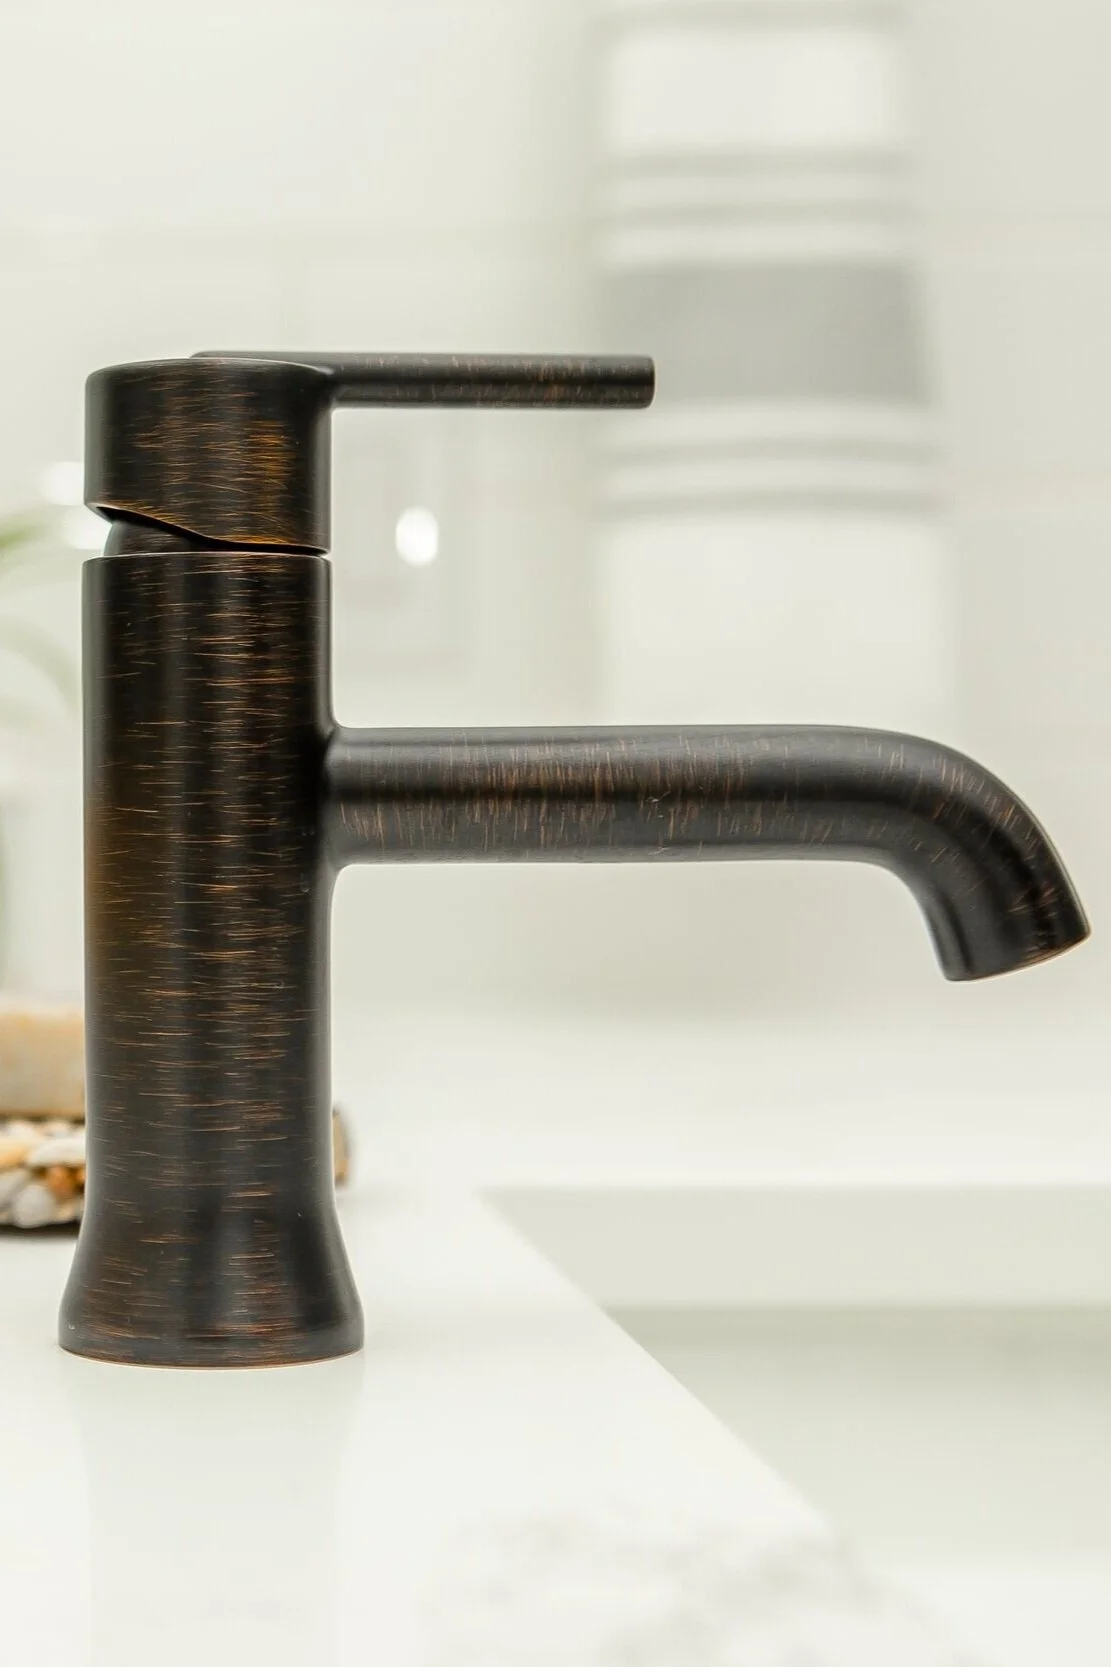
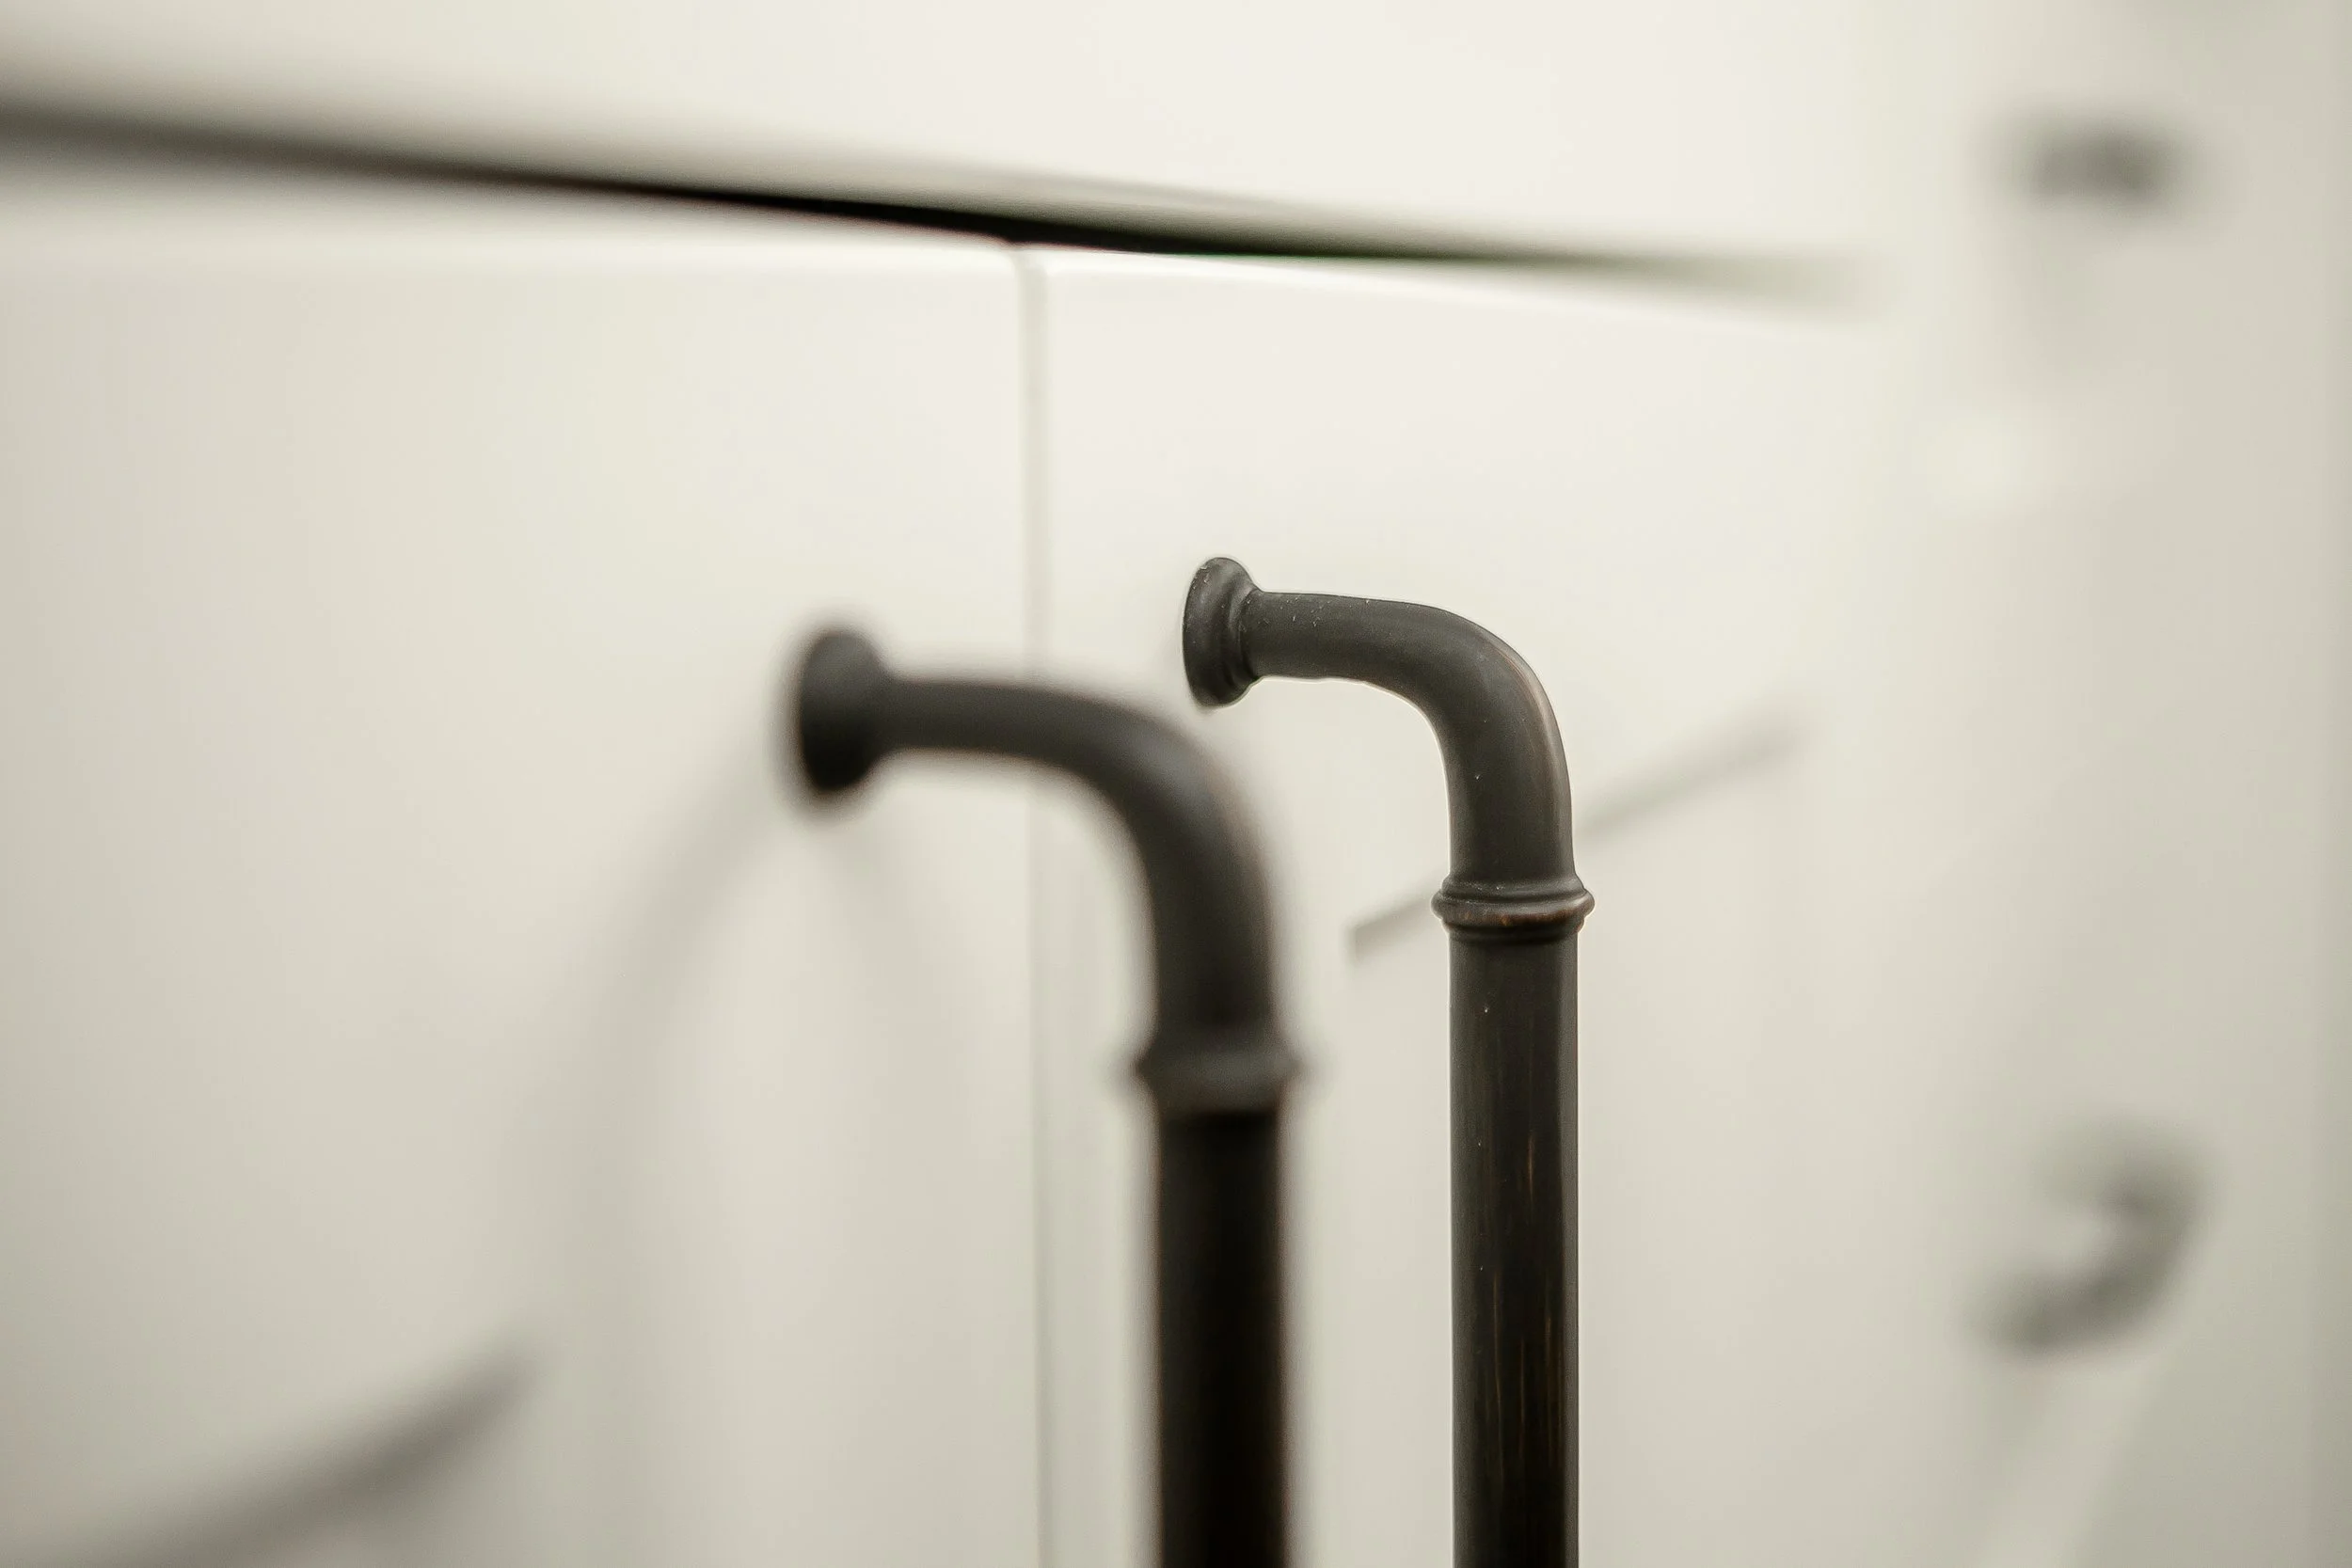
The wood framed mirrors were custom made to match the other wood elements of the space, bringing in added warmth and that touch of nature from outside. We also paired the bronze faucets and handles with black light fixtures and brushed nickel shower and tub fixtures.
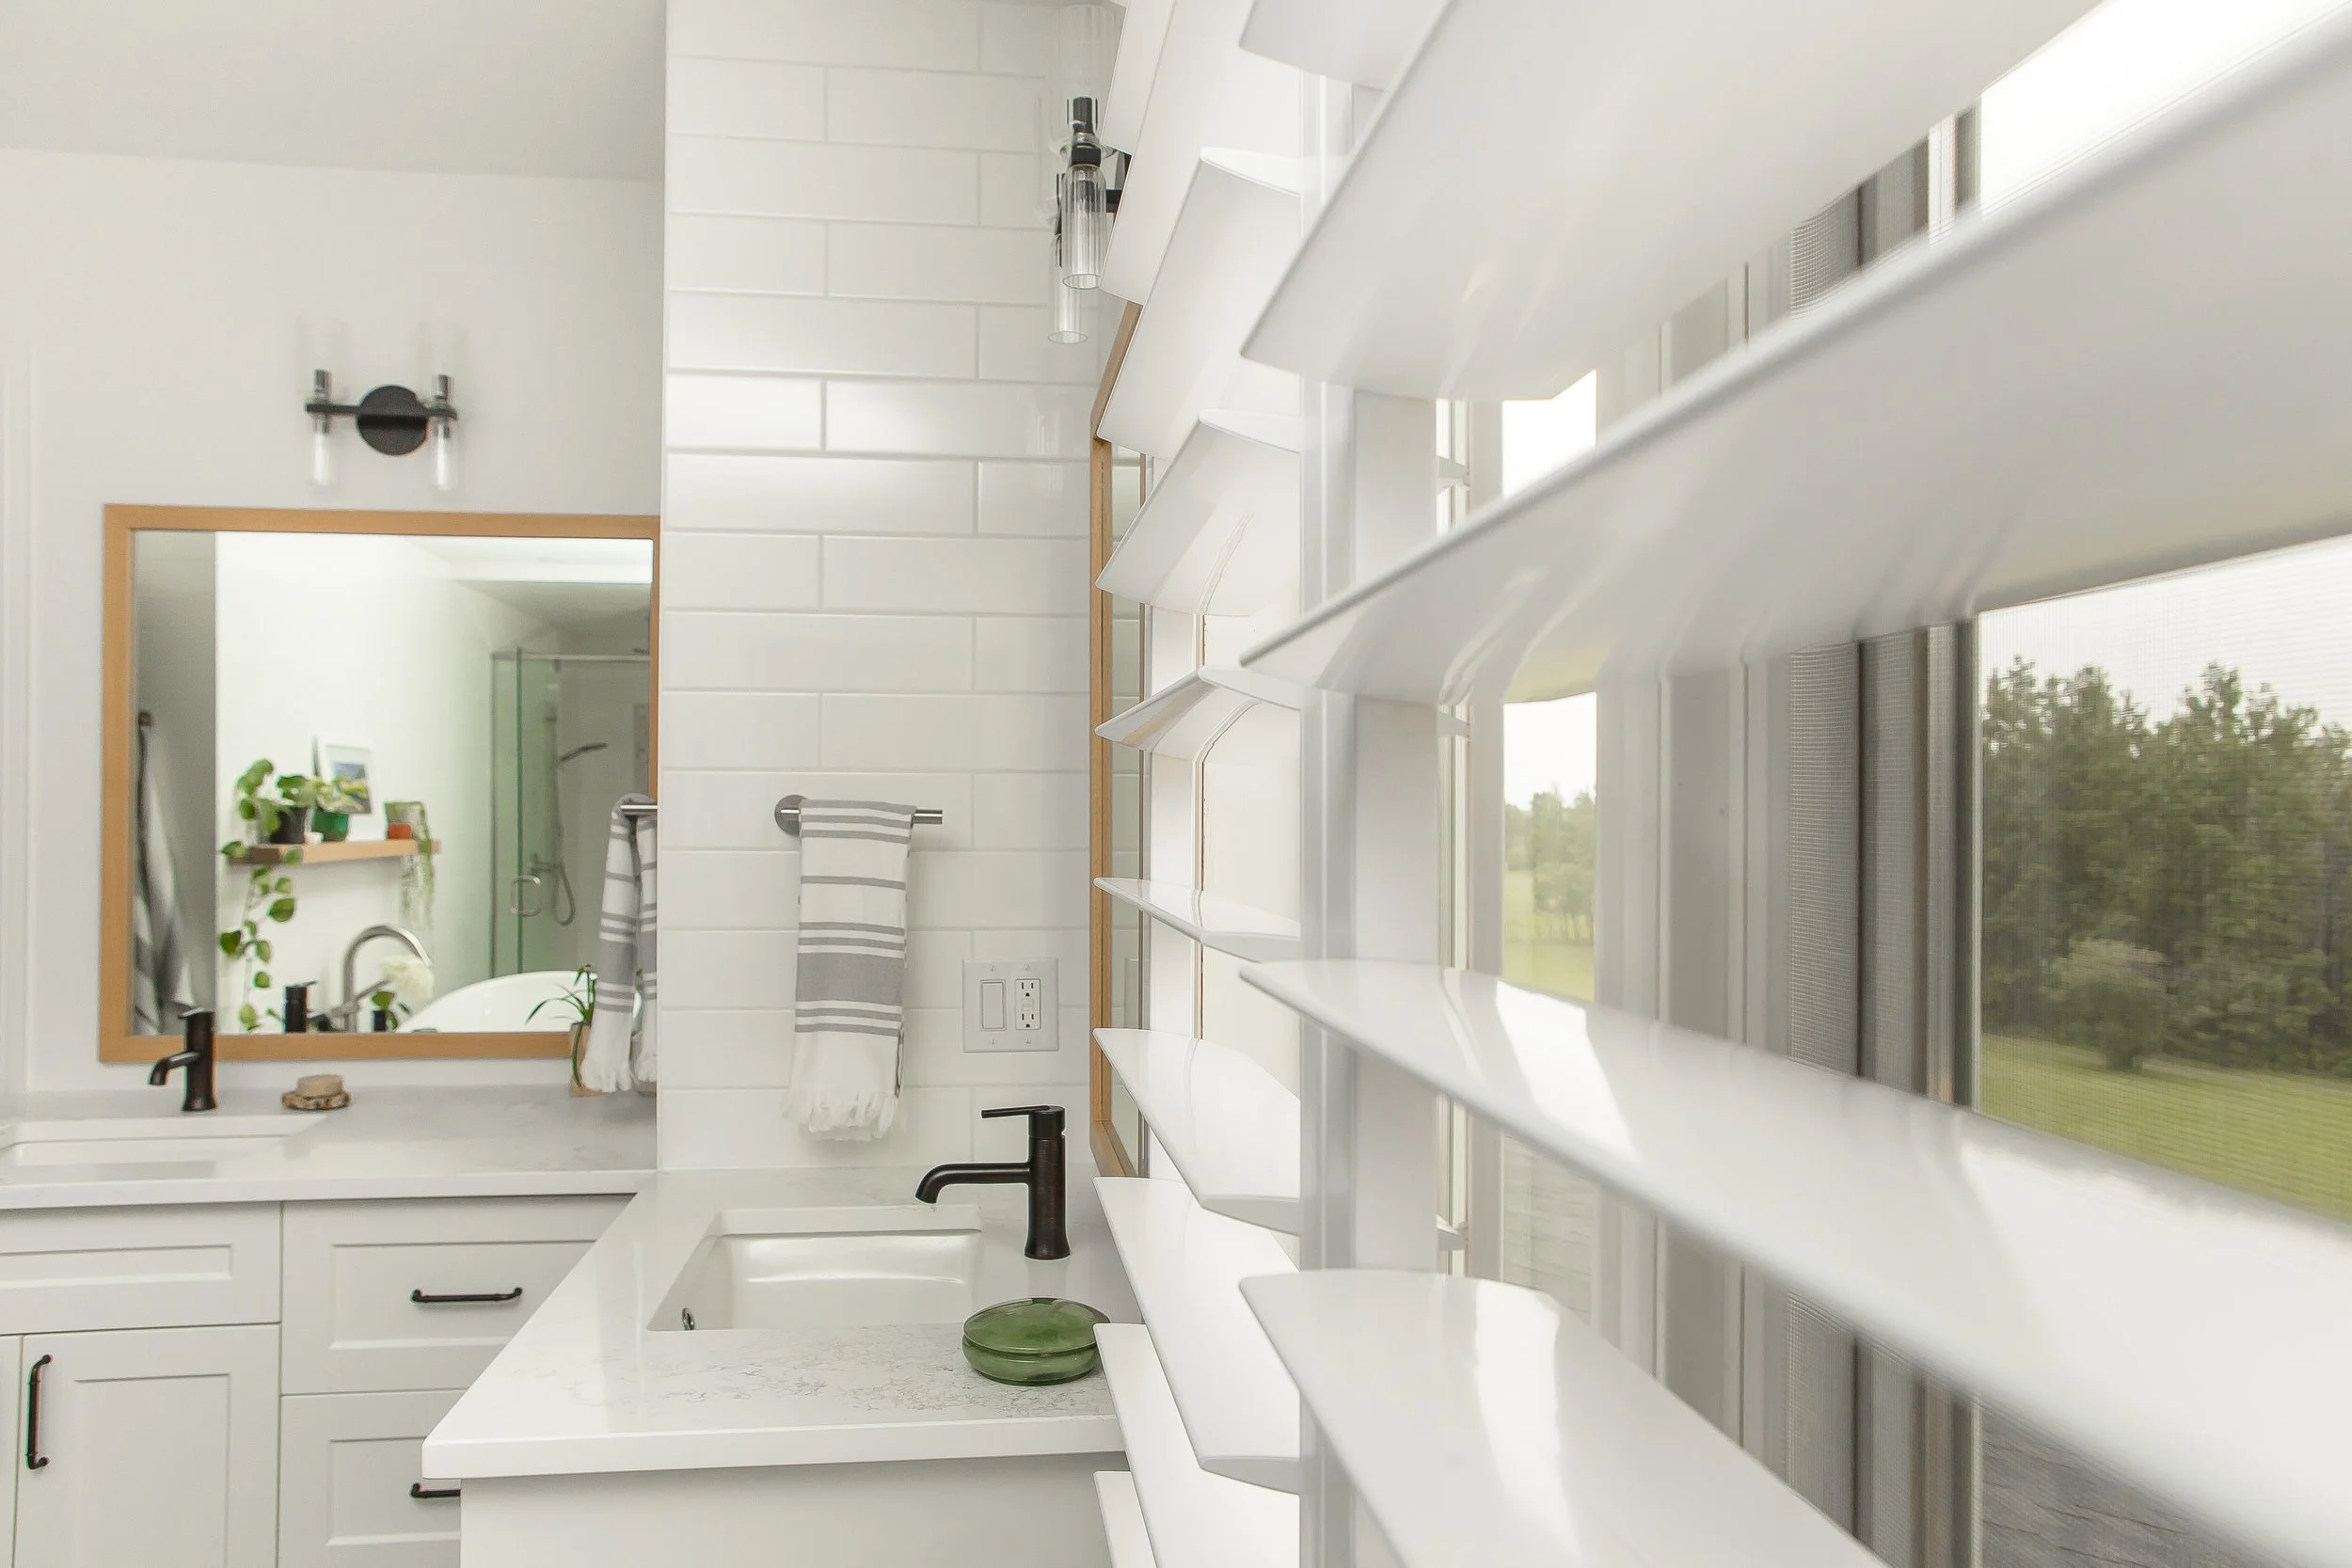
Enclosing the toilet in its own room was the most impactful decision for this space. Maintaining privacy for the user while allowing the rest of the ensuite and connected walk-in closet to be used simultaneously.
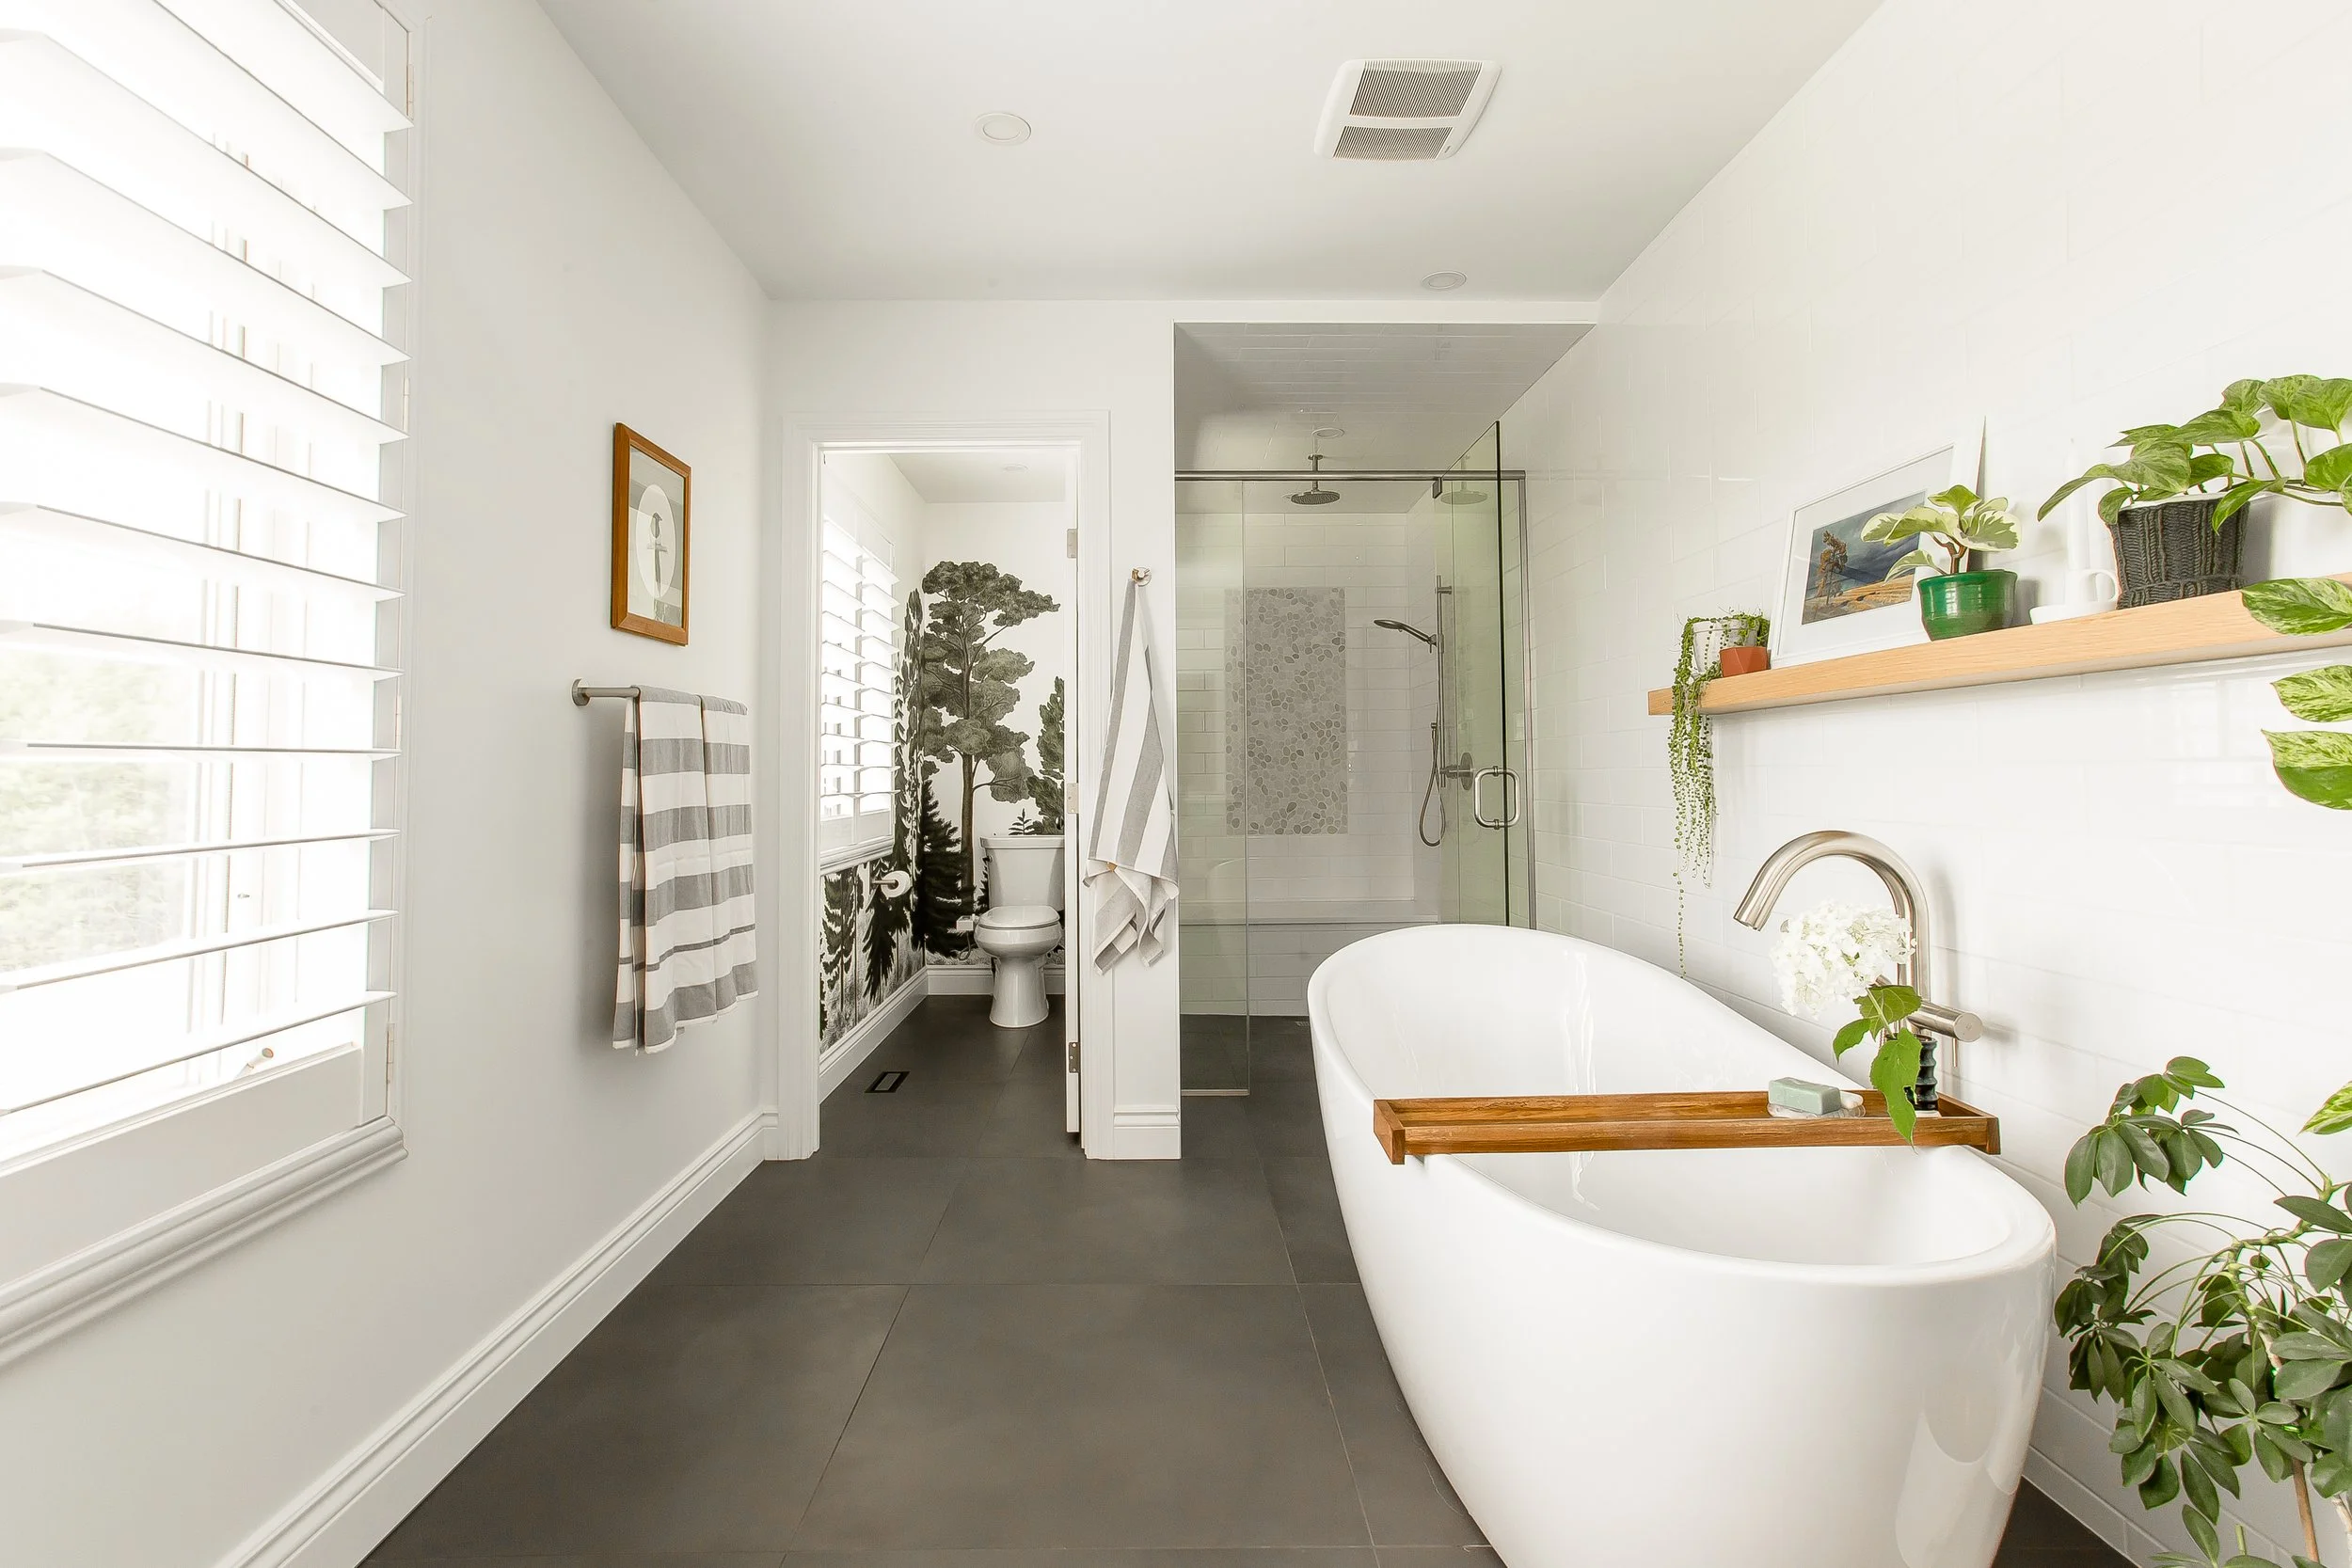
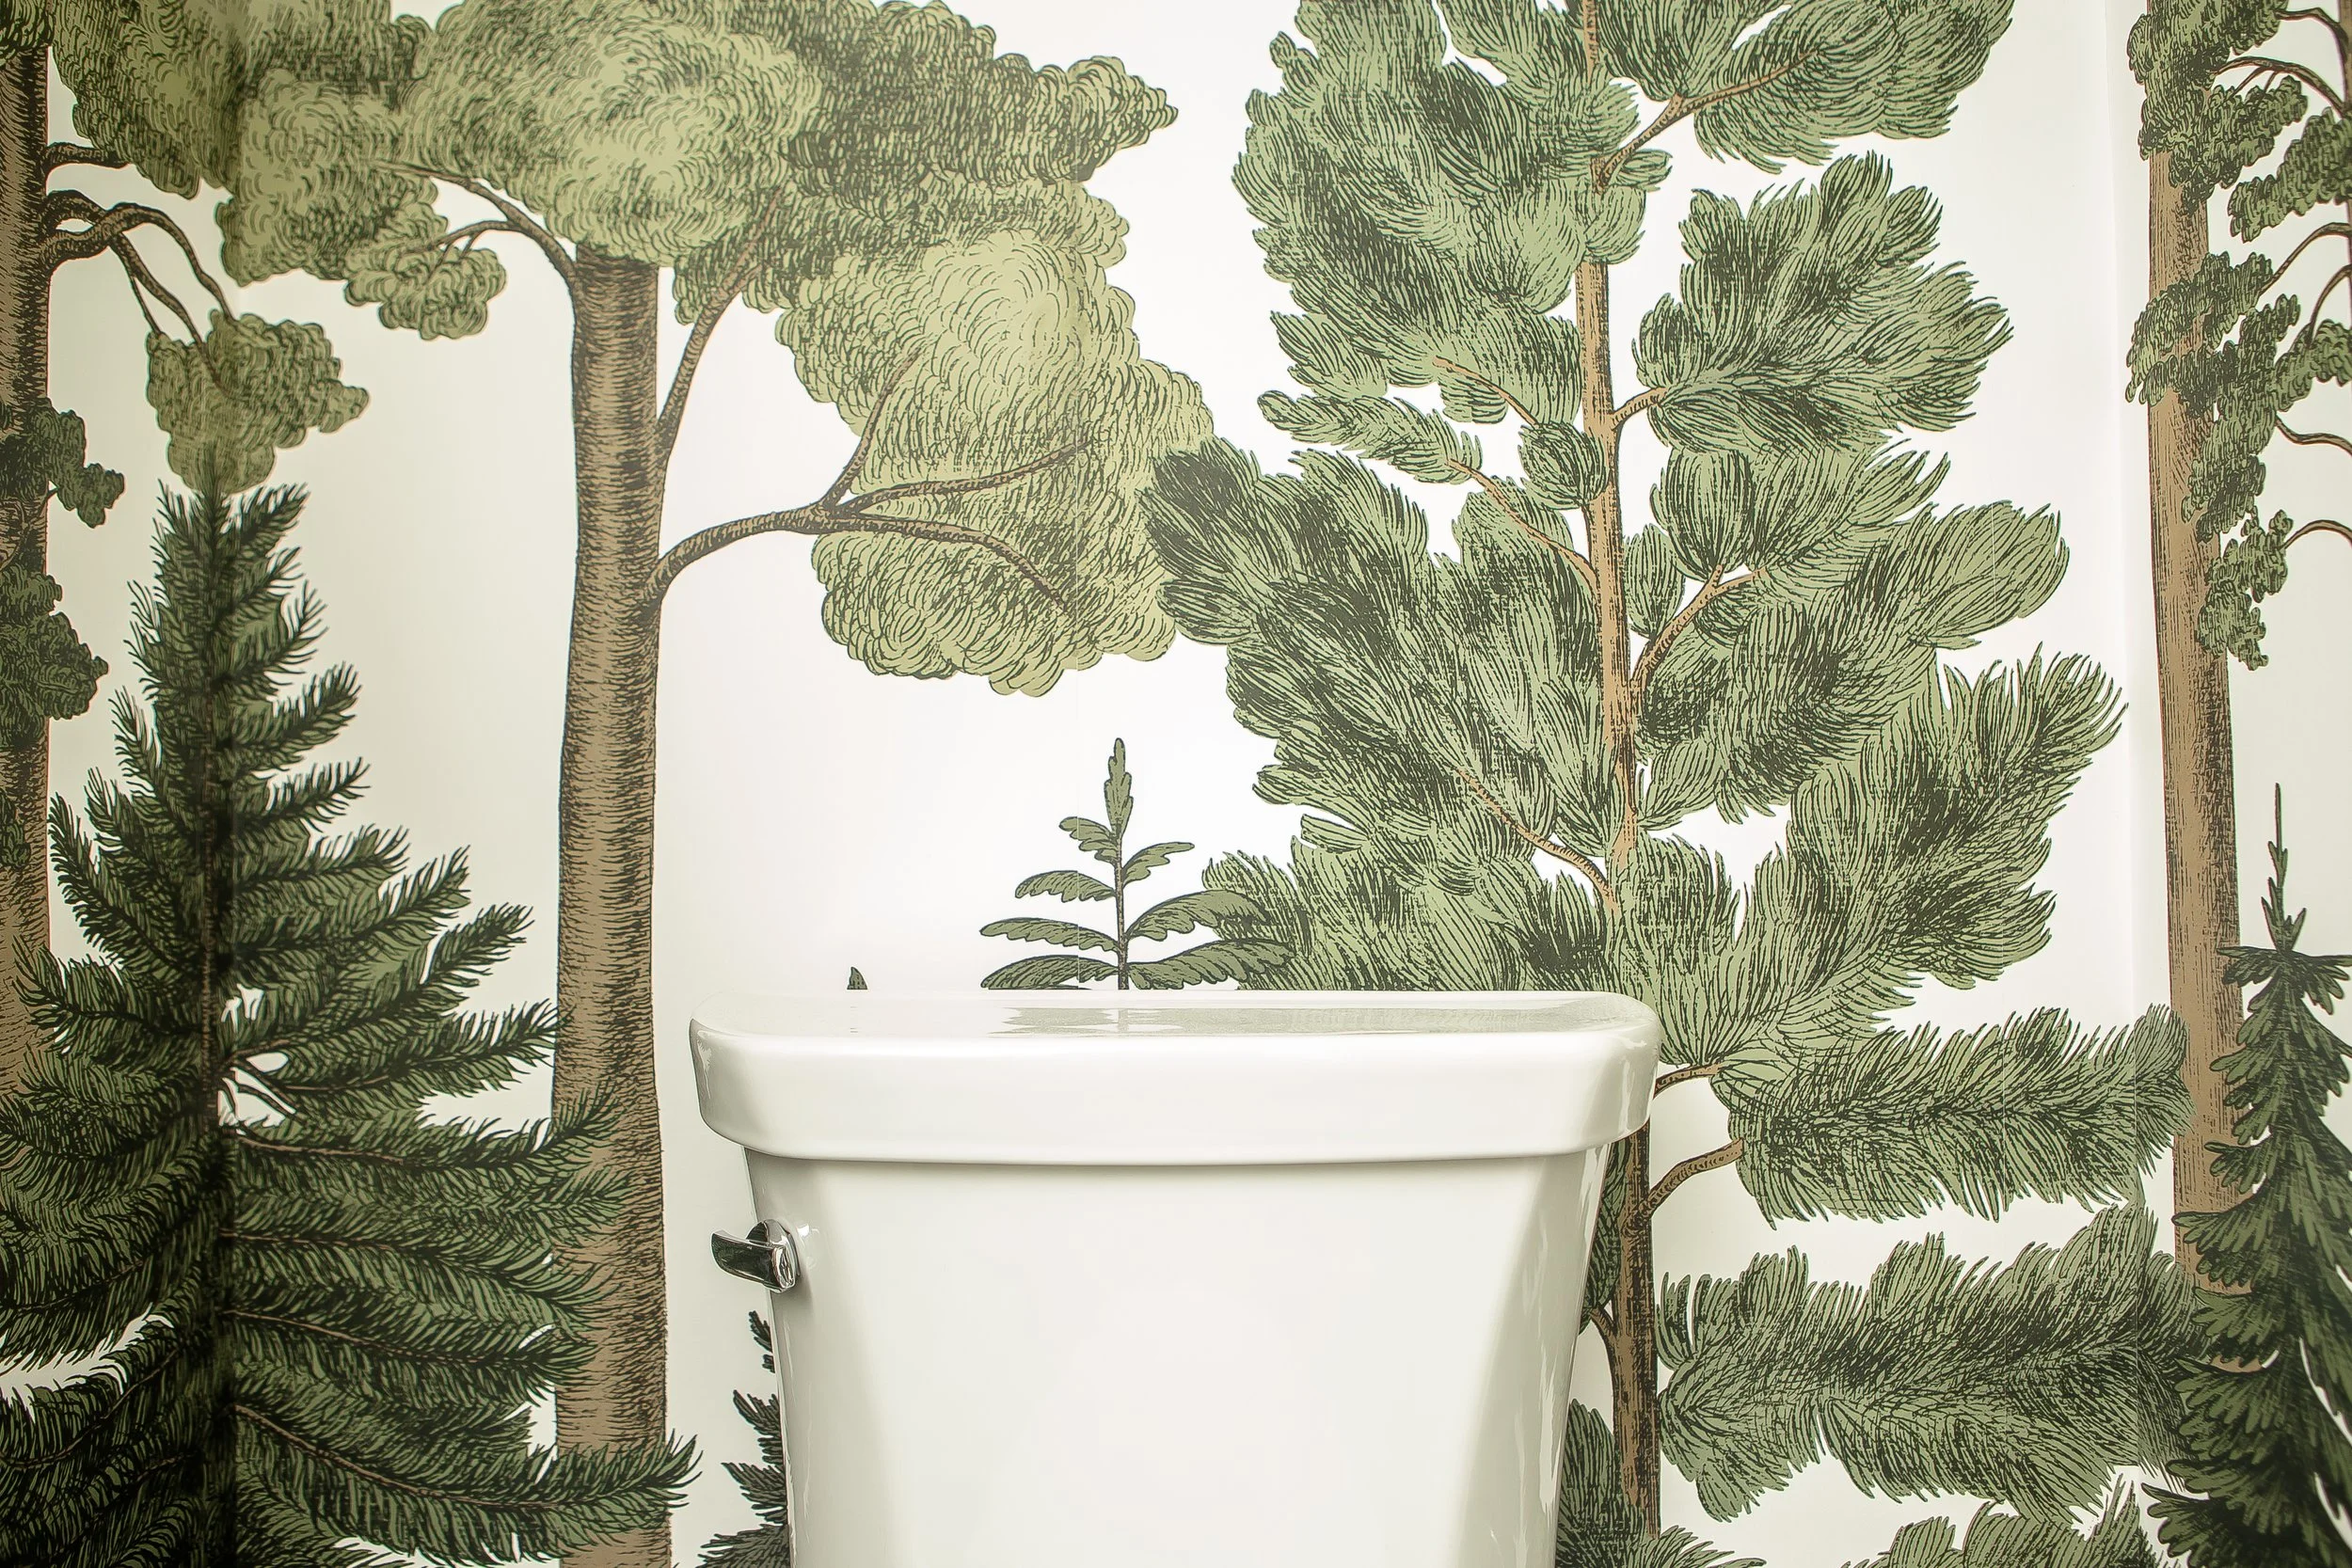
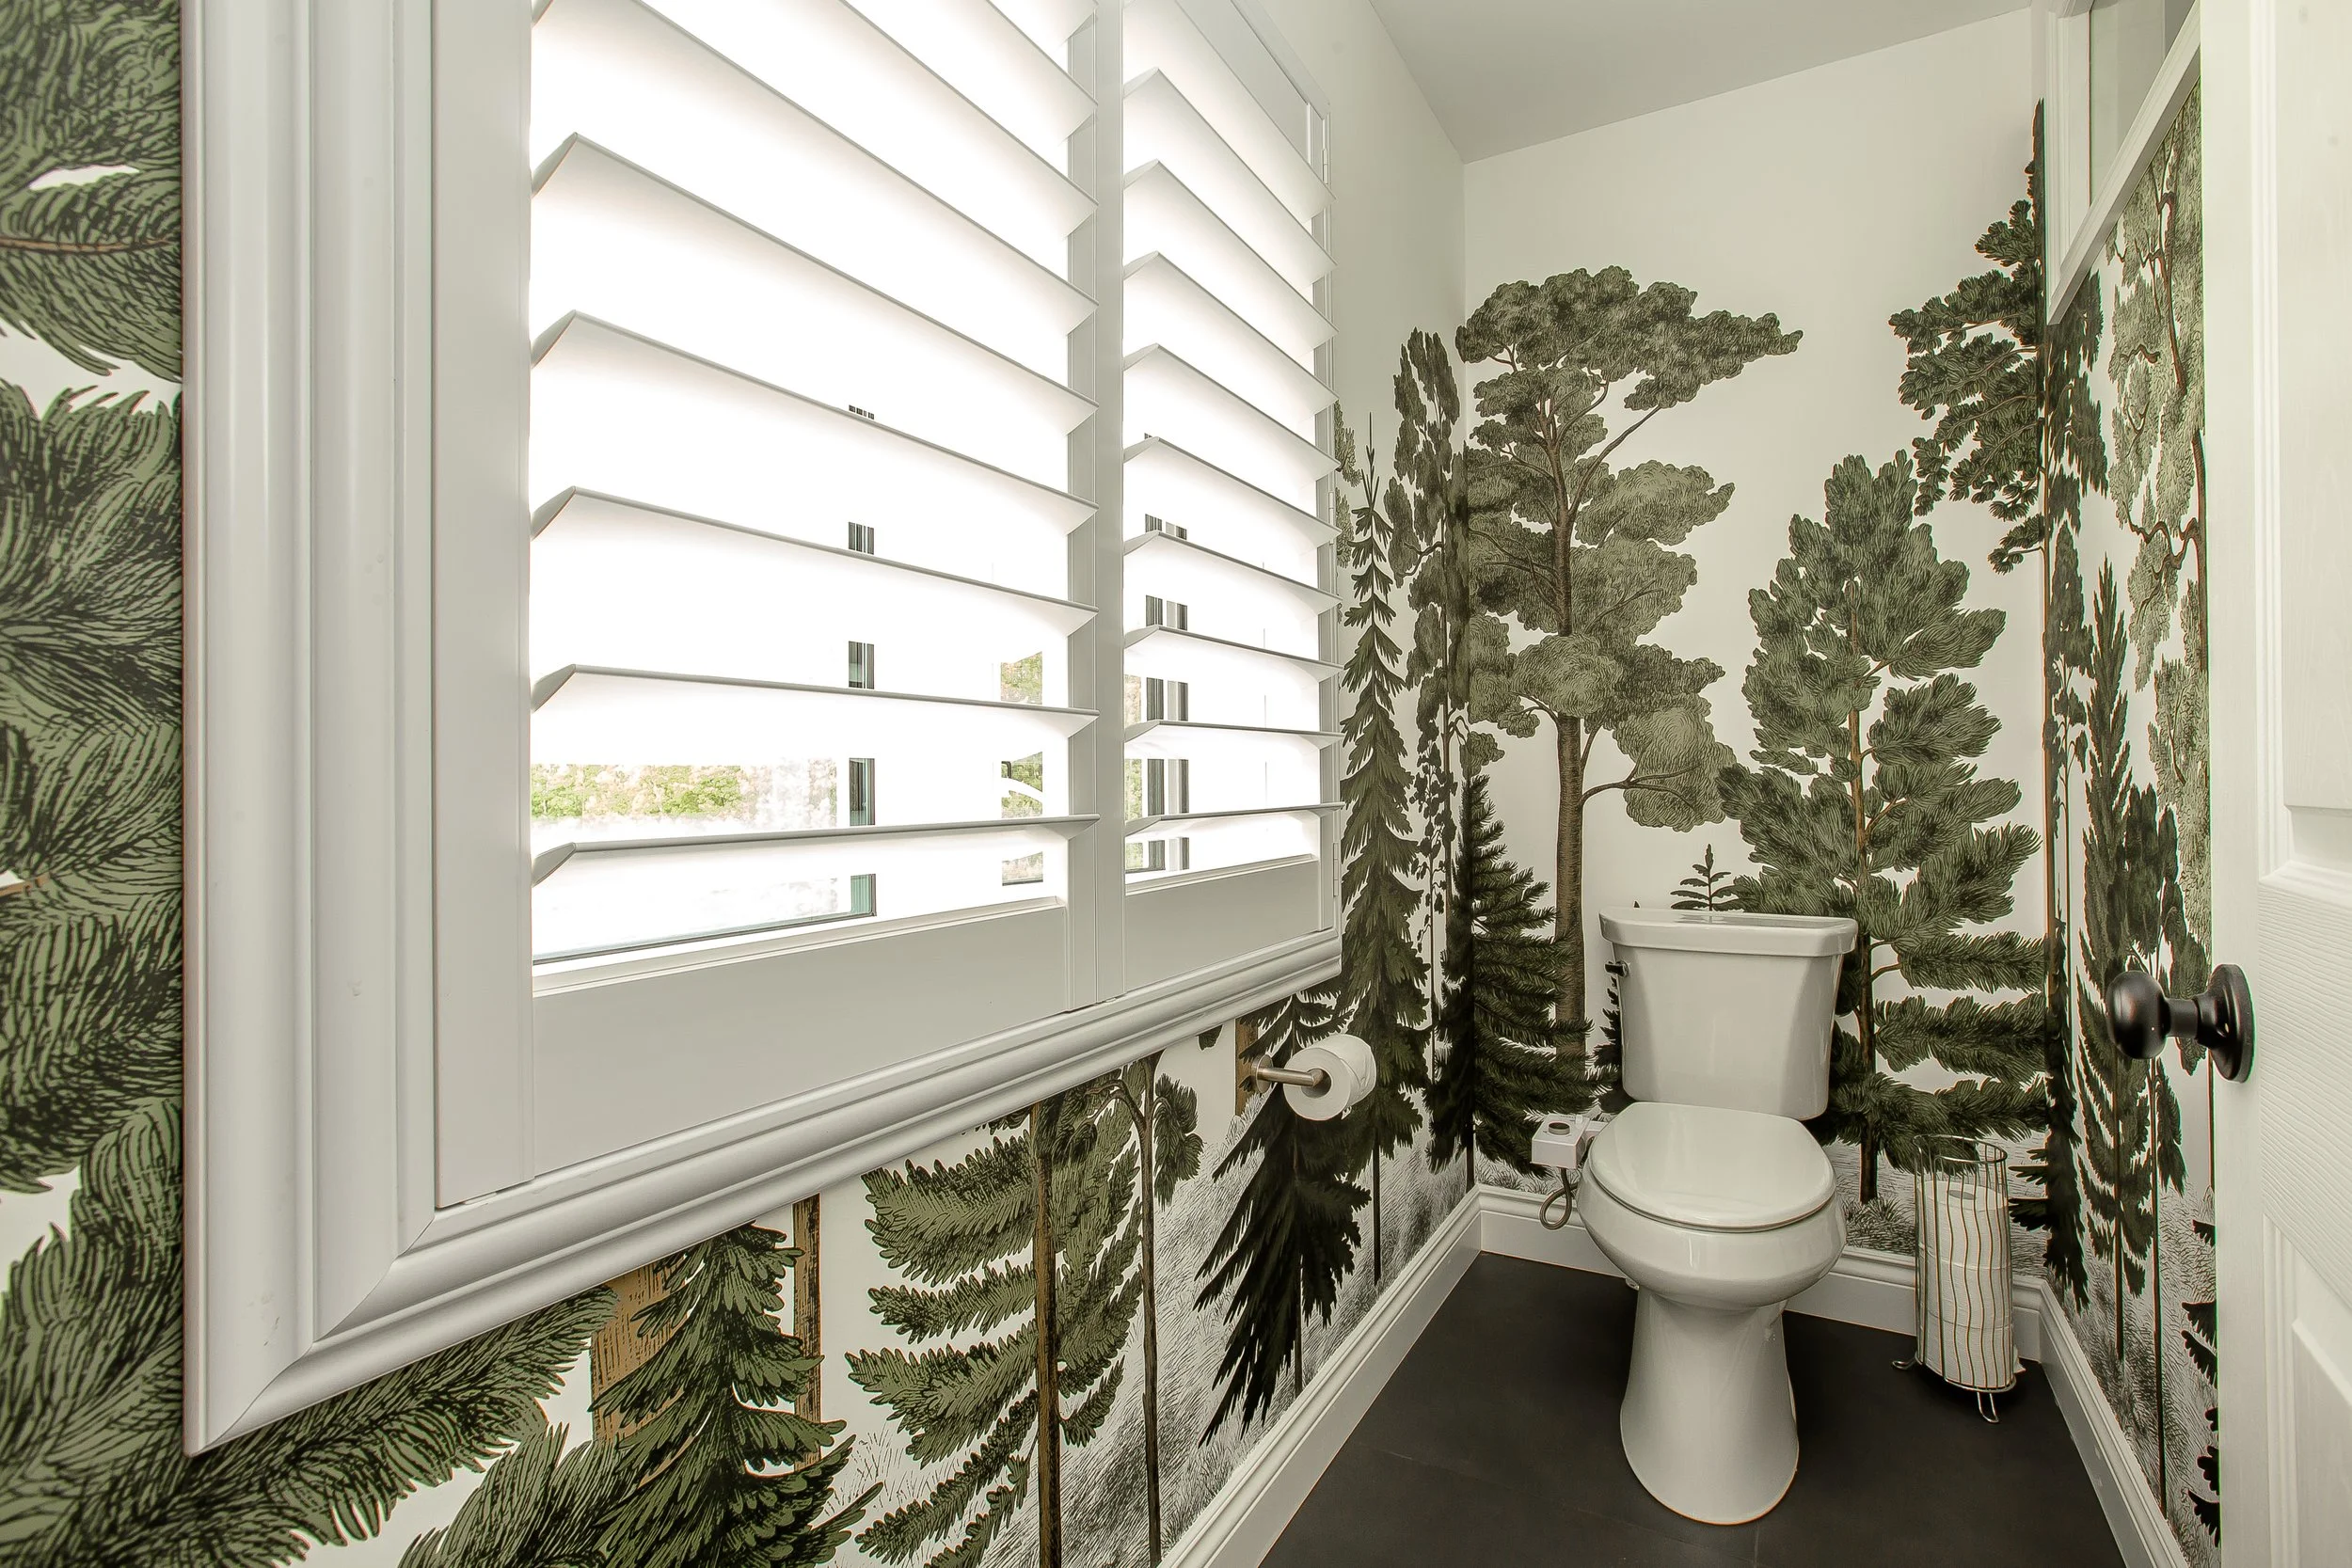
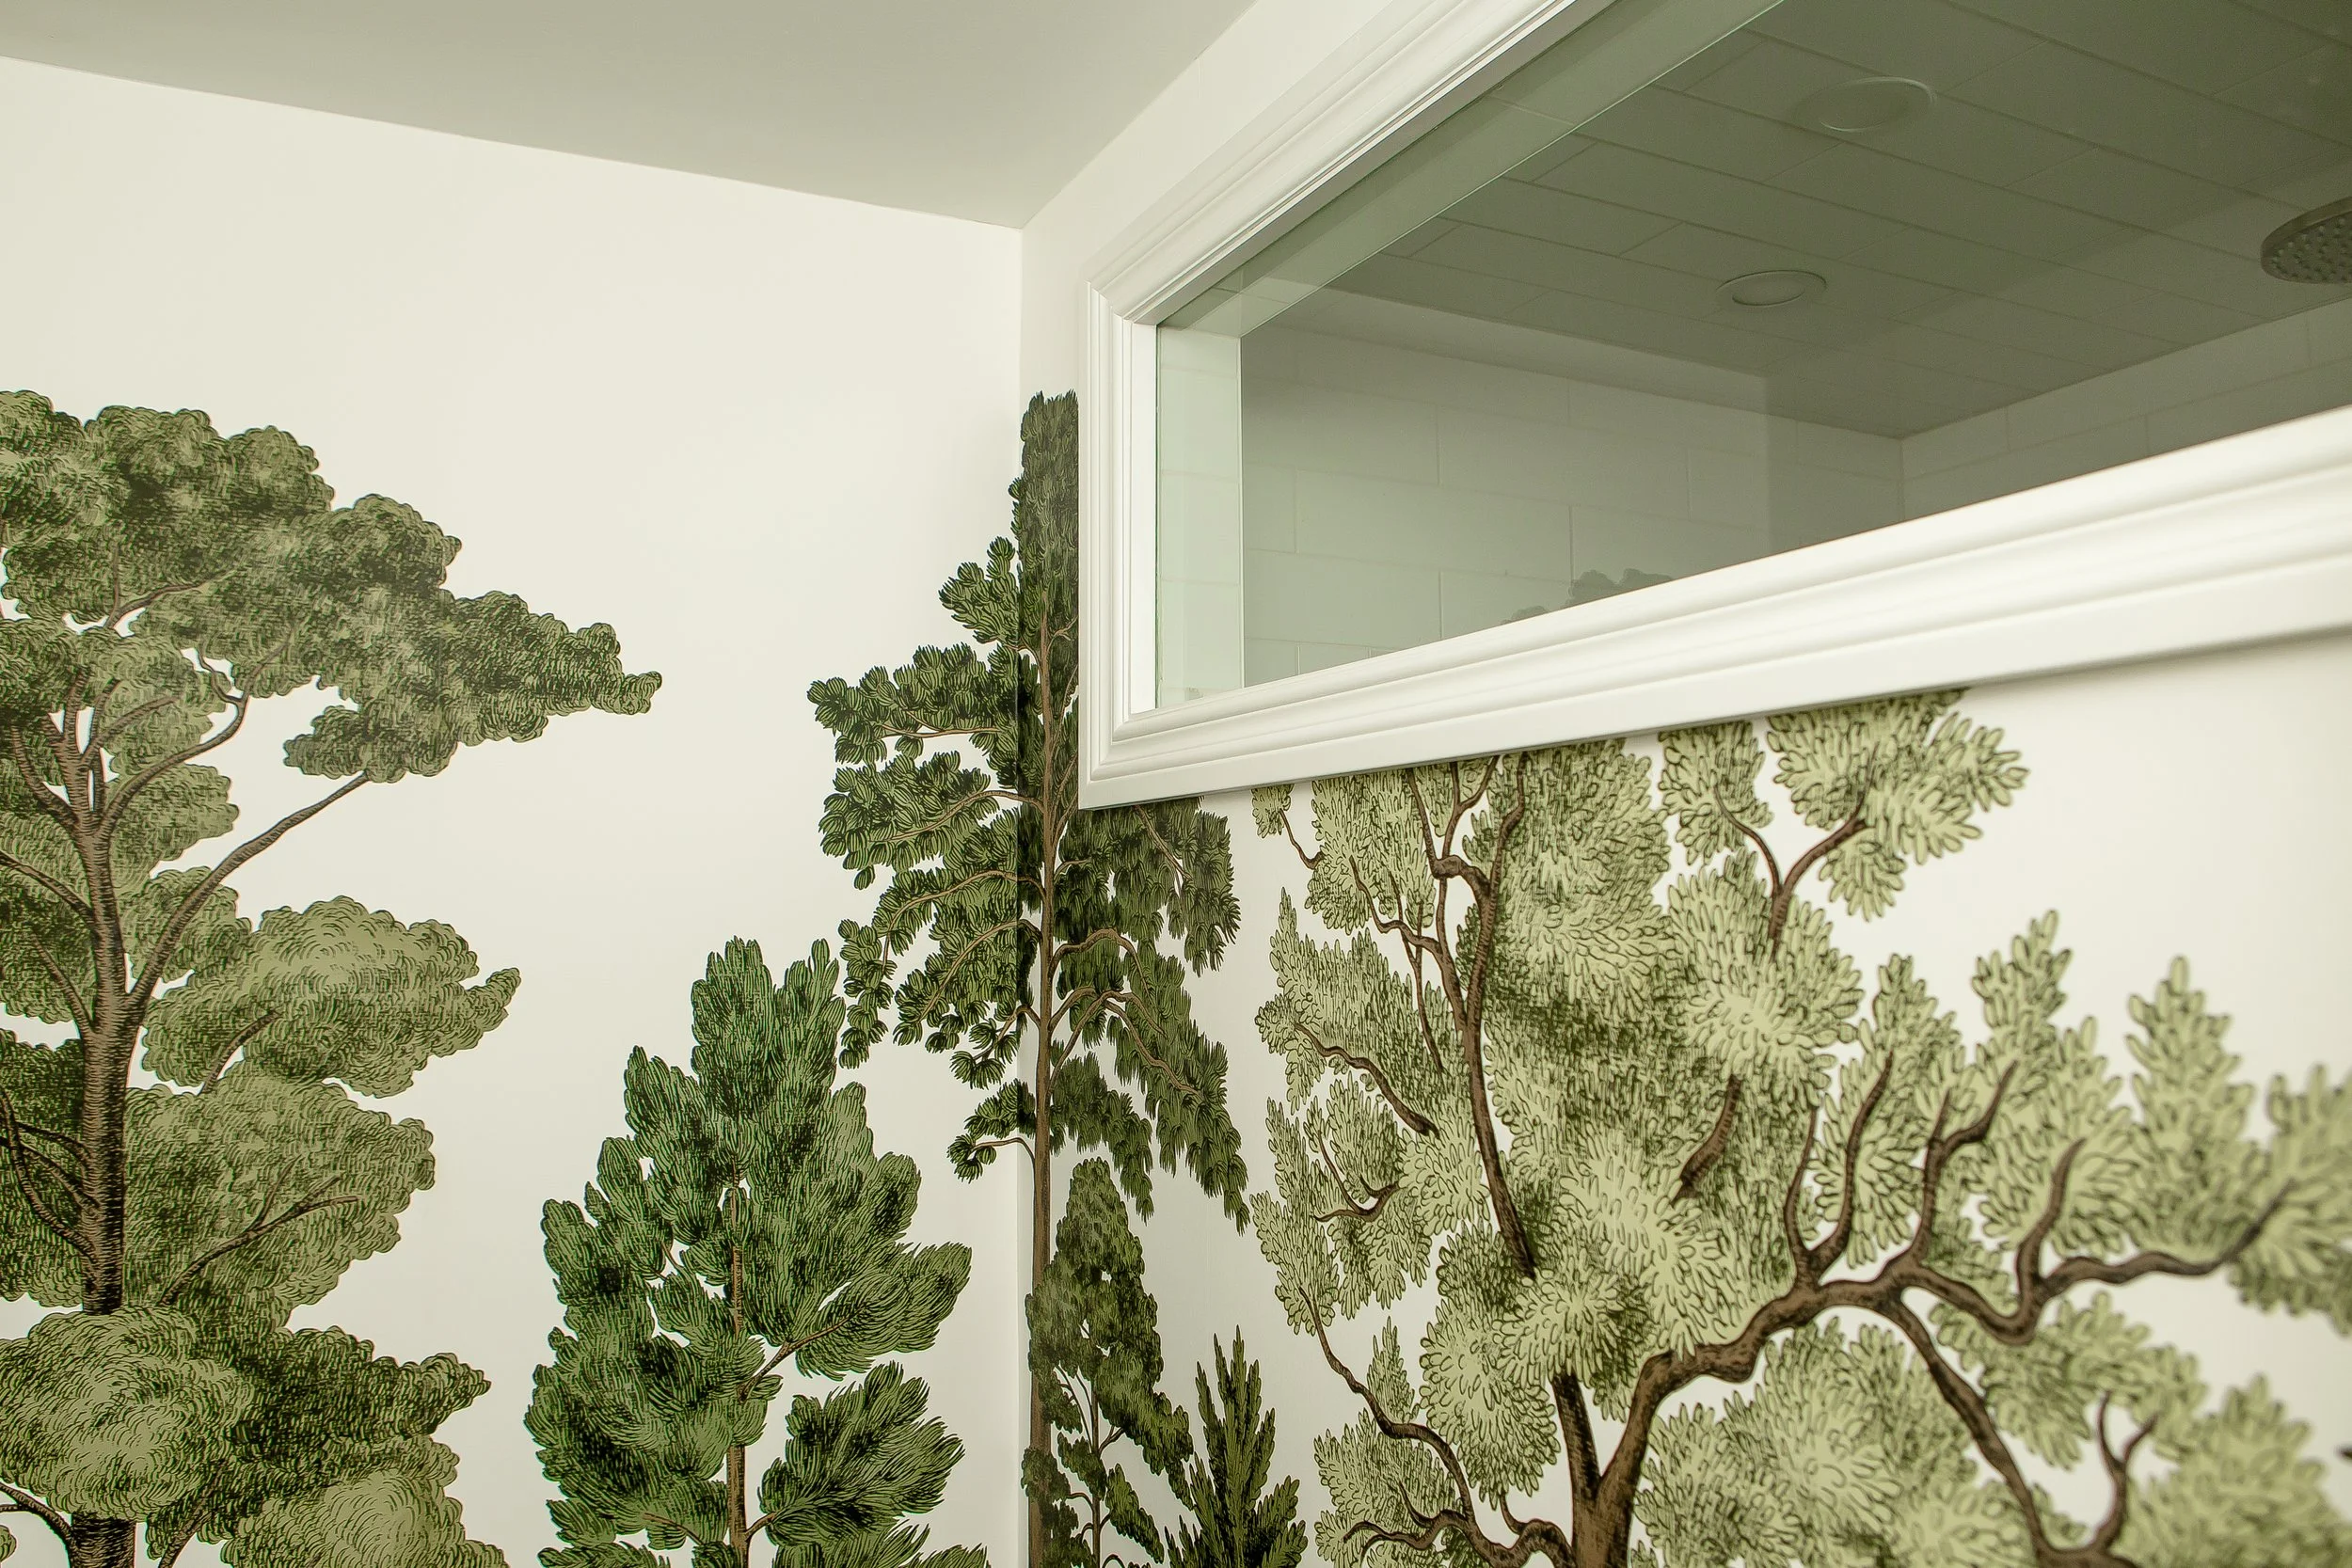
As a way to continue the view of their tree-filled yard into the space, we chose this tree-filled wallpaper for the water closet. And since we wanted to maximize the natural light that does come into this space, we also added a window between the water closet and walk-in shower to carry that light through while still maintaining privacy.
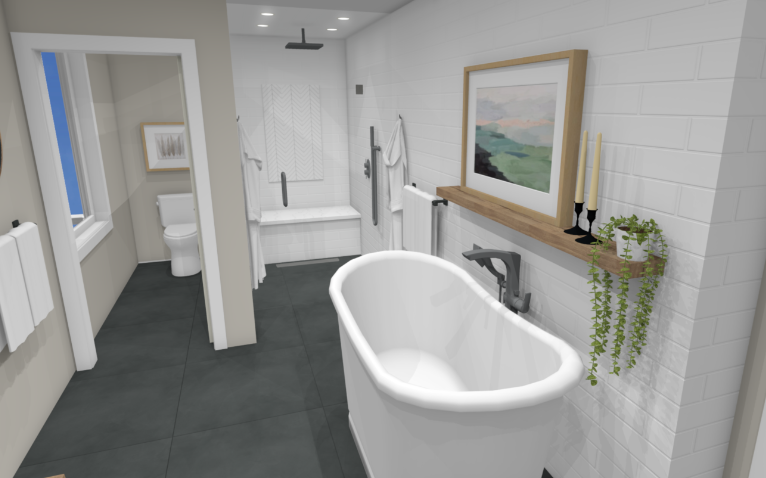
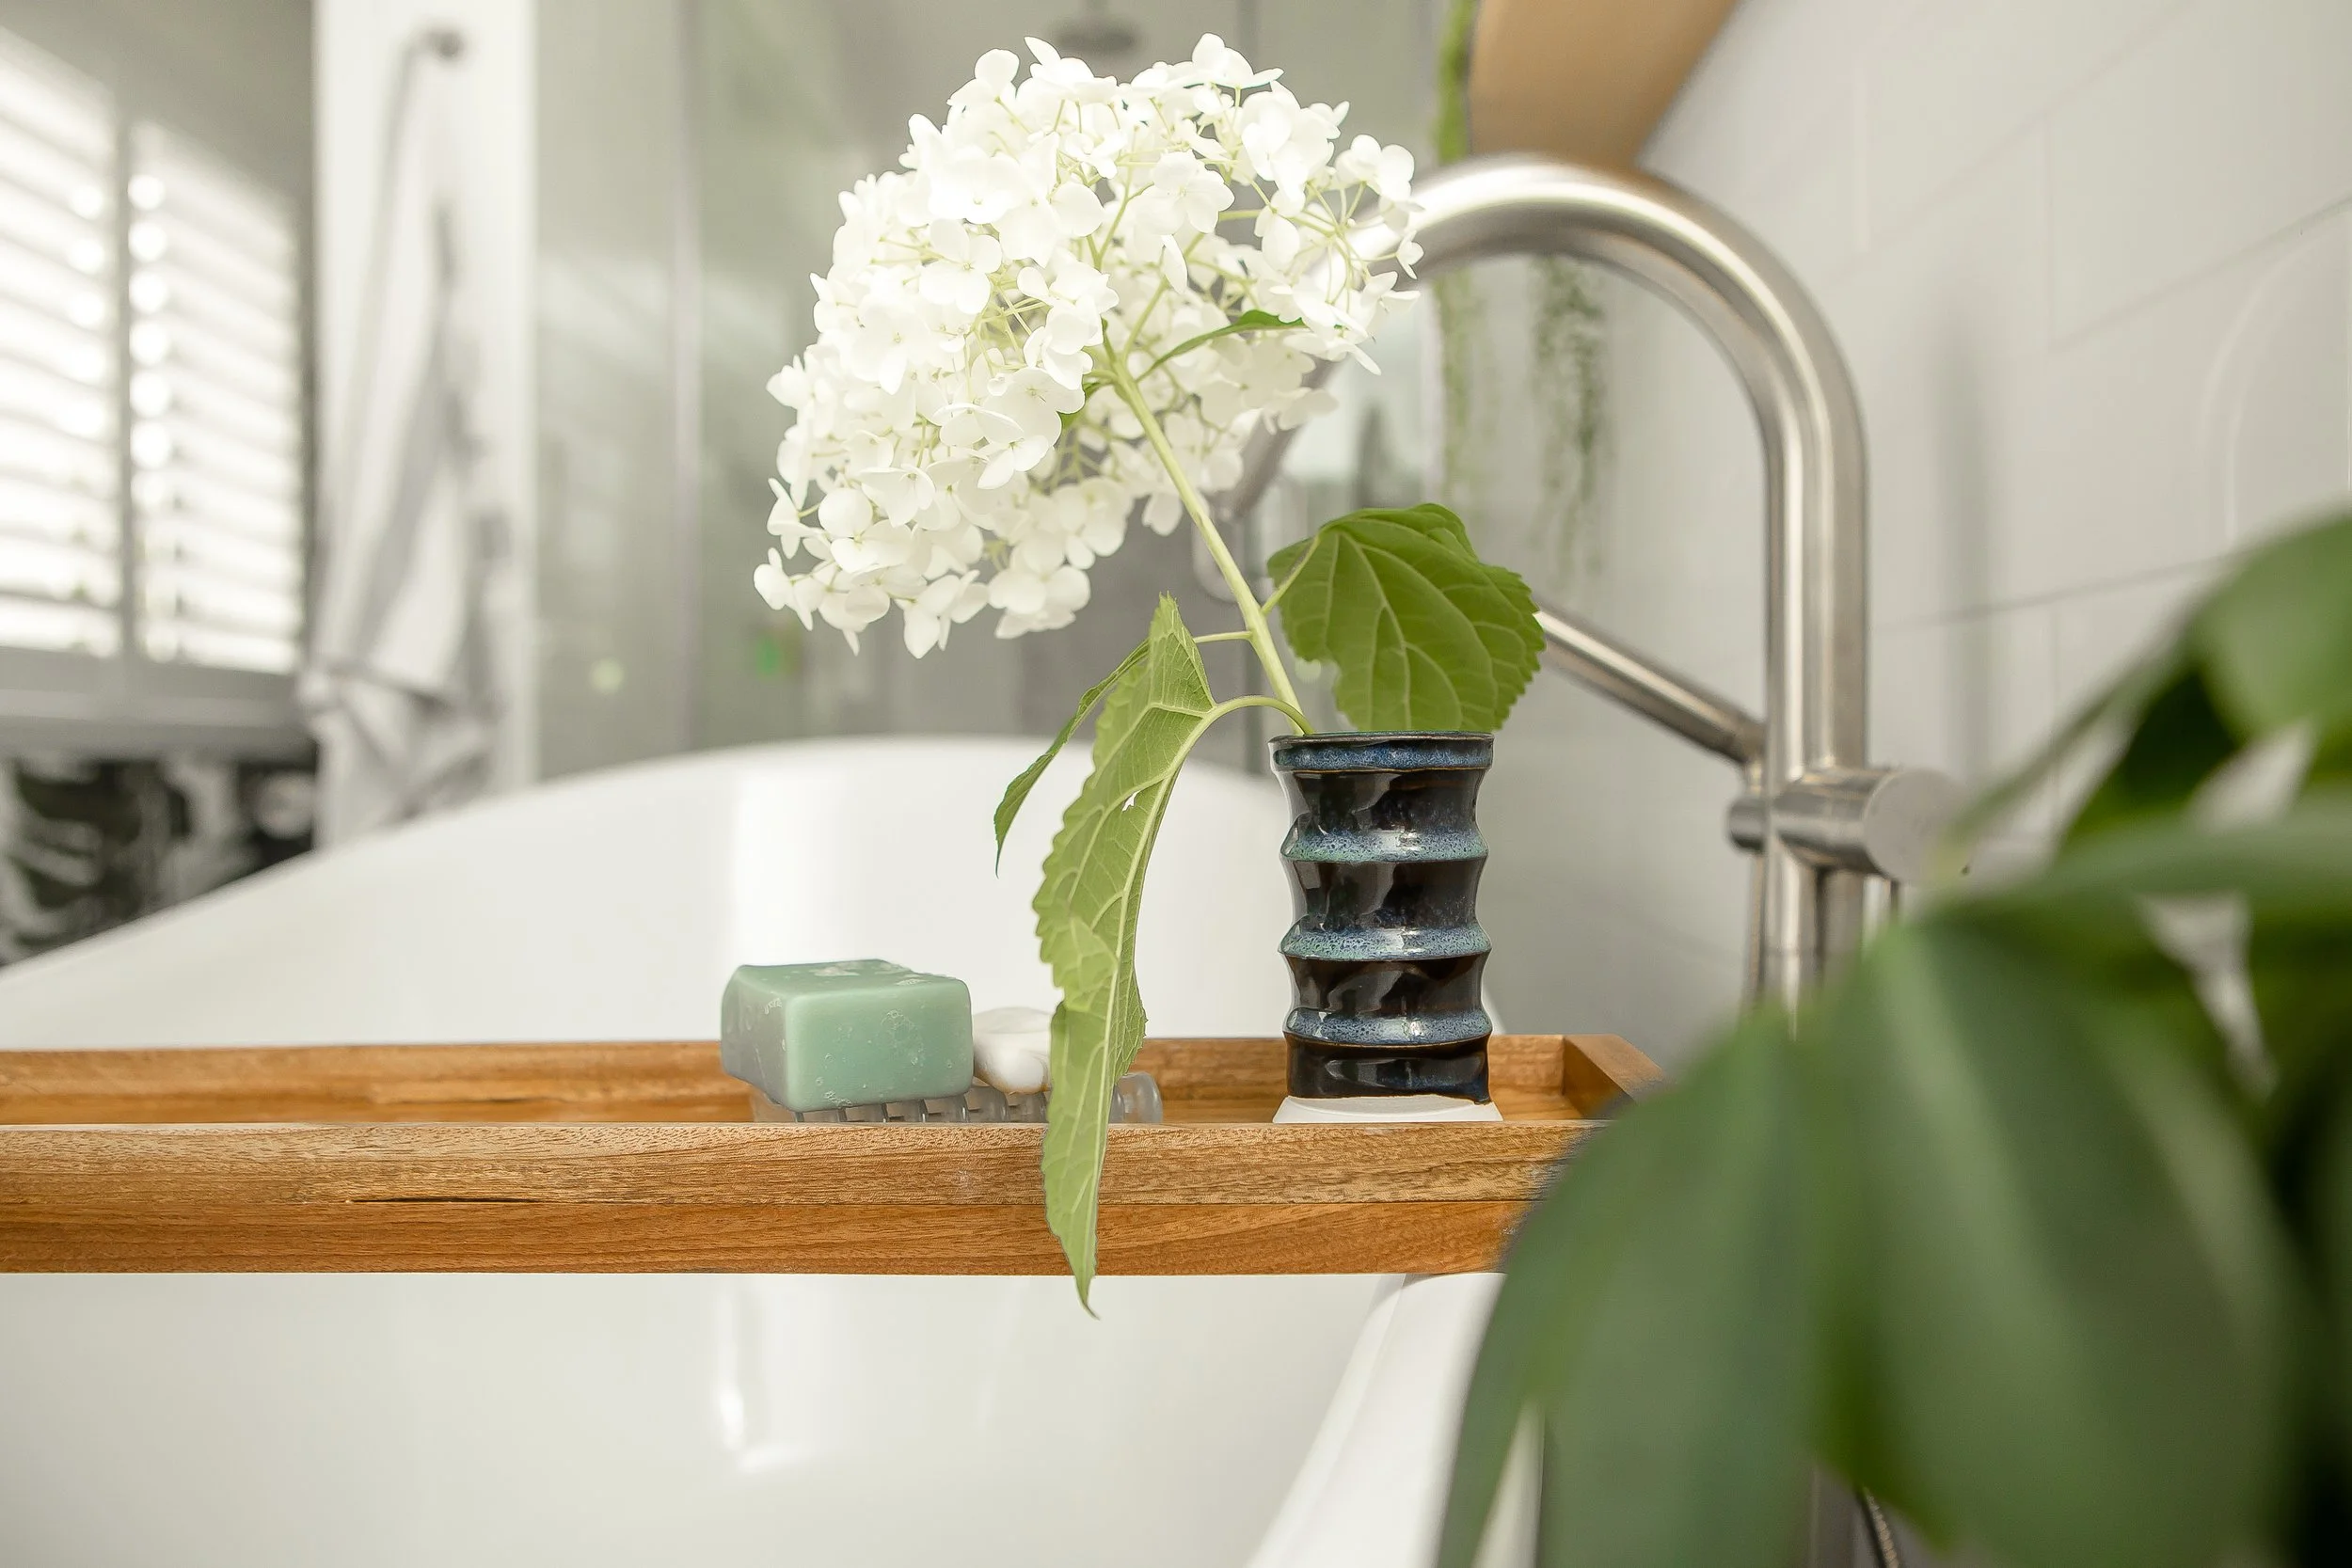
Having a large, curbless shower and a comfortable tub were non-negotiables for our clients. And we were happy to oblige!
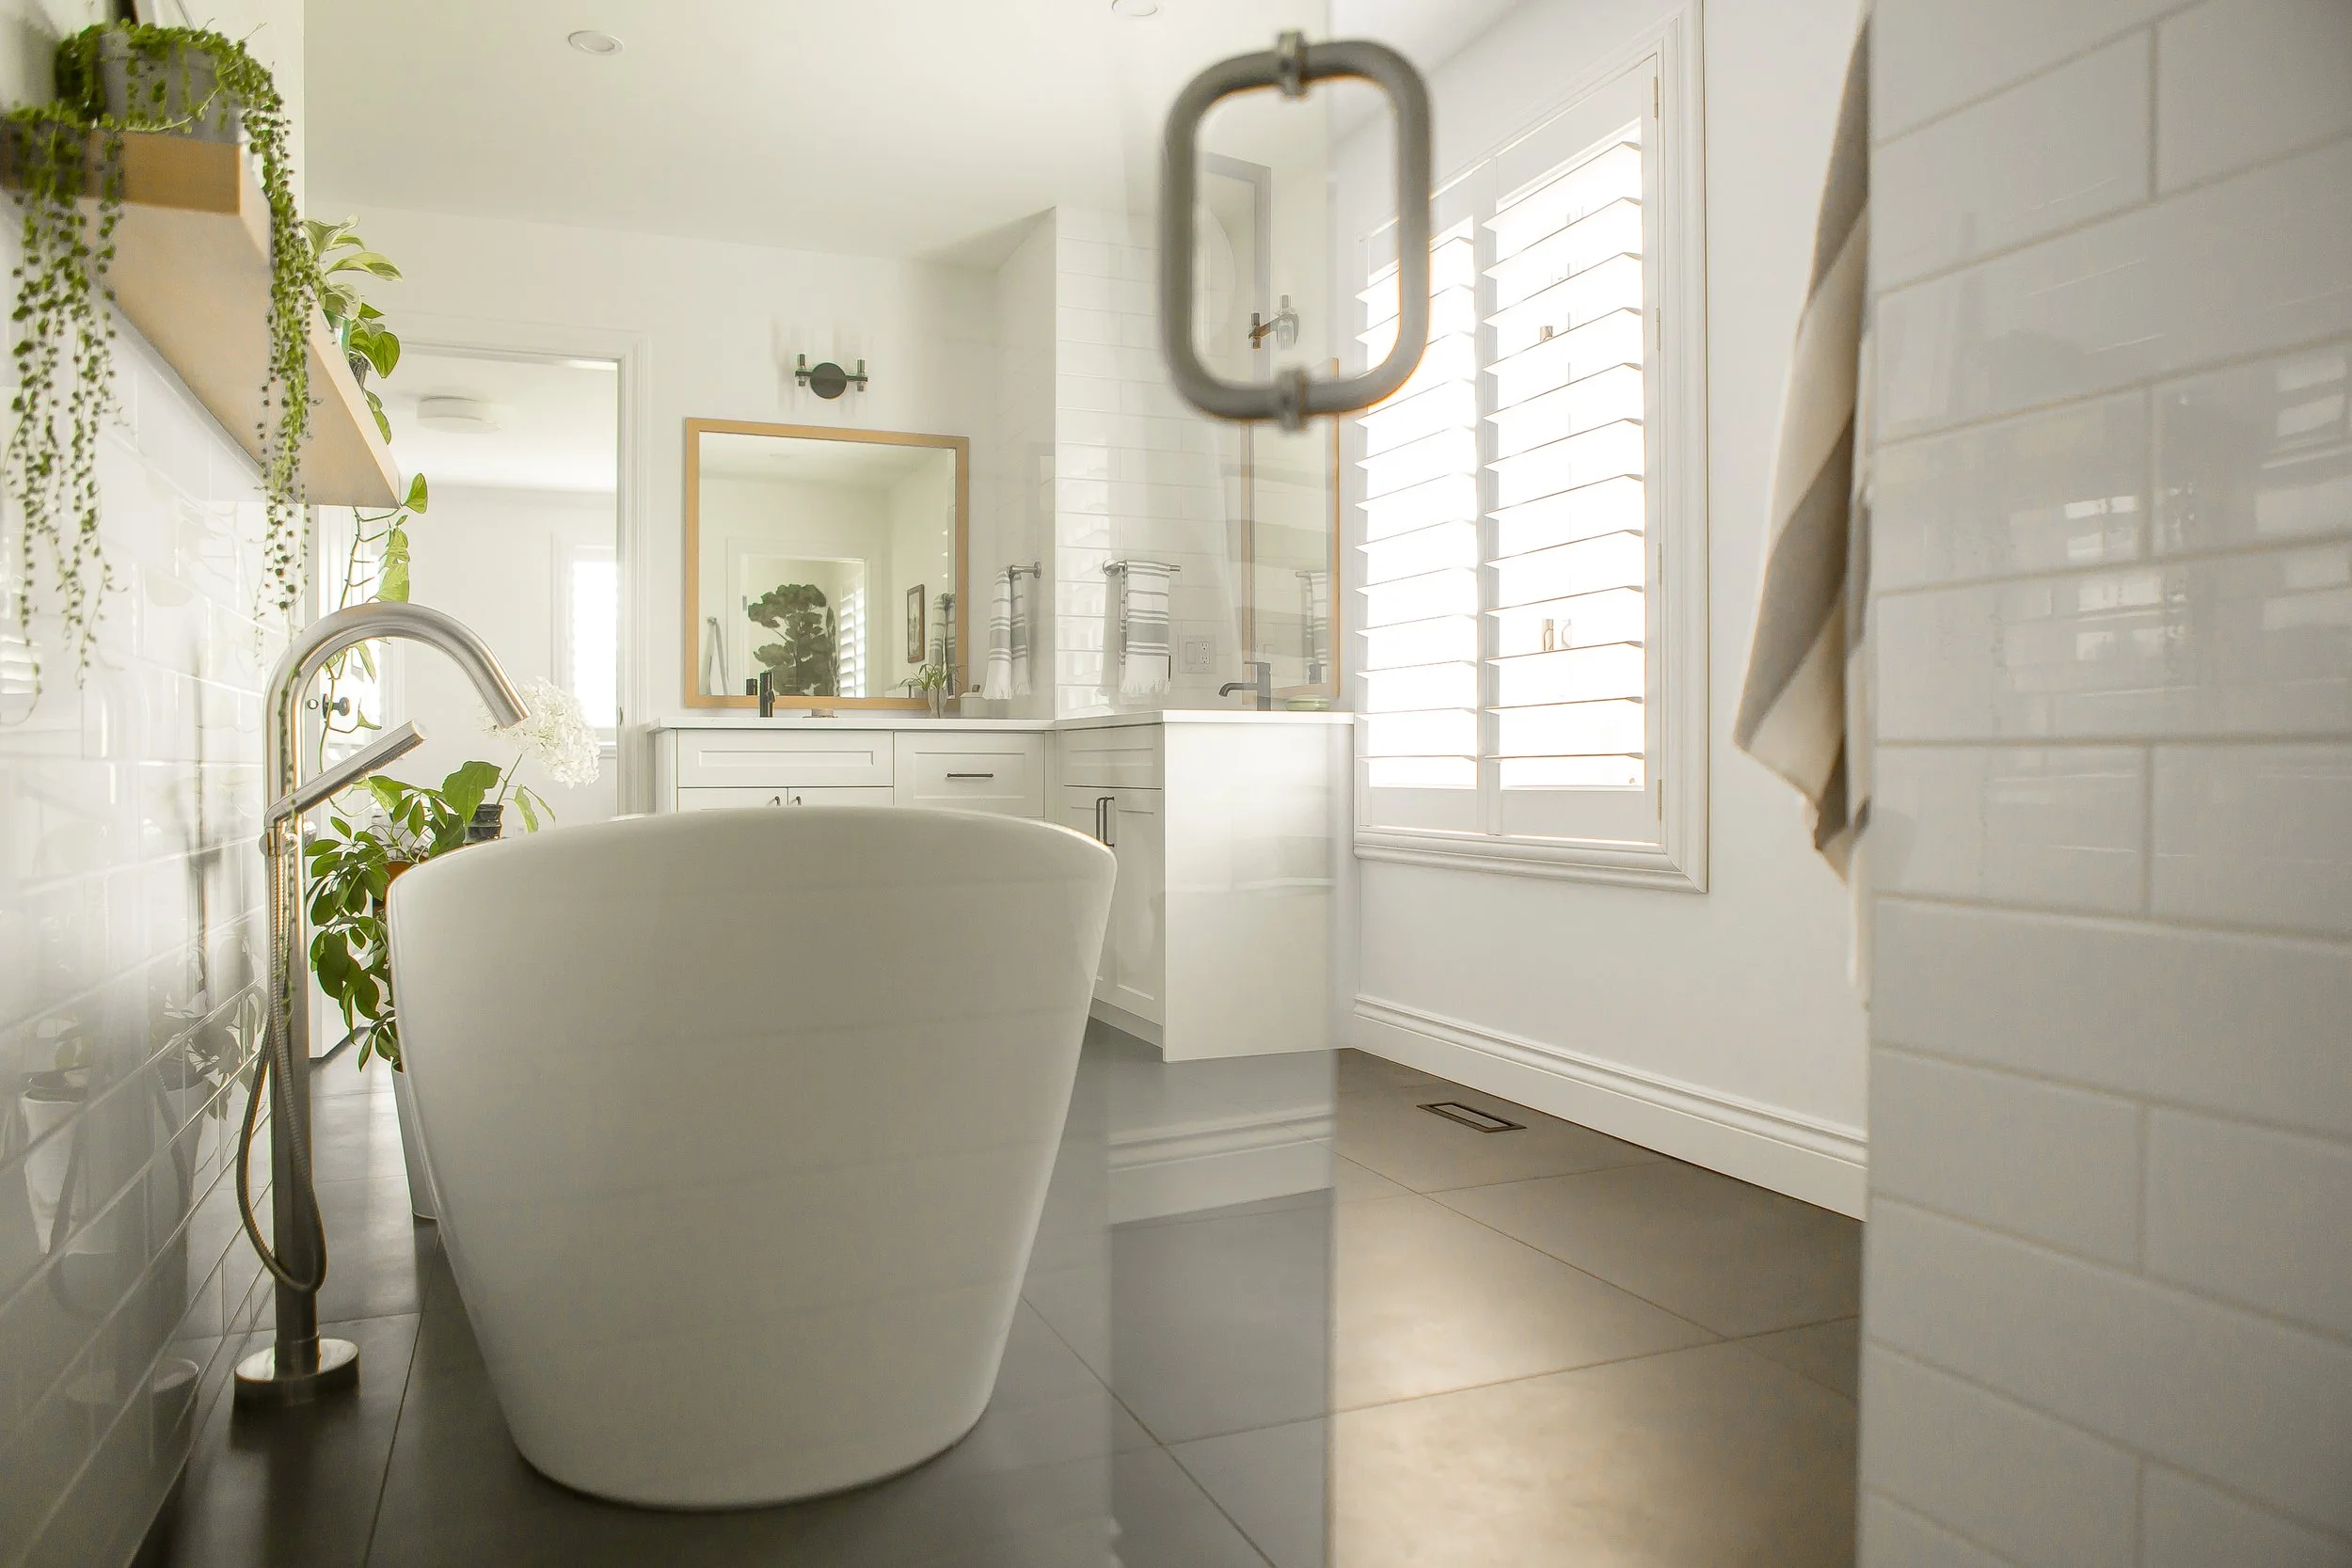
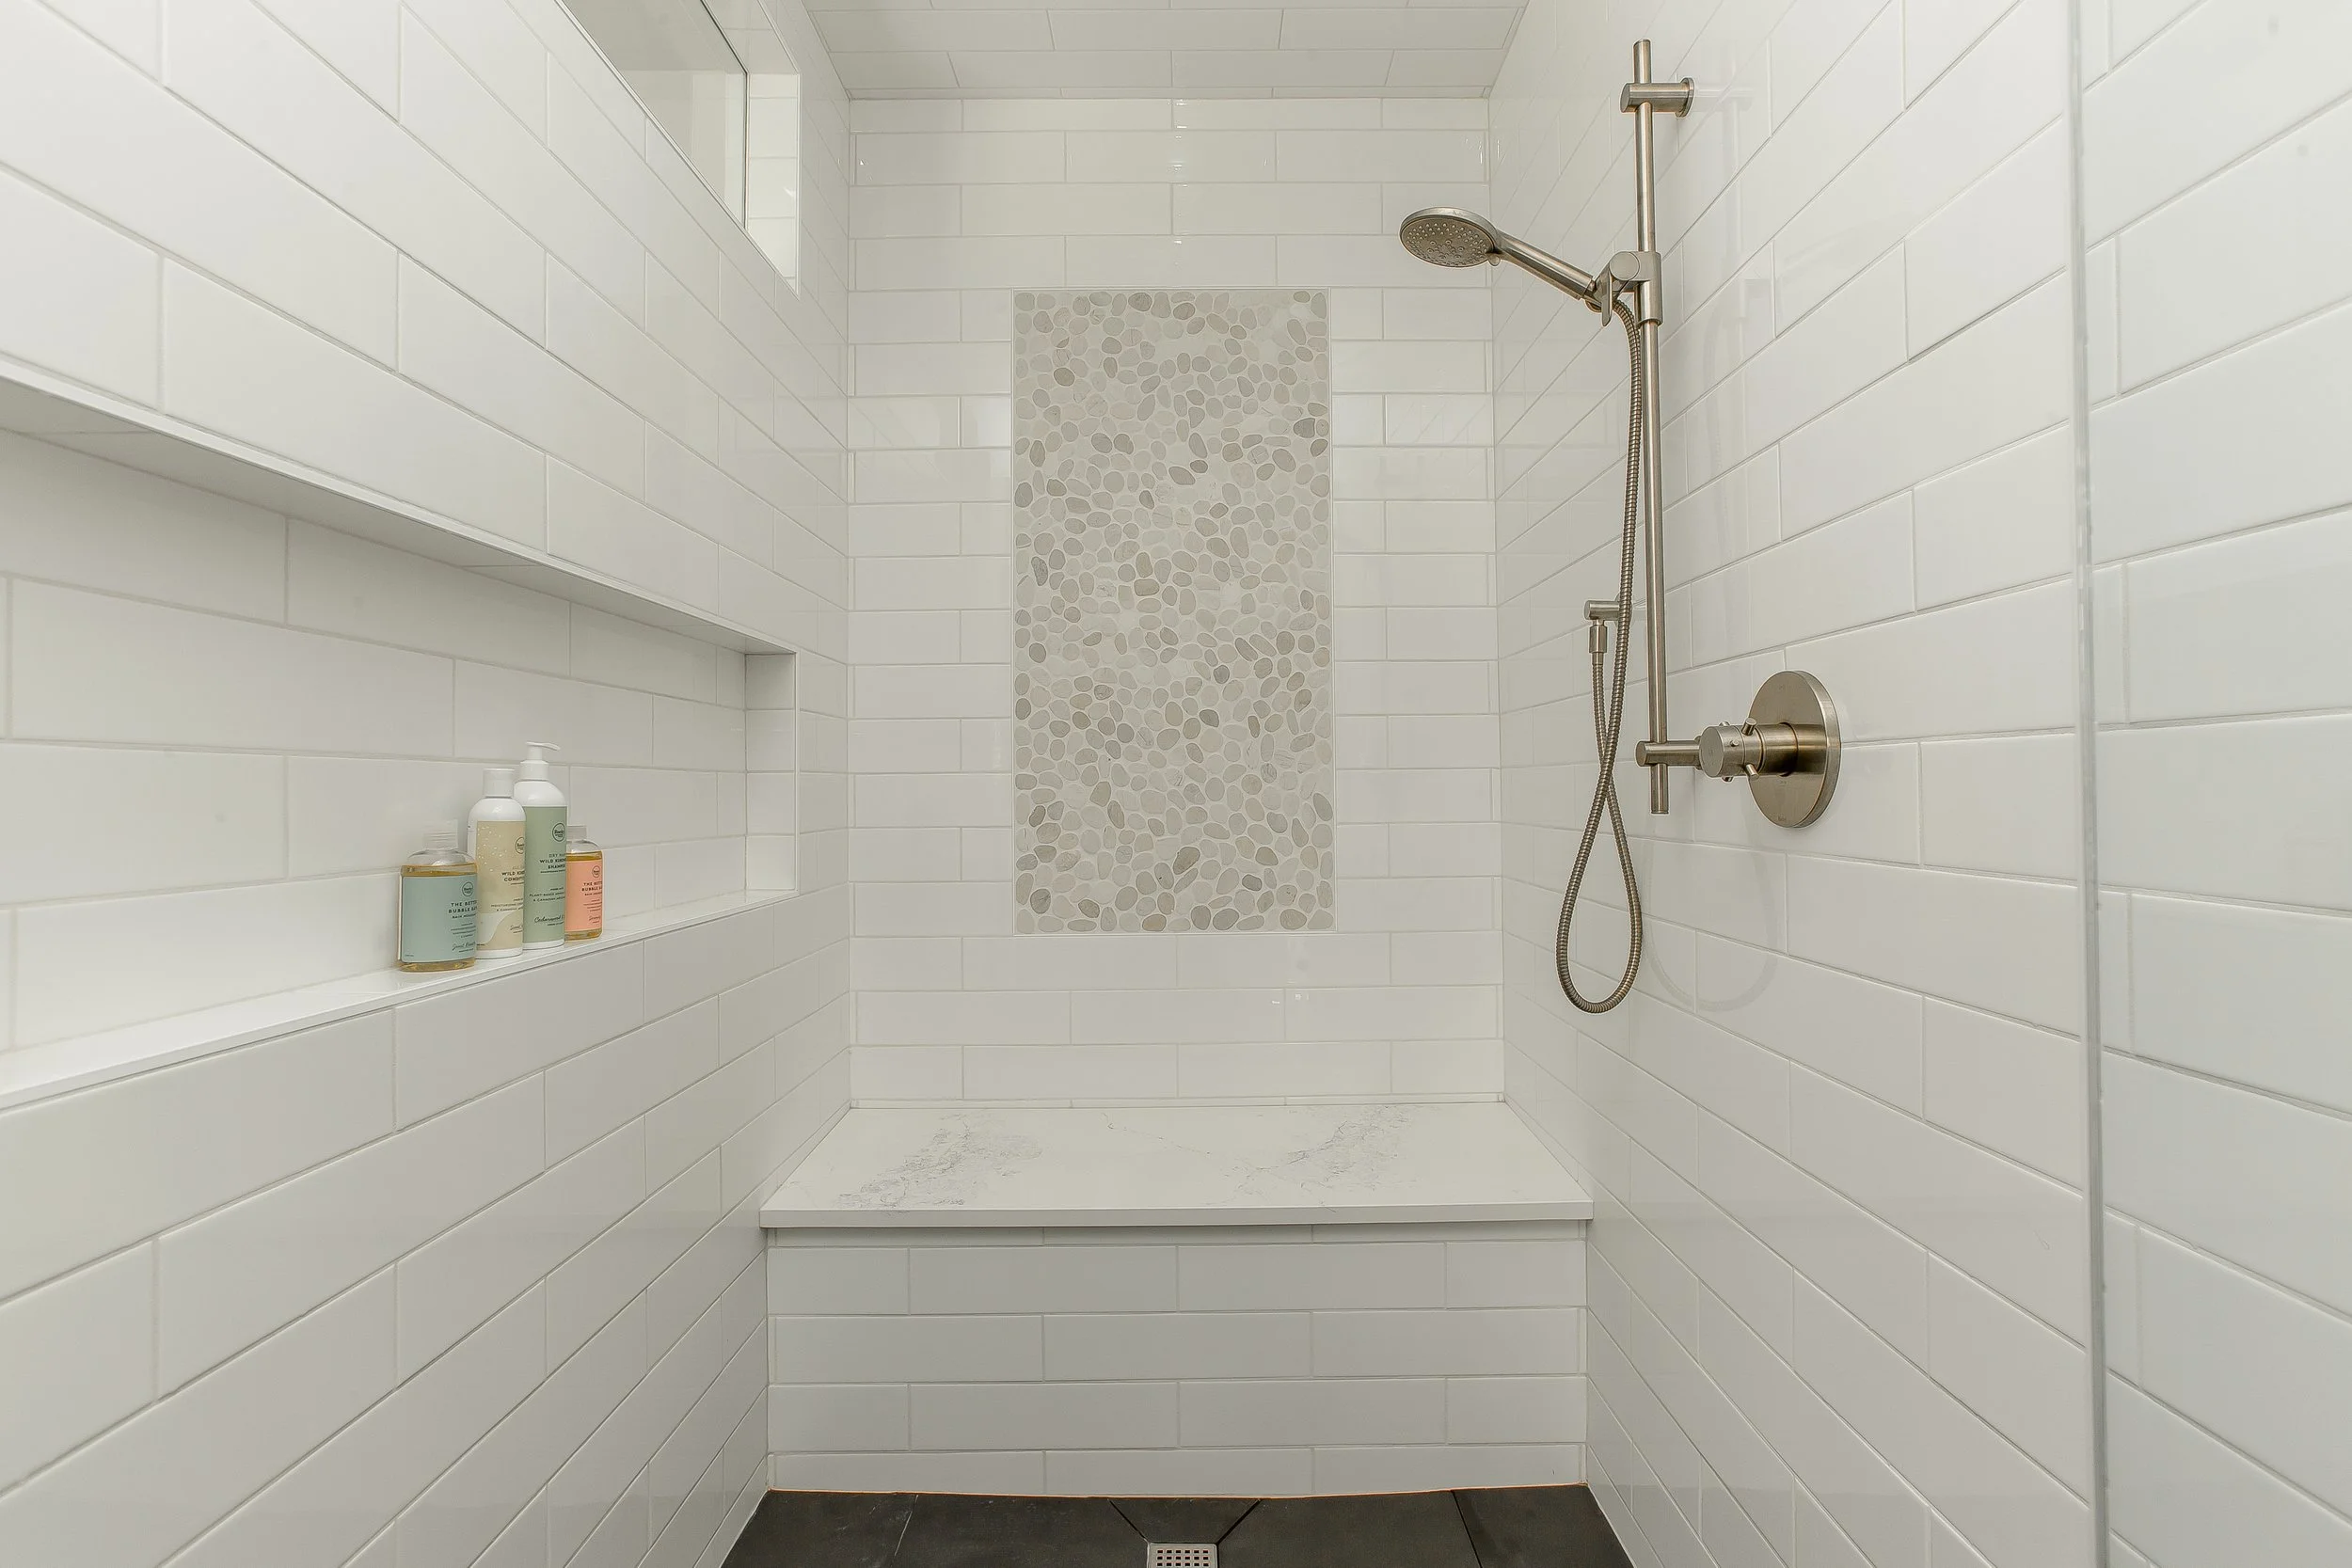
The shower features a large niche and quartz-topped bench alongside the rain shower and separate hand held. Our clients opted for another little touch of nature with a pebble tile feature.

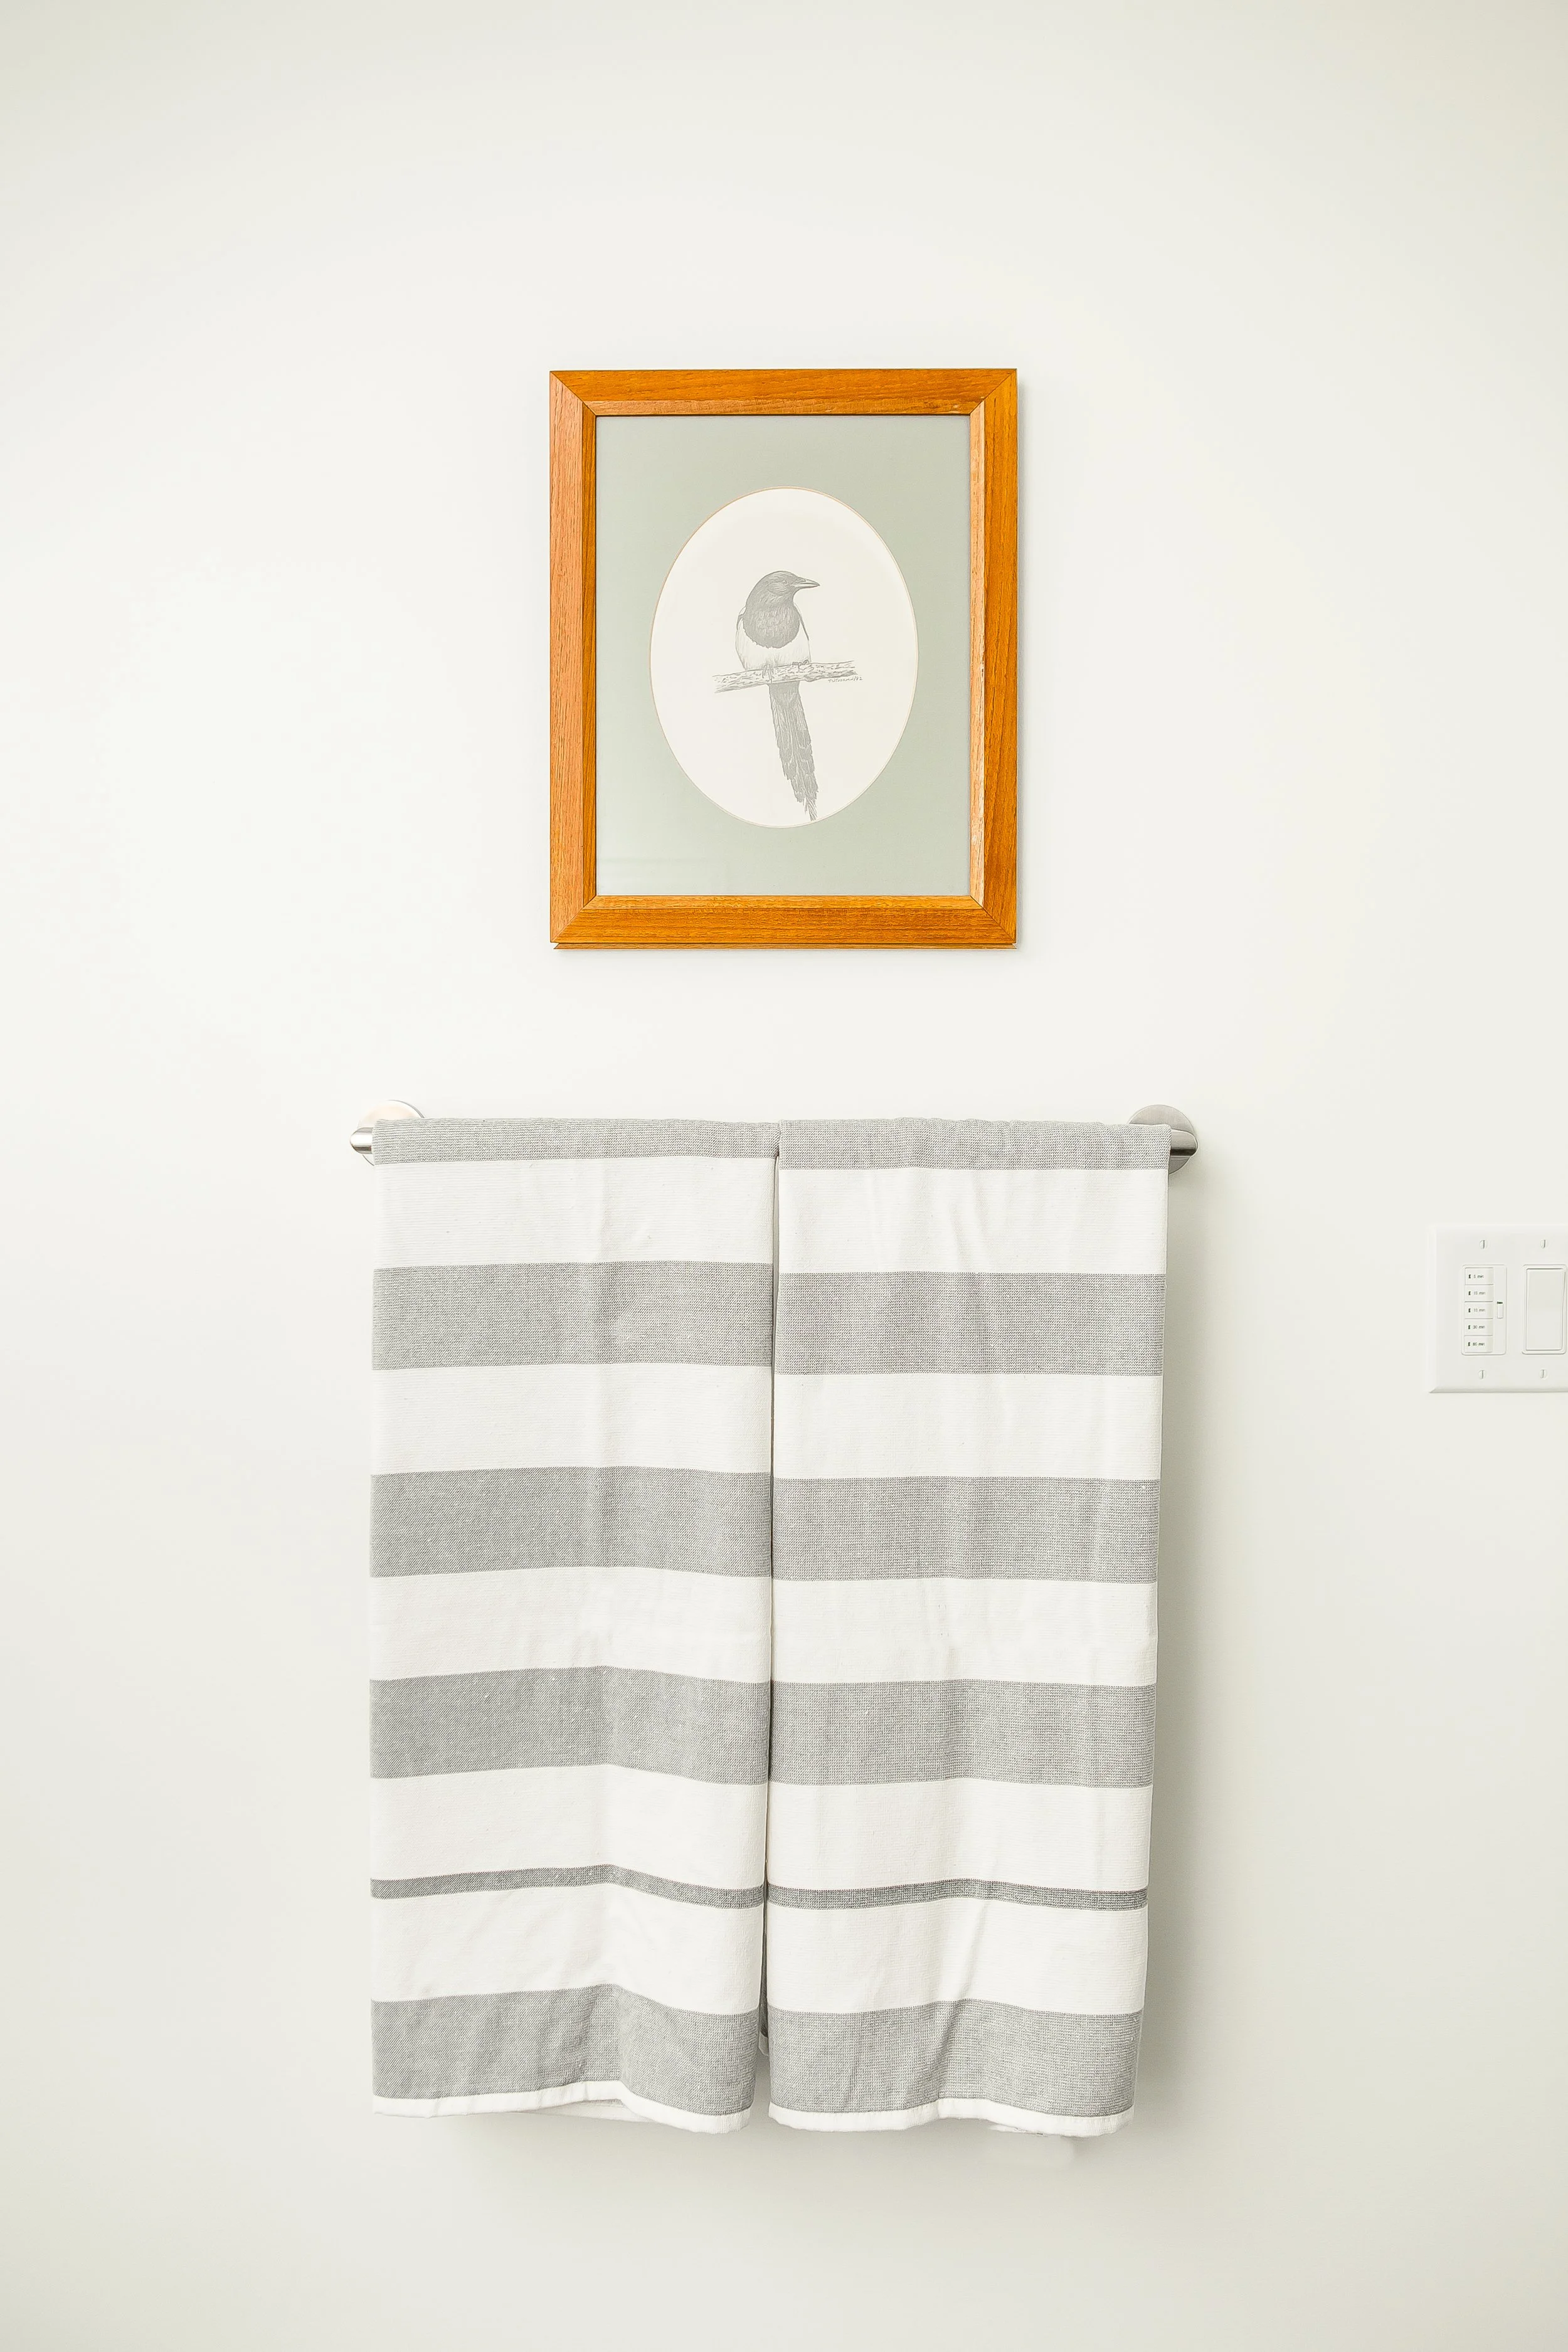
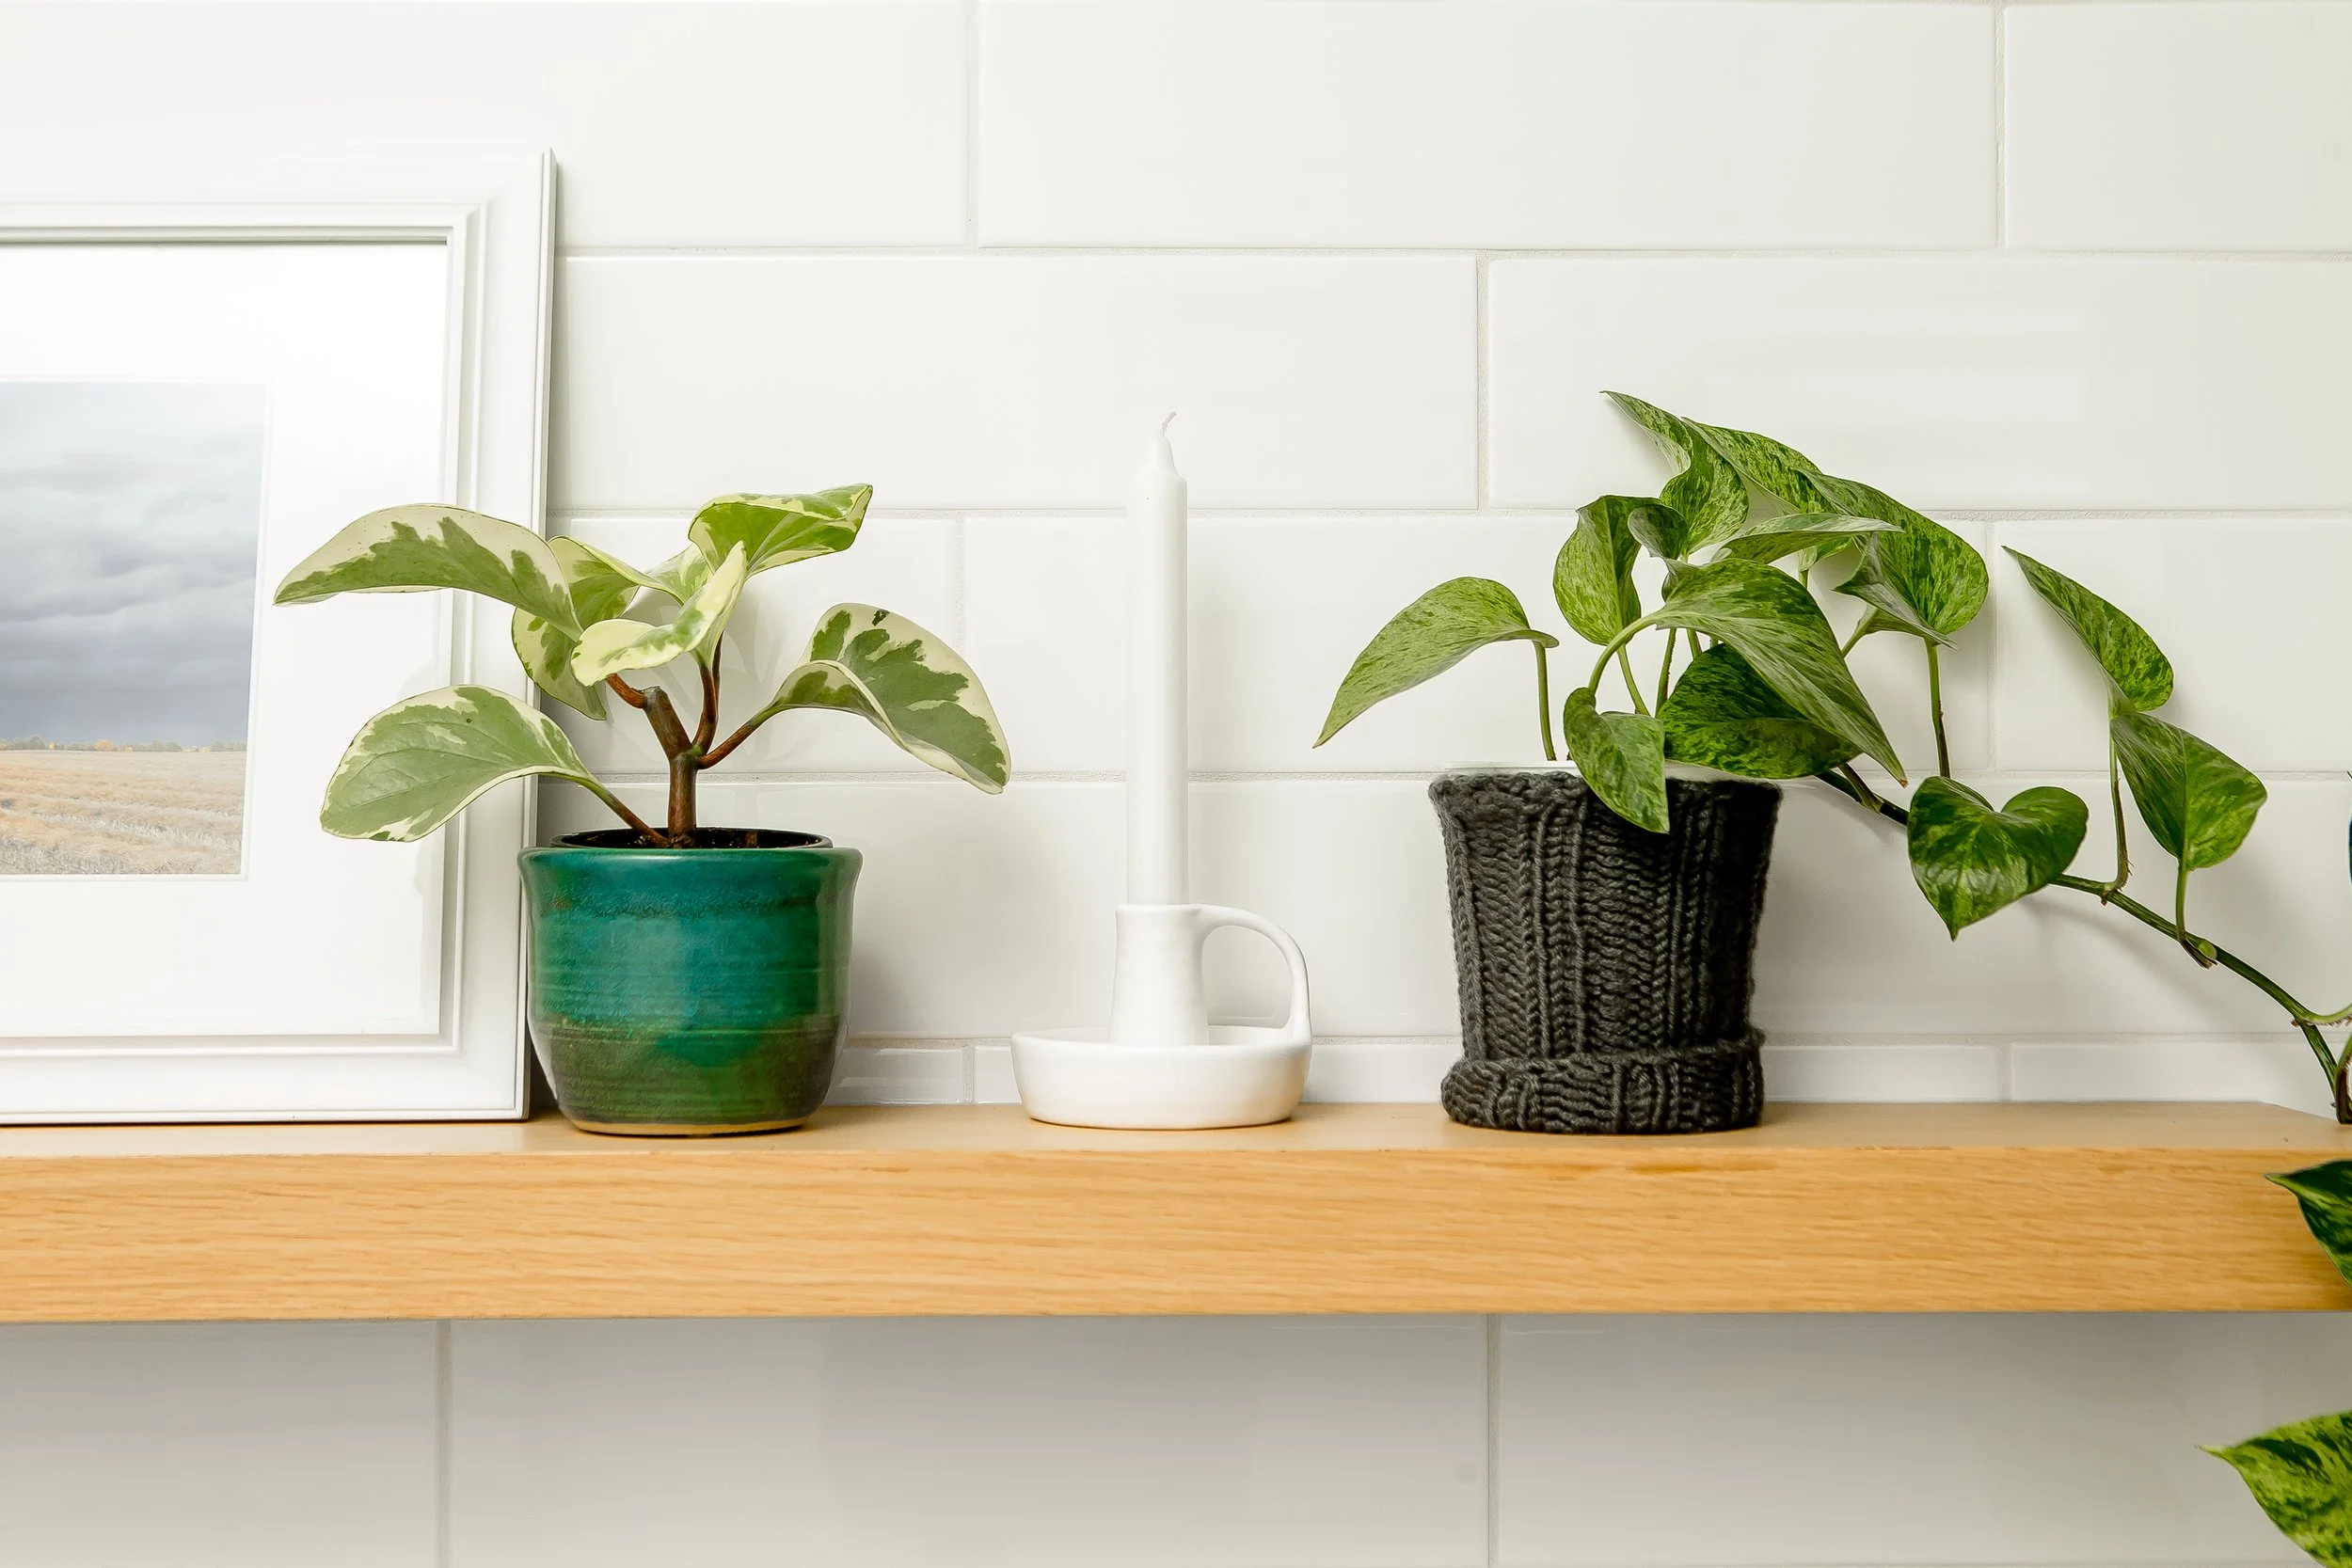
Above the tub is a custom wood floating shelf that acts as another spot for plants, decor and additional storage, breaking up the white tiled walls with extra warmth. And our clients already had the perfect art pieces to bring into the space as well, tying in the touches of wood and nature.
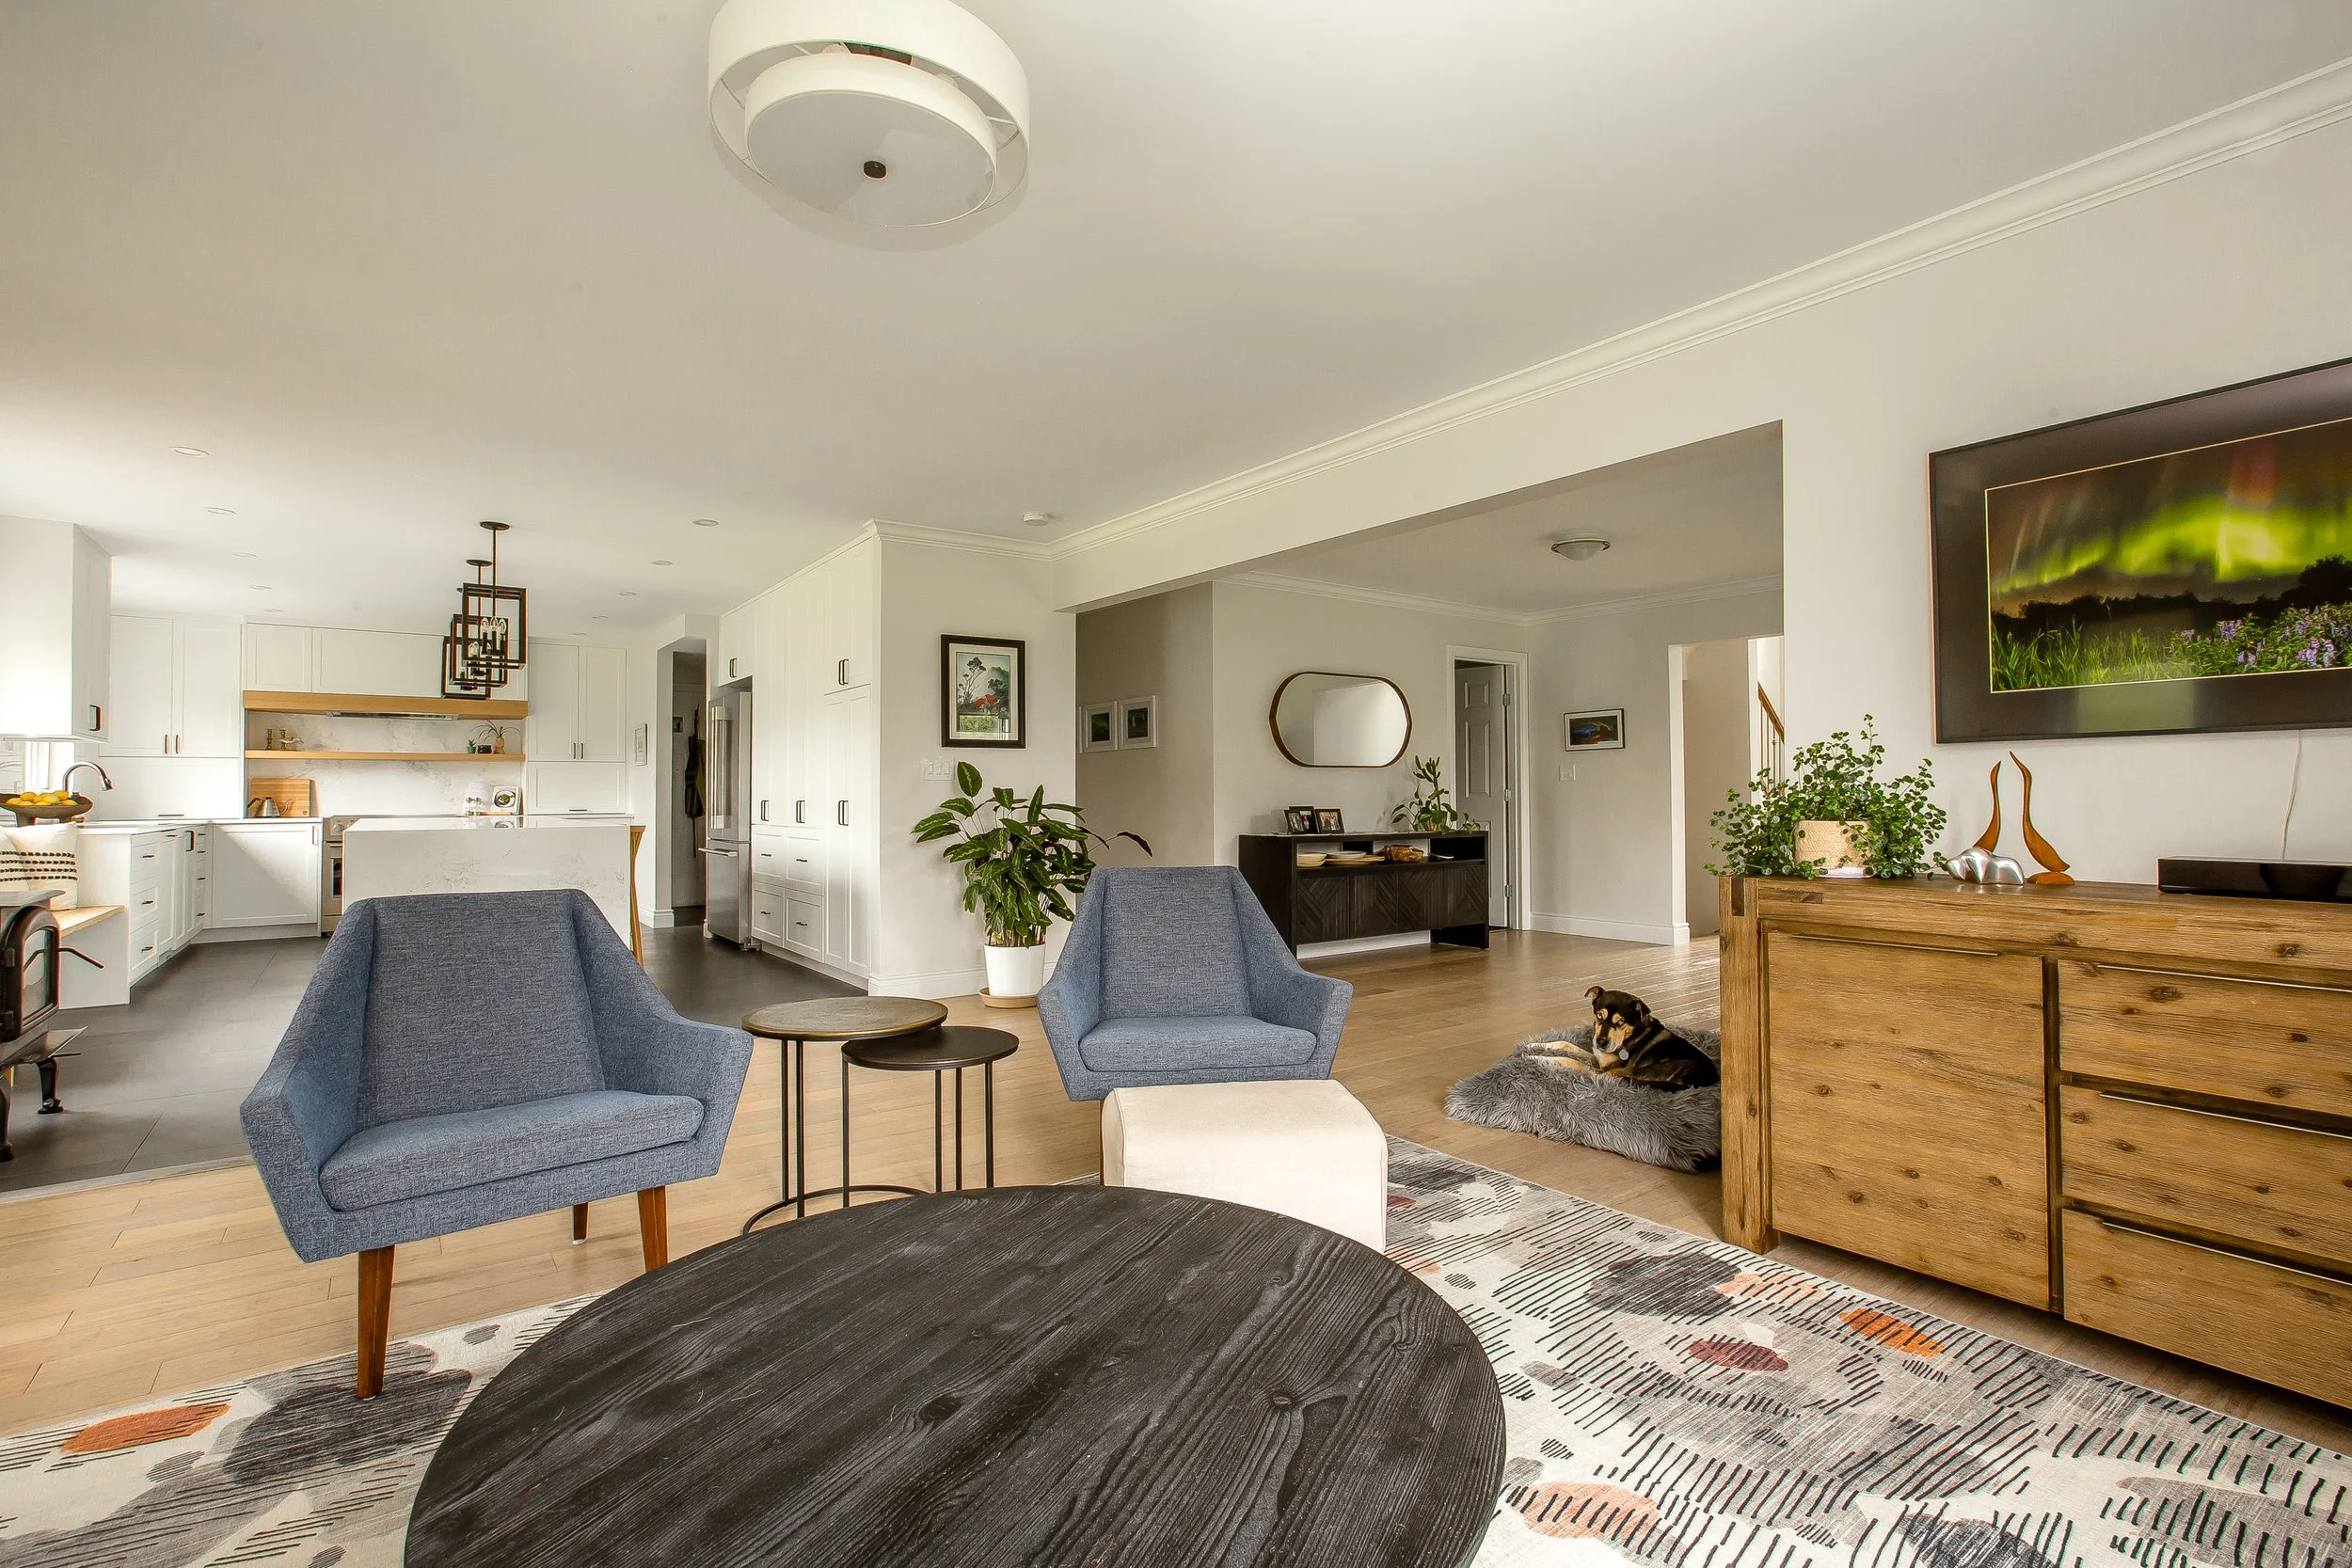
Moving onto the main floor, we updated the dining room, living room and sun room, combining existing pieces with new pieces and incorporating their own art and decor.
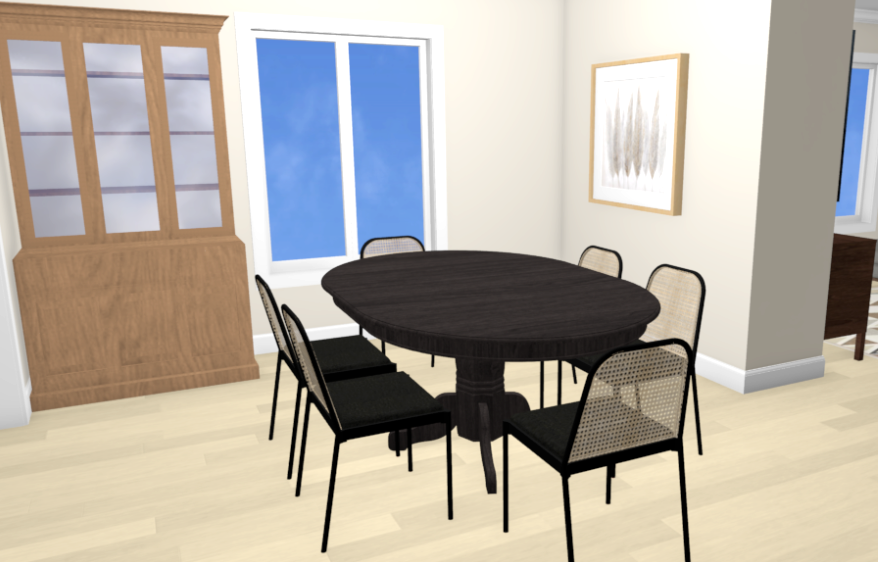
In the dining room, the existing hutch found a new home and we added a new dining table, chairs and lighting to work with the space. The round table was better suited to the layout of the dining room and allows for expansion when guests come to visit!
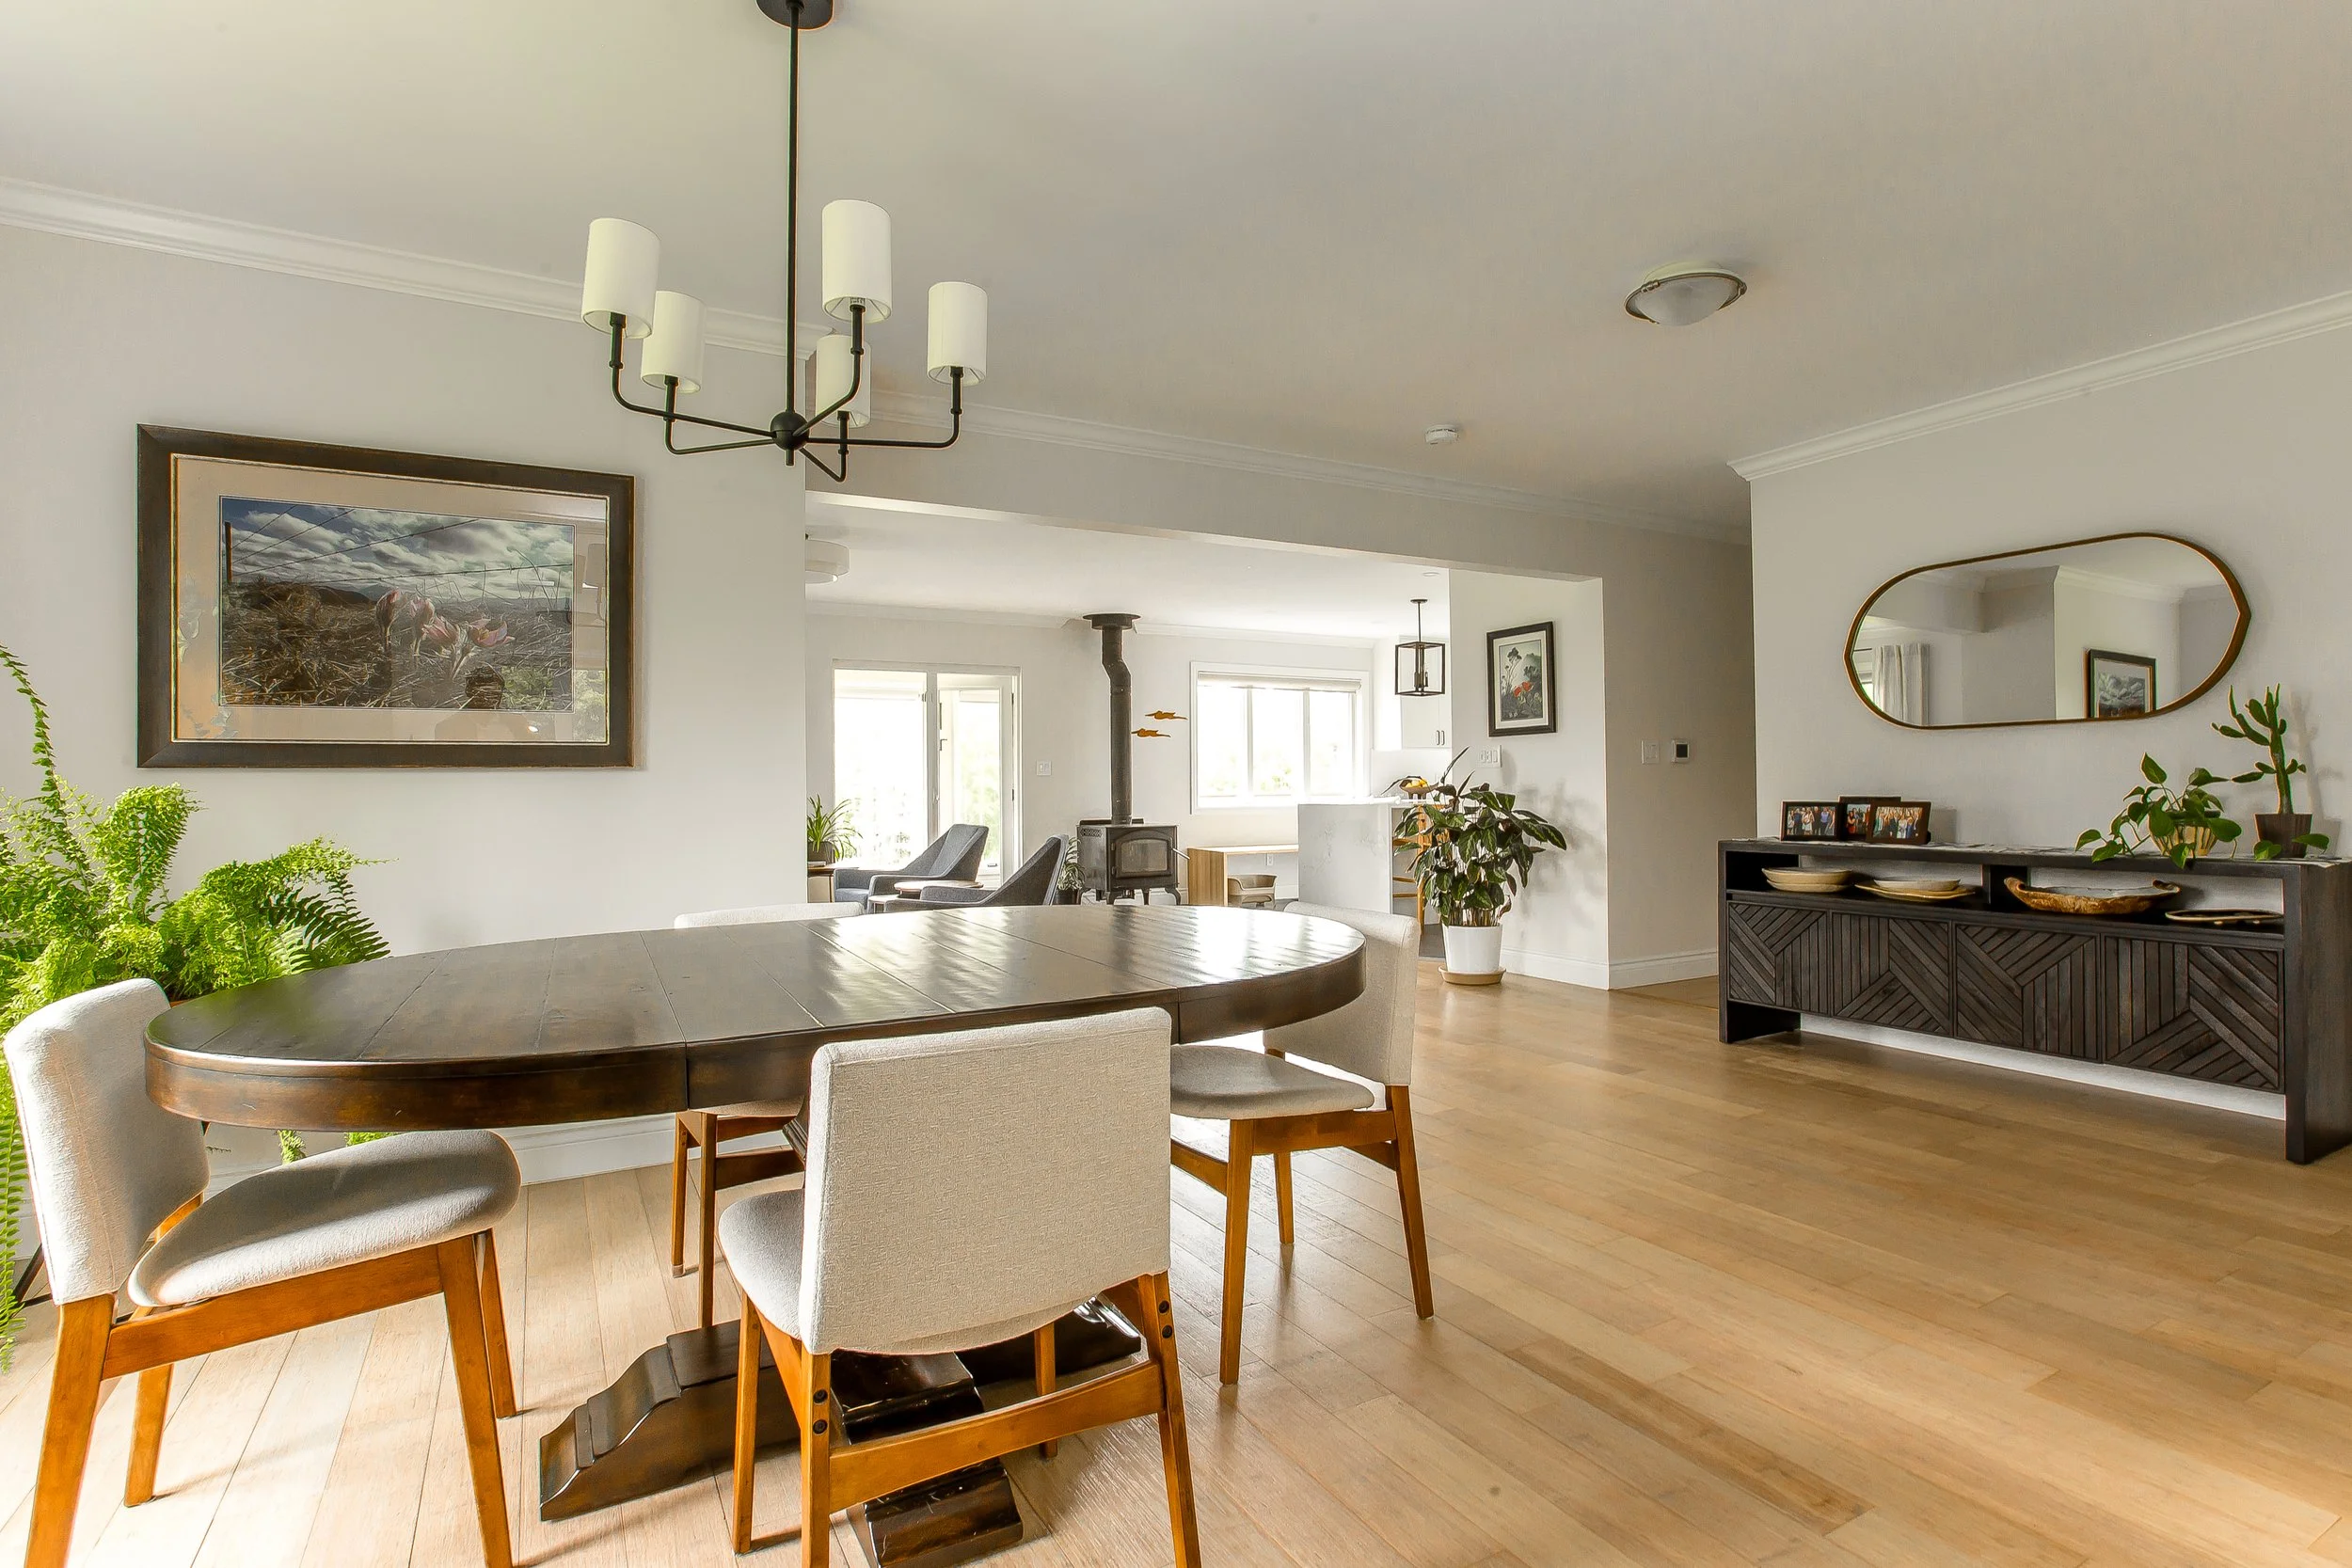
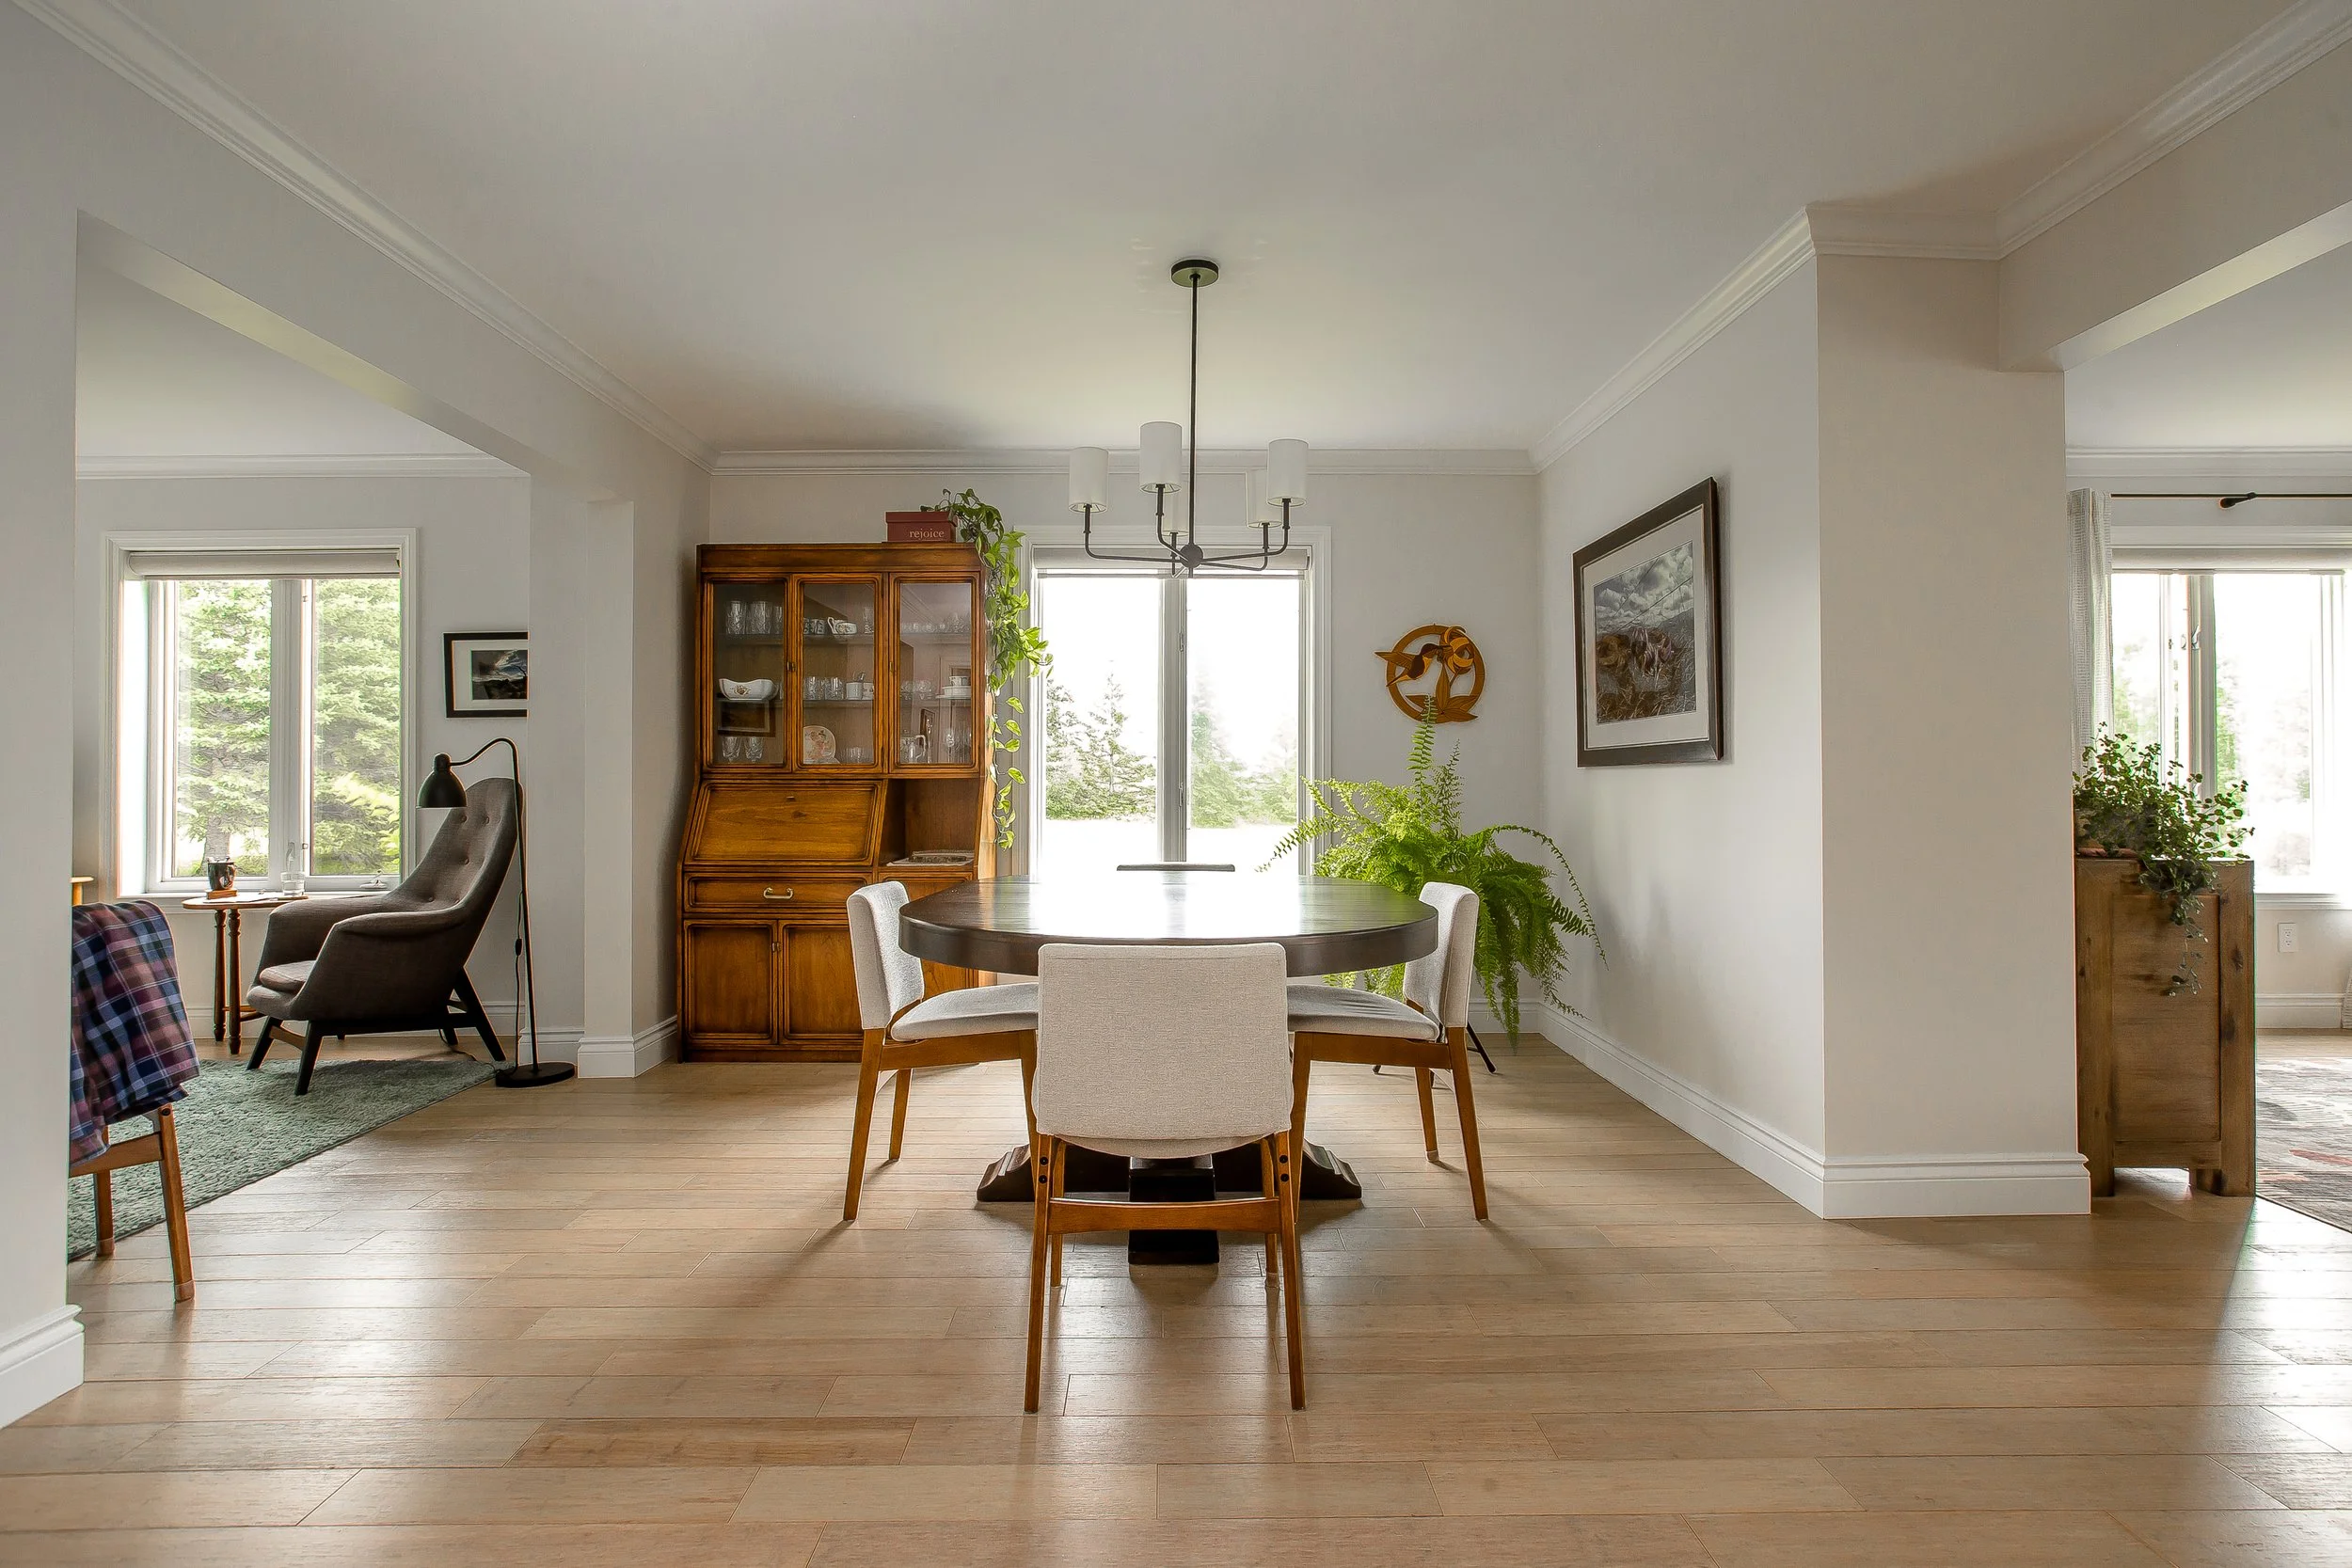
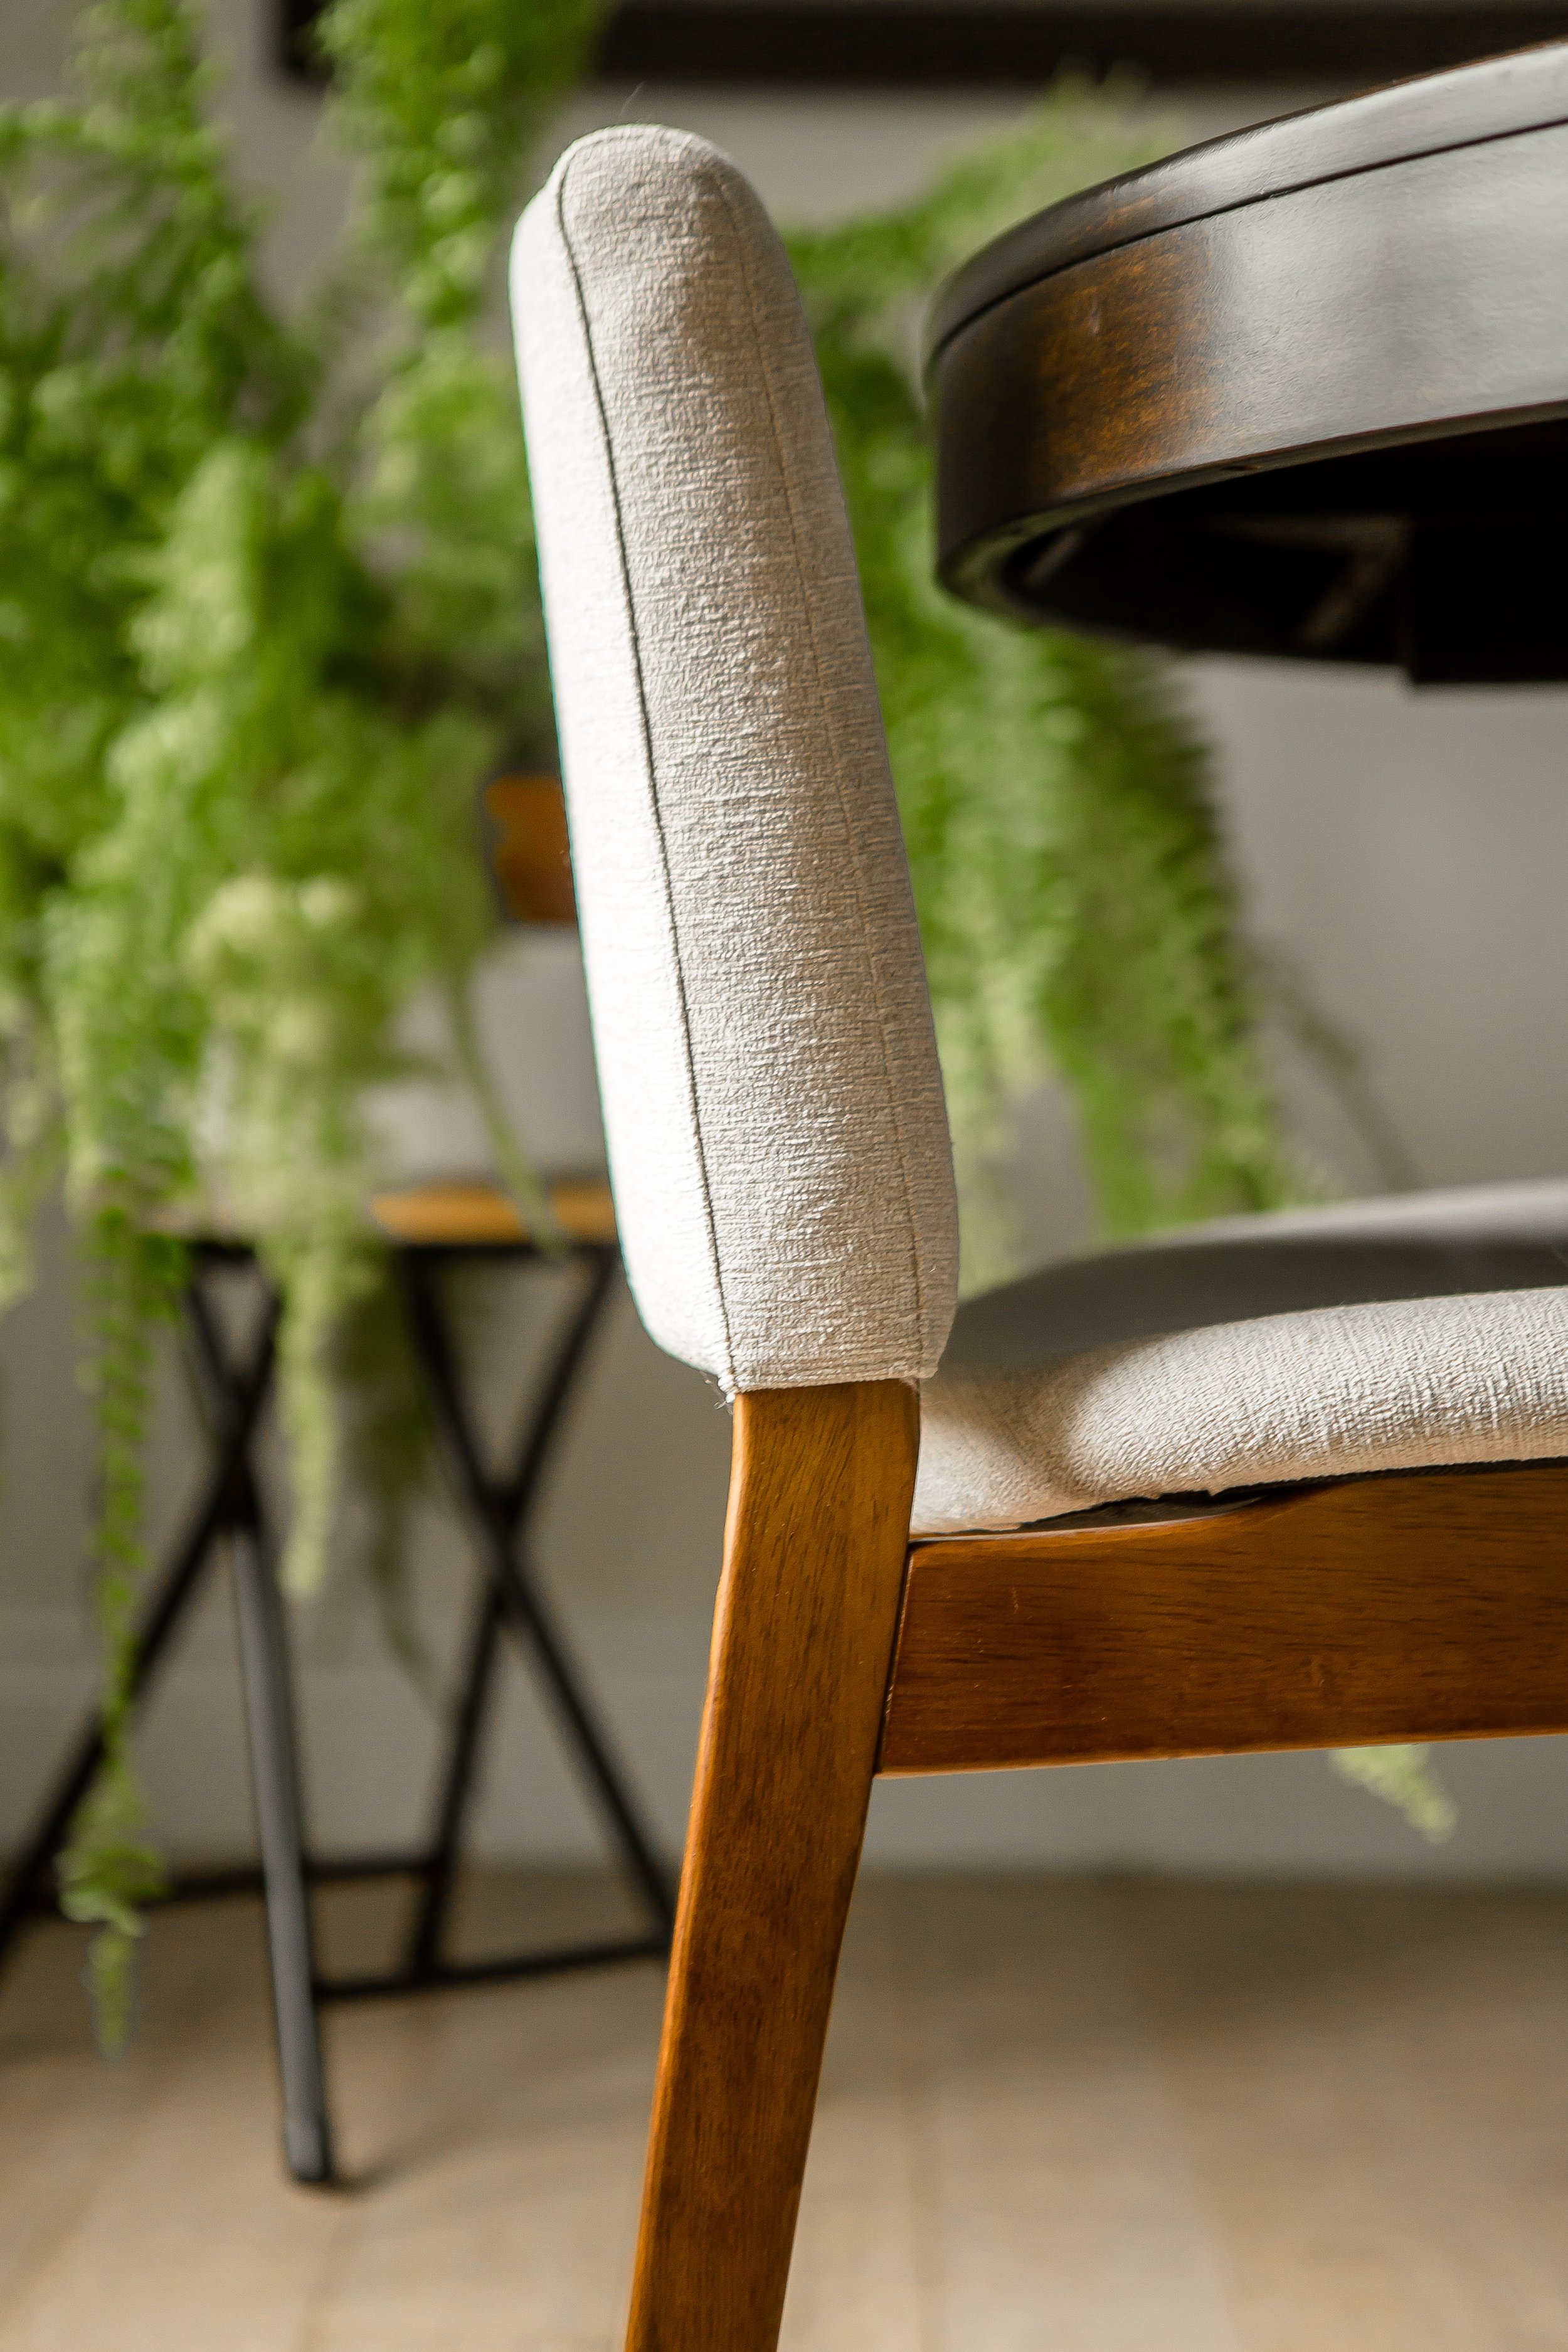

And the pairing of medium and dark wood tones ties the existing and new together.
Into the living room, we picked out all new pieces for this space, including the Samsung Frame TV to showcase our client’s own photos (which are also found throughout the home)!
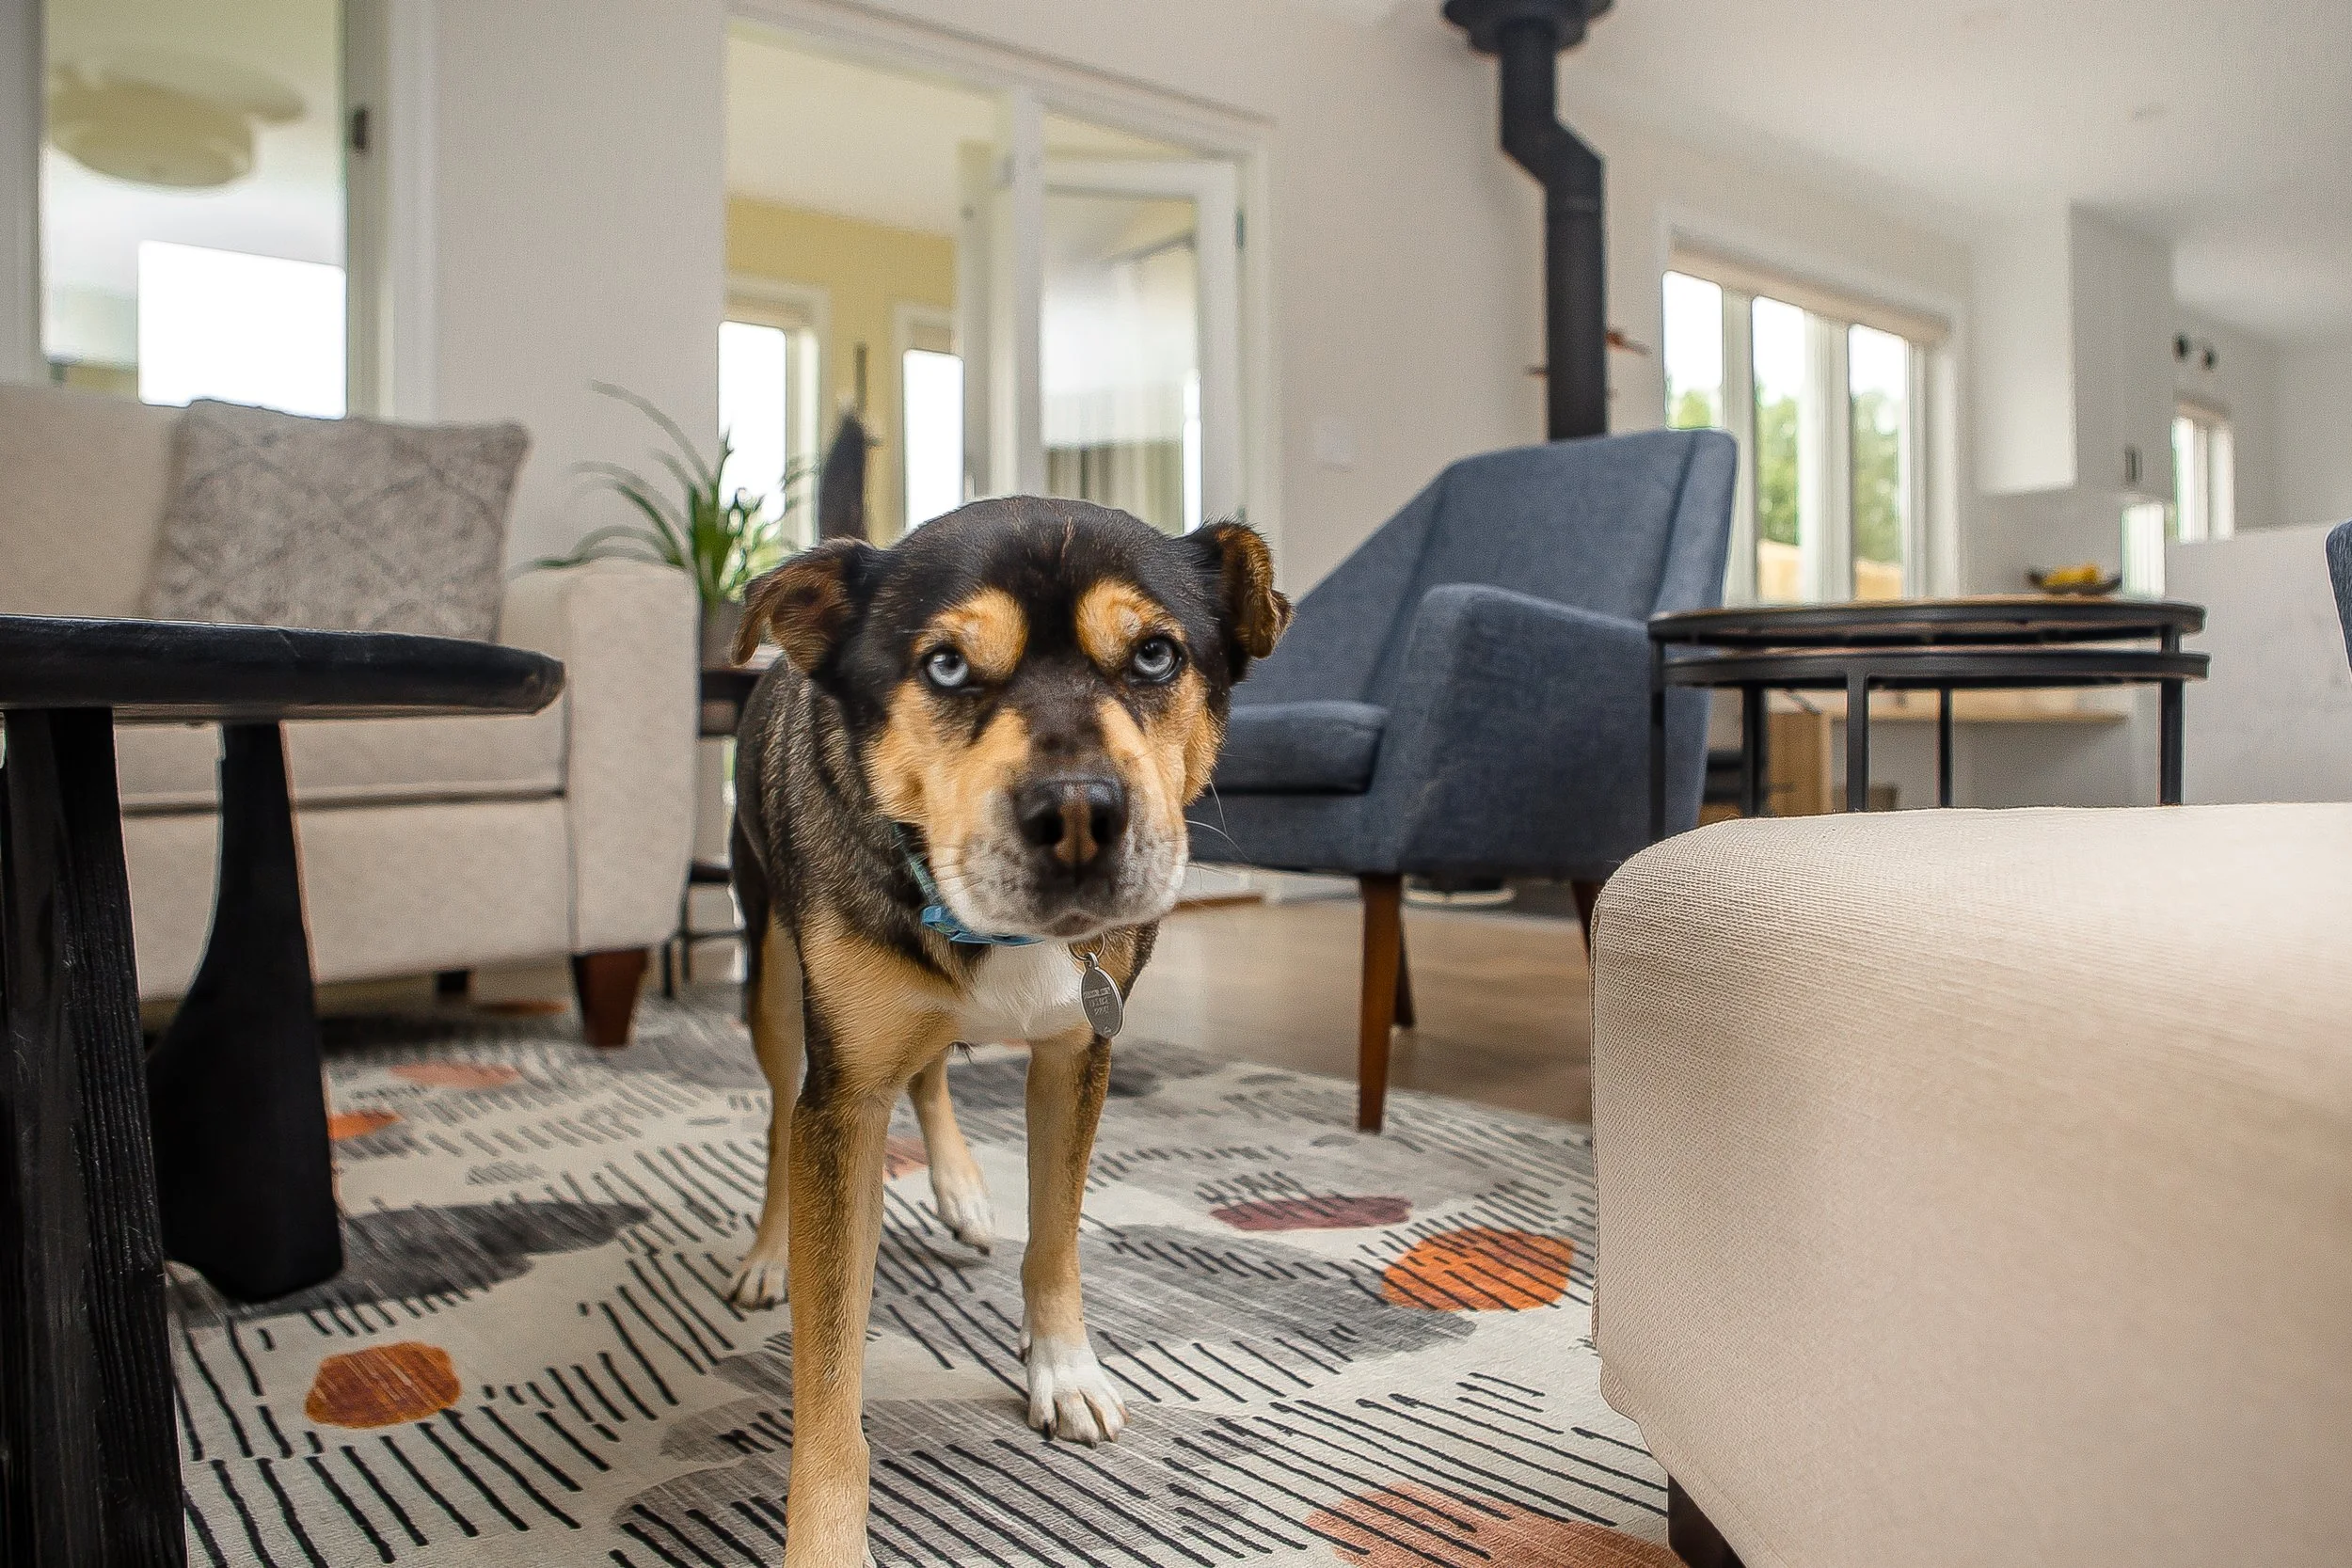
Chili also approves of this new look and feel!
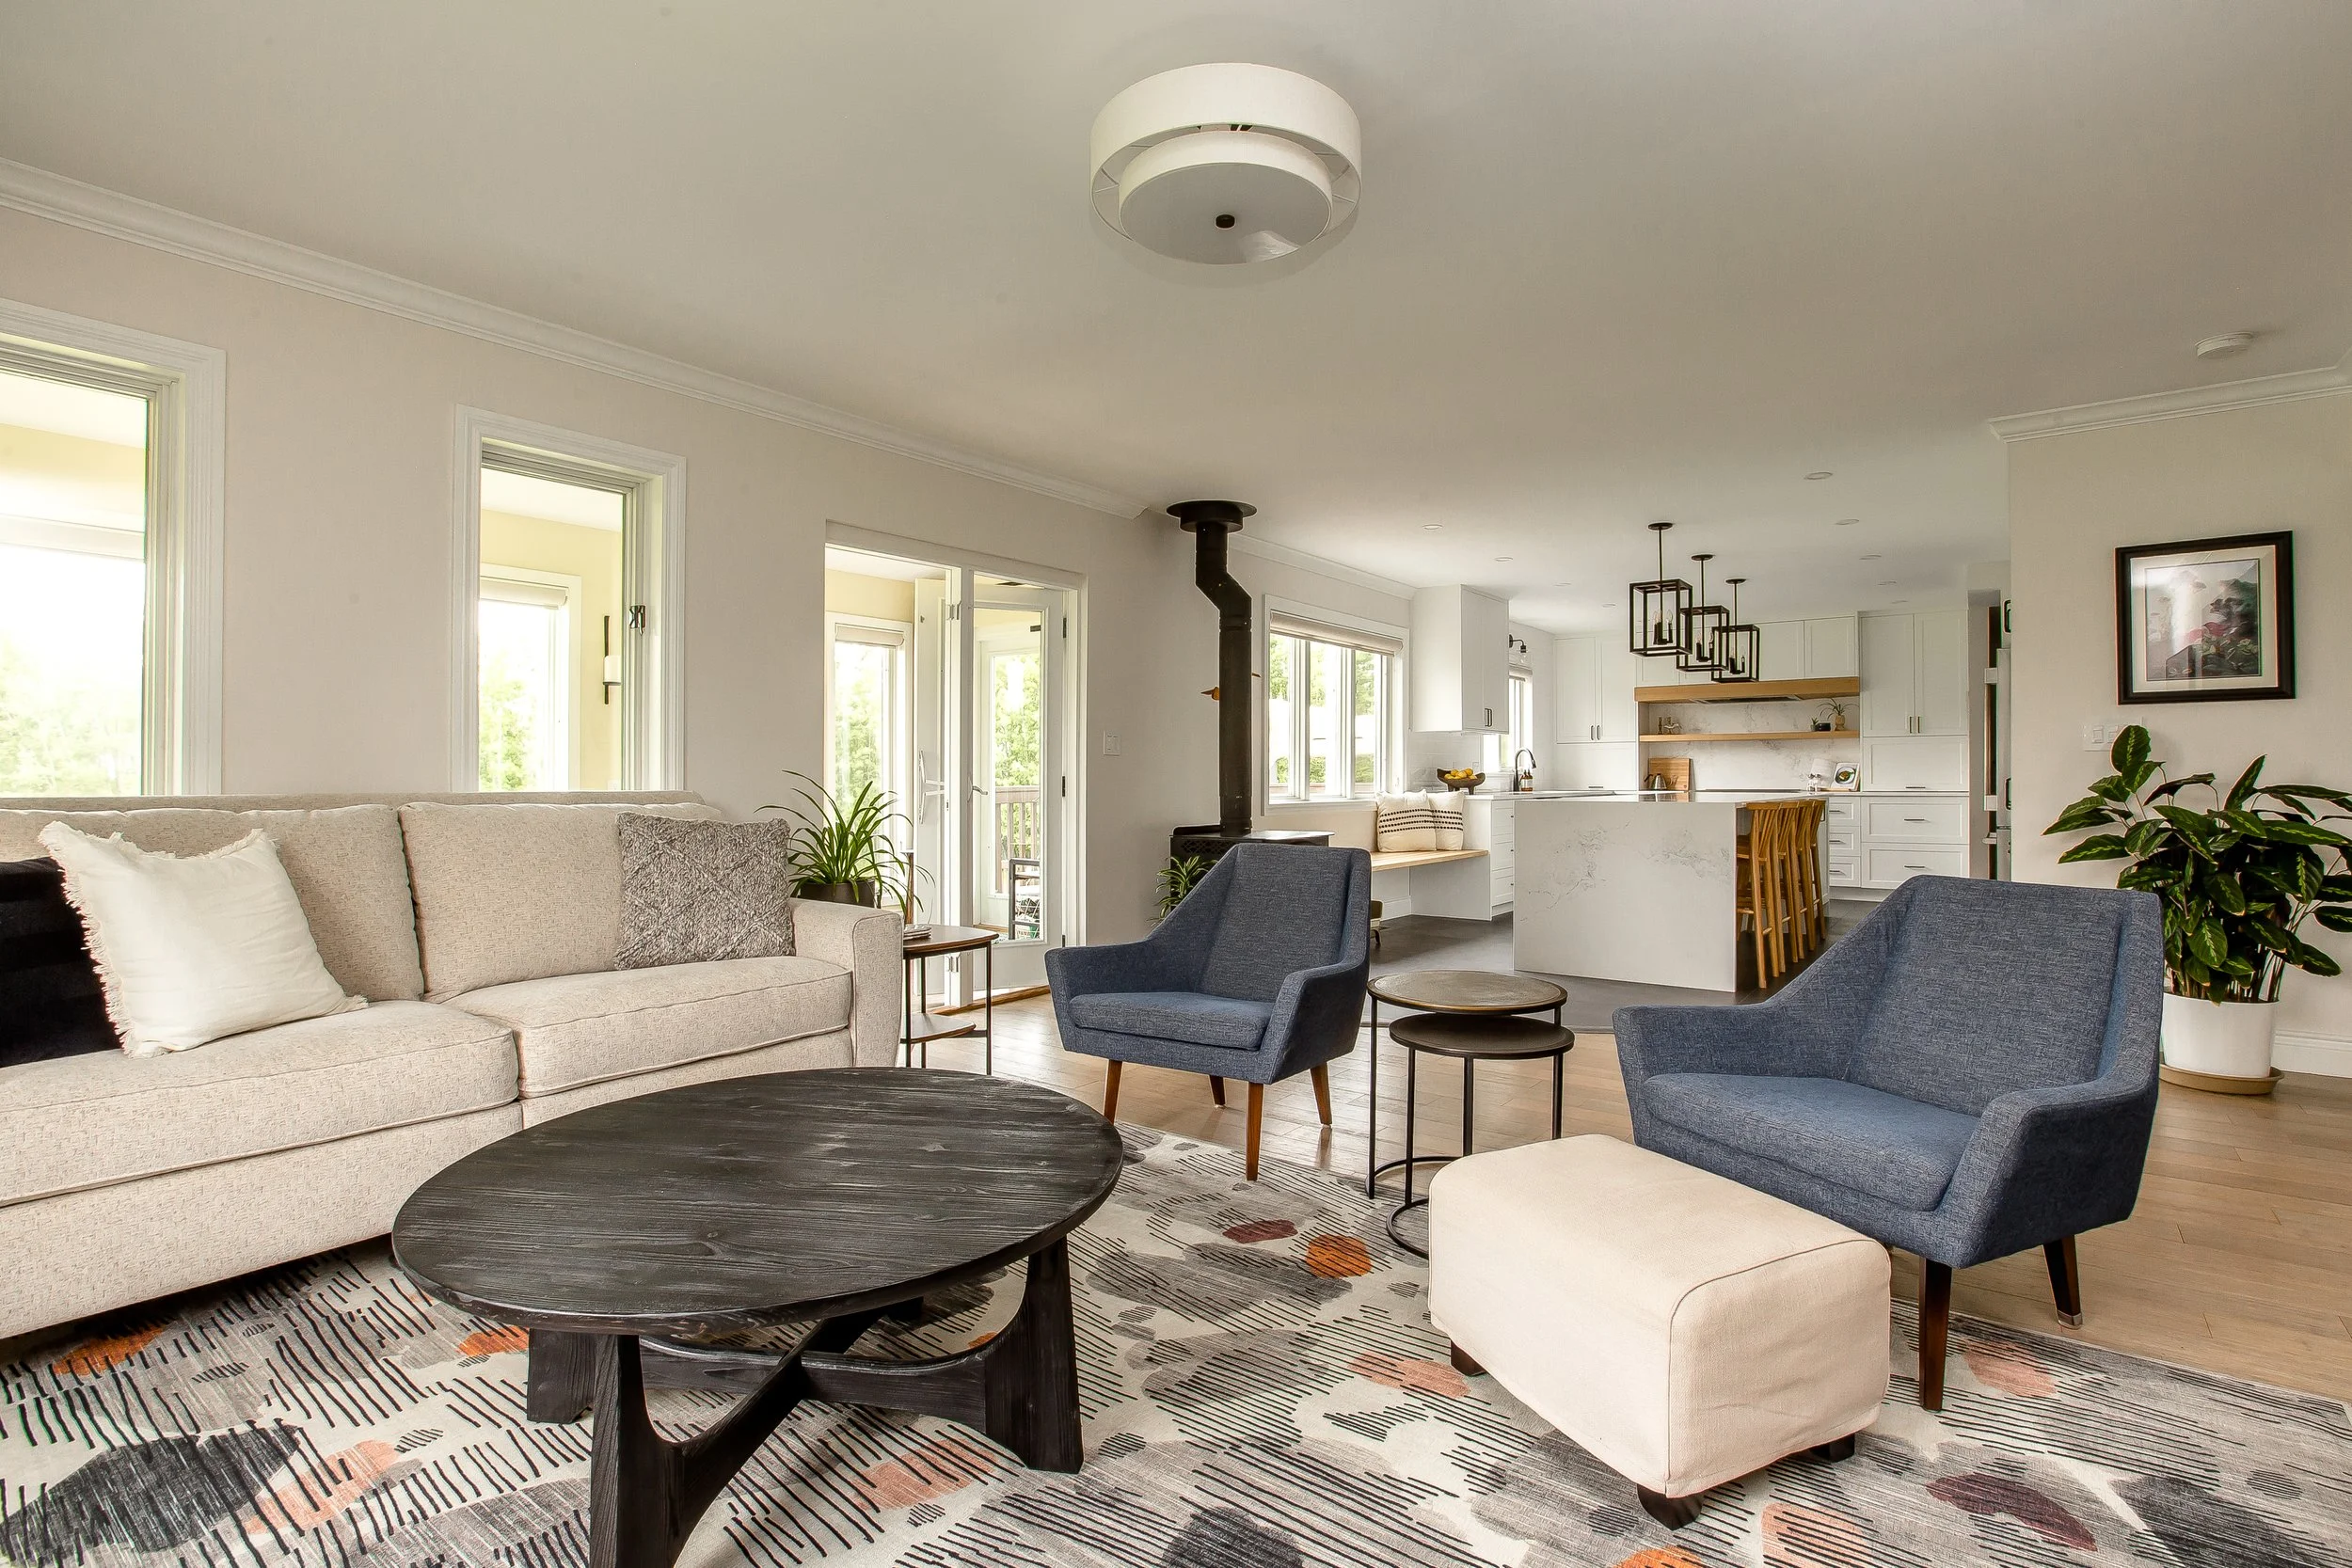
We had debated doing a sectional in the living room as our clients wanted to be able to really lounge here, but ended up going with a reclining sofa instead. The focus of this space is geared towards conversation and looking out at the beautiful views of the property.
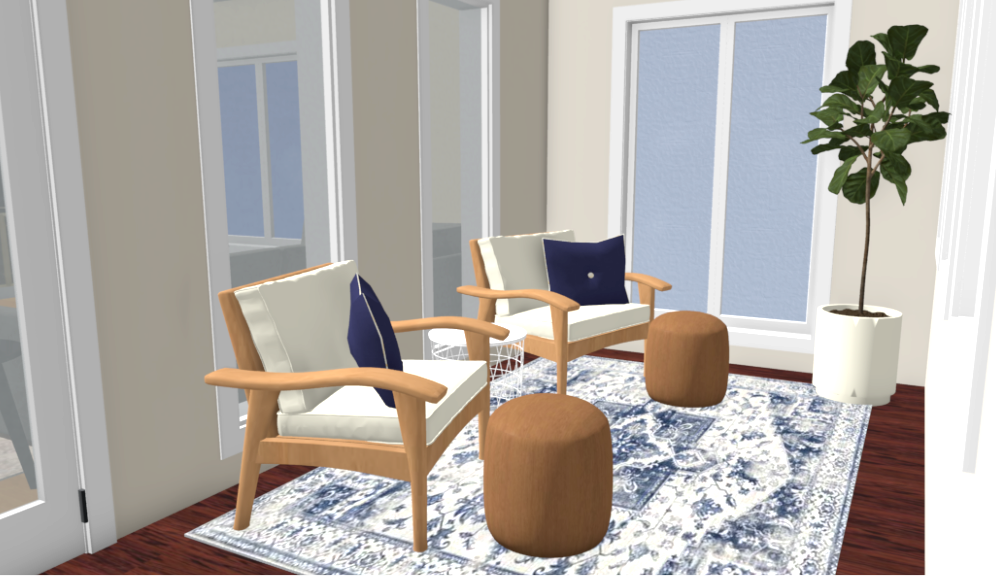
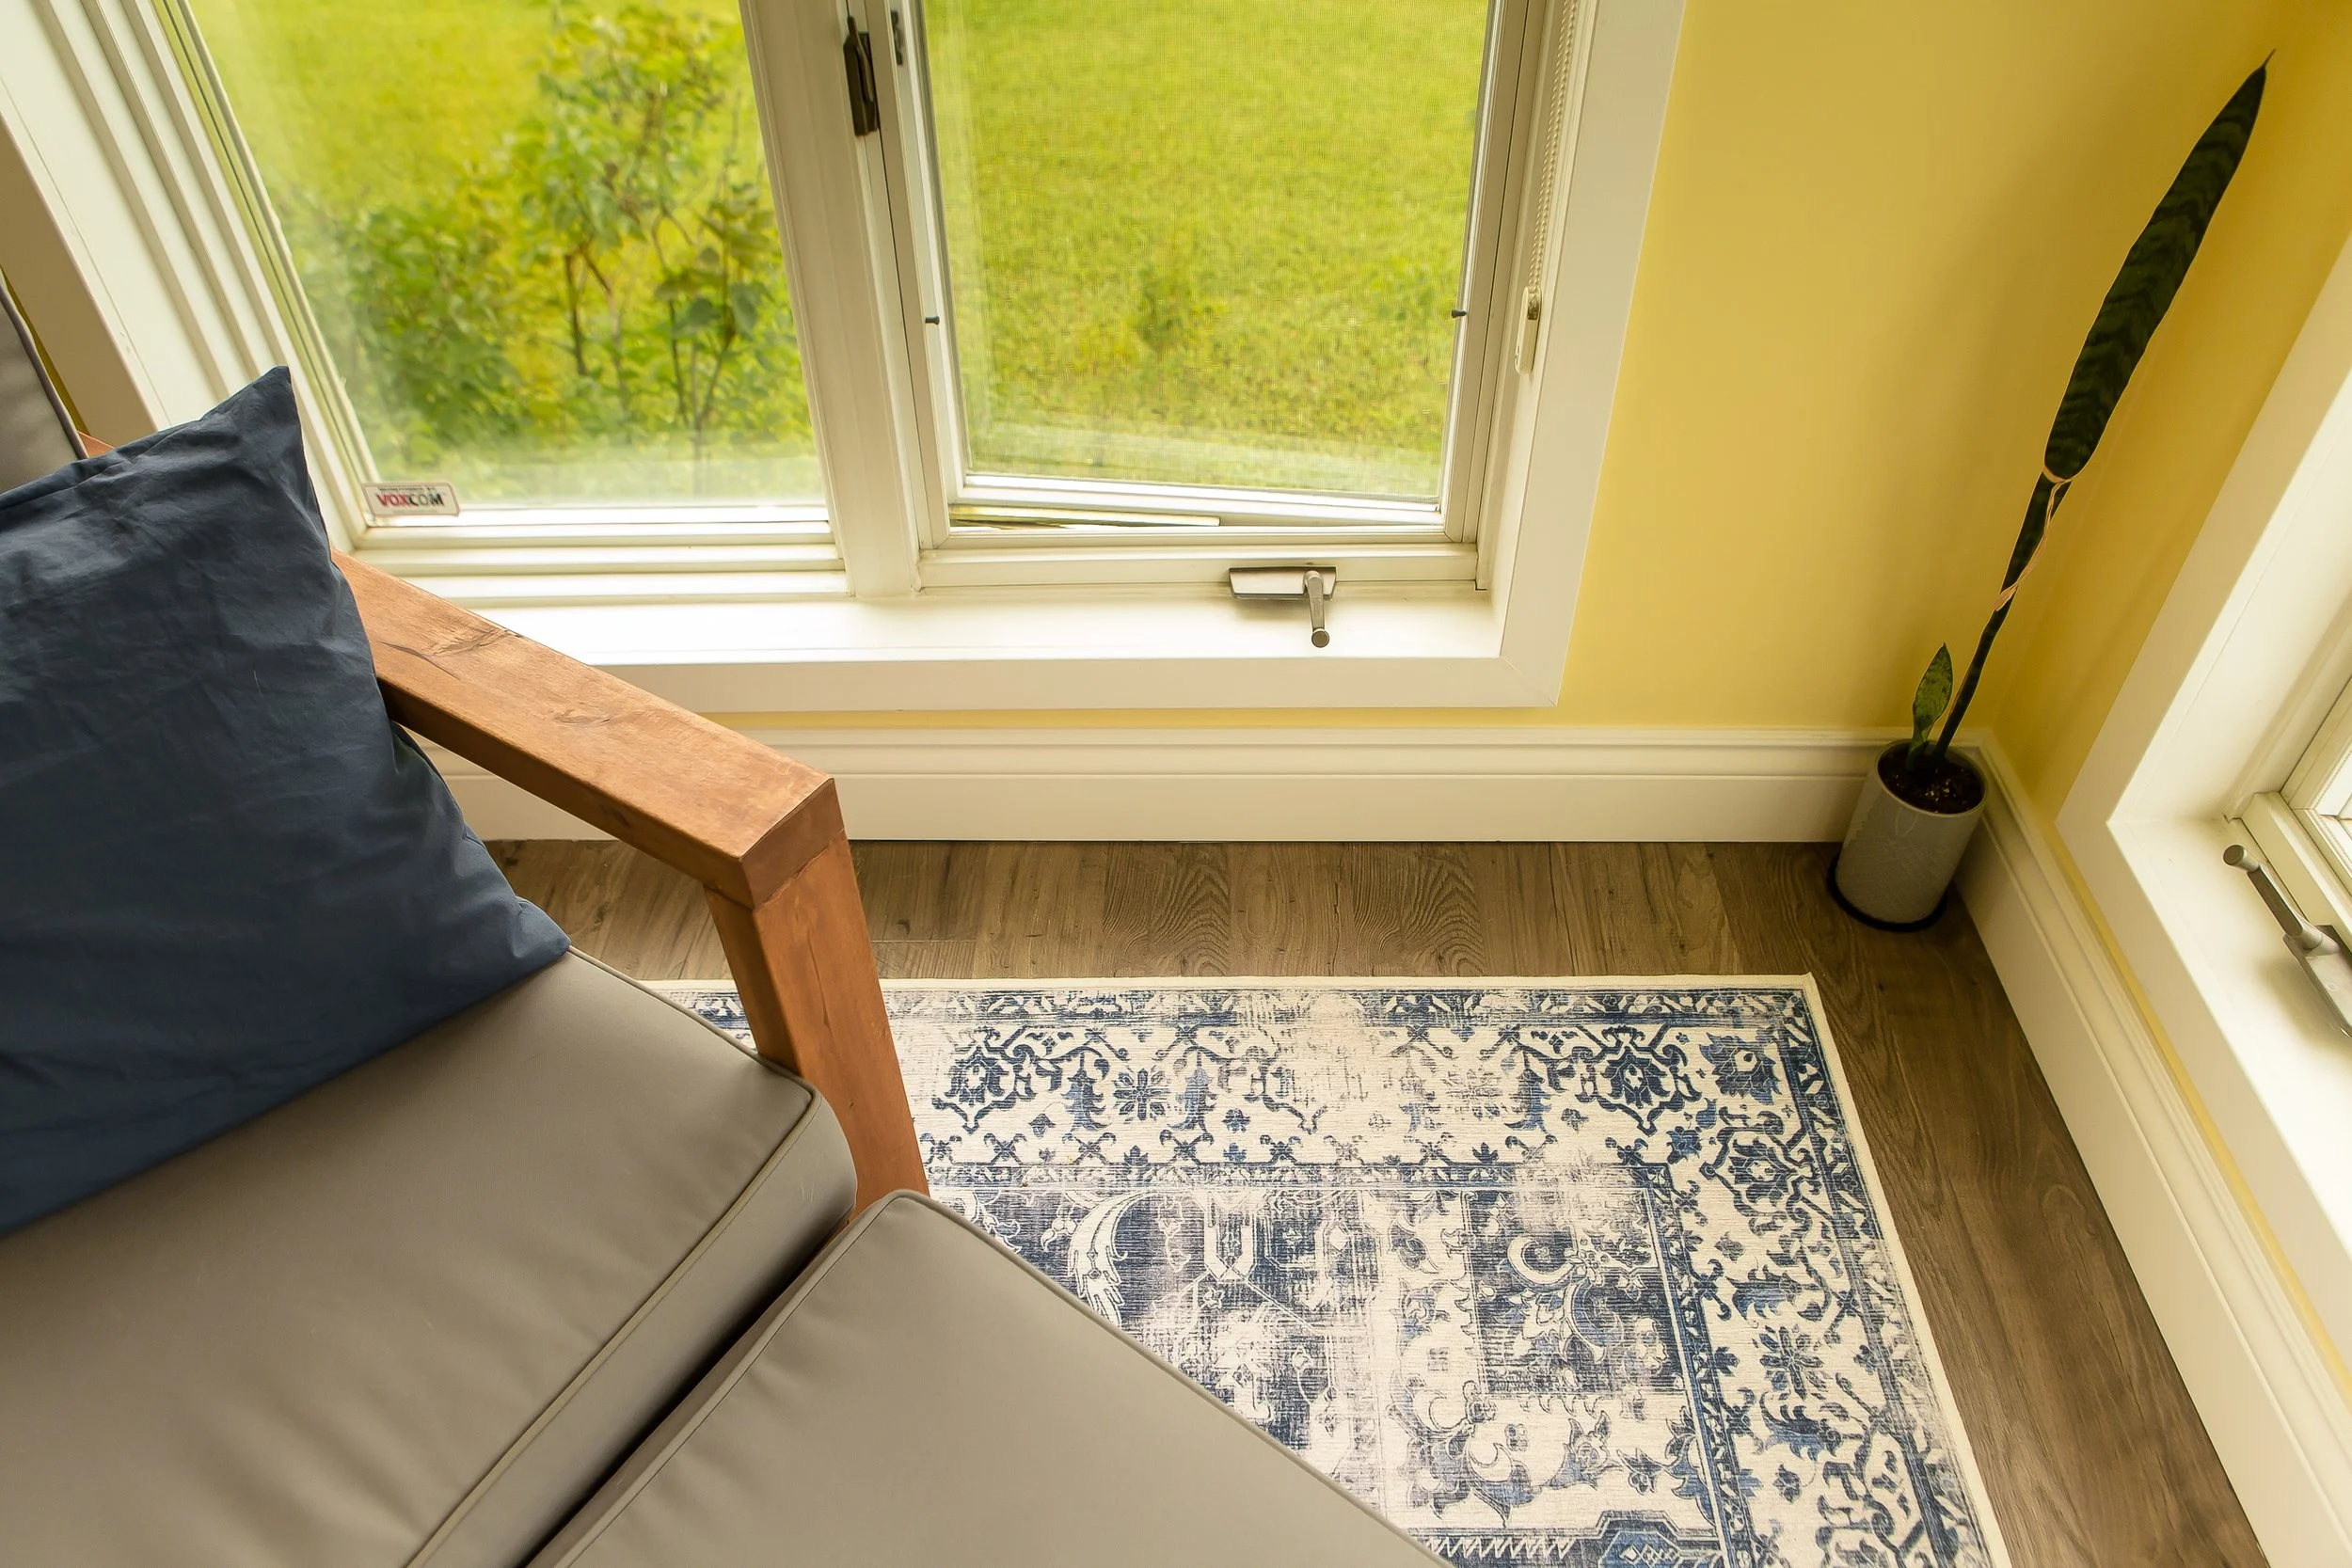
And before we jump into the main event (the kitchen, in case you weren’t sure) we have to stop into the sunny sunroom where even more of the view is enjoyed.
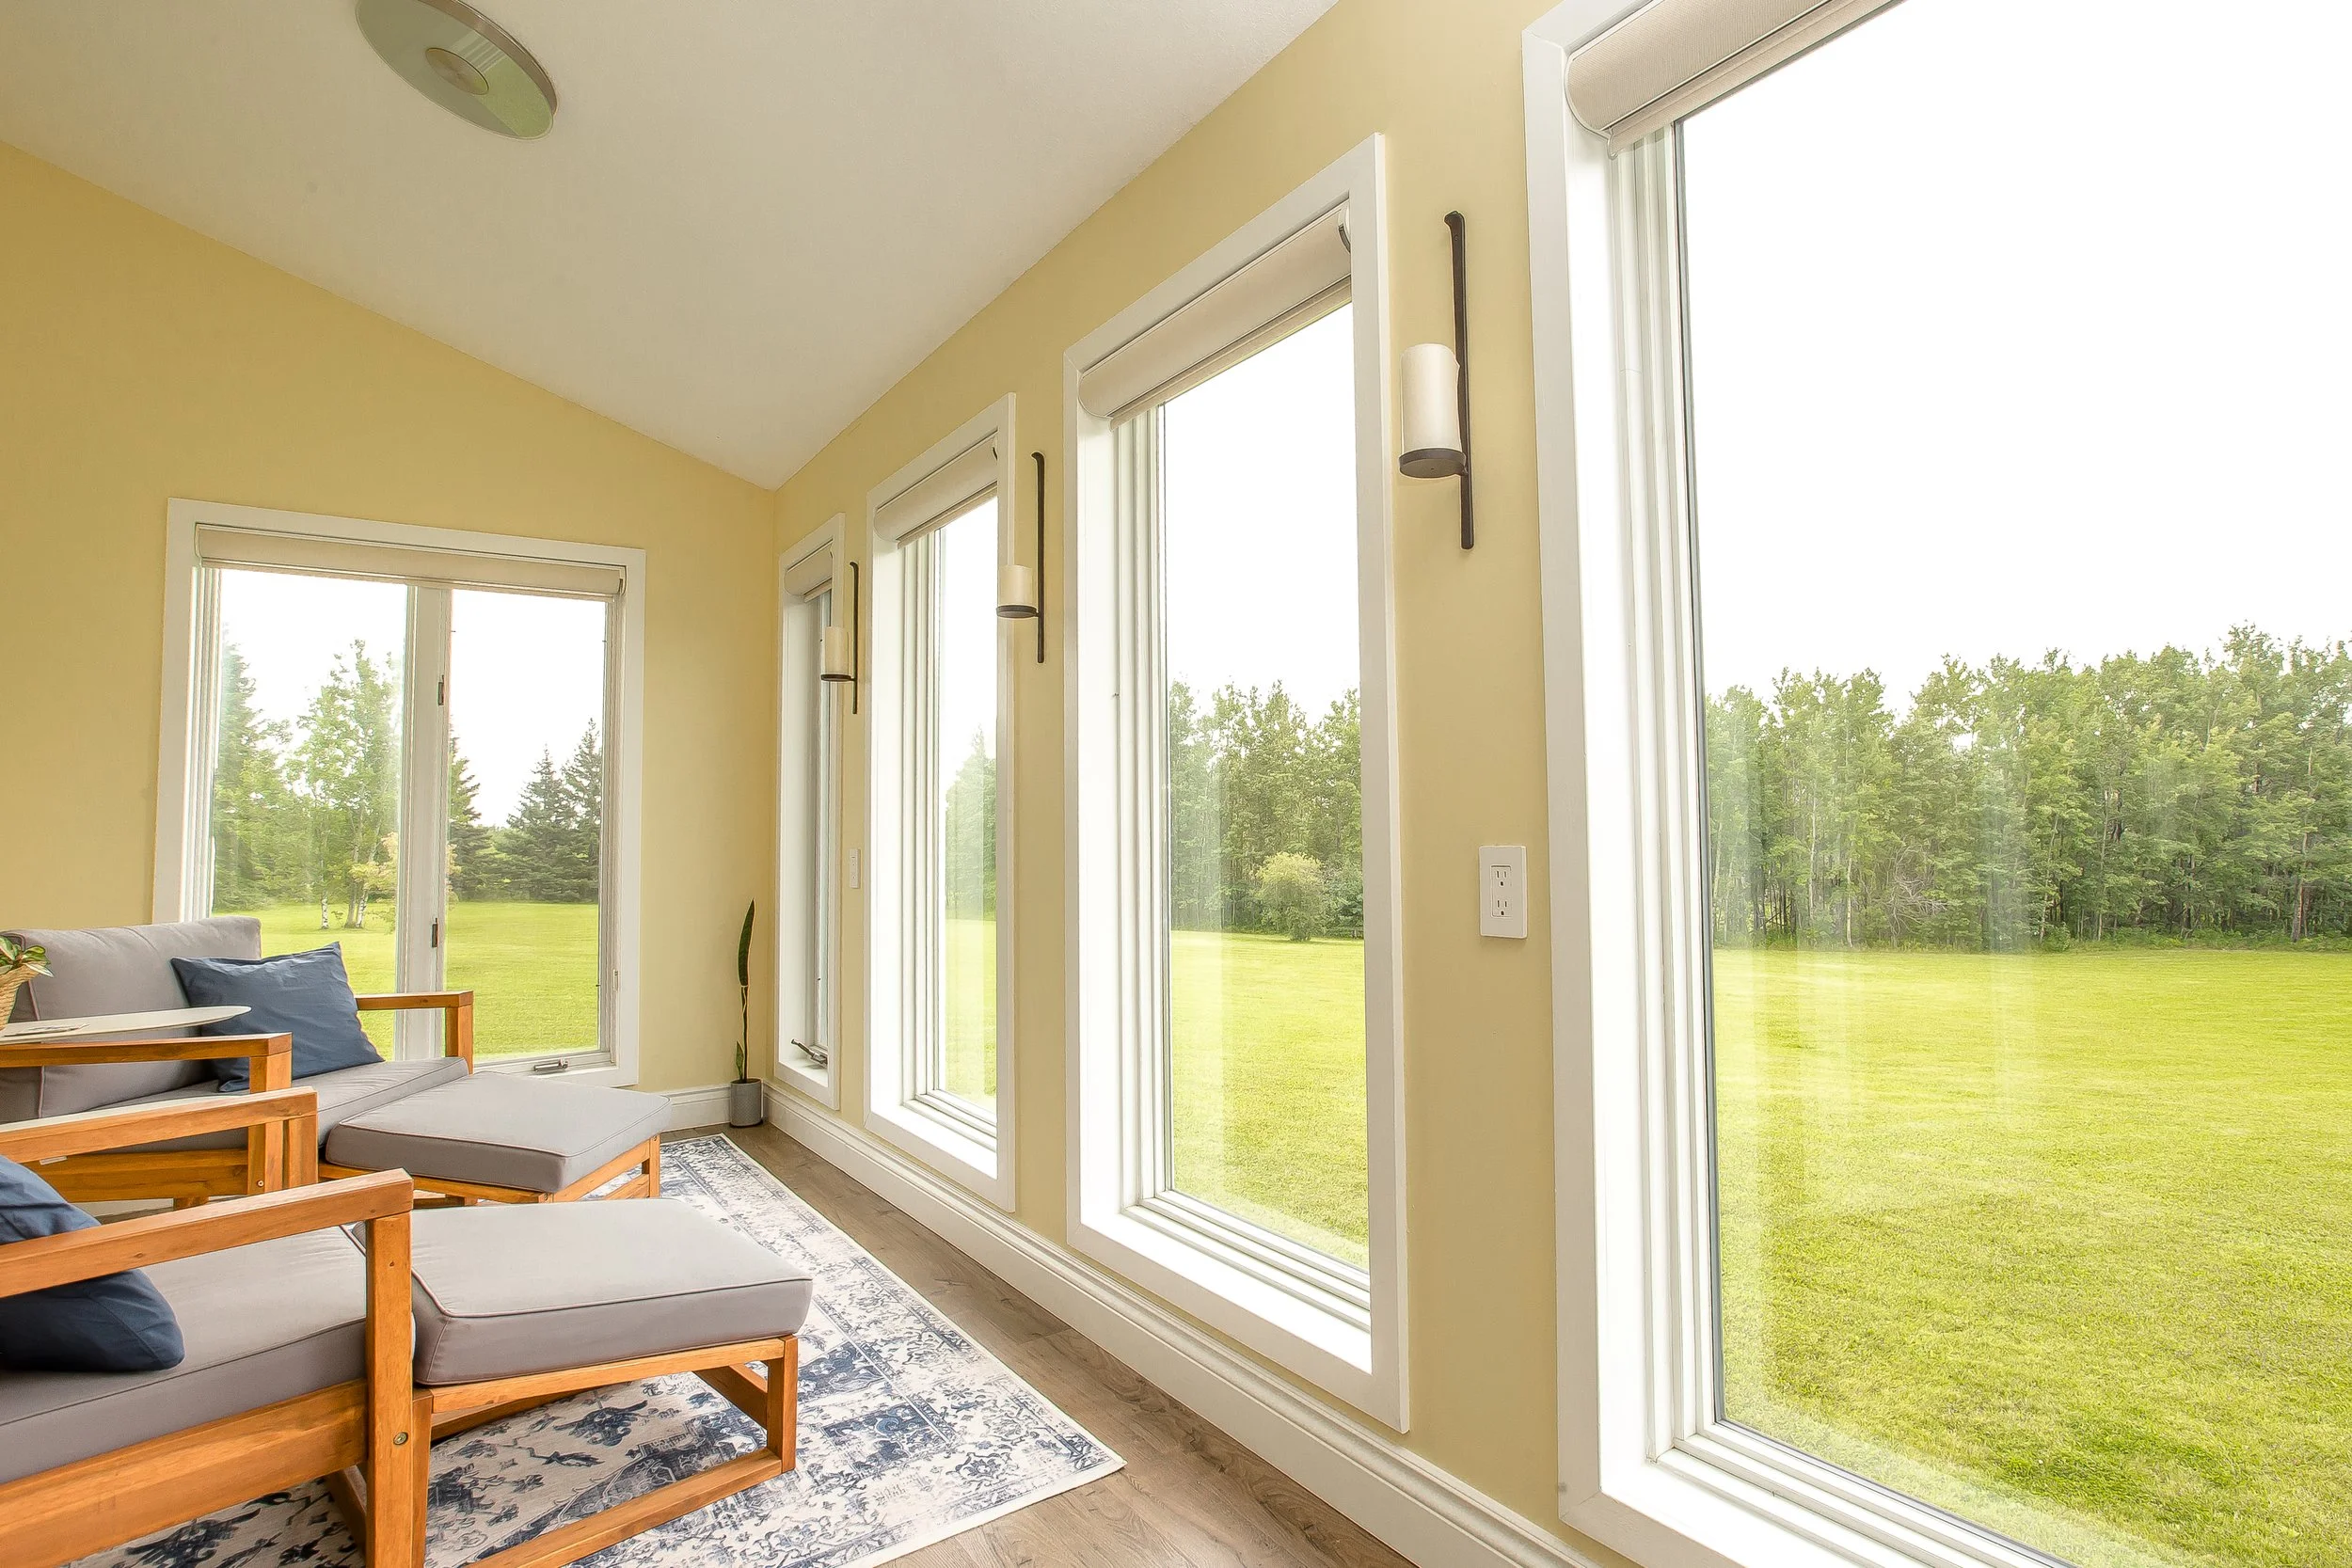
This room also acts as an informal dining space for our clients (think dinner on the patio, but inside) so we incorporated side tables that can be raised and lowered according to what is needed in the moment.
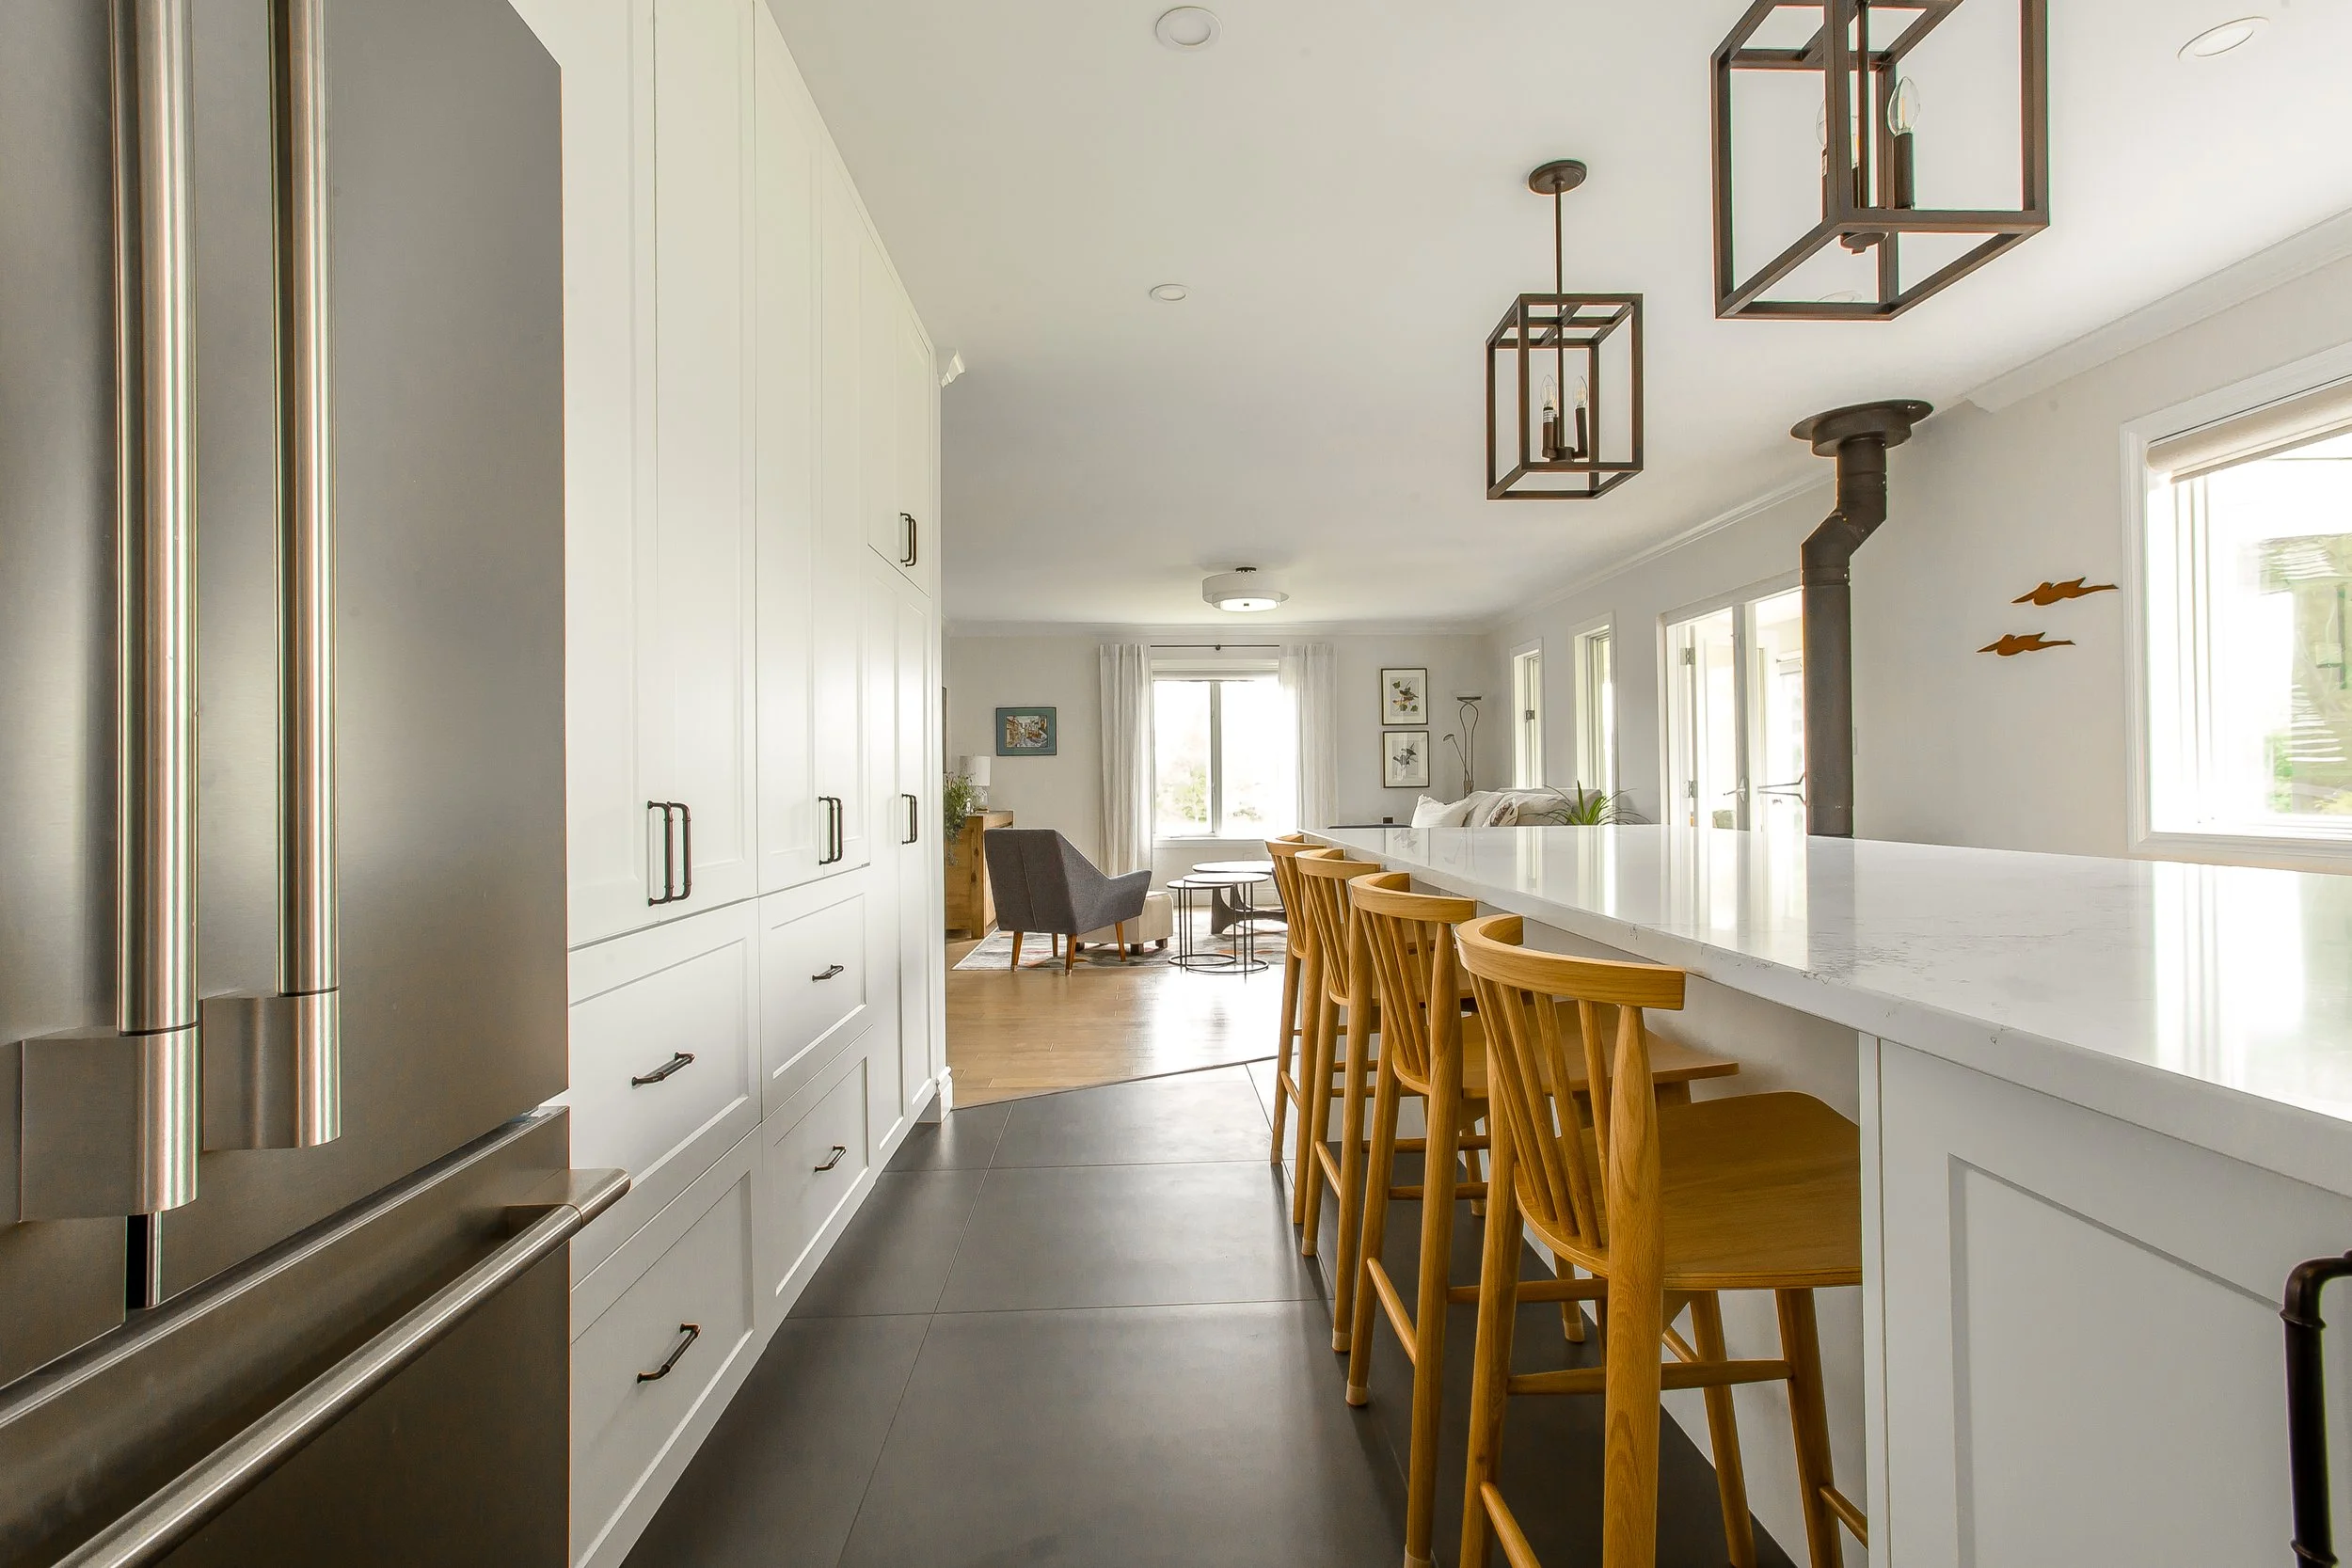
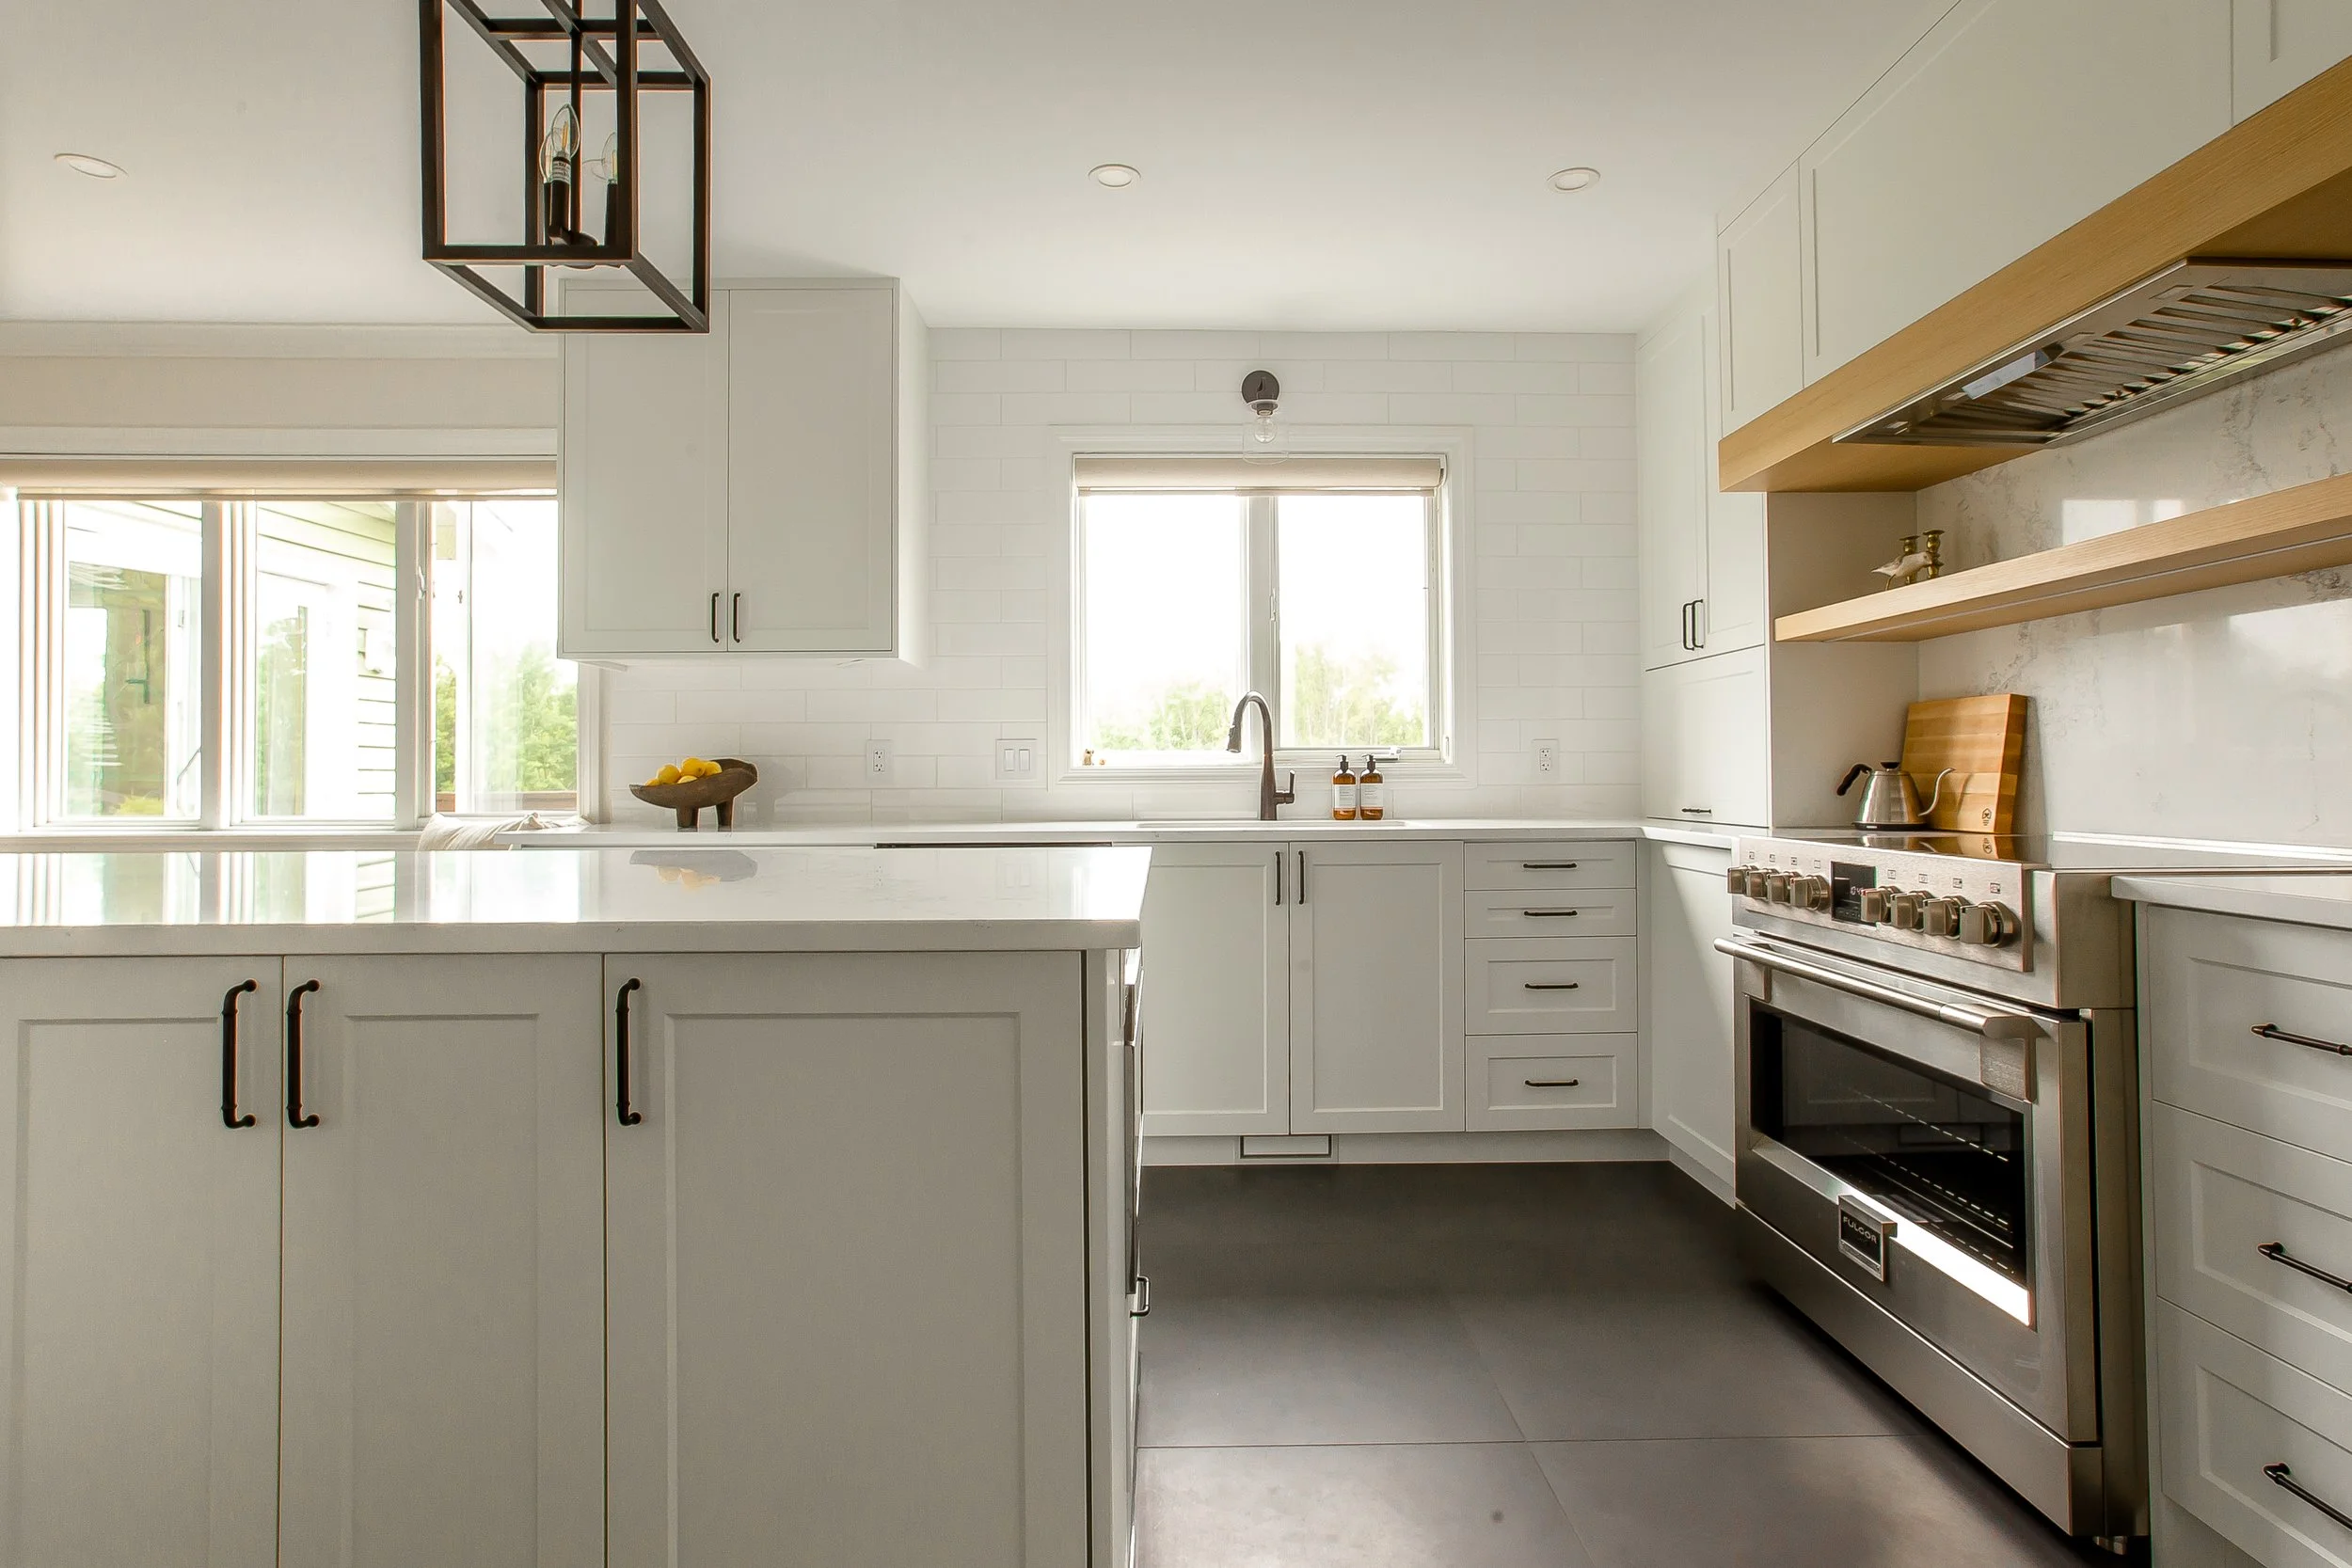
Arguably the most impactful transformation in the home is the kitchen. Heather and I literally say, every single time we’re in this kitchen, how envious we are of the storage and prep space. (For those of you who are new here, Heather and I both live in 1950s homes with small, but beautifully updated, 1950s-sized kitchens).
Let’s let Chili lead us in. And yes we are just a bit obsessed with Chili. <3
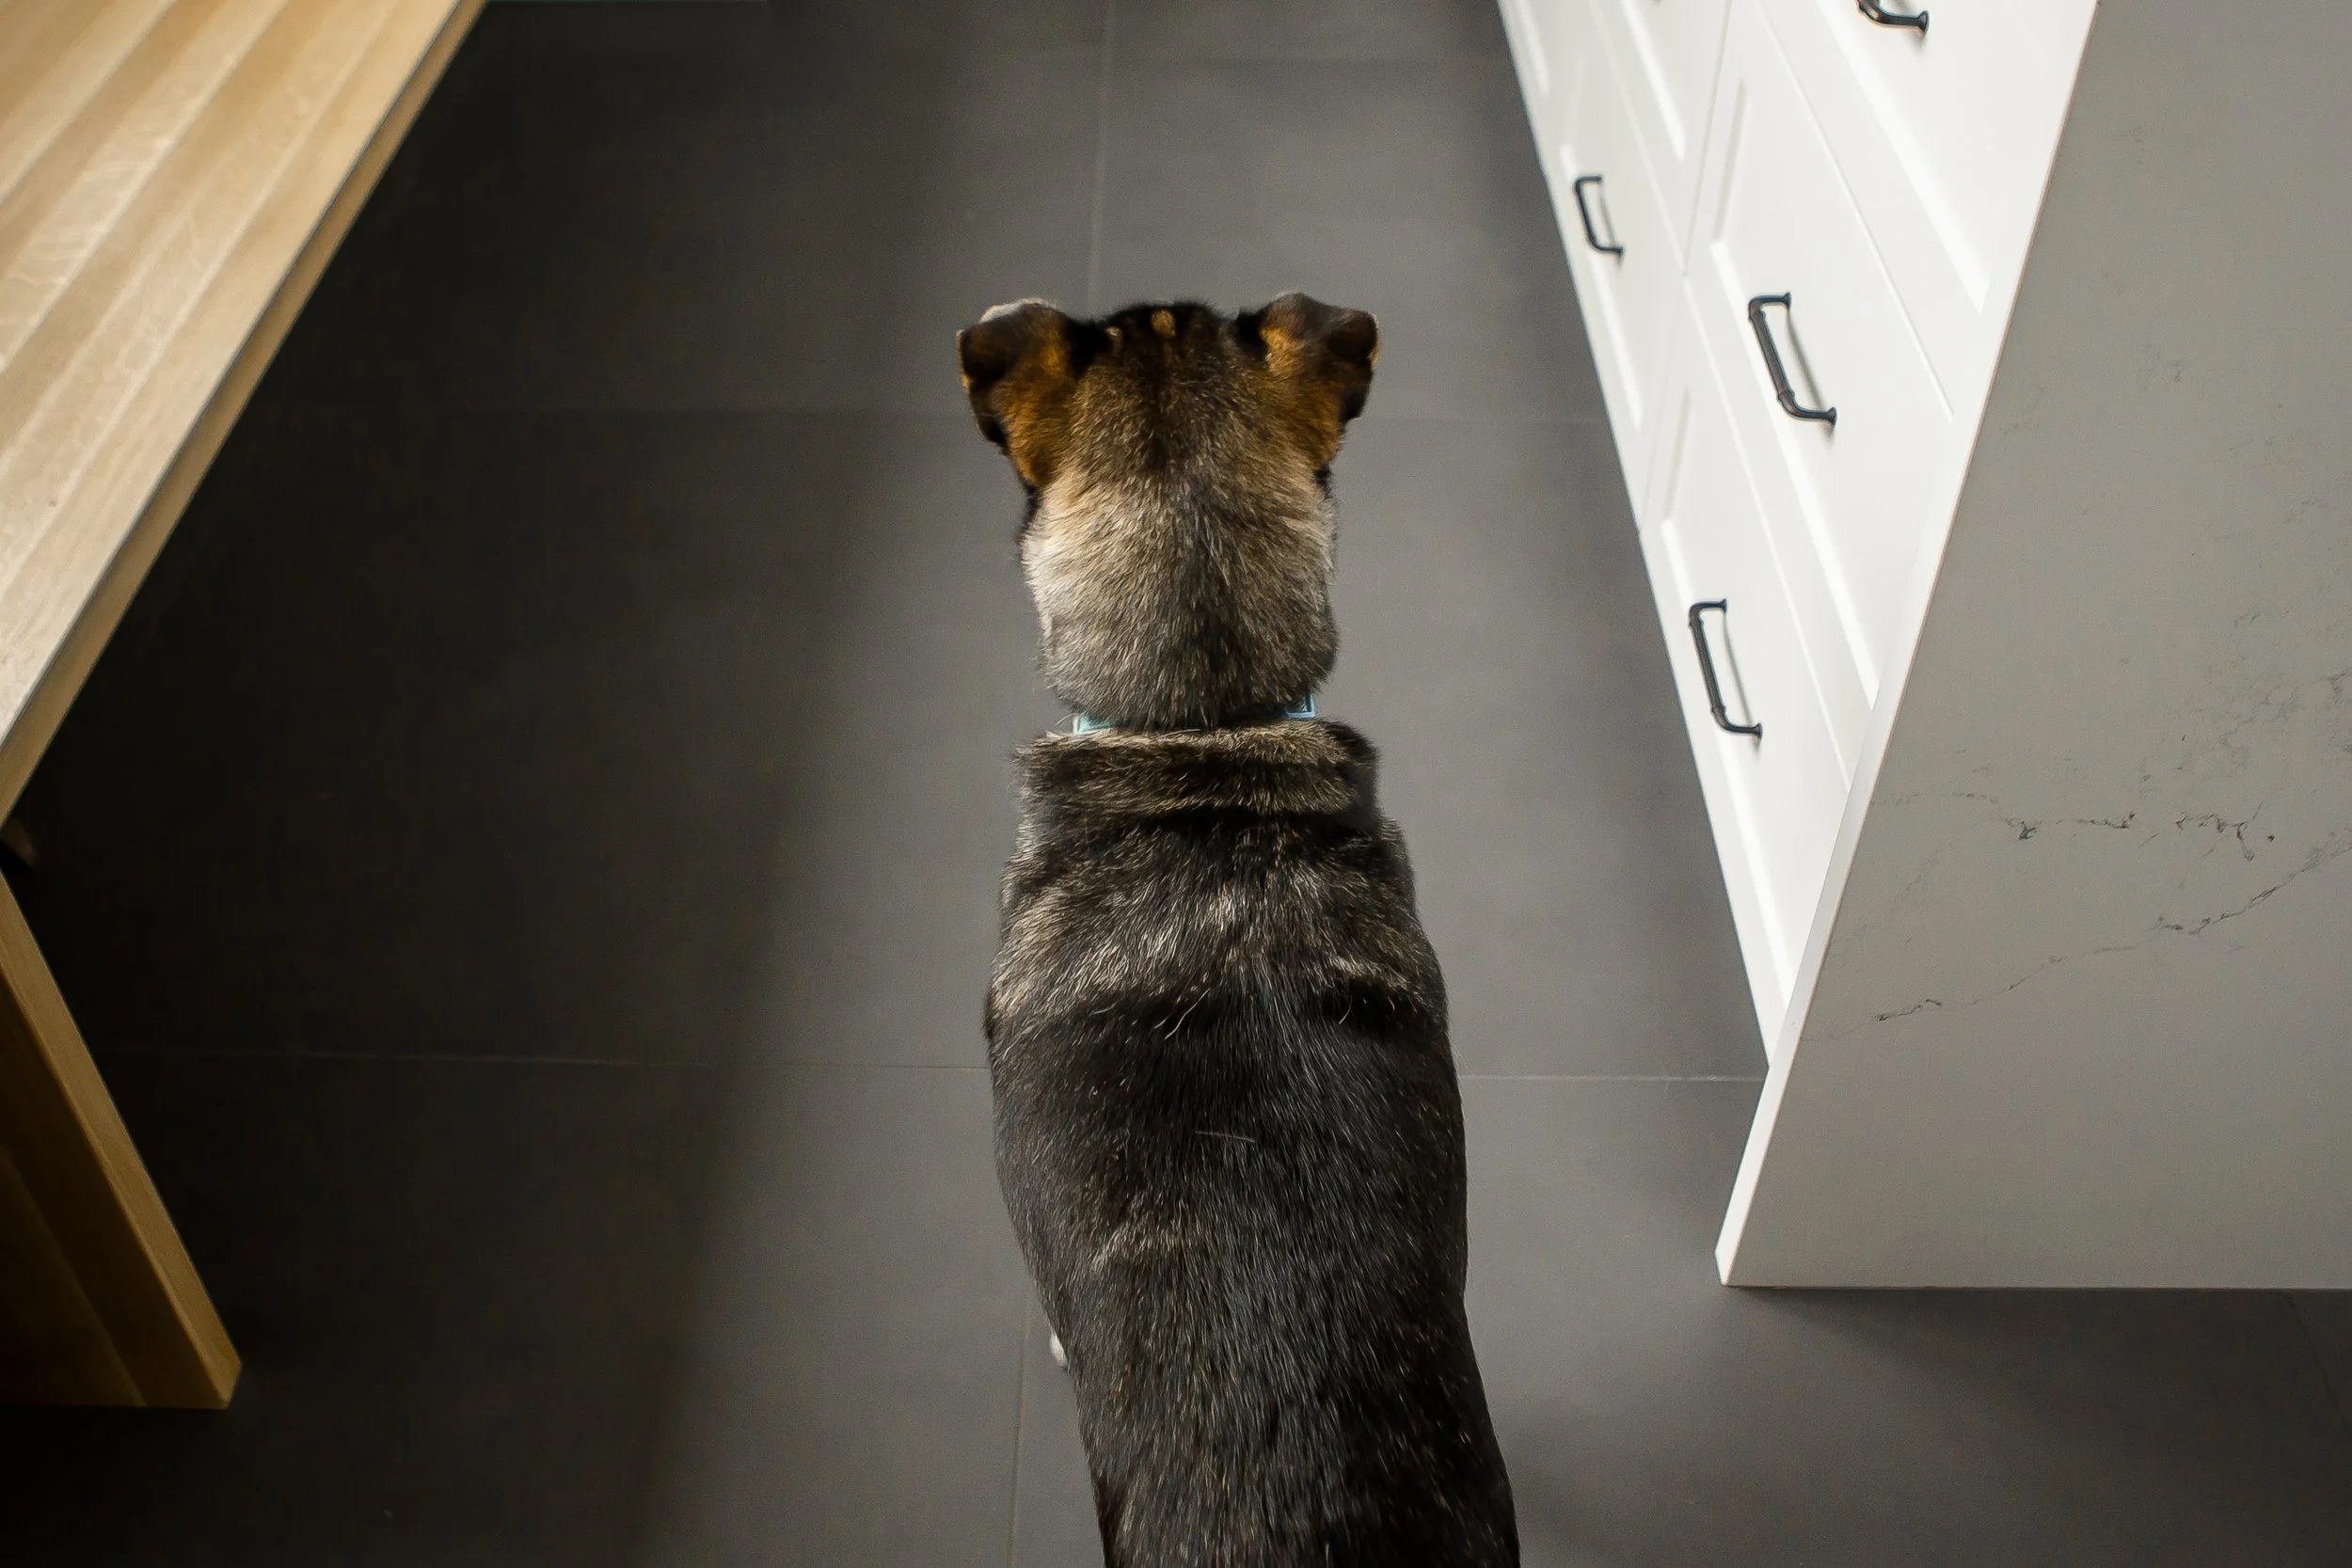
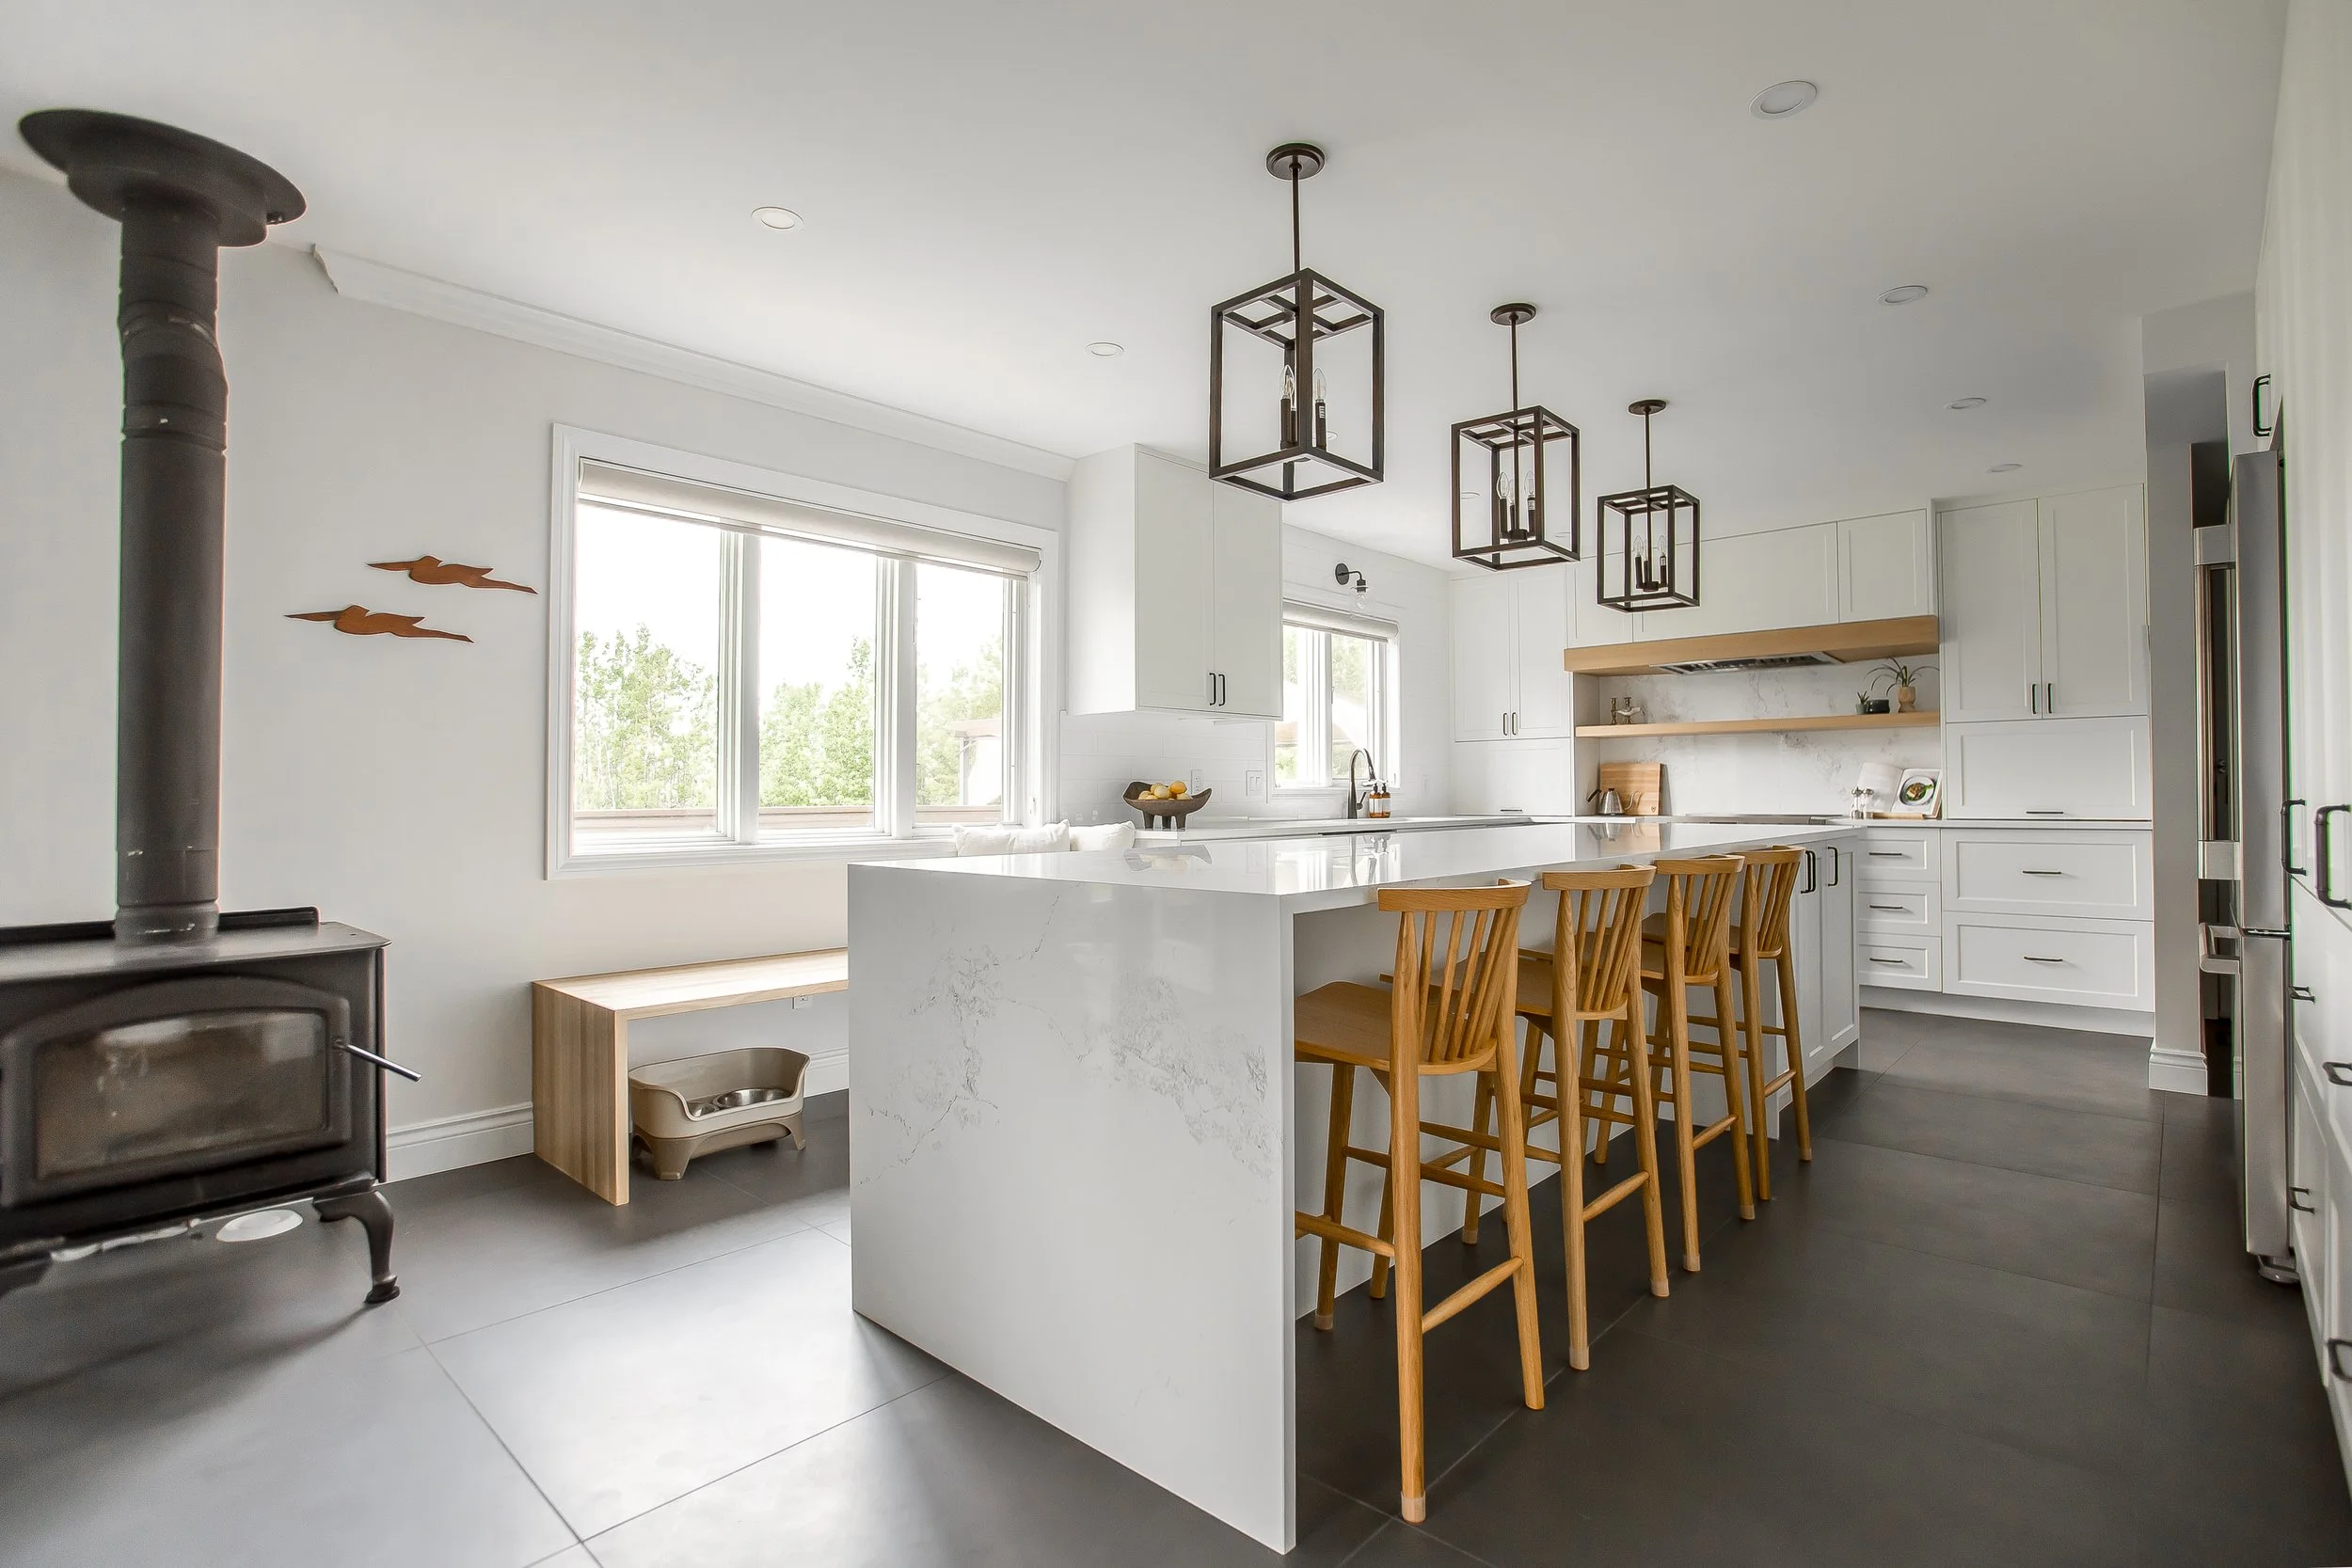
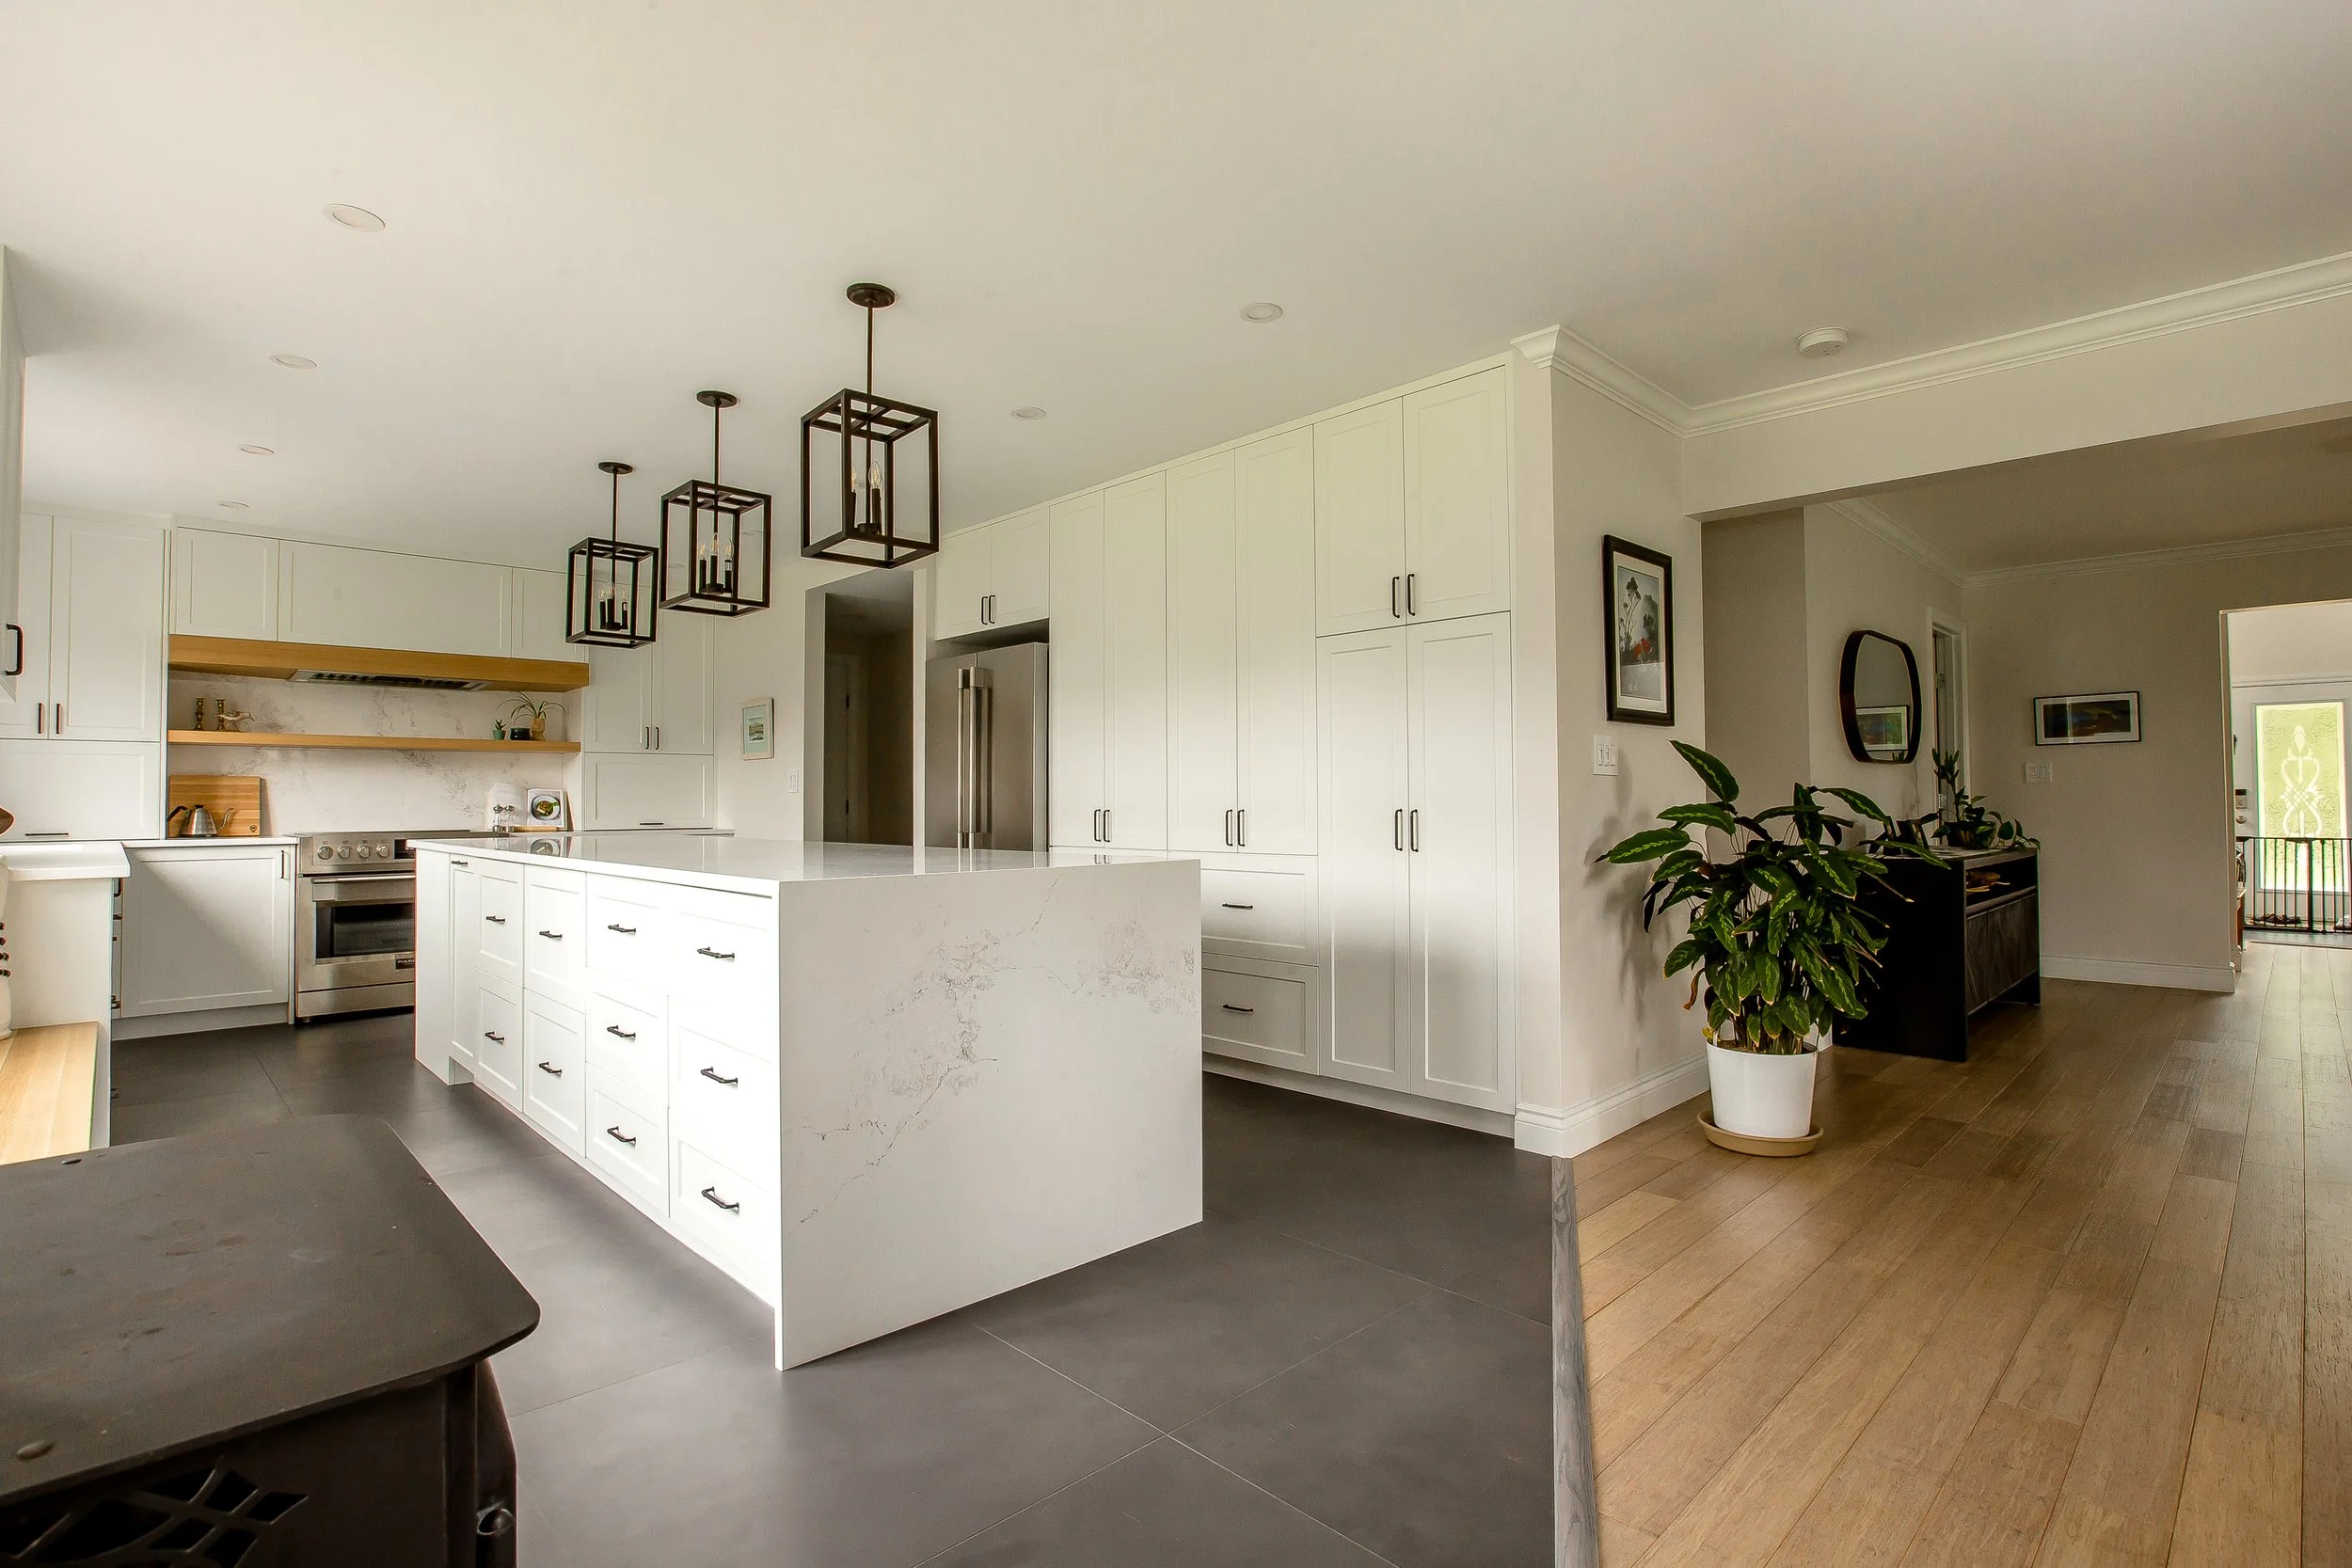
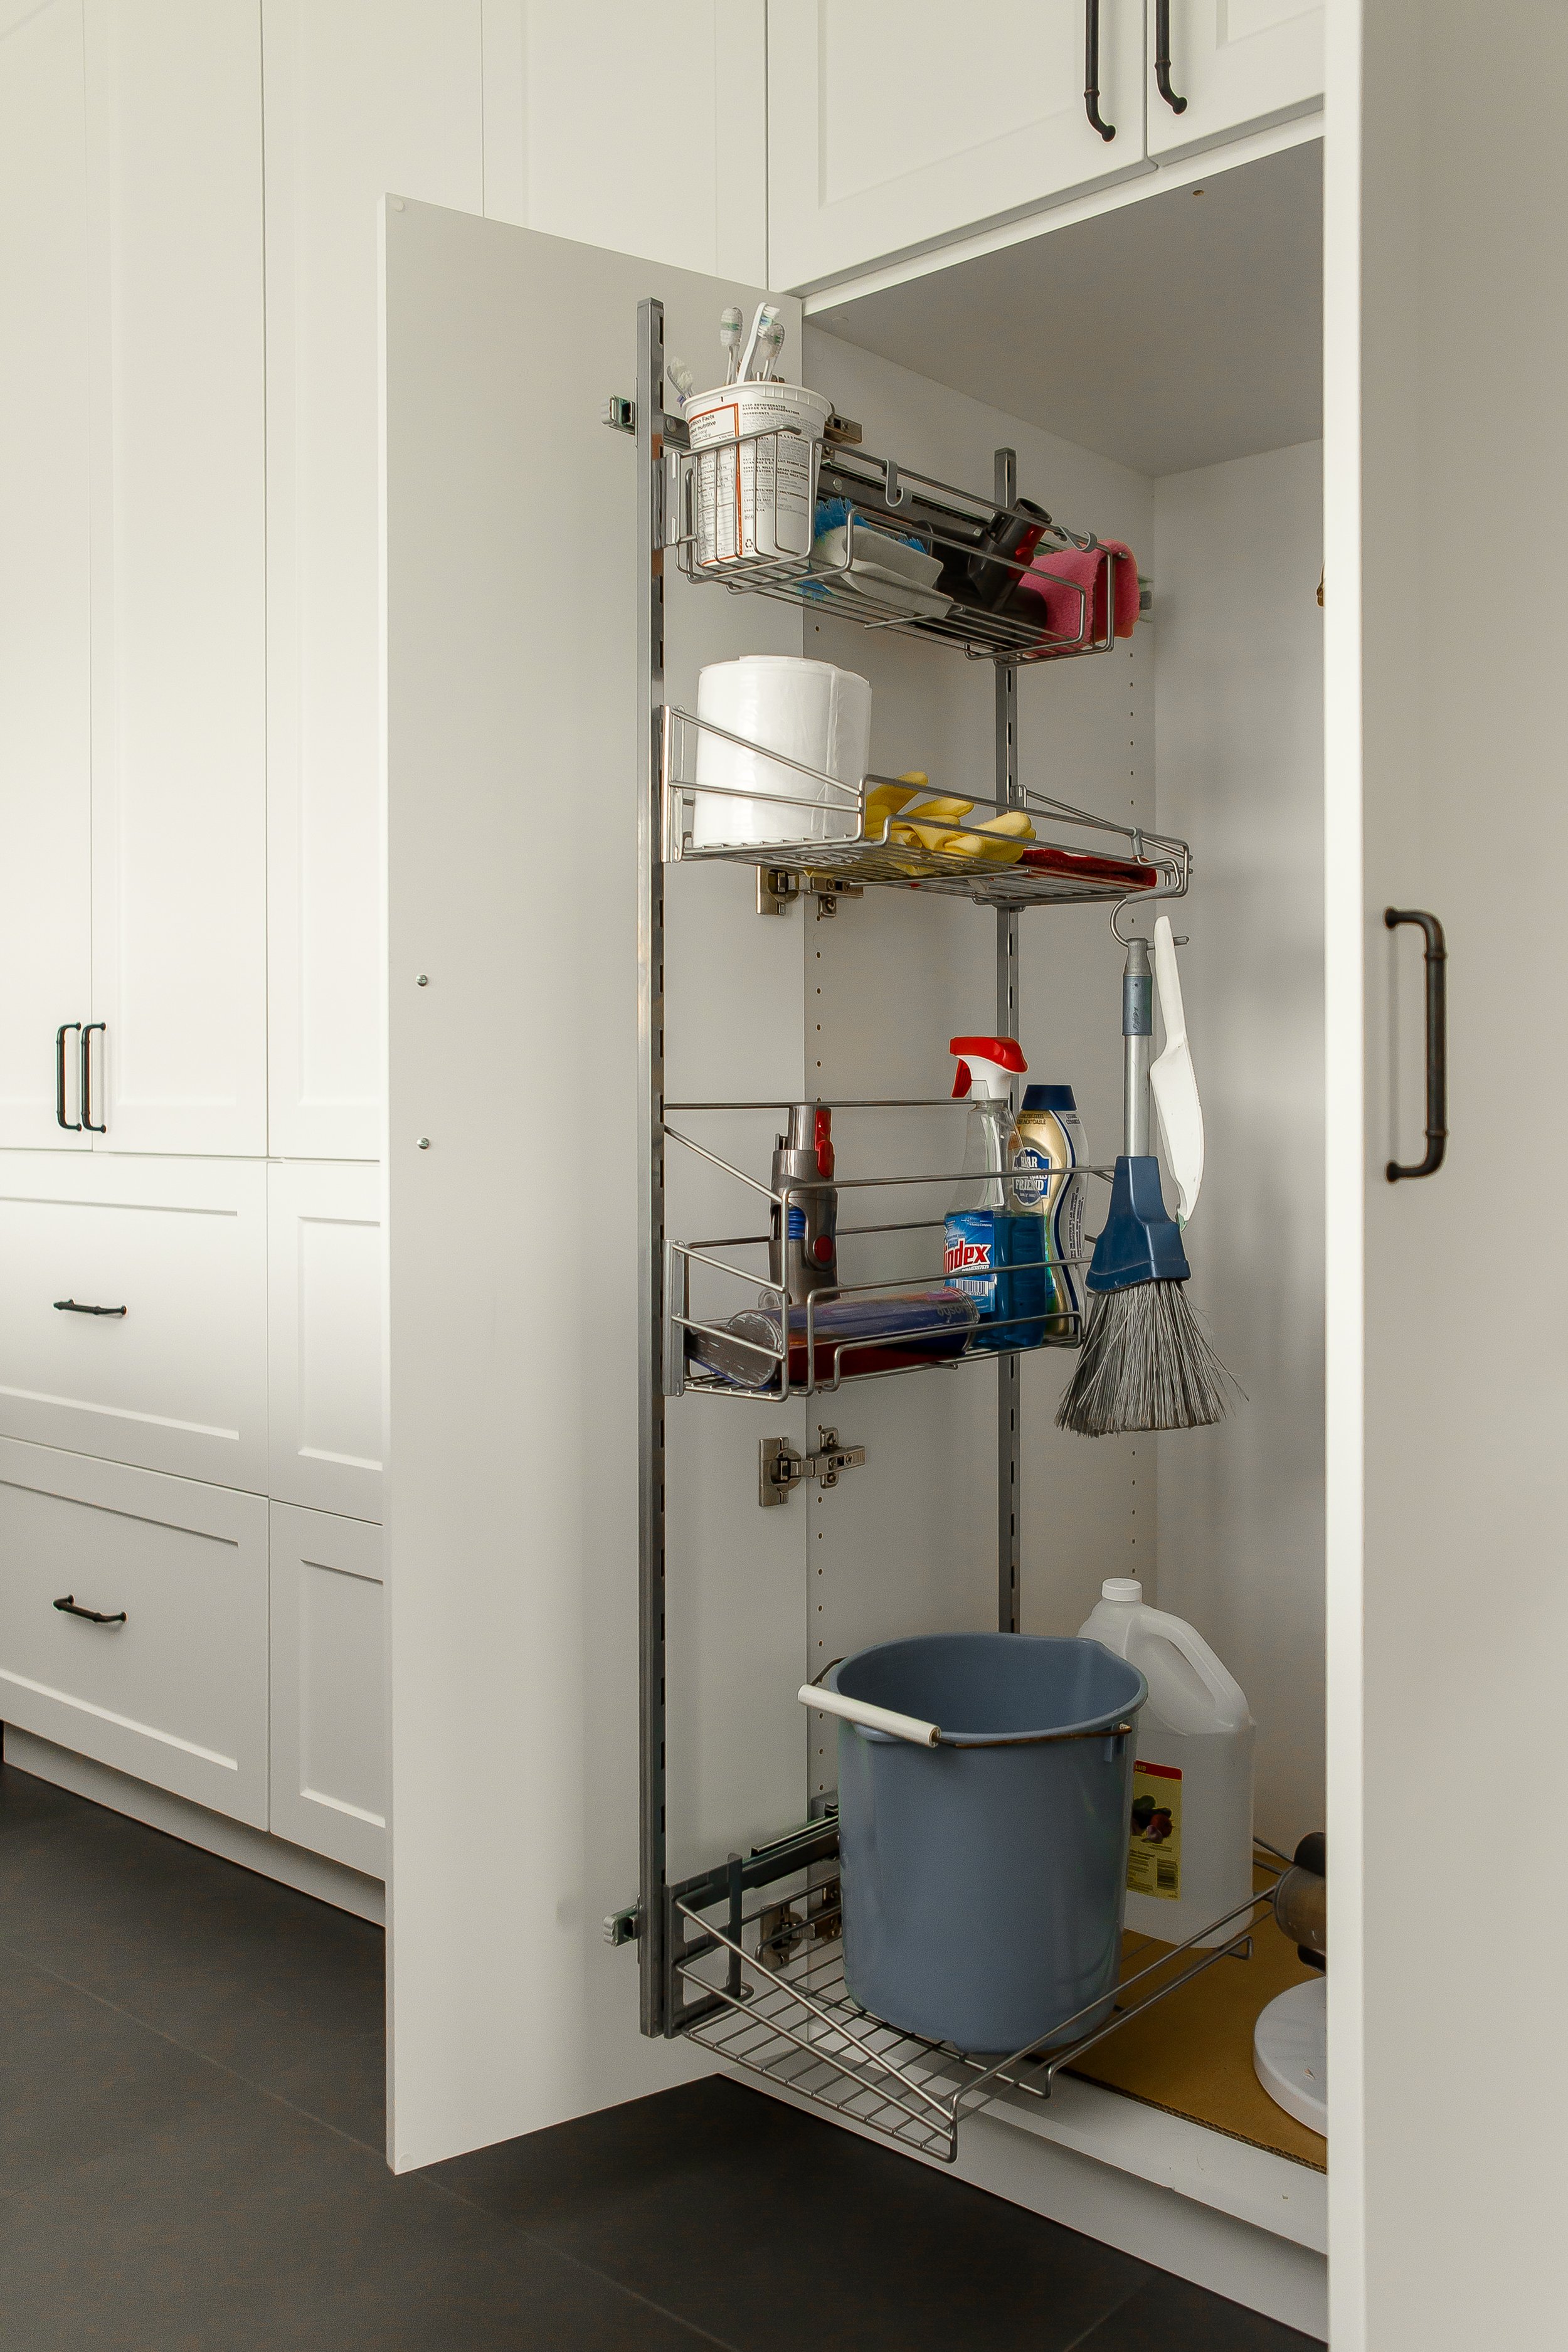
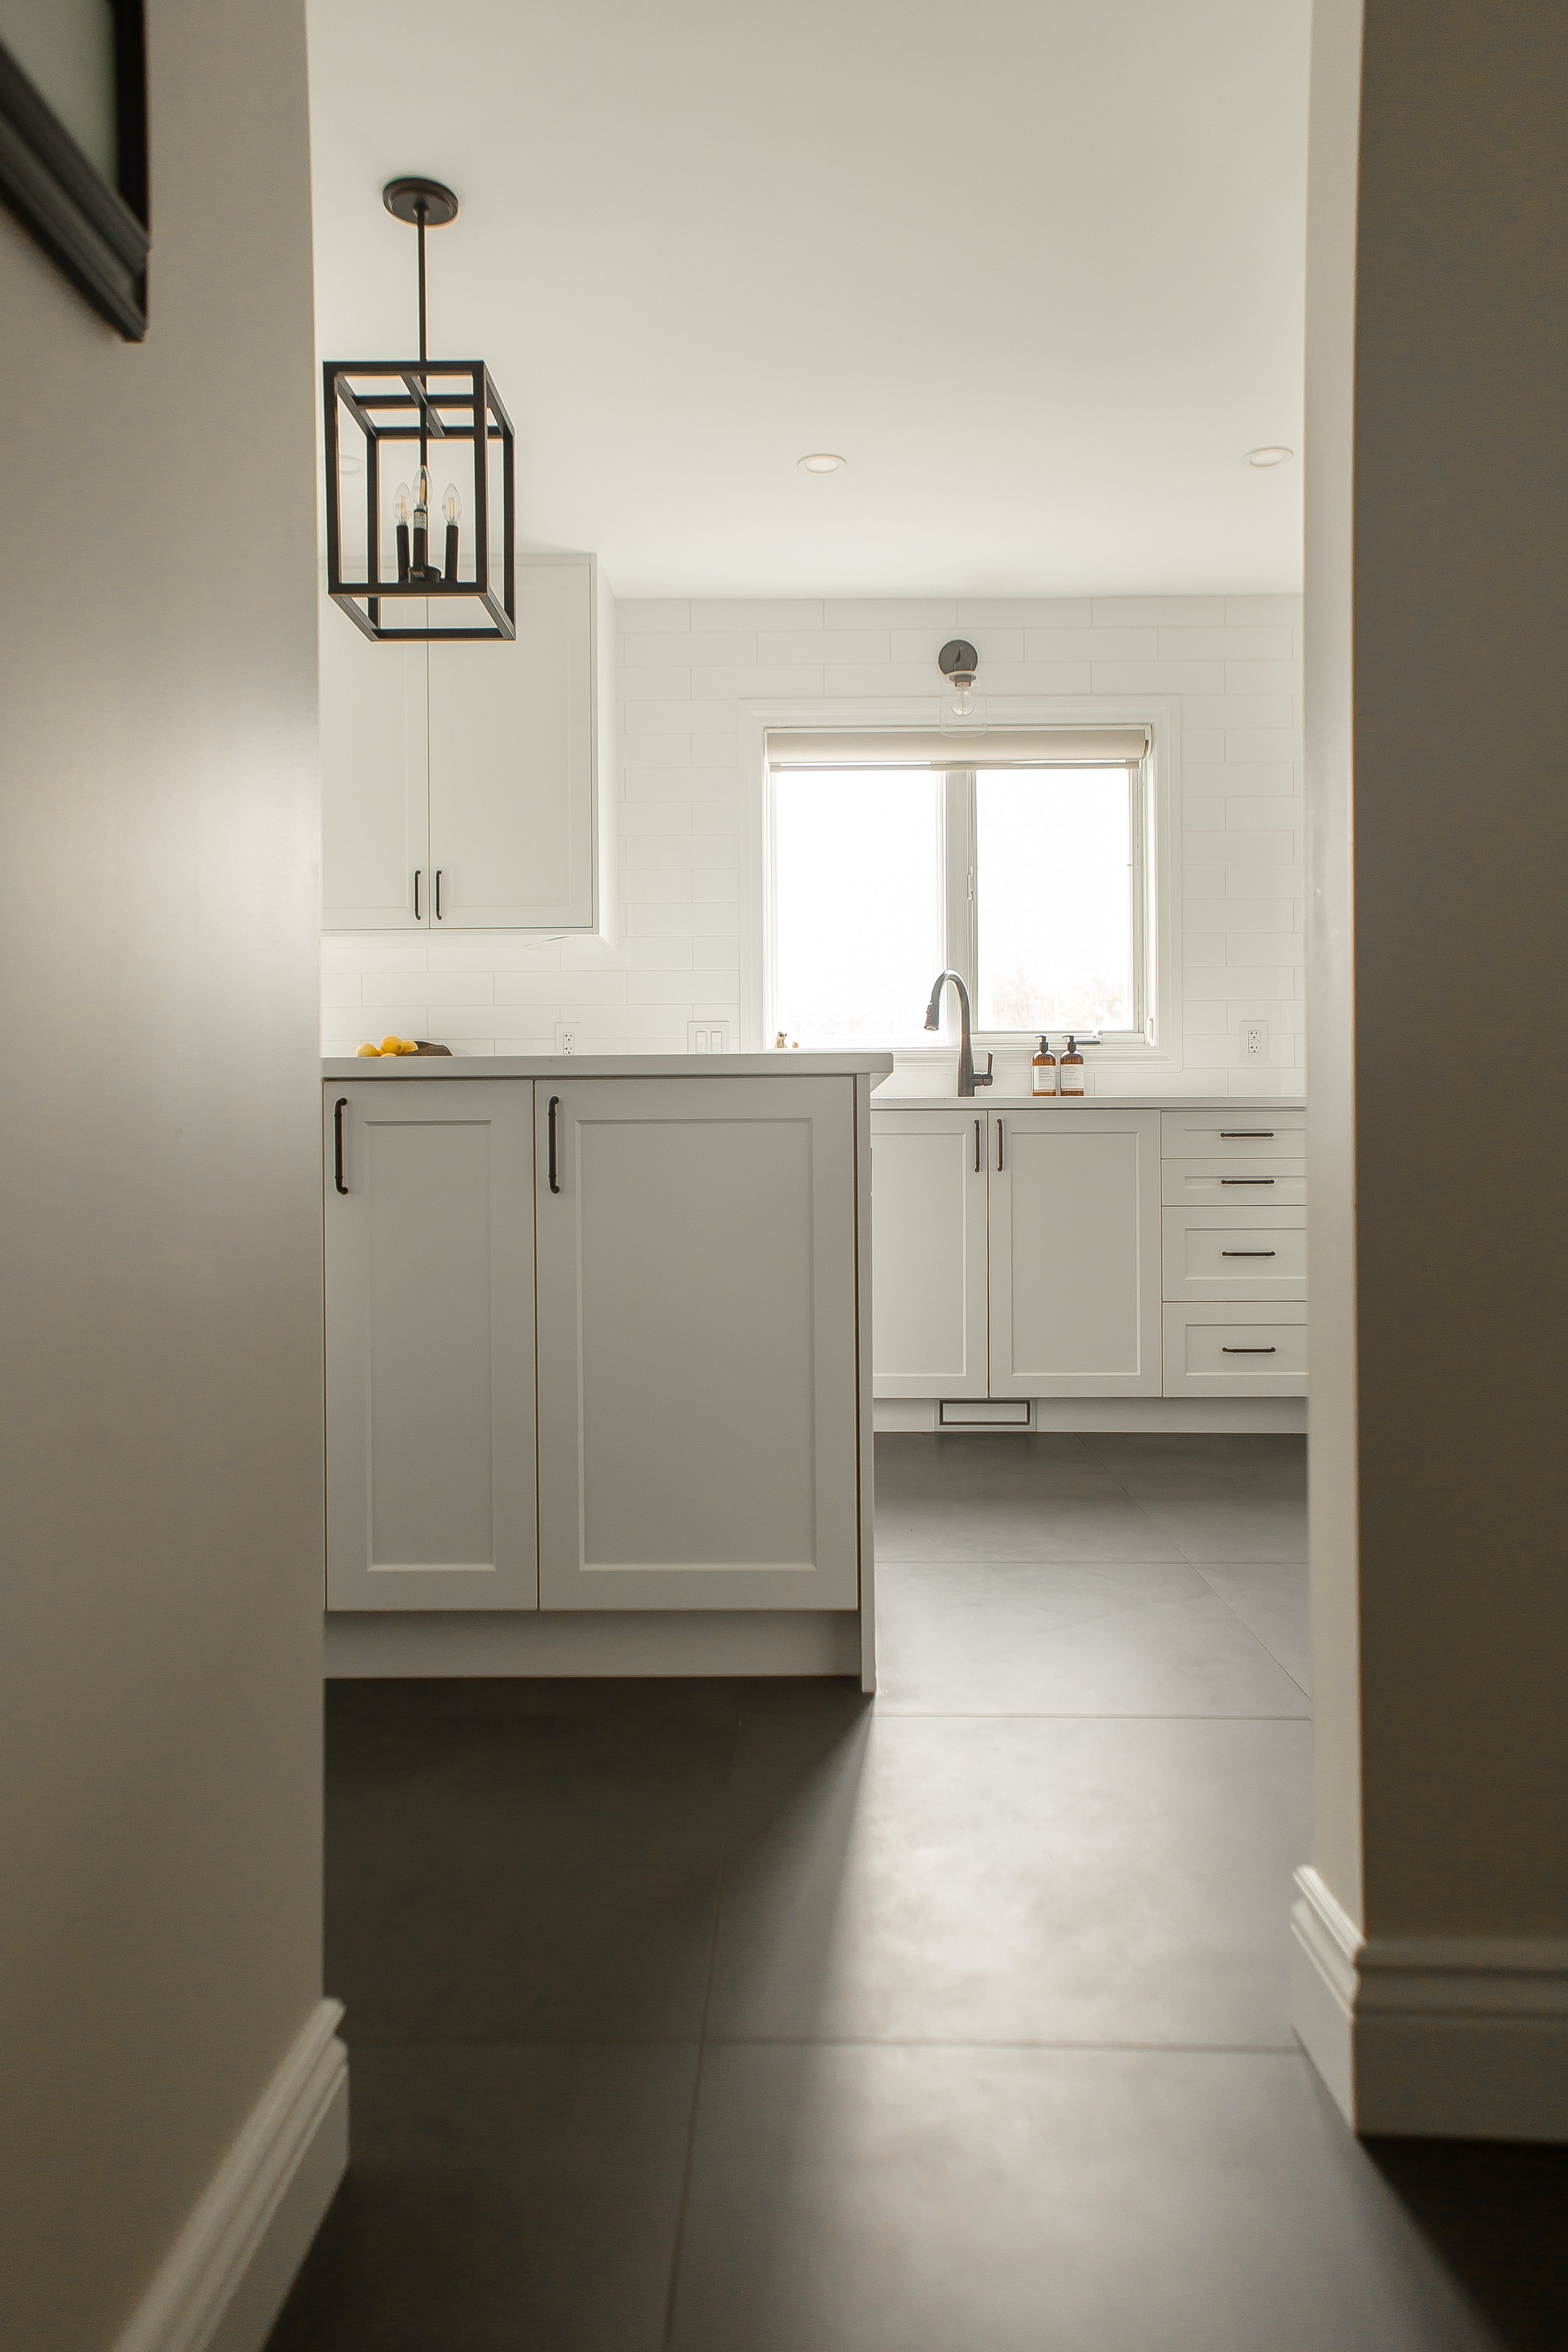
The change to have all of the storage in the space between the kitchen and the hallway face into the kitchen is so impactful. With the counter-depth fridge (and storage above), two full height cabinets for pantry storage and another for cleaning storage, it’s easy to access everything you need in one space.
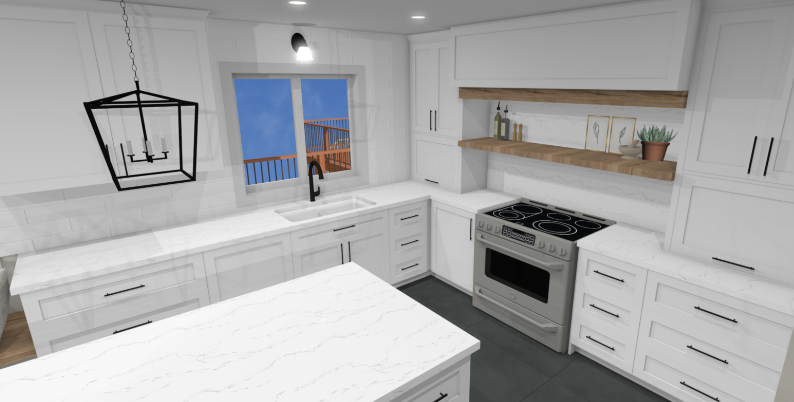
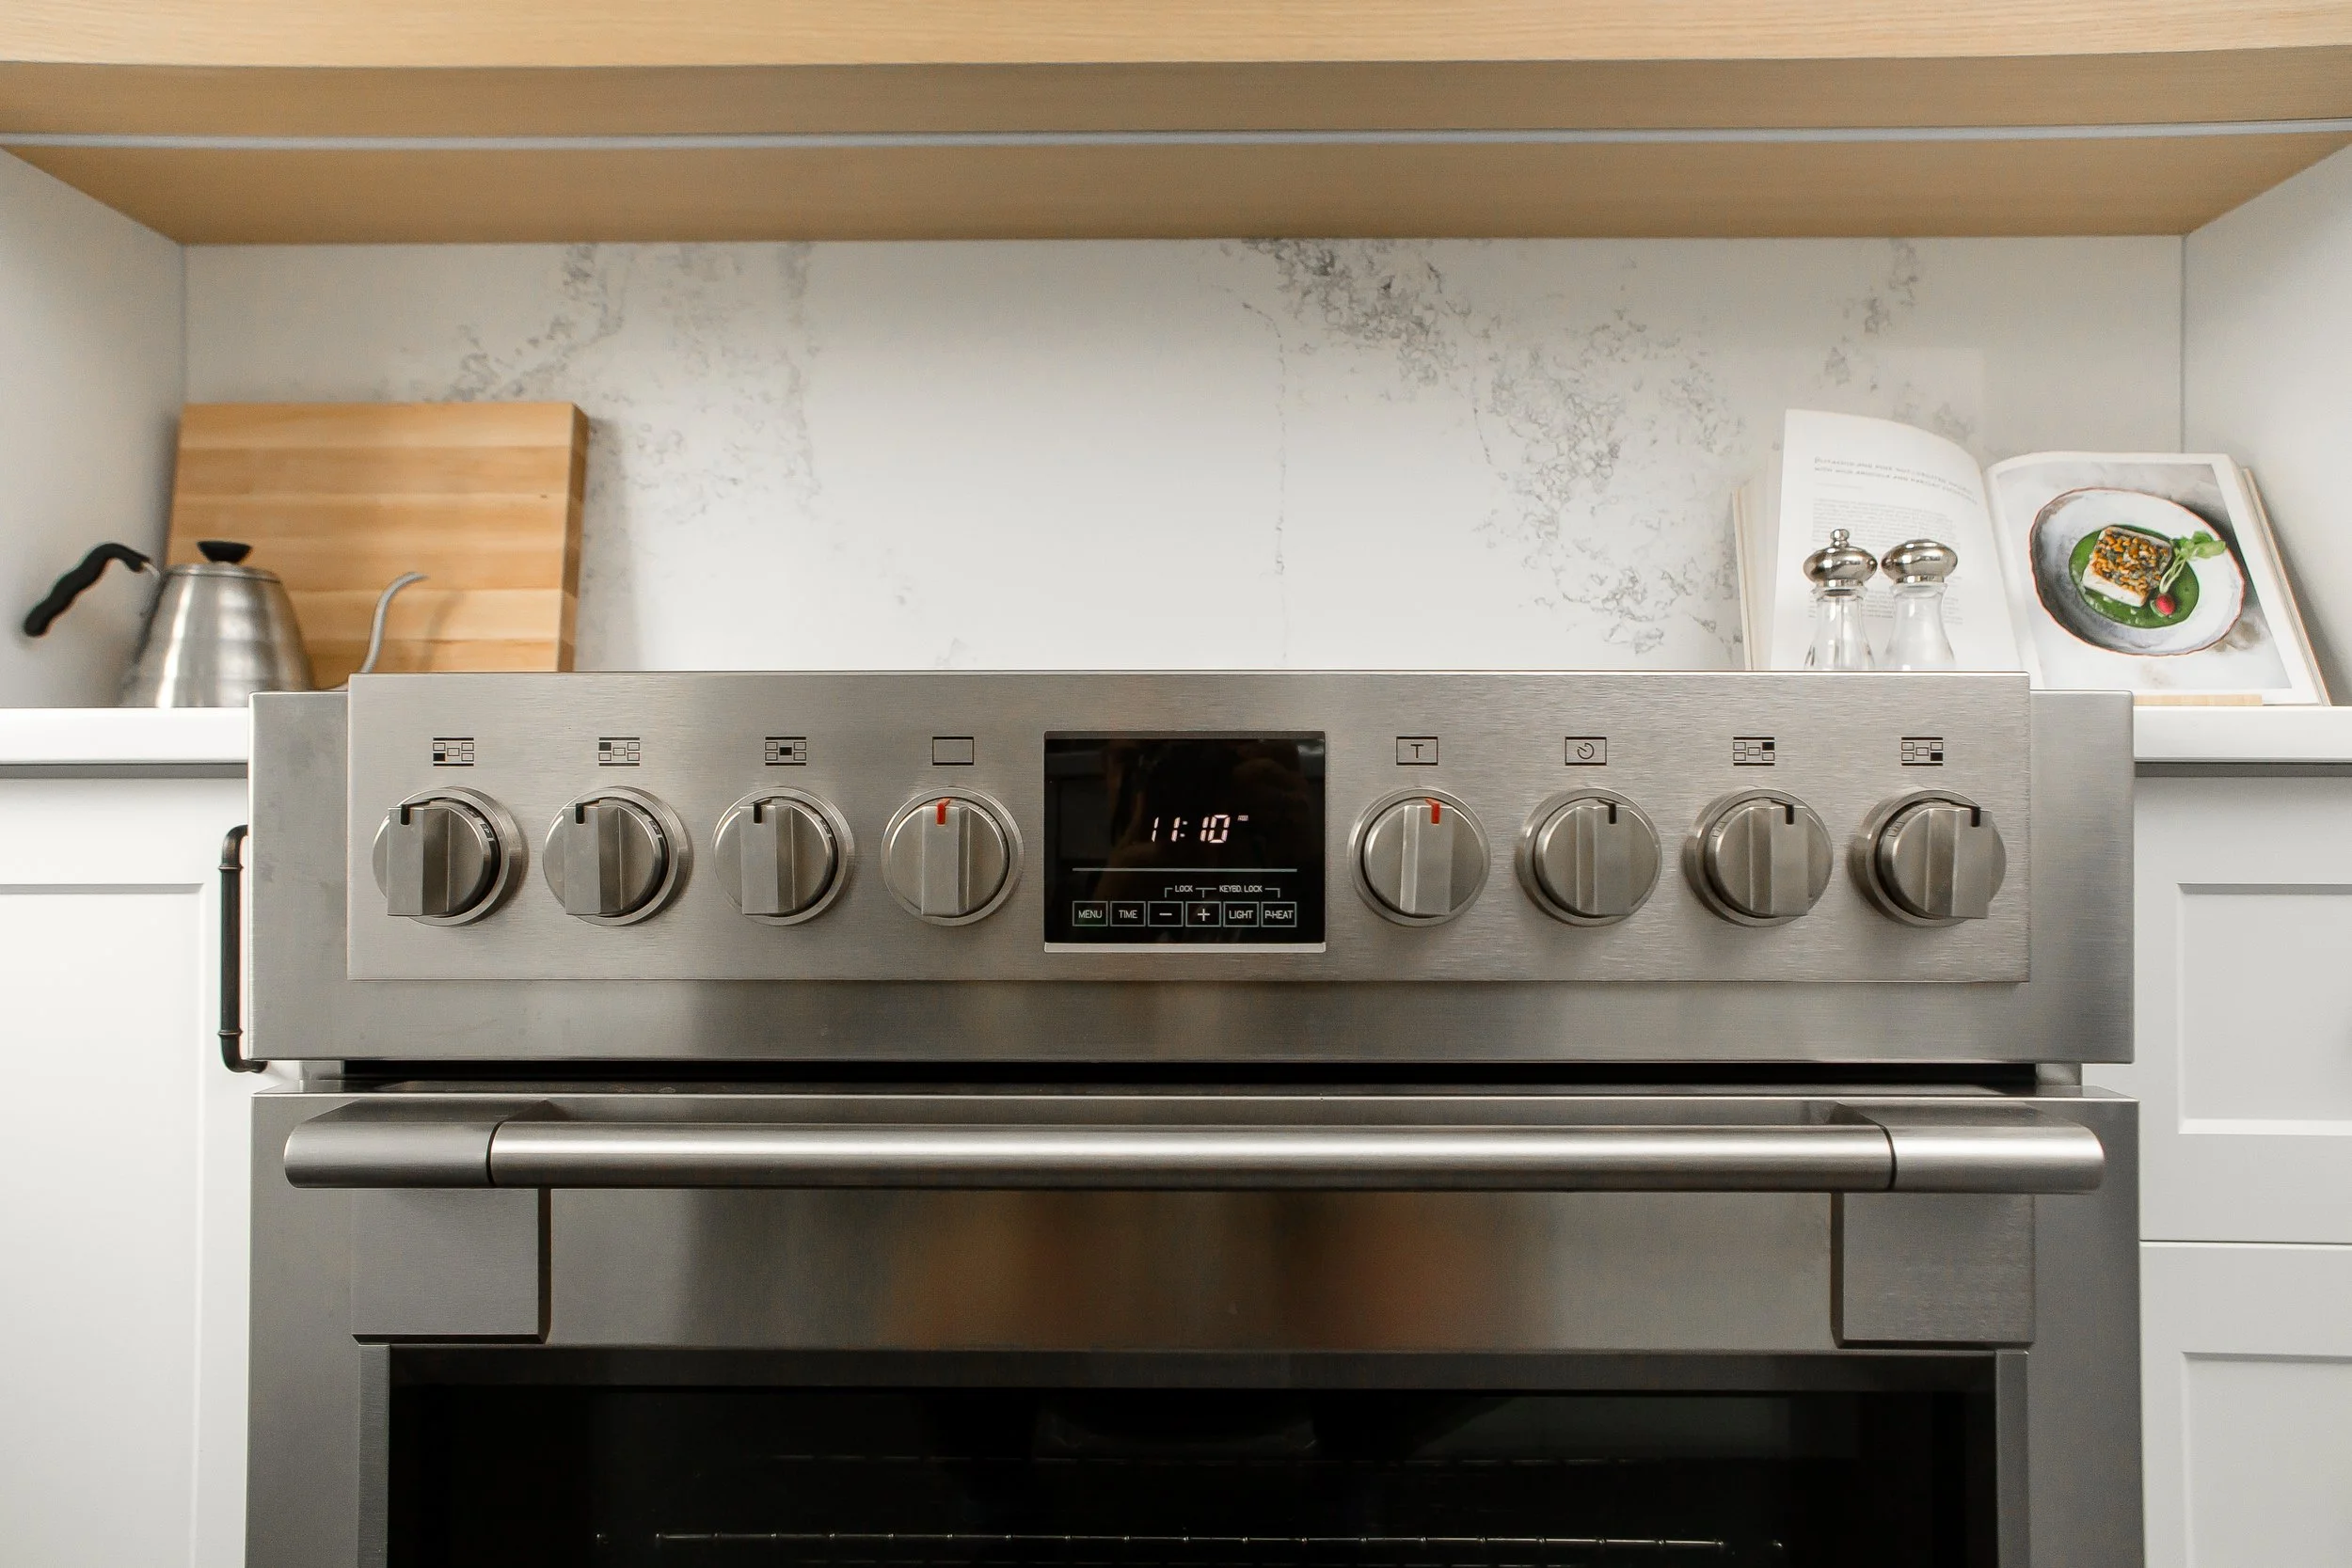
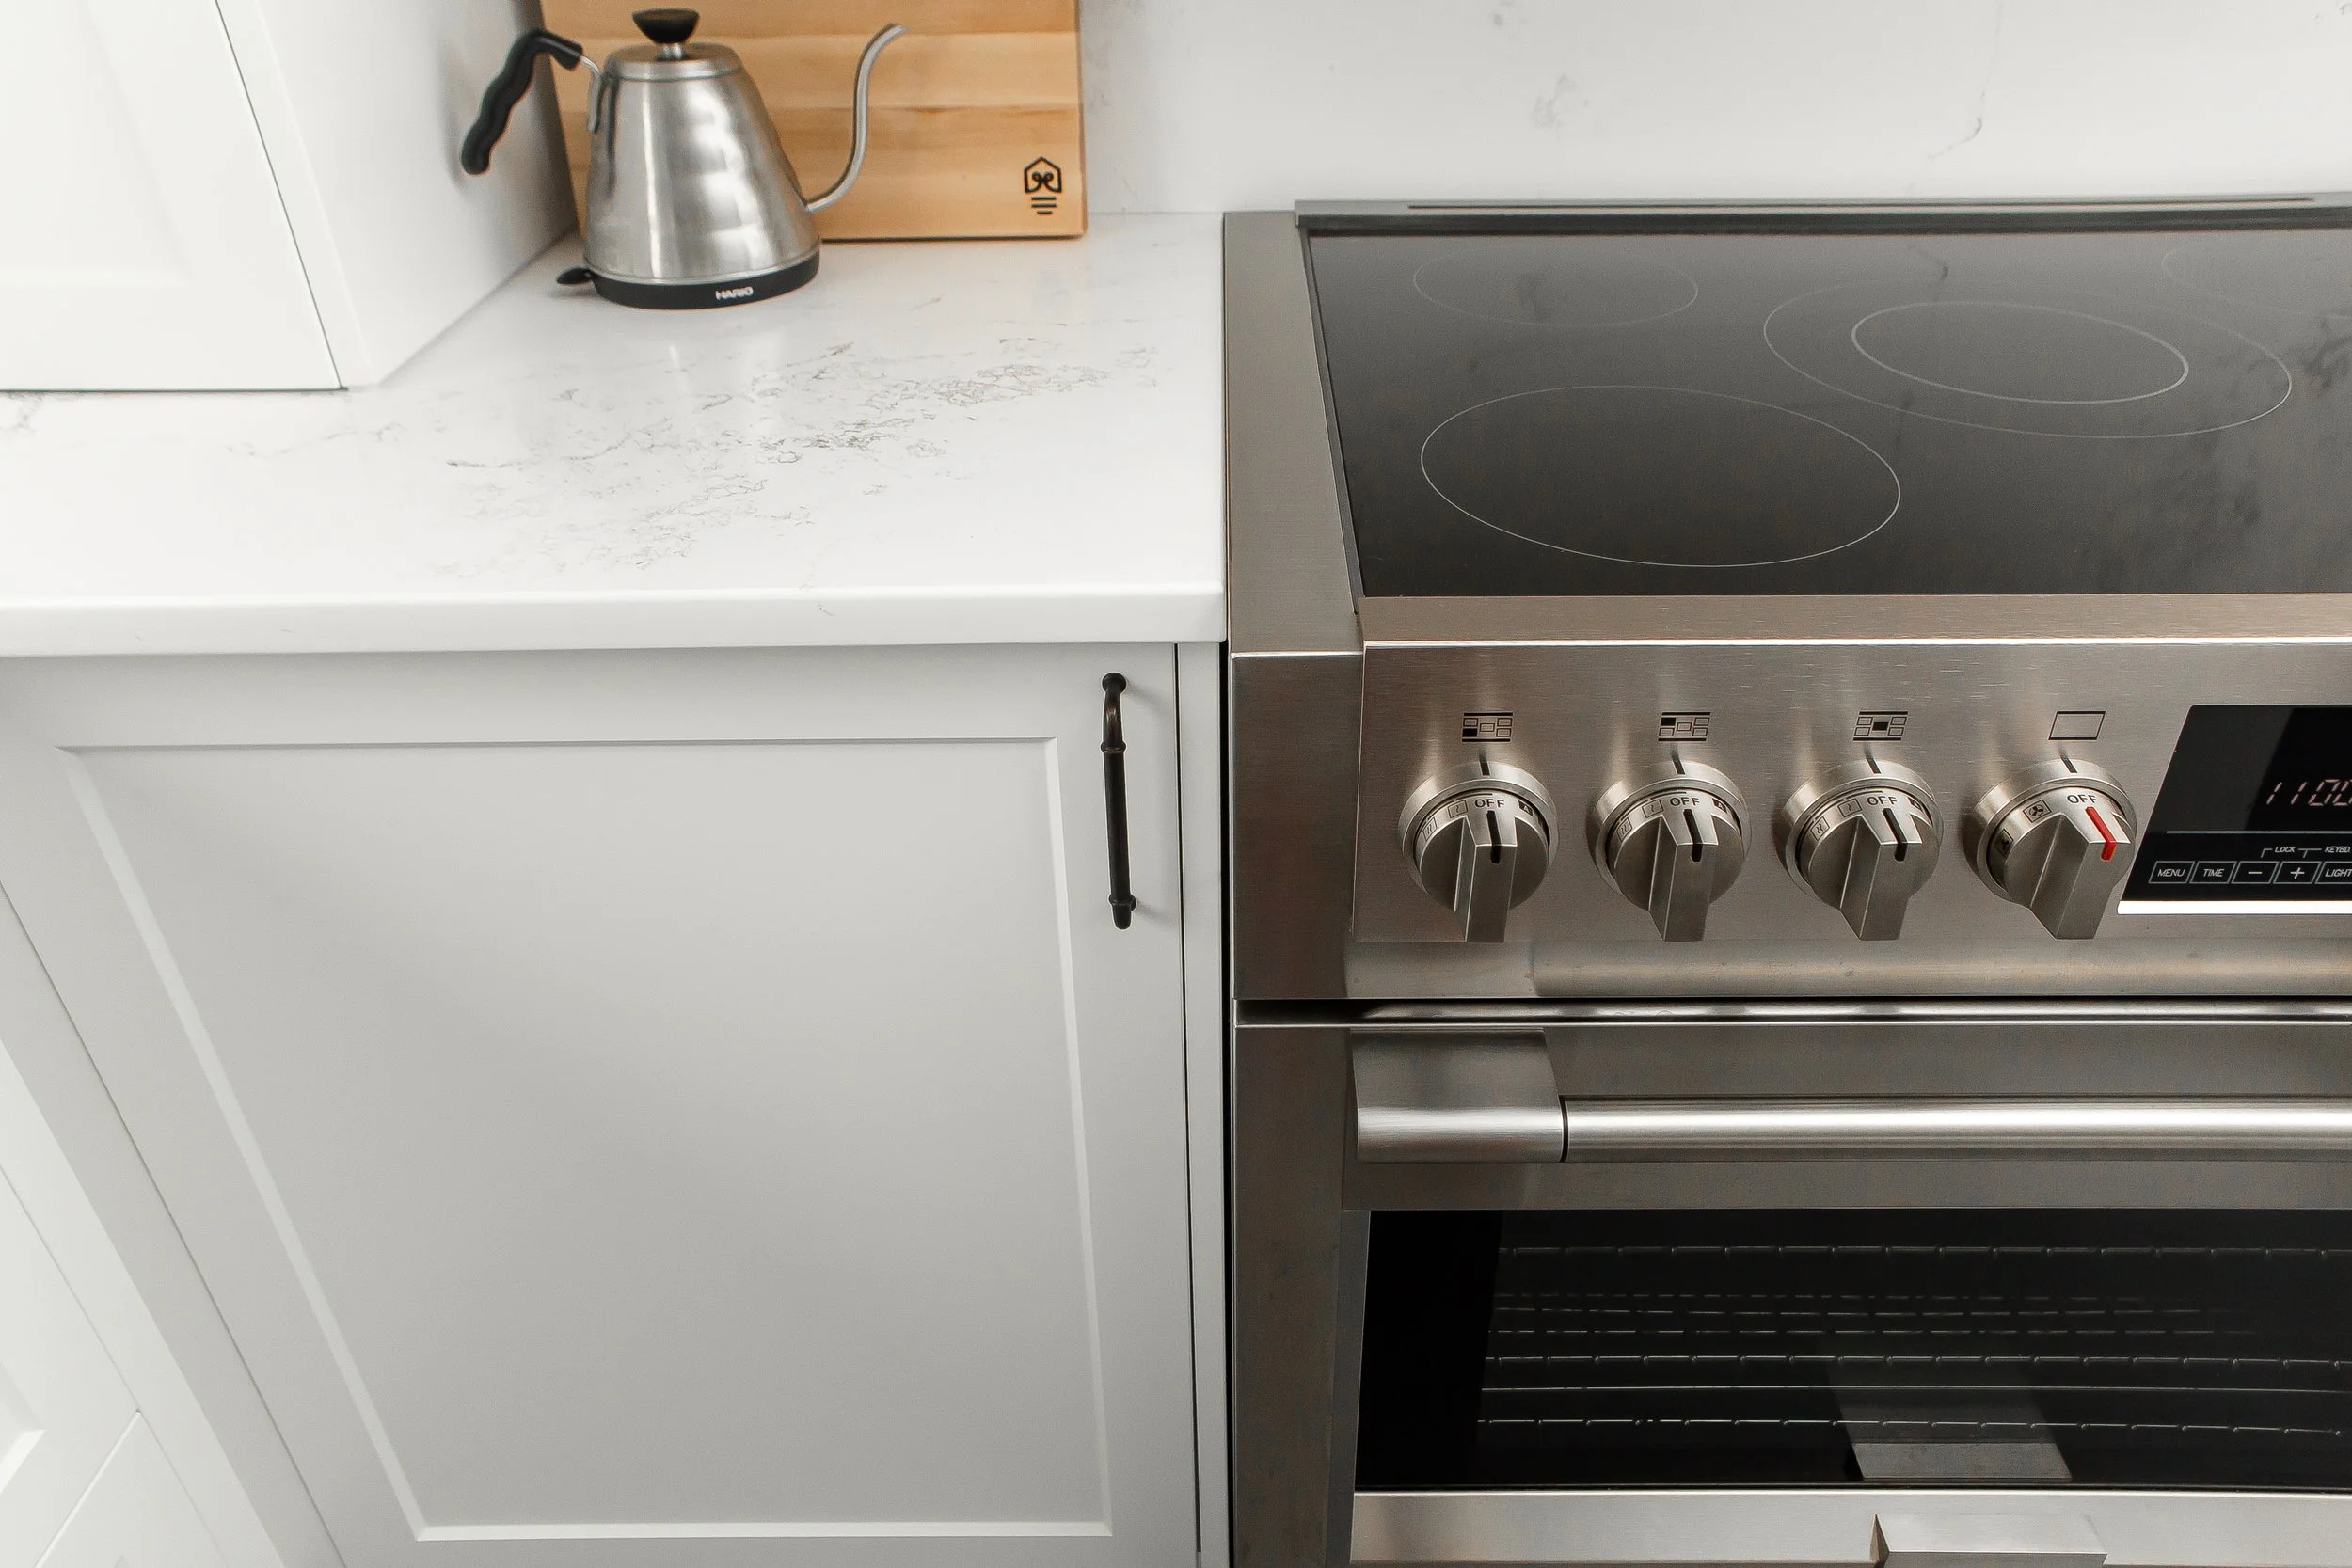
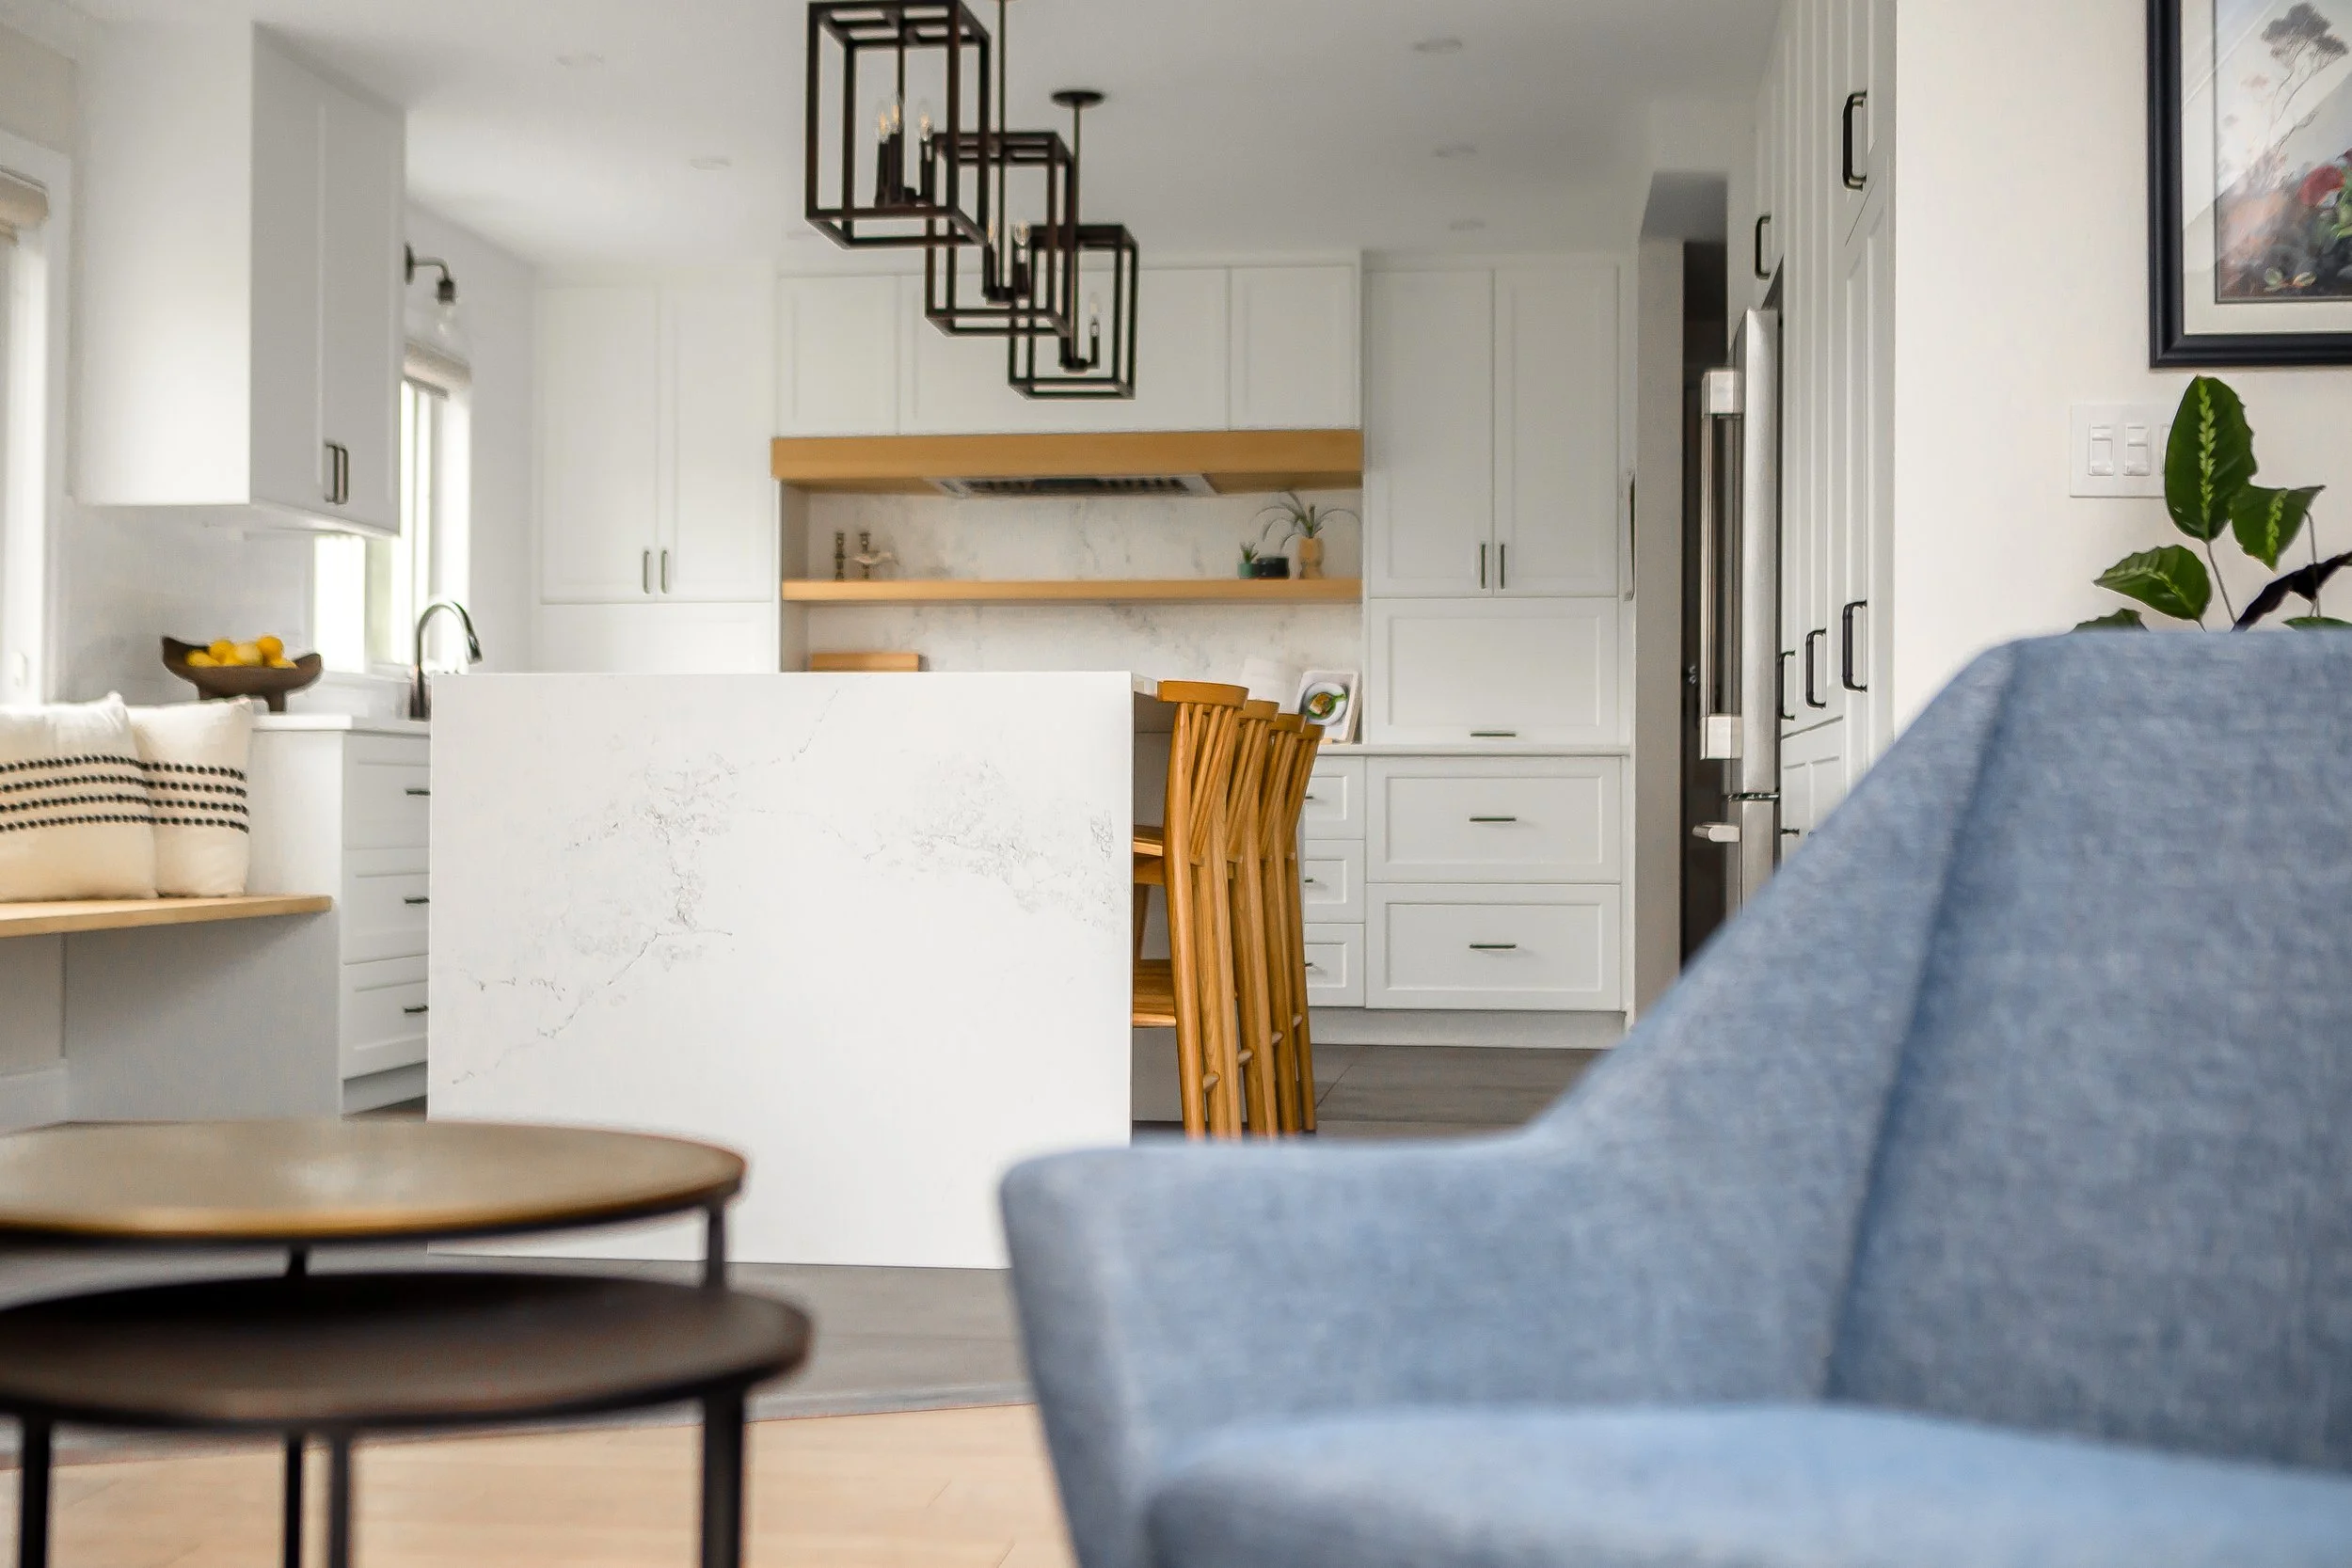
It’s a toss up between the range and the island as being the real showstopper of the space.

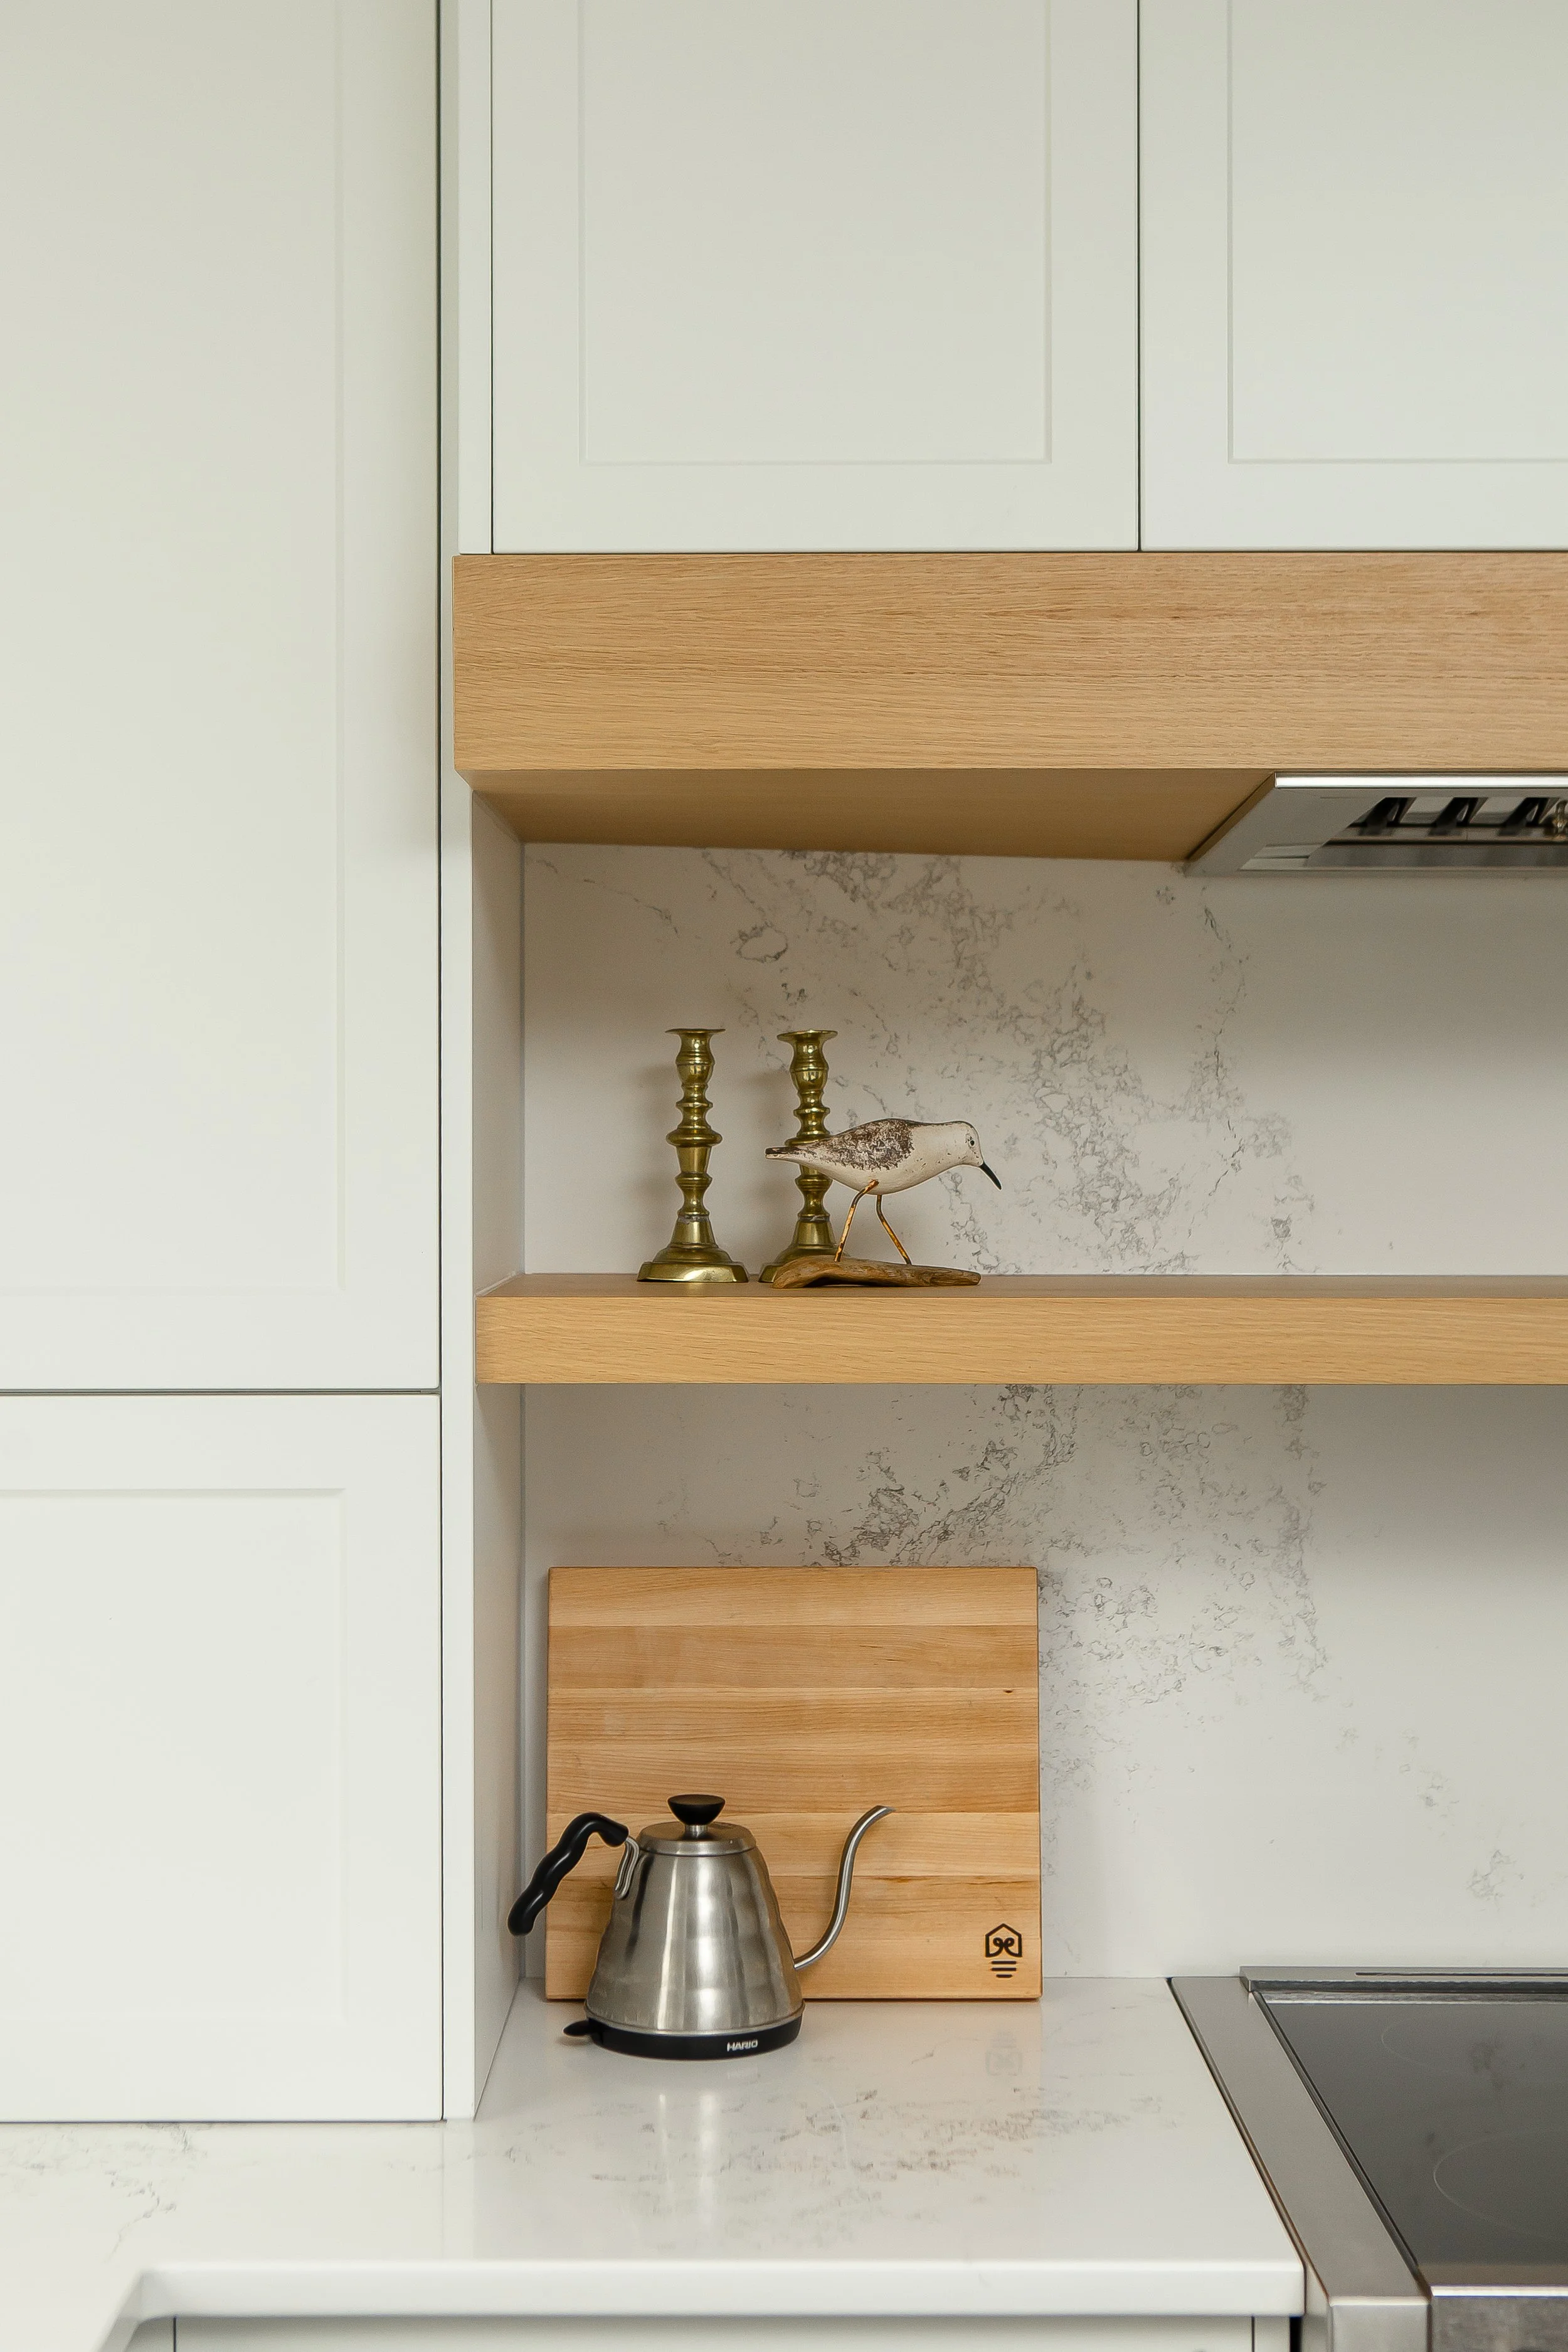
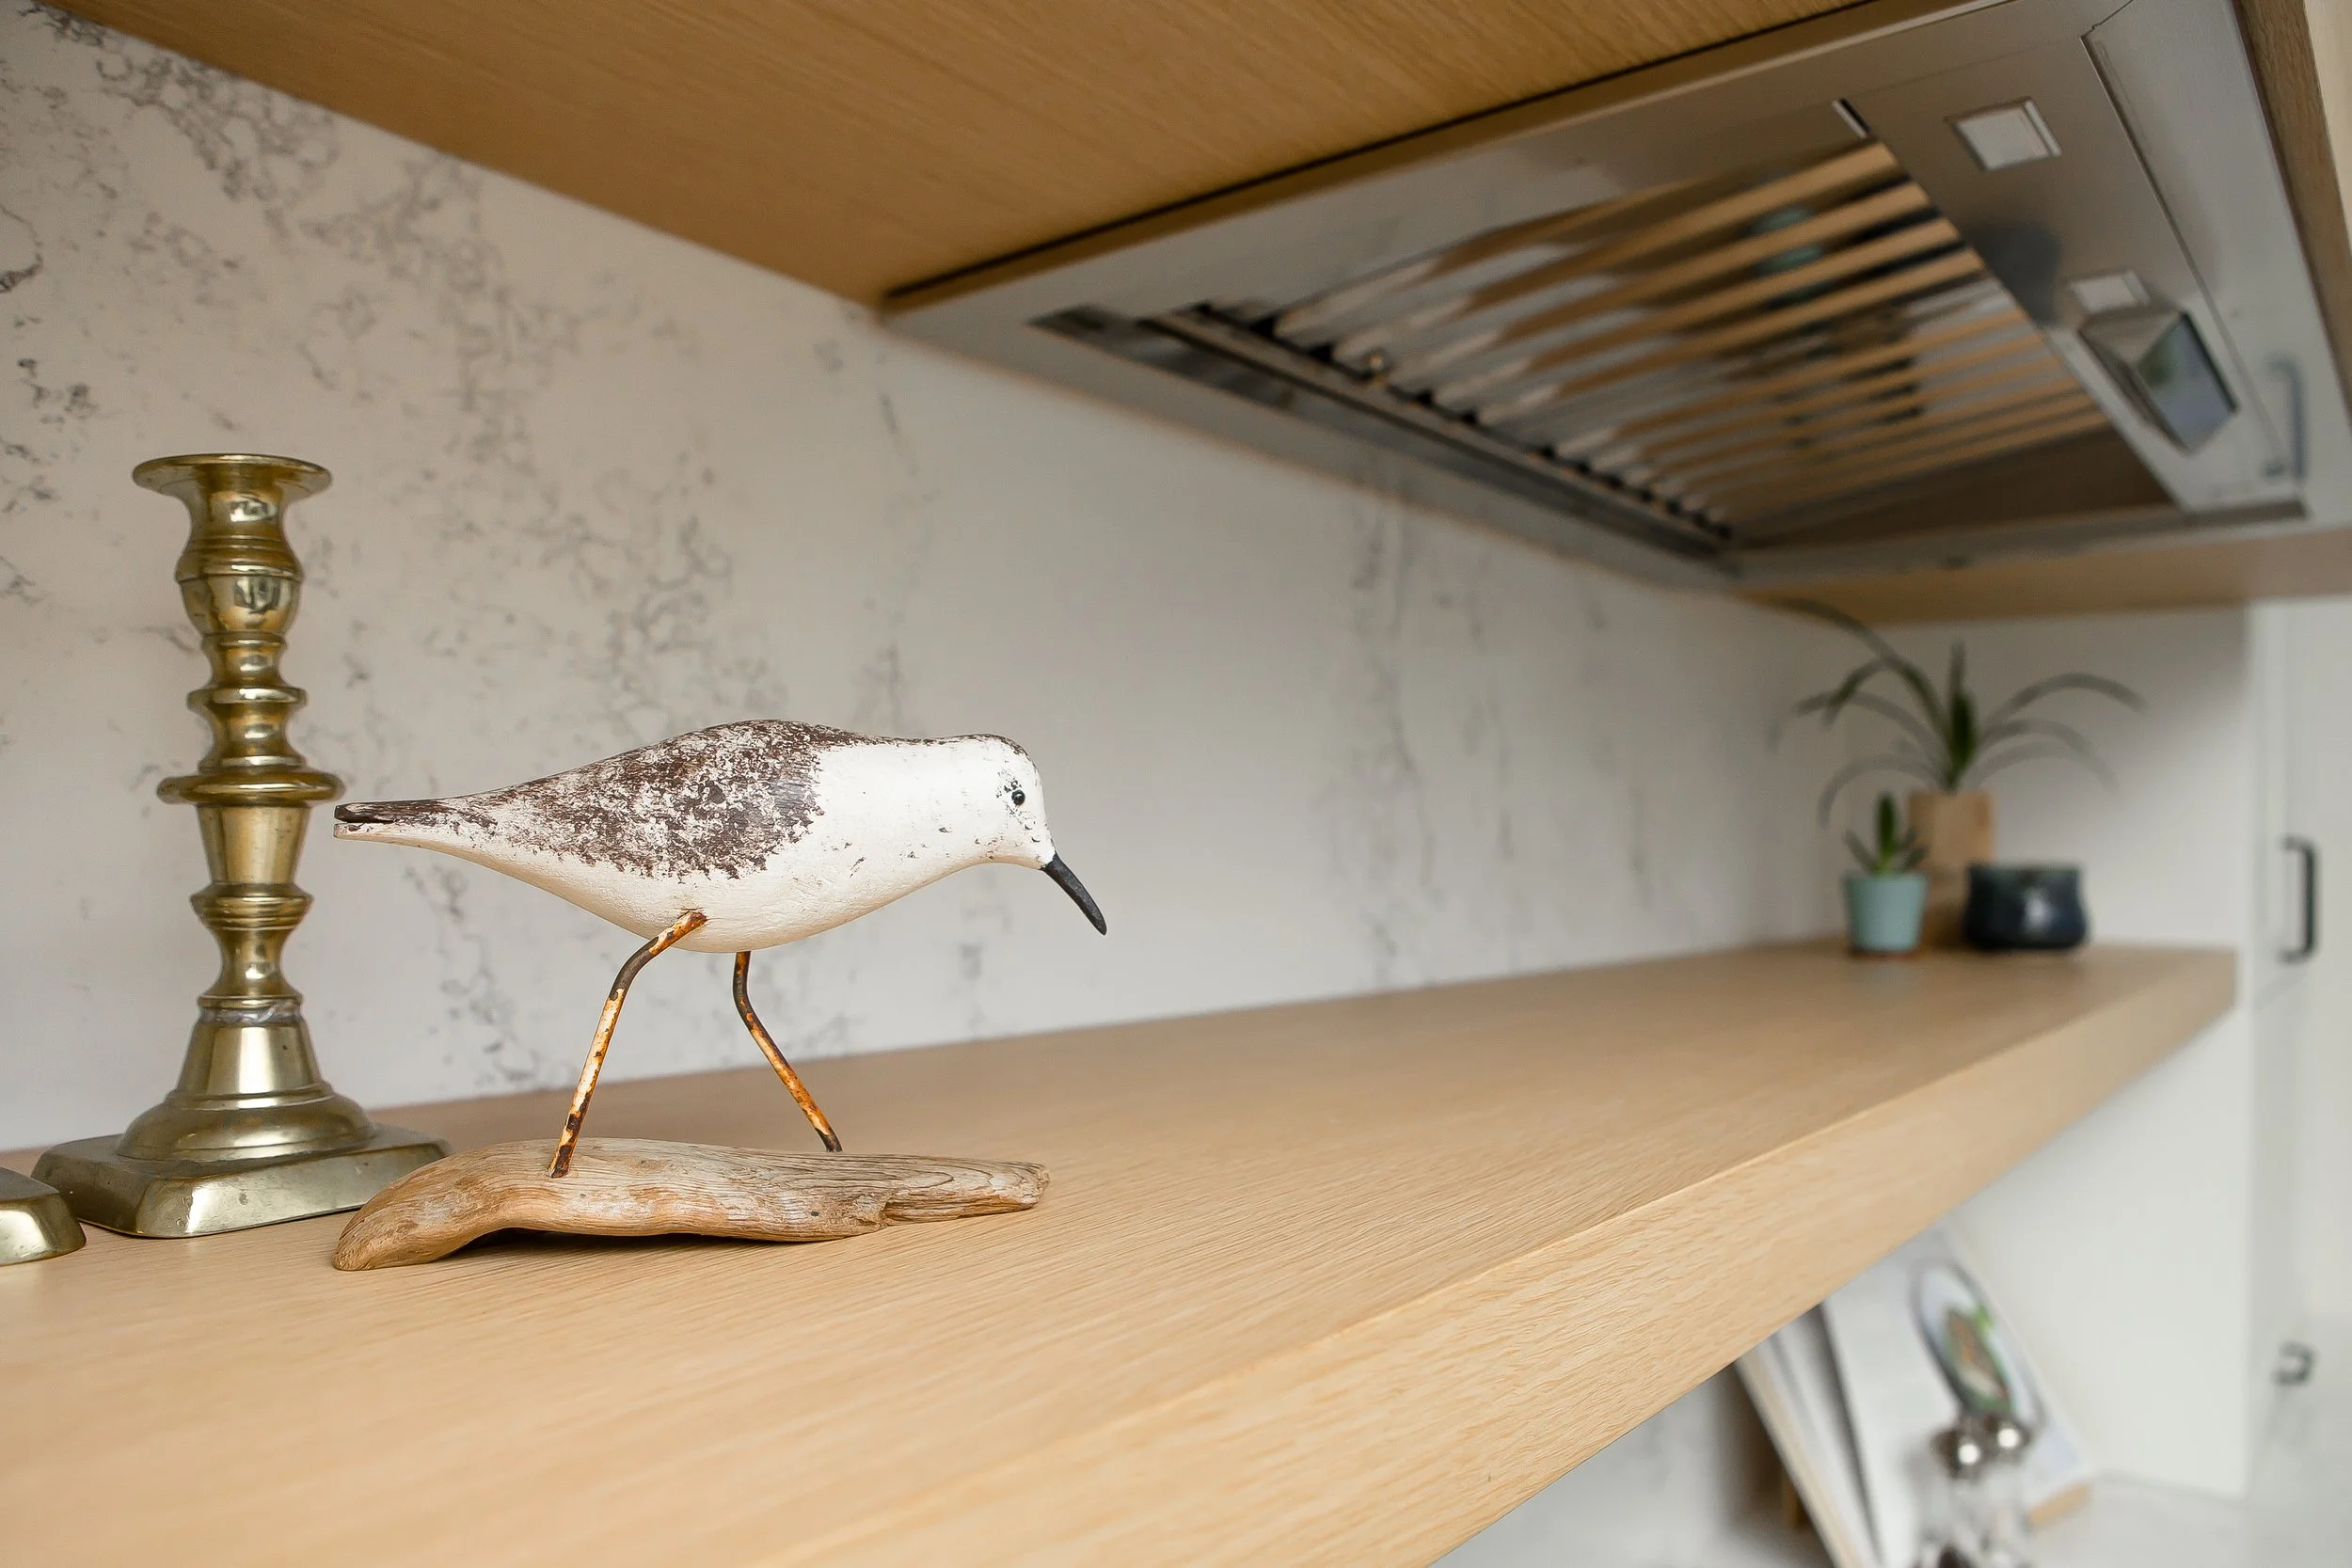
We went with a 36” induction range and carried the quartz countertop up onto the wall behind. The space is accented by more touches of wood in the floating shelf and range hood trim above.

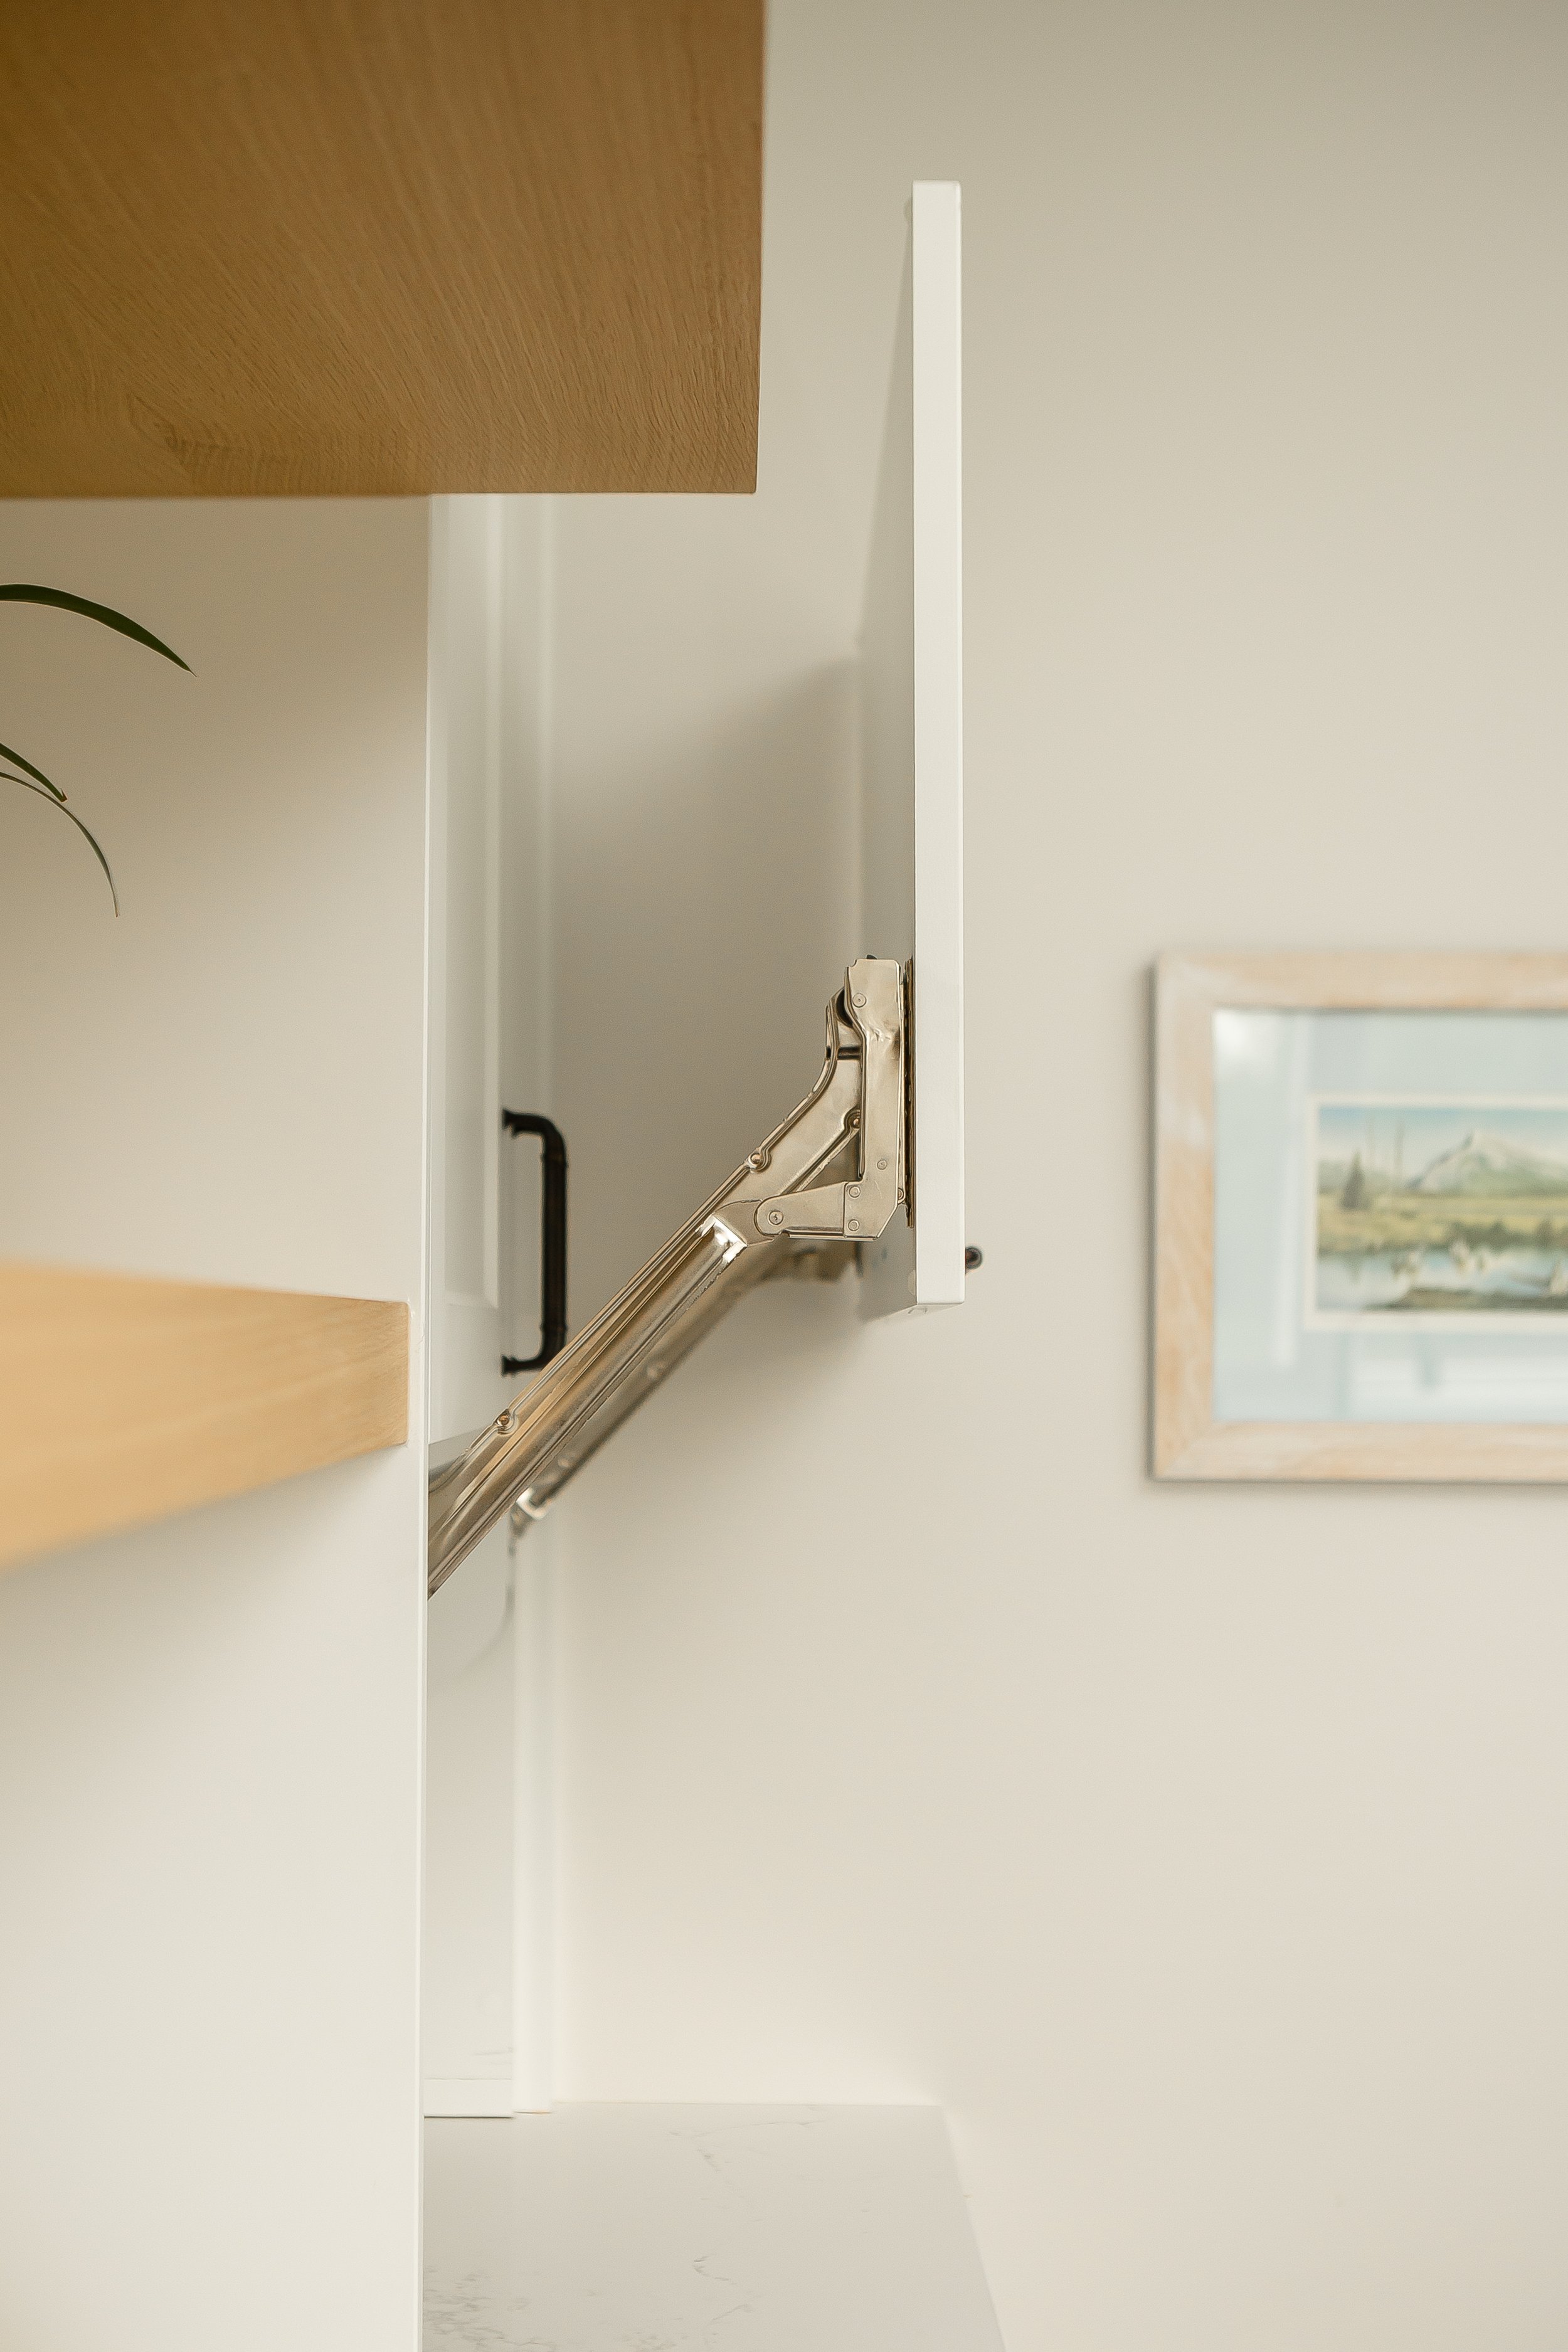
The double appliance garages serve an extra purpose beyond pure storage. They are actually hers and his appliance garages with separate toasters in each as one of our client’s has Celiac Disease and the other loves making homemade, gluten filled bread - so the toast has to be separated!
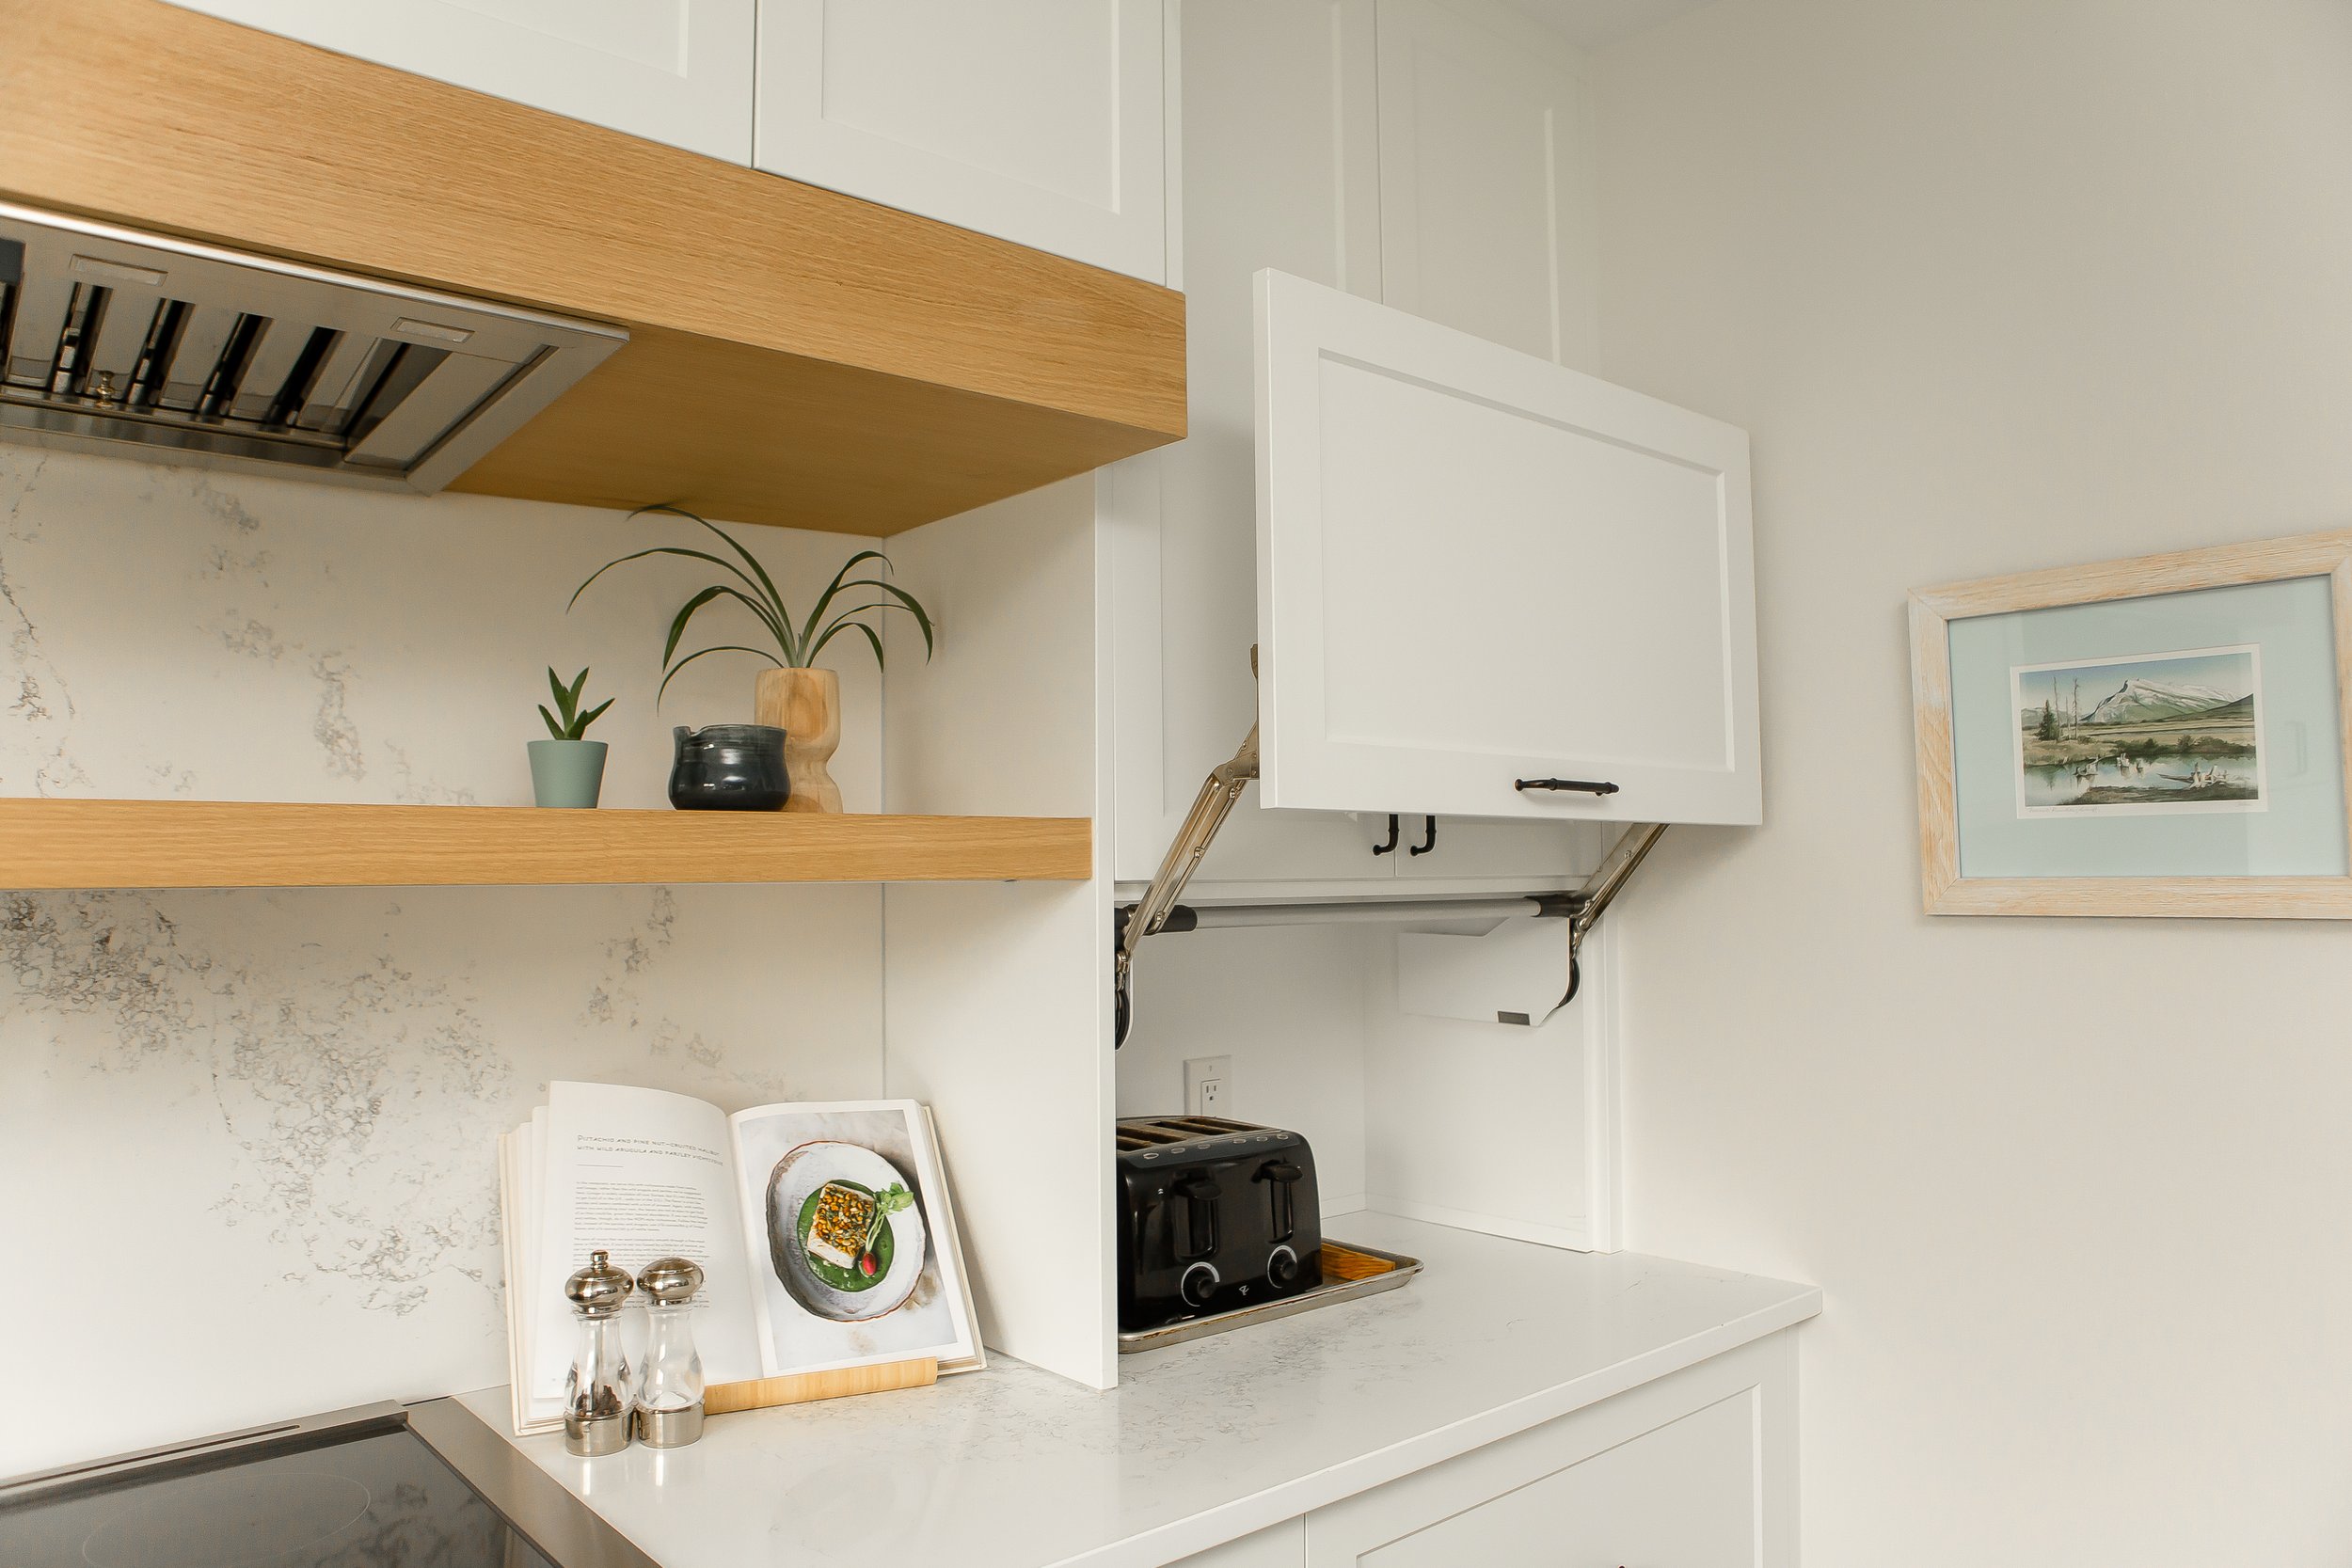
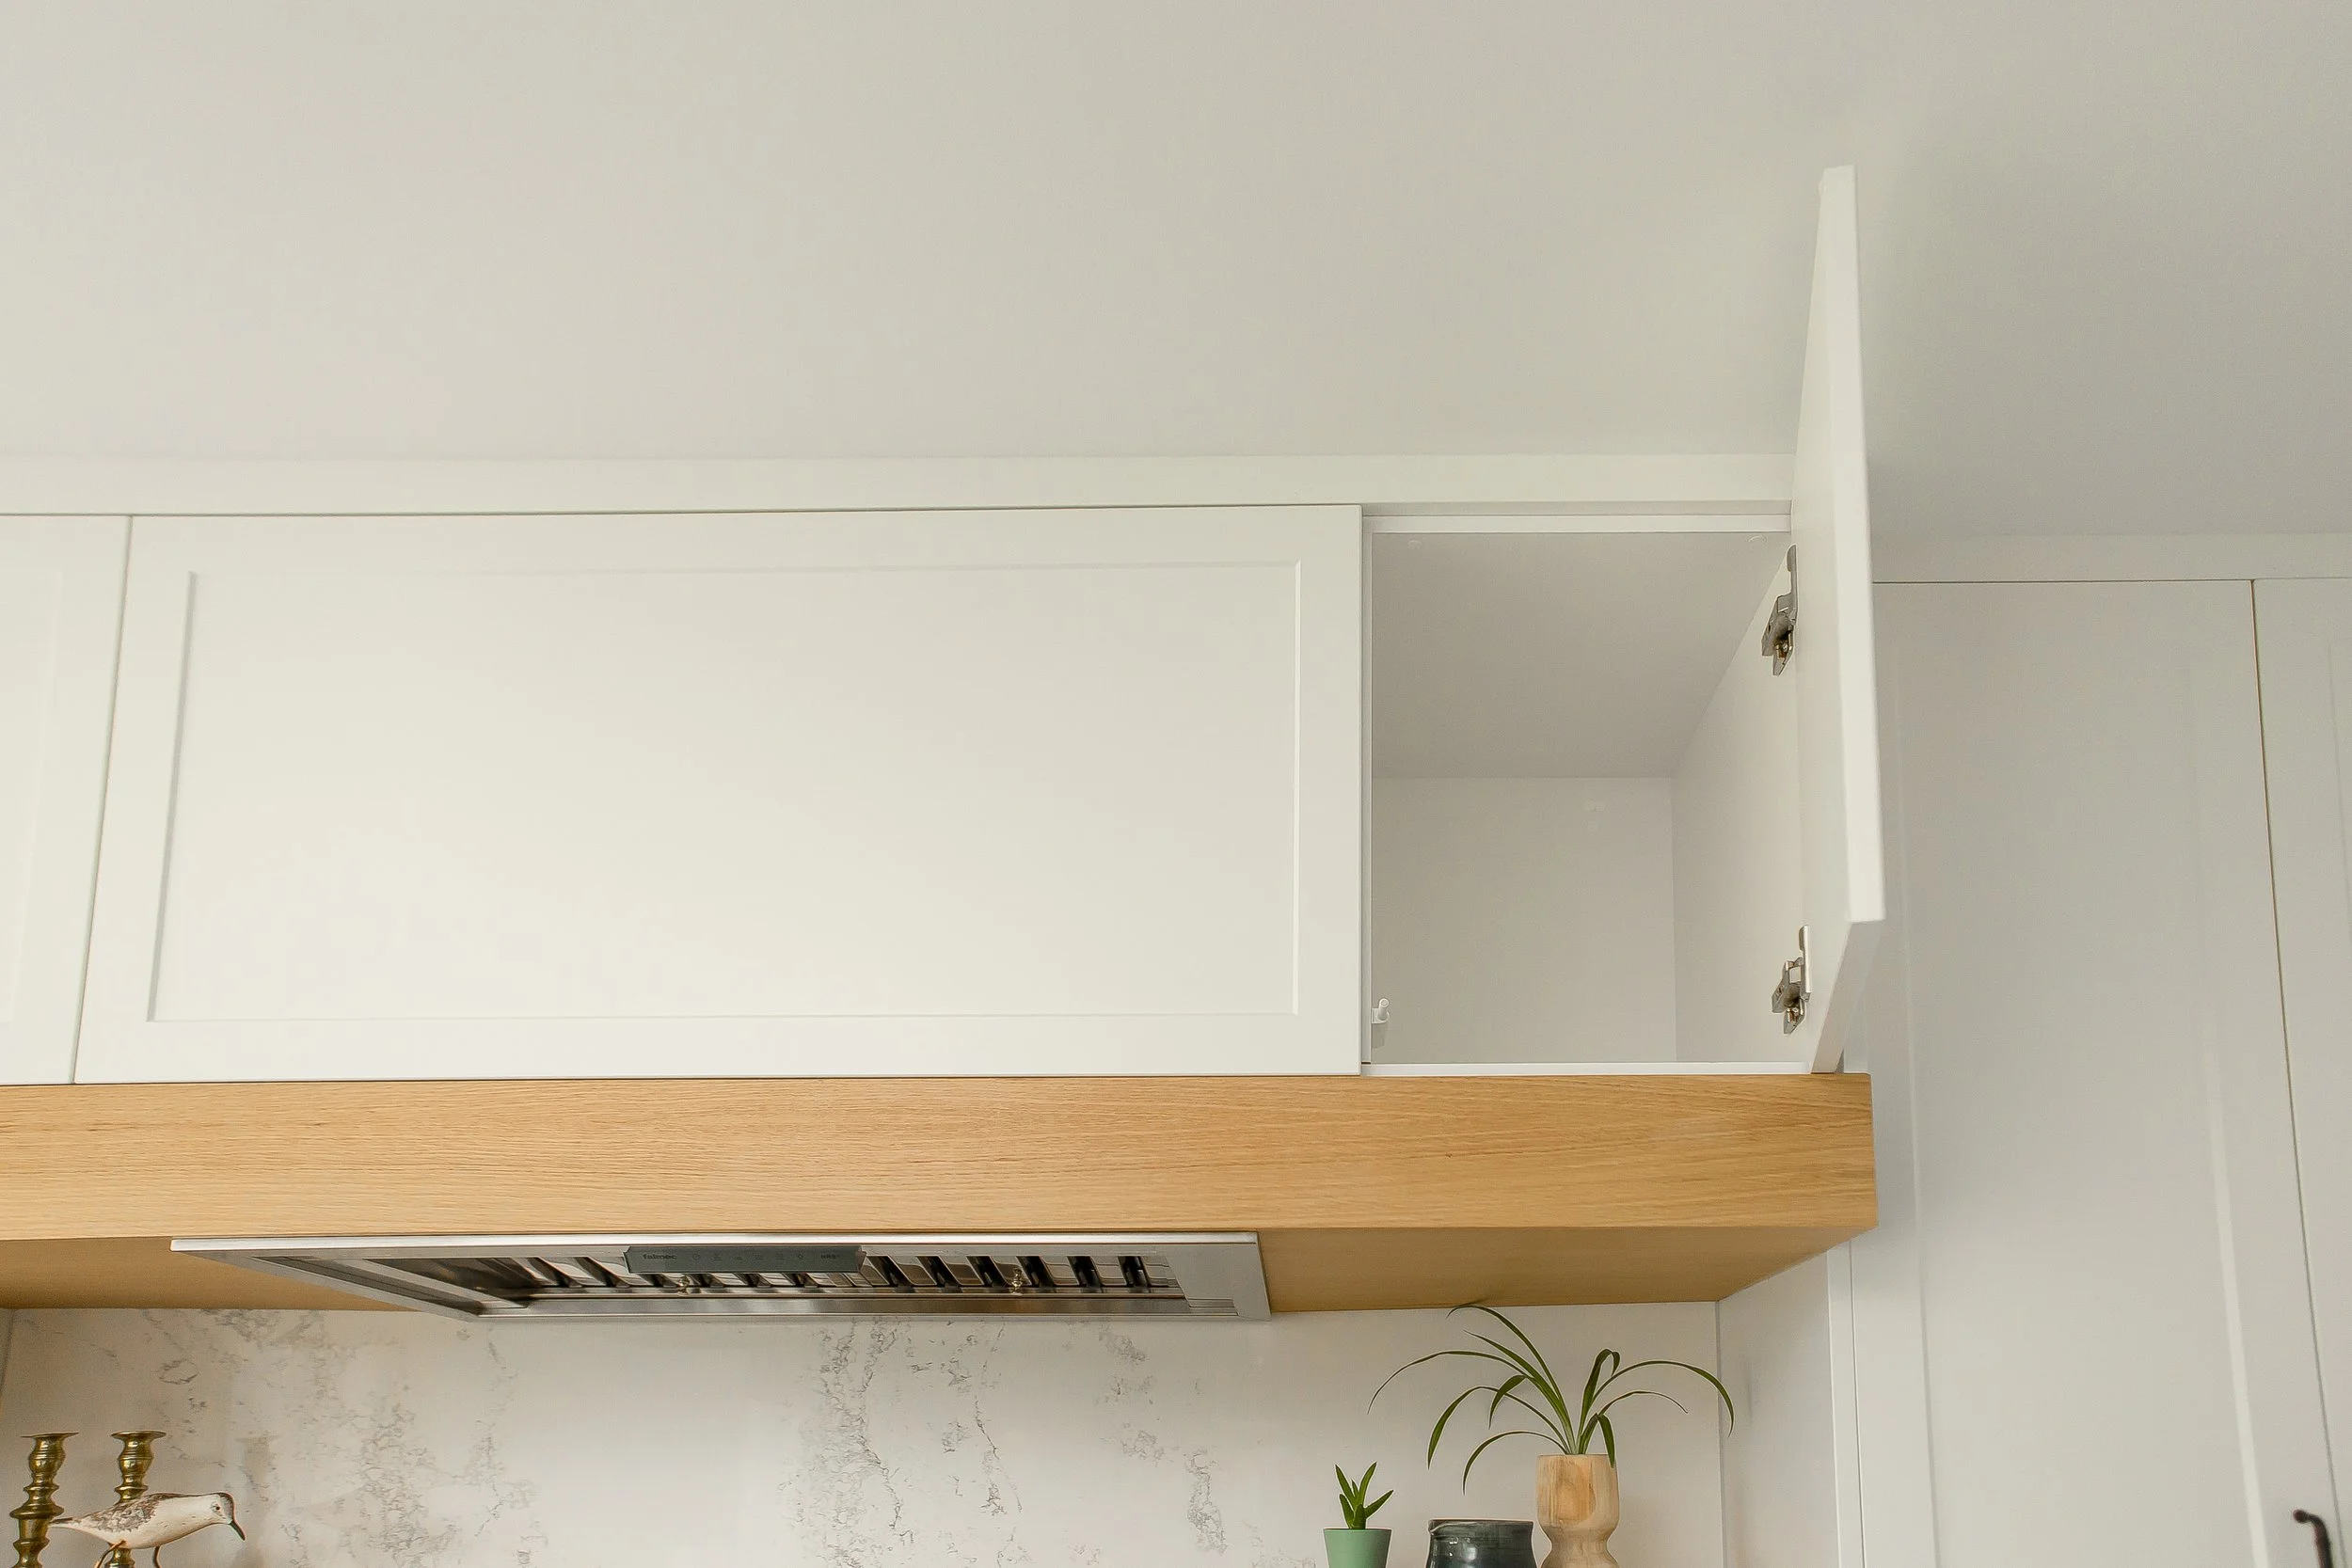
And since wasted space isn’t our jam, we ensured that the oversized range hood still had storage accessible within it too.
We utilized pull out shelving to the left of the range and a full set of drawers for all the cooking utensils on the right.
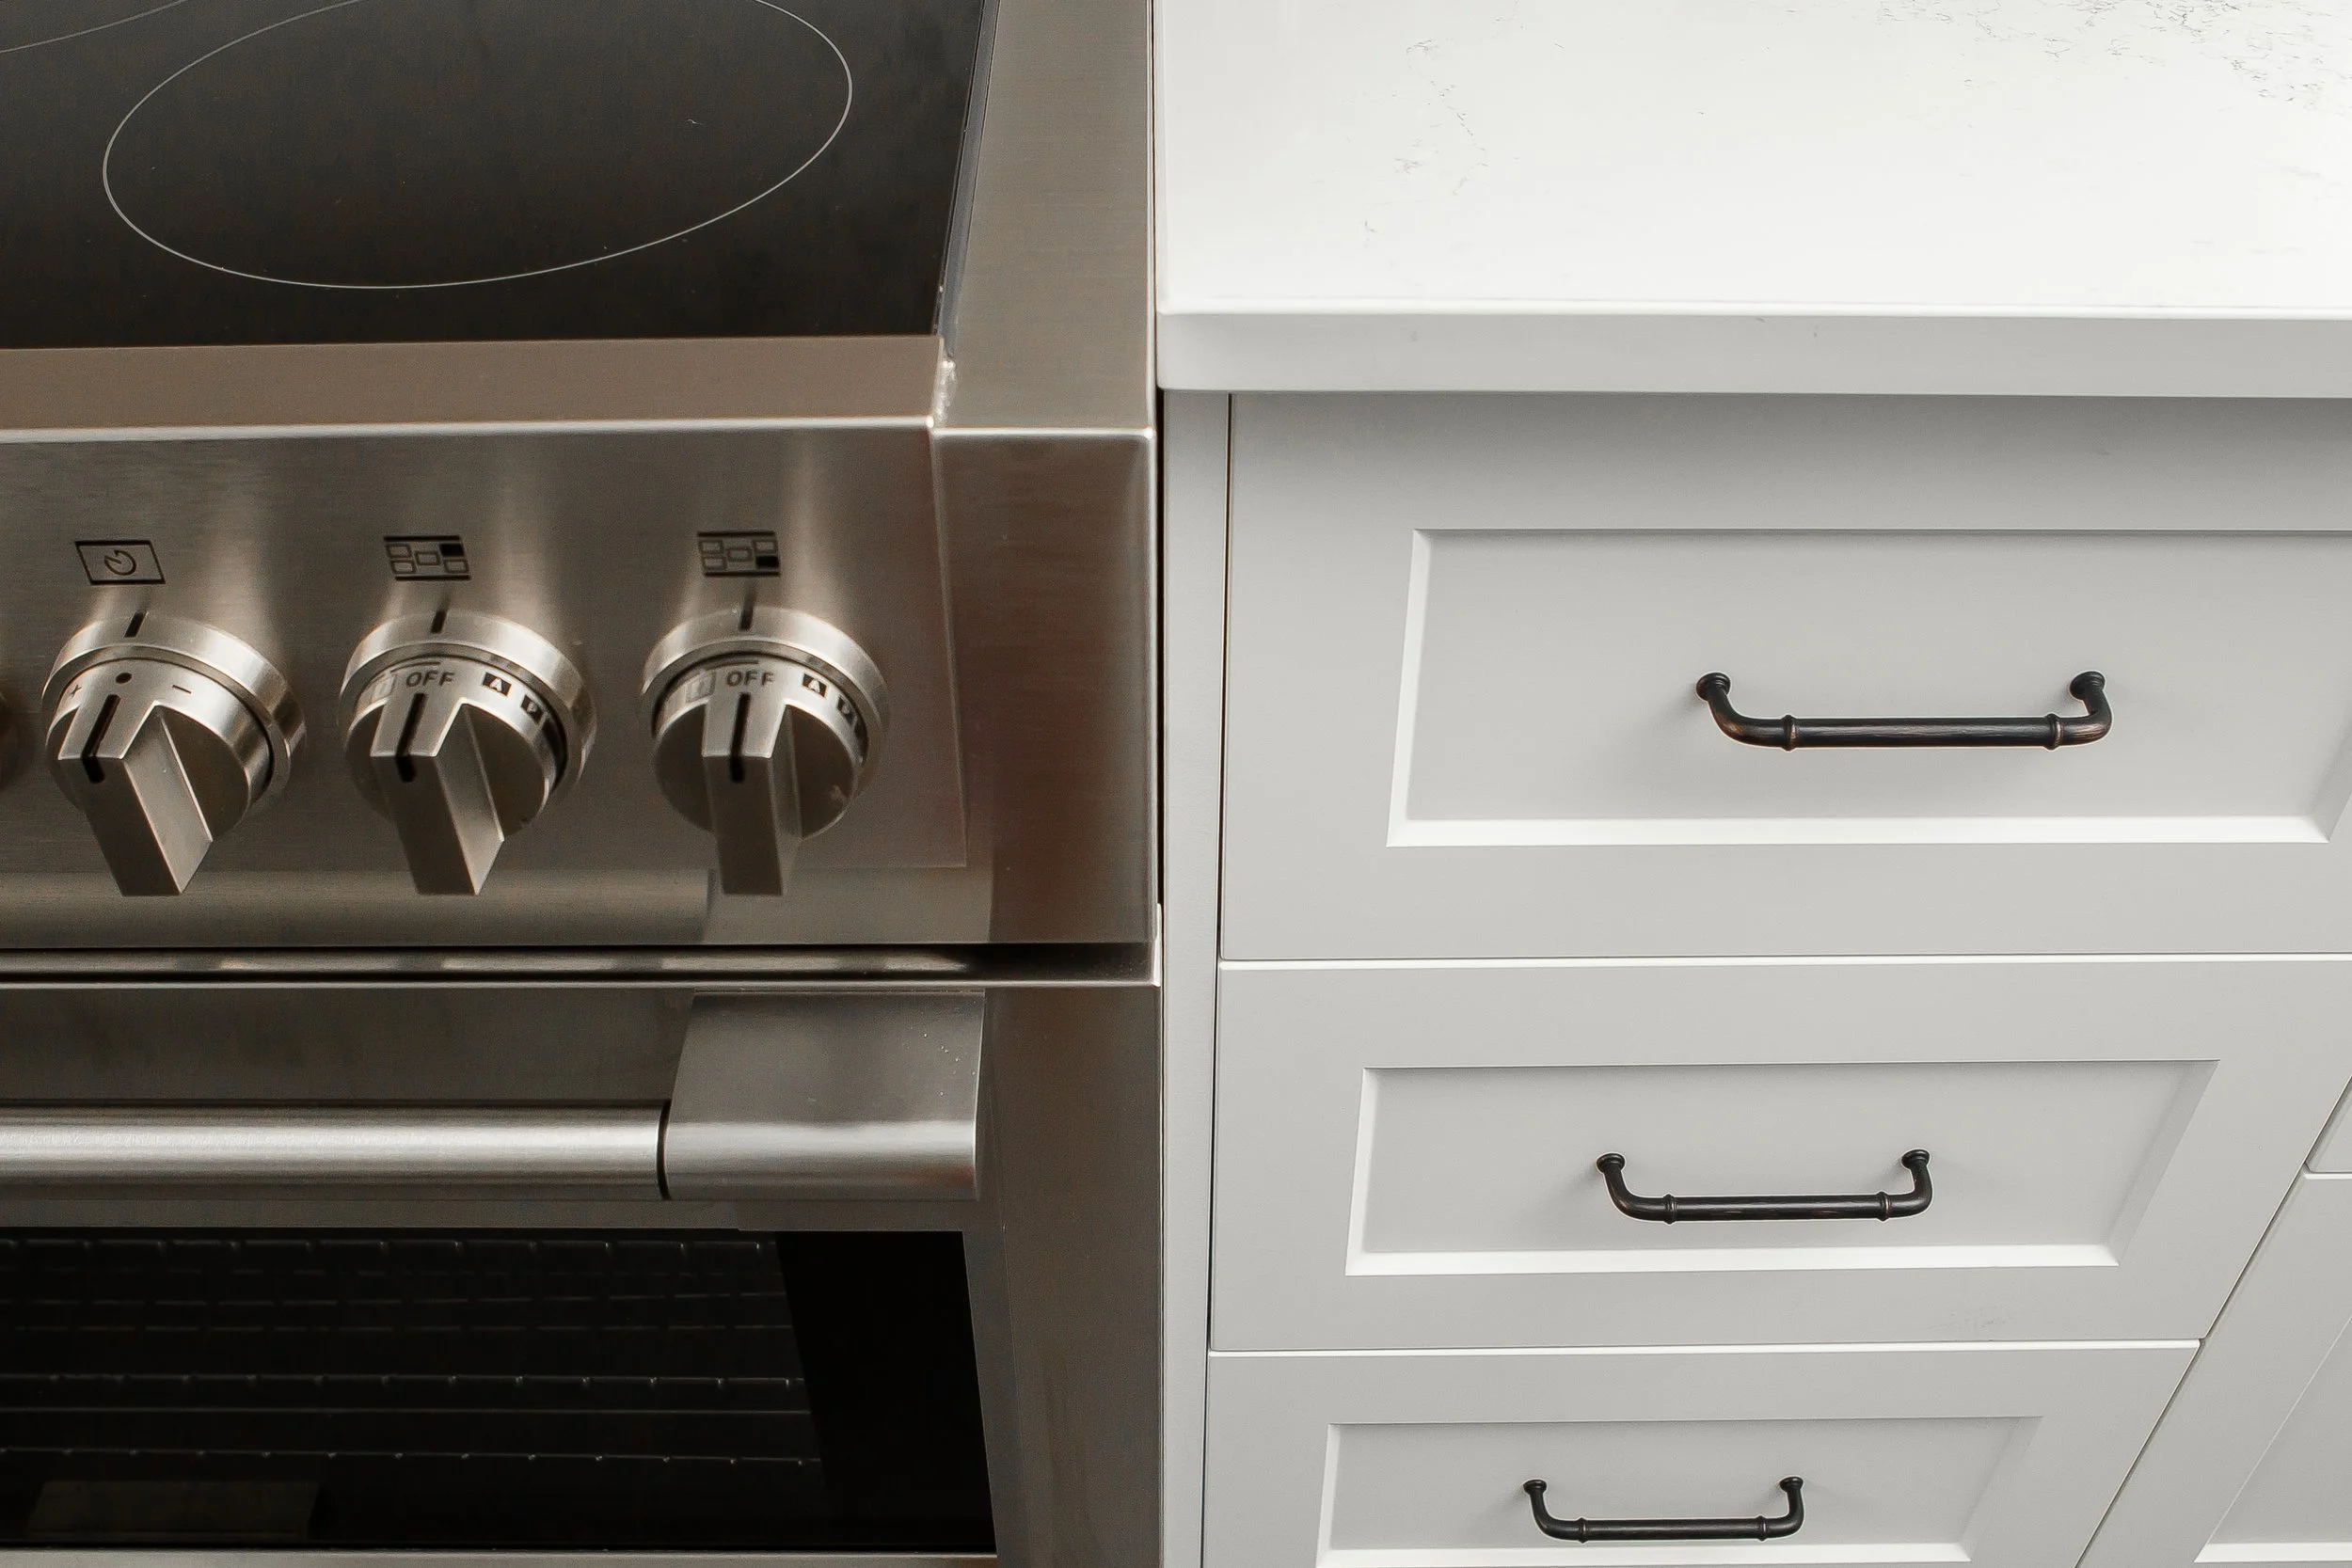
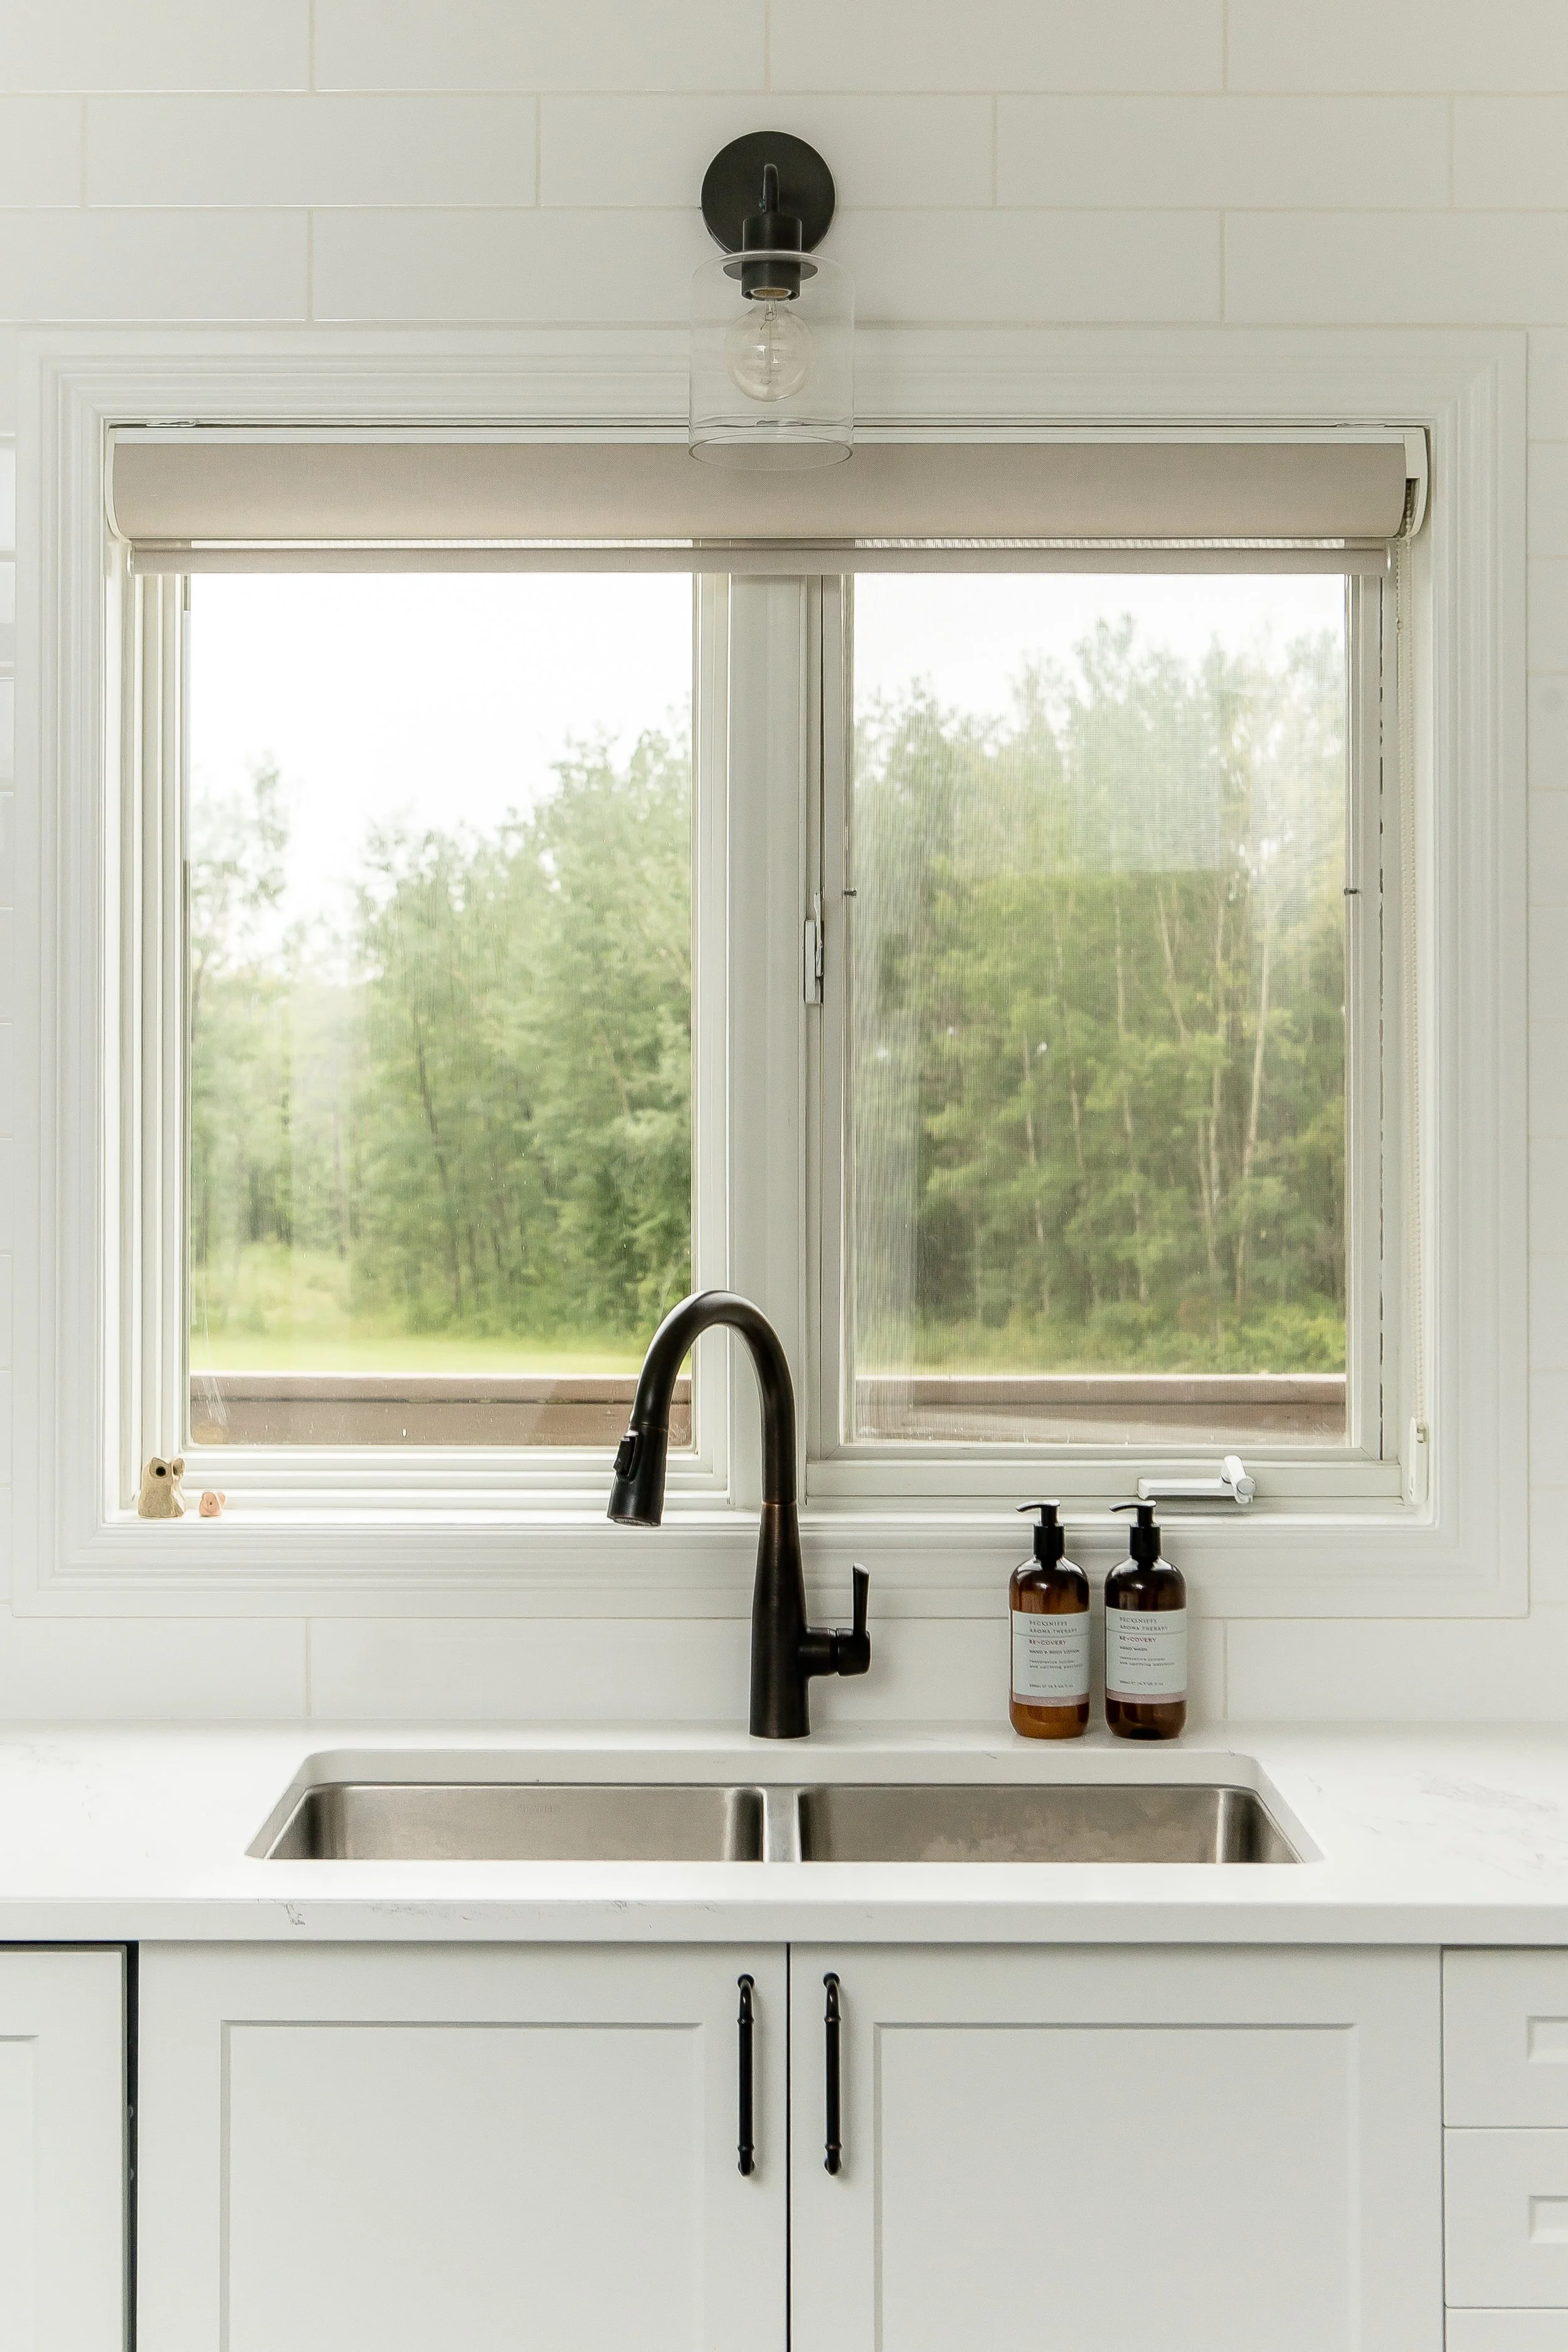
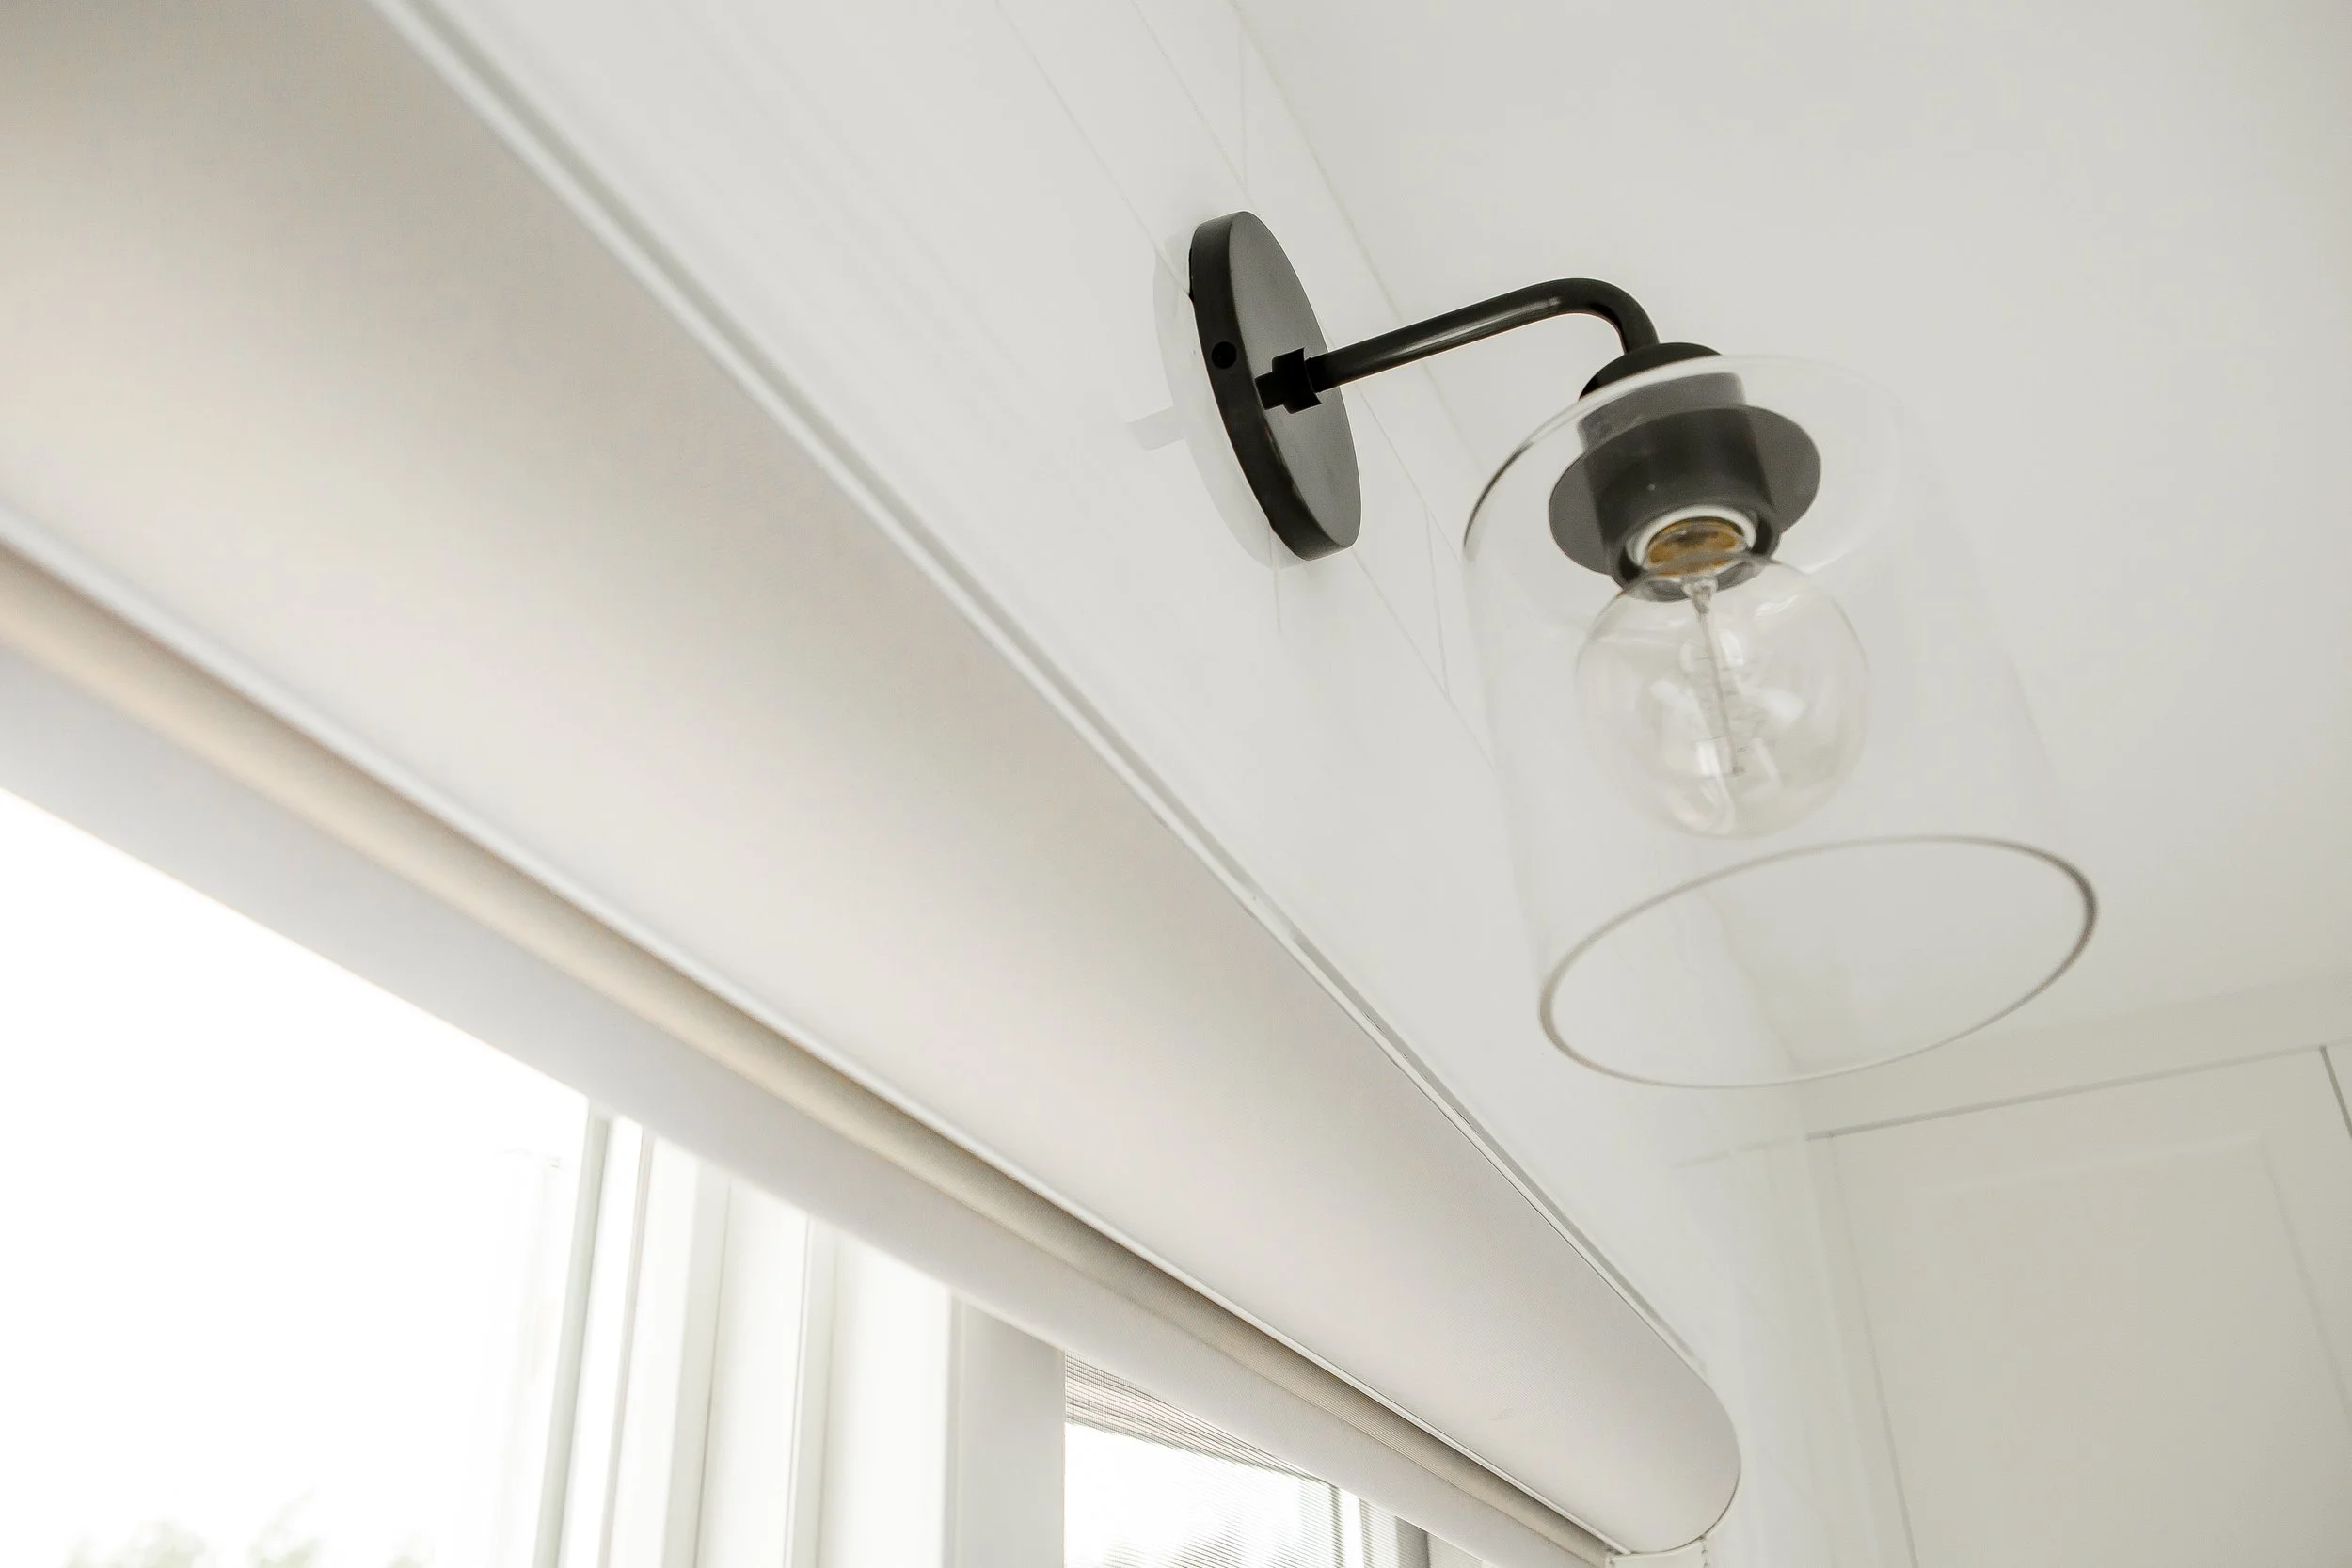
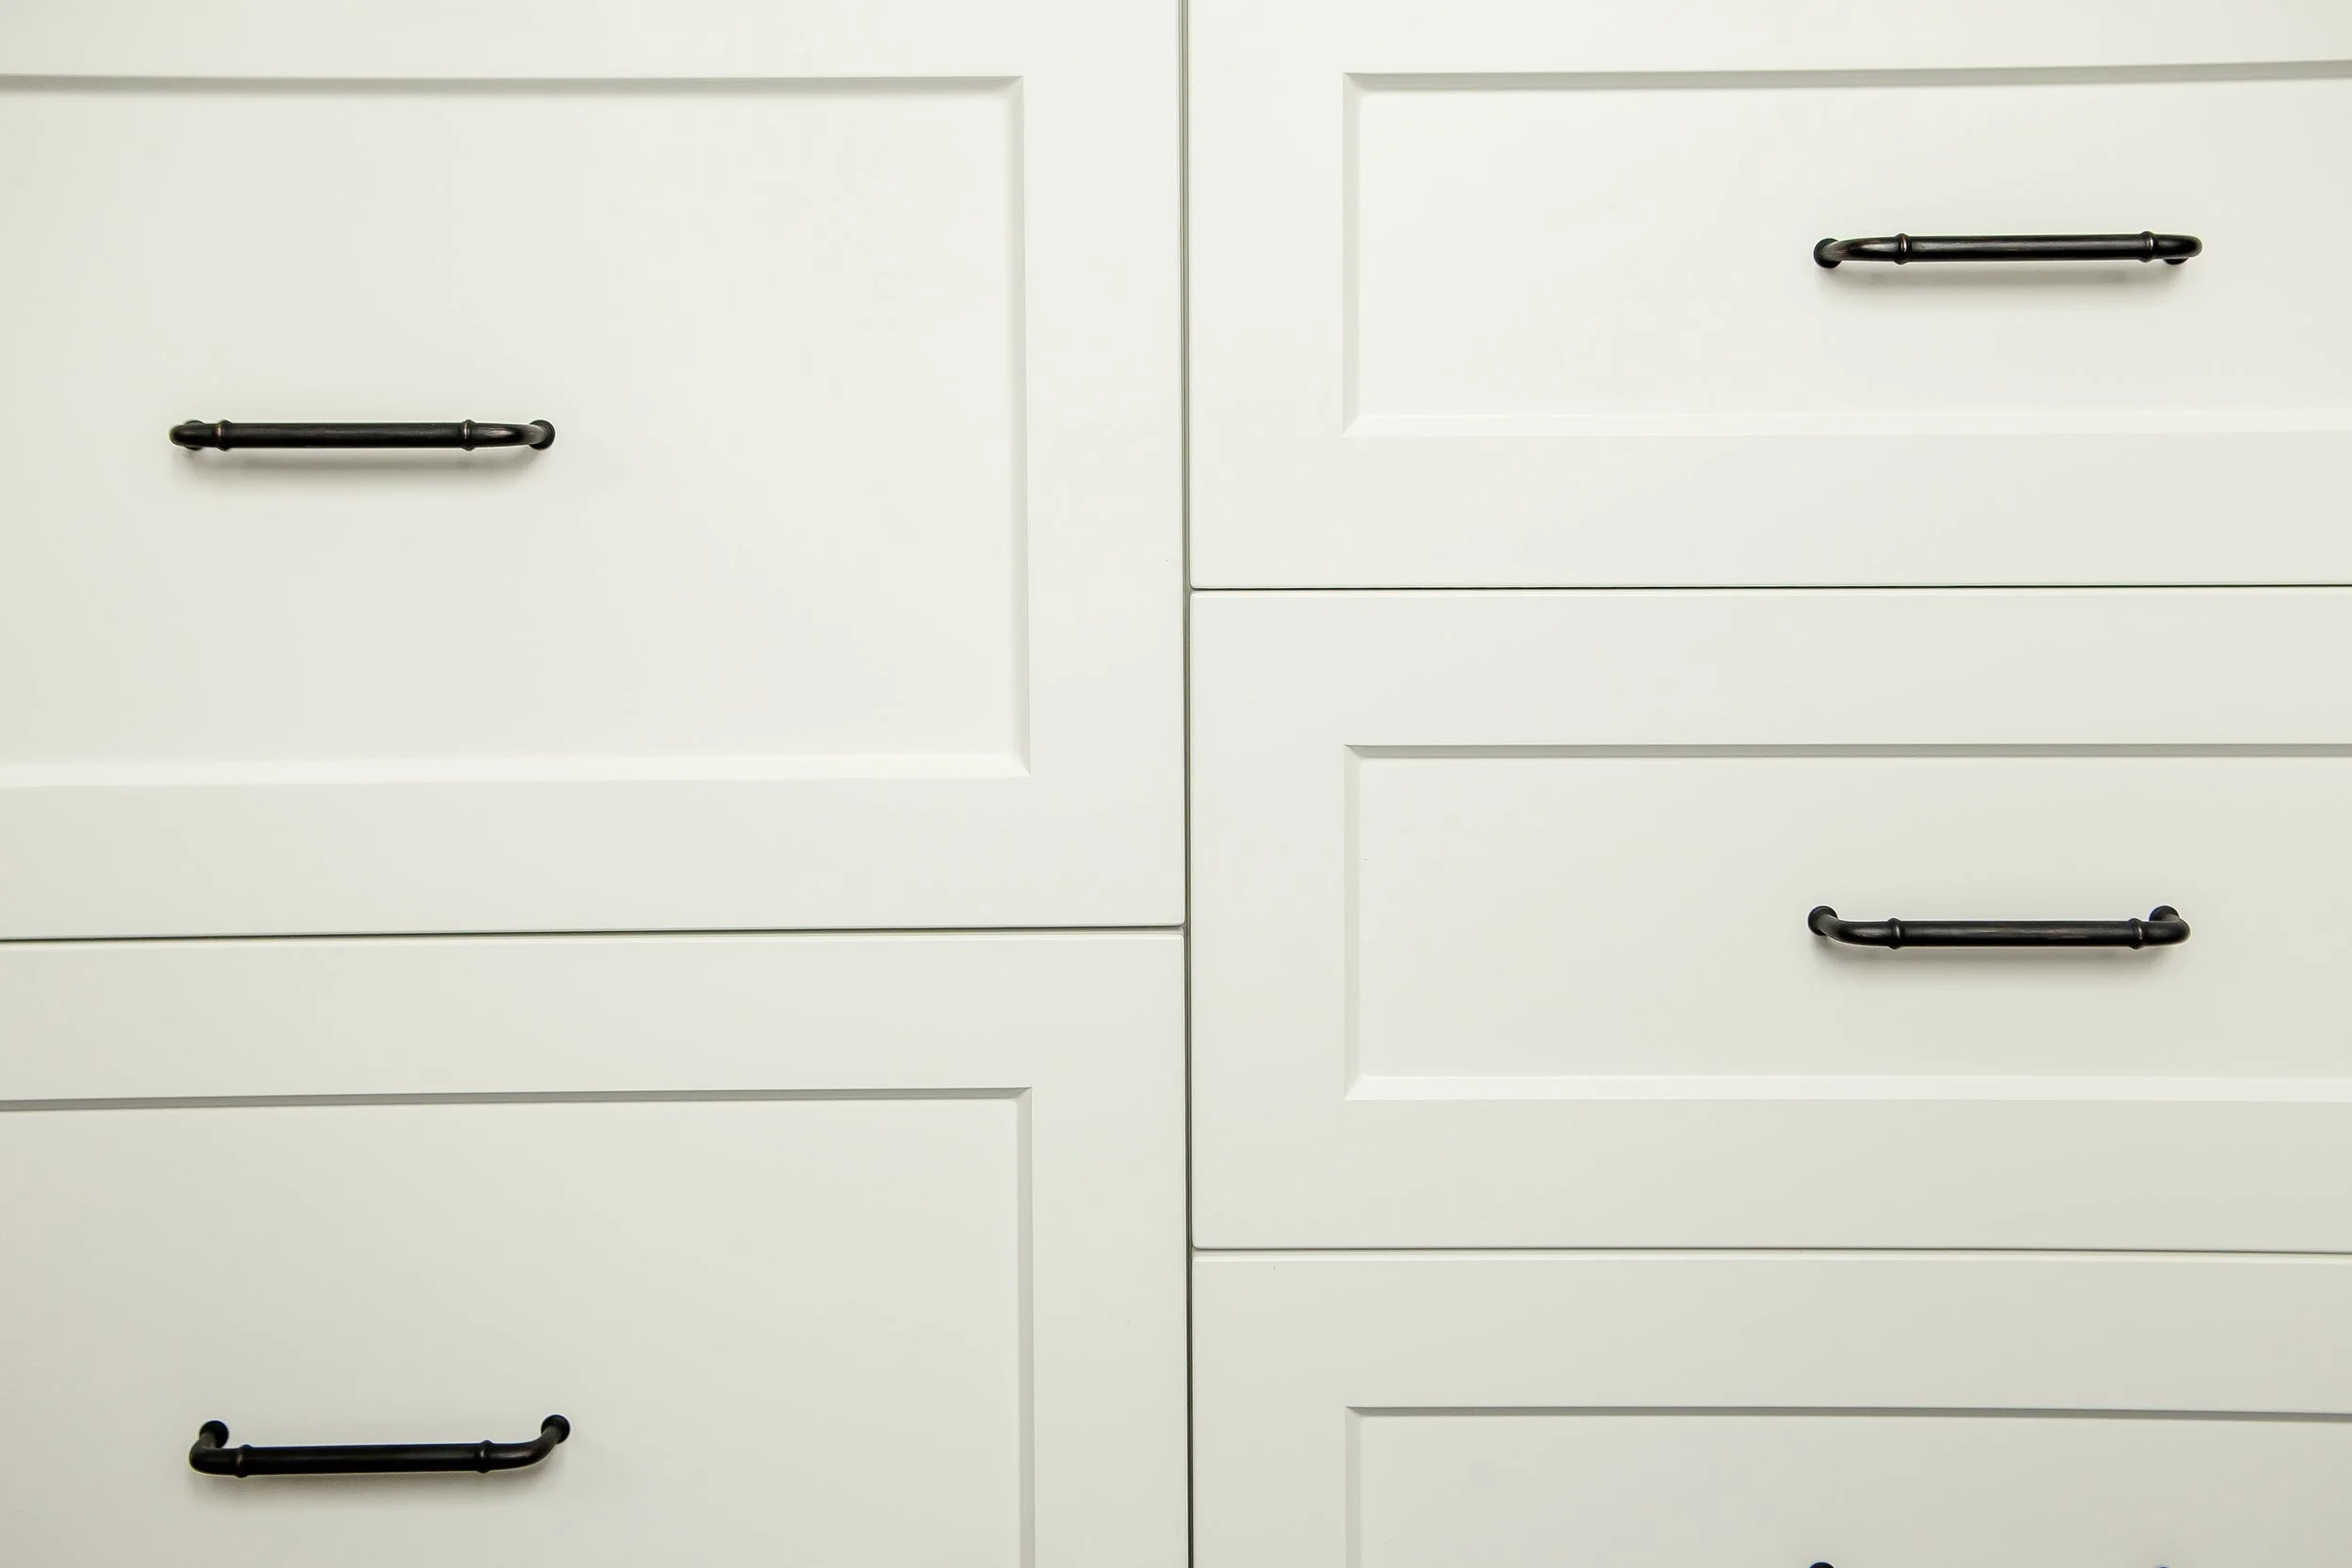
We continued the use of the bronze metal in the faucet and handles in the kitchen as well, again paired with the stainless steel of the appliances and sink and the black of the light fixtures.
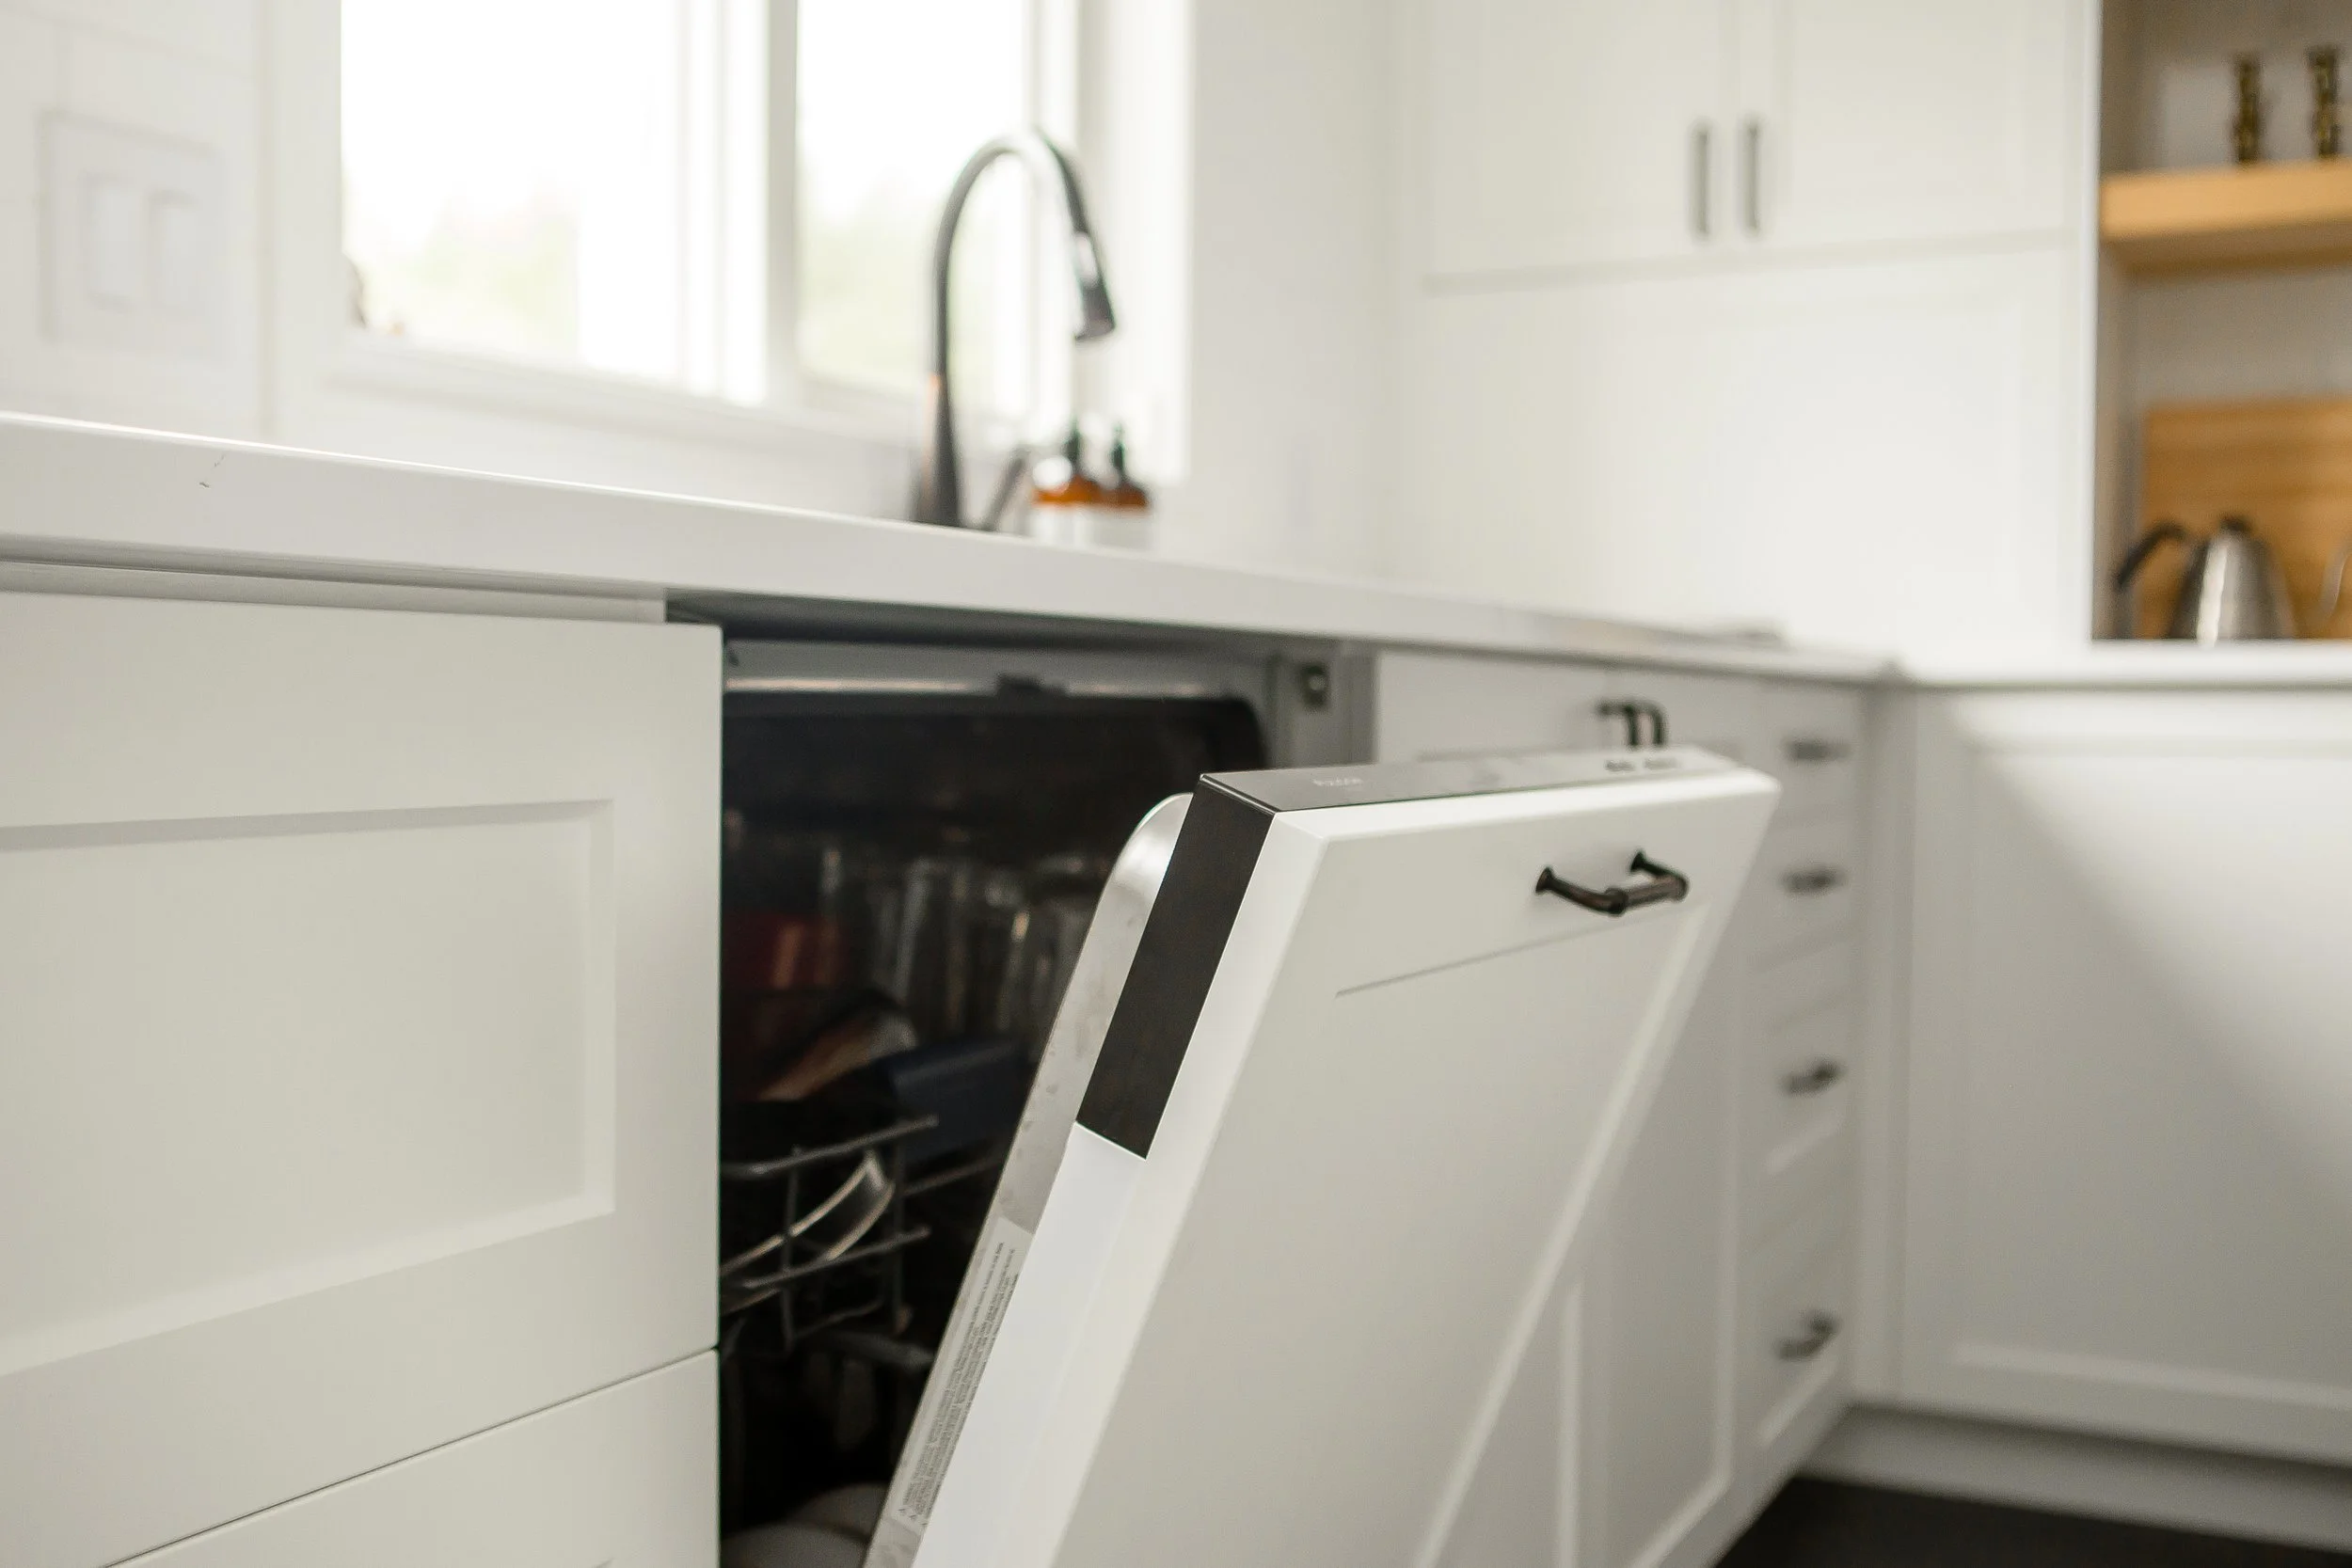
And we always recommend doing a panel front dishwasher to blend it into the space so you have one less visual break.
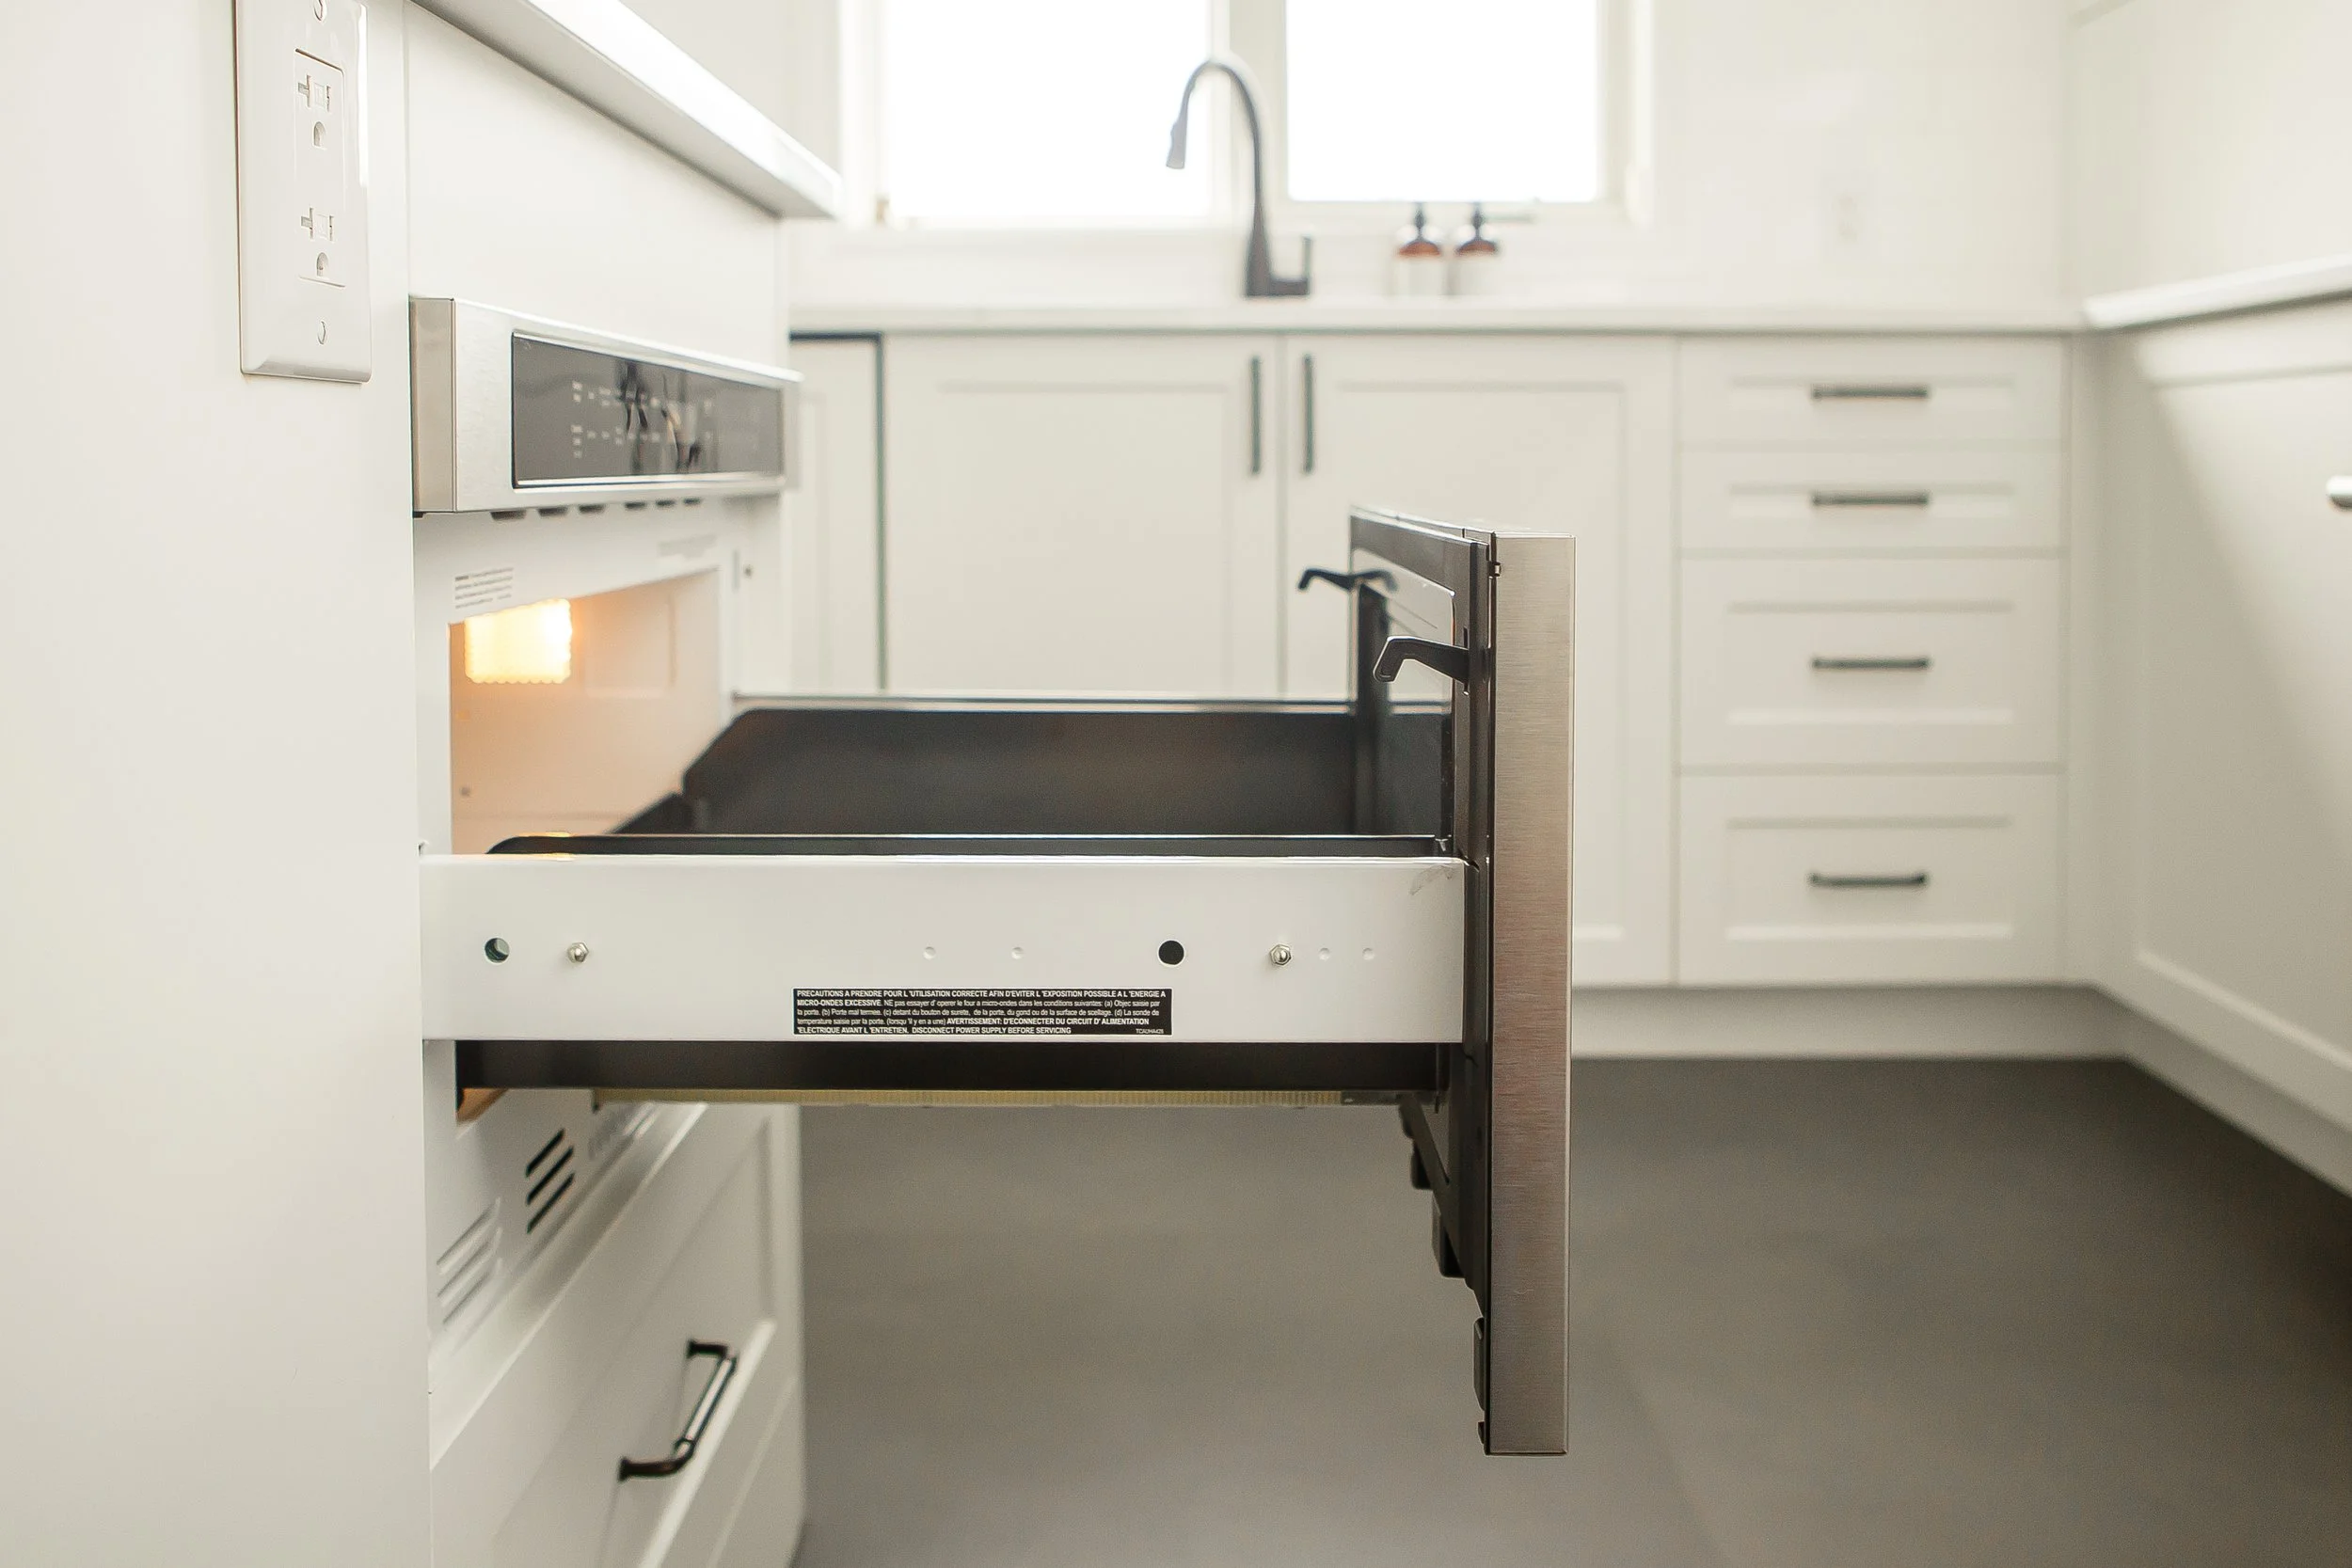
Across from the range, tucked into the island, is the microwave drawer, which is another one of our favourite ways to incorporate a microwave into the kitchen.
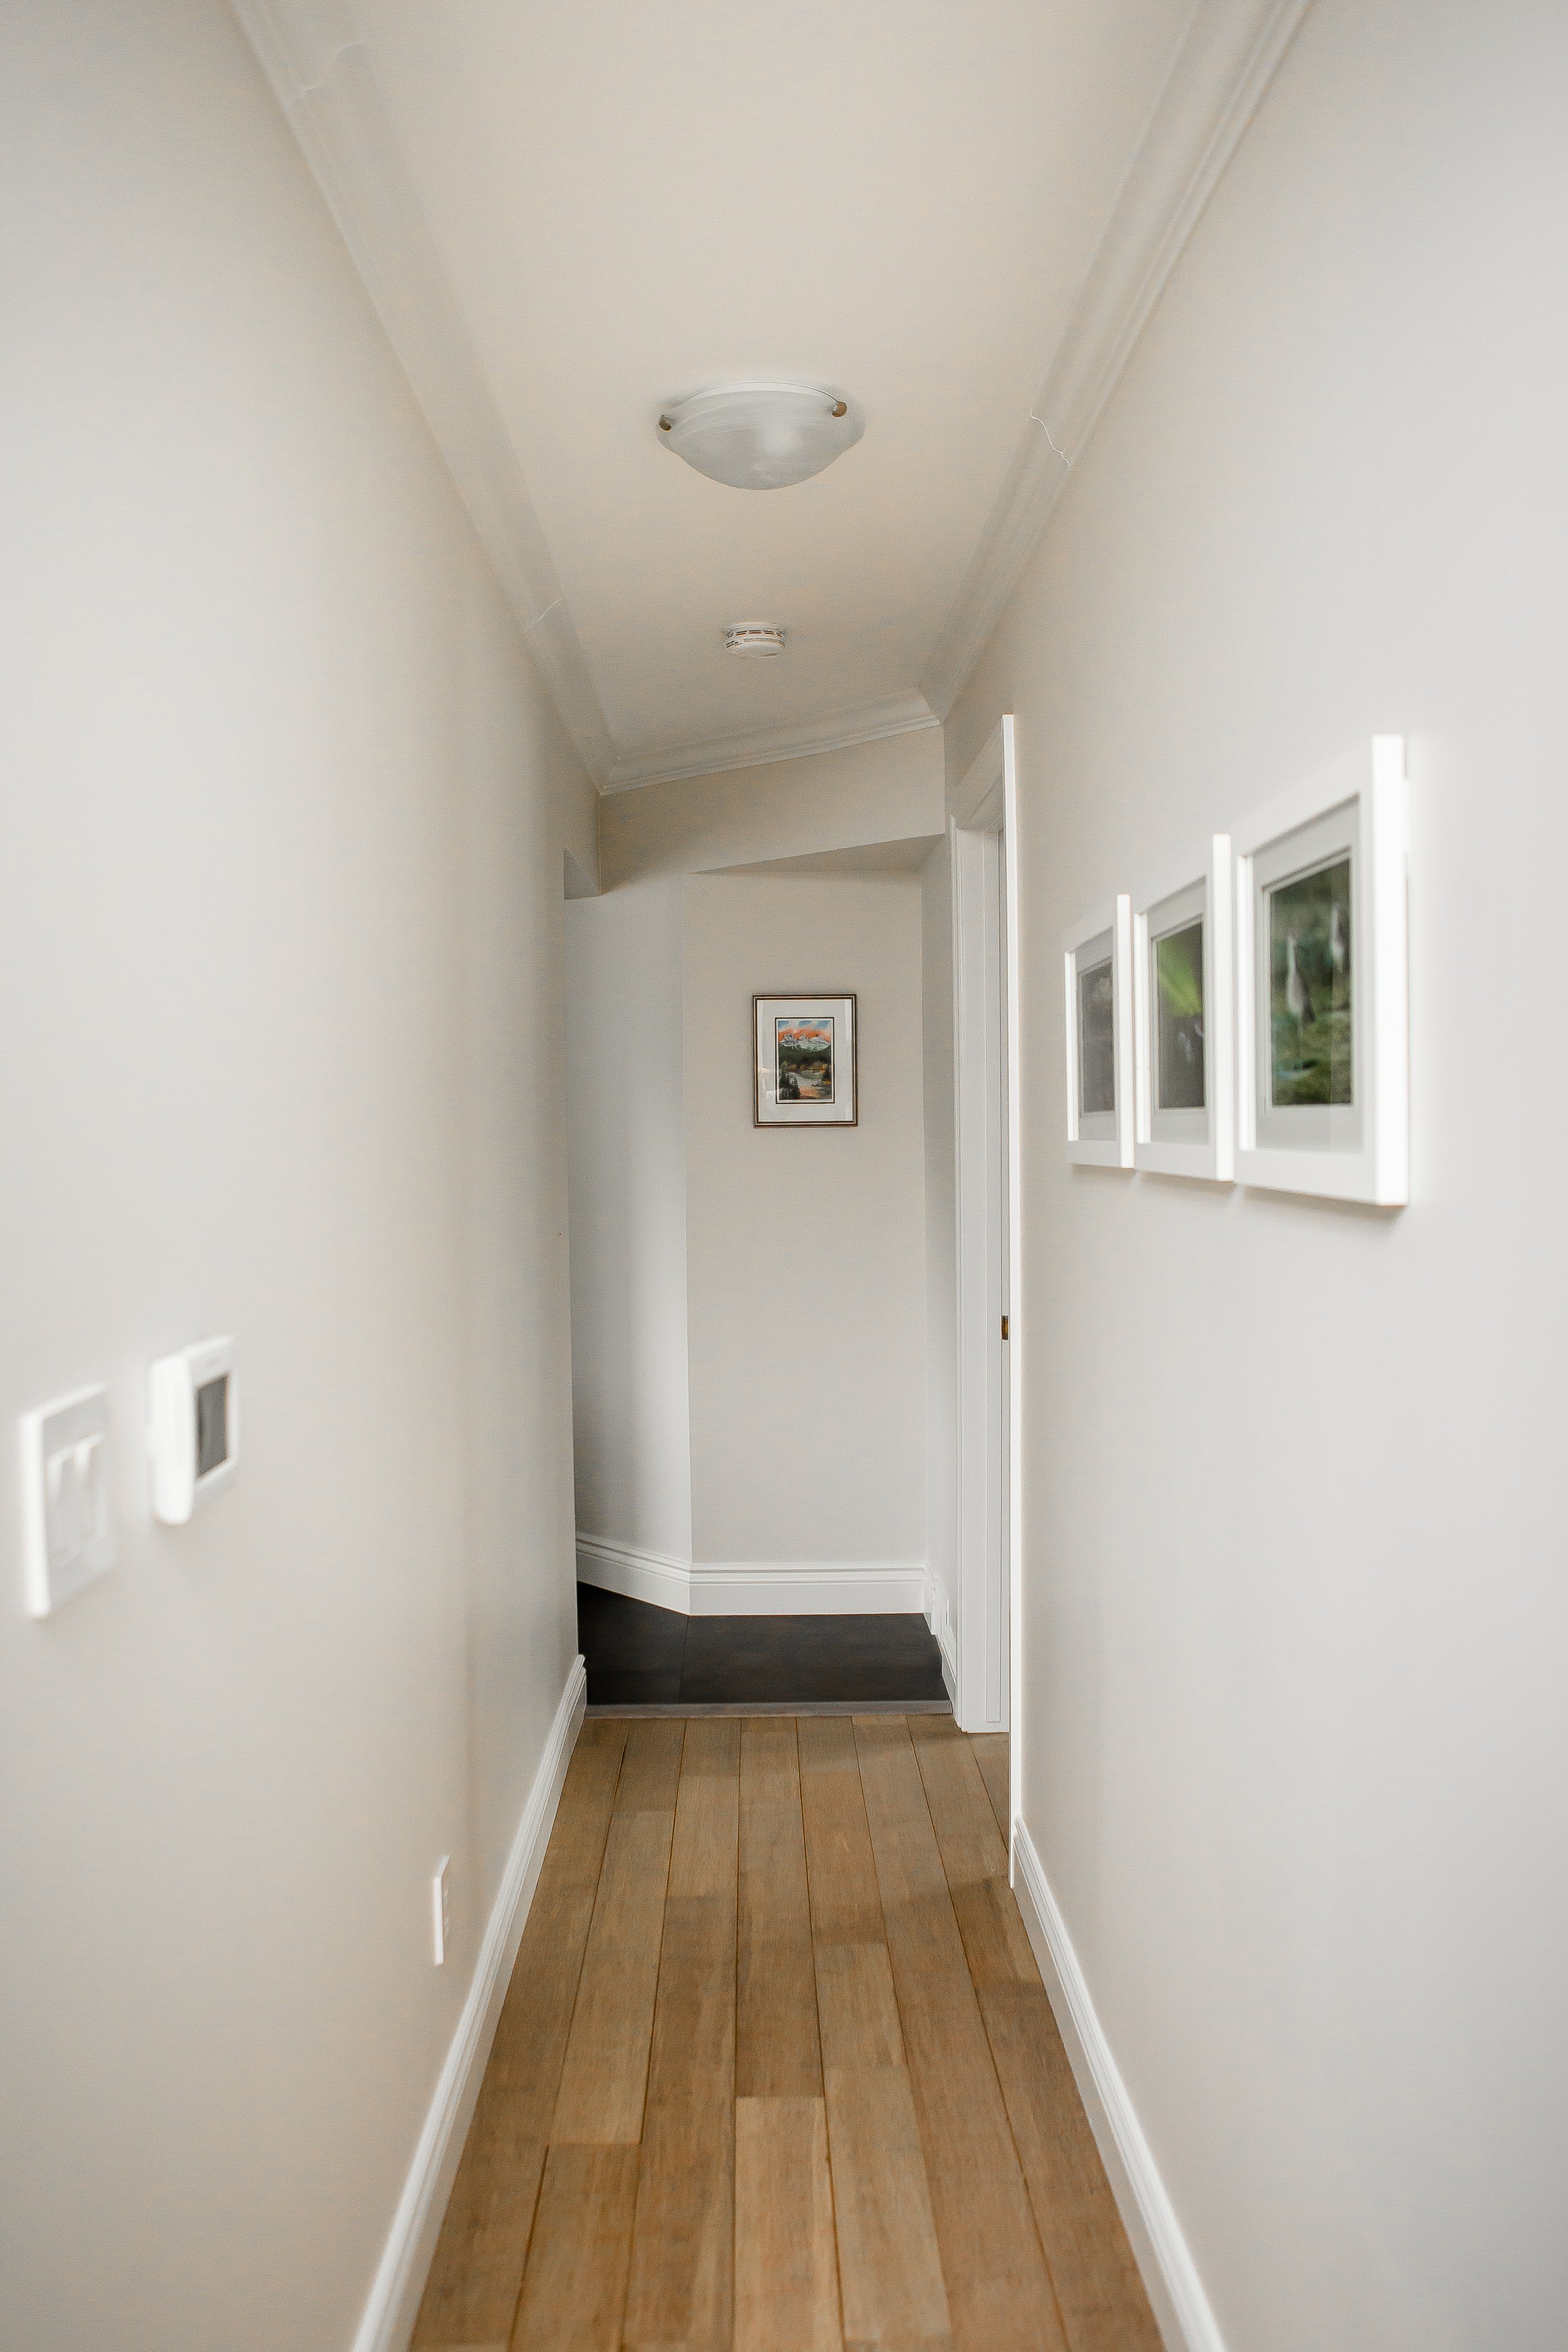
Another helpful change we were able to make was in the hallway area off the kitchen. Previously, there was a point where the hallway narrowed to under 30” and we had a suspicion that we might be able to open that up to make the hallway wider… as we had to do some updates near it for electrical, we were able to confirm that it could be opened up and now the hallway is a much more comfortable size to navigate through.
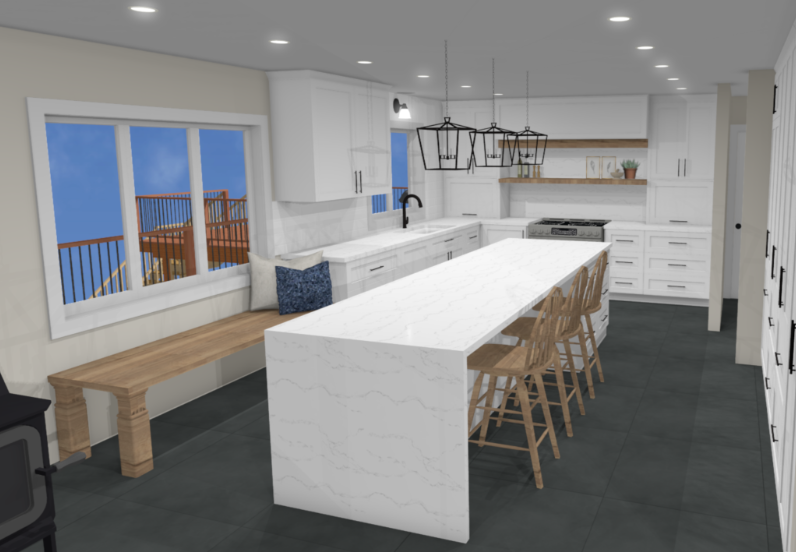
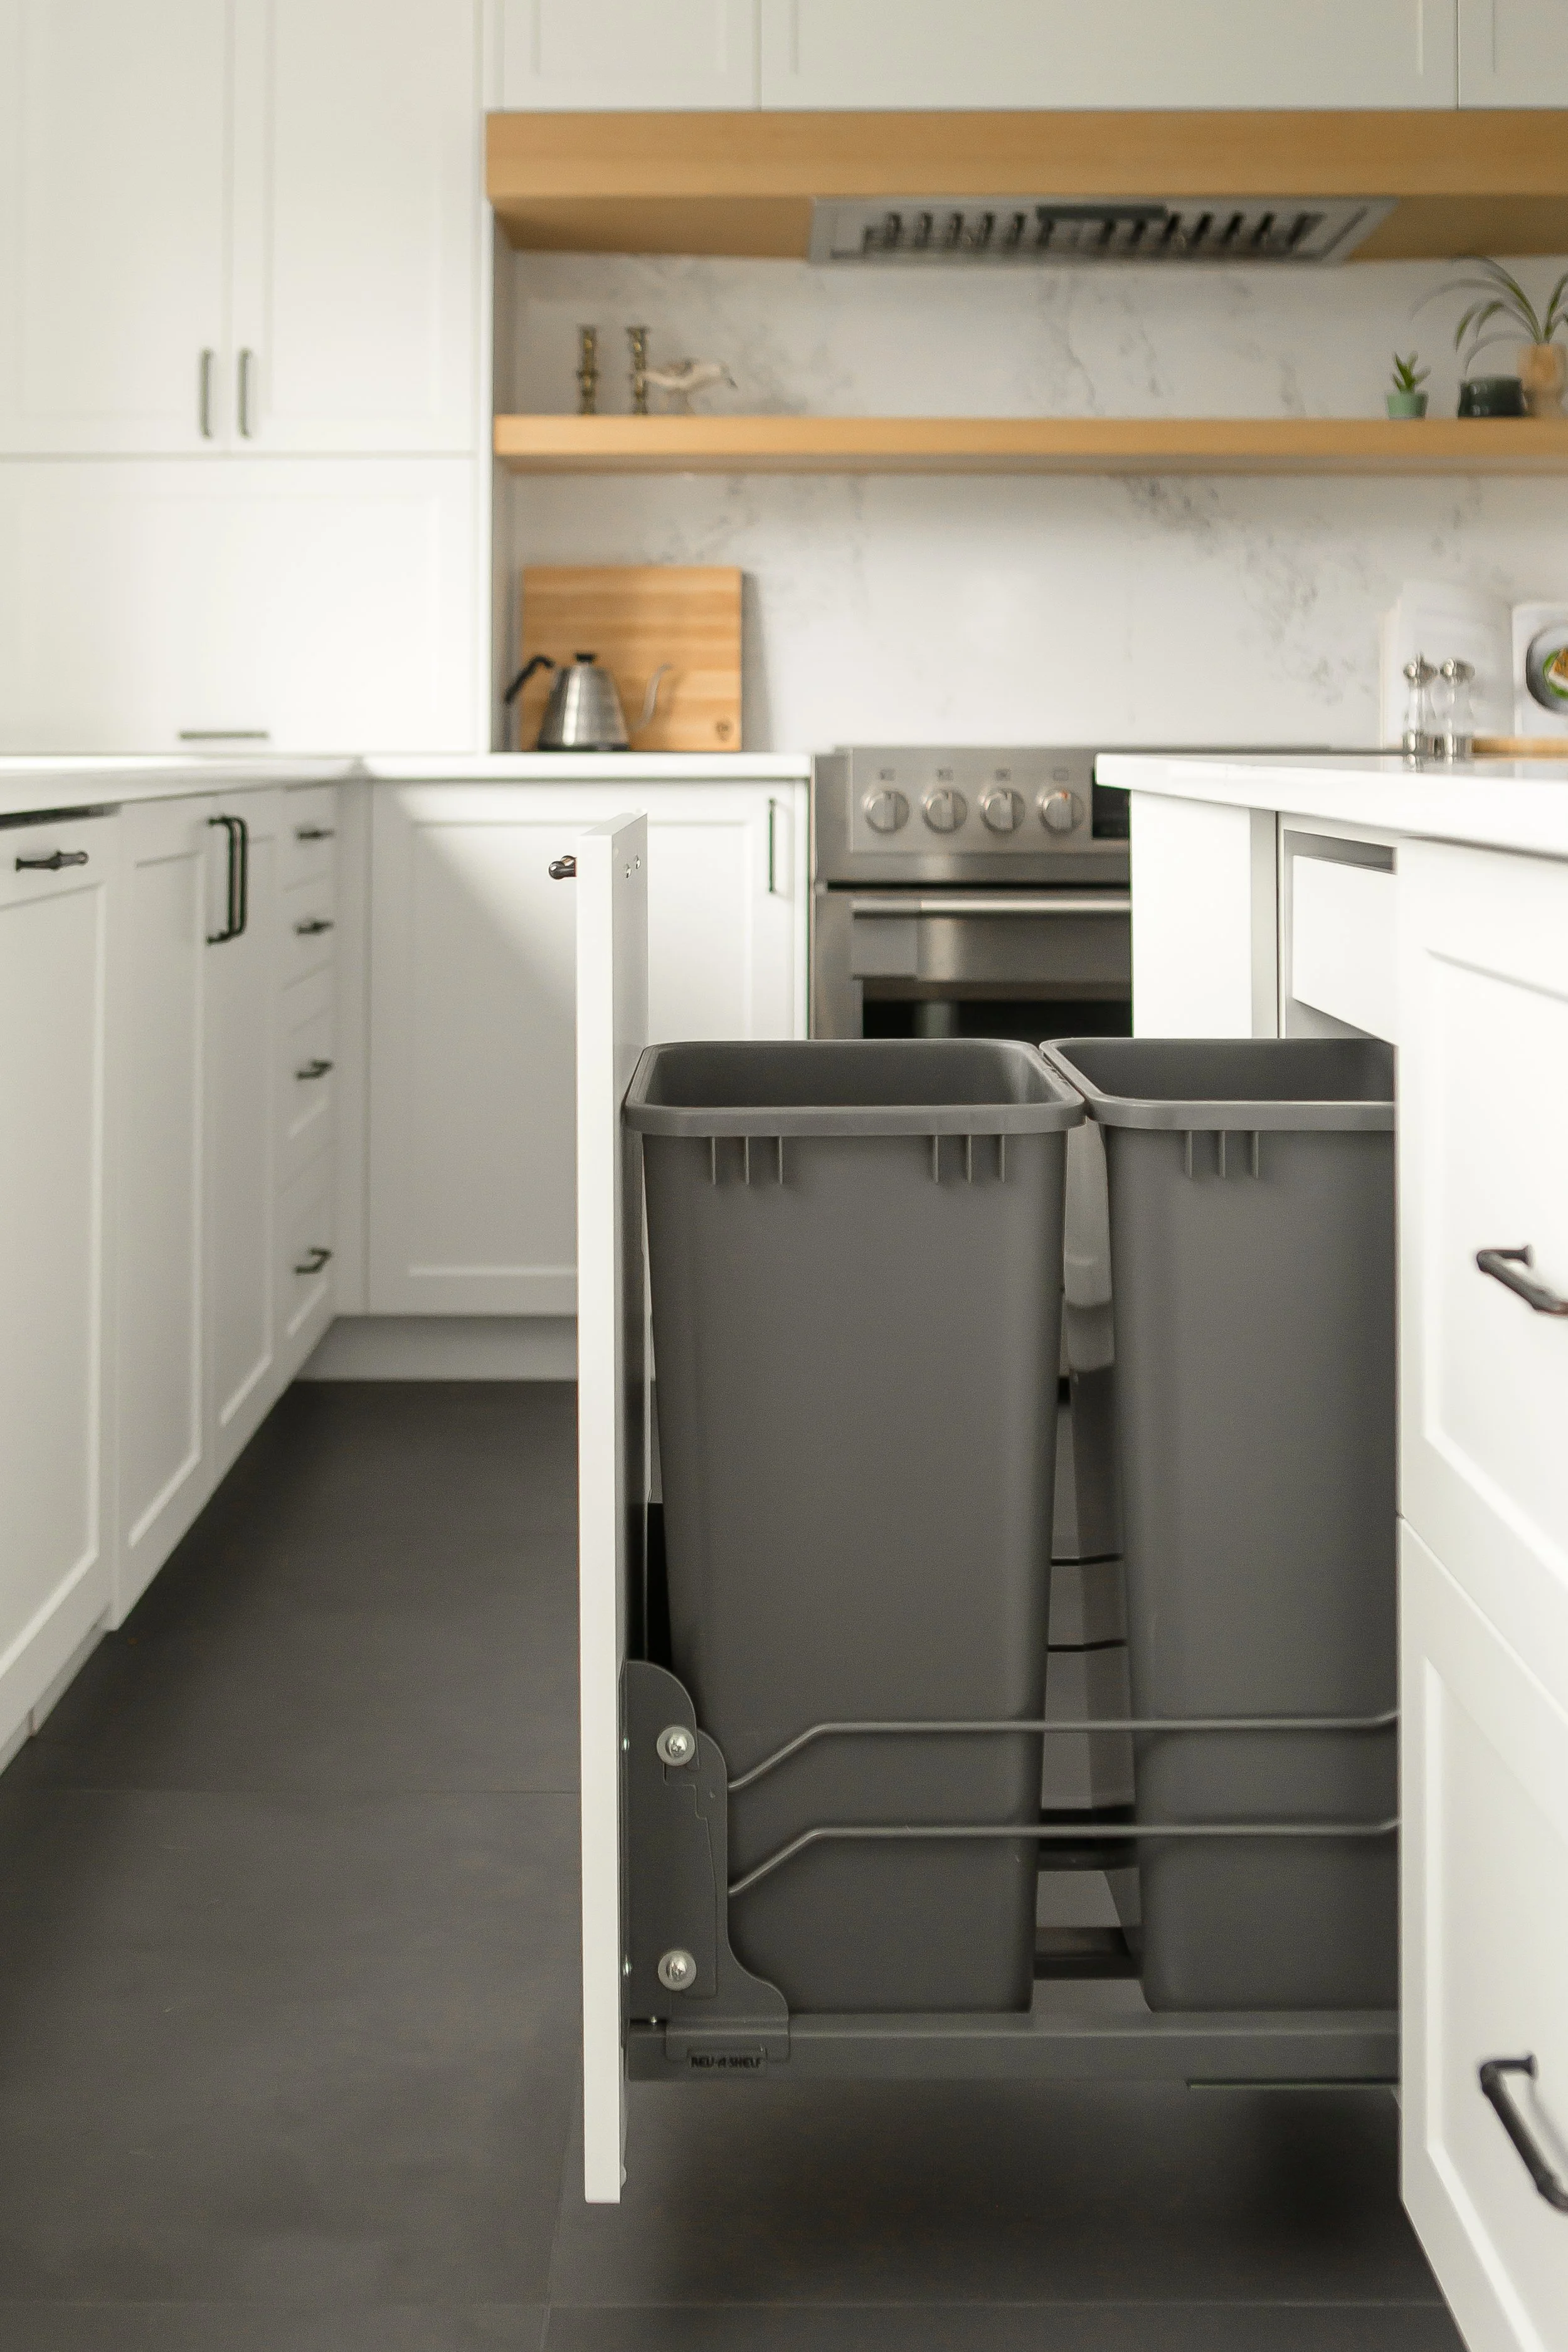
The island incorporates one side of full depth drawers and a garbage pullout and on the other side, seating for 4 along with half-depth cupboard space for small appliances.
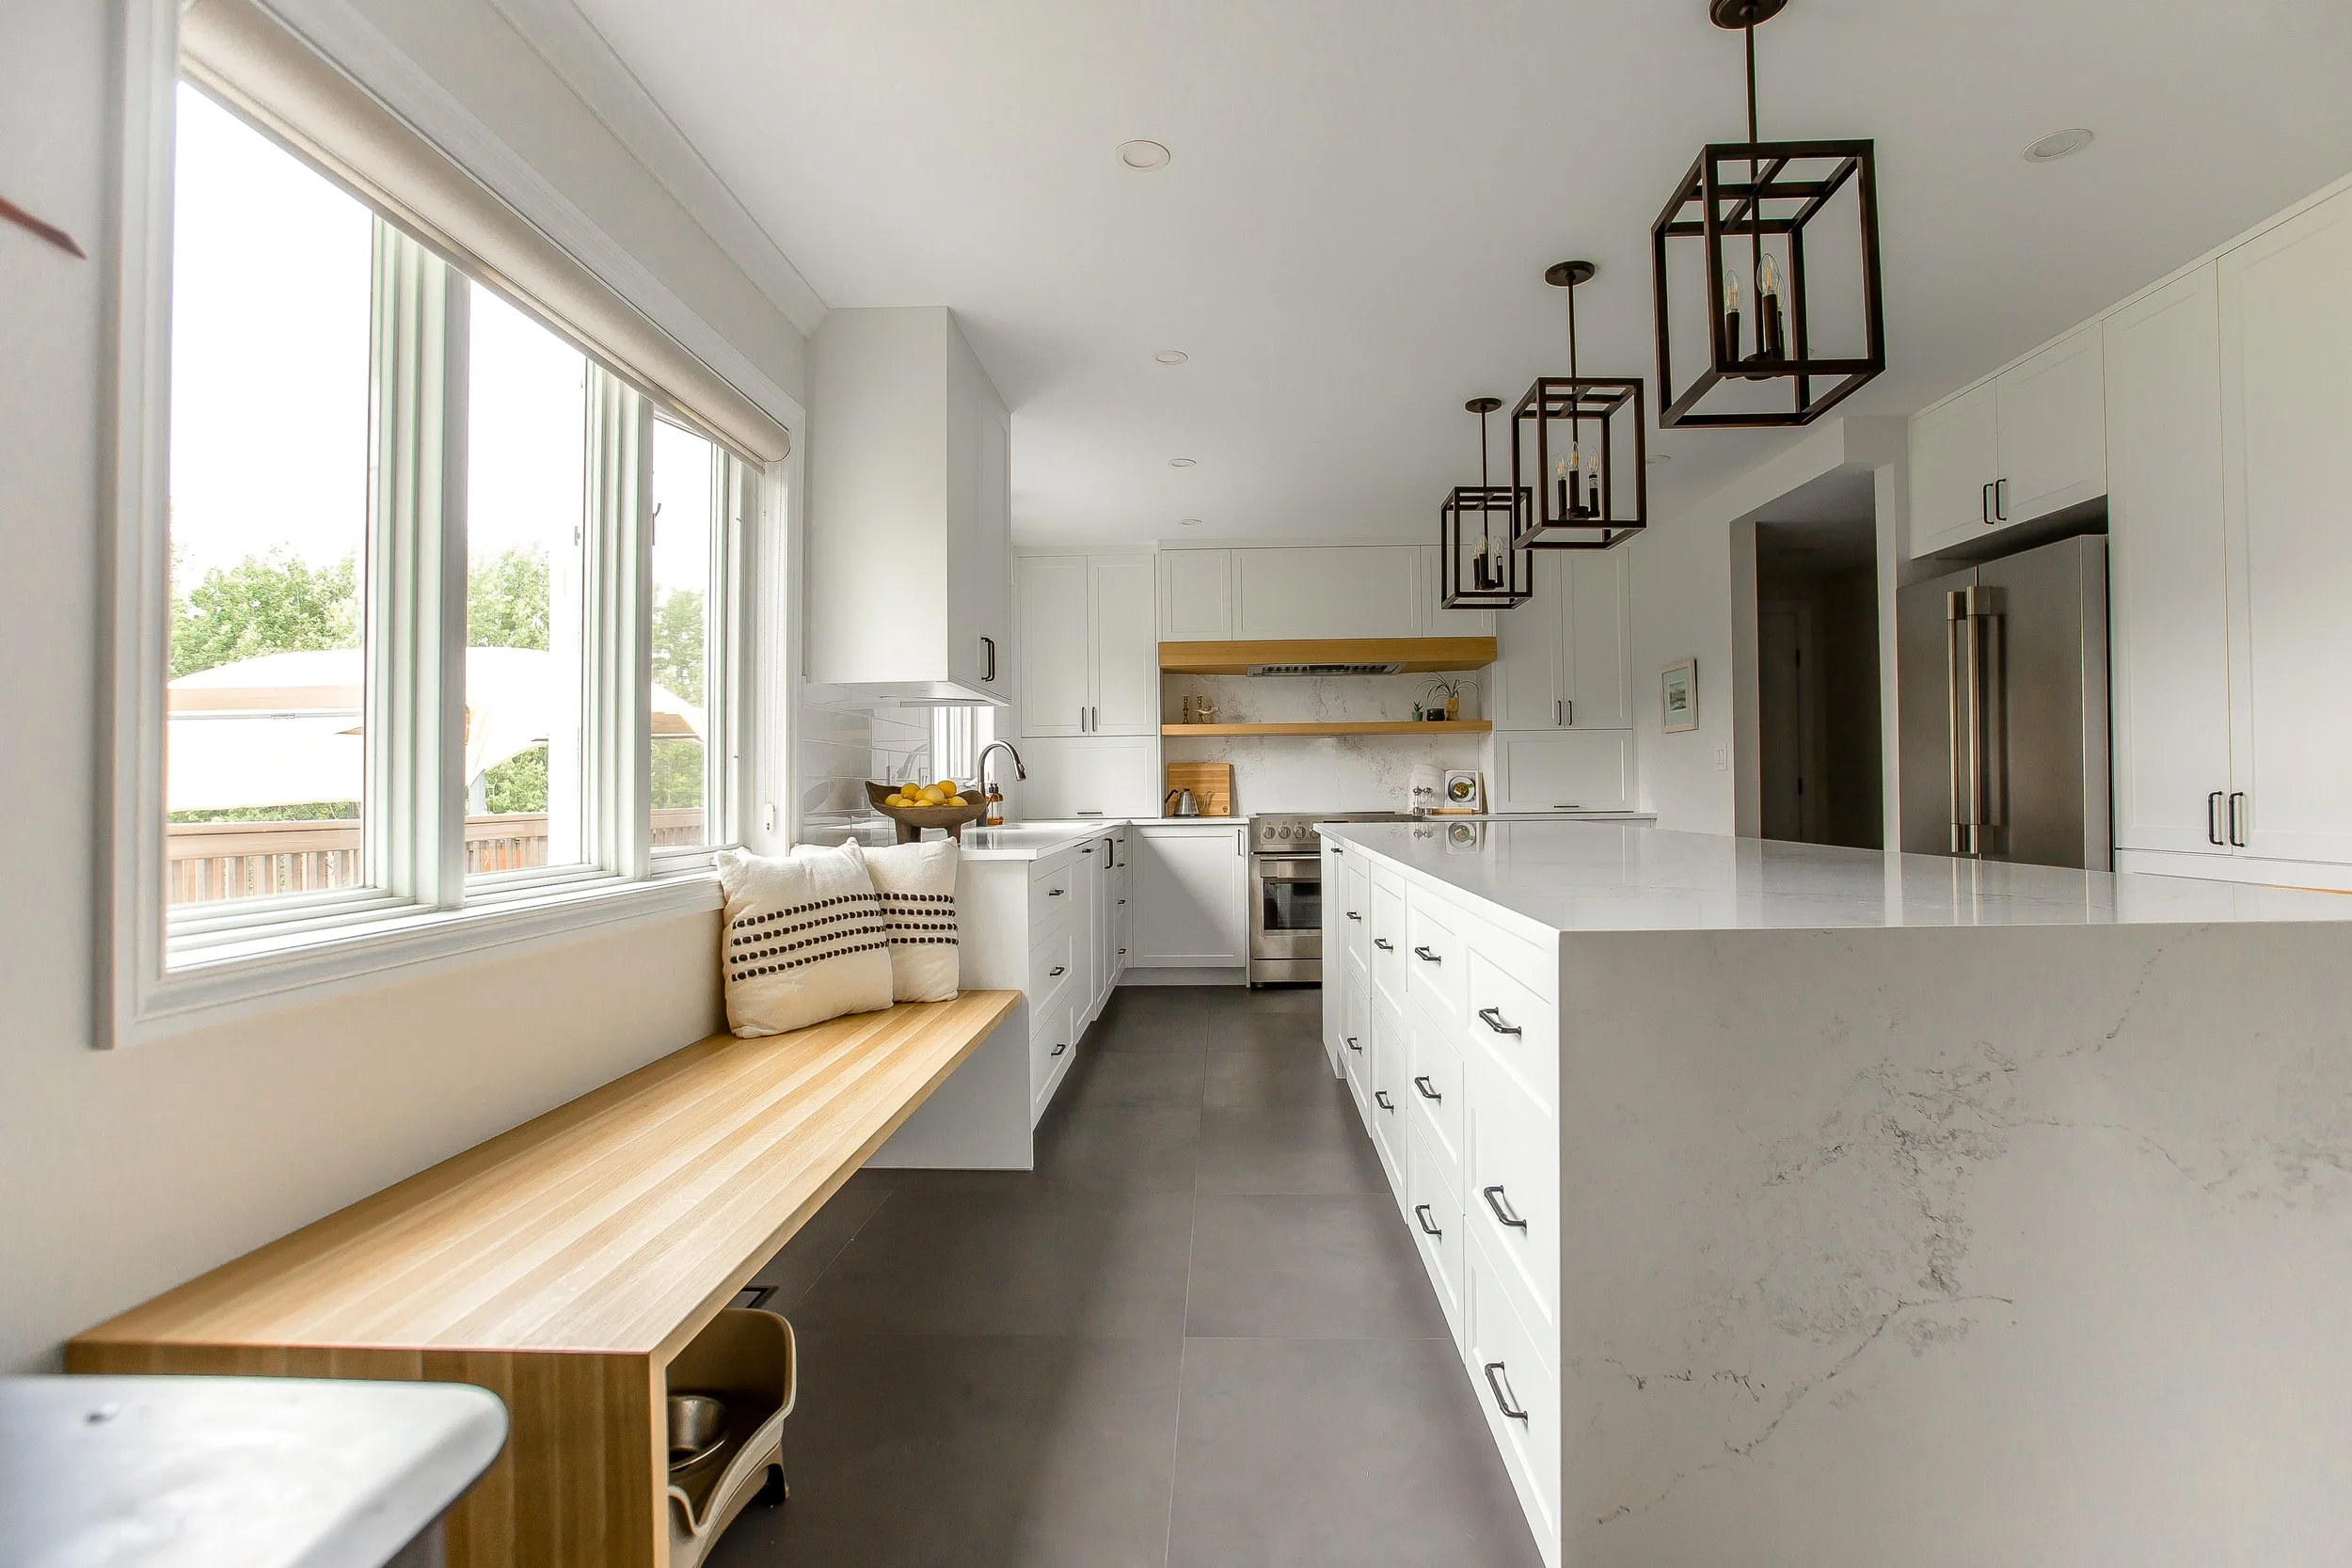

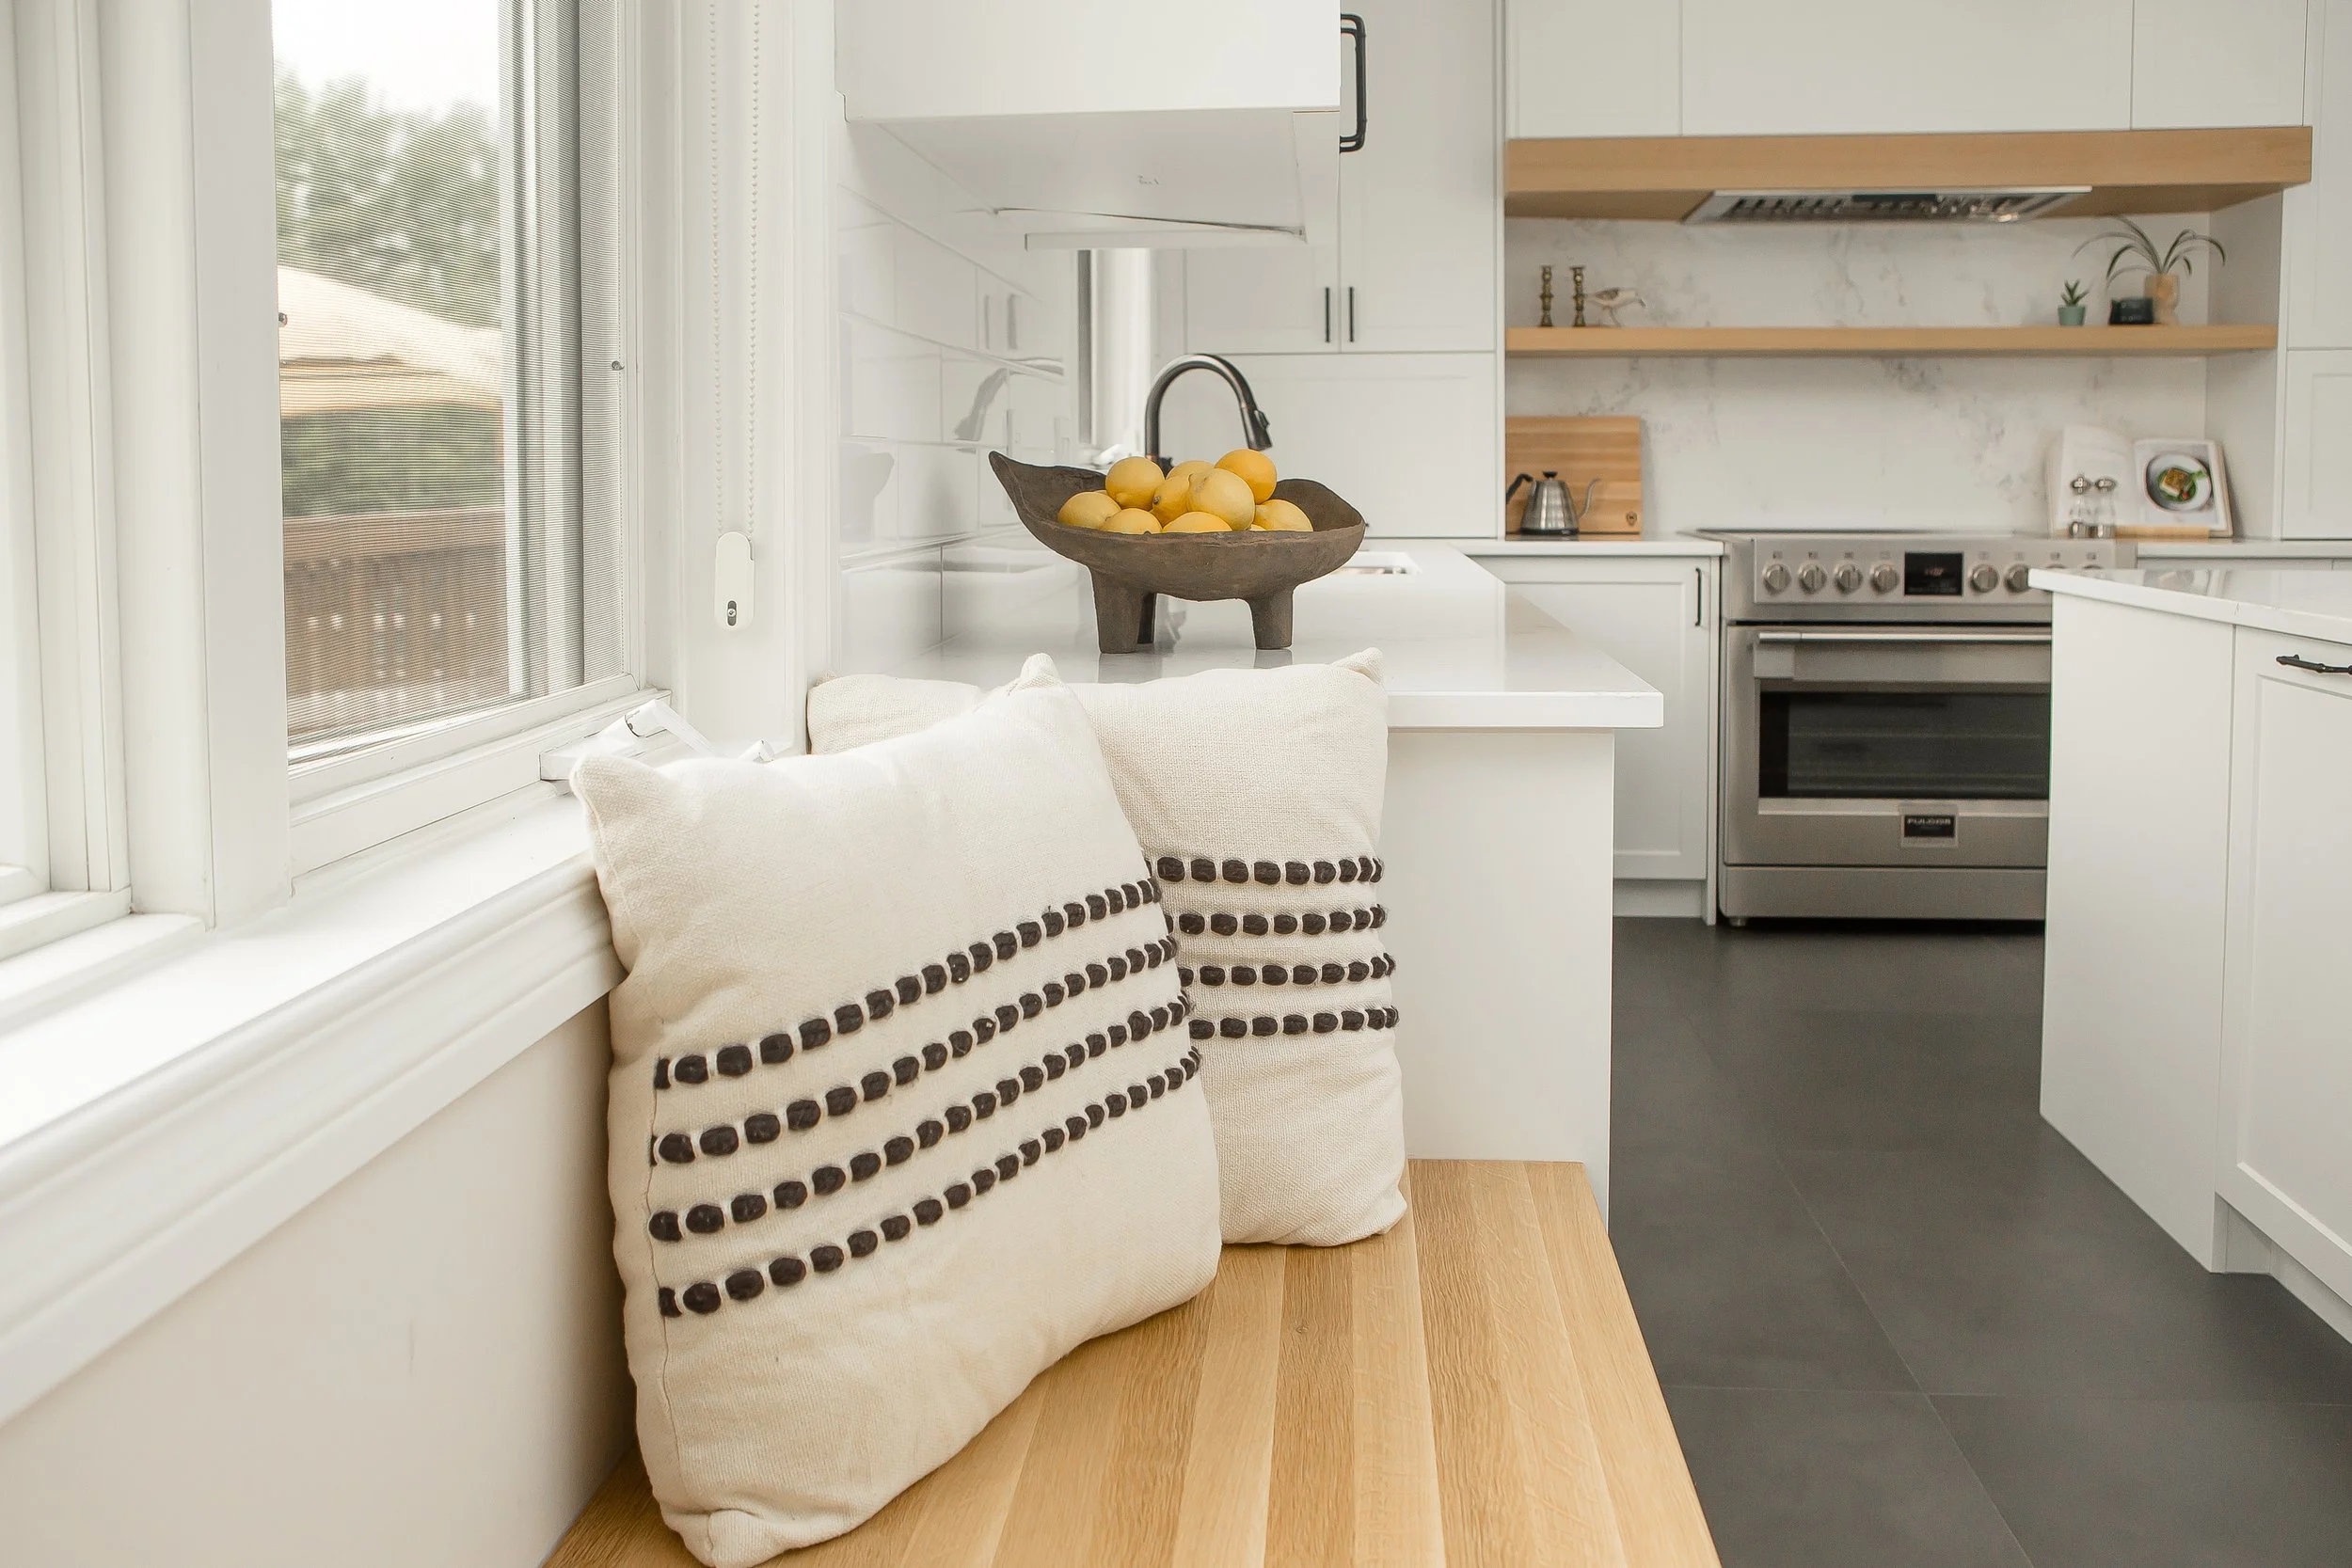
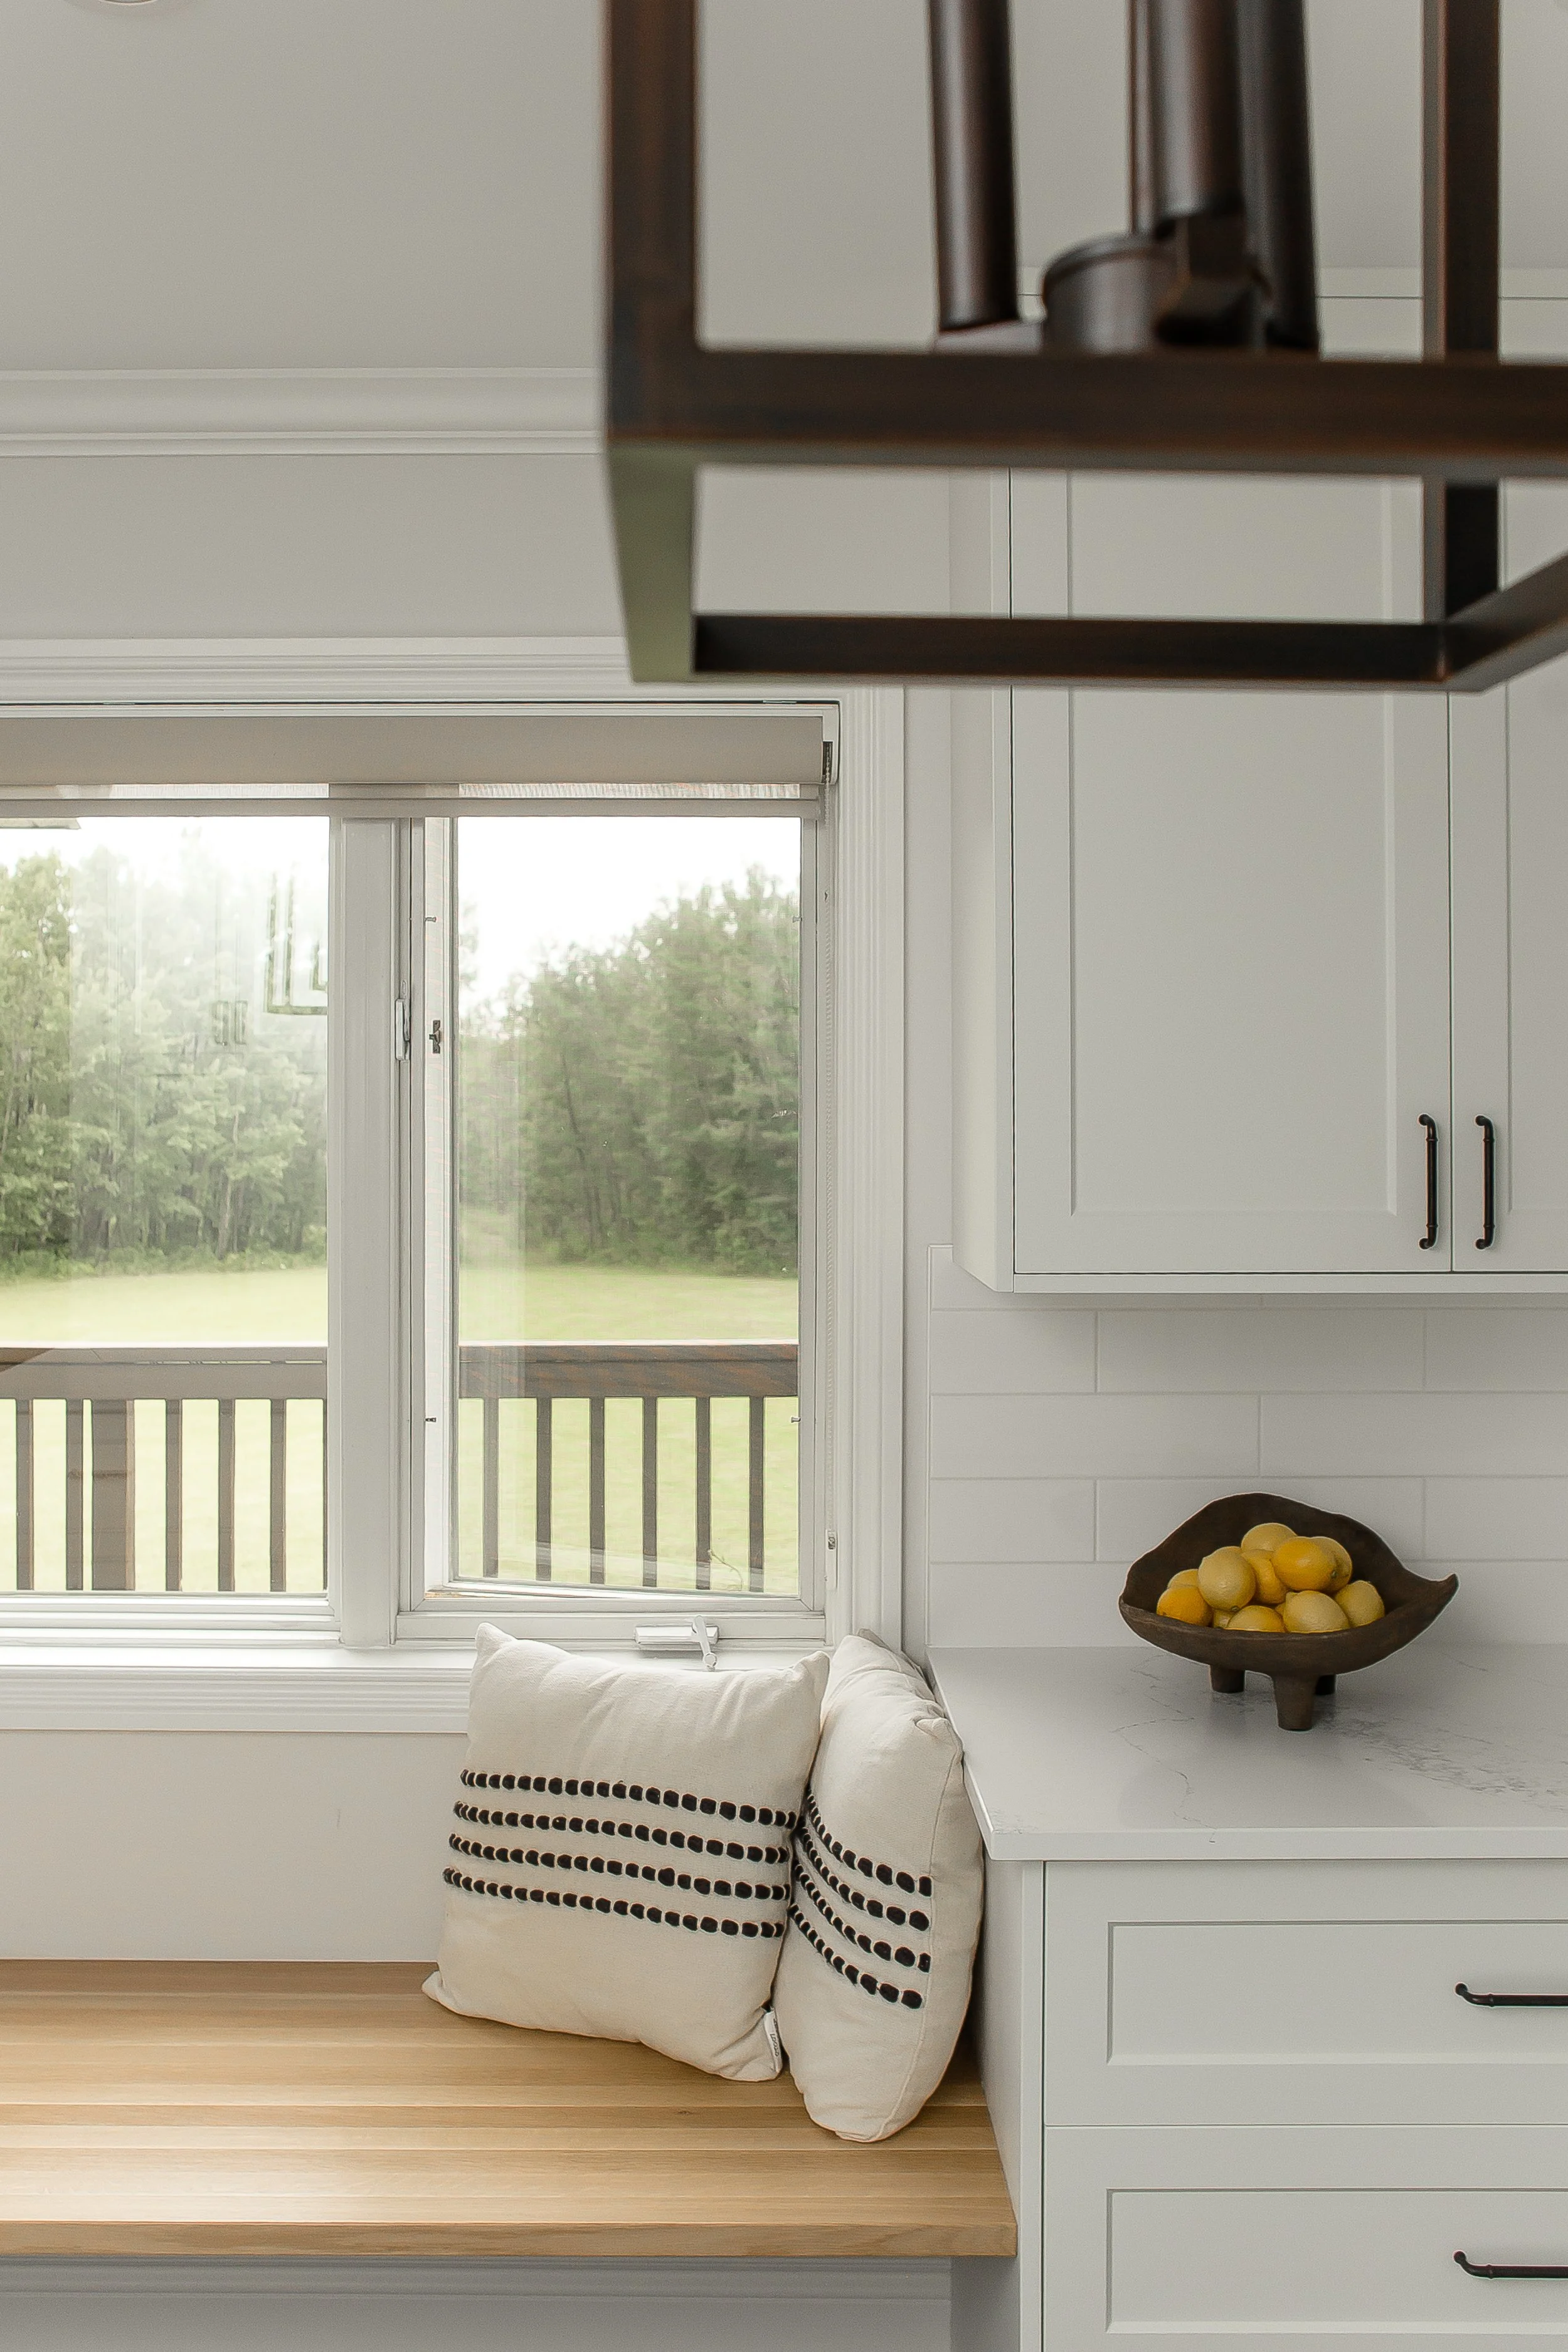
And for added enjoyment and extra seating, a custom bench was made to sit below the window that mimics the waterfall of the island.

And finally, a big thank you to all the trades and suppliers for bringing our kitchen and ensuite design to life. We hope you enjoyed the in-depth tour of this beautiful project and would love to hear what your favourite feature is in one of the spaces we’ve showcased.

Have a renovation project you’re considering and want our guidance on how best to bring it to life? Get in touch and we’ll set up a complimentary discovery call to chat, discuss options and potential next steps.